Growing wildflowers and native plants is a wonderful way to enliven your garden space and attract pollinators to your backyard. Unfortunately, if you want to buy native plants, you’ll often find there’s a very limited selection of them available at plant nurseries. Even worse, many native plants sold at garden centers may have been treated with neonicotinoids or other pesticides, which are toxic to pollinators!
Due to the limited selection and the possibility of pesticide contamination, many gardeners may prefer to grow wildflowers and native plants from seeds. However, starting wildflower seeds can be a bit tricky. This is because many native plants and wildflowers require cold stratification to germinate.
If you’d like to learn more about cold stratification and how to jumpstart wildflower germination using this gardening technique, read on. In this guide, we’ll walk you through a step-by-step process of how to start wildflower seeds at home. We’ll also provide you with a helpful list of plants that grow exceptionally well with this planting technique.
Jump to:
What is cold stratification?
In nature, many wildflower seeds ripen in fall and naturally tumble to the ground and overwinter on the soil. During the long winter, these seeds are exposed to moisture from snow and rain, as well as cold temperatures. Then when spring arrives, the warmer weather and longer days cause seeds to germinate.
But why is this? Well, part of it has to do with evolution.
Sometimes brief spells of unseasonably warm weather occur, even in the depths of winter. Any seeds that germinate at the first sign of warmer temperatures in January are likely to be killed off as soon as temperatures drop again. That’s why many wildflower seeds only germinate when temperatures rise after they’ve been subjected to a cold and moist environment for a period of time.
Needing cold to germinate protects seeds from sprouting prematurely in early spring or late summer. Interestingly, many seed varieties once needed to be exposed to a cold, moist environment to sprout; however, selective breeding and careful cultivation have bred this need out of most common vegetables and annual flowers. Native plants and wildflowers, however, have not been genetically altered as much, so many of these plants still need to experience a period of cold to break their dormancy and germinate.
For this reason, some gardeners choose to plant wildflower seeds in autumn and allow the seeds to find their own natural rhythm through exposure to winter’s chill. However, you can also start wildflower seeds indoors in spring by imitating the seasons with your refrigerator. This technique is called “cold stratification.”
Many native plants and wildflowers need to be cold-stratified to sprout. Luckily, this process is very simple to do and doesn’t require any fancy equipment.
How to cold stratify seeds for your garden
Cold stratification may sound tricky, but it really isn’t. Below, we’ll walk you through two different cold stratification techniques.
The first technique will work best if you just want to grow a few plants. The second method is recommended for anyone who wants to grow a large quantity of wildflowers – for example, if you’re looking to grow an alternative wildflower lawn.
Paper towel method
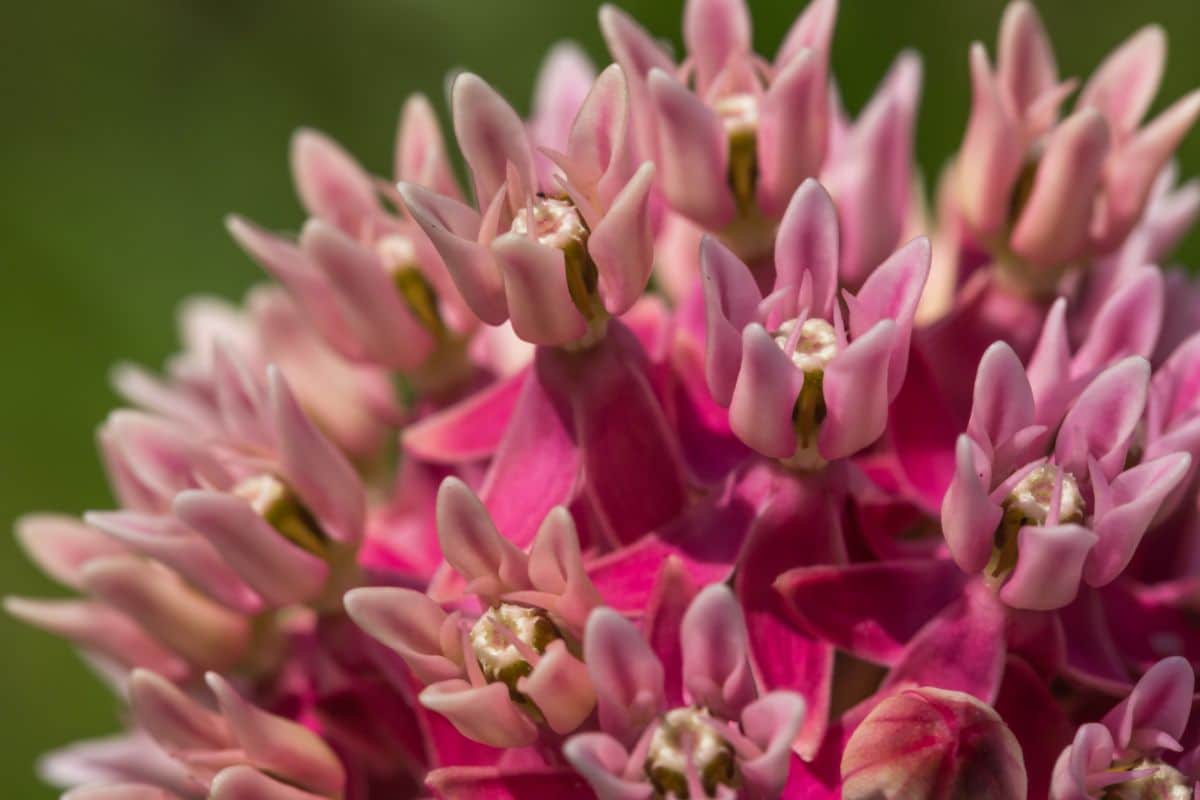
If you just want to grow a few wildflower plants, such as for a garden bed, this is the method to use. This easy technique will help trick plants, like milkweed, into germinating in spring, and it is the best way to start many native plants from seed.
What you’ll need:
- Wildflower seeds
- Mason jar
- Paper towels or coffee filters
- Ziploc bags or plastic takeaway containers
- Permanent marker
The process:
By using the cool environment of your refrigerator, you can easily cold-stratify seeds by following the steps below.
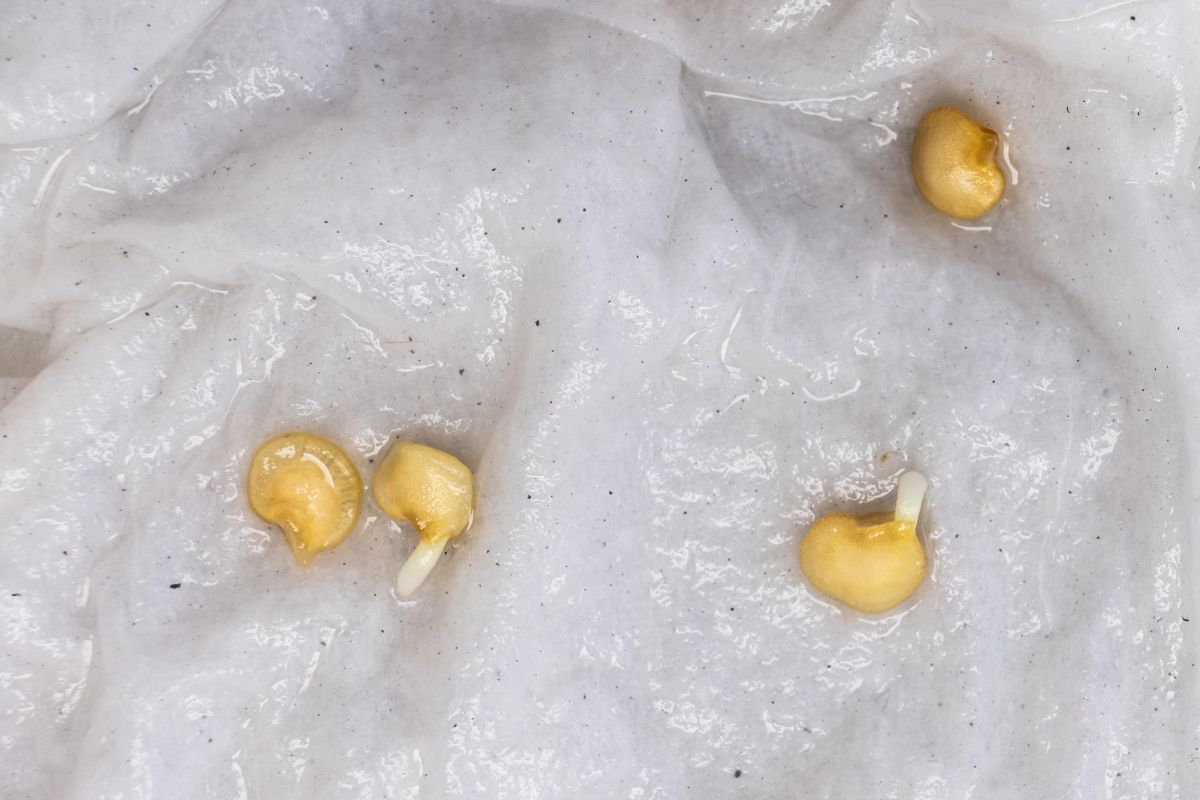
1. Soak your seeds.
To get started, you may want to soak your wildflower seeds first. While this is optional, it can make sure your seeds get well-moistened for optimal germination. Soaking works best with large seeds, but if you’re working with very small seeds, you may want to skip this step.
To soak your seeds, simply pour your seeds into a clean Mason jar or other container and add a bit of water. Allow your seeds to soak for about 1 to 2 hours before proceeding to the next step.
2. Prep your supplies.
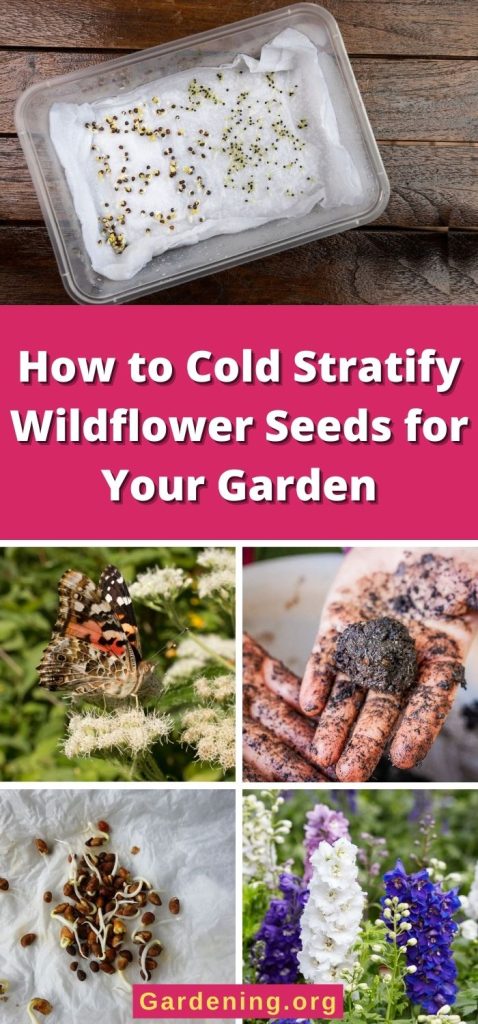
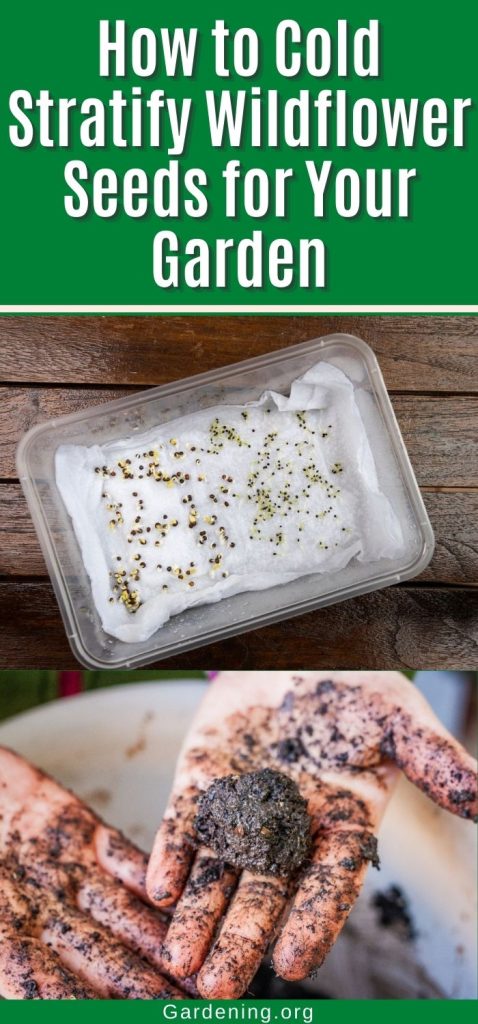
Next, you’ll need to prepare your materials. Simply wet a paper towel or a coffee filter so that it is thoroughly moist but not dripping. Then lay out your paper towel or filter on a flat surface.
3. Spread out your seeds.
Now it’s time to add your seeds. To do this, just spread out your seeds in a single layer on your filter or paper towel.
To help you keep track of what you’re doing, it’s best to keep different wildflower seed species separated. If you’re planning on growing more than one wildflower variety, give each species its own section of paper towel, so you don’t get your seeds mixed up.
You may want to wrap a dry paper towel around your coffee filter or a wet paper towel just to make sure your seeds don’t get too soggy.
4. Seal everything up.
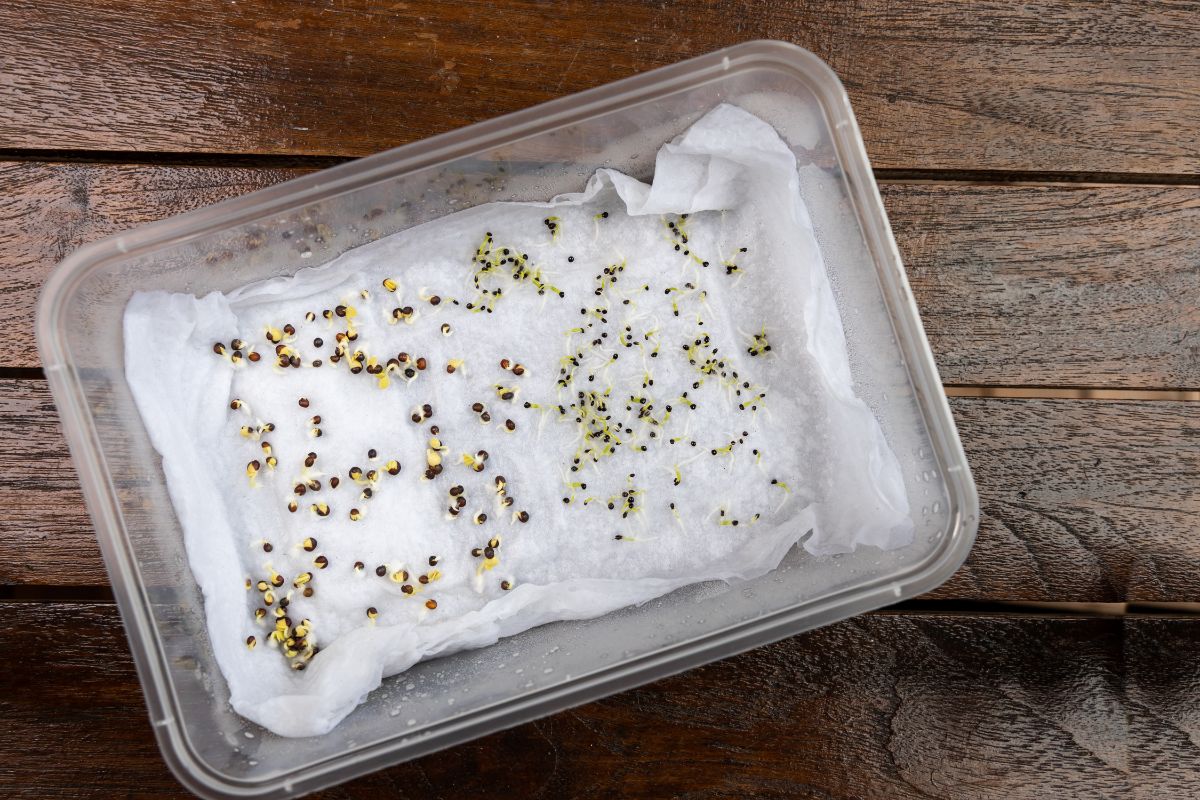
After you’ve spread out your seeds, carefully fold your paper towel over the seeds so that your seeds are sandwiched into the moist material snuggly. Then tuck your paper towel into a Ziploc bag or plastic takeaway container and seal it up.
5. Don’t forget to label.
It’s important to label your seeds to keep track of what you planted and when. Using a permanent marker, jot down the date and what seed varieties you planted on the outside of your container. If there’s other important information, you’d like to include (such as species name, days to germination, seed company name, etc.), write that down as well.
6. Chill your seeds.
Now comes the most important step: chilling your seeds! Moving your seeds into a cold environment will trick seeds into germinating, as they’ll feel like they’ve experienced a full winter.
To do this, just pop your seeds into your refrigerator and leave them there for the recommended amount of time for the seed type you’re growing.
Most seeds do best when chilled for about 30 days, but this may vary from species to species. Some seeds only need to be exposed to cold for a few days, while others may need to be chilled for 6 to 8 weeks to break their dormancy period. For best results, be sure to research the specific needs of the plant you’d like to grow.
7. Monitor your seeds.

From time to time, check on your seeds. They don’t really require much fuss, but you’ll want to make sure the paper towel remains moist but not soggy.
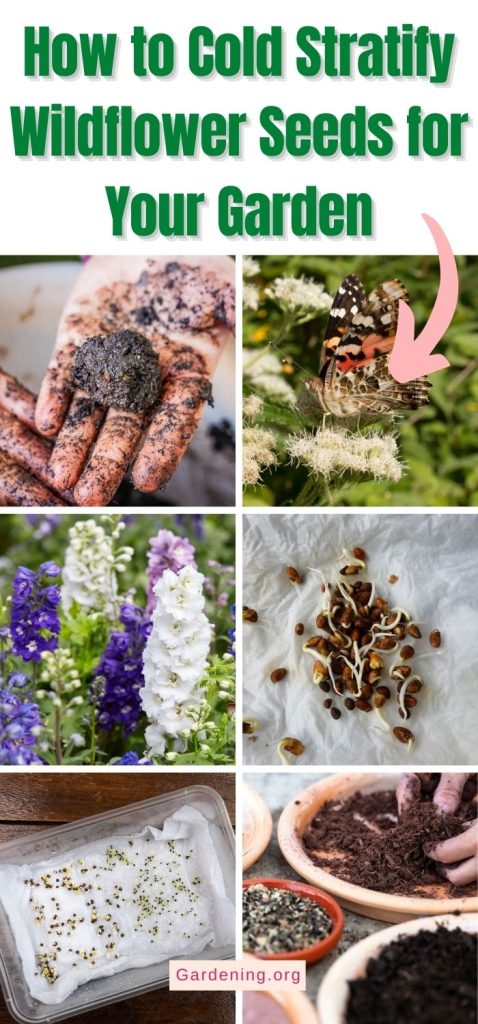
If you find any seeds have sprouted, remove them from the paper towel and plant them in potting mix.
After your seeds have been chilled for the appropriate amount of time, you can take them out of your fridge and pot them up in pots with starting mix, just like you would with any other sprouted seedling.
Sand or peat method
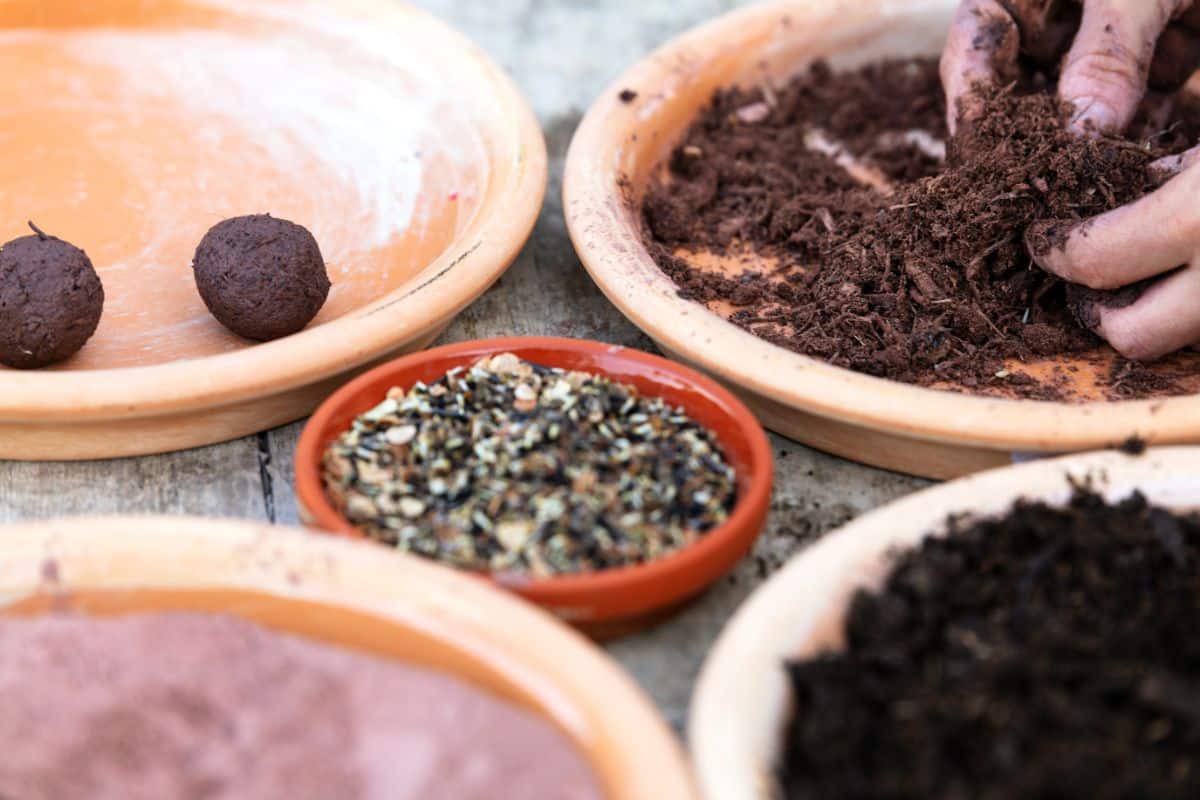
This method is best for germinating many wildflower seeds all at once. If you’d like to plant a wildflower lawn or large-scale wildflower bed, this is the technique to use.
What you’ll need:
- Wildflower seeds
- All-purpose sand or peat moss
- Large mixing bowl
- Ziploc bag or plastic takeaway container
- Permanent marker
The process:
As with the paper towel method, this technique uses the cool temperatures of your refrigerator to simulate winter and break wildflower seeds’ dormancy.
1. Mix up your substrate.
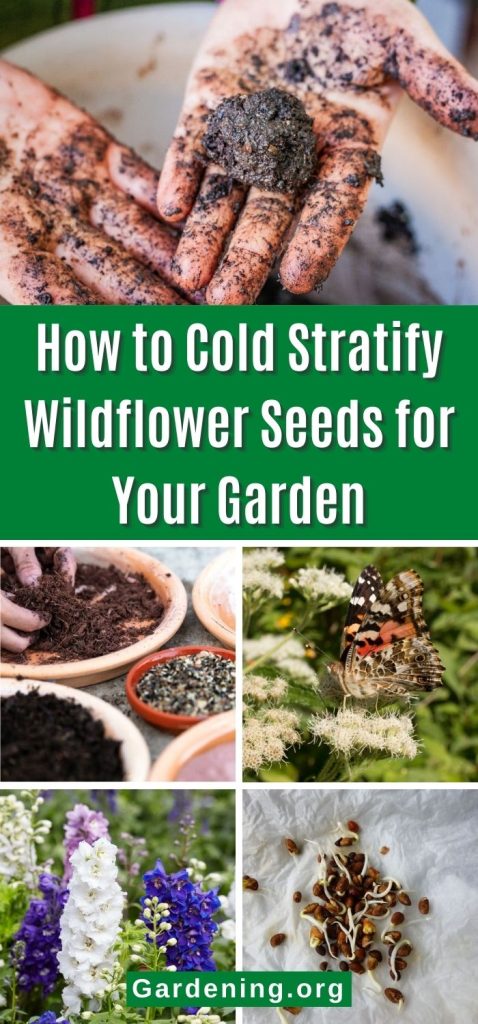
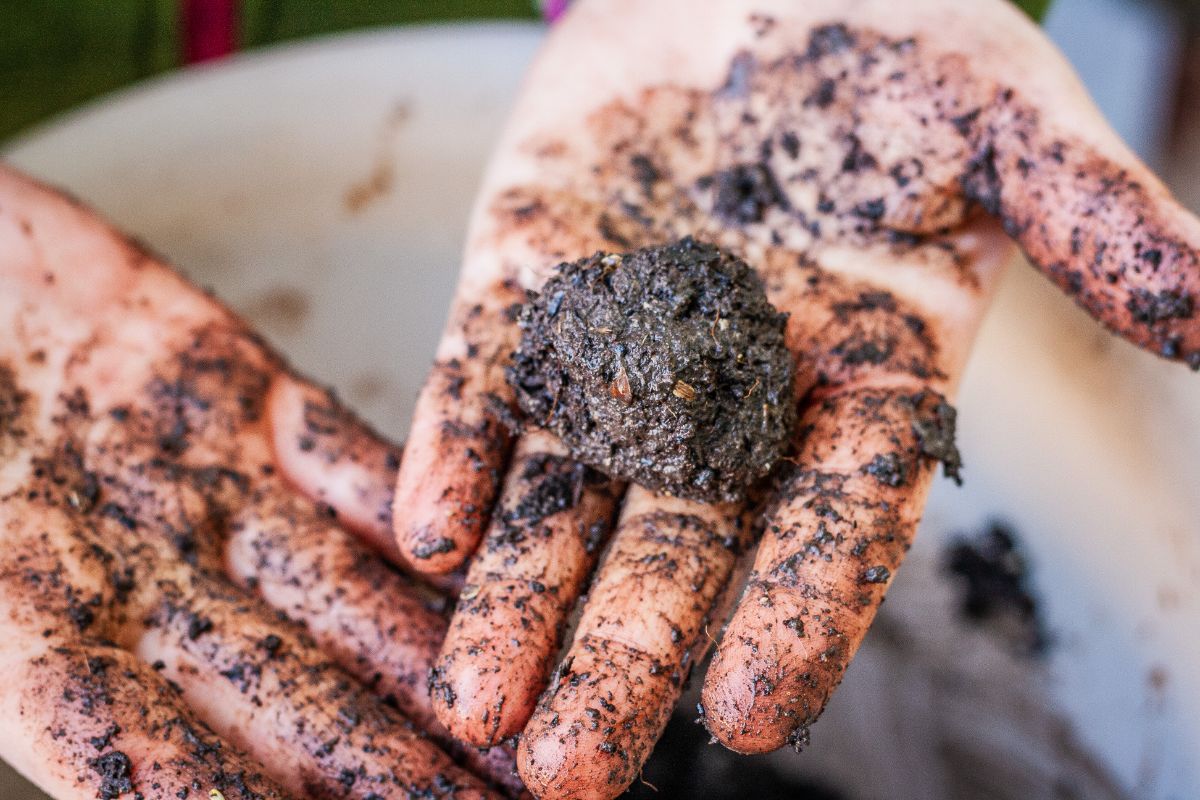
In a large mixing bowl, measure in ¼ cup of the substrate of your choosing – either sand or peat moss. Then gently pour in water until your mixture easily clumps together and can be molded into a ball with your hands.
2. Add your seeds.
Now add in as many wildflower seeds as you want to grow. Because different wildflower seeds may need to be cold stratified in your fridge for different lengths of time, it’s best to only add one wildflower seed type per mix. If you want to grow more than one wildflower variety, consider creating several different mixes.
3. Bag everything up.
After blending in your seeds, scoop up your mixture and place it in a Ziploc bag or plastic takeaway container.
4. Don’t forget to label.
Then, label your container with the seed variety you’re growing and the date. This will help you keep track of how long your seeds need to be chilled.
You can also add other helpful information to your labels, such as the seed company you purchased from and the scientific name of the seed type you’re growing.
5. Chill your seeds.
Next, just pop your containers into your fridge and allow them to chill for the appropriate amount of time for the seed variety you’re growing.
Once spring arrives and temperatures rise above freezing, simply scatter your seeds and their substrate around your garden beds or prepped lawn space. The addition of sand or peat moss should make your seeds easier to distribute.
You can also alter this method slightly and create your own DIY seed bombs. Because most wildflower seeds require cold stratification, using this method when creating seed bombs will greatly increase germination rates and make for more effective seed bombs!
Best seeds for cold stratification
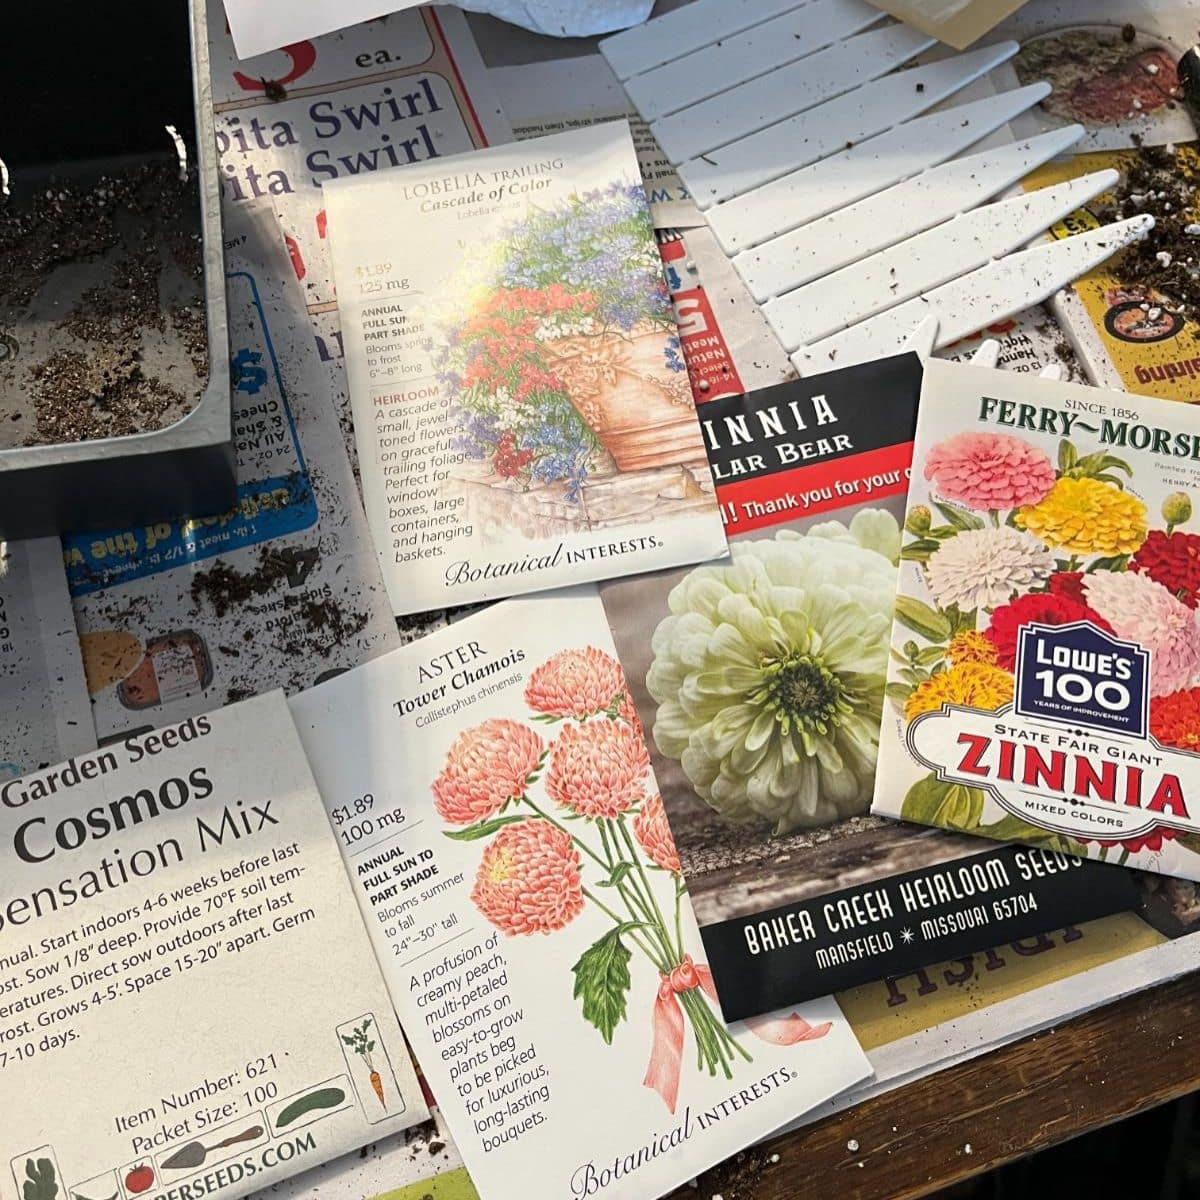
Many native plants, wildflowers, and medicinal herbs need to be cold-stratified prior to planting to break their dormancy period and jump-start sprouting. While a variety of seeds can be grown successfully via cold stratification, some of the best seeds to try with this growing method include:
- Milkweed
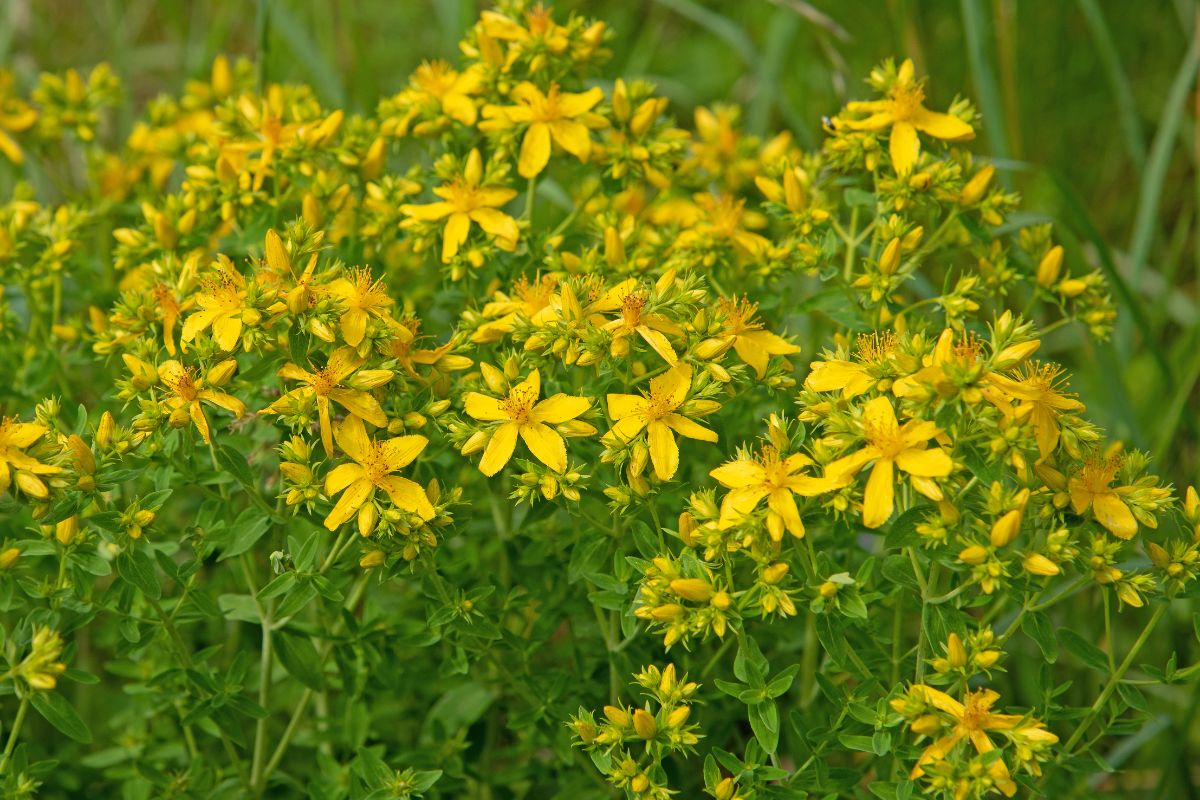
- John’s wort
- Prairie coneflower
- Boneset
- Blue vervain
- Rudbeckia
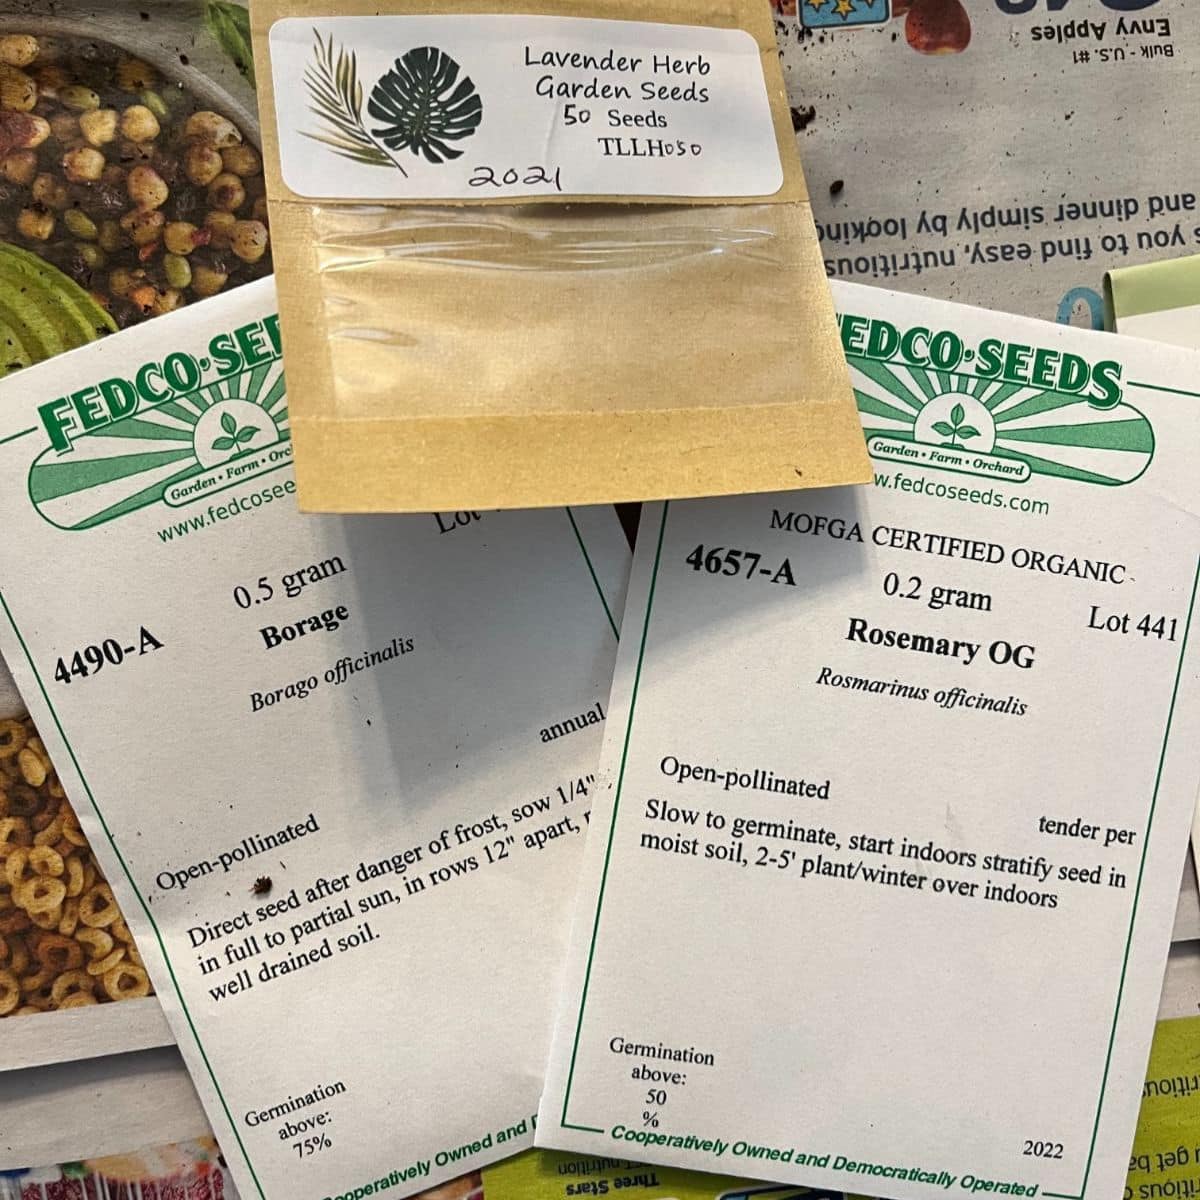
- Lavender
- Rosemary
- Arnica
- Butterfly weed
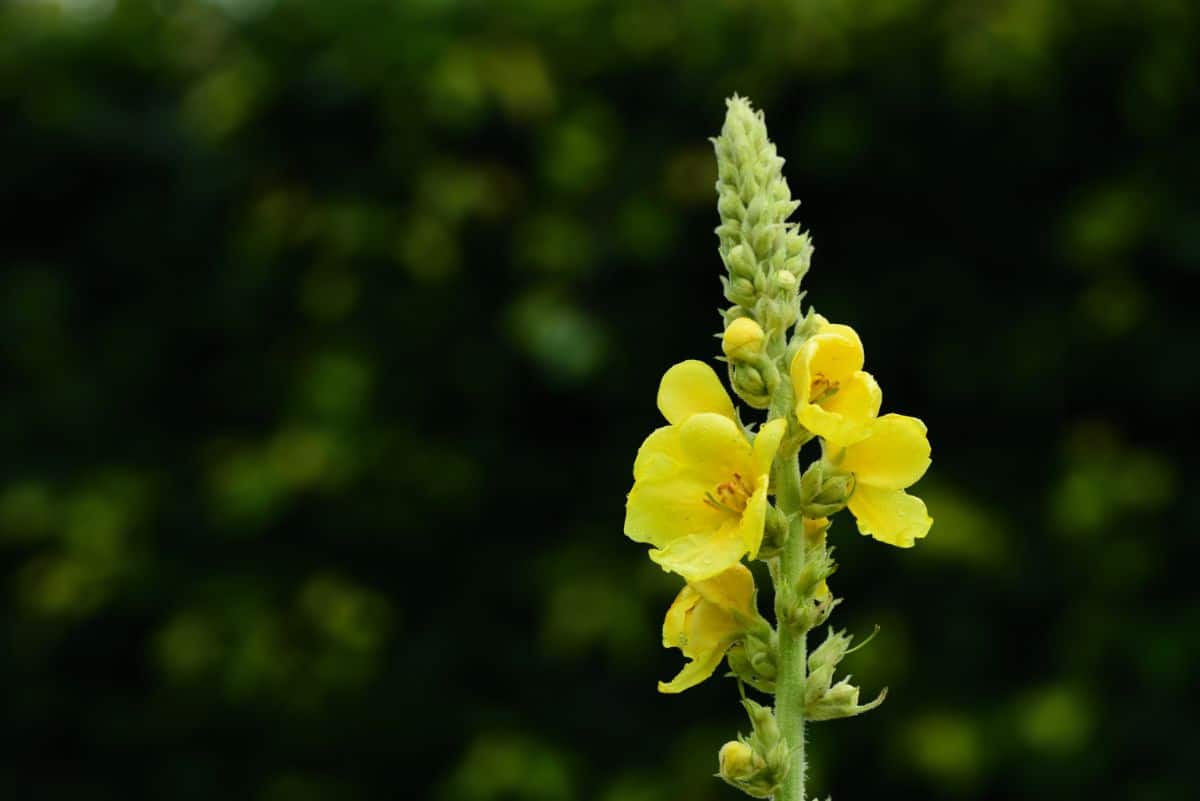
- Mullein
- Primrose
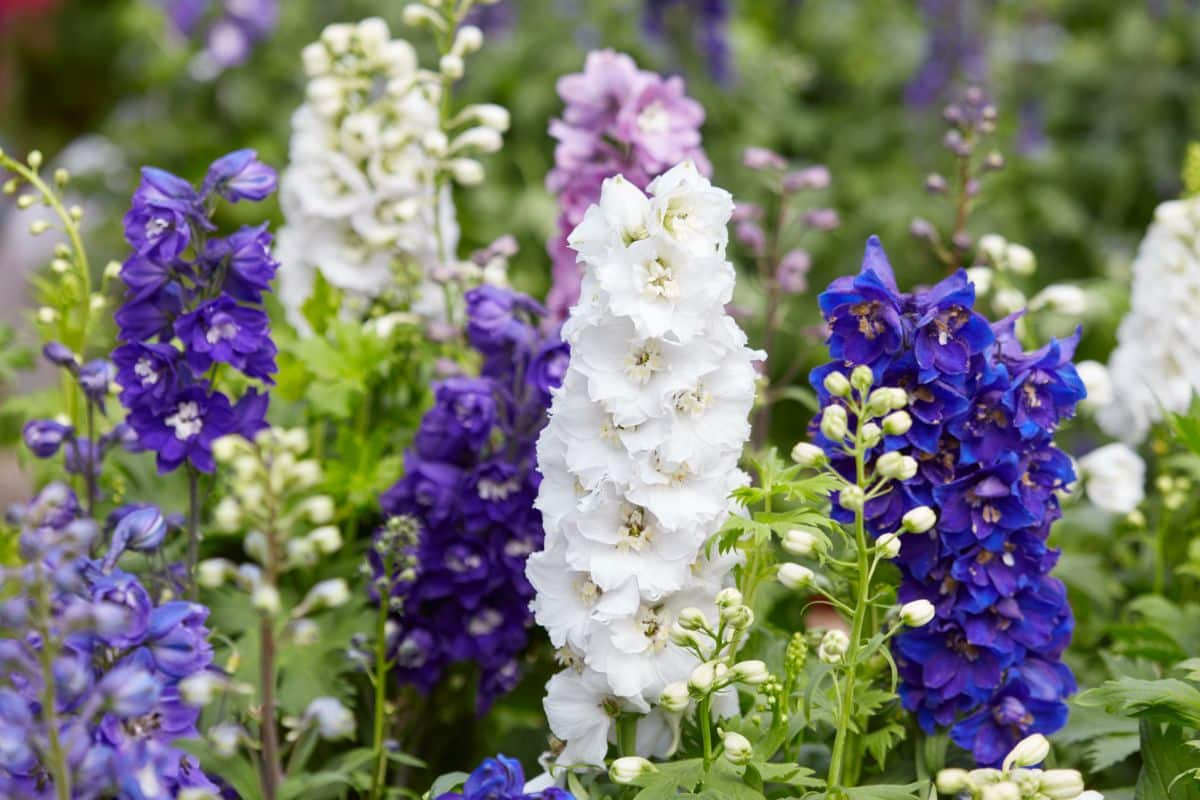
- Delphinium
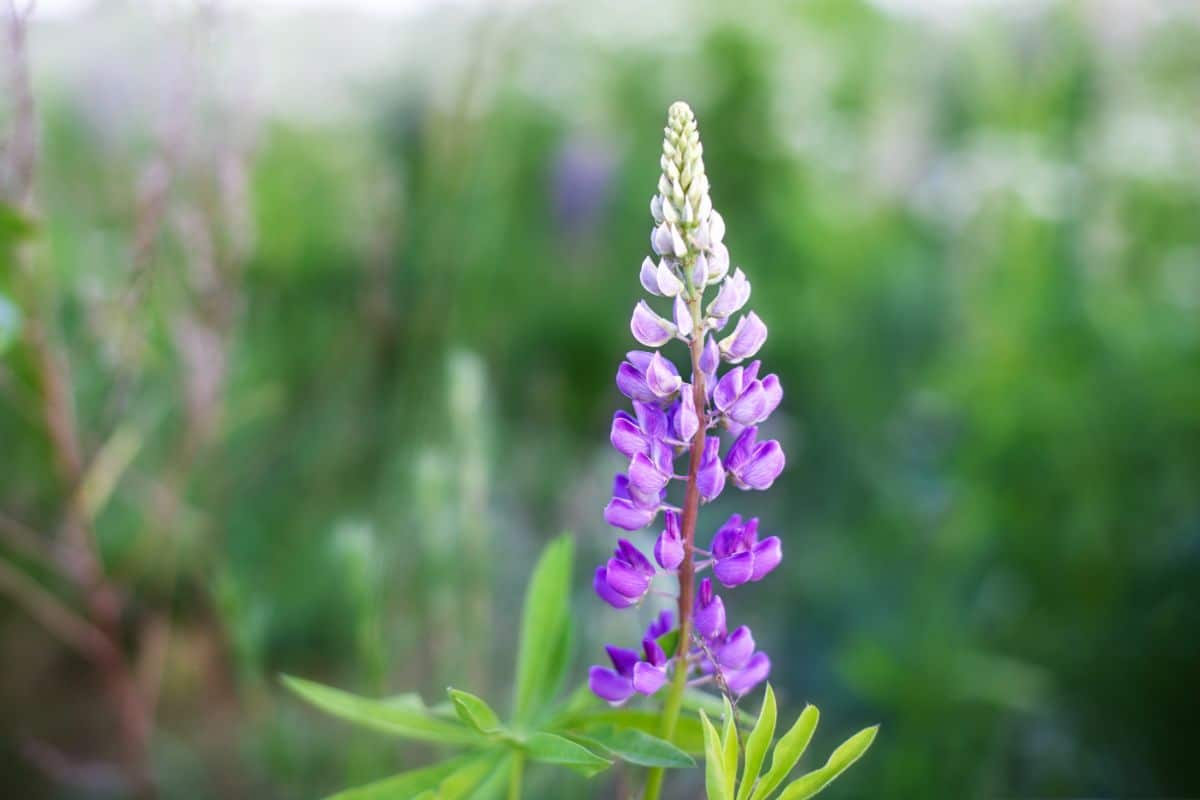
- Lupine
- Anise hyssop
- Scabiosa
Frequently asked questions
Cold stratification is best completed at cool, but not freezing, temperatures. Ideally, you’ll want to cold stratify seeds at between 34 and 41°F.
Different seed types may need to be cold-stratified for longer and shorter lengths of time; however, most seeds germinate successfully after 30 days of cold-moist stratification.
Freezers are too cold for stratification. Instead, seeds should be stratified in your refrigerator at a temperature between 34 and 41°F.
Many native wildflower seeds, like lupines, require cold stratification. Some culinary herbs, like rosemary and lavender, also have improved germination rates with this method. Medicinal herbs, like boneset and St. John’s wort, germinate better with this technique too.
You may still be able to sprout wildflower seeds without cold stratification, but germination rates will be much lower.
Most types of milkweed will grow better with cold stratification. While it is possible to grow milkweed without this method, germination rates will be much lower, and sprouting will often take longer.
Summary
Native flowers, medicinal herbs, and some culinary herbs may require cold stratification to germinate. Using the cool temperatures of your refrigerator, this growing technique mimics the natural seasonal changes that occur between fall and spring. This jump-start seed sprouting improves germination rates and allows backyard gardeners to grow a much wider range of native plants.
If you’re interested in growing a pollinator garden, medicinal herb garden, or replacing your grass lawn with wildflowers, you’ll probably want to employ cold stratification when starting your seeds. Happily, this method is very easy to do and will greatly expand the variety of plants you can grow!
We hope you liked this article. If you’re interested in growing native plants for your own pollinator garden, check out this guide on how to create a wildlife habitat for bees and butterflies.
Karen
It’s January, winter will last two more months can I just throw the seed on top of the snow for them to be cold stratified?
Mary Ward
There's a good chance that will work, but I would seed heavily because with the melting and runoff, the seeds may get washed away or eaten by birds mice, etc.
You can also set them up in baggies with moistened paper towels and put them in the fridge for the next couple months to stratify (they usually need the moisture so packets of seeds without the moisture often won't work).
A really good solution might be to winter sow them. That's your best option if you can plant them as transplants, but if you need to broadcast a large area, the snow might be your best choice. It's just the most unreliable because of the runoff and wildlife food potential.