Elderberries are a highly nutritious berry that has been up and coming as a top superfood. They are high in antioxidants, high in vitamins, and other nutrients and are being studied for their antiviral properties and health benefits.
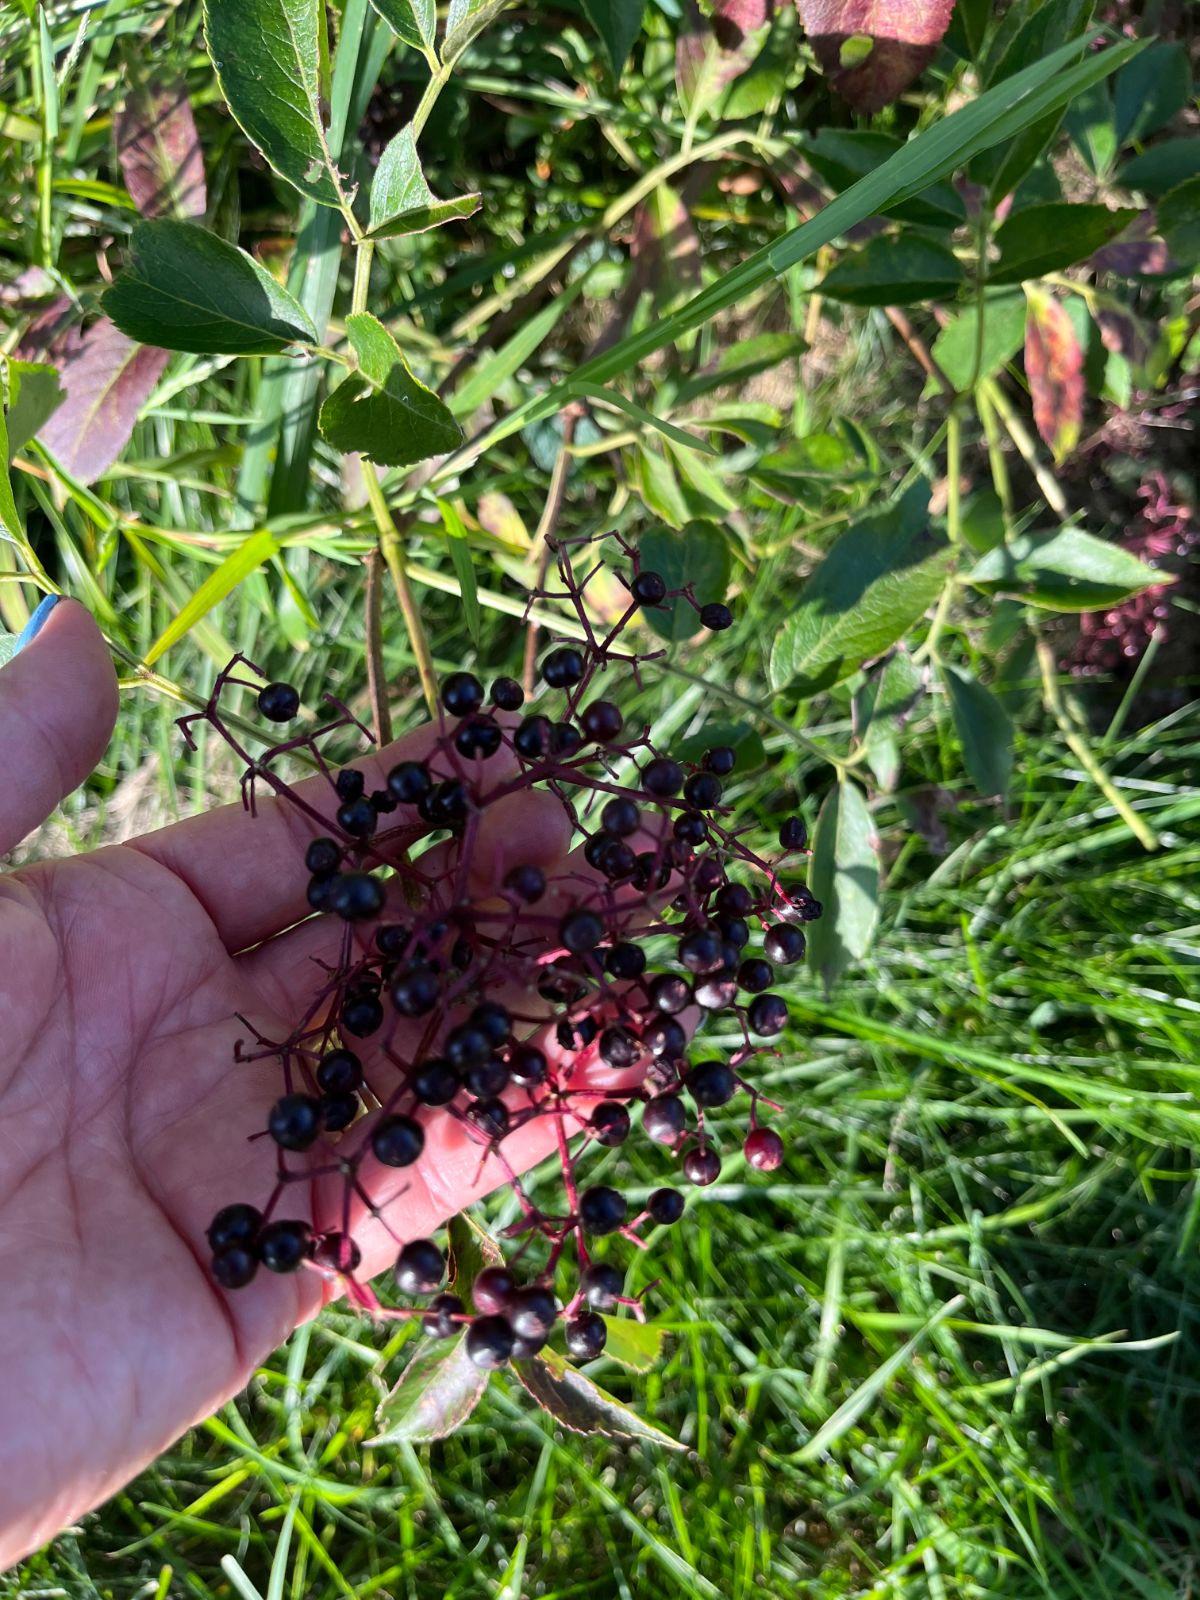
Many consider them to be not just a food but a nutraceutical—a nutritious food that has uses for health issues, too. A real win-win.
Lucky for us, elderberries are also something that can be grown, picked, or foraged at home and in the wild—quite easily. There are some key things to know about how and when to pick elderberries.
Jump to:
- Grow or Forage Your Own Elderberries
- Why It’s Important to Know When to Harvest Elderberries
- Timing to Harvest for Picking Elderberries
- Elderberry Harvests by the Calendar
- From Flower to Berry – Young, Unripe Elderberry
- From Berry to Ripe Elderberry
- Start to finish Blossom to Berry
- How You Know When Elderberries are Ripe and Ready
- Elderberries Don’t Always Ripen at the Same Time on the Same Bush
- How to Pick the Elderberries from the Bush
- Pro-Tip: Use 5-gallon Buckets Lined with Plastic Bags
- De-stemming Elderberries
- The “Float” Method of Cleaning Elderberries
- Packaging and Saving Up for a Big Berry Project
Grow or Forage Your Own Elderberries
More and more people are propagating elderberries in their own backyards. As popular as elderberries are becoming (and they’ve been a staple for years in traditional cooking and are a regular dietary staple in many countries), they are not easy to find for sale in local markets. You’ll almost never find them in grocery stores unless you buy dried elderberries (even then, you’re more likely to have to order those online).
The reason is simple—elderberries don’t stay on a shelf or in the refrigerator well like other fruits and berries do. This means that growing or picking your own elderberries is the best choice for fresh, abundant elderberries.
It has become easier to buy elderberry bushes online. Elderberries have become more available in brick-and-mortar stores and garden centers, too. They are also easy to propagate from plant cuttings and wild foraged bush cuttings.
For fresh elderberries, growing or foraging for wild berries is definitely the way to go. But if you are growing or foraging for elderberries, it is important that you know the right time and the right way to harvest them.
Why It’s Important to Know When to Harvest Elderberries
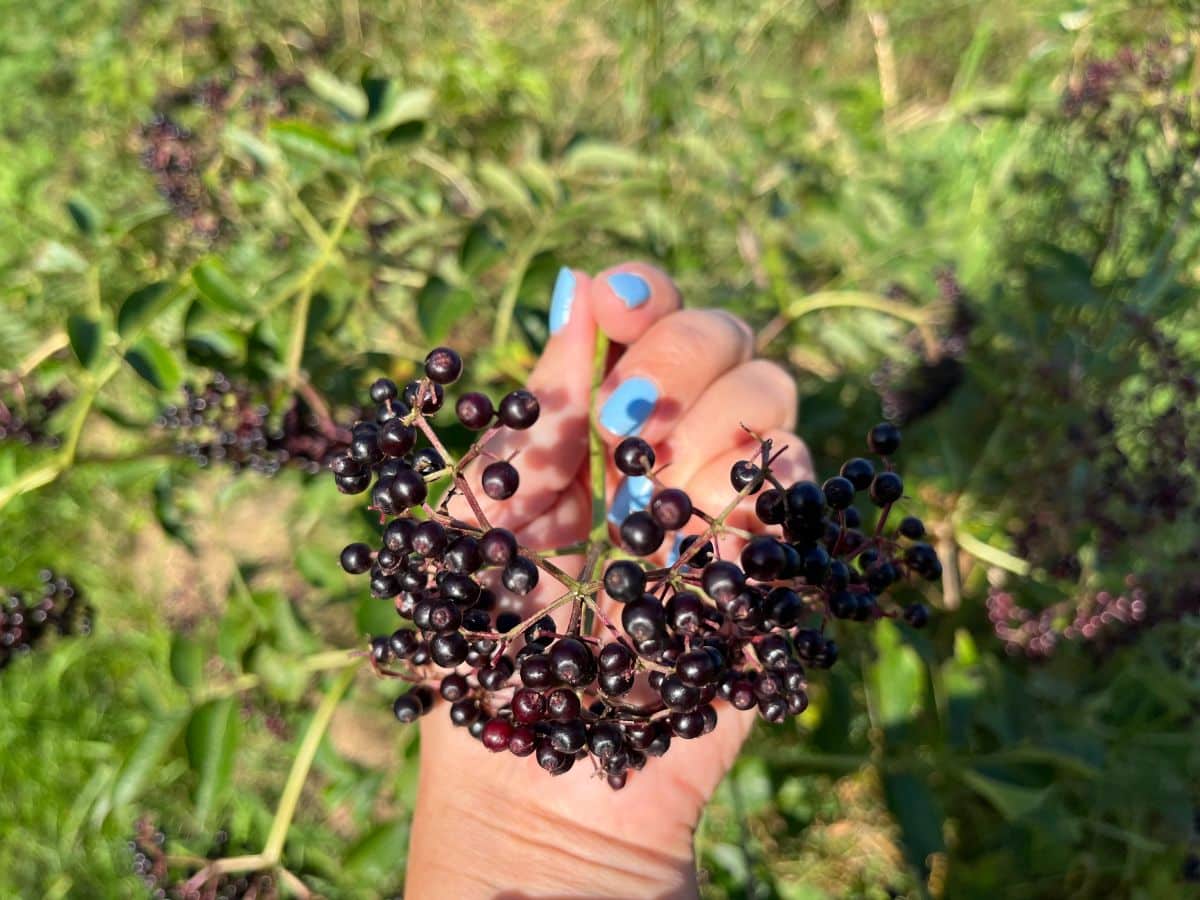
Elderberries are not like other fruits that can ripen off the vine.
Elderberries will not ripen after they are picked.
And underripe elderberries aren’t good for much. Underripe elderberries also do not have the deep purple color and the high antioxidant content of berries that are ripe and ready. These are the key features that make them so healthy and that give them their antiviral properties.
That means you’re not getting the flavor or the higher nutrition and benefits of the berries if you pick them too early. So, you want to know what to look for, and you want to know when to pick.
Timing to Harvest for Picking Elderberries
Unfortunately, there is not a single window of time down to the day when you will know when to pick your elderberries.
There are a lot of variables, like weather, growing conditions, and a variety of types. But you can get a good idea of the span of time and window from blossoming to berry. Knowing that will help you to at least know when to expect the berries to be ripe so you can start looking.
Elderberry Harvests by the Calendar
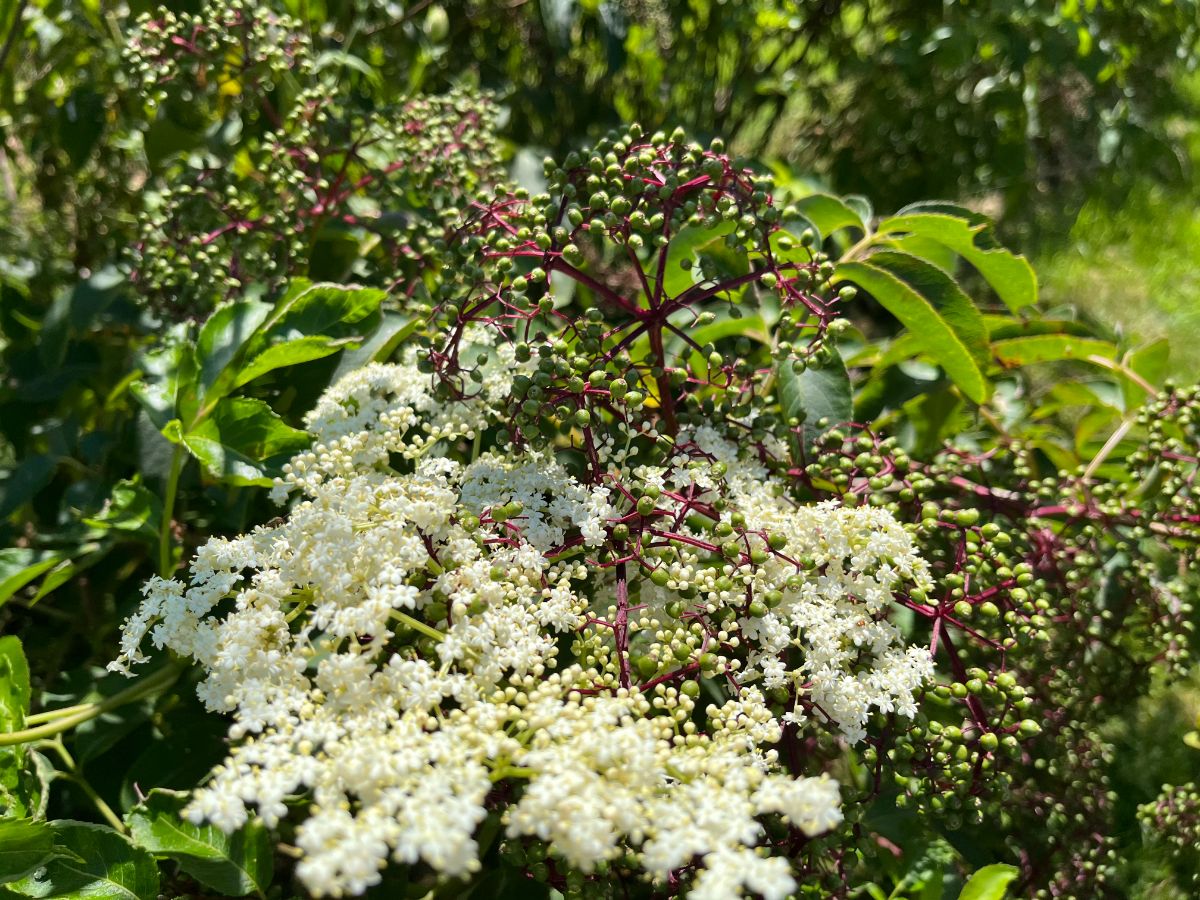
You can get a general idea according to the calendar. Even though the date range for ripening can change by a week or two, there’s still a general window when you should start watching.
July to September is the most common range of time on the calendar when elderberries are ripe and ready for harvesting. However, this varies by region and location.
People in southern locations are often picking ripe elderberries as early as June, while people in the north are only seeing elderflower blossoms that early. Southern elderberry bushes may be in flower as early as April or May.
You’ll want to chat with some locals and collect what information you can to find out more about the elderberry flowering, berry set, and ripening cycle where you live. There is an excellent elderberry group on Facebook with members from all over the world. This is a good place to learn more about the elderberry season in different regions or to ask questions of experienced growers.
Make a mental note—or a real, written note—of when you harvest your elderberries each year. This will help you watch and plan, and be ready in forthcoming years. Once you have the timing down for the plants you pick from, it shouldn’t vary by more than a week or two from year to year.
From Flower to Berry – Young, Unripe Elderberry
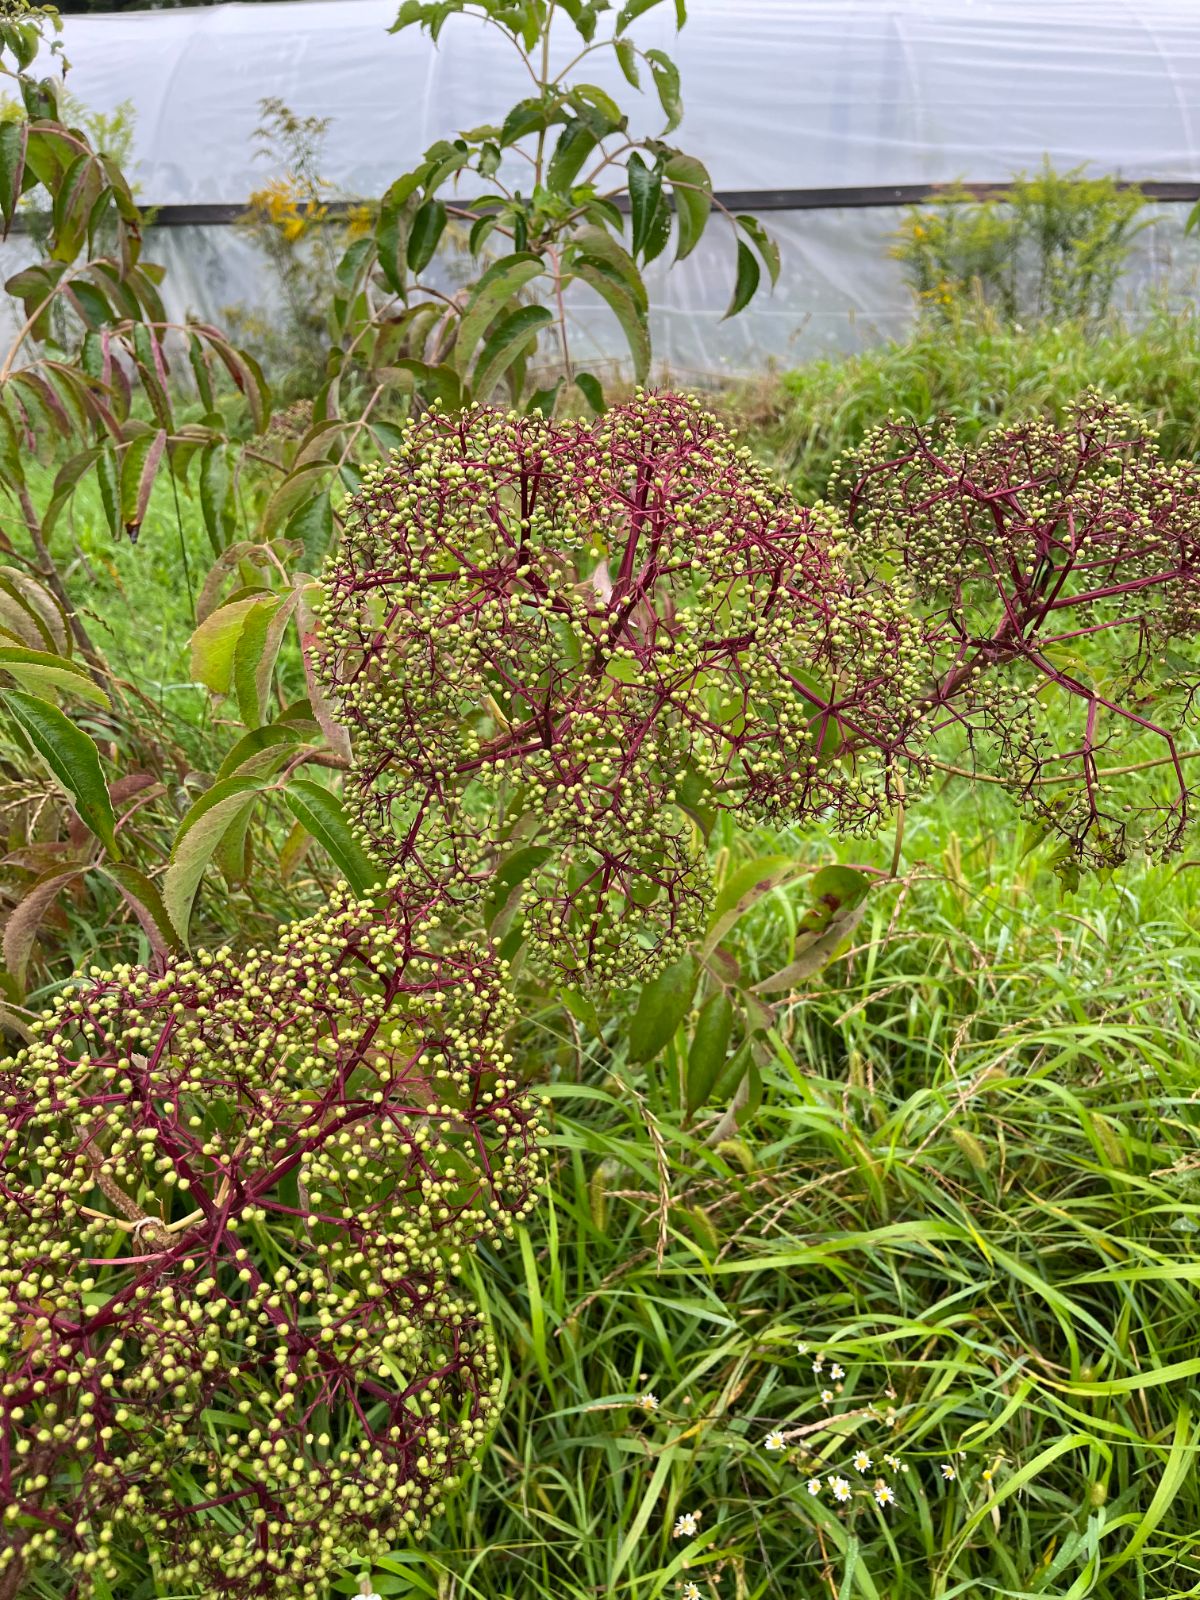
Elderberries are easiest to spot when they are in bloom, which happens roughly six weeks before berries are ripe. If you start looking for wild berries to forage, or you start noting when your cultivated bushes are blossoming, you have a rough idea of when you should start looking for ripe berries.
Again, though, this varies by the weather and amount of sun the bushes get, by variety, and other factors. From the time you see elderflowers, you should see hard, firm, fully formed, but unripened berries in about four weeks.
Then, you need to start watching the berries for ripening.
From Berry to Ripe Elderberry
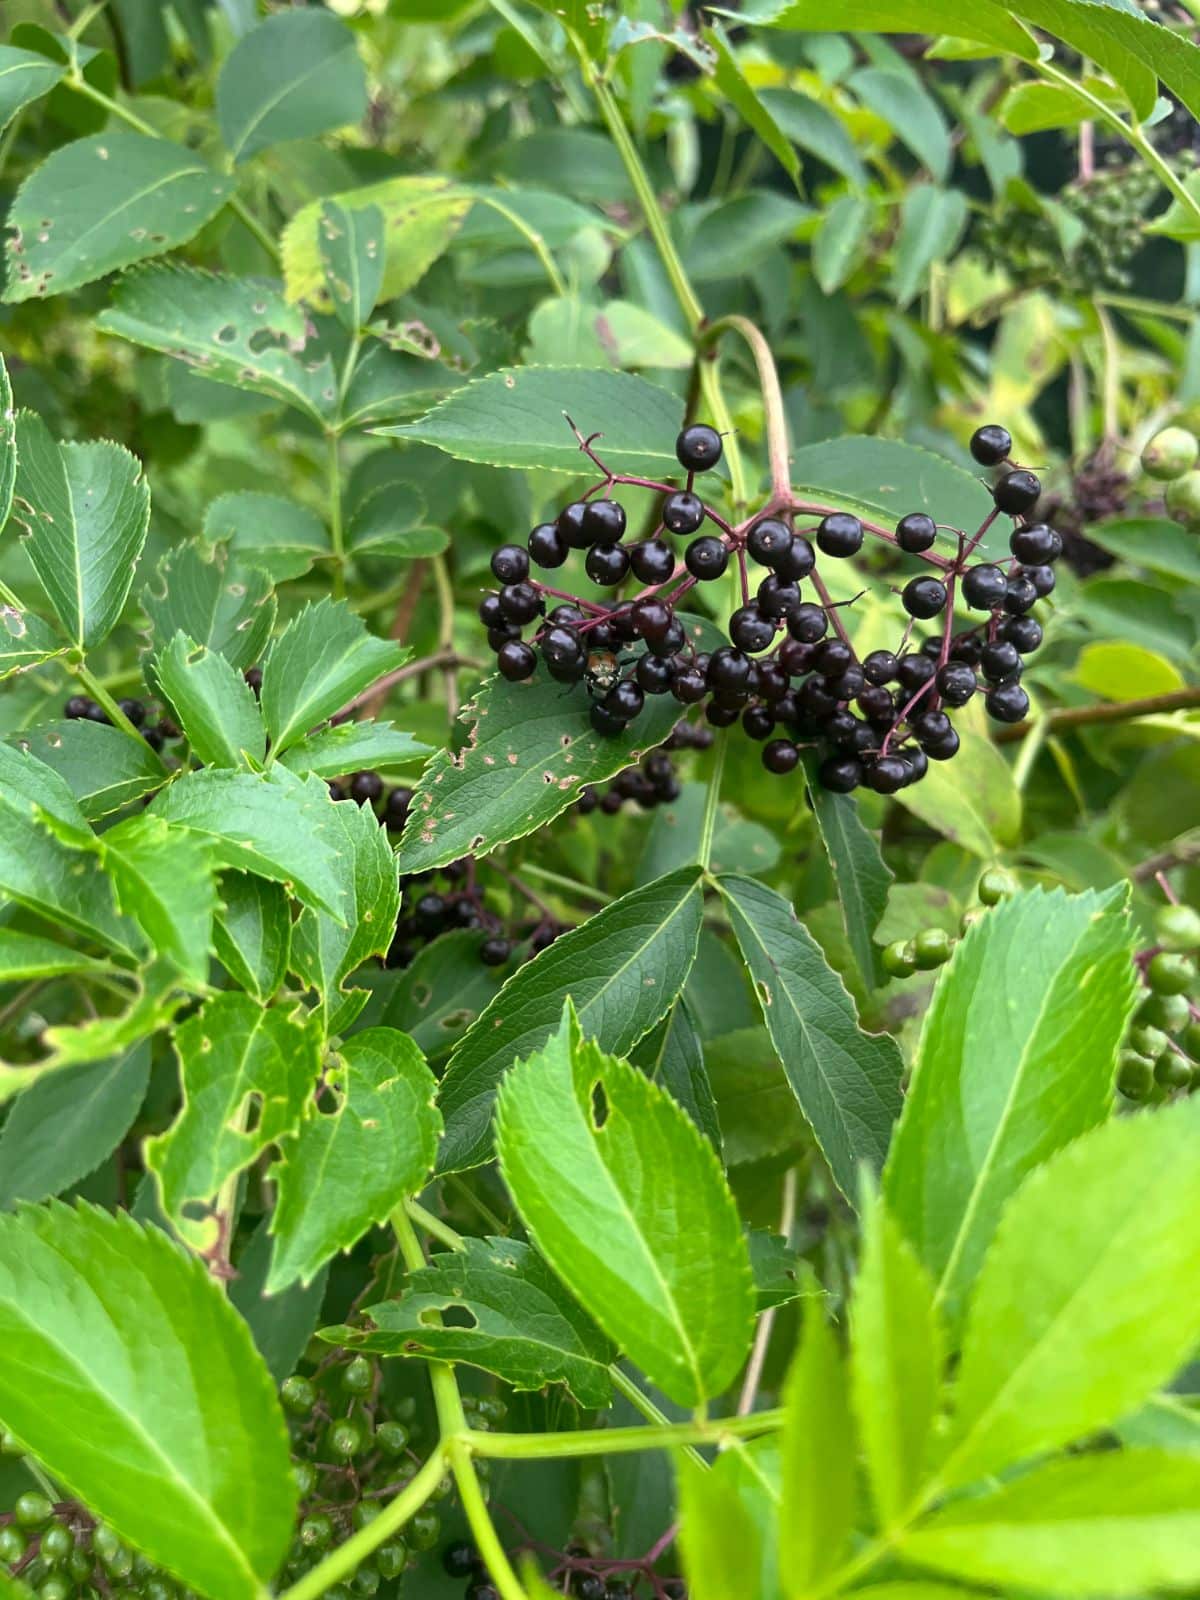
Once the berries are formed—as in large enough to be recognizable as berries, it will take several weeks before they are ready to pick. This will vary depending on how much sun the bushes are getting, among those other factors we’ve mentioned. Sunlight is a big one. Water is, too.
Another big deciding factor is the variety of the berries (or if they are native wild bushes, what is typical for native bushes in your area).
In general, once the berries are fully formed and they start to show signs of turning color, you will probably be harvesting your berries in about two weeks’ time.
It can take longer, or it may be shorter, but two weeks is about the average. It’s smart to start watching your berries closer and taking a peak every two or three days once color starts to appear in the green bunches. On many varieties, the stems will take on a purple color first, which works its way up into the elderberries.
When you see color in the stems and berries, start checking for full ripening in two weeks, but know that it can up to three weeks or more. The trick is to watch and observe almost daily at this point.
Start to finish Blossom to Berry
What’s the bottom line for how long it takes elderberries to form and ripen?
Timing it from the time you see elderflower blossoms appear, it will be as little as four weeks or as much as eight weeks. Four to six weeks is more the norm.
How You Know When Elderberries are Ripe and Ready
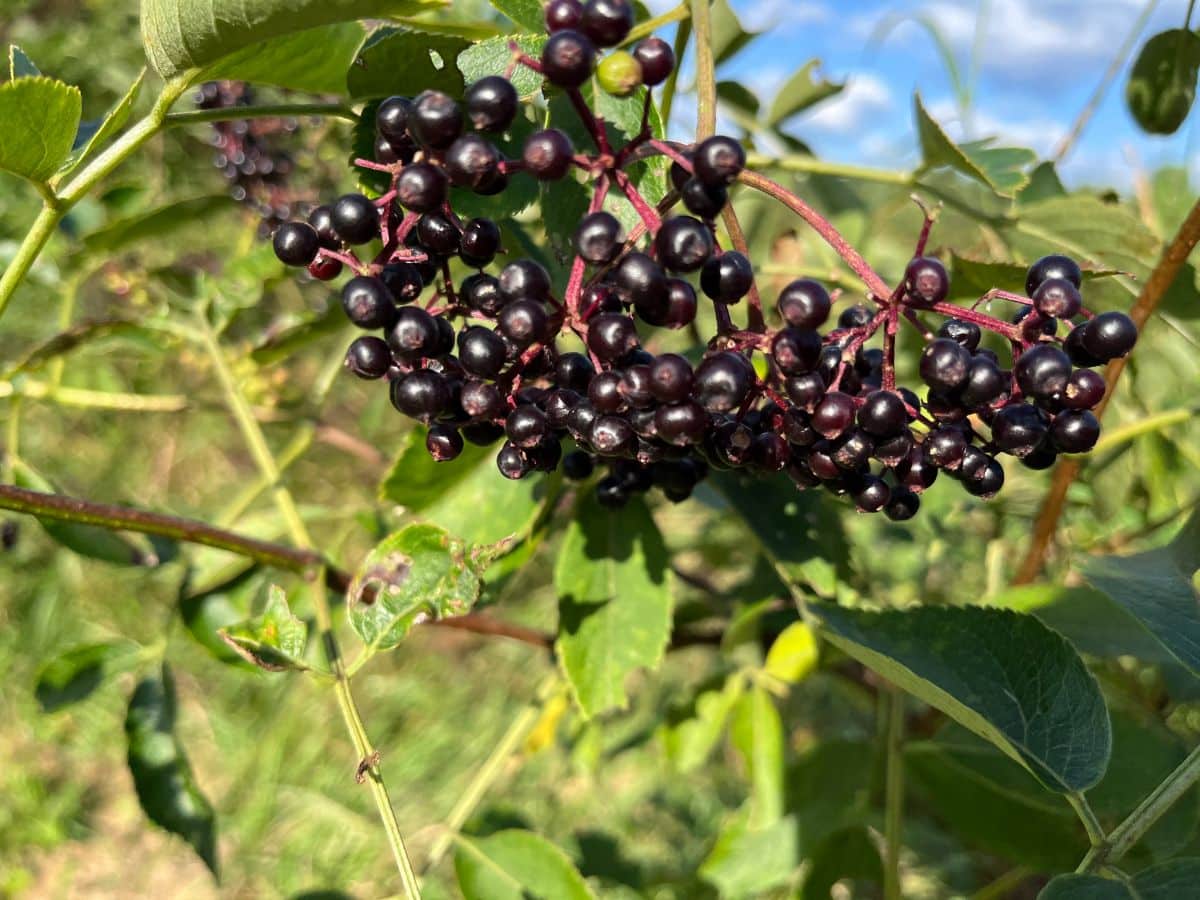
This is the real key to a successful elderberry harvest: Knowing when the berries should be picked.
You do not want to pick elderberries too early. They can’t continue to ripen. They are lower in flavor and value, and the less ripe the berry, the more “green goo” you get in pans and pots when processing.
Here is what you need to look for to know your elderberries are ripe and ready to pick:
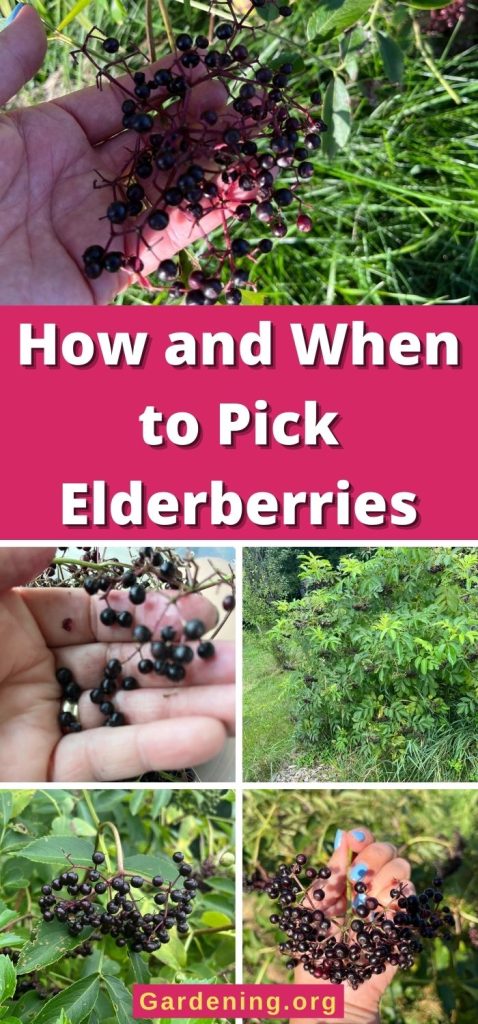
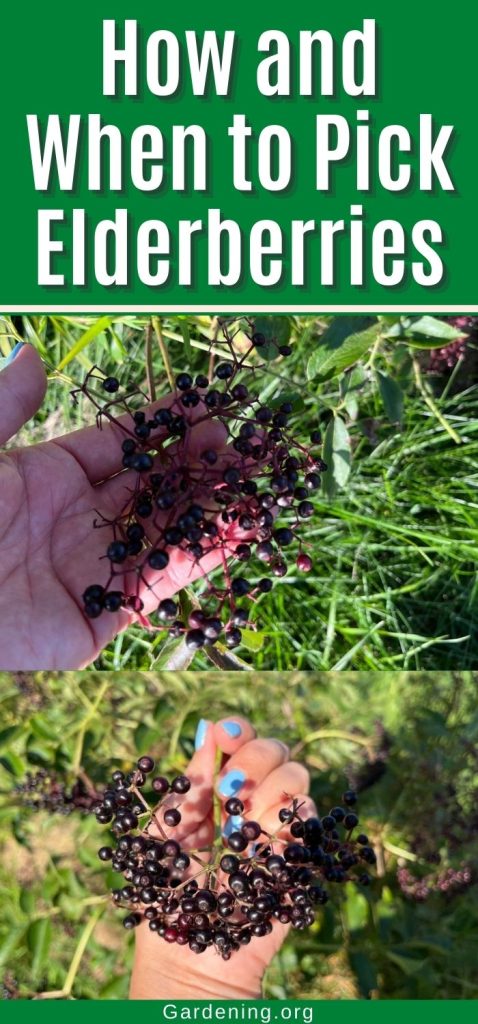
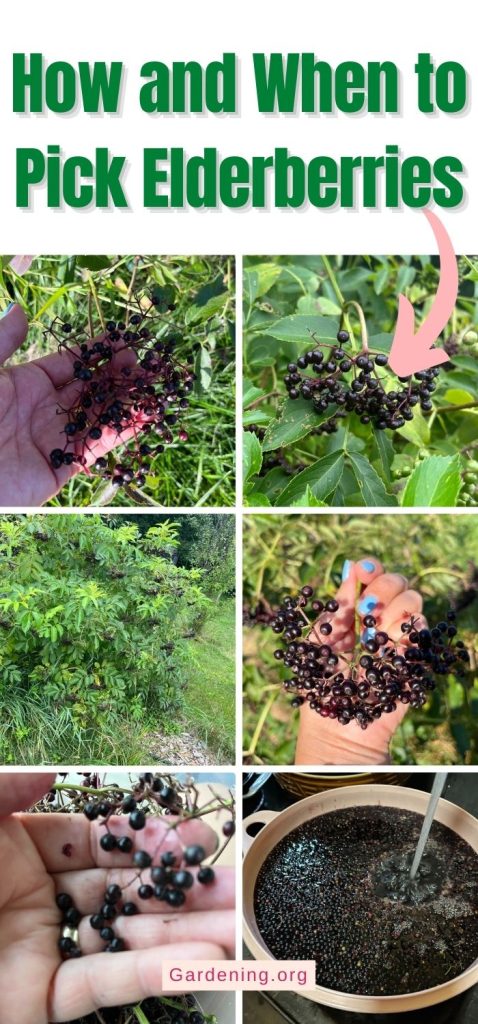
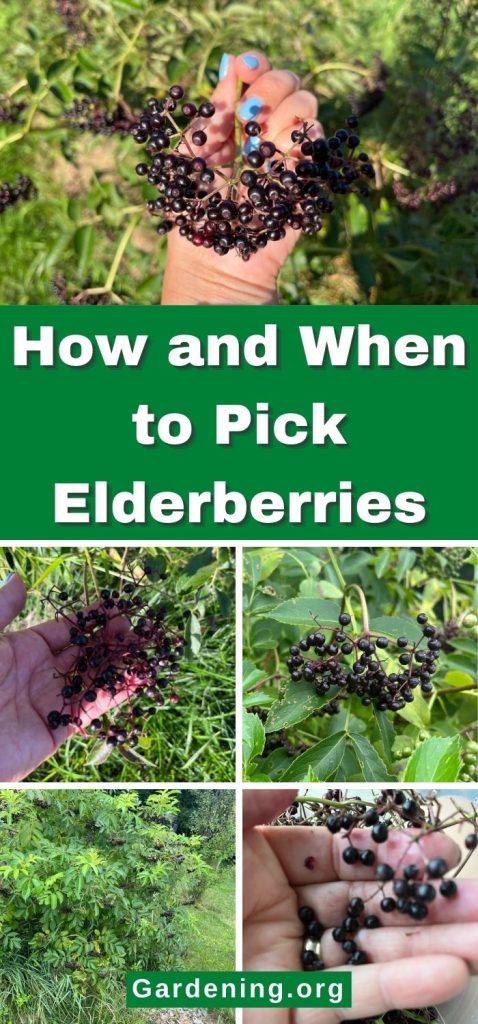
- Clusters of elderberries (called umbels) that are heavy when you lift up on them. This will be obviously different from unripe umbels.
- Umbels that are mostly uniform in color
- Berries that are a dark, deep purple color
- Do not pick berries that are still reddish in color—wait for them to darken to an almost black-purple
- Umbels that are ready to pick won’t usually have green or very light berries among them, but you might get a few. If most of the umbel is dark purple, pick it. You can sort out the green and unripe after.
- Berries should be plump and soft enough to be squished between two fingers when ripe. They will have some firmness and shouldn’t be falling apart in your hand.
- If you squeeze a few unripe, underripe, and ripe elderberries, you’ll soon know the difference. Even underripe but colored elderberries will be fairly hard.
- Berries should leak juice when squeezed
- Juice should be dark and purple in color
- Umbels that are ripe and heavy and ready for picking will tip, bend over, and hang down on the bush upside-down. However, there are exceptions. Some varieties stay upright, and the clusters may not bend much, if at all. You’ll find this more often on bushes with smaller clusters. It’s more common in wild varieties.
- You can use the orientation of the clusters as a sign to watch for ripening and harvesting. When you see clusters start to bend over, you’ll know they are getting swollen and heavy with juice, which is a sign they are getting closer to ripening.
A summary of when to pick elderberries:
Pick elderberries when the clusters are mostly uniform in ripening, umbel clusters begin to hang upside down, weighing the stems and branches, and the berries are dark purple-black in color. Berries should release purple juice when squeezed.
Elderberries Don’t Always Ripen at the Same Time on the Same Bush
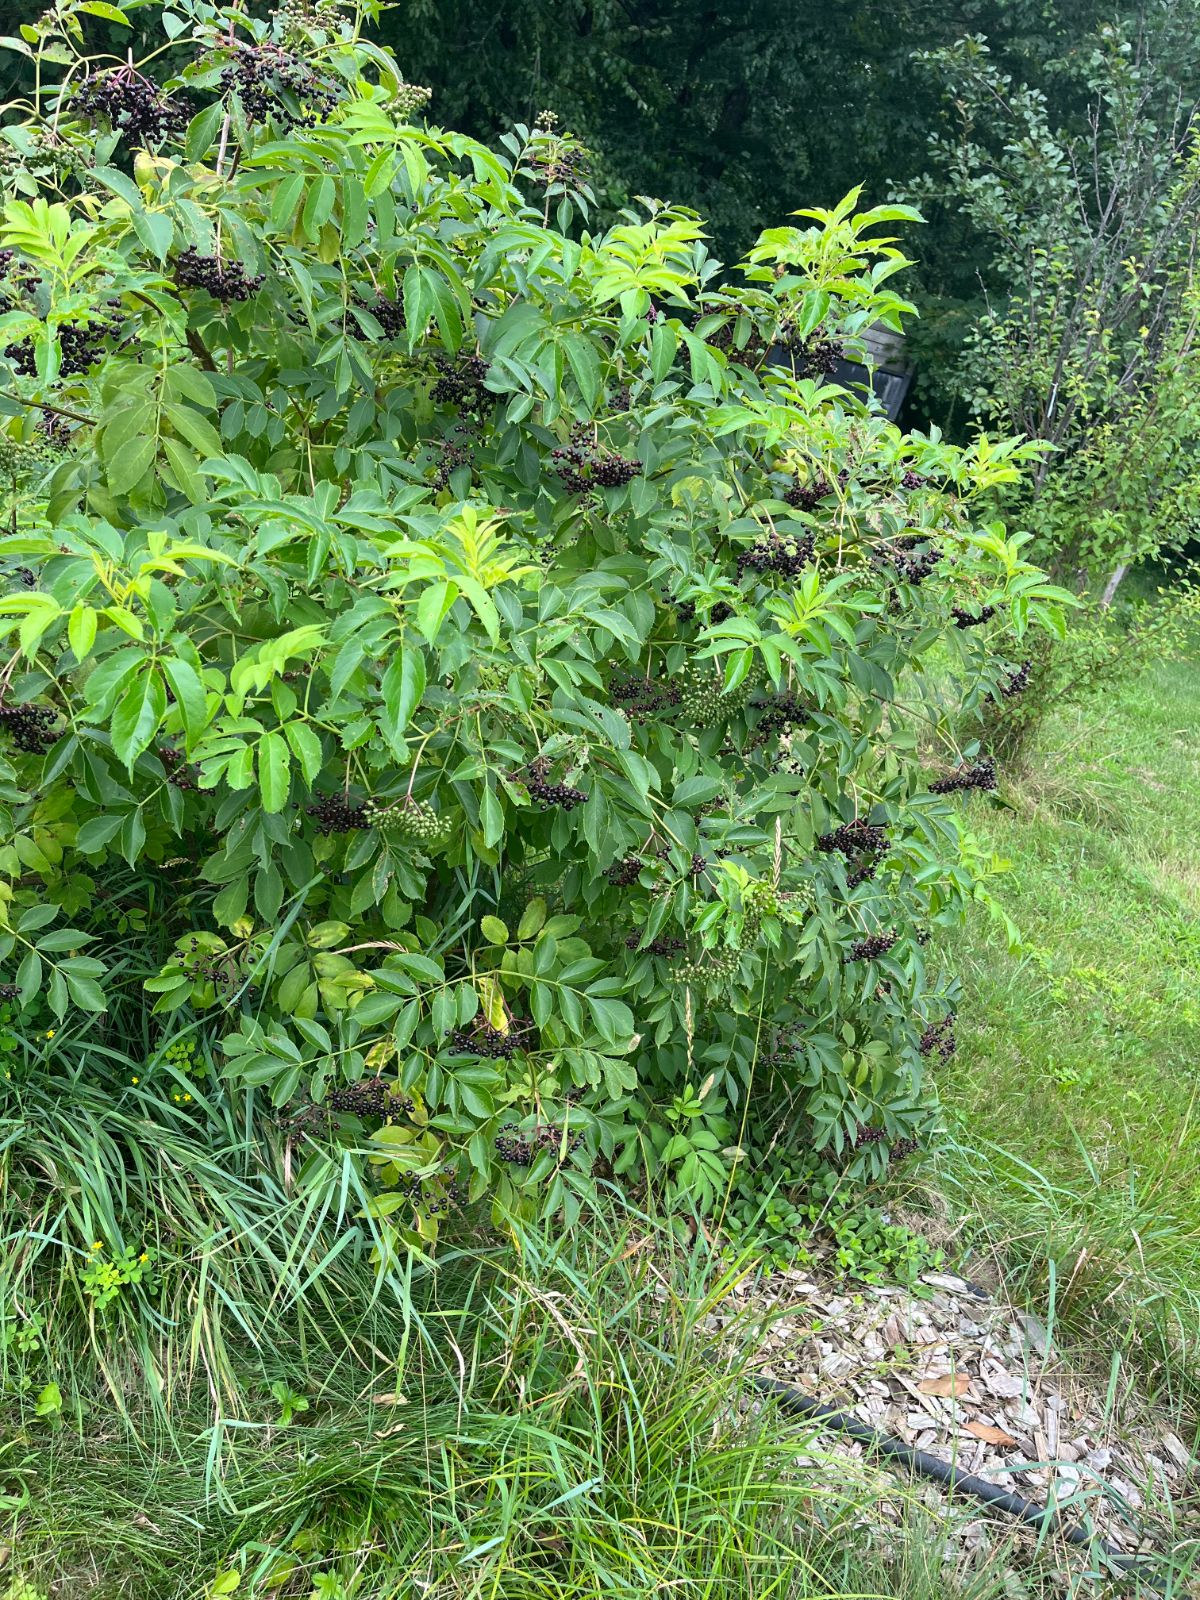
Elderberries, by their nature, are indeterminate, like an indeterminate tomato bush that keeps growing and ripening tomatoes over a long period of time. This is a natural mechanism to keep propagating the species and hedging against disasters caused by storms, wildlife, et cetera.
This means that you can have elderberries that are ready to harvest on a bush, and you might have other clusters that are in varying stages of ripeness. You might even have elderflowers on the bush while there are berries that are ripe and ready.
If you come across this while you are picking or foraging, don’t feel like you need to second guess yourself. It’s perfectly natural. Pick the clusters that are ready and leave the rest for another day.
You can decide whether to leave the flowers on the bush or pick them. Often, late-season blossoms won’t have enough time to complete a ripening cycle, but the elderflowers themselves are useful for things like fritters, tea, infusions, and baking.
Most often, you’ll find bushes with clusters of berries that are mostly all ready and some clusters that are lagging behind. Pick what’s ready, and if there are enough clusters still coming along, return to the bush in a couple of days to see how they’re progressing. But again, don’t bother picking unripe or underripe berries. It’s just a waste.
How to Pick the Elderberries from the Bush
Now that you’ve decided to pick your elderberries, you’ll want to know the best way to do that. It’s simple.
We don’t pick elderberries like other types of berries. By that, what is meant is that elderberries are not picked berry-by-berry, one at a time. That would take forever.
When you pick elderberries, pick the whole cluster by going just back to the single stem and pick the whole stem and umbel (cluster).
You can use scissors or small garden clippers to do this. Children’s scissors are inexpensive and work really well for this. There is also a little thumb knife gardening tool that is designed for harvesting stems of things like elderberries and grape clusters.
A lot of experienced elderberry harvesters get really good at just snapping the stem at the natural joint and not using any equipment at all (but this is something people often graduate up to).
Each cluster of elderberries will be made up of small clusters connected to a middle stem, which goes back and all connects at a central point on a main stem. The stems are firm and green, just slightly woody.
That main stem will be connected to the main branch at a single point. It’s about three to five inches back on the stem. There is a joint at that point that is easy to snap once you get the hang of it. This is the fastest way to pick elderberries.
Harvest whole clusters of elderberries and drop them into a bucket or a bag. Don’t worry about de-stemming now. That comes later.
Pro-Tip: Use 5-gallon Buckets Lined with Plastic Bags
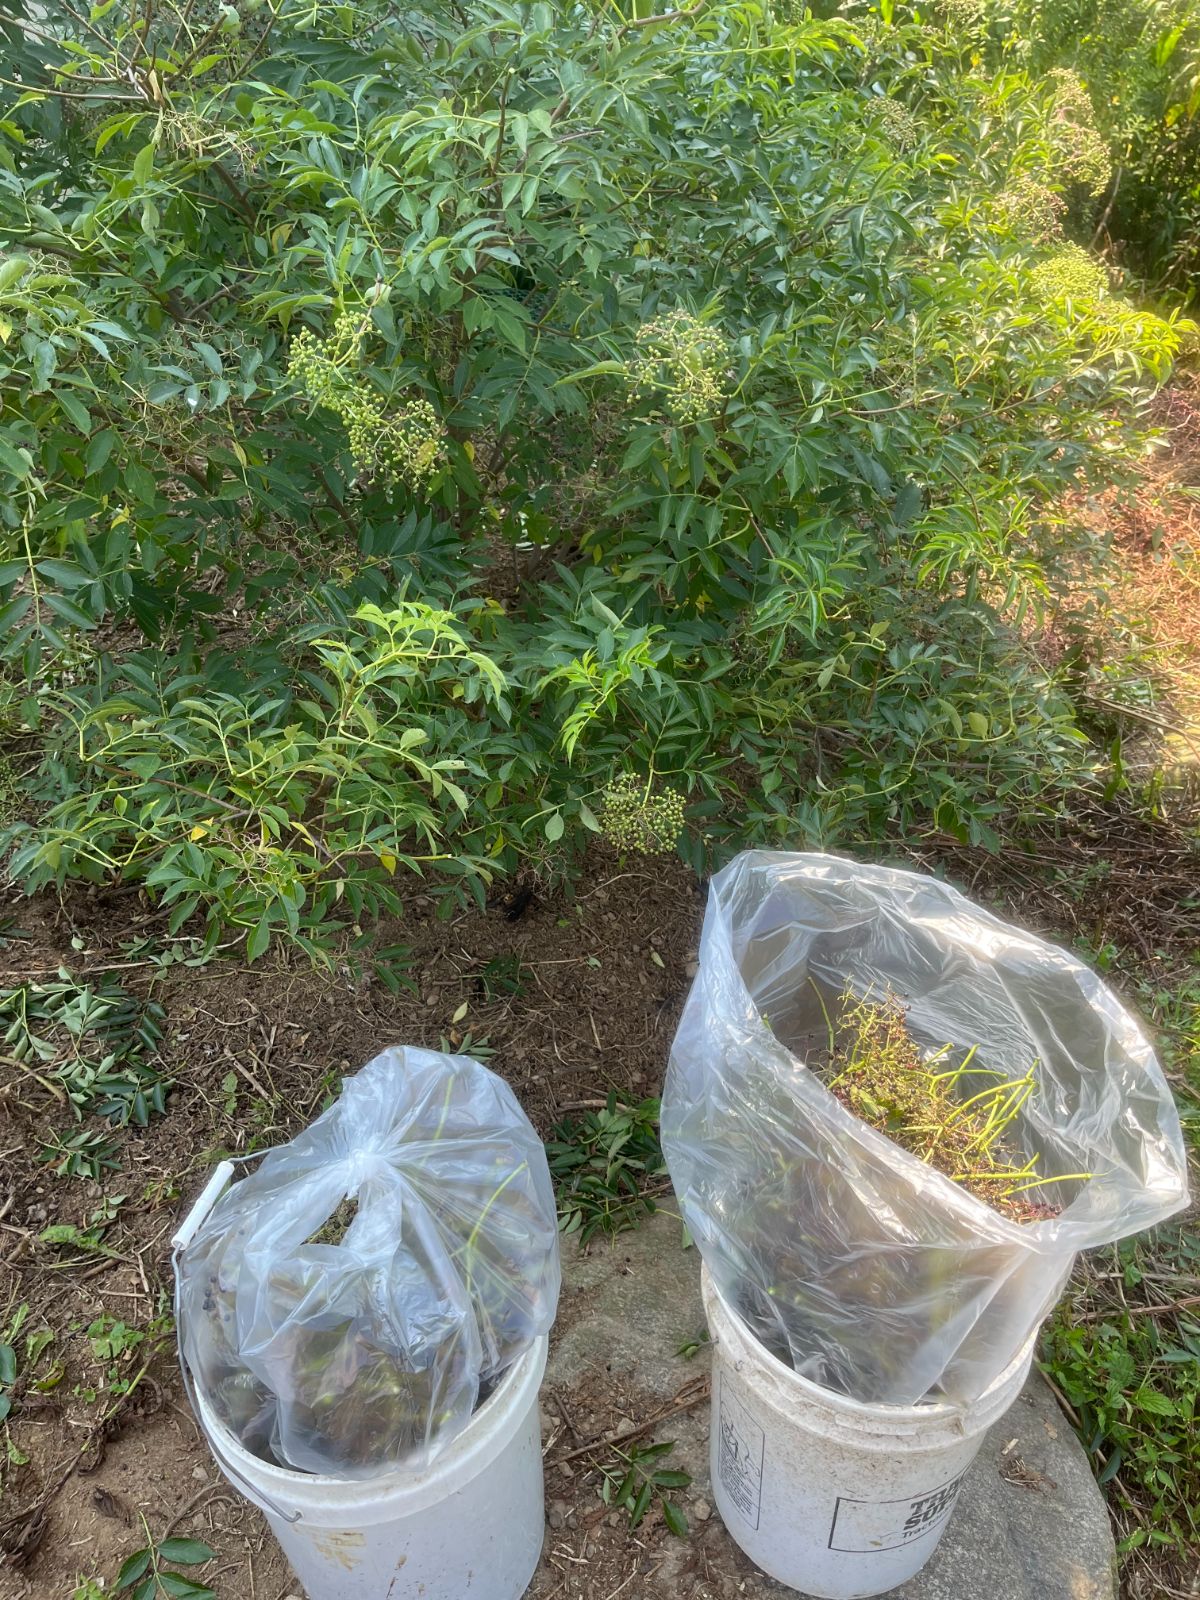
The best vessel to pick into is a five-gallon bucket. Even better is a five-gallon bucket lined with a small kitchen trash bag. That way, you can tie and close the bag when it is full, put another bag in, and keep picking.
Before you leave, put several unopened bags in the bottom of the bucket(s). Open one bag and line the bucket, pick into it until full, then remove and place a new bag to continue picking.
When you get back home with your bags, put them in a refrigerator while you start working through the berries to destem them. If you can’t fit them all in your fridge, at least get them out of the sun and somewhere cool.
Here’s another pro tip: Take two pails—you'll want them! When the picking is good, you can easily fill a five-gallon pail or more from one bush. When the berries are ripe, the picking is usually good.
The five-gallon bucket will sit easily while you pick and is more stable than a paper or plastic bag. One thing you do not want is to spill the rewards you’re reaping!
De-stemming Elderberries
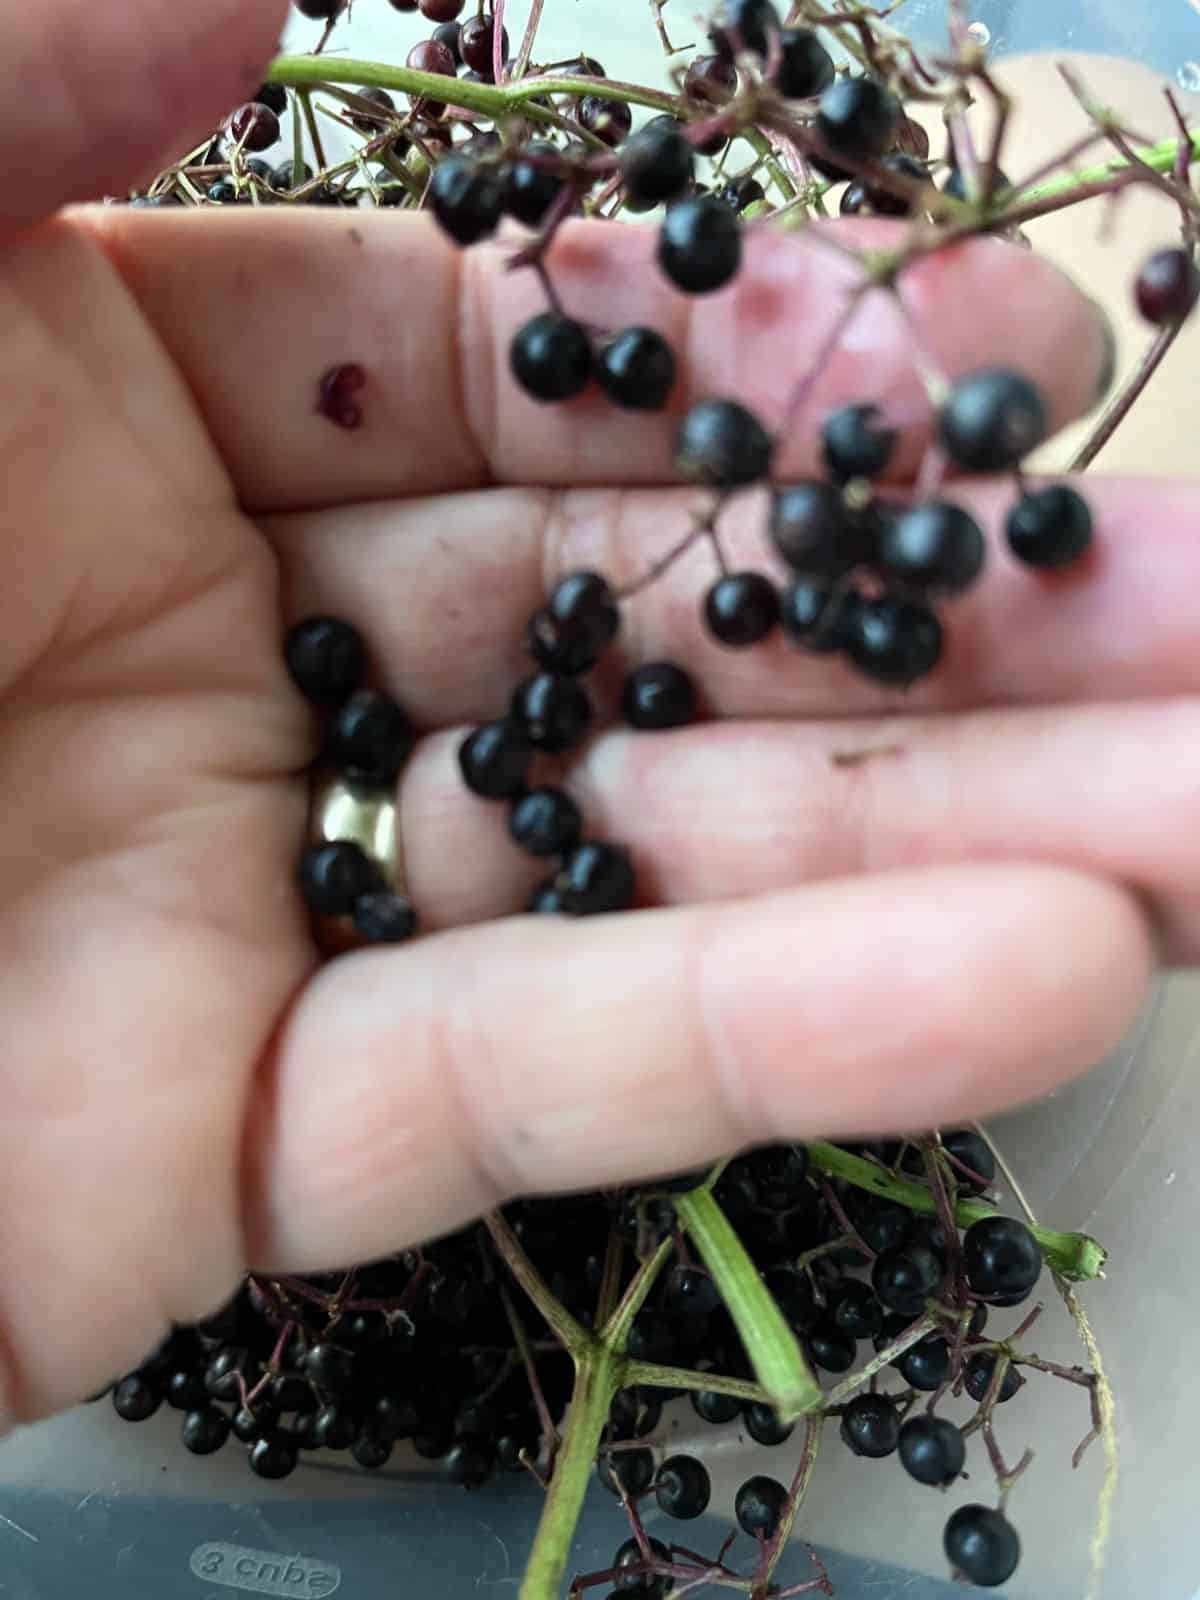
Start destemming your elderberries as soon as possible. The longer you wait, the harder it will be. Elderberries also begin to deteriorate quickly, even when refrigerated. You should plan your picking time to destem immediately after picking, and definitely within a window of 12 to 24 hours.
There are a few different methods for destemming elderberries. Which is best can depend on how you want to use the berries.
If you are making wine or jelly and it doesn't matter if the berries burst before cooking, the freezer method is not a bad way to go. But you have to have enough freezer space to use, which can be a problem with large harvests.
If you want to use the berries fresh or dehydrate your elderberries, you’re better off destemming them from fresh, either by the fork method, by hand (similar to the fork but with your fingers), or by running the berries over a cooling rack or hardware cloth placed over a bucket or bowl.
The freezer method and the screen method will leave more tiny stems in the berries than the other two. If you want cleaner berries with fewer stems (usually what you want if baking, making jam, or dehydrating), these aren’t the best and cleanest methods.
If you are destemming by freezing, you should wash your berries first. Otherwise, wash after destemming.
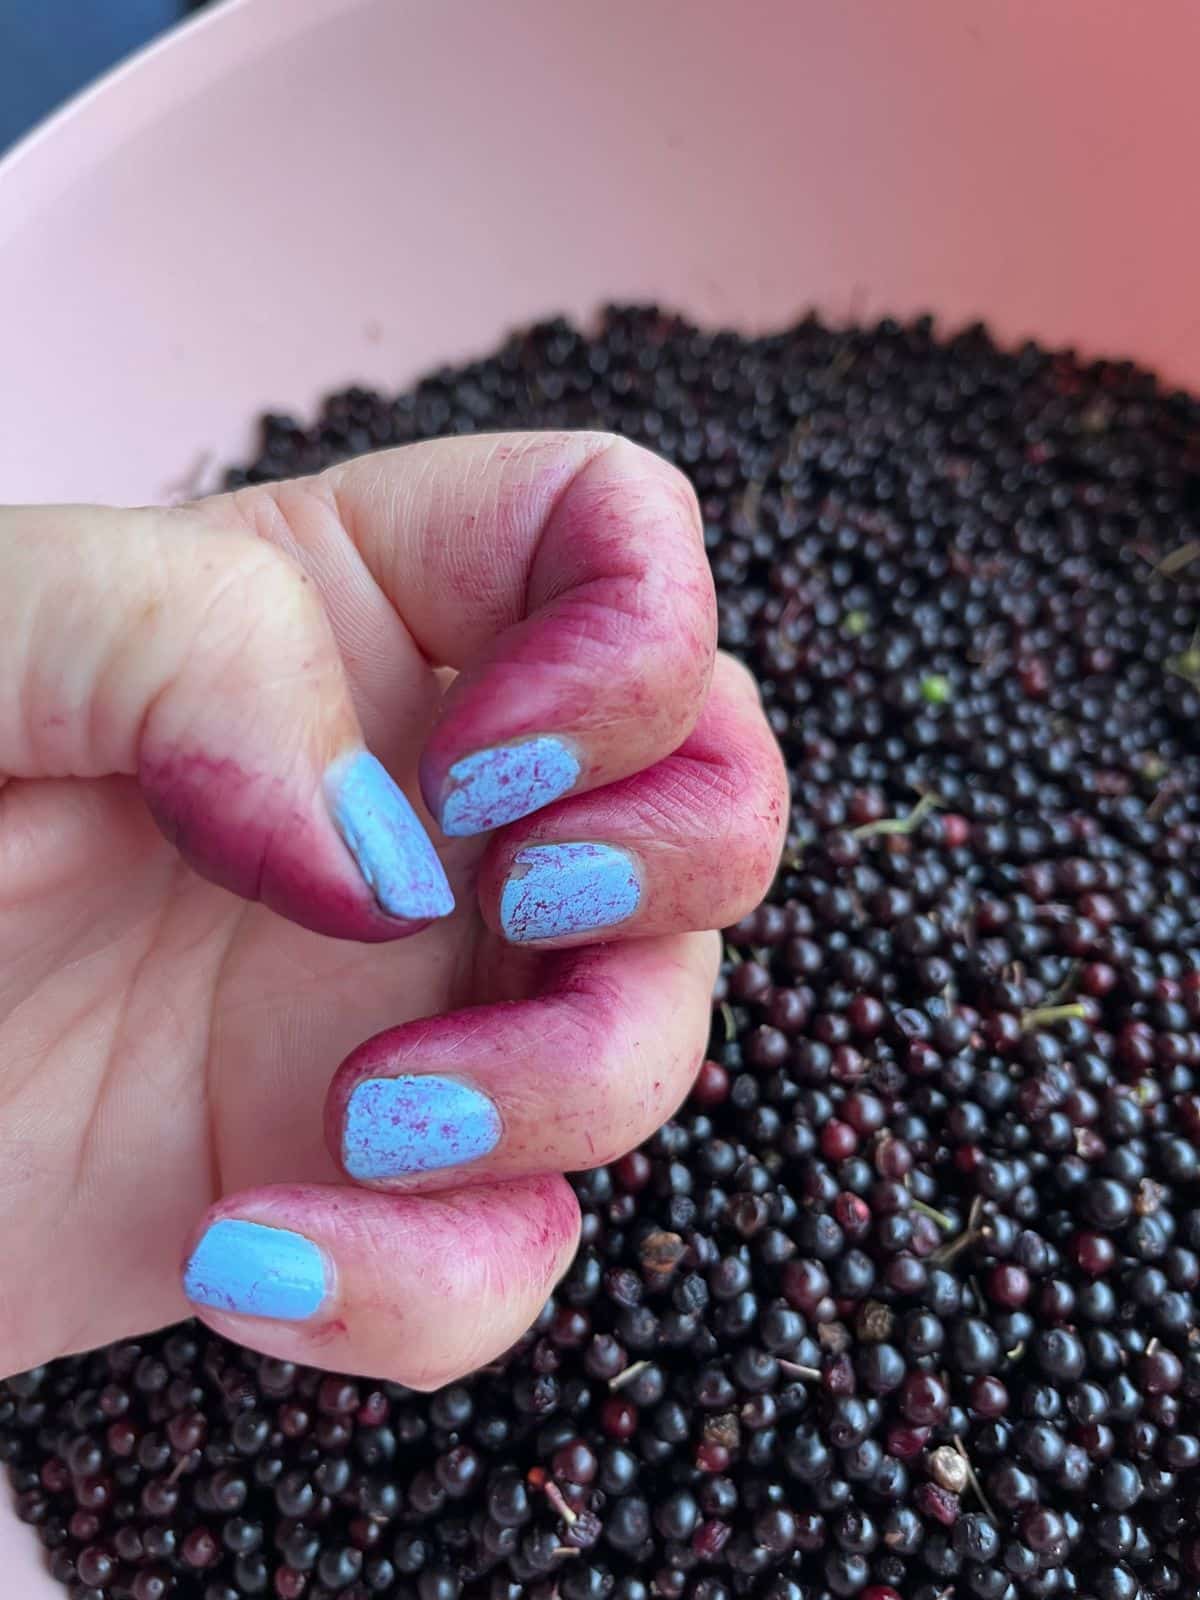
The “Float” Method of Cleaning Elderberries
Washing elderberries is easy. A good option is a vinegar and water wash.
If washing whole clusters to use the freezing method of destemming, fill your wash basin and swirl the clusters around to remove dirt and insects, then lay them out to dry before freezing.
The “float” method of washing berries will help remove most of the unripe and underripe berries and help remove the small stems that get by (no one can clean elderberries without having any small stems at all, so don’t stress yourself).
If you are washing after you de-stem, use this float method.
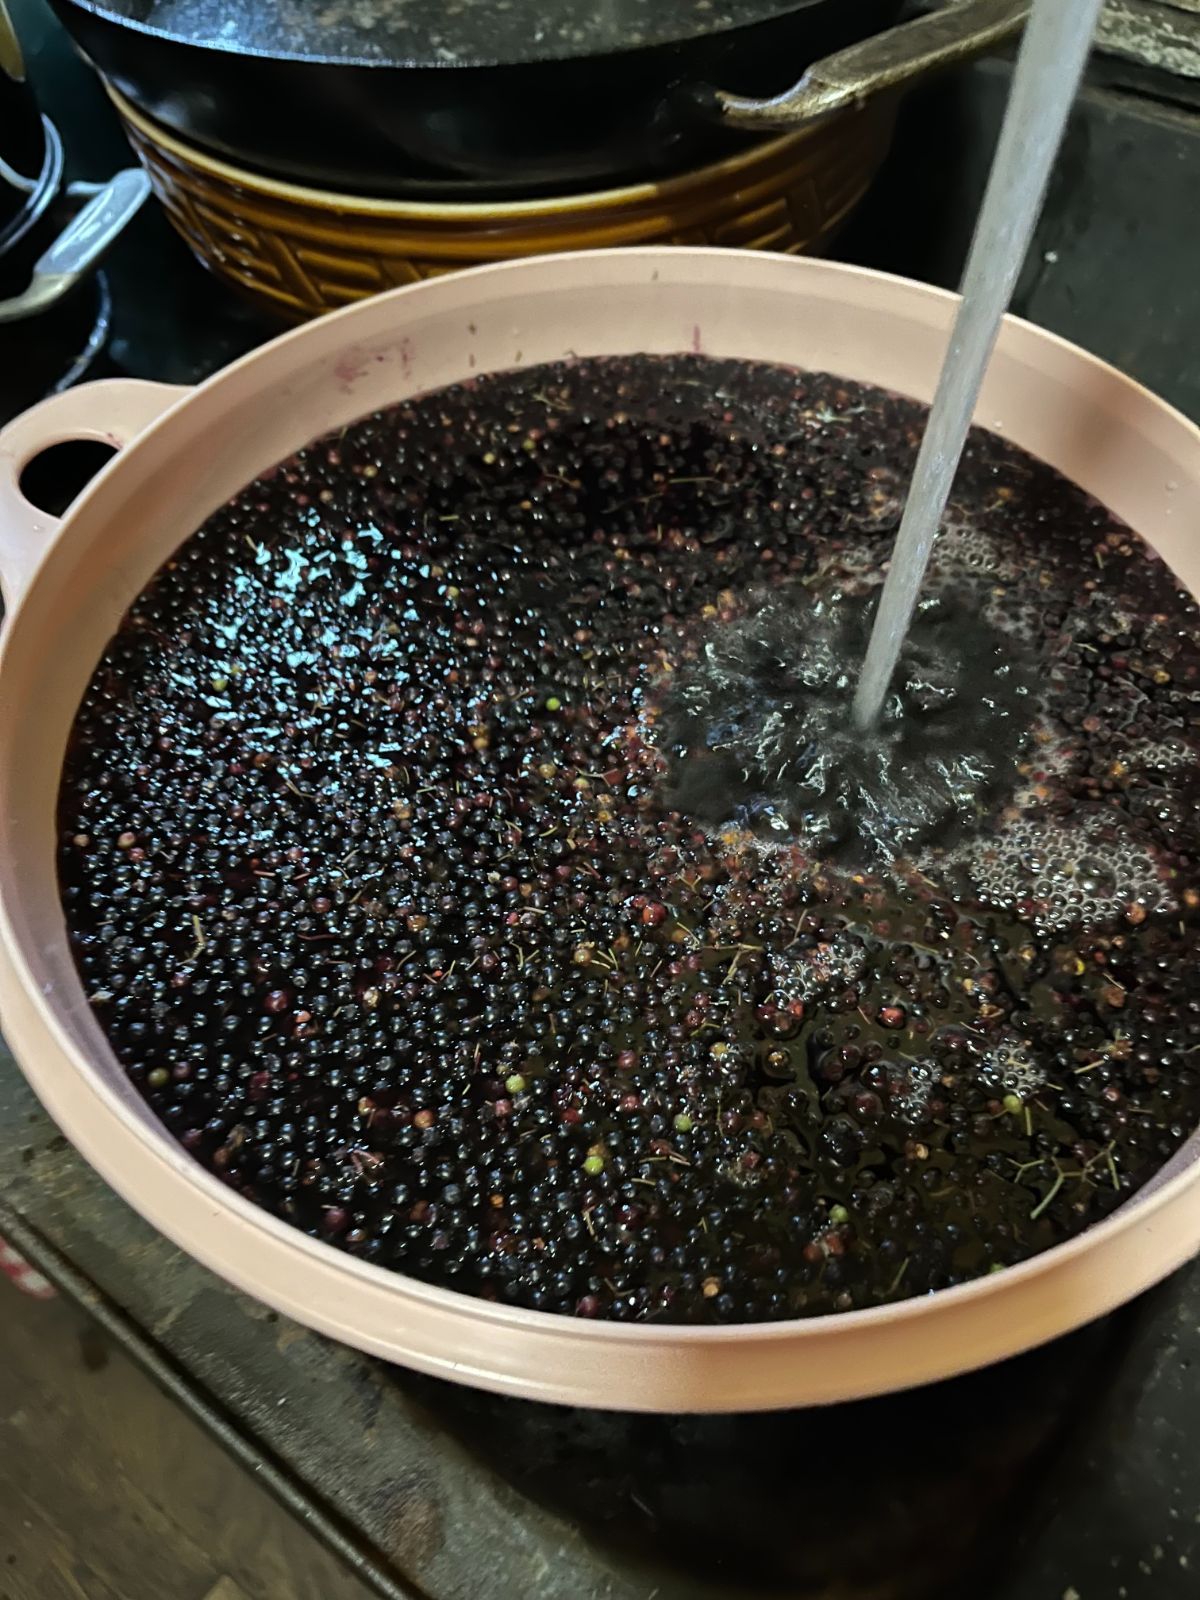
To wash elderberries, fill a bowl or basin with vinegar and water, pour the destemmed berries into the bowl, then let it sit for several minutes. This gives the vinegar time to disinfect the berries. It also gives ripe berries time to settle to the bottom of the bowl.
After several minutes and the berries have settled, use a fine mesh strainer to skim the floating berries and stems off the top. Discard them.
Then, drain the remaining berries through a colander with small holes.
You will be left with nice, clean, ripe berries and only a few underripe berries and stems. A few berries and stems won’t hurt you; you just don’t want too many.
You should not use a soak or float method after you have frozen the elderberries because frozen and thawed elderberries will break and release juice, and soaking them after freezing will degrade the quality considerably.
Even if the berries are still frozen, do not soak them to clean them. Elderberries are small and will thaw almost immediately in the water, and you’ll have the same problem.
Packaging and Saving Up for a Big Berry Project
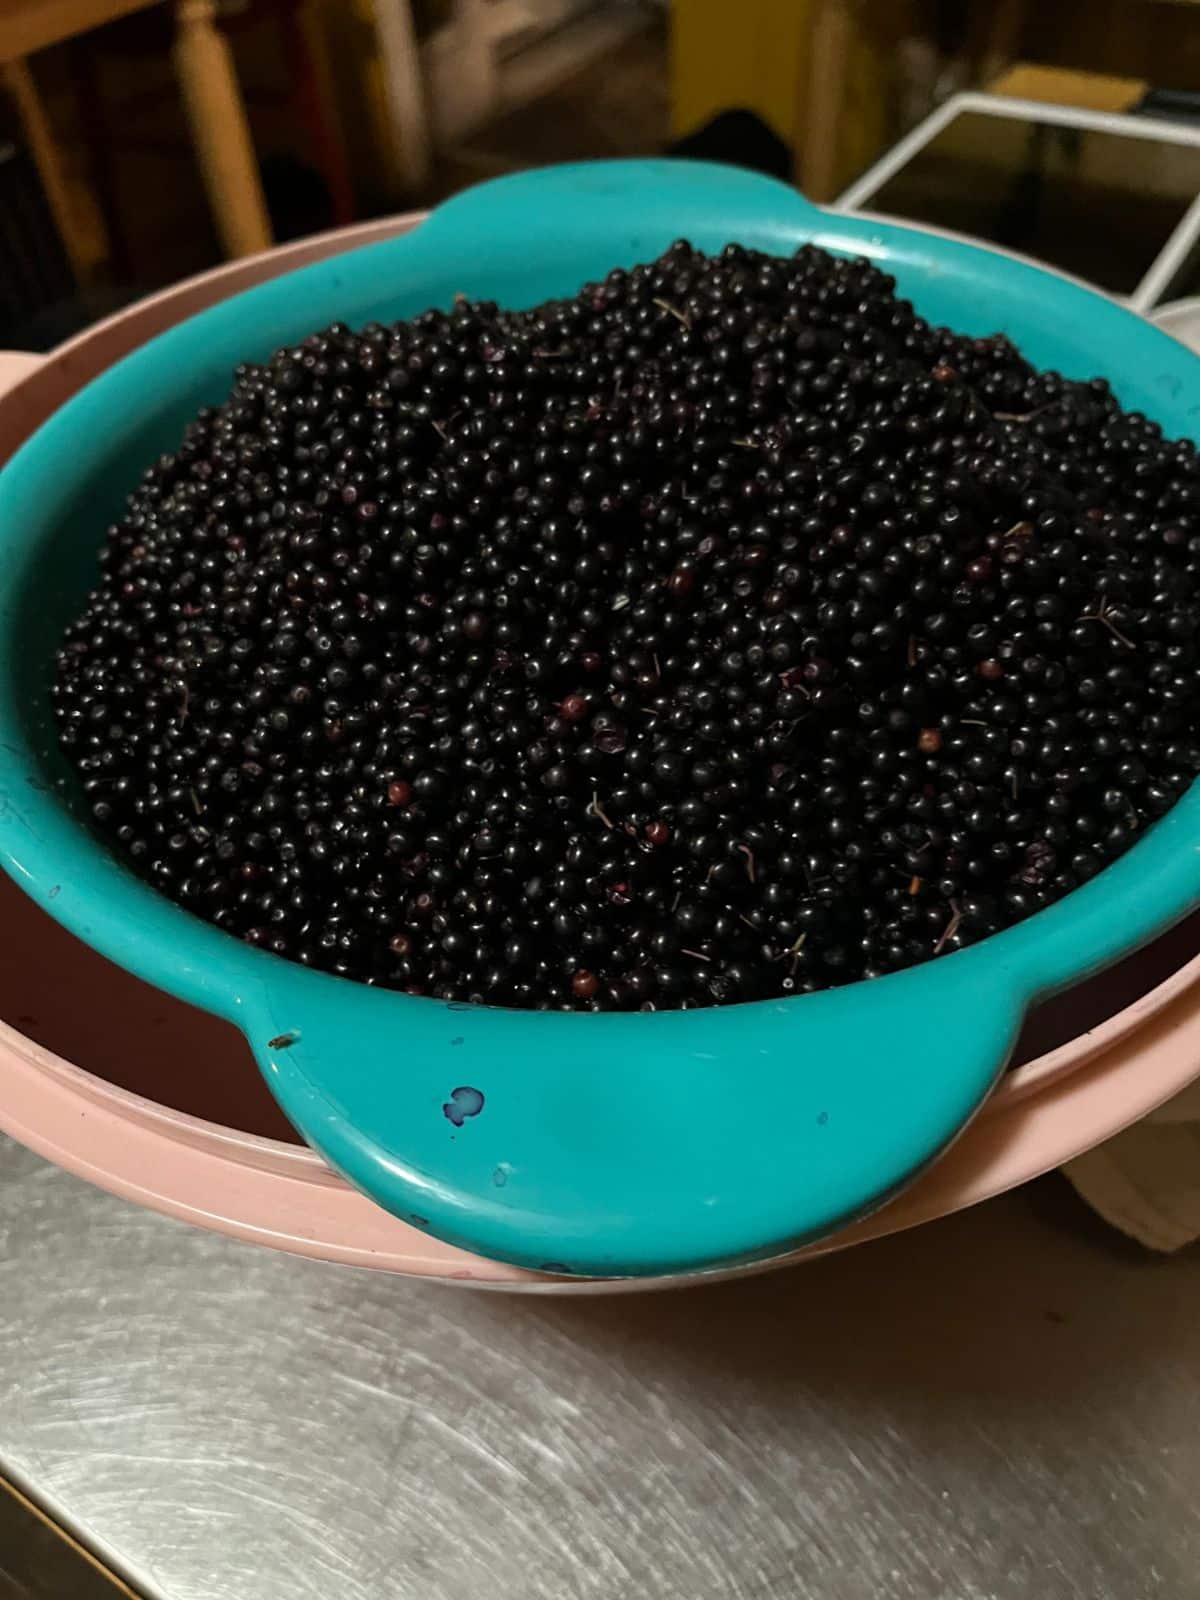
Now that your berries are destemmed and cleaned, you can package them or start using them. There are so many wonderful possibilities.
Packaging and storing elderberries is as easy as measuring a few cups into a freezer bag, sealing, and freezing until you are ready to use them.
Elderberries can take a long time to add up if you are trying to save for a big project like making elderberry wine, so you may want to process and save up in stages. Though elderberries don’t stay as good as fresh berries, they freeze extremely well. Frozen elderberries can be used for anything from jelly to wine (and previously, frozen berries are easy to make wine with because they burst and easily release their juice).
Really, there isn’t a lot to picking and using elderberries. The work of harvesting is pretty fast once you know what you’re looking for. Destemming takes time but is part of the process, and then once that’s done, you’re ready to store, preserve, cook, or dehydrate your elderberries. And enjoy all the lovely things that you can make with your fresh elderberries!

Donna
I found little worms in some and when they hatched they were fruit flys
Mary Ward
Yes. Many areas now have Spotted Wing Drosophila (SWD), which is a type of fruit fly. This one is particularly problematic because they can pierce healthy berries and infest them. Most other fruit flies could only get into rotted fruit or on the outside, where they could be washed off. They are a relatively new pest in a lot of places that came from Asia and the watch is on for places that never had them before. You can learn a little more about them here: https://extension.umn.edu/yard-and-garden-insects/spotted-wing-drosophila
Sorry you have to deal with these pests!! They are not uncommon in elderberries.