There are several different schools of thought on the right way to fertilize garden seedlings and transplants while they are growing indoors.
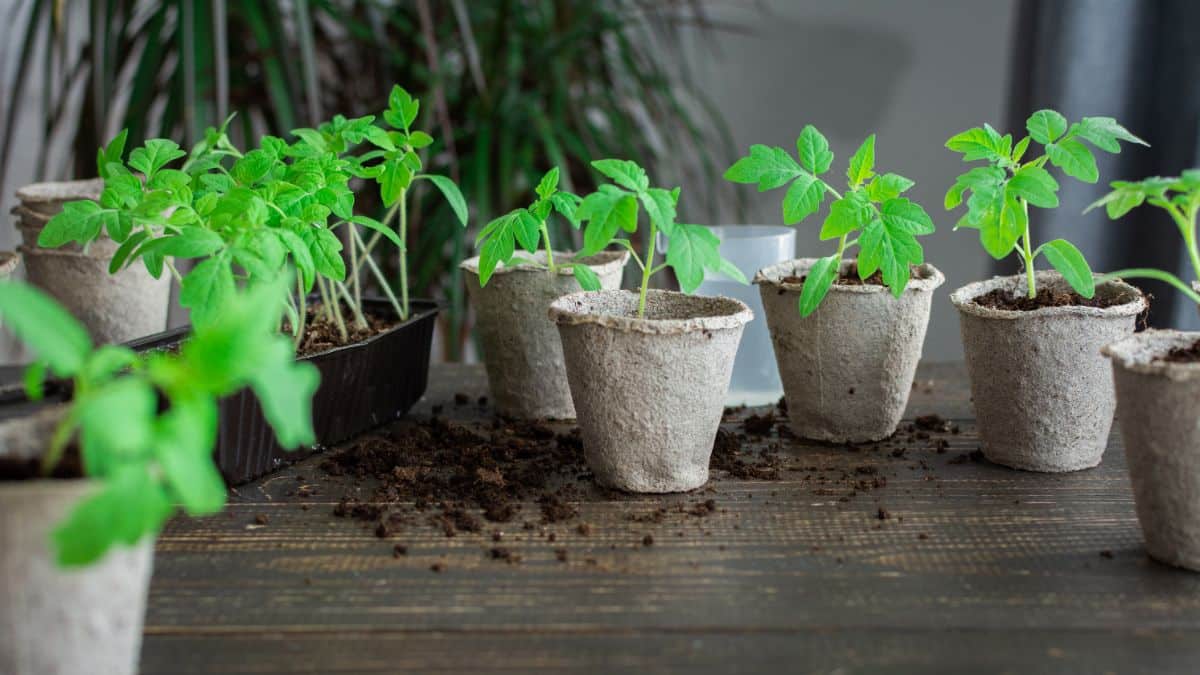
Some schools hold that you never need to fertilize your seedlings at all; that good potting soil holds all the nutrients that seedlings need to grow until they are transplanted out into the garden. The problem with this method is that all potting soils, even those with fertilizer, are not created equally. Also, seedlings are watered frequently, and watering often flushes those nutrients out.
The seedlings are also using up the nutrients as they grow. And the larger your seedlings get, the more food they need...like any growing child.
So, while this may work in the beginning, many (if not most) gardeners find that their seedlings start to look pale, and their growth rate slows after a few weeks, which indicates a need for feed.
A more recommended (and, in my opinion, and experience) school of thought on the subject is that you should start fertilizing your transplants after the first or second week in their pots. In fact, some experts will recommend a low level of fertilization from the very beginning when the plants are up-potted to make sure enough nutrients are there.
Jump to:
- When to Start Fertilizing Seedlings
- What to Use for Fertilizing Vegetable and Flower Transplants
- Week One After Potting Up: Fertilize at a Dliuted Strength
- Week Two: Fertilize Seedlings at Full Strength
- Week Three Through Hardening Off and Transplanting
- Watering Between Fertilizing
- Low-Dose Continuous Fertilizing Alternative
- Fertilizing Seedlings Promotes Good Growth and Strong Plants
When to Start Fertilizing Seedlings
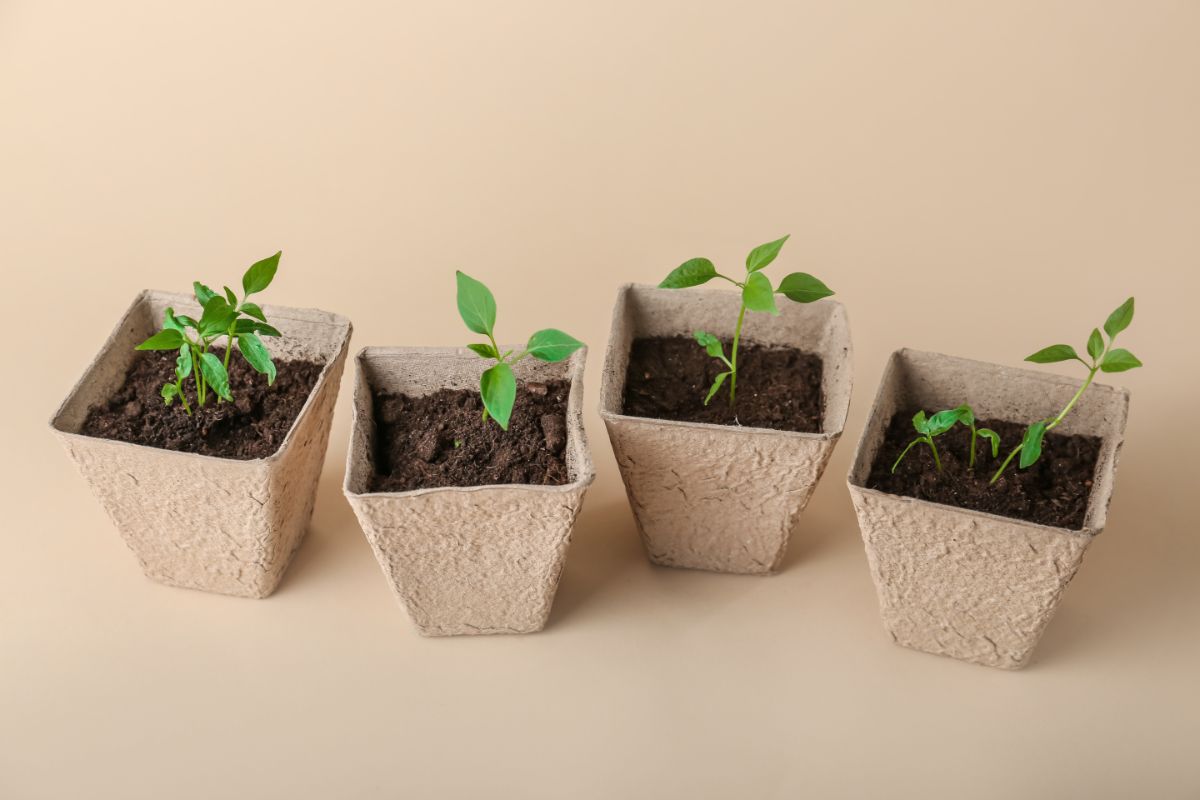
Recommendations vary, but the University of Iowa recommends that you start fertilizing seedlings by the time they are three inches tall. Respected Seed company Johnny’s Seed recommends fertilizing when the seedlings have their first sets of true leaves.
As you can see, there is some slight variation in recommendations, but these recommendations are all mostly running along the same timeline—seedlings will have their first couple sets of true leaves, in most cases, when they are around two to three inches tall. This also lines up with the time that you should be potting up your young seedlings to grow them out for transplanting in the garden.
If this is leaving you feeling confused, don’t be. Here, we will lay out a schedule of fertilization that follows many expert recommendations for fertilizing seedlings and vegetable and flower transplants. This will take you all the way from potting up through planting time in the garden.
What to Use for Fertilizing Vegetable and Flower Transplants
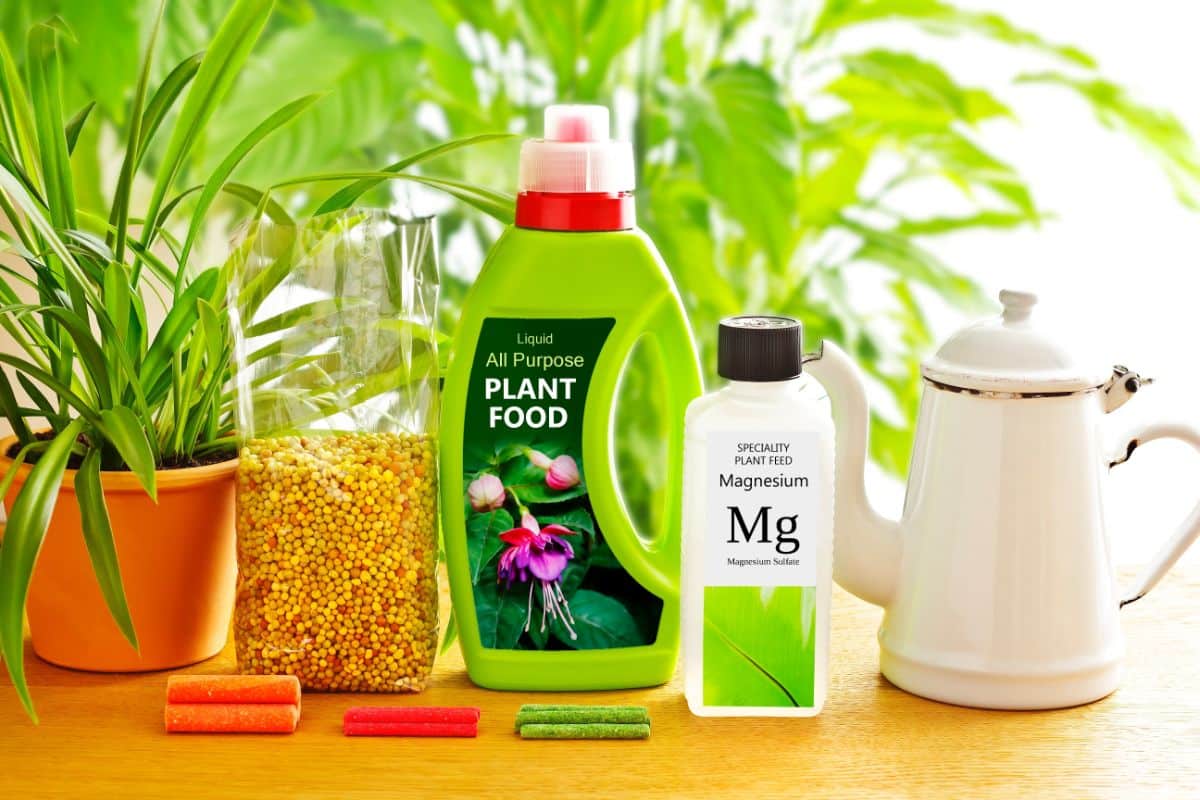
Use a good, all-purpose, water-soluble fertilizer to fertilize your seedlings and garden transplants.
Fish emulsion fertilizers are good products. They are made from byproducts from the fish processing and canning industries, so you have the added benefit of reducing waste and making the world a bit greener when you use them. They do have an odor, though, and it can sometimes be unpleasant if you are growing your transplants in your home. Neptune’s Harvest makes good organic fish emulsion products, which are claimed to be low to no odor.
There are many other good all-purpose fertilizers out there, and many that are certified organic. Jack’s Classic is highly recommended. For organic seedling fertilizer, Dr. Earth fertilizers are recommended.
Week One After Potting Up: Fertilize at a Dliuted Strength
(*NOTE FOR GARDENERS WHO DON’T POT UP: If you start your seeds directly in the cell pack or pot they are going to stay in, and you do not pot up to larger units, start this process when your seedlings have two sets of true leaves.)
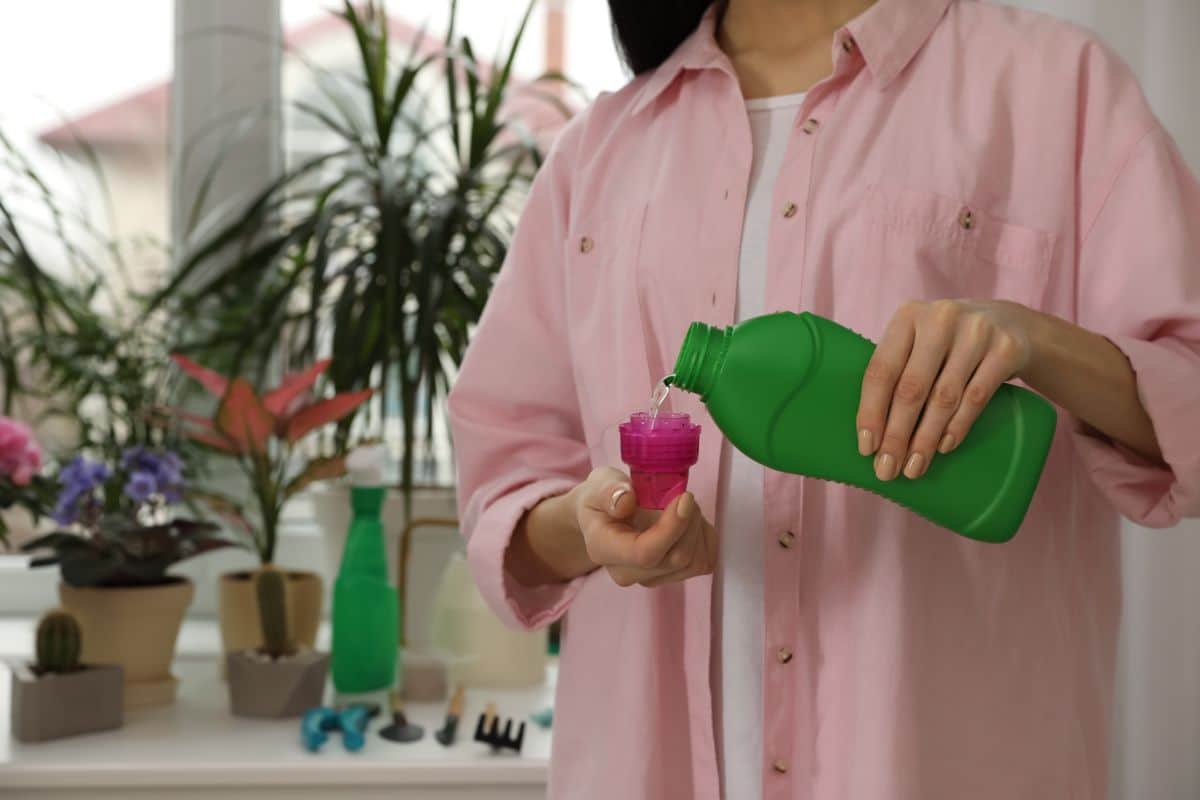
For week one, mix all-purpose water-soluble fertilizer diluted to 50% strength. To do this, follow the mixing instructions on the label, but use half the amount of fertilizer that is listed in the directions. Apply by bottom-watering.
To fertilize by bottom-watering, pour your diluted fertilizer into a large tray, Tupperware, or solid planting tray. Set pots or cell packs of seedlings into the tray and leave them there until the top of the soil turns dark with moisture. Once the top is dark, remove the pot/cell pack and return it to its growing area.
Week Two: Fertilize Seedlings at Full Strength
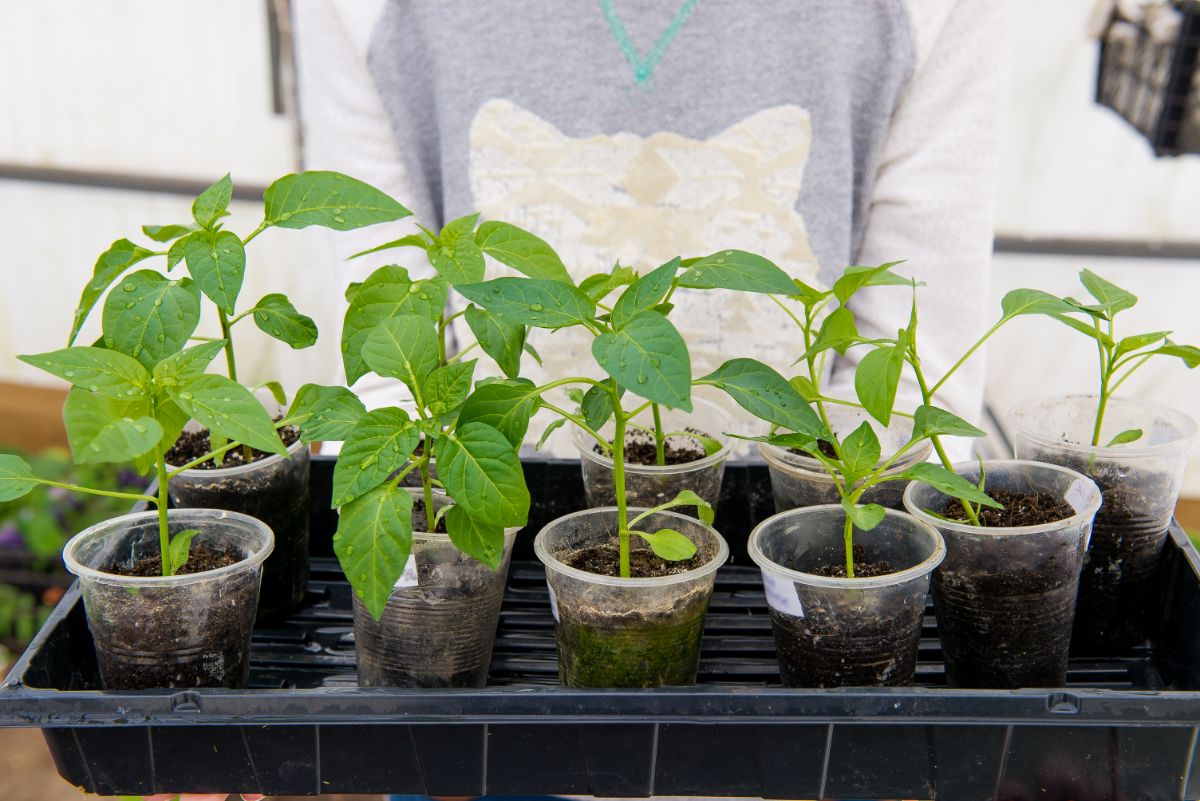
By week two, your seedlings will be growing strong and demanding even more nutrients, so you should increase your fertilizing solution to full strength according to the label’s instructions.
Apply fertilizer via bottom-watering, as explained before.
Week Three Through Hardening Off and Transplanting
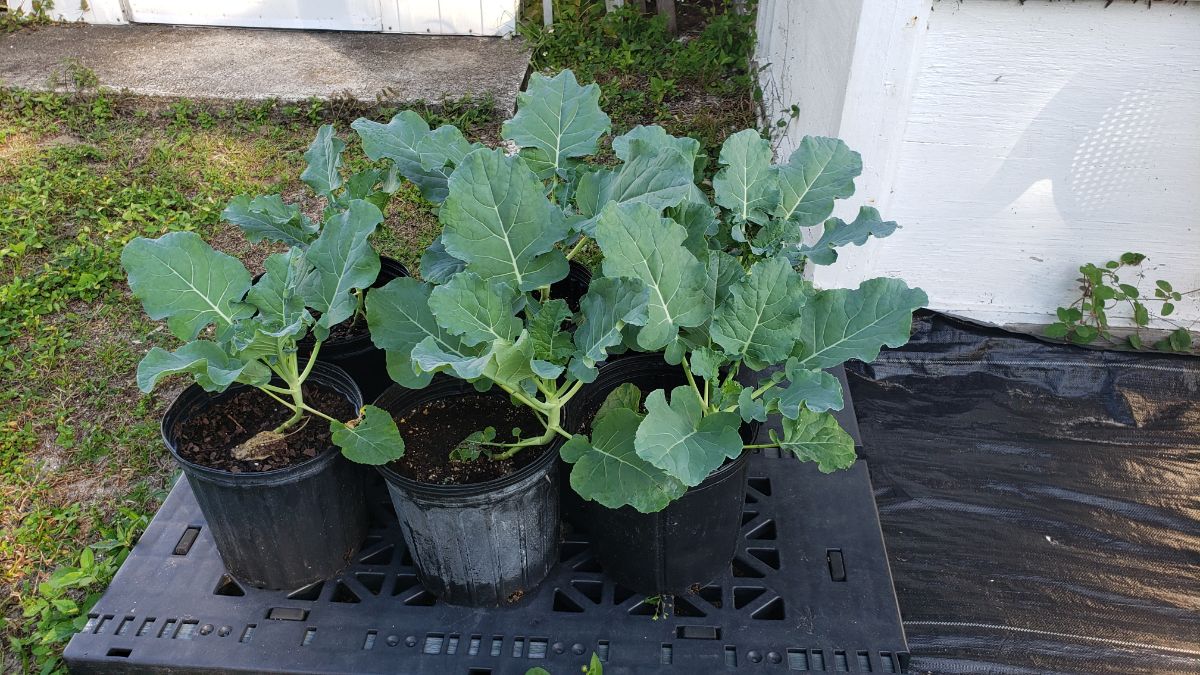
Fertilize your transplants with a full-strength solution delivered by the bottom-watering method once a week until it is time to harden off your transplants, and then plant them outside.
It is best to stop fertilizing your transplants when you begin to harden them off, which will better prepare them for the less protected and less coddled life of plants living outside.
To learn how to harden off transplants, read our full guide here.
Watering Between Fertilizing
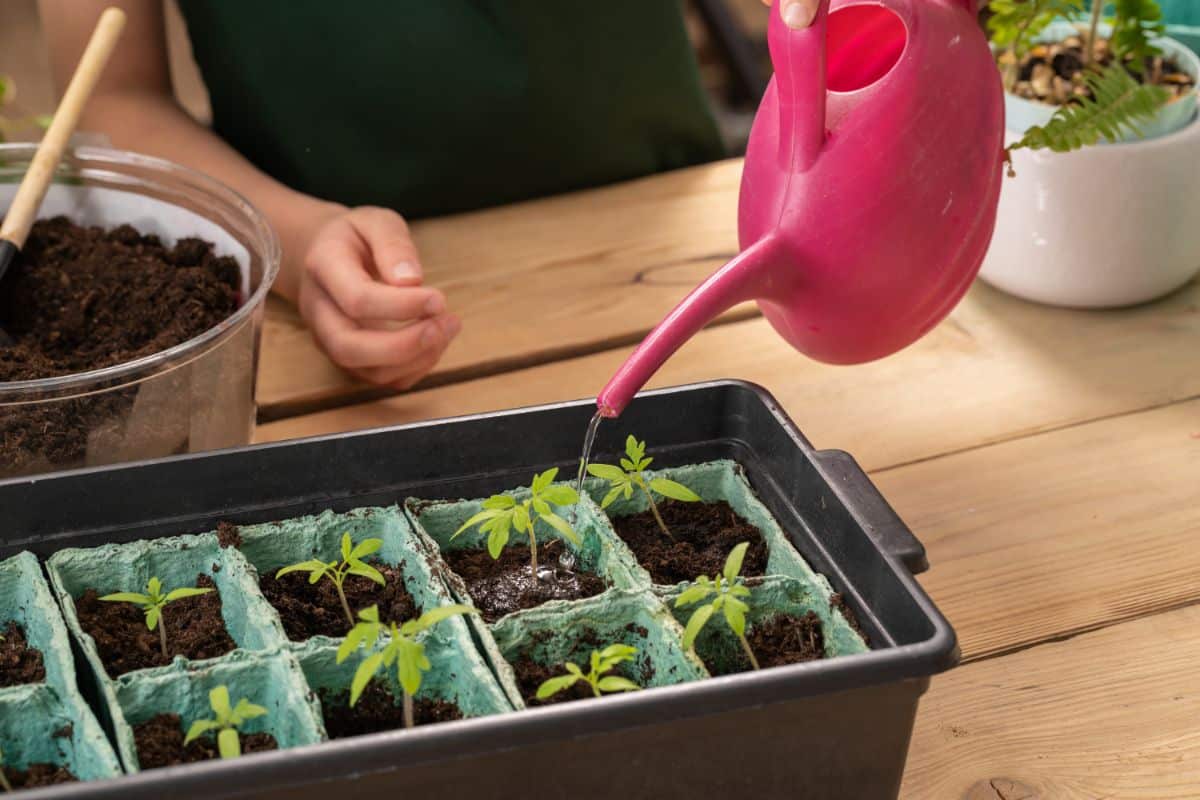
In between your weekly fertilizing, your seedlings should be watered, as usual, when they need it. Water when the top of the soil is dry. Do not let cells or pots dry out completely, and avoid letting the plants get so dry that they start to wilt.
You should let your plants and your pots guide you, but a general rule is to plan to water every other day or so. Bottom watering is the recommended method of watering.
Low-Dose Continuous Fertilizing Alternative
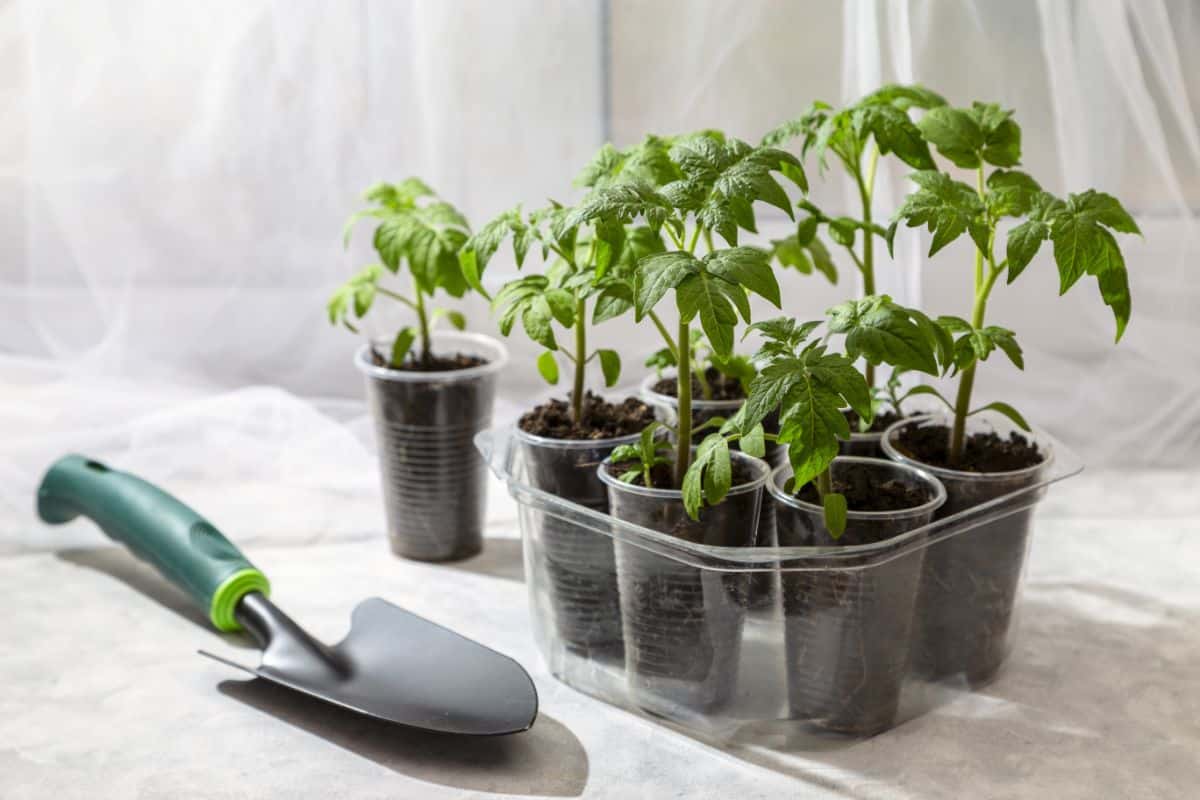
If you find it too much to keep up with tracking when you need to fertilize each week, you can use a low dose of fertilizer in your water every time you water your plants. If you prefer this no-track method, make your fertilizer solution to 25% of what is listed on the label (a 25% dilution) and use that solution to bottom-water your seedlings whenever they need to be watered.
Fertilizing Seedlings Promotes Good Growth and Strong Plants
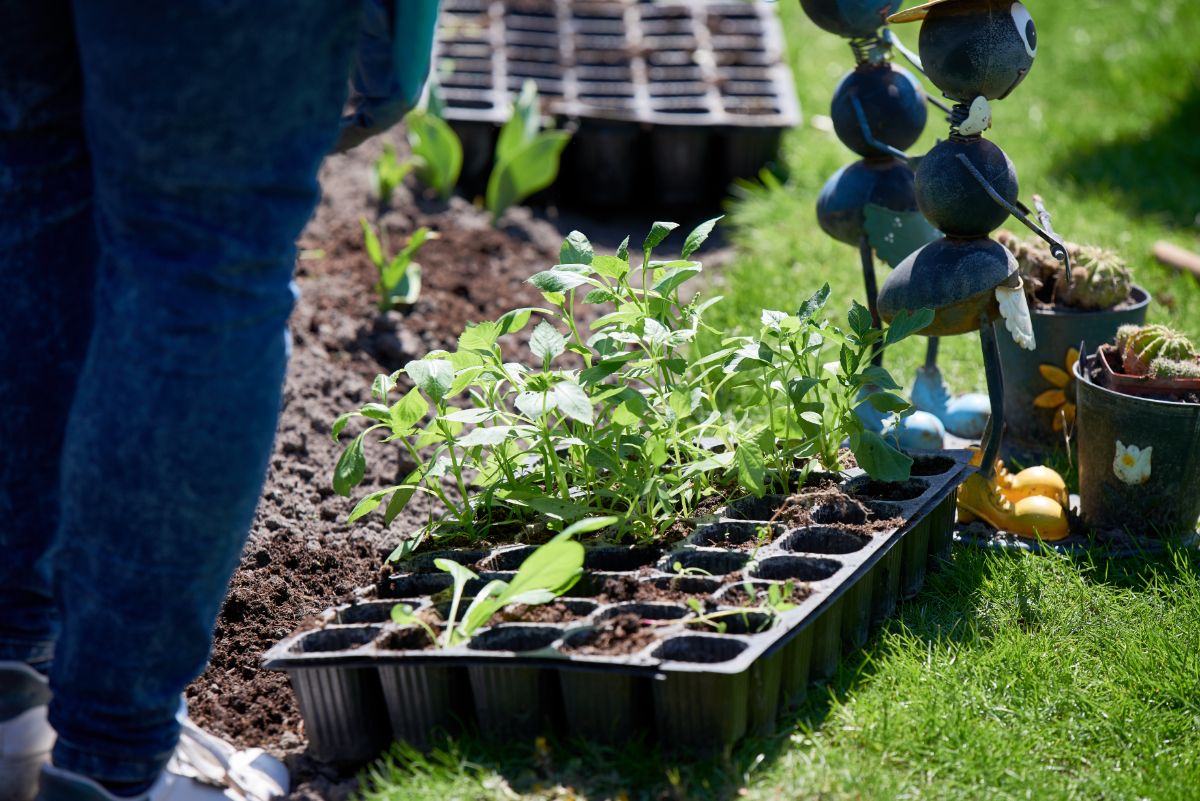
Regularly fertilizing your seedlings and garden transplants will prepare them well for life outdoors in your garden (or container garden). The fertilization schedule and dilution rates recommended here will give your plants the nutrients they need for strong, steady growth (without overfertilizing or overgrowing).
You’ll grow plants with healthy, strong leaves and stems, which is what your garden transplants will need to survive when they experience the more variable conditions of life outside. Strong plants are also healthier plants and are better able to fight off insect damage and disease. Start your garden off right by starting strong from the very beginning.

Mary.Coakley
I look forward so much to your emails there is so much info
Peggy Werner
It is nice to have all this great info in one place! I try gardening every year, but usually do not get a lit out of it. Pests is a big problem but the weeds we get with our raw water (river) has so much seeds and everything in it. I'm still grateful to have it, or town water is too much!!
Methuselah Lubwama
The above information fertilizing seedlings have helped me how to do it. Thanks for your effort.