All season long, you’ve tended, watered, and fed your pepper plants, and you’re finally rewarded with a bright harvest of mild and spicy peppers. A few peppers are easy enough to enjoy on sandwiches and tacos, but if you’ve had a successful growing season, you may have a large bumper crop of peppers that needs preserving. And I personally can think of no better way to use up extra peppers than by making your own hot sauces!
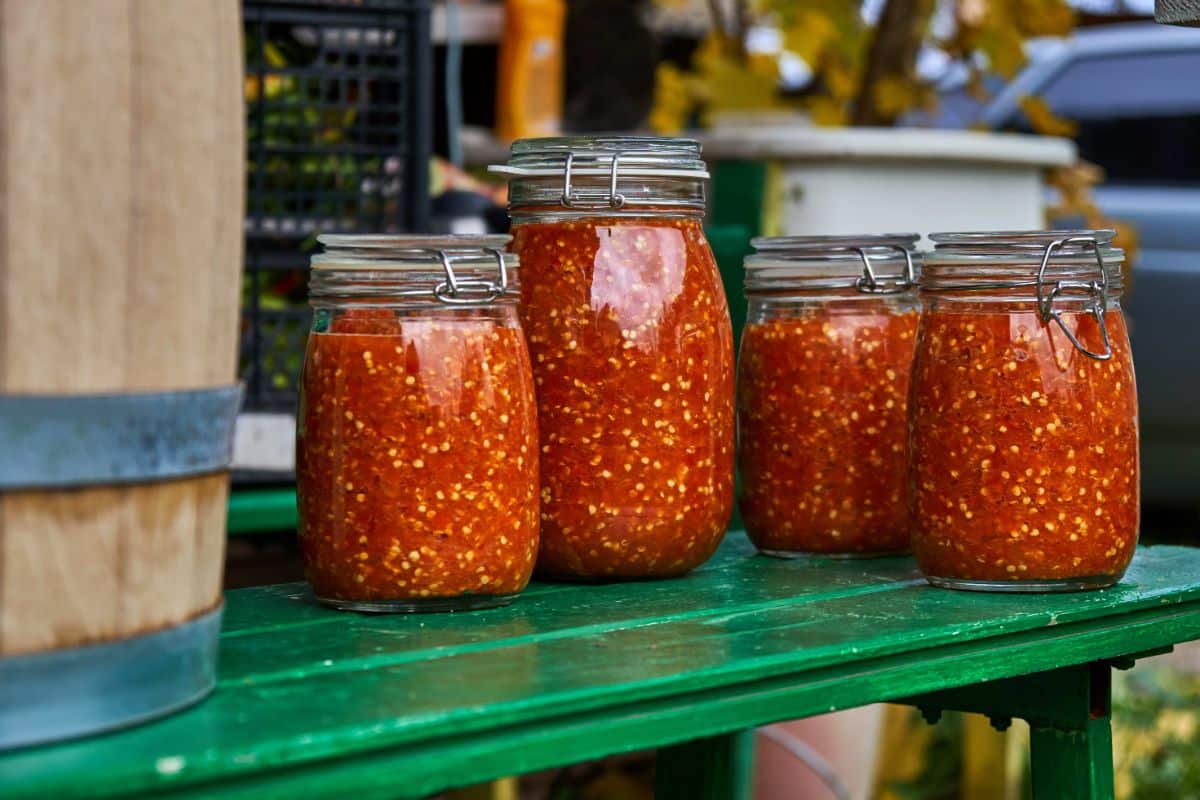
Hot sauces range in heat from mild to fiery, and you can usually find hot sauces in a range of colors at the grocery store. But by making your own hot sauces, you can curate your flavors to perfectly suit your palate and dial up the heat if you want to as well. In the guide below, we’ll teach you how to lacto-ferment peppers and create a tangy hot sauce to slather on burgers, omelets, and more!
Jump to:
How to make fermented hot sauce
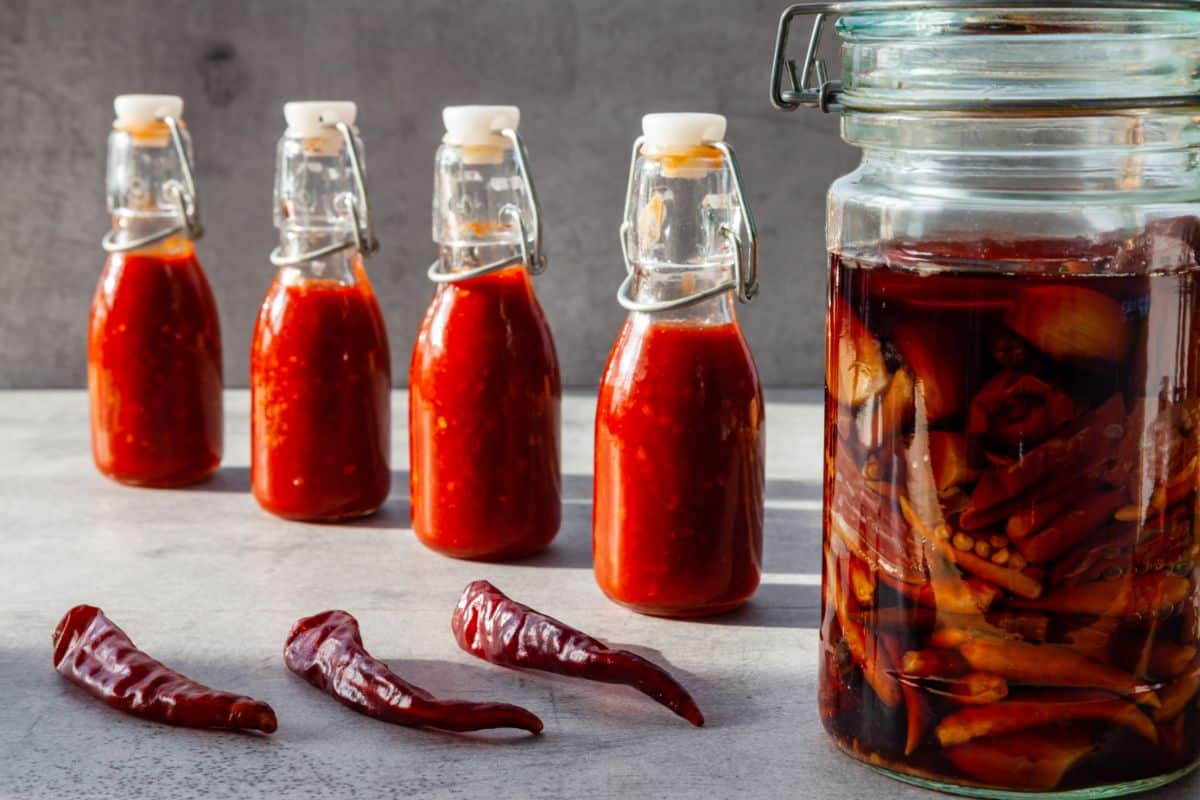
If you’ve ever made lacto-fermented pickles or sauerkraut, the process of making homemade hot sauce is very similar. However, even if you’re new to fermenting, you can easily master the art of making hot sauce with the simple steps below. And best of all, lacto-fermentation doesn’t require any special canning equipment, so it’s budget-friendly too!
What you’ll need
- 1 pound of chili peppers. You can use different chili peppers for this recipe, but if you don’t like lots of heat, you may want to swap out some of the chili peppers for bell peppers.
- 5 cups of water. For best results, use filtered or bottled water, as municipal tap water contains chlorine that can sometimes interfere with the fermentation process (this should not be a problem with well water, though).
- 1 carrot.
- 6 to 8 garlic cloves.
- 2 shallots or ½ of an onion.
- 6 ¼ teaspoons of Himalayan salt or sea salt. Avoid Kosher or table salts in fermentation recipes as they sometimes contain additives that can affect the taste of a ferment.
- 2 quart Mason jars with lids or a fermentation crock. If you don’t have lids, you’ll need a bit of cheesecloth and some rubber bands.
- Other spices to taste (optional). This recipe is delicious on its own, but if you want to experiment with flavors, you can add in other spices, like cumin, smoked paprika, chili powder, cayenne, or coriander.
- 3 tablespoons of apple cider vinegar (optional). While it isn’t necessary, apple cider vinegar will add a little extra tang and some additional probiotics!
- Honey to taste (optional). Honey is also not required, but it can add another dimension of flavor, and it will help you create a more Sriracha-like hot sauce.
- Fermentation weights
- Cutting board
- Knife
- Blender
- Measuring cup
- Fine mesh sieve
- Canning funnel
- Large bowl
- Wooden spoon
- Rubber gloves
- Baking sheet or shallow dish
- Squeeze bottles
The process
- Prep your veggies.
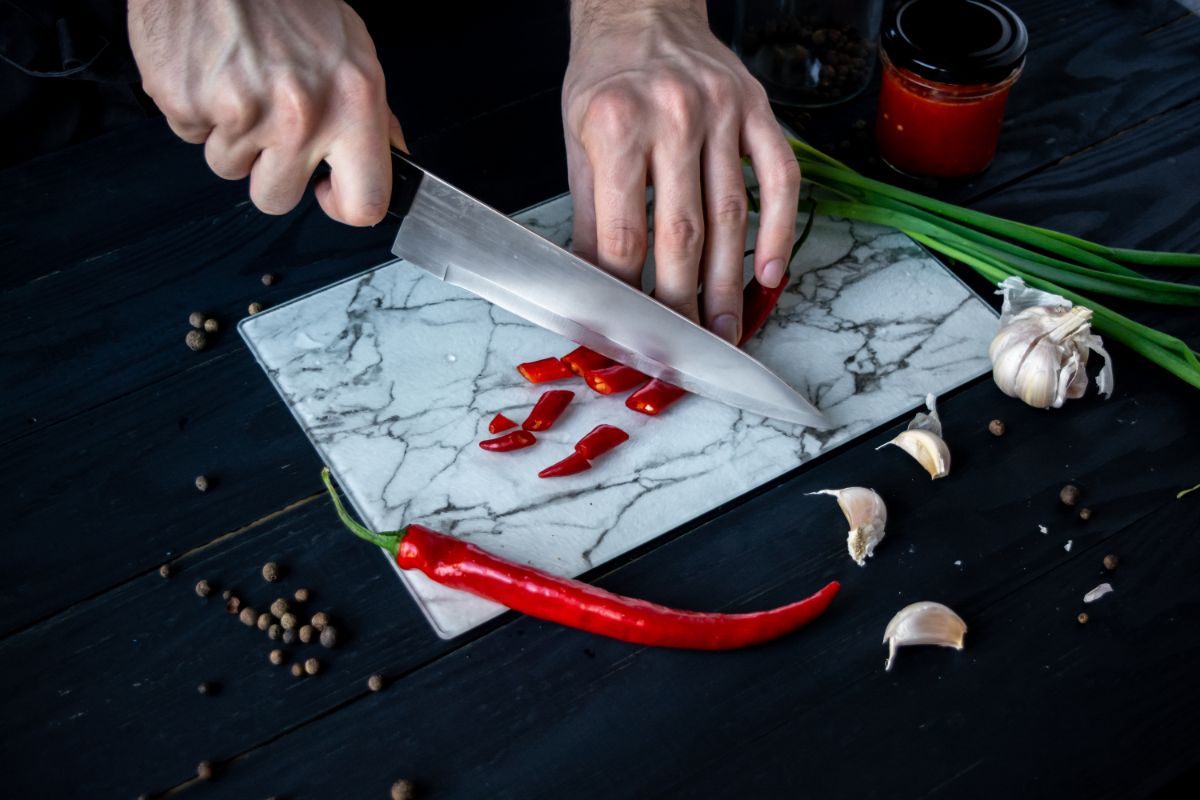
Before you can start fermenting anything, you’ll need to prep your ingredients. Give your vegetables a good rinse, and peel your garlic and onions. There’s no need to peel the carrot.
Cut the garlic cloves into quarters and then thinly slice the onion and carrot. Then, using gloves, slice your chili peppers in half and remove their stems.
Depending on how hot you want your hot sauce, you can leave the seeds in your peppers or scoop them out and discard them. If you’re using bell peppers to bring down the heat level, cut your bell peppers into thin strips too.
- Make your brine.
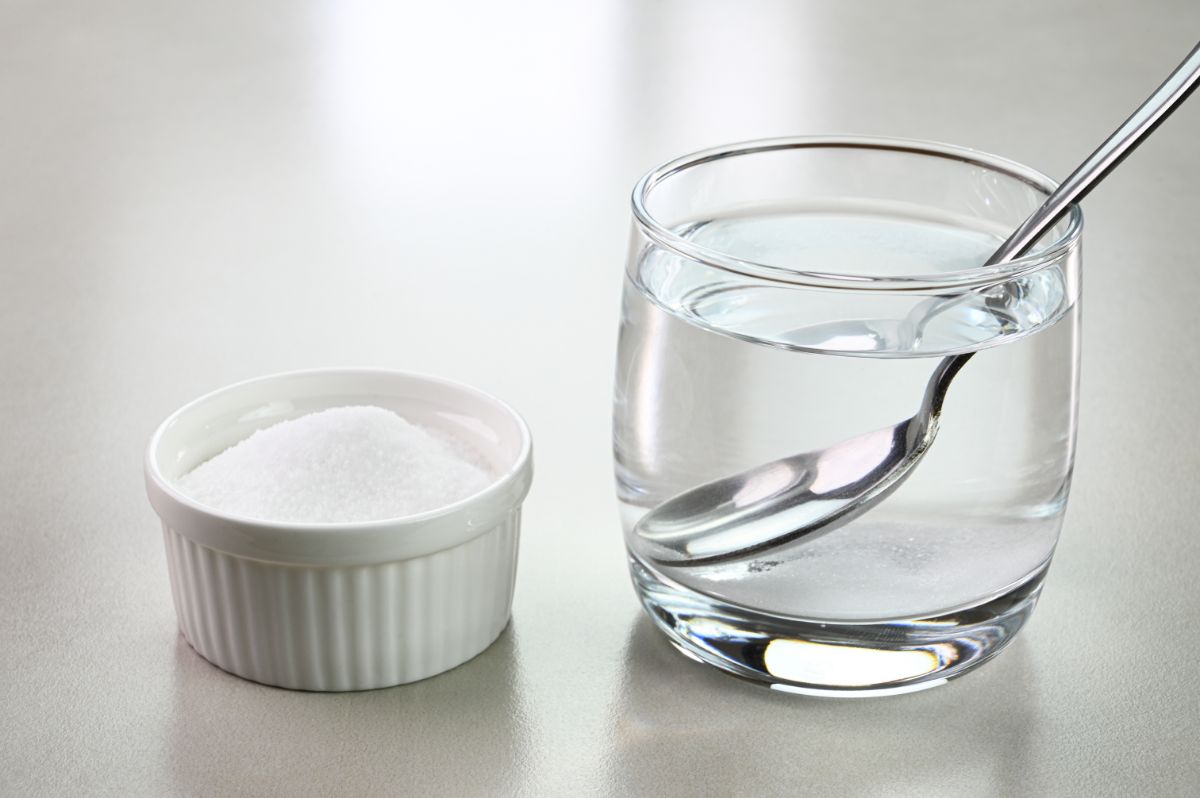
Next, it’s time to make your saltwater brine. Add your water to a large mixing bowl, and then mix in the salt. Stir the mixture well until the salt is fully dissolved.
- Pack your jar.
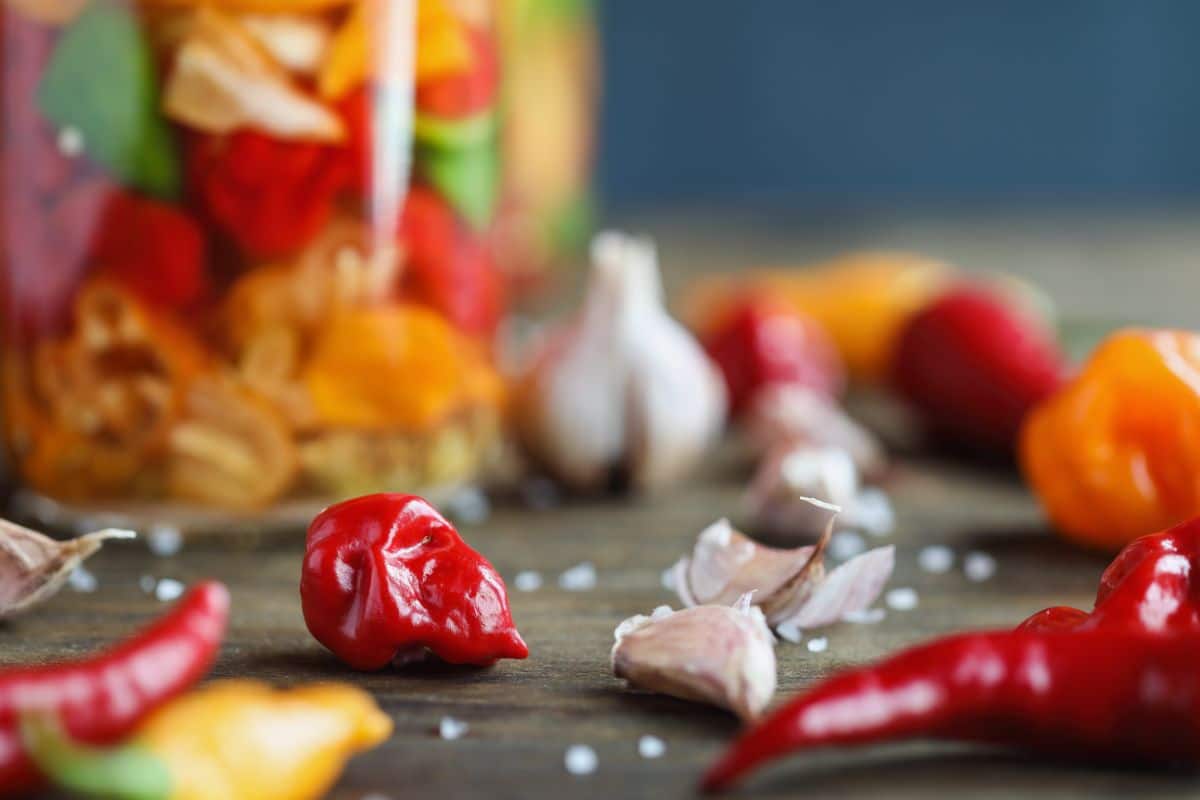
Now, begin to layer your peppers and other vegetables into your Mason jar, and be sure to really pack them in. You can use your wooden spoon to press the veggies down lower and remove any air bubbles.
After that, place your fermentation weights on top of your vegetables, which will prevent them from floating above the brine’s surface during fermentation. This is important because any vegetables that rise above the brine may develop mold, so you’ll want to keep the fully submerged. If you don’t have fermentation weights, you can also use a cleaned stone or a smaller Mason jar filled with water to weigh down your ferment.
- Pour in the brine.
Once your veggies are packed into your fermentation jar or crock, pour in the prepared brine. This is sometimes easier if you use a canning funnel.
The brine should fully cover all of your vegetables; however, if you need more brine, you can whip up another batch by blending more salt and water together at a rate of 1 ¼ teaspoons of salt for every 1 cup of water.
- Cover your jar.
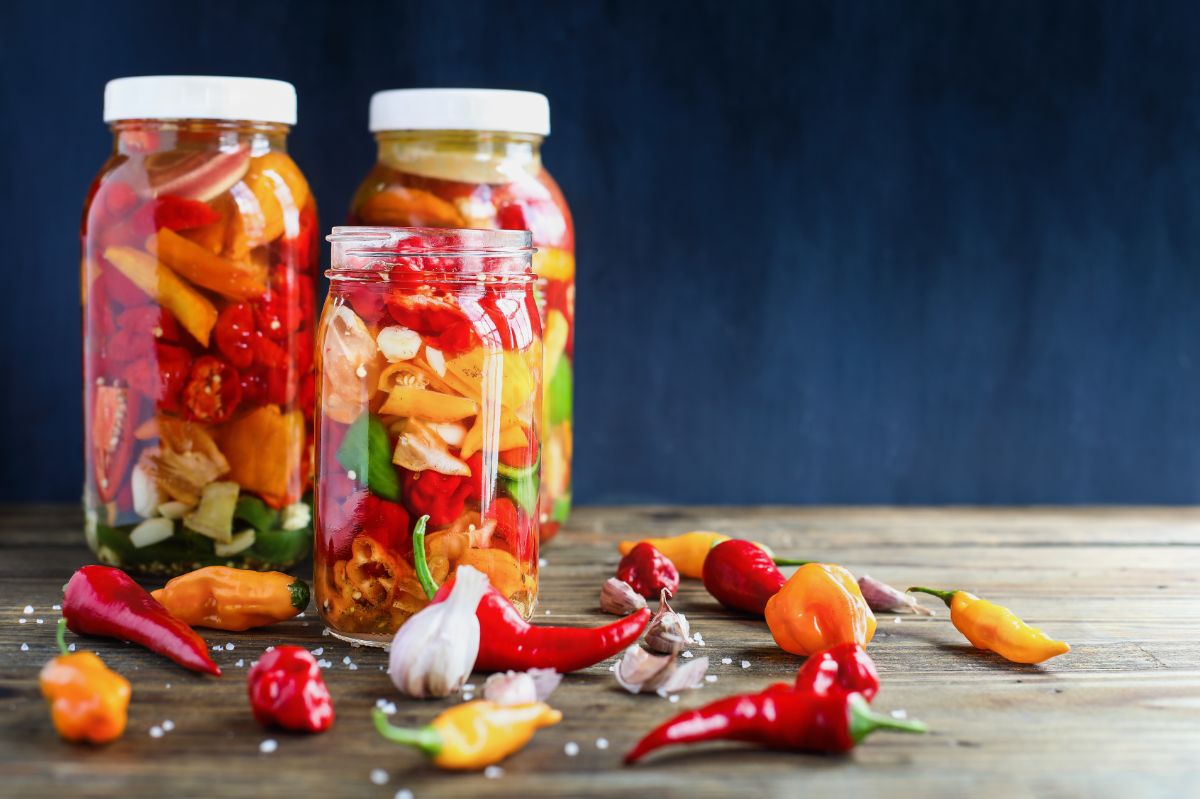
Now that your jar is packed, loosely place the lid onto the jar, but don’t screw it on tight. During fermentation, gasses can build up in fermentation crocks and cause them to explode, so you never want to tightly seal a fermentation crock. If you don’t have a lid, you can cover your jar up with a bit of cheesecloth or a clean kitchen towel and fasten it in place with a rubber band.
- Ferment.
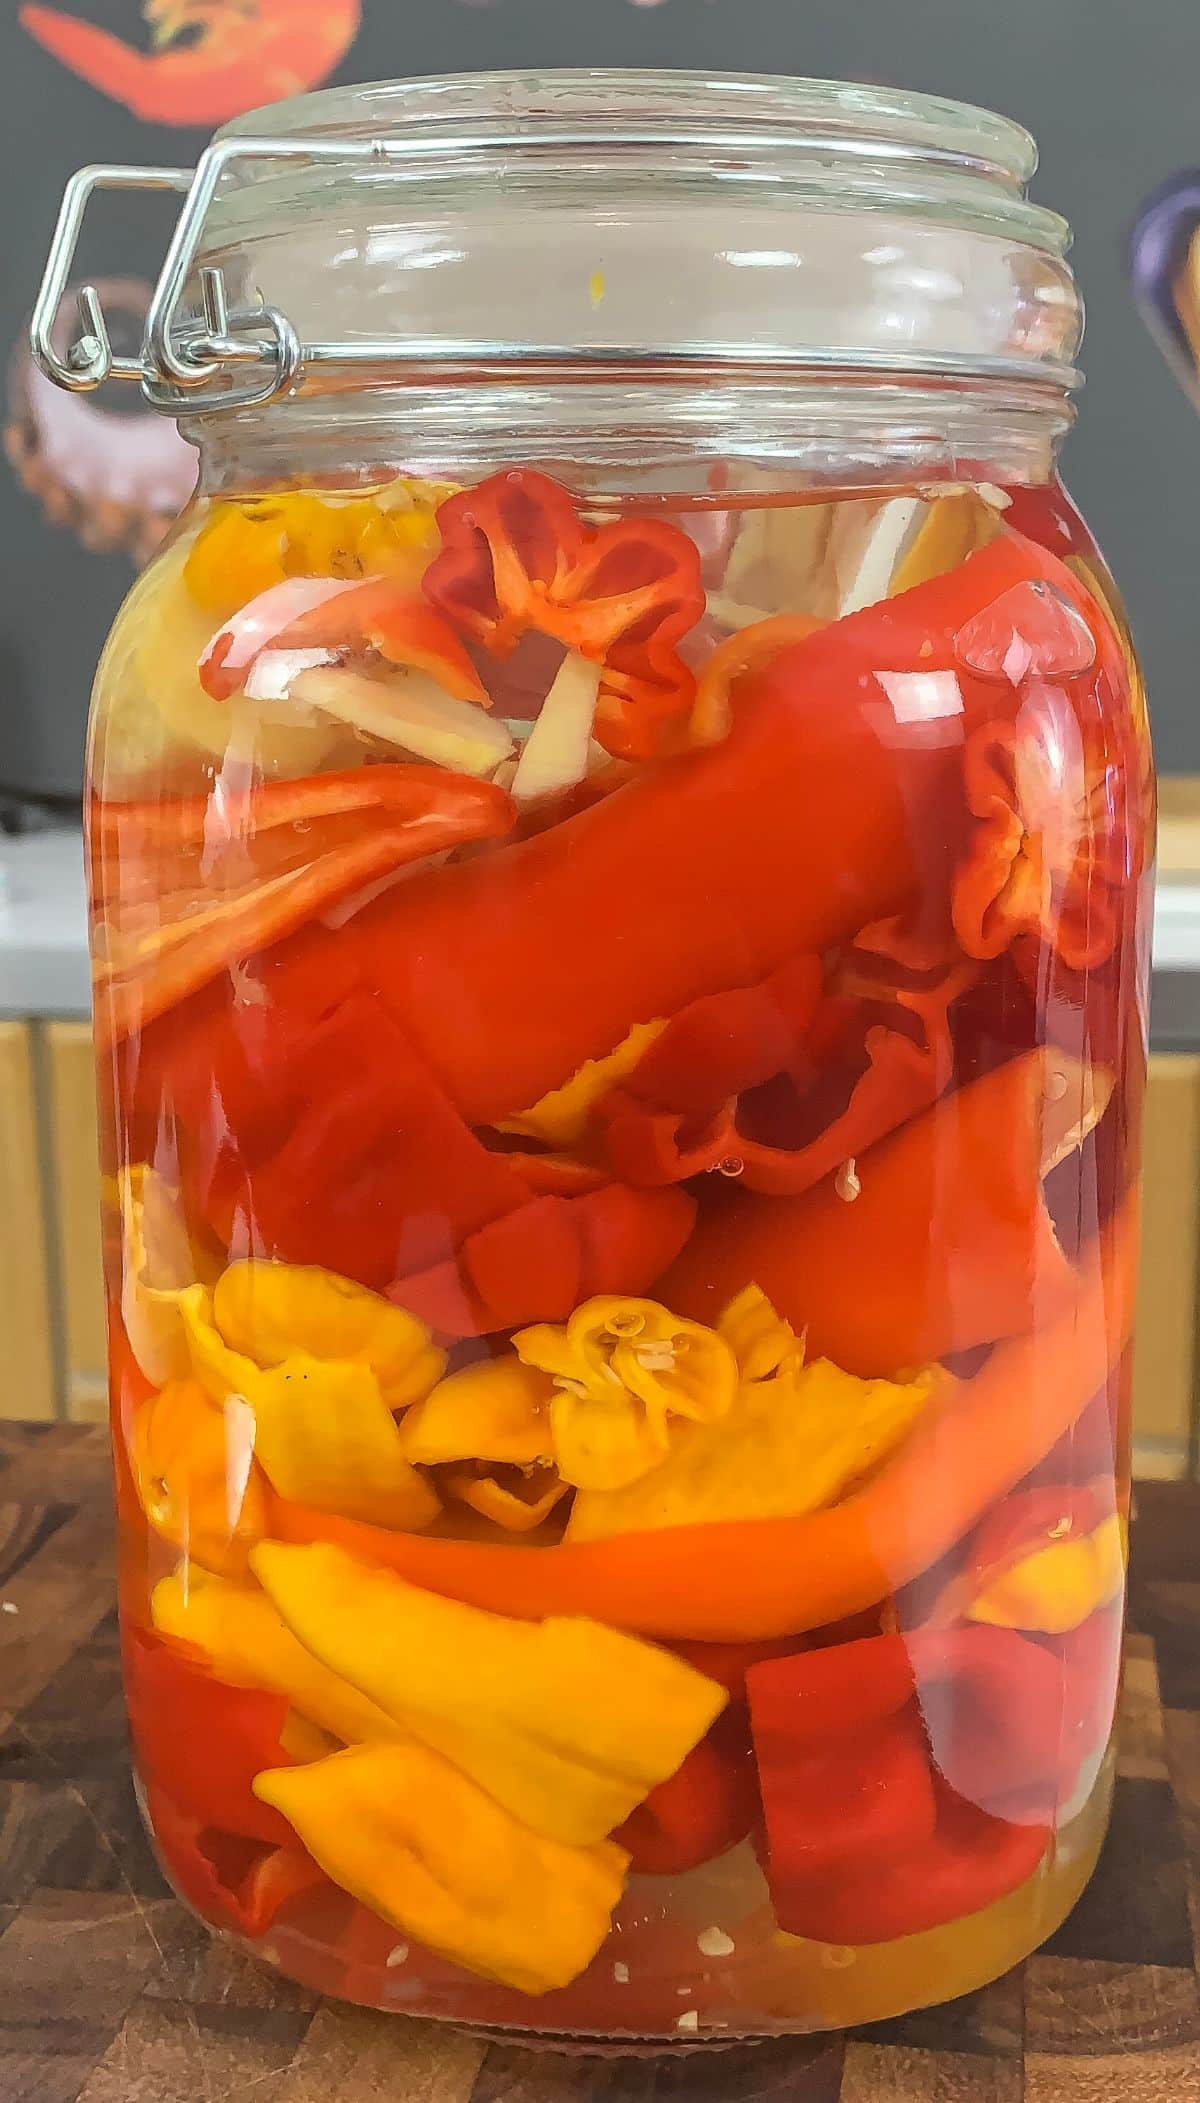
Before beginning the fermentation process, move your fermentation jar or crock onto a shallow dish or tray. This will catch any overflow that occurs during fermentation and prevent a lot of mess.
Then, place your fermentation jar and tray in a cool, dark spot and out of direct sun. Often, a basement or under your kitchen counter will be the best place for fermentation. Leave your jar to ferment for about 5 to 7 days.
On day 5, check your fermentation crock for signs of fermentation, such as overflow and bubbles. If the jar appears to be fermenting nicely, you can proceed to the next step, or you can leave it to ferment for a few more days. The longer you ferment your hot sauce, the tangier it will be, and the fermentation process will also help mellow out some of the heat in very hot peppers.
If you don’t see any signs of fermentation, leave your jar to ferment for a few more days.
- Blend your hot sauce.
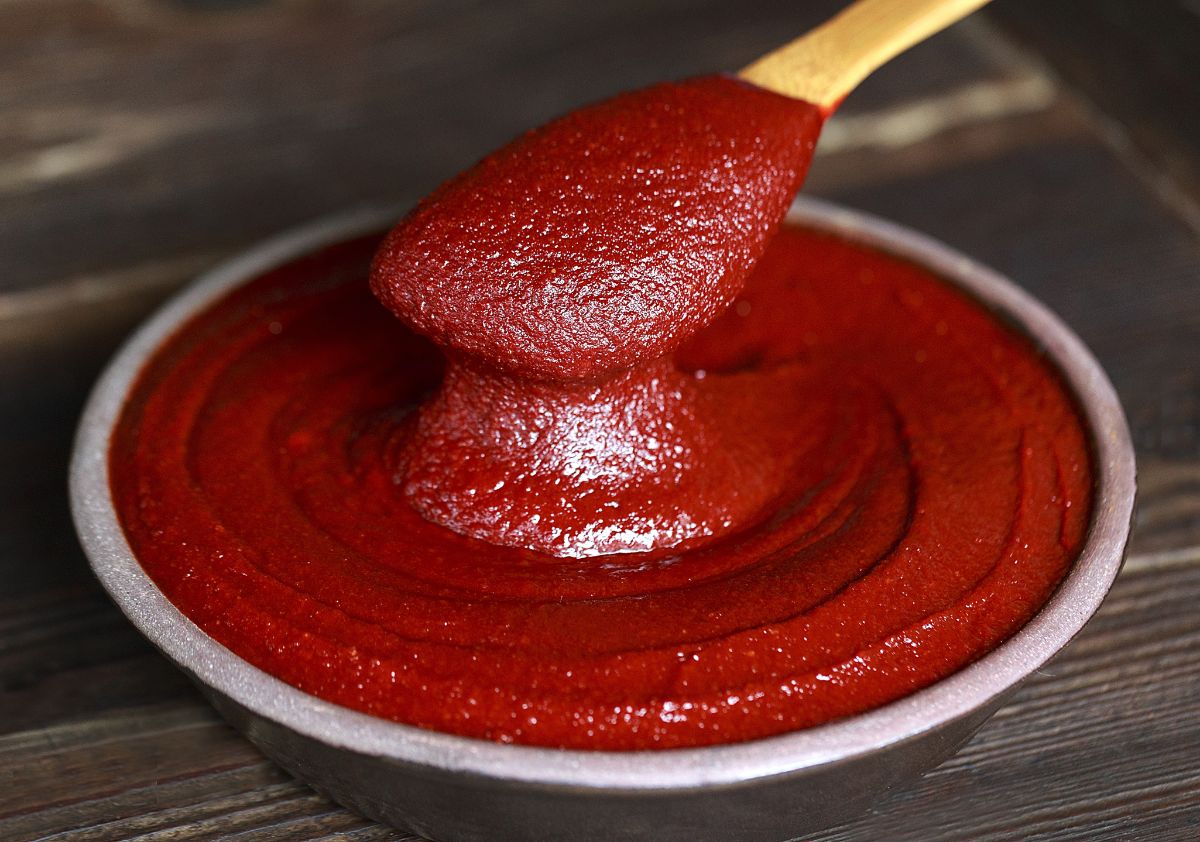
Once your hot sauce has fermented for 5 to 7 days, strain the brine off the peppers using a fine mesh sieve. Save the brine!
Next, place your peppers and other veggies into a blender and pour in 1 cup of the saved brine. Then blend the mixture until it’s nice and smooth. If you prefer a thinner hot sauce, add more of the saved brine.
If you want to add extra spices, apple cider vinegar, or sugar, now’s the time to do it! These ingredients aren’t necessary, but they can make a more complexly flavored hot sauce. If you’re using these ingredients, pour them into your blender too, and pulse to combine.
- Enjoy!
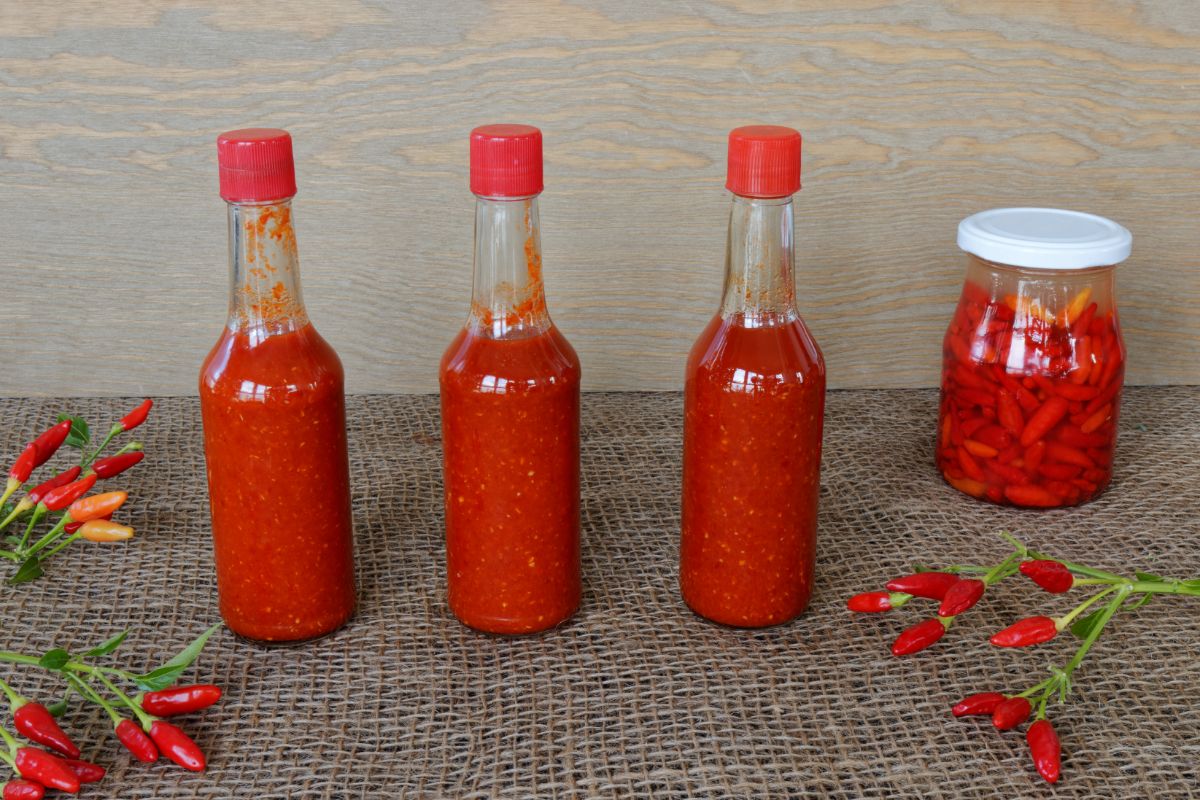
Finally, pour your finished hot sauce into a squeeze bottle and store the bottle in your fridge with the cap loose. Placing your hot sauce in your refrigerator will slow down the fermentation process significantly. However, your hot sauce will continue to ferment in the fridge, so you don’t want to screw the lid on completely.
If your hot sauce is still very spicy, that’s okay. The flavor will mellow out over time and become less intense in your fridge.
When you’re ready to use your hot sauce, give the bottle a little shake to combine the ingredients before each use.
How long does homemade hot sauce last?
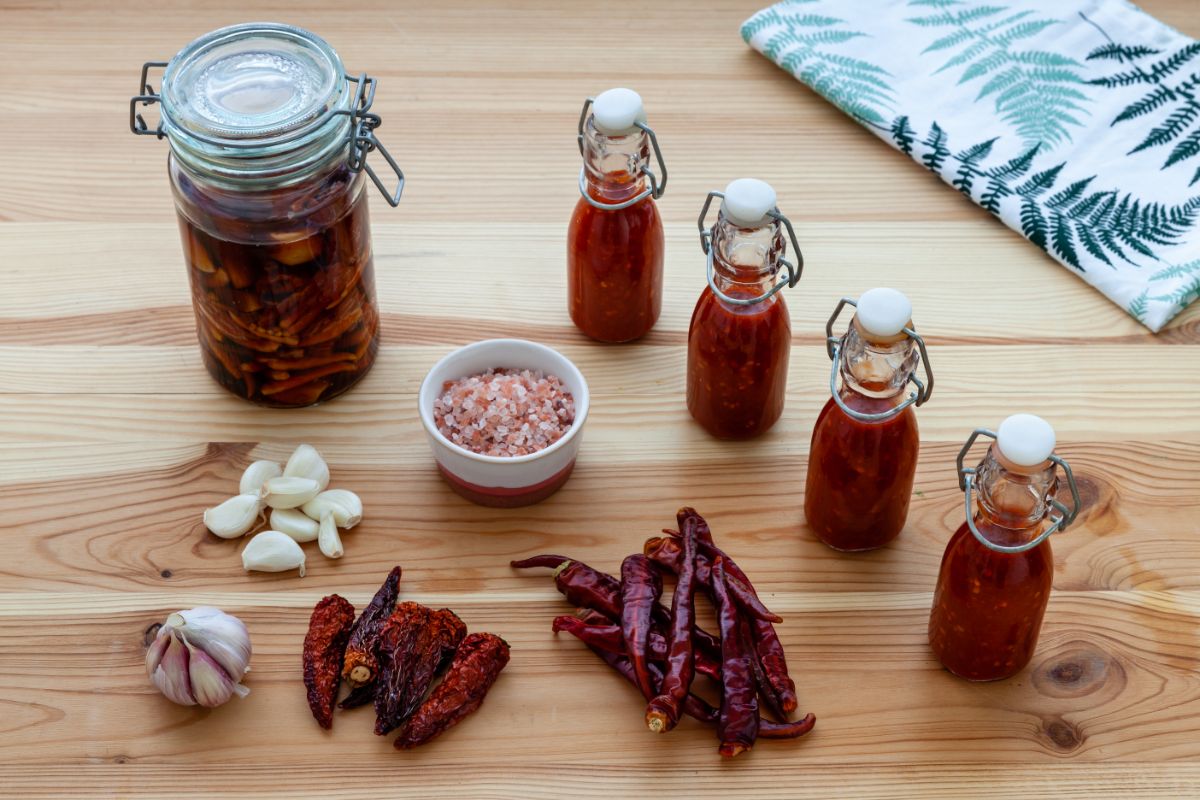
Fermented hot sauce isn’t just tasty. It’s also a fantastic way to preserve your peppers so they don’t go to waste!
Once fermented, homemade hot sauces have a long shelf life, and they can last in your fridge for about a year. If you want to keep your hot sauce at room temperature, you can also can hot sauces with water bath canning methods.
After canning, fermented hot sauces can be stored on your pantry shelf for about a year. However, if you ferment foods for gut health, you may not want to can your ferments as the canning process will kill off the beneficial probiotics in your jar.
What peppers are best for making hot sauce?
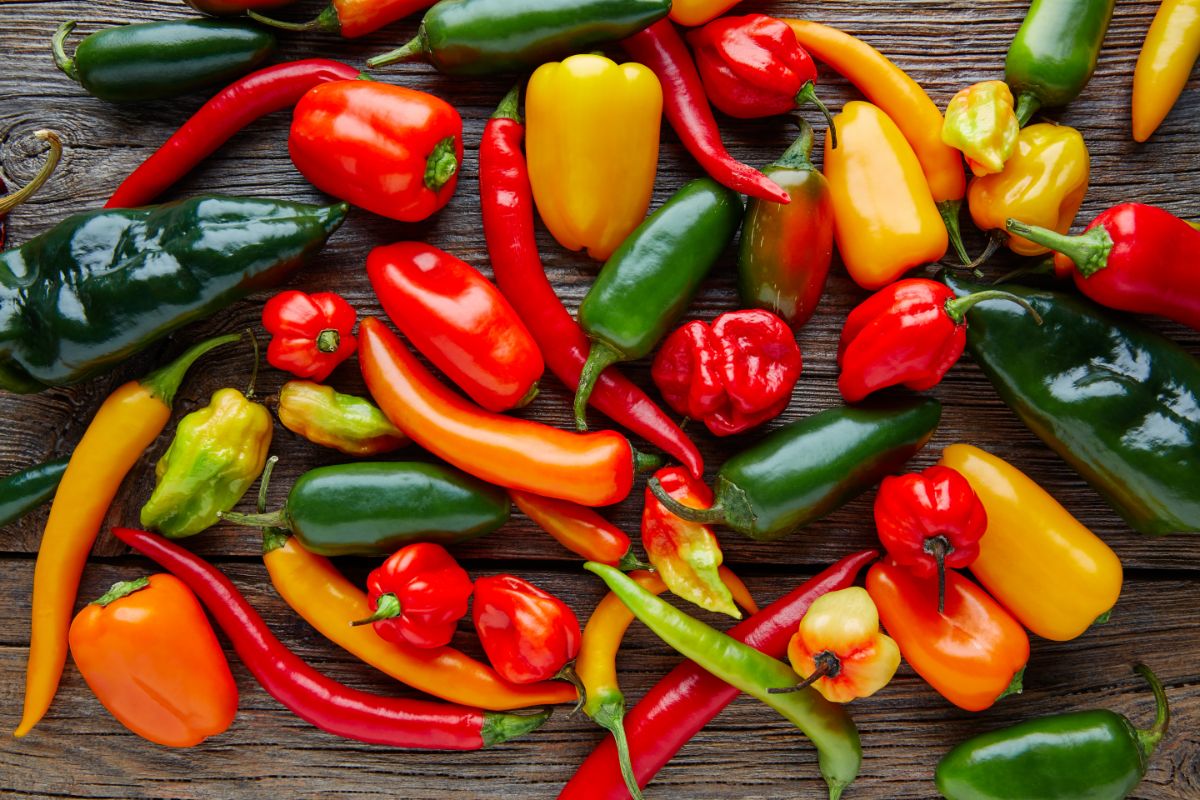
Jalapeno, cayenne, serrano, and habanero peppers are all common choices for making hot sauces, but there are lots of other peppers to choose from. To help you decide on the best peppers to use in your own sauces, we have a full guide on hot peppers right here. However, if you prefer milder flavors, you may want to try more mellow pepper varieties, like bell peppers, cubanelles, and poblanos.
Summary
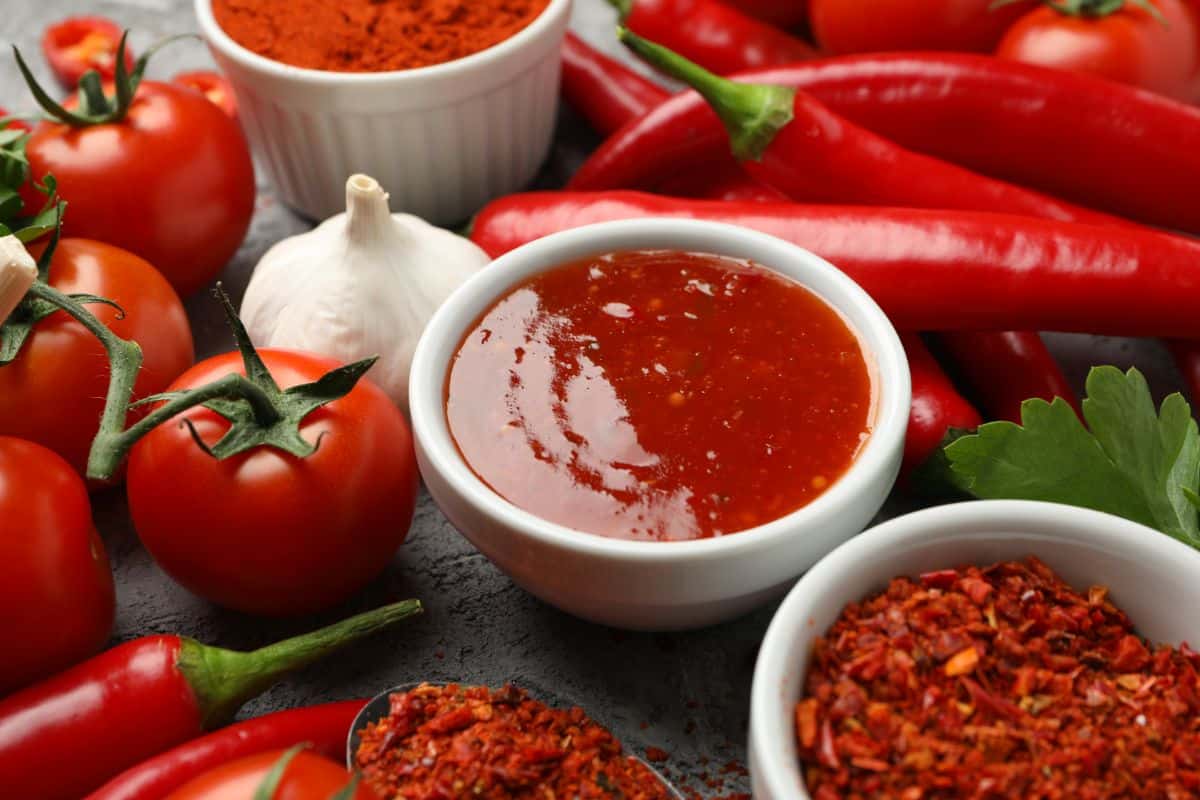
Making your own hot sauce is surprisingly easy, and it opens up a world of opportunity for home chefs and gardeners, allowing you to experiment with ingredients and flavors you’d never find in store-bought sauces. Plus, lacto-fermented hot sauces are rich in gut-healthy probiotics, and they’re a smart way to use up your homegrown peppers too!
If this article on lacto-fermentation has inspired you, you may want to try out our other recipe on how to make homemade sauerkraut with fermented cabbage. And for even more ideas on fermenting your harvest, you can find other vegetables for lacto-fermentation right here.
Fermented Hot Sauce Recipe
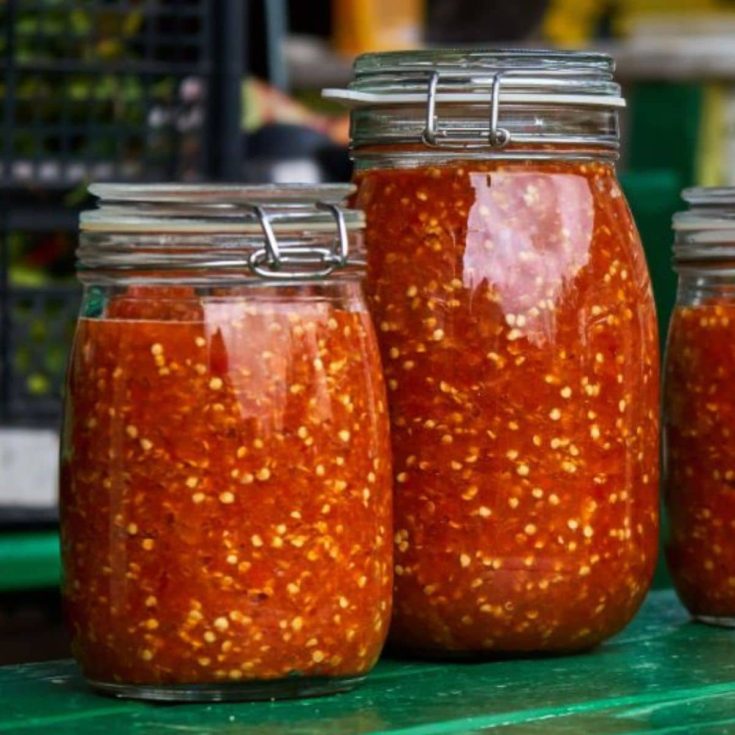
Discover the secret to making your own delicious fermented hot sauce with this easy-to-follow recipe. Spice up your meals in no time!
Ingredients
- 1 pound of chili peppers. You can use different chili peppers for this recipe, but if you don’t like lots of heat, you may want to swap out some of the chili peppers for bell peppers.
- 5 cups of water. For best results, use filtered or bottled water, as tap water contains chlorine that can sometimes interfere with the fermentation process.
- 1 carrot.
- 6 to 8 garlic cloves.
- 2 shallots or ½ of an onion.
- 6 ¼ teaspoons of Himalayan salt or sea salt. Avoid Kosher or table salts in fermentation recipes as they sometimes contain additives that can affect the taste of a ferment.
- 2 quart Mason jars with lids or a fermentation crock. If you don’t have lids, you’ll need a bit of cheesecloth and some rubber bands.
- Other spices to taste (optional). This recipe is delicious on its own, but if you want to experiment with flavors, you can add in other spices, like cumin, smoked paprika, chili powder, cayenne, or coriander.
- 3 tablespoons of apple cider vinegar (optional). While it isn’t necessary, apple cider vinegar will add a little extra tang and some additional probiotics!
- Honey to taste (optional). Honey is also not required, but it can add another dimension of flavor, and it will help you create a more Sriracha-like hot sauce.
Instructions
- Prep your veggies.
- Make your brine.
- Pack your jar.
- Pour in the brine.
- Cover your jar.
- Ferment.
- Blend your hot sauce.
- Enjoy!
Notes
- Once fermented, homemade hot sauces have a long shelf life, and they can last in your fridge for about a year. If you want to keep your hot sauce at room temperature, you can also can hot sauces with water bath canning methods.
- After canning, fermented hot sauces can be stored on your pantry shelf for about a year. However, if you ferment foods for gut health, you may not want to can your ferments as the canning process will kill off the beneficial probiotics in your jar.
- When you’re ready to use your hot sauce, give the bottle a little shake to combine the ingredients before each use.






Leave a Reply