Gardeners and plant enthusiasts have been making wildflower seed balls or seed bombs since at least the 1970s as part of the guerilla gardening movement. However, seed balls are every bit as popular today, and they can be a fun craft to try at home for both adults and children.
Once you’ve made your own seed balls, you can use them to plant in pots or to sow a wildflower garden, and they also make the perfect gift and eco-friendly wedding favors!
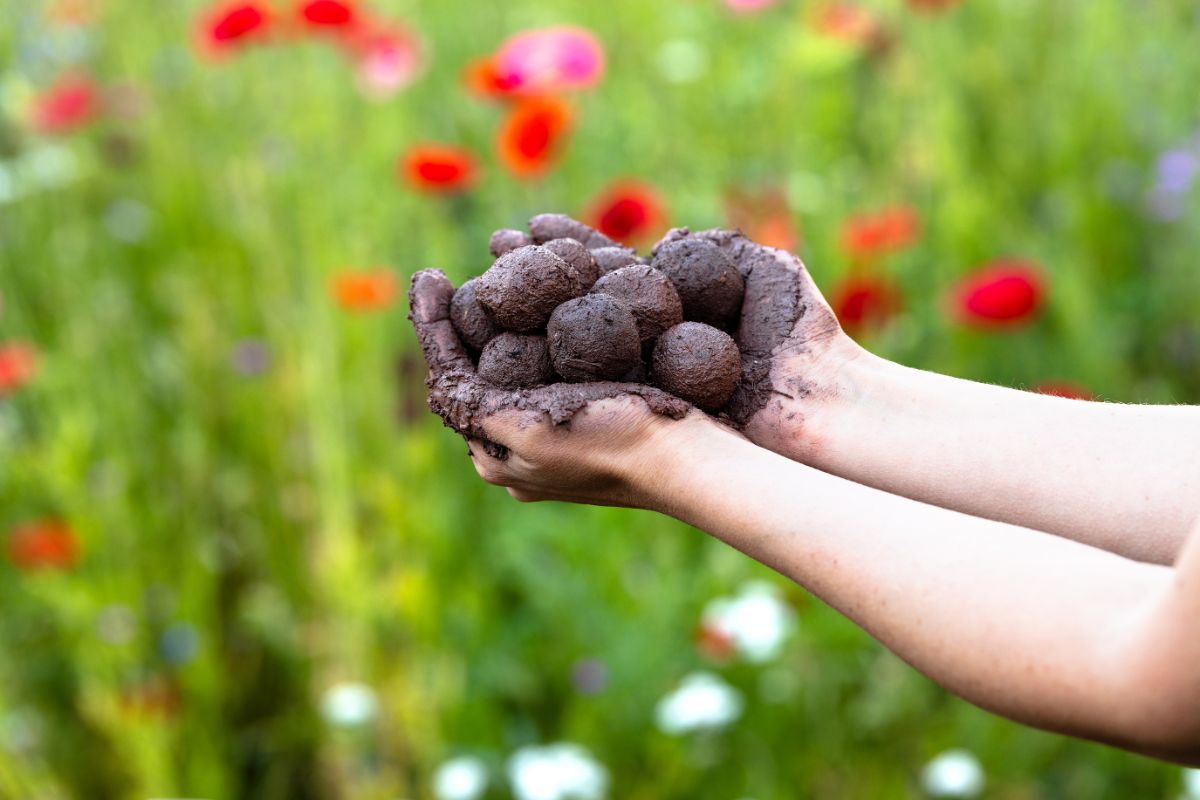
Below, you’ll find everything you need to know to make your own DIY seed balls. From crafting your seed balls to planting your seeds to selecting the right seeds to sow, we’ll walk you through every step you need to take to grow a wildflower garden on the go.
Whether you want to brighten up your garden space or you’re looking to help out pollinators and other wildlife, homemade seed balls will do the trick!
Jump to:
- Why make wildflower seed balls?
- How to make DIY wildflower seed balls in 4 simple steps
- The process:
- Step 1: Add your ingredients.
- Step 2: Pour in water.
- Step 3: Roll your seed balls.
- Step 4: Let dry.
- When to plant wildflower seed balls
- How to plant wildflower seed balls
- What seeds to include in your wildflower seed balls?
- Frequently asked questions
- How often do you water seed bombs?
- Can you use potting soil for seed bombs?
- Do you have to bury seed bombs?
- How many seeds do you put in a seed bomb?
- Can you just throw wildflower seeds?
- What happens if you plant too many wildflower seeds?
- Summary
- DIY Wildflower Seed Balls
Why make wildflower seed balls?
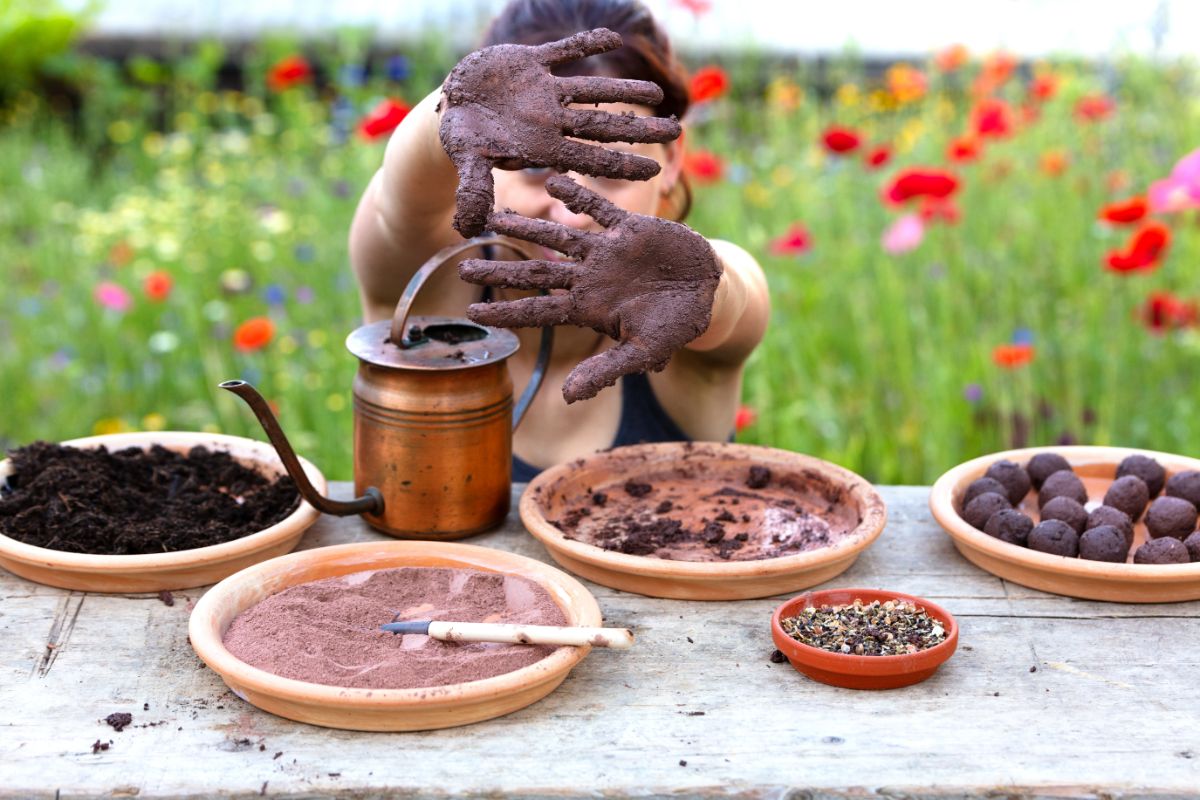
Making wildflower seed balls is a fun activity for gardeners of any age. But DIY seed balls have very real perks, too. Some of the main reasons why you may want to craft seed balls at home include:
- They’re inexpensive. Seed balls can make a big impact, but they don’t require many supplies. To make your own seed balls, you just need clay, compost, and some wildflower seeds, and you may be able to scavenge for these items right in your backyard!
- They’re easy to make. If you can make a snowball, you can make a wildflower seed ball. No matter your age, seed balls are super simple to make, and they’re a great craft for kids who love getting their hands dirty!
- They make sowing seeds in hard-to-reach places a breeze. Out-of-the-way sections of your garden and steep hillsides can be difficult to sow seeds on. But if you have wildflower seed balls, you can simply toss a ball of seeds onto fresh soil, and plants will sprout all on their own!
- They make excellent gifts. Storebought gifts can be expensive, and they’re often not the most eco-friendly choices since most products these days come in plastic packaging. But if you make seed balls, you can cut down on plastic waste and make homemade gifts and even wedding favors with all-natural and biodegradable materials!
- They beautify bland spaces. Seed balls can be made with tons of different native plant seeds, including black-eyed Susan and coneflowers, making them the perfect solution for barren gardens. Just toss a seed bomb in and enjoy the showy display of blooms to come!
- They help out wildlife. Pollinators, like bees and butterflies, often have a hard time finding pollen and nectar sources in urban spaces. But by planting seed balls on the go, you can help build habitat for insects and other critters and counteract the declining pollinator population as well.
How to make DIY wildflower seed balls in 4 simple steps
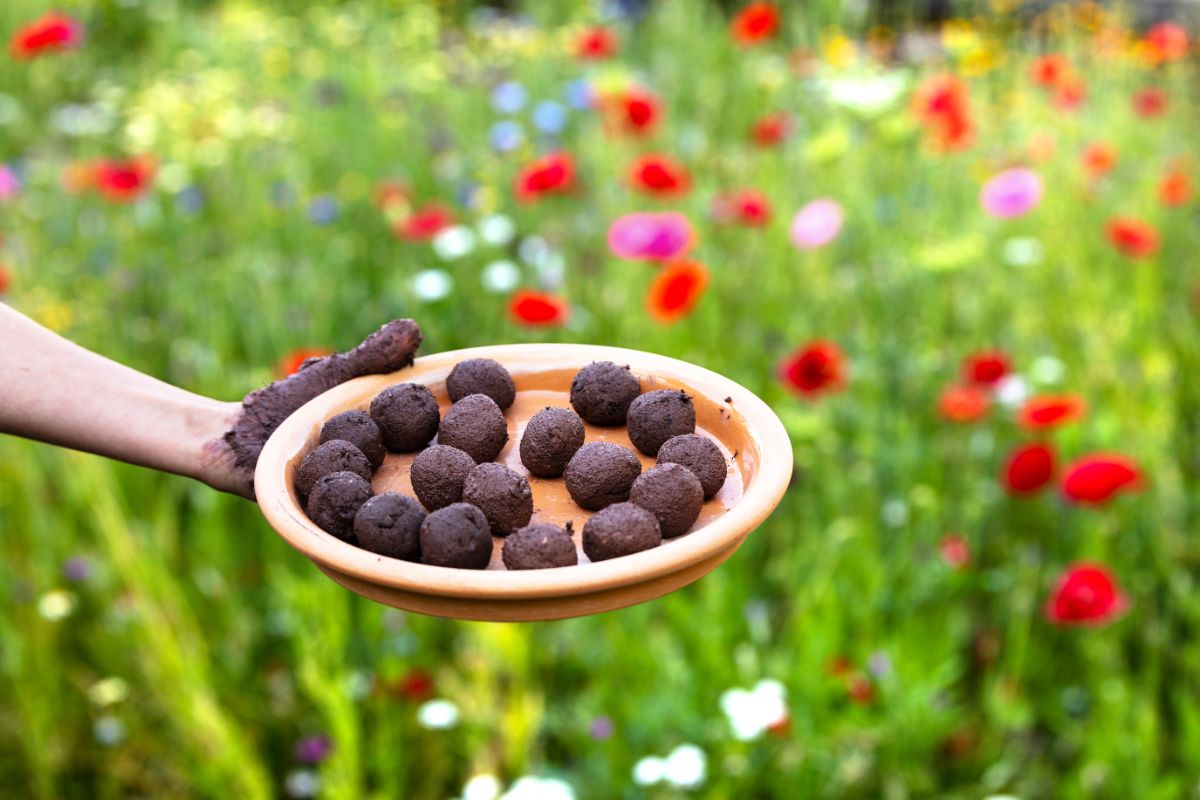
Most of the items you need to make seed balls can be found in nature, but you can also order seed ball supplies online. If you intend to give seed balls as gifts or wedding favors, consider packaging your seed balls up in adorable paper baggies or boxes and decorate them with DIY labels. For an extra special touch, you may want to include the planting instructions listed below with your seed balls so your gift recipients will know how to plant them!
What you’ll need:
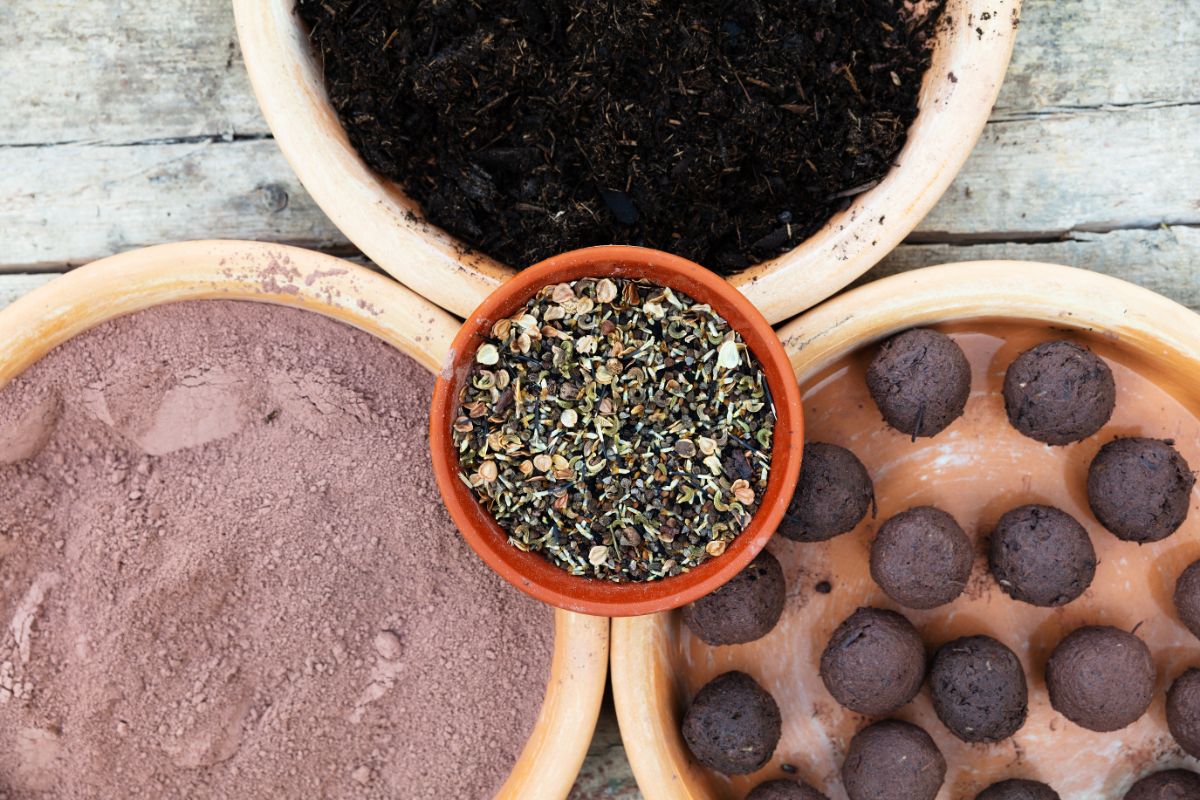
- 1 cup of wildflower seeds.* While you can use different wildflower seeds in your seed balls, we recommend choosing a selection of different seeds. Not all seeds will germinate, but if you include a variety of seeds, you’ll increase the chances that at least some of the seeds will root well!
- 5 cups of organic compost.* If you have a backyard composting system, you can use your own homemade compost to make seed bombs. However, if you don’t have a compost bin just yet, you can also purchase bagged compost online or at local nursery centers.
- 2 to 3 cups of powdered red clay.* Different types of powdered clay can be used to make seed bombs; however, powdered red clay is the most popular variety of clay to use. Some crafters also use air dry clay or bentonite clay (which is commonly sold at beauty stores to make face masks), but you can also use clay scavenged from your garden if you have heavy clay soil.
- Water.
- Mixing bowl.
- Baking sheet.
- Wax paper.
*Tip: If you’d like to make lots of seed bombs, you can always scale this recipe up (or down!) by just increasing (or decreasing) the measurements of seeds, clay, and compost!
The process:
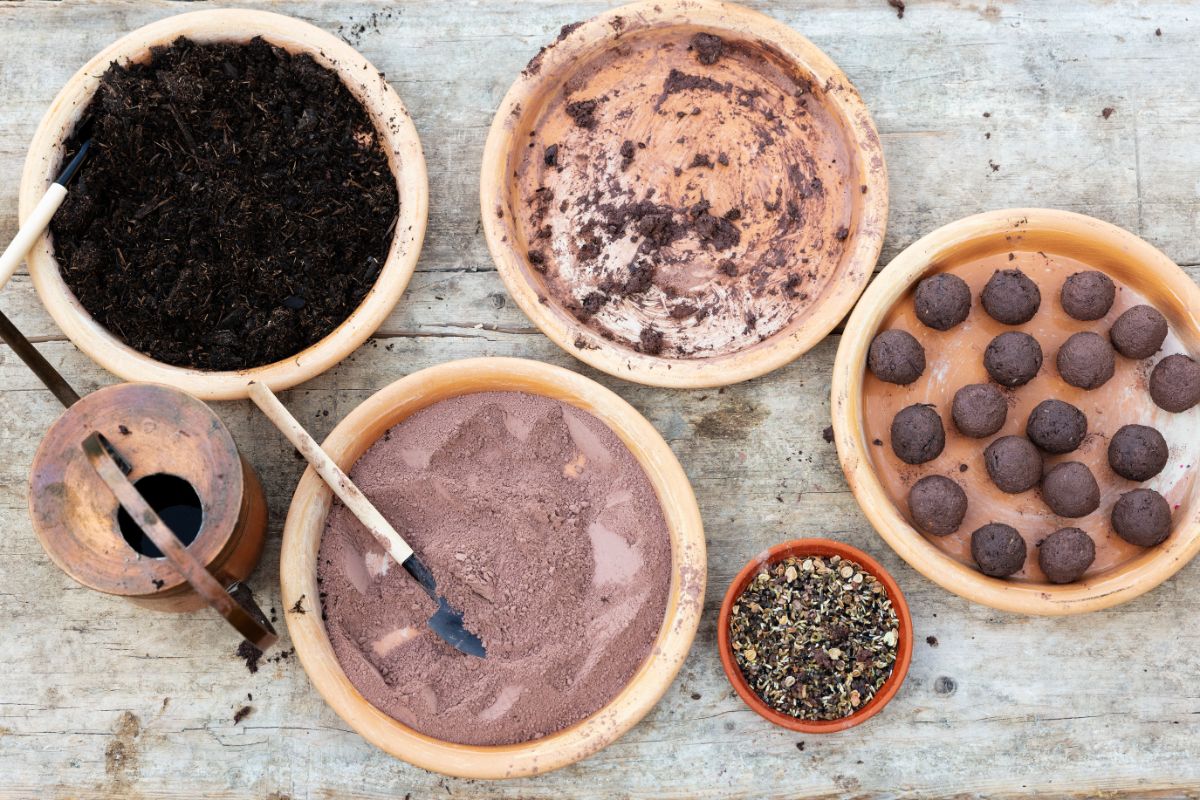
Step 1: Add your ingredients.
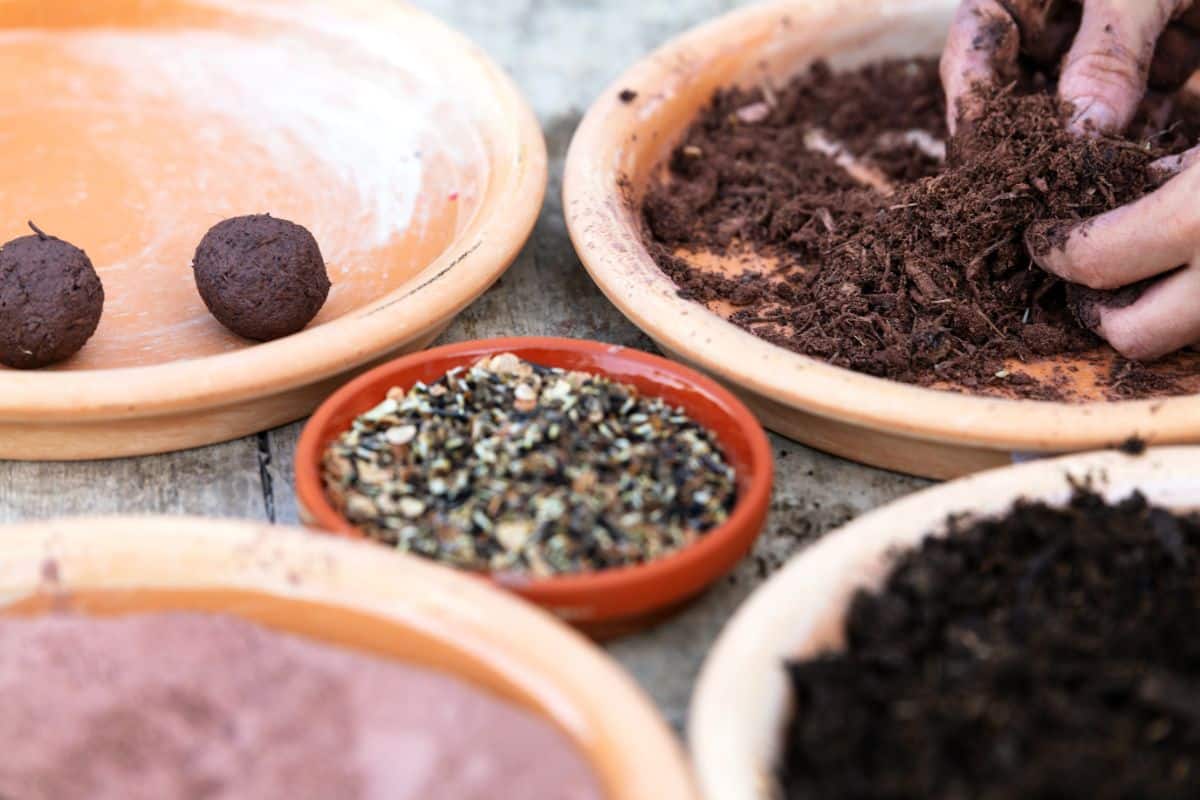
To get started making your seed balls, first add your dry ingredients (including the seeds, clay, and compost) to your mixing bowl and give everything a good stir. Mixing your ingredients ensures your seeds will be evenly distributed across every seed ball you make. But more than that, mixing your seeds and clay together will help make wildflower seeds less appealing to seed-eating birds that might gobble up your seed balls before they root!
Step 2: Pour in water.
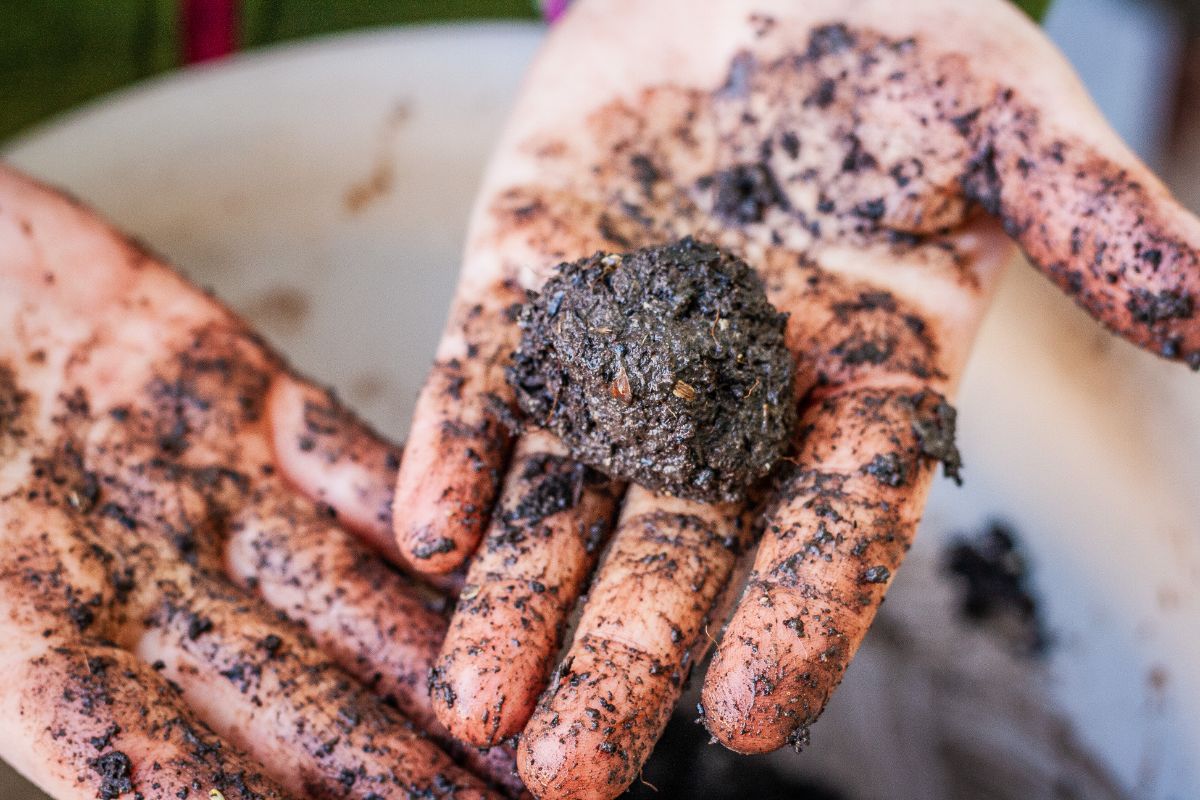
Once your dry ingredients are well combined, slowly pour in your water and blend the mixture together. You’ll want your seed ball mixture to be moist enough that it clumps together easily but not so wet that it doesn’t hold together well. Aim for a consistency that’s akin to very thick peanut butter or playdough.
Step 3: Roll your seed balls.
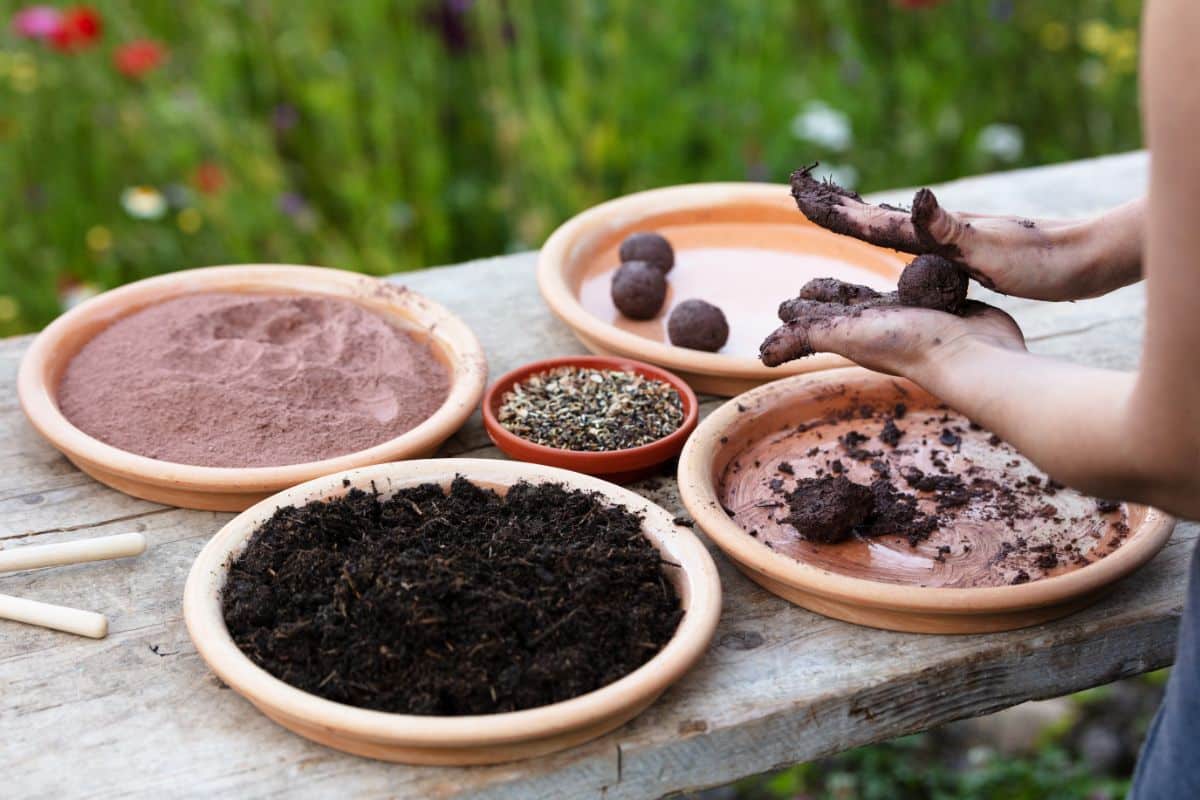
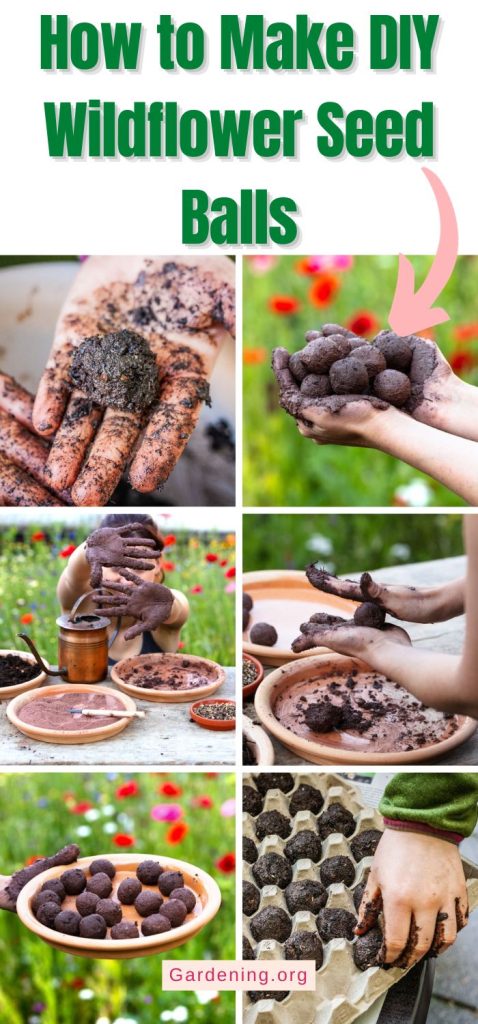
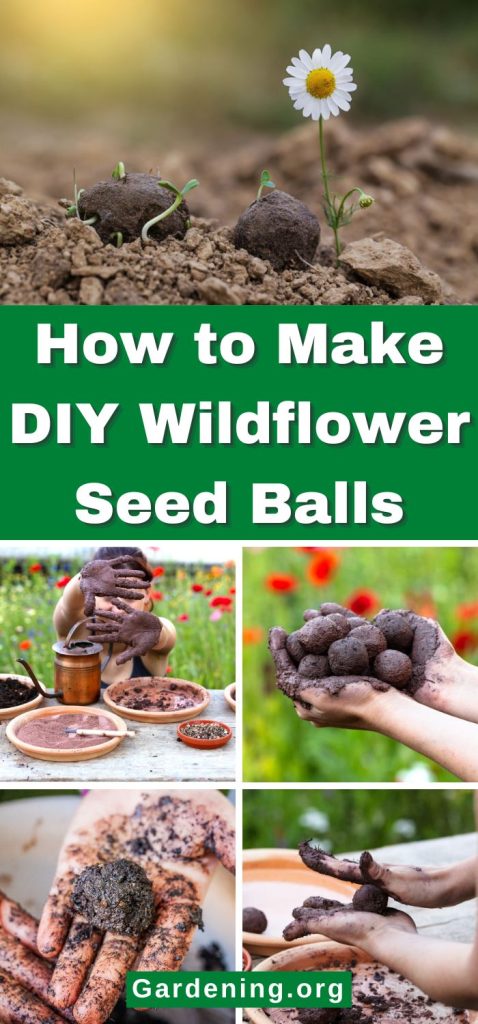
After combining your ingredients, roll your seed mixture into evenly shaped balls. Seed balls can be made in different sizes, but balls that are approximately the size of ping-pong balls or golf balls tend to work quite well. When your balls are all rolled out, place them on your baking sheet so they’re not touching, and use a sheet of wax paper if you want to be doubly sure the balls don’t stick.
Step 4: Let dry.
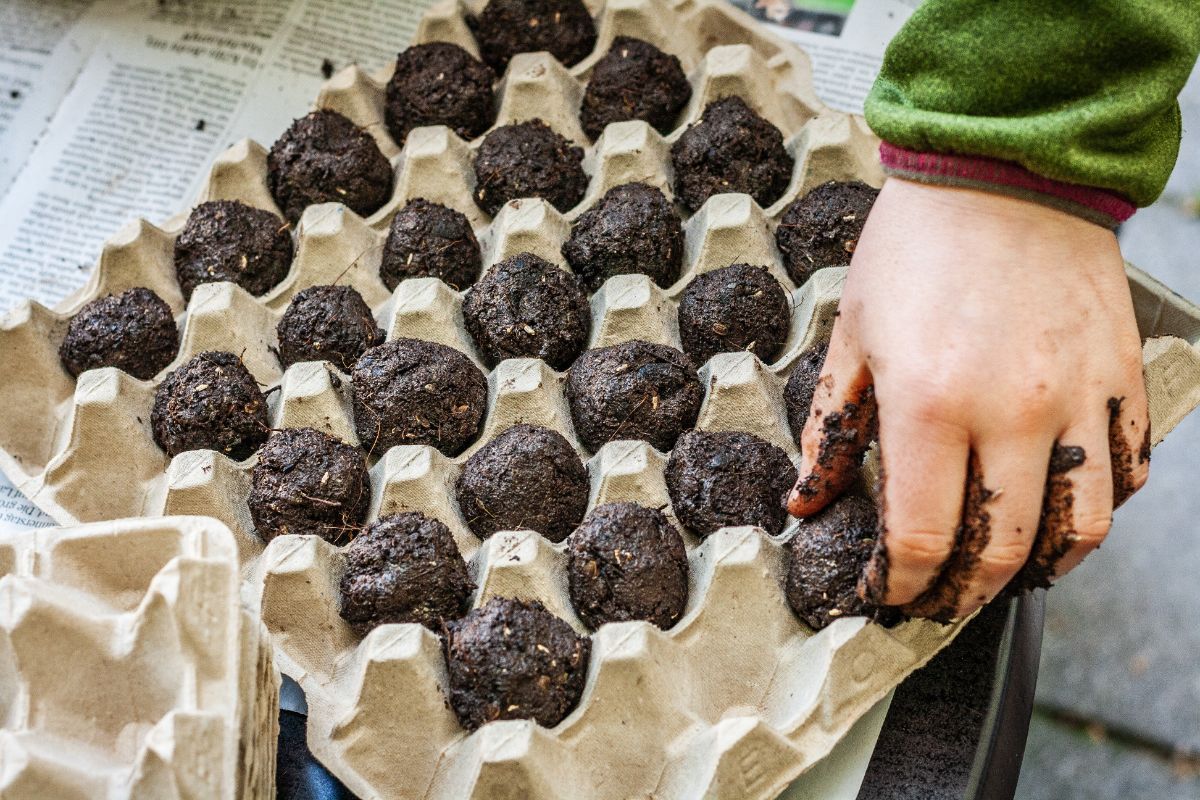
When your seed balls are finished, move your seed ball tray to a warm, dry, and sunny spot (like a sunny front porch) and allow them to dry for a day or two.
While your seed balls are drying, be sure to shelter your seed balls from the weather and bring your balls indoors if rain is on the forecast. If you’re experiencing a rainy spell in your garden, you can also dry seed balls indoors, but it may take a bit longer.
Your seed balls will be finished when they’re completely dry to the touch. If you plan on packaging your seed balls up to give as gifts, it’s important to get all of the moisture out of your seed balls so they don’t start to mold. However, if you’re planning on immediately throwing your seed balls into your own garden, you won’t need to be as fussy about completely drying them, although they should be as dry as possible!
Tip: Excess moisture is the enemy of seed bombs! That’s why seed bombs should be stored in a cool, dry place that’s out of direct sunlight until you’re ready to plant them.
When to plant wildflower seed balls
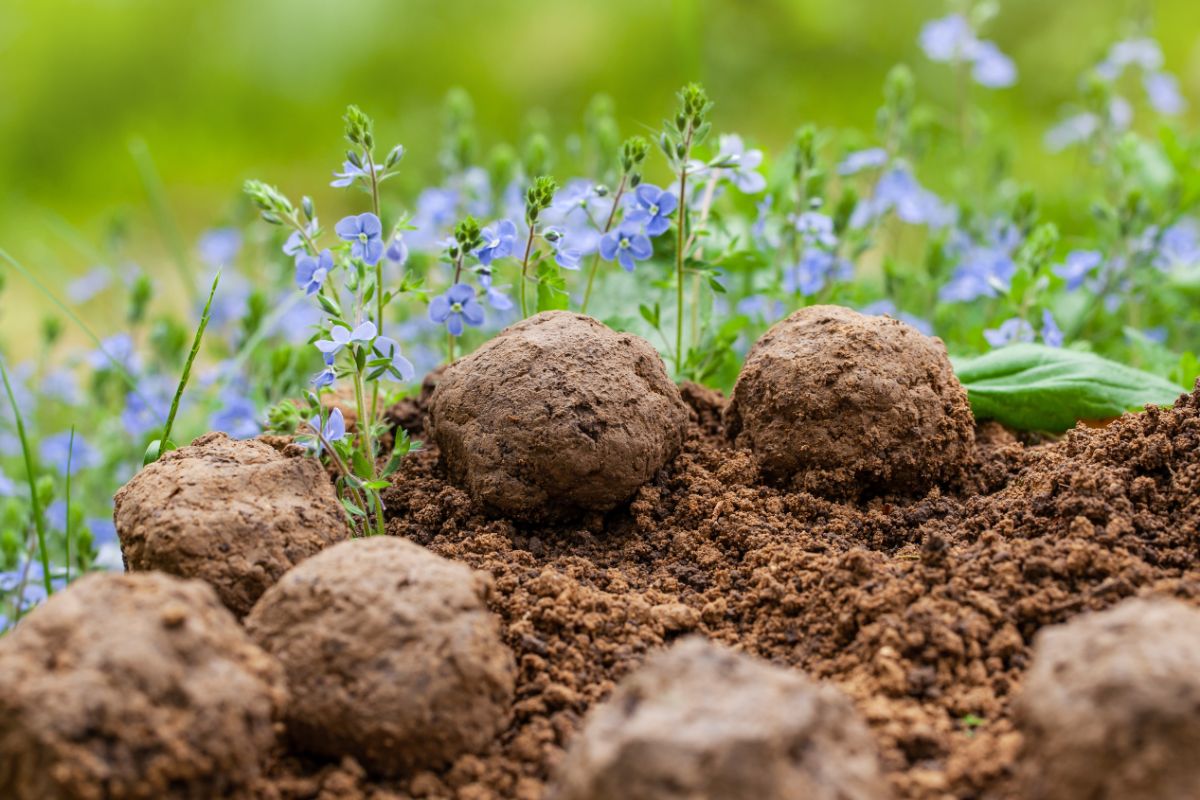
The best time to plant wildflower seed balls is either in spring or autumn when temperatures are cool. Spring planting works well for many types of annuals and perennials, although perennials and native plant seeds that need to be cold-stratified to germinate will grow best if they’re planted in fall. Seed balls can also be sown in summer, but this is trickier as high temperatures and low rainfall can reduce germination rates and make seed balls less successful.
Aside from seasonal considerations, it’s also wise to sow seed balls immediately before a heavy rain. Once seed balls are exposed to moisture; they’ll quickly break down into soil, releasing compost that will boost soil fertility levels and help seeds germinate faster. Seed balls will also disperse their seeds when they become moist, and the extra water from rain will give wildflower seeds the jumpstart they need to sprout!
How to plant wildflower seed balls
Sowing seed balls isn’t tricky, and anyone can do it. On the most basic level, if you want to plant a seed ball, all you need to do is chuck the seed ball onto a spot of earth and wait for it to germinate. However, if you want to boost germination rates, there are a few other steps you can take to make sure your seed balls sprout.
While seed balls can be thrown into fields and barren patches of your garden, they’ll sprout better if you prepare the earth first by removing weeds and other debris and raking the dirt so it’s nice and fluffy. You can also give your seed balls a boost by mixing some extra compost into the soil before sowing your seed balls, but this isn’t usually necessary. If you don’t want to throw your seed balls, you can also break seed balls apart and plant them in pots or garden beds; it’s up to you!
The beauty of seed balls is that they can be planted just about anywhere, including hard-to-reach areas. However, you will always want to follow local ordinances when dispersing seed bombs and don’t throw seed bombs on private property or protected parks, as this can be illegal. If you do your research before planting seed bombs, you shouldn’t run into any trouble, but if you’re in doubt about planting spots, you can always plant seed balls on your own property!
What seeds to include in your wildflower seed balls?
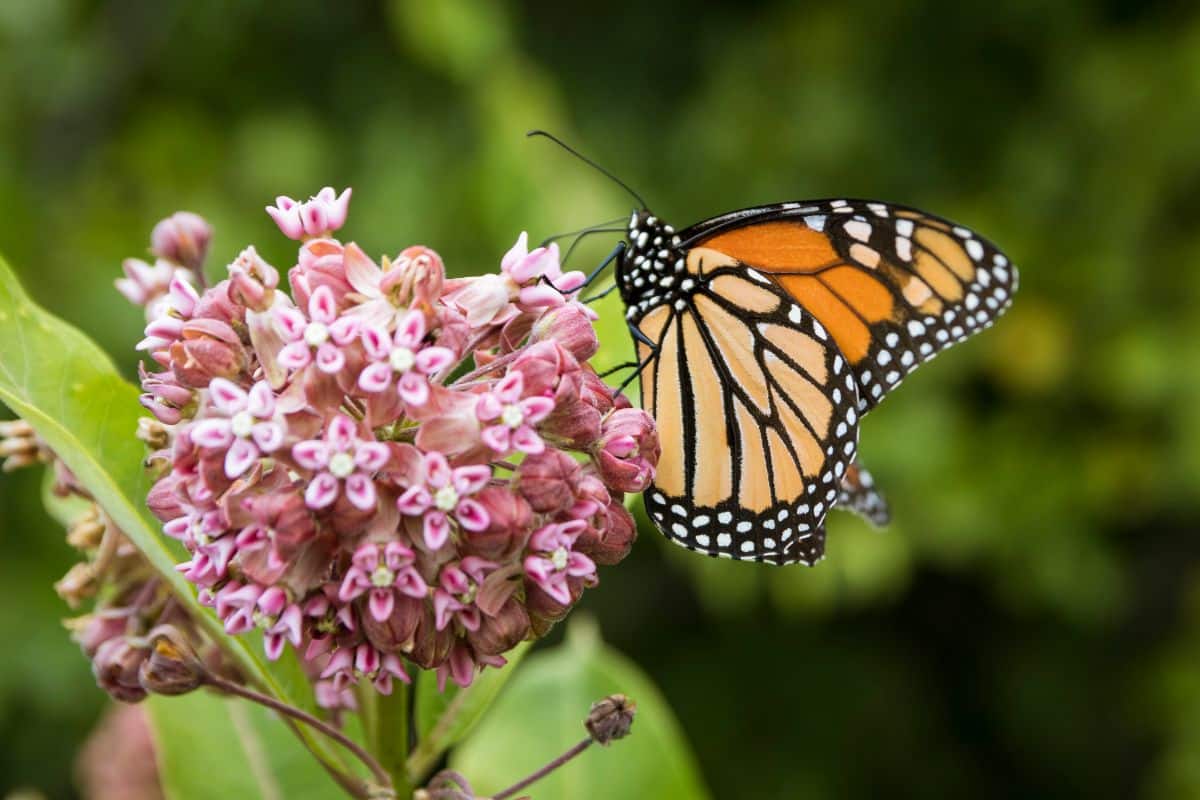
Many different annual and perennial seeds can be included in seed bombs, but the best seeds to use if you want to benefit pollinators are seeds from native plants. You can either purchase seeds in bulk to use in your seed bombs, or you can gather your own seeds from your garden or when you take nature walks and use those found seeds in your crafting. Just be careful to double-check that you don’t use any seeds from plants that grow aggressively or invasively.
Depending on where you intend to throw your seed bombs, you may also want to consider the light and watering needs of the plants you’d like to grow. If you want to throw seed bombs in a shady garden, it’s best to use seeds from shade-loving plants, while seeds from water-loving plants can make fine additions to boggy areas and rain gardens. Keep in mind that plants that need full sun should receive about 6 to 8 hours of light daily while shade-loving plants can develop leaf scorch and other issues if they’re grown in bright light.
While there are tons of other plants you can use in seed bombs, some popular plant picks include:
- Coneflower
- Black-eyed Susan
- Aster
- Chamomile
- Red clover
- Calendula
- Zinnias
- Bee balm
- Cosmos
- Milkweed
- Butterfly weed
- Anemone
- Borage
- Sunflower
Frequently asked questions
How often do you water seed bombs?
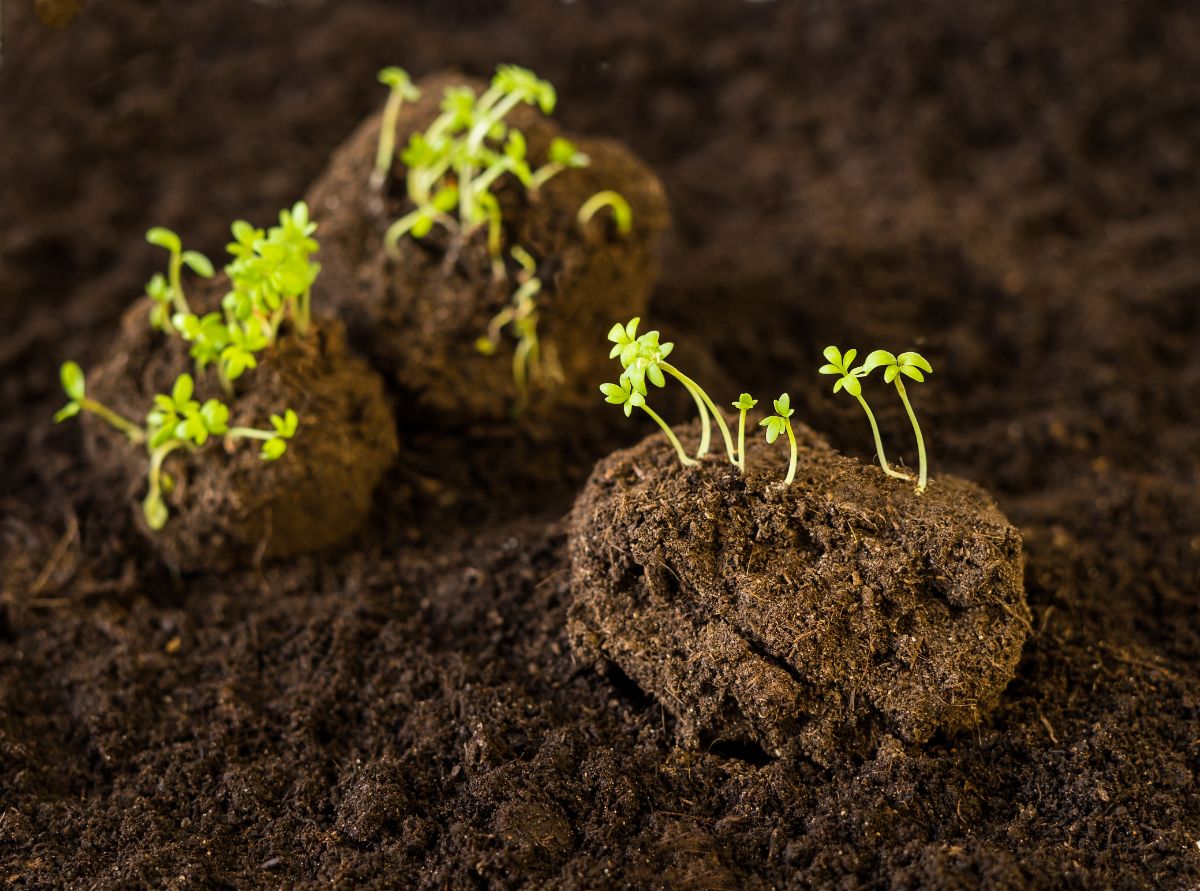
If you use native wildflower seeds in your seed bombs, you shouldn’t really need to water your seed bombs at all. As long as you sow your seed bombs before a rain, nature should do all of the watering for you! However, if you want to boost your germination results or if you’re growing seed bombs in a pot, you can water your seed bomb planting area about once a week to keep the soil consistently moist.
Can you use potting soil for seed bombs?
Yes, you can! If you don’t have any compost on hand, you can always use potting soil to make your seed bombs. However, because compost contains lots of plant nutrients, seed bombs made of compost may help seeds germinate even better.
Do you have to bury seed bombs?
No. In fact, in most cases, you shouldn’t bury seed bombs at all! Many wildflower seeds need light to germinate, and if you sow seeds too deeply, they won’t sprout.
How many seeds do you put in a seed bomb?
You can put as many seeds in your seed bombs as you like, or you can make seed bombs with just a seed or two. Keep in mind that not all seeds will germinate, so it’s usually a good idea to use more wildflower seeds than you think you’ll need. As long as your seed bomb mixture sticks together well and can be shaped into balls, you’re good!
Can you just throw wildflower seeds?
Yes, you can! While DIY seed bombs can be rewarding to make, if you don’t want to get your hands dirty with compost and clay, you can plant wildflower seeds just by scattering seeds over prepared earth. For best results, rake the planting area clear of grass and debris and stir in a bit of compost prior to planting to give your seeds an extra boost.
What happens if you plant too many wildflower seeds?
You don’t need to worry too much about “overstuffing” your seed bombs. If too many wildflower seeds are planted close together, they will still germinate, but some seeds will outgrow others, and the lower-growing seeds will be smothered out. This can be a waste of seeds, but it won’t cause any other significant problems.
Summary
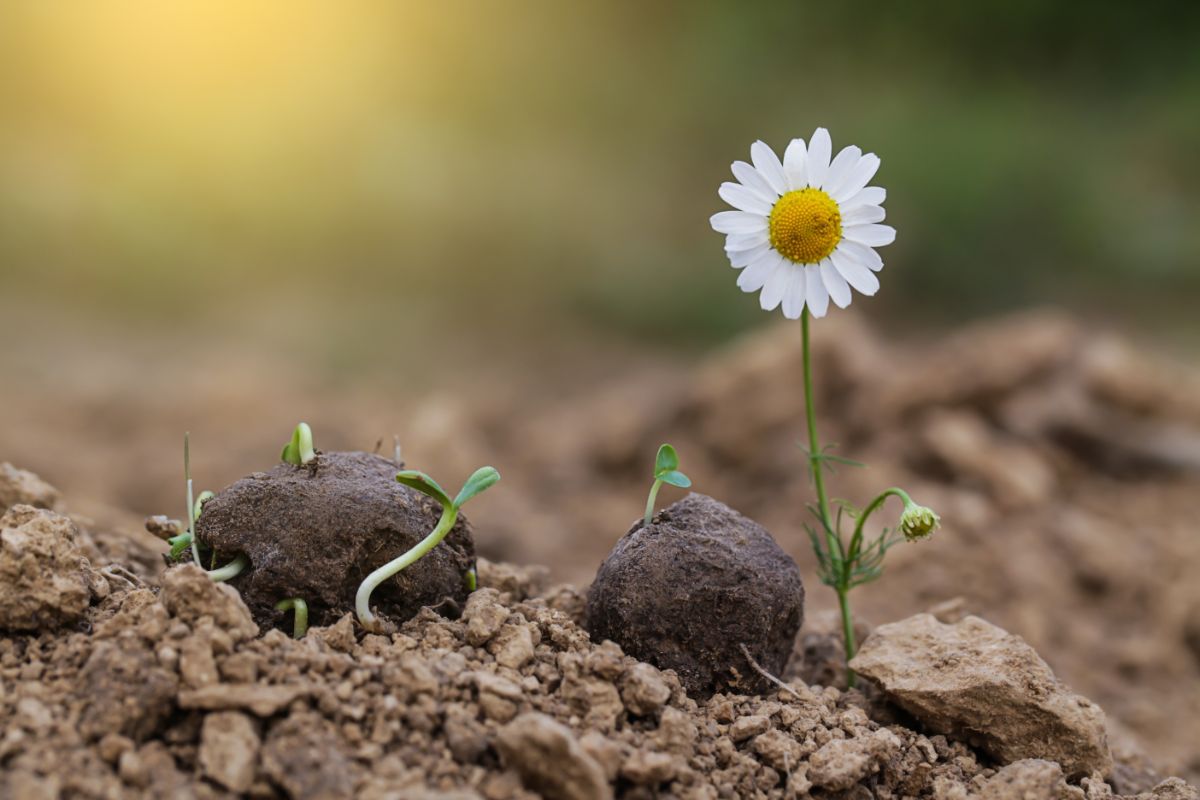
Whether you’re looking for an easy craft for kids or you want to rewild your backyard, there are so many wonderful reasons why you may want to try your hand at making seed balls. When properly stored, seed balls can be kept over the winter and planted in spring, or you can plant them as soon as you make them. Just give your seed ball a gentle toss into your lawn, garden, or another wild space, and let your wildflower seeds do the rest!
If you’re interested in collecting your own seeds to use in seed bombs, check out our guide on perennial and biennial plants for seed saving. Most of the seeds from these plants would be appropriate for seed bomb crafting, but you may also want to try seeds from some of these bee-friendly plants as well!
DIY Wildflower Seed Balls
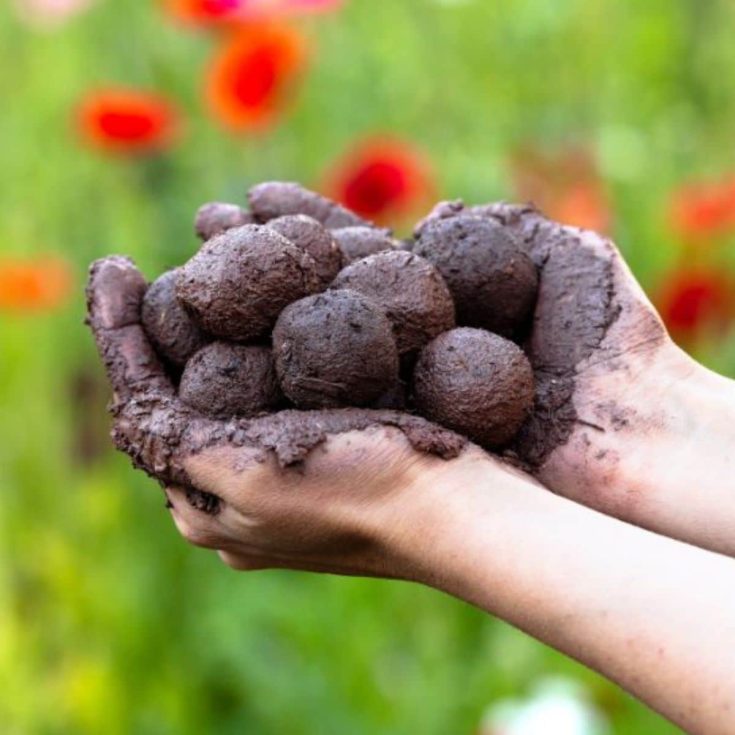
Create your own beautiful wildflower garden with these DIY seed balls. This step-by-step guide will show you how to make them at home!
Materials
- 1 cup of wildflower seeds
- 5 cups of organic compost
- 2 to 3 cups of powdered red clay
- Water
Tools
- Mixing bowl
- Baking sheet
- Wax paper
Instructions
- Add your ingredients. First, add your dry ingredients (including the seeds, clay, and compost) to your mixing bowl and give everything a good stir. Mixing your ingredients ensures your seeds will be evenly distributed across every seed ball you make.
- Pour in water. Once your dry ingredients are well combined, slowly pour in your water and blend the mixture together. You’ll want your seed ball mixture to be moist enough that it clumps together easily but not so wet that it doesn’t hold together well. Aim for a consistency that’s akin to very thick peanut butter or playdough.
- Roll your seed balls. After combining your ingredients, roll your seed mixture into evenly shaped balls. Seed balls can be made in different sizes, but balls that are approximately the size of ping-pong balls or golf balls tend to work quite well. When your balls are all rolled out, place them on your baking sheet so they’re not touching.
- Let dry. When your seed balls are finished, move your seed ball tray to a warm, dry, and sunny spot (like a sunny front porch) and allow them to dry for a day or two.
Notes
- Excess moisture is the enemy of seed bombs! That’s why seed bombs should be stored in a cool, dry place that’s out of direct sunlight until you’re ready to plant them.
- If you’d like to make lots of seed bombs, you can always scale this recipe up (or down!) by just increasing (or decreasing) the measurements of seeds, clay, and compost!

Leave a Reply