If you’re new to canning or you’ve just joined some canning groups online, you might be confused with all the talk about canning supplies. You may be virtually socializing with some very well-versed and experienced canners, but there may be times when that leaves you with more questions than answers.
It’s often taken for granted that people know what we’re talking about when we talk about canning or presenting a new recipe. We assume people know what the terminology is when that’s not always the case.
At some point, everyone is a beginner, and you won’t know until you know. So, let’s get you in the know.
Jump to:
- Canning by Another Name (or Names)
- The Two Main Types of Canning
- What can be water bath canned, and what should be pressure canned?
- What foods are high acid, and what foods are low acid?
- What method should beginner canners start with?
- The Most Common Basic Canning Supplies
- Boiling Water Bath Canner
- Pressure Canner
- Canner Rack
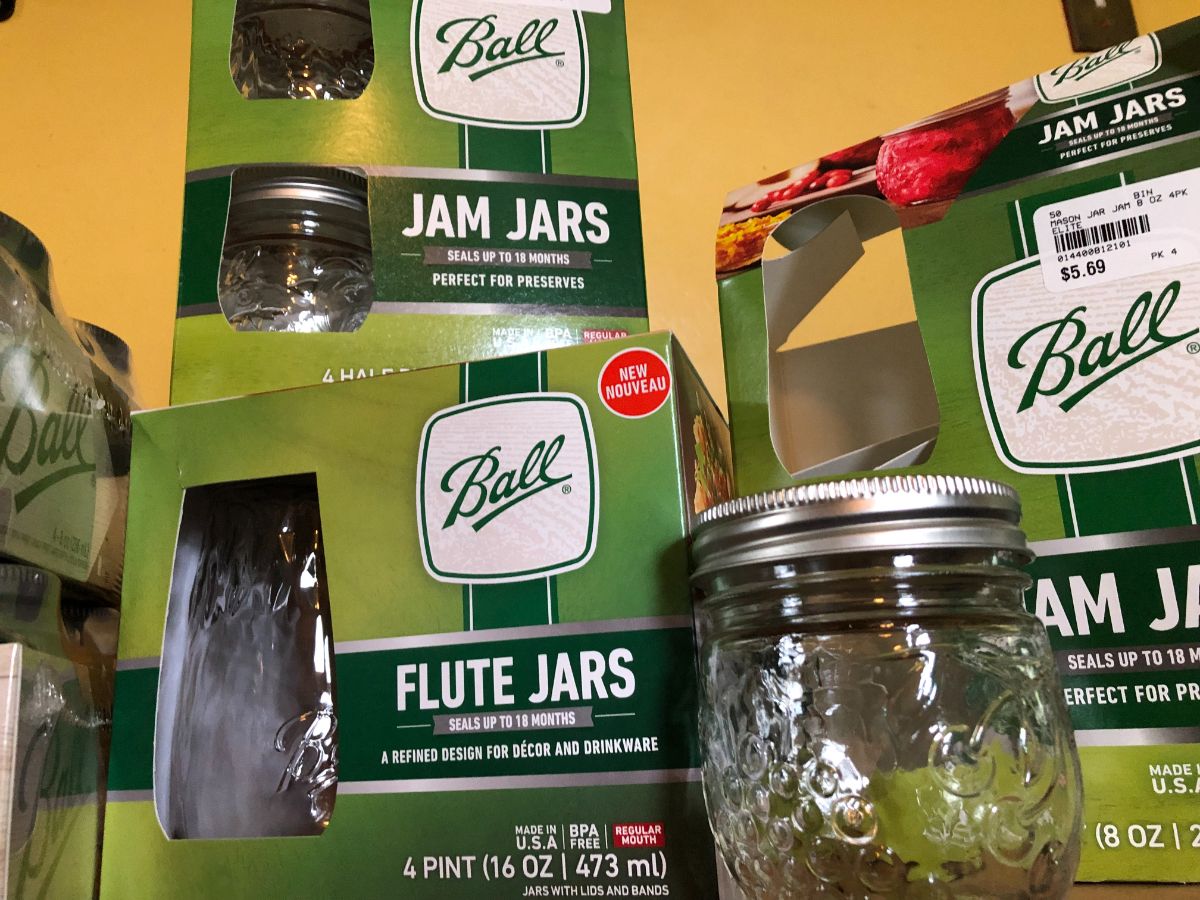
- Canning Jars
- Lids or Caps
- Rings
- Two-Piece Lids and Rings
- Jar Funnel or Canning Funnel
- Tongs
- Magnet Wand
- Jar Lifter
- Spatula (non-metallic)
- Jelly Bag
- Cheesecloth
- Food Mill
- Scale
- Timer
- Other Kitchen Utensils and Equipment to Have on Hand
- Some Helpful Canning Terms Worth Knowing:
- Canning Equipment Shopping Links
- Canning Questions? Please Ask!
Canning by Another Name (or Names)
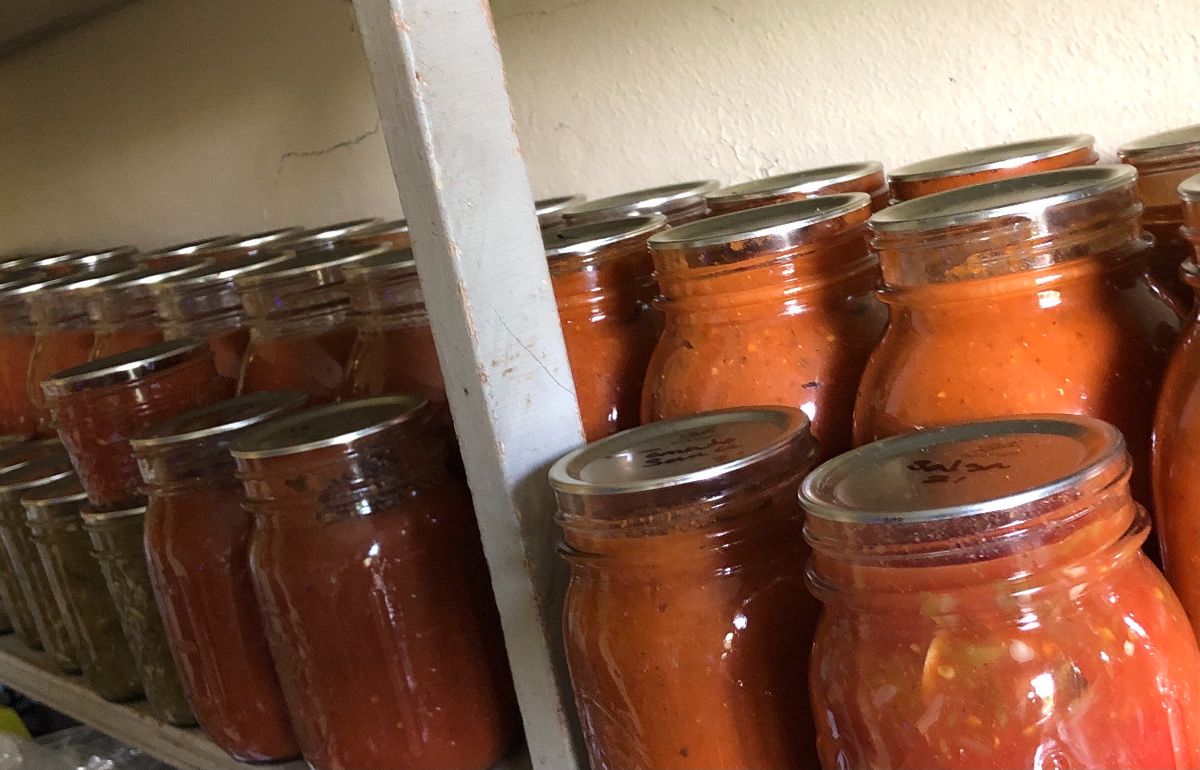
By canning, we are referring to the practice of preserving foods by packing it in jars with water, a simple sugar syrup, or a salt-based pickling brine, and heat treating the packed food to make the jars create a vacuum seal that is air-tight so that the food is shelf stable.
The heat treatment happens in boiling or steaming water, depending on the type of canning and canner you choose to use. It is the combination of proper preparation and packing, high temperatures, processing times, and creating a vacuum during processing that makes the food safe for shelf storage. It does this by creating an environment that bacteria and pathogens cannot live in.
The most common foods to be canned are fruits and vegetables, though meat and other foods may be canned, too. This article is directed mostly to the canning and preserving of fruit and vegetables, but the supply list would be mostly the same for meat, seafood, poultry, or prepared foods (like soups, etc.).
Canning is the term used in the United States and some other countries. It is not the only term for preserving in jars with a heat process, though. Different countries have different terms for canning. Other terms for canning include bottling, jarring, preserving, or processing.
The Two Main Types of Canning
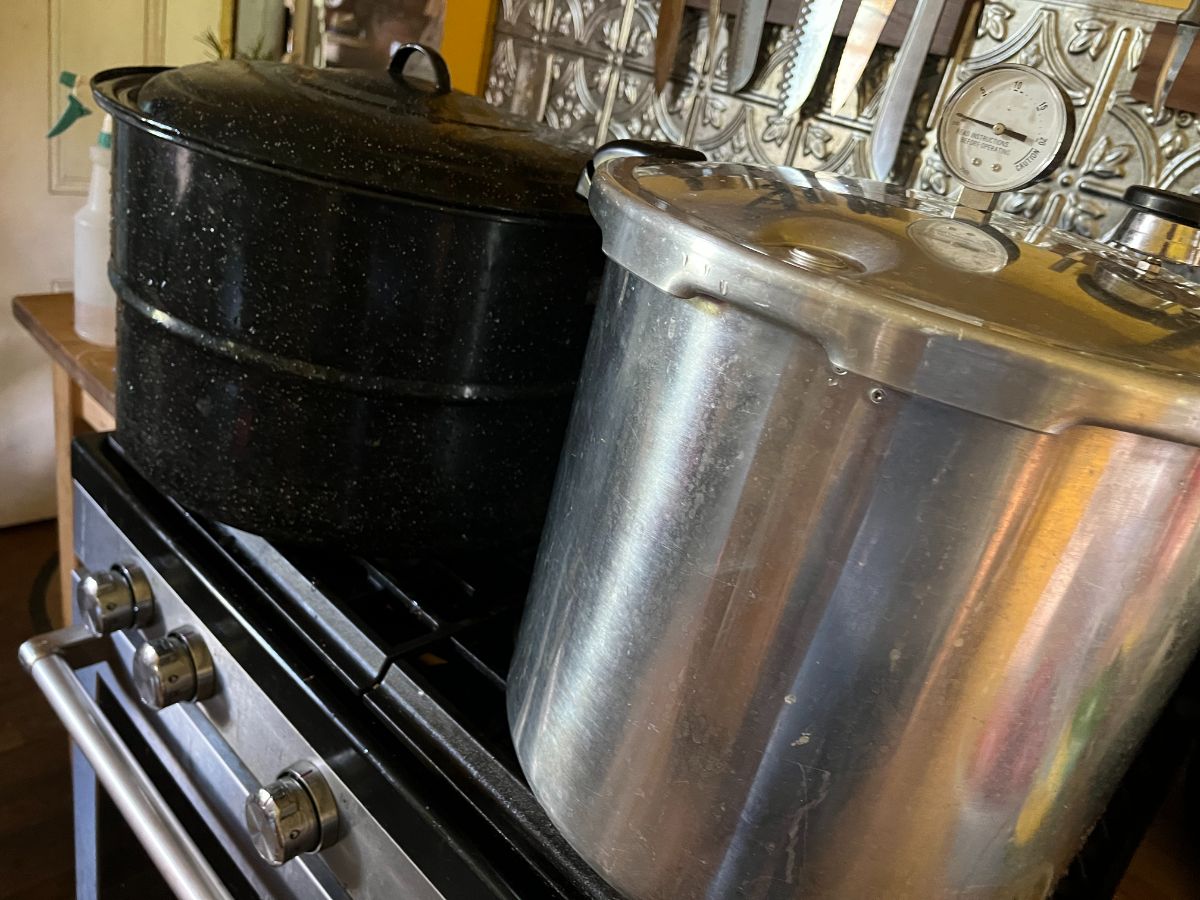
There are two types of canning that most people use. They are water bath canning and pressure canning.
Both water bath canning and pressure canning are widely used in the United States because the National Center for Home Food Preservation maintains that pressure canning must be used for certain types of food—most vegetables (unless pickled) and all meat and fish.
Other countries are less stringent about pressure canning, and pressure canners are not very popular, though the tide might be starting to turn on that score. For this reason, it can be more difficult—but not impossible—to buy a pressure canner in the UK and other countries.
Many countries in which pressure canning is not mainstream rely more heavily on freezing and dehydrating. They use these methods for those foods which, for safety reasons, should not be canned in a water bath canner. Both are very good options, and there is nothing wrong with them; they’re just not canning.
What can be water bath canned, and what should be pressure canned?
If you are not sure what to can under pressure with a pressure canner and what can be safely canned in a water bath canner, follow your recipe’s instructions or consult a reputable resource.
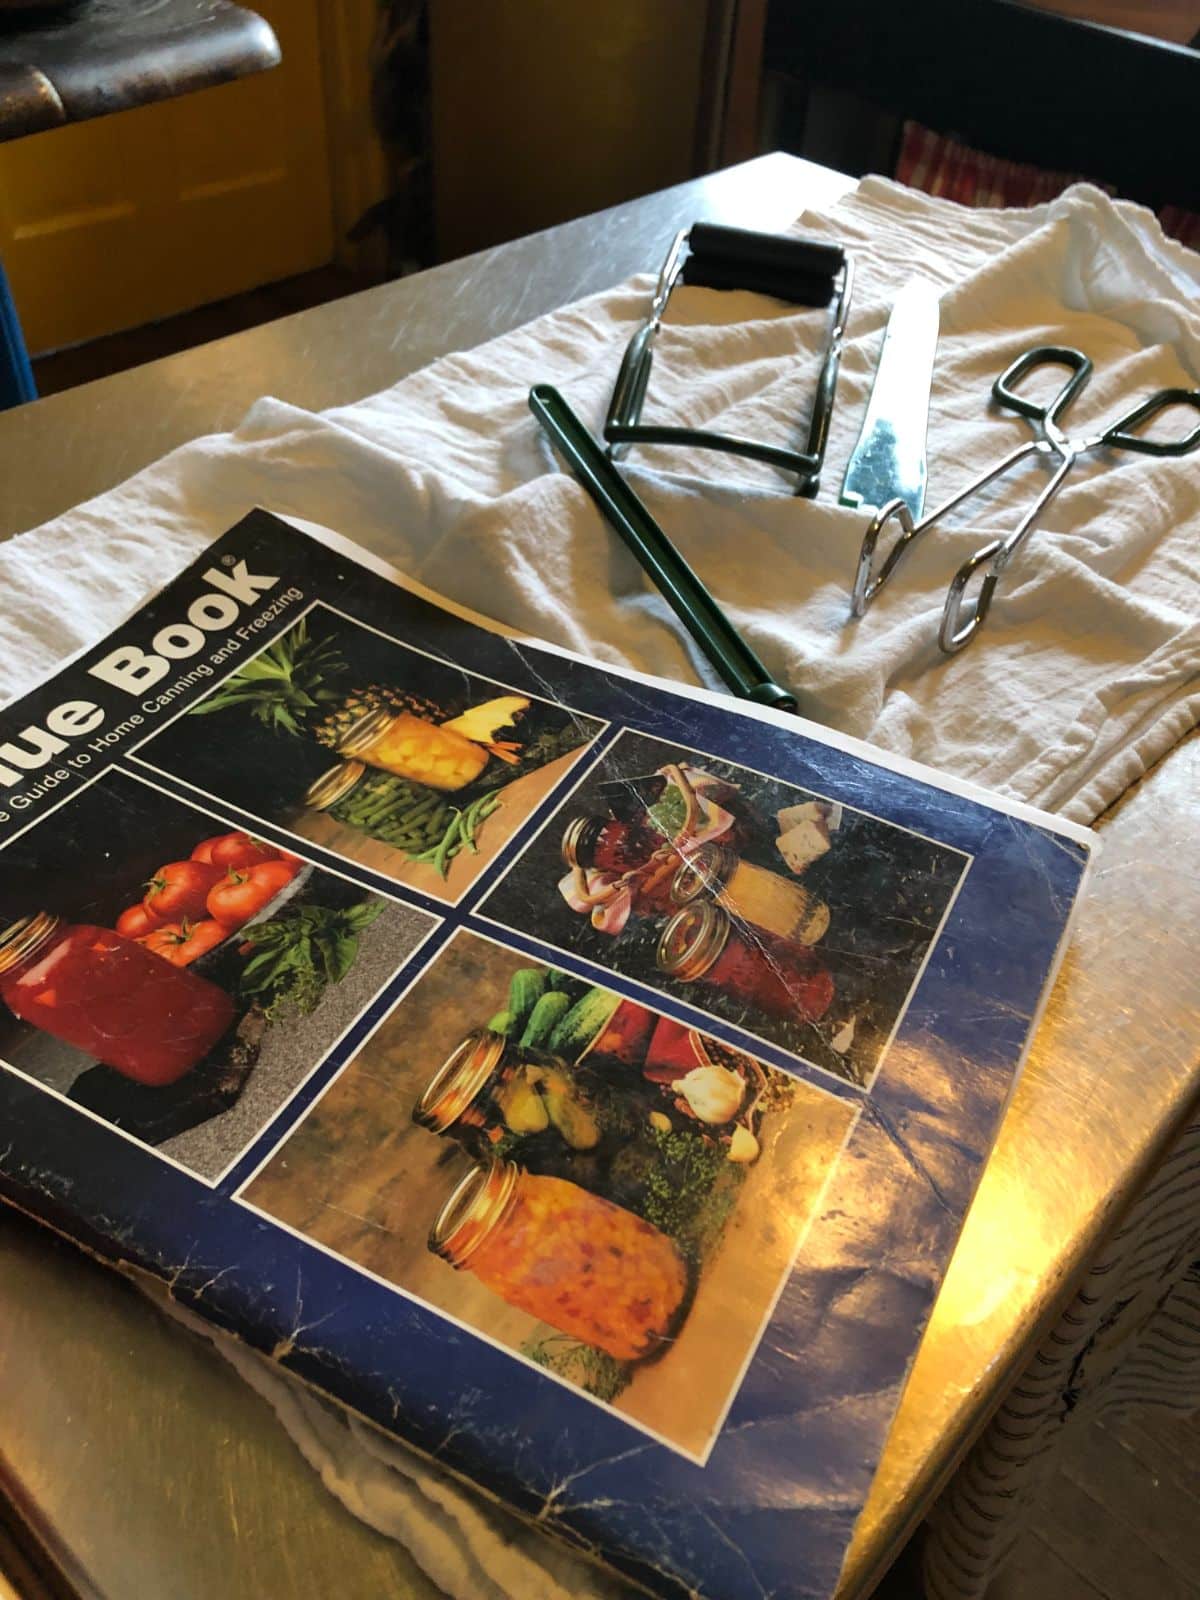
The Ball Blue Book Guide to Preserving has long been held as the “Bible” of home canning. It is a compact but comprehensive resource that lists detailed instructions for all sorts of canning, includes many recipes, and will list what type of canning to use for every type of cannable food. It is a good resource for beginning canners and one that is continually consulted, even by seasoned and well-experienced canners.
The right choice of canner comes down to the acidity of the food.
Food with high acid content can and usually should be water bath canned (which is a cheaper and easier method anyway). Not to confuse things too much, but if you are using low-acid food in a high-acid recipe, then you can preserve that food with a water bath method.
The most common example of this is pickles or pickling. For example, cucumbers are a low-acid food, but when canned in a high-acid vinegar-based pickling brine, they are now a high-acid food and would usually be water bath canned. The much-loved “Dilly Beans” is another popular example. These are whole green beans or yellow beans that are canned in a pickling brine. Generally speaking, pickles are safe to can in a water bath canner.
Foods with low acid levels need to be canned in a pressure canner—it's the only way to heat the food high enough to destroy harmful pathogens, in particular, the pathogen that causes botulism.
One final note—if you have instructions to do so, high-acid foods can be canned in a pressure canner, but you cannot can low-acid foods in a water bath canner. Think of pressure canning as a step above in terms of heat and processing. You can use the higher process for foods that don’t technically need it, but you cannot use the lower heat of water bath canning for foods that need to be pressure canned.
That said, you may prefer the outcome of water bath canning for many of the foods that are traditionally water bath canned, so you may want to stick with water bath canning for those foods anyway.
What foods are high acid, and what foods are low acid?
In general, fruits and berries are high-acid foods. Vegetables and meats are low-acid foods.
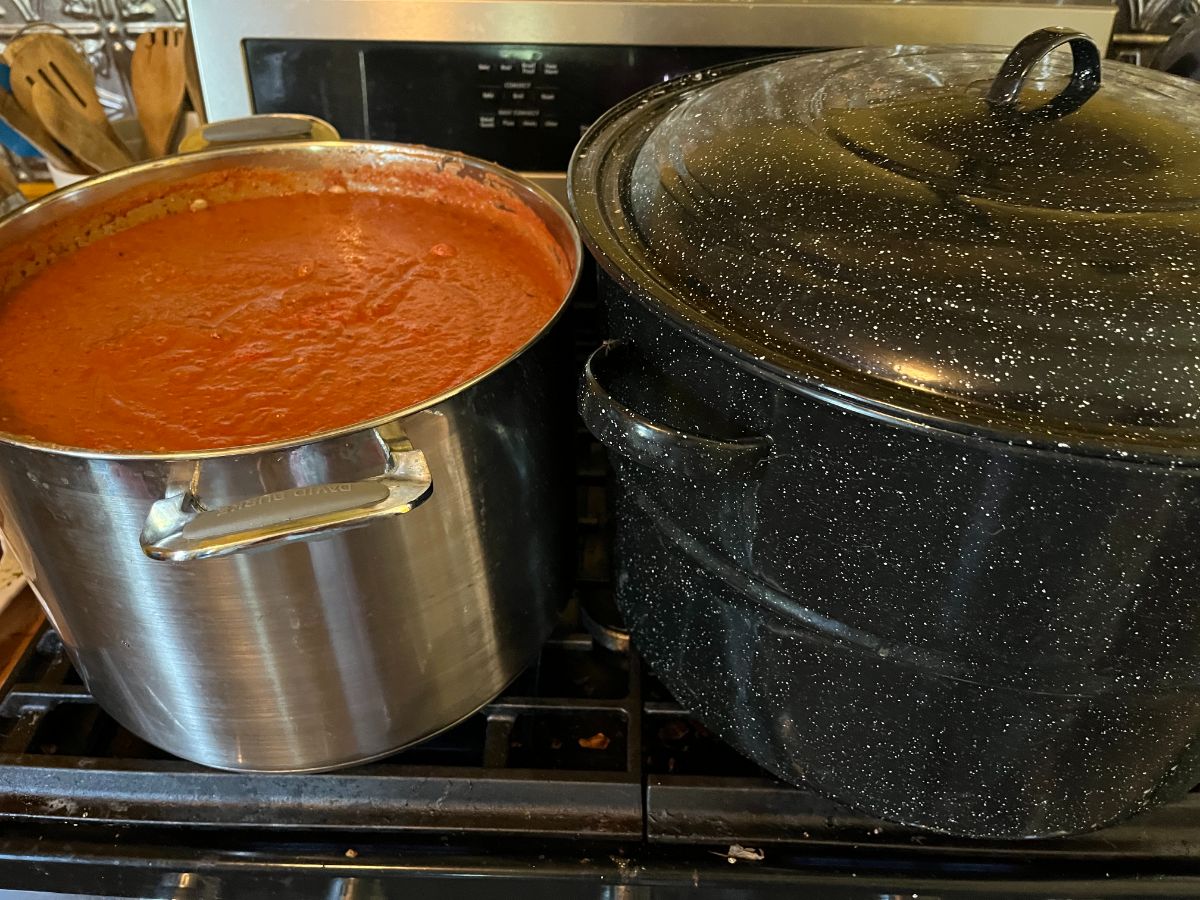
Tomatoes are technically a fruit, so they are considered a high-acid food, though you may find some debate on this because of the varying acidity levels of modern hybrid tomatoes (most heirloom varieties are usually considered high acid).
When canning tomatoes or tomato sauce, the South Dakota State University Extension Service (linked above under the “acidity of the food” link) recommends a water bath for tomatoes, but if the tomatoes have a pH higher than 4.6, acid should be added. Lemon juice, 5% acidity vinegar, or citric acid can be added (usually a tablespoon or two per jar—follow expert recommendations or recipe instructions). If you are not sure what type of tomatoes you have or what their pH level is, it never hurts to add the acid to be on the safe side.
Following are some popular foods that should be water bathed (high acid foods) and those that should be pressure canned (low acid foods). This is a general reference and does not include every type of fruit, berry, or vegetable. Consult your recipe’s instructions, a university or extension system, or a reference like the Ball Book of Canning and Preserving.
Examples of high-acid foods for water bath canning:
- Pickled fruit or vegetables
- Most types of fruit and berries
- Apples
- Blackberries
- Blueberries
- Cherries
- Gooseberries
- Grapes
- Nectarines and peaches
- Oranges and citrus fruits
- Pears
- Pineapples
- Plums
- Raspberries
- Strawberries
- Tomatoes (add acid to lower pH to ensure low acidity)
Examples of low-acid foods that need to be pressure canned or pickled*:
*In general, foods that are pickled in a vinegar brine can and usually are canned in a water bath canner. If they are not pickled, they must be pressure canned.
- Artichokes
- Asparagus
- Beans
- Beets
- Broccoli, cauliflower, and cabbage
- Carrots
- Corn
- Eggplant
- Mushrooms
- Okra
- Onions
- Peas
- Peppers
- Spinach
- Summer squash
- Turnip greens and other greens
- All meat, poultry, and seafood
The list here touches on the more commonly canned fruits and vegetables, but it is not a complete list. There is a good, comprehensive list of low and high-acid foods from Clemson University available here.
Examples of the most commonly water bath canned foods:
Some of the foods and preserves that are most common to water bath can include the following. These also happen to be some of the best foods for beginning canners to start with:
- Pickles
- Jam
- Jelly
- Fruit preserves (like canned peaches or whole strawberry preserves)
- Mixed pickled vegetables
- Salsa (Be sure to use an approved, tested salsa recipe for water bath canning)
- Tomatoes (examples: stewed, peeled, whole, diced, halves)
- Tomato sauce
What method should beginner canners start with?
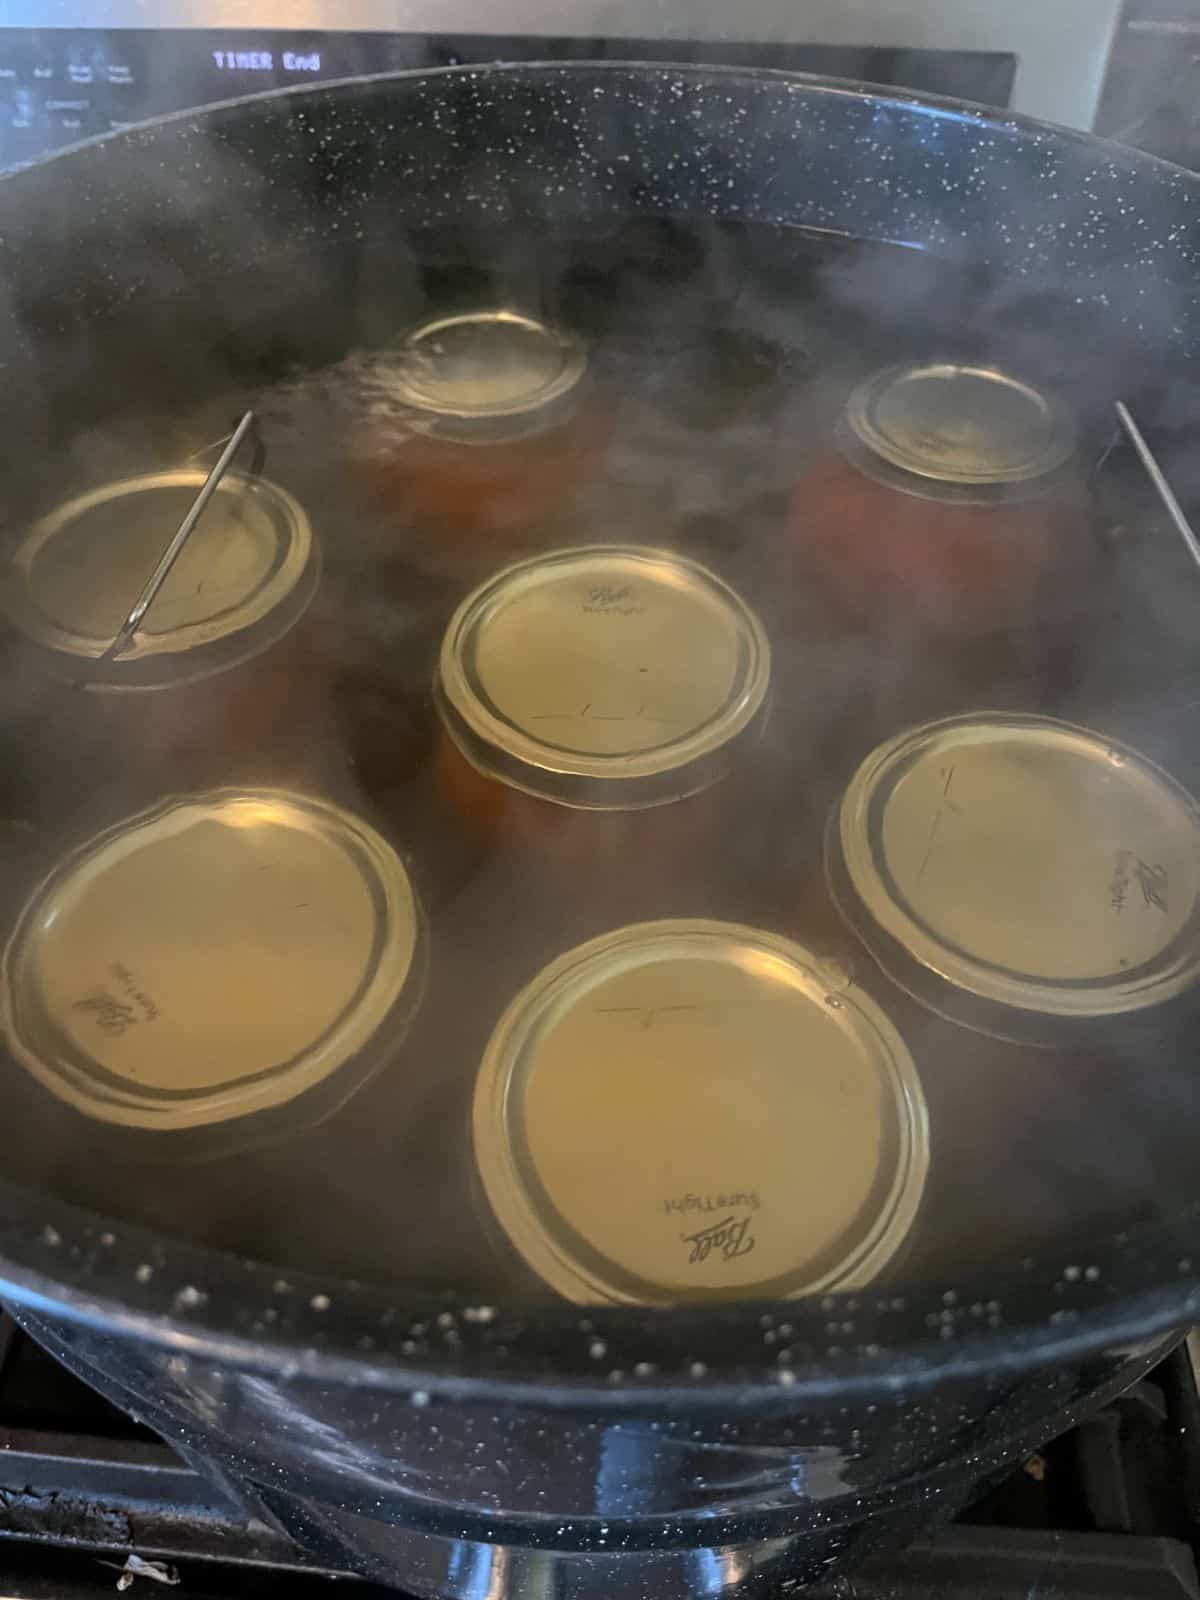
It is not too difficult to learn either method of canning. Some people like to jump “all in” and start canning with both methods. If you were to choose one over another, however, it would be water bath canning.
Water bath canning is cheaper to get started with. Canners are cheaper and are more readily available. In fact, if you have large enough pots and pans, you can water bath can without buying a water bath canner (there are some things you need to do if you’re not using a full canner setup).
Water bath canning is less involved, with less of a learning curve, and it is less technical than pressure canning, which requires either gauges or weights to control the “pounds of pressure” in the canner. All you need to know to run a water bath canner is what boiling water looks like. The rest is familiarizing yourself with the basic equipment, method, and a few key terms.
Bottom line? If you’re new to canning and choosing one or another of these methods, choose water bath canning.
The Most Common Basic Canning Supplies
For our purposes, we will outline the basic canning supplies for both water bath canning and pressure canning.
You do not have to use both methods, but you do need to be aware that if you do not use a pressure canner, there are some foods that you will not be able to can—you'll need to dehydrate or freeze them instead.
This is a fairly comprehensive list that starts with the most necessary, but after the major equipment is purchased, many other items can be added to your supply later. Choose the method and the equipment that is right and needed by you. Don't feel like you have to buy the whole list in the beginning.
Boiling Water Bath Canner
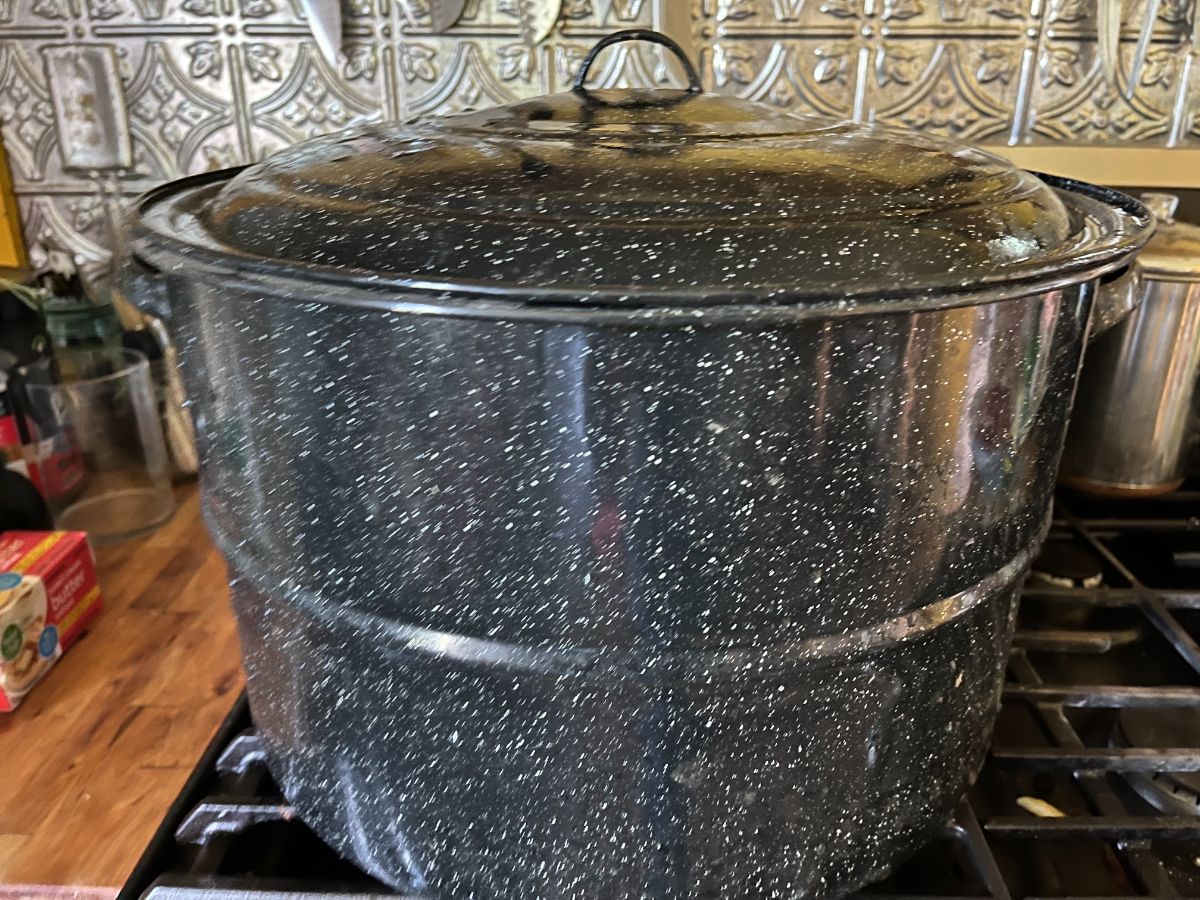
What You Need It For: Water Bath Canning
Importance for Safe Canning: Necessary. Needed for pickling or canning high-acid foods (several foods can be pressure canned as an alternative if you have the right instructions)
Price Level: Medium High
What It Is and What It Is Used For: A water bath canner is basically a big, oversized stock pot that is used for processing prepared, capped jars of food for water bath canning/sealing.
Water bath canners are used for canning high-acid foods, jams, jellies, and pickles.
You will fill it to about half full of water (maybe more, depending on the jar size used) and bring it to near boiling, insert the jars with one to two inches of water covering the jars, cover, then bring to a boil.
Start a timer when the water starts to boil, and time the processing for the length of time listed in the recipe instructions. Make sure to keep the water at a boil the whole time.
These instructions are basic to describe use; follow recipe or canning instructions for specific product instructions.
Pressure Canner
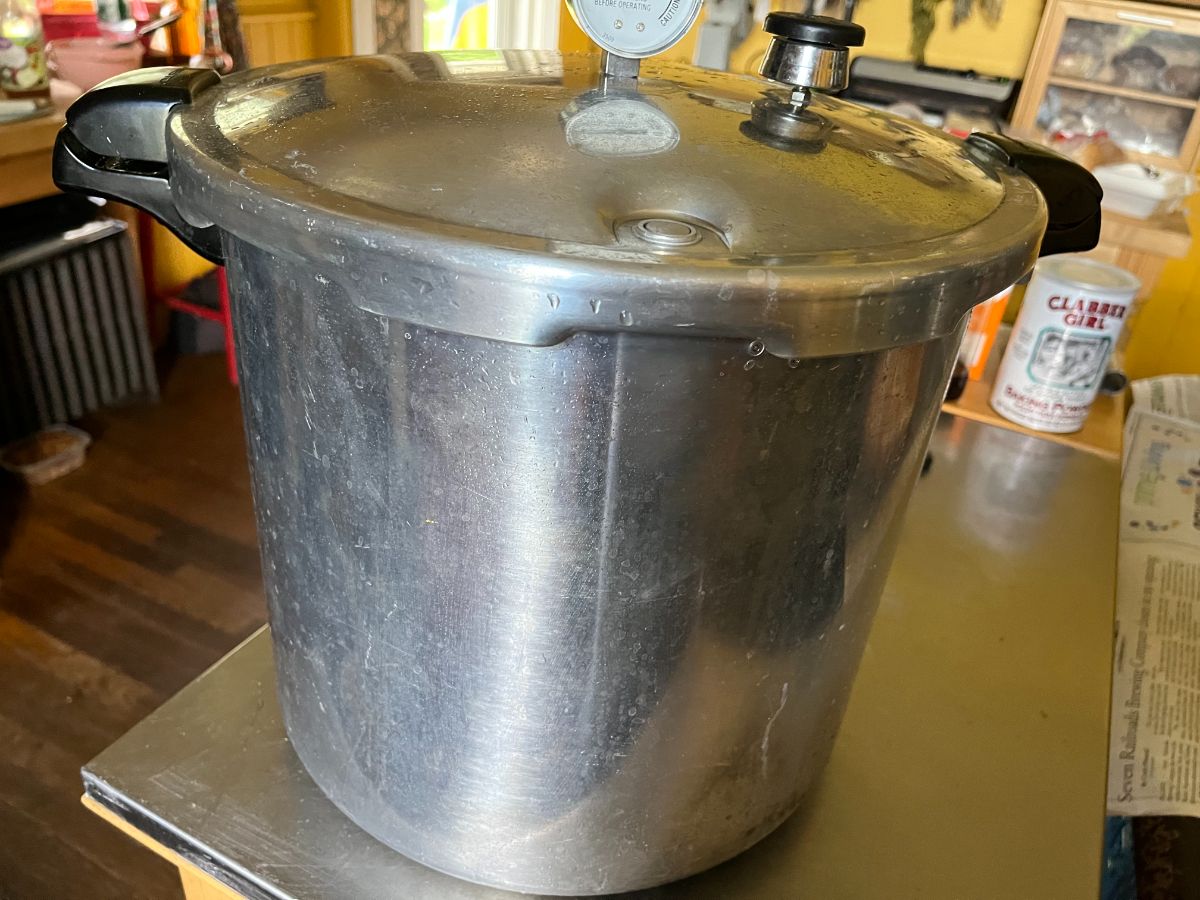
What You Need It For: Pressure Canning (could be used for water bath canning but needs instructions and modification)
Importance for Safe Canning: Necessary but only needed for canning low-acid foods (not necessary if not canning those types)
Price Level: High
What It Is and What It Is Used For: Pressure canners are a second type of canner. They are the canner you need to use if you are canning low-acid foods. For example, if you are canning most vegetables in water (or salt and water) but you are not pickling them.
If you want to can things like green beans and peas, similar to what you would buy canned in a grocery store, you will need a pressure canner.
Canner Rack
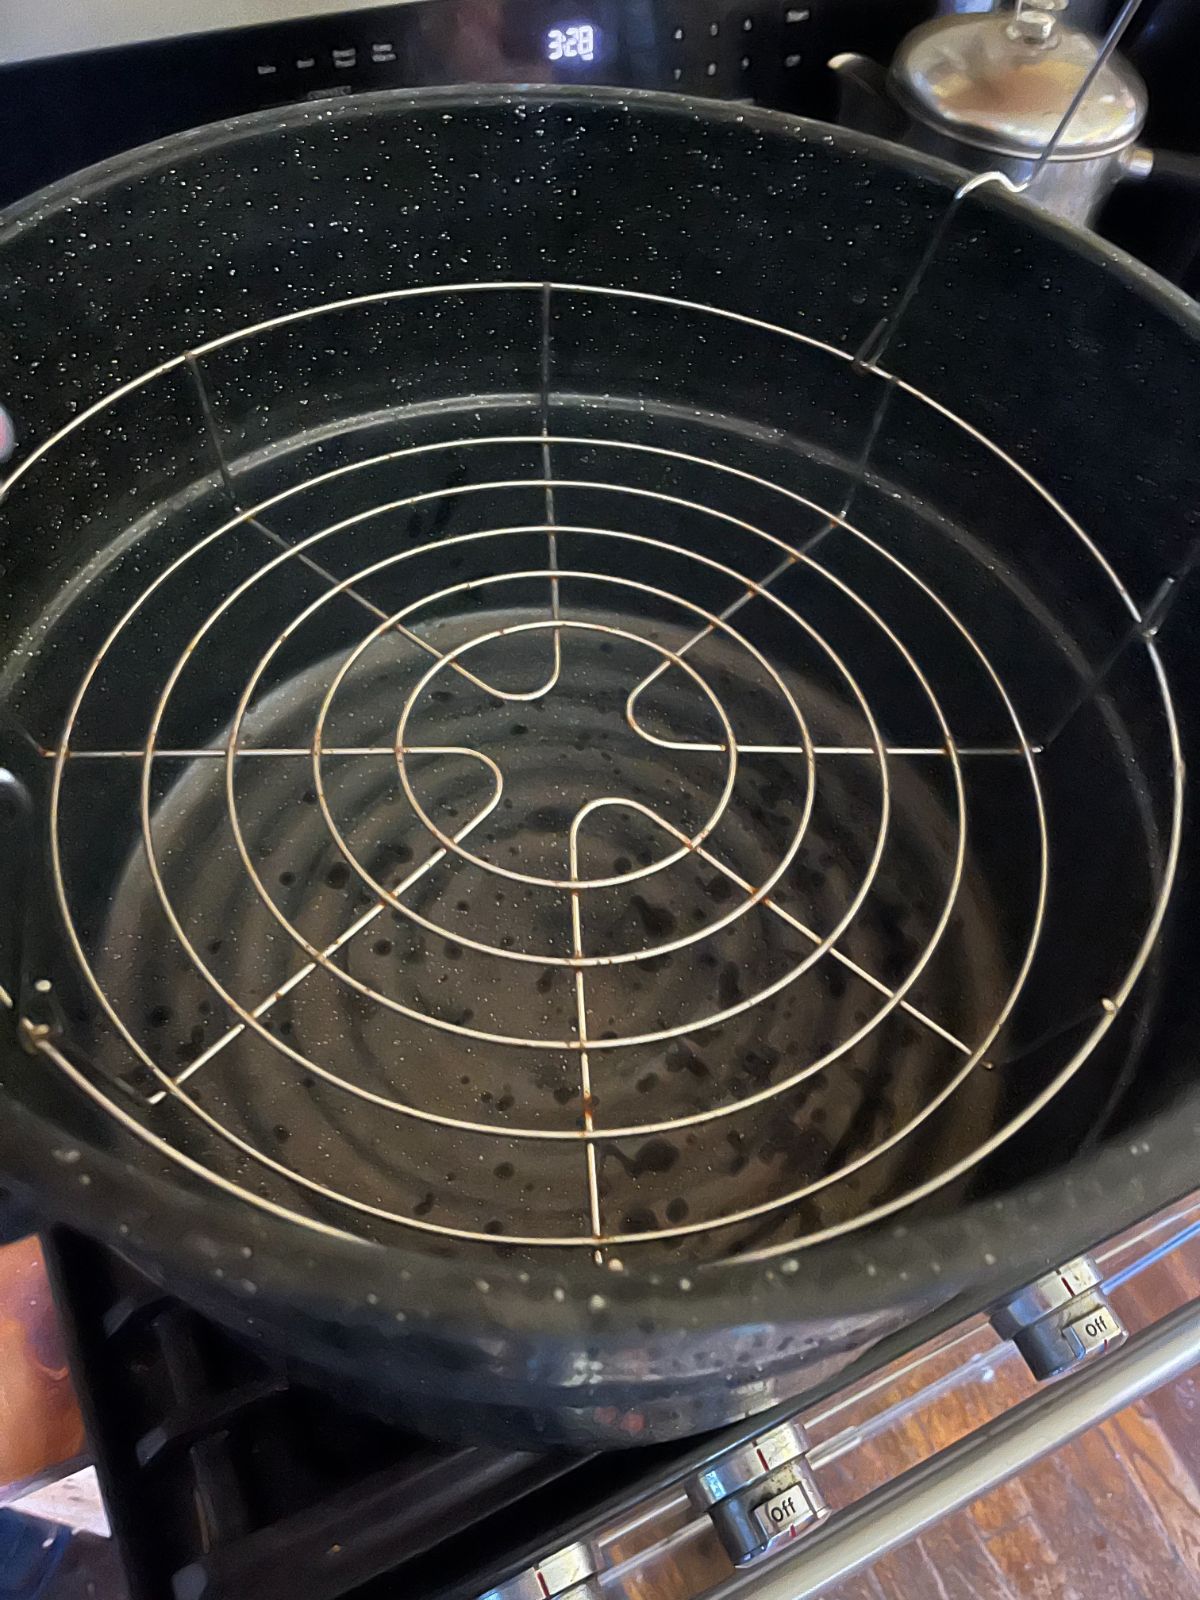
What You Need It For: Water Bath Canning, Pressure Canning, or Both
Importance for Safe Canning: Necessary
Price Level: Low to Medium
What It Is and What It Is Used For:
Canners have a rack in the bottom that is needed to keep the jars up off the bottom of the pan so they do not break. Both pressure canners and boiling water bath canners have racks, but the racks are a different style for each type of canner. A new canner should come with a rack.
If the rack is missing, you can buy a replacement rack. Racks often get rusty over time and will wear out before the canner does, so replacement racks are a smart, inexpensive piece of equipment you will probably need at some point in your canning career.
Some people buy a second rack for their pressure canner so they can make a double stack of jars (if the canner is tall enough) and process more than one set of products at the same time—a more efficient way to process in a pressure canner.
When buying canner racks, the most important thing to know is the canner size (diameter). It helps to know the manufacturer, too.
Canning Jars
What You Need It For: Water Bath Canning, Pressure Canning, or Both
Importance for Safe Canning: Necessary
Price Level: Medium
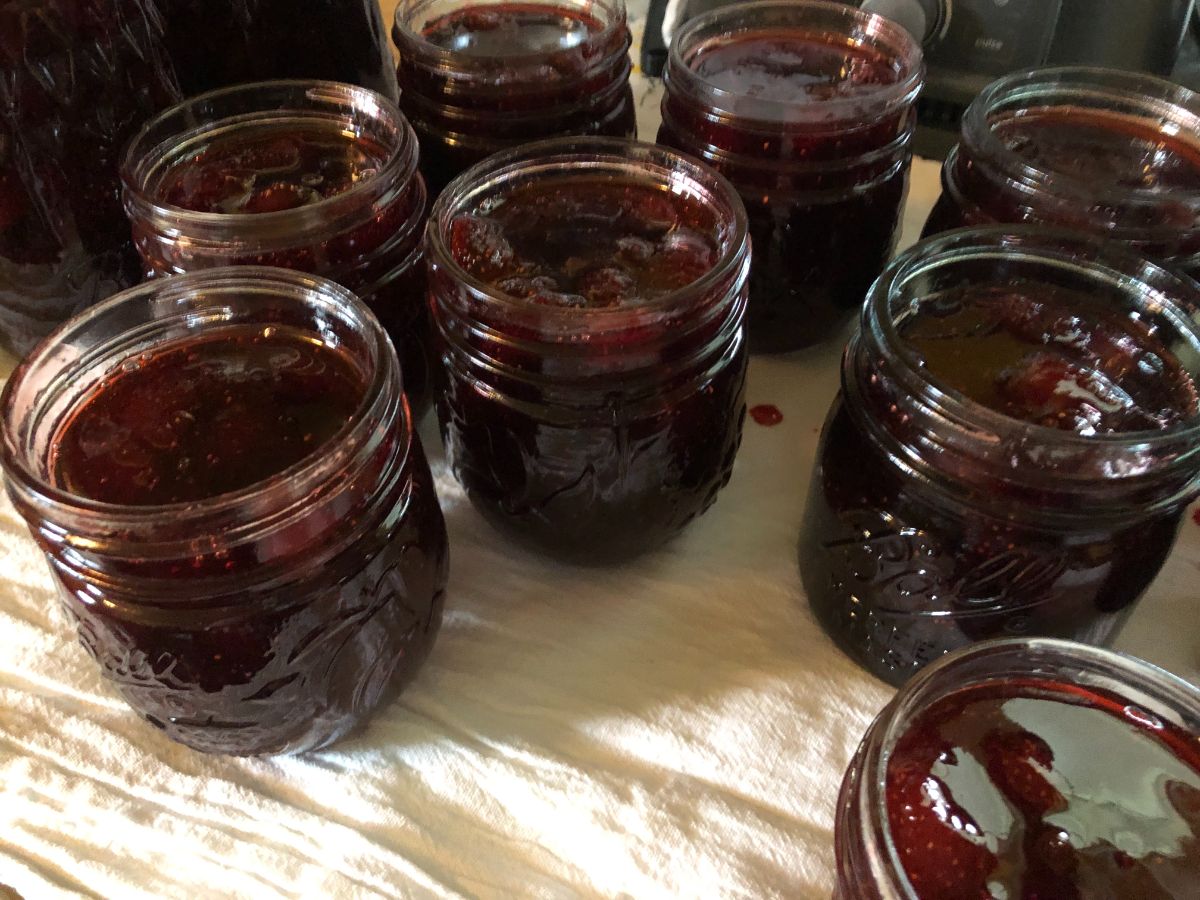
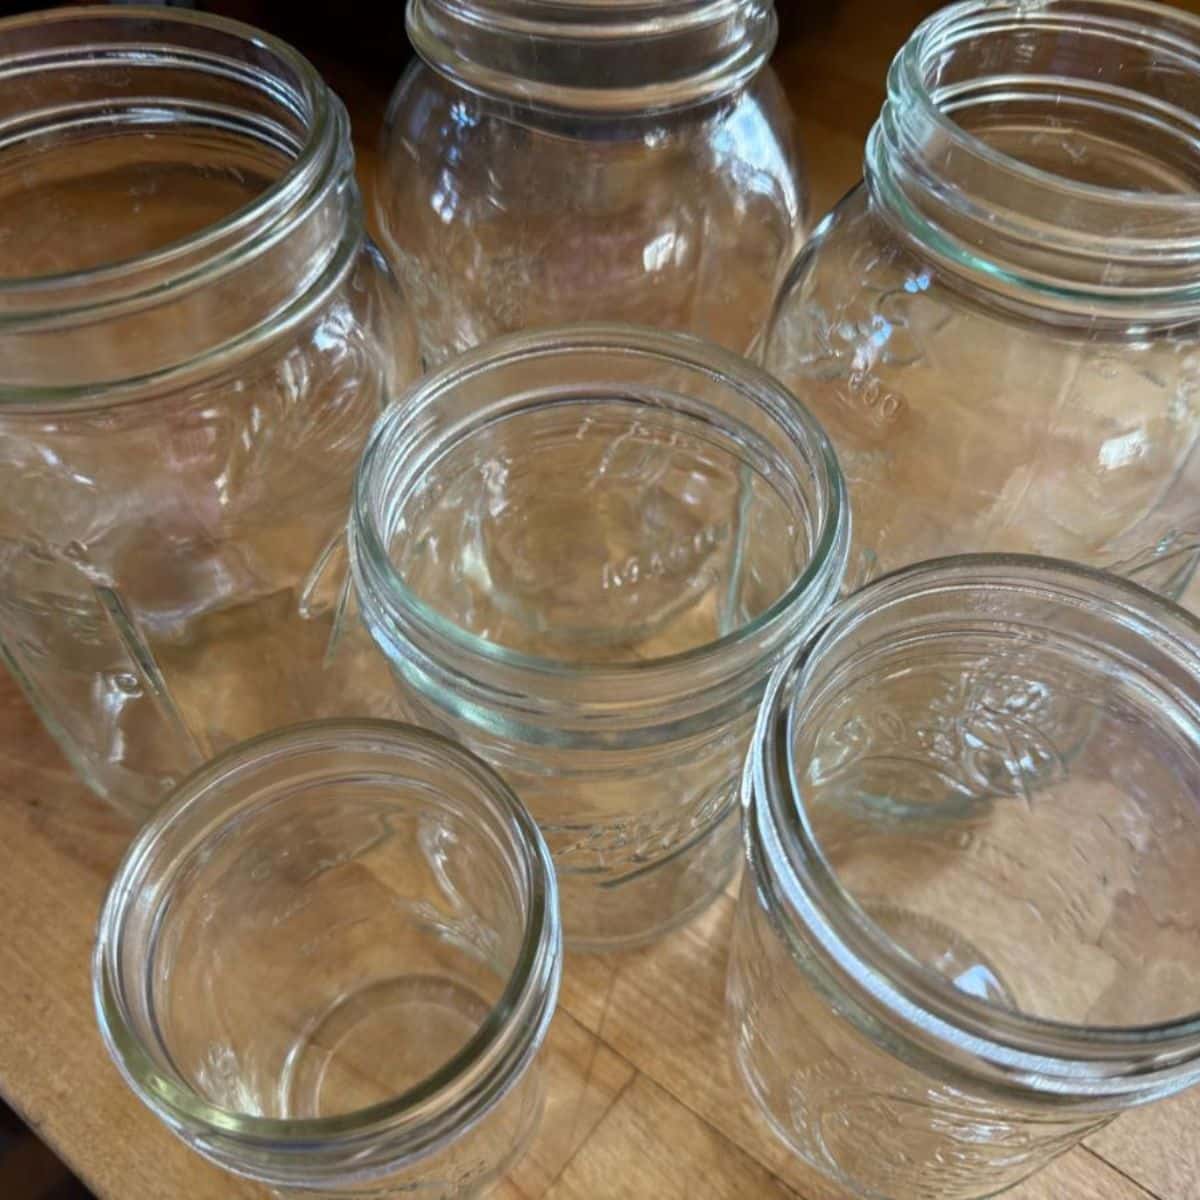
What It Is and What It Is Used For: Simply put, canning jars are what you will put your food and ingredients in to process and store them. You do need to use jars that are specifically designed for canning.
Canning jars are heavy glass and are tempered to be able to withstand the high heat and long processing times involved in canning. Do not try to use jars that are not made or labeled for canning.
Canning jars come in different sizes, but the sizes are standard. For example, four-ounce, eight-ounce jelly-size jars, pints, or quarts. There are half-quart canning jars, but recipes are not usually written or tested for them, and they don’t fit in most canners, especially not water bath canners.
Lids or Caps
What You Need It For: Water Bath Canning, Pressure Canning, or Both
Importance for Safe Canning: Necessary
Price Level: Low
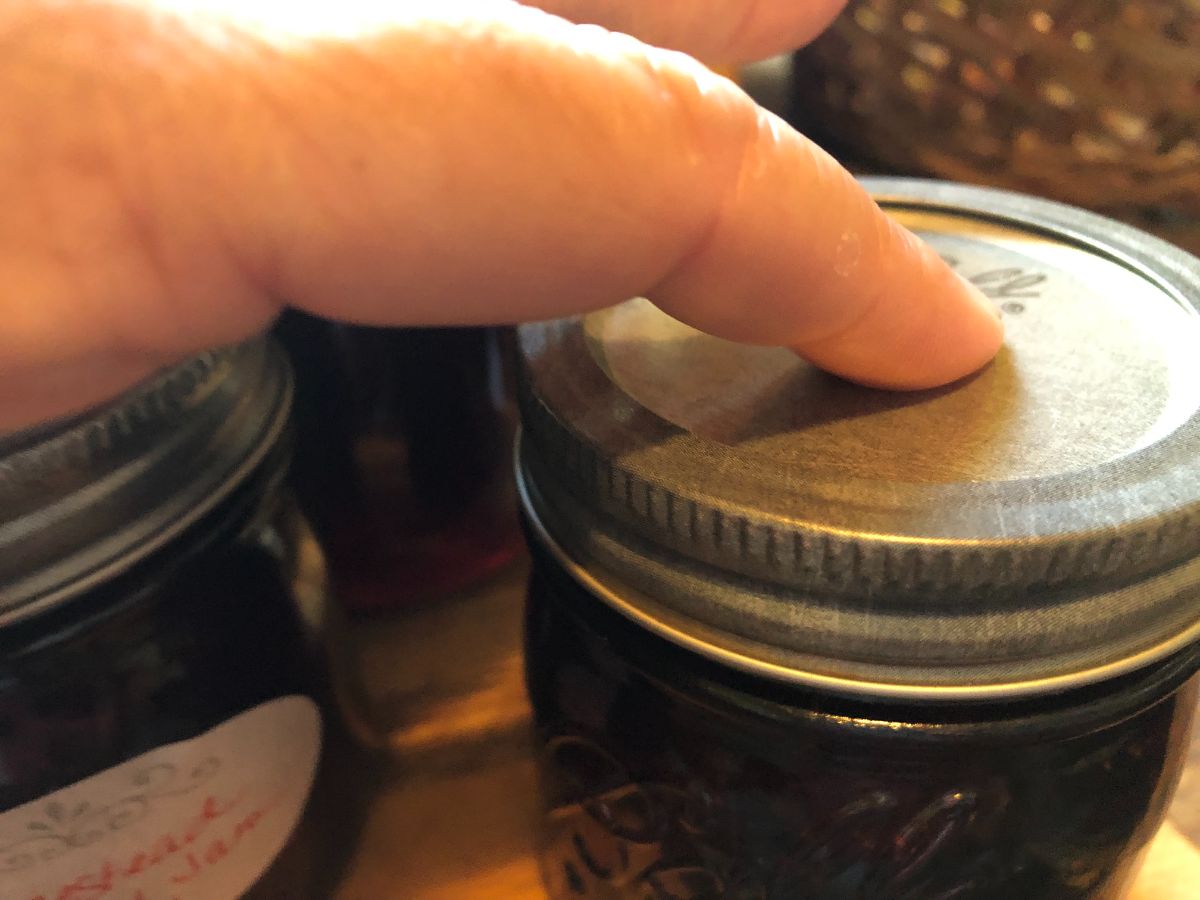
What It Is and What It Is Used For: Lids are flat, disc-like caps (covers) for canning jars. They are slightly flexible and are designed to contract and fit tightly when a good vacuum seal is made (as the product cools).
Metal disc canning lids have a rubber coating along the underneath and outside edges. This is what heats and creates the air-tight seal when the jars are processed. The rubber kinds of “glues” to the clean edge of the glass jar when it is heated.
Lids may also be called caps, or sometimes discs or flats.
There are other styles of jars with different style lids, and there are some glass reusable lids, but we don’t want to confuse matters for beginners. By far, the most common and the cheapest lids are the metal, rubber-lined, two-piece lids.
Jars come with lids for the first use. After that, you can reuse the jars, but you need to use a new replacement lid (these are sold separately).
Rings
What You Need It For: Water Bath Canning, Pressure Canning, or Both
Importance for Safe Canning: Necessary
Price Level: Low
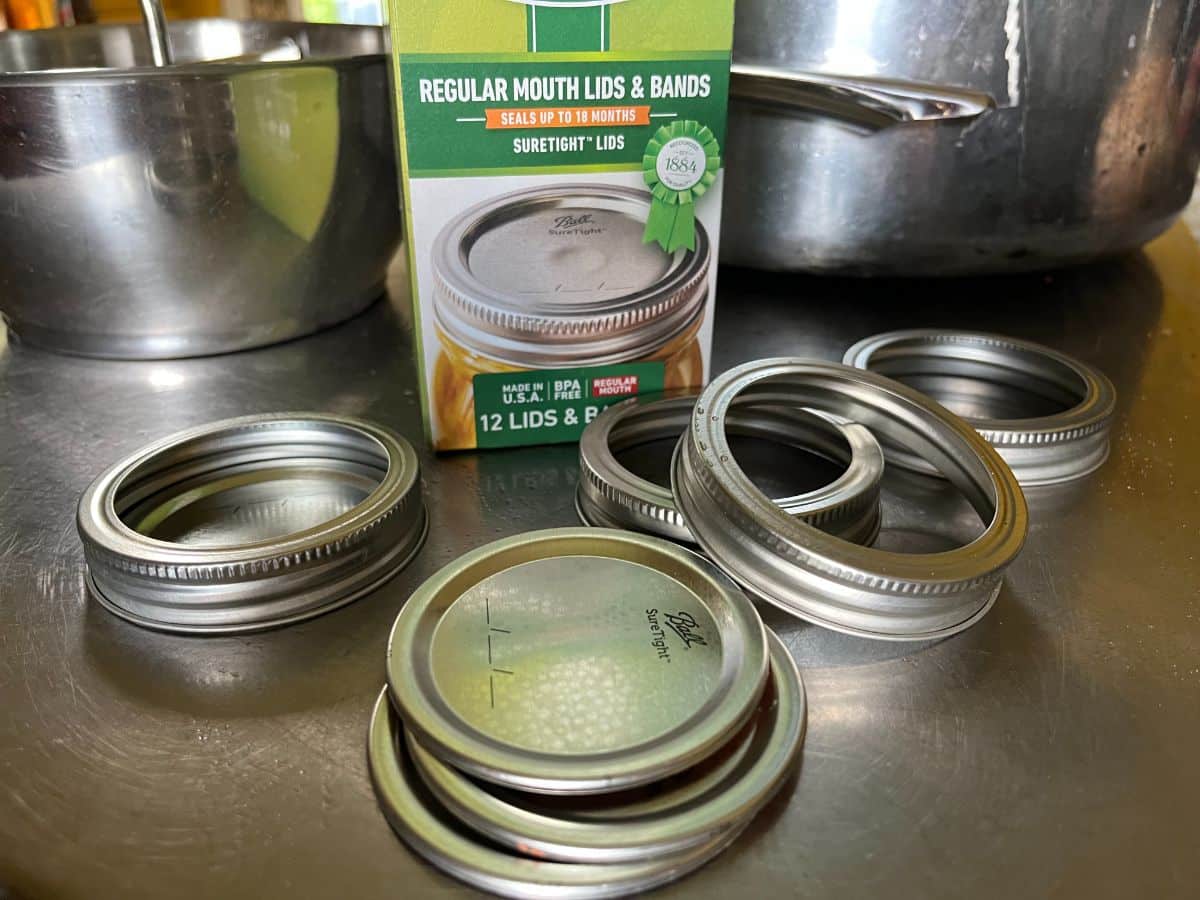
What It Is and What It Is Used For: Rings go on the lids after they are seated on the prepared jar of food. They screw onto the neck of the jar and hold the lid in place until it seals. The neck is threaded to hold them on. They are put on for processing and should be left on for the first few days while the jars cool and seal completely. After the jars are cooled and sealed (at least 24 hours), the rings can be removed.
Most people remove the rings to store the jars, and this is recommended because that way, you will know if a seal has failed, and you won’t have a false seal that is disguised by a ring holding the lid on. Properly sealed, safe lids will not easily pop or lift off a jar—they will need to be pried up.
Jar sets come with lids and rings. Rings don’t need to be replaced every time they are used. Only replace rings when they are misshapen, rusted, or corroded.
Two-Piece Lids and Rings
What You Need It For: Water Bath Canning, Pressure Canning, or Both
Importance for Safe Canning: Necessary/Optional
Price Level: Low to Medium
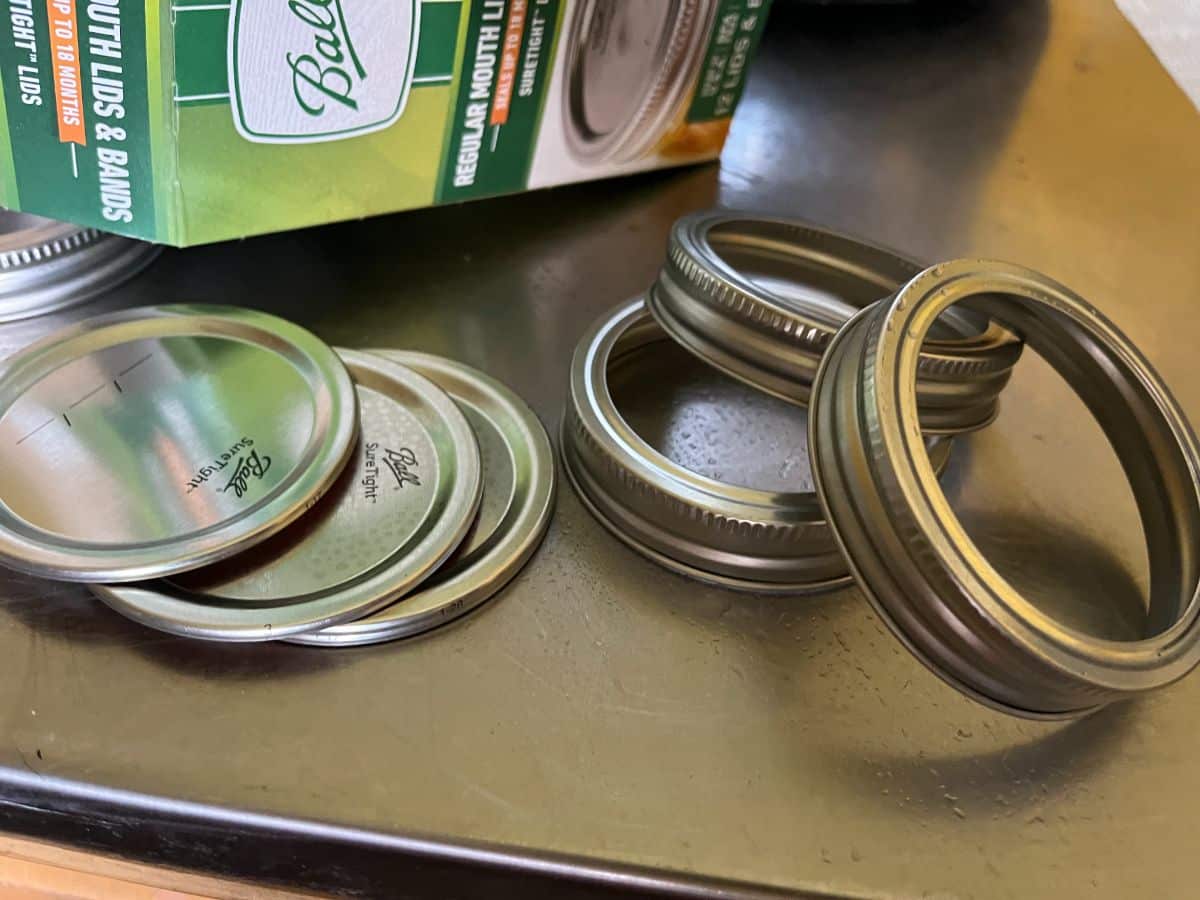
What It Is and What It Is Used For: This is just another name for a combined set of replacement lids that come with the rings. They're a good option for those years when you need to replace your rings, and you need new lids, but otherwise, most times, you will only have to buy a lid set.
You may also come across this term in canning recipes and instructions. They may say something like “fix the two-piece lids and rings” or “fix the two-piece cap”. This is just another way of saying put your lids on, then screw the rings on (finger tight, not tighter).
Jar Funnel or Canning Funnel
What You Need It For: Water Bath Canning, Pressure Canning, or Both
Importance for Safe Canning: Optional but highly recommended
Price Level: Low
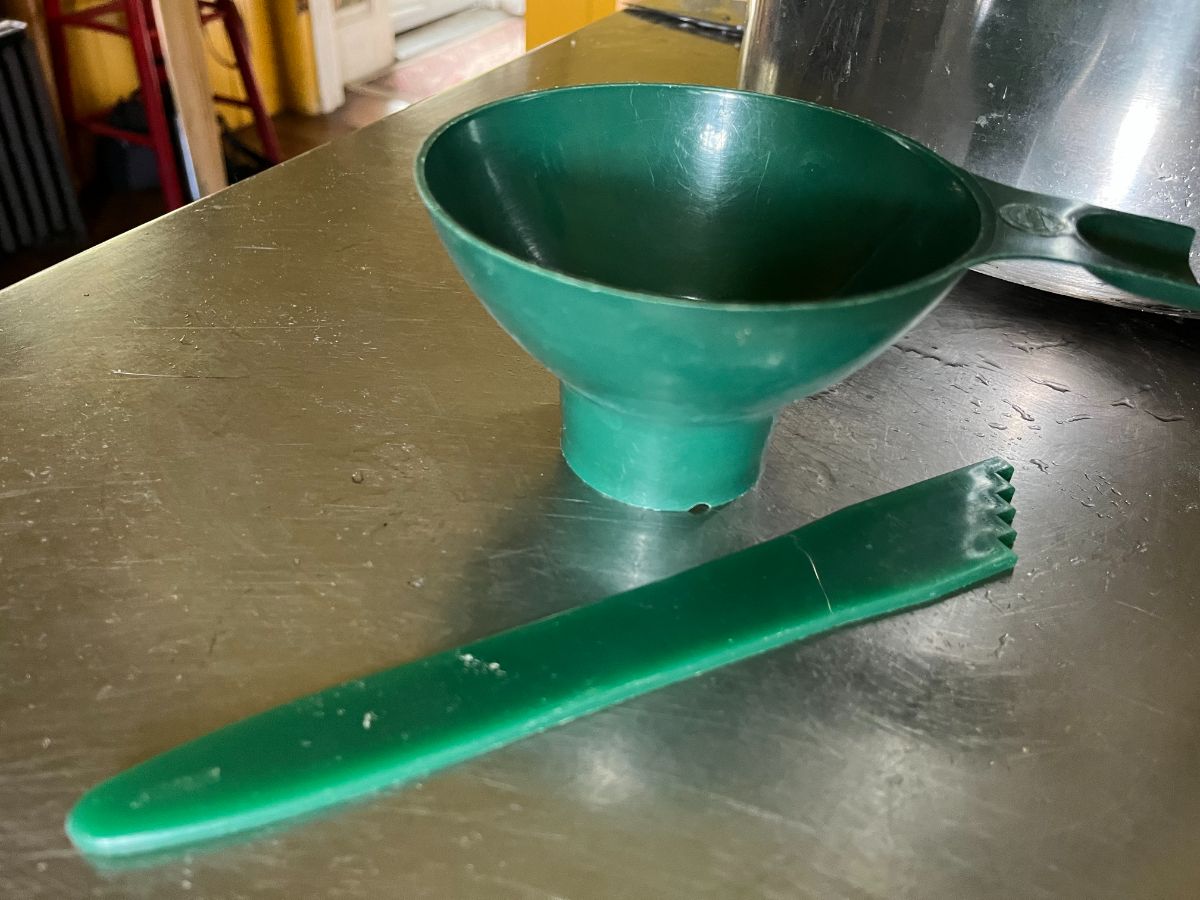
What It Is and What It Is Used For: A jar or canning funnel is a funnel with a wide opening that is designed to fit inside the mouth of canning jars and is large enough to let large pieces of food through easily.
Technically, you could can without one, but these are very cheap utensils that speed up the work of filling jars (one of the most time-consuming tasks) and save a world of headaches, messes, and spills. They also keep the rims of canning jars cleaner so you get better sealing.
Most canning utensil sets will come with one included (these sets are sold separately from the canners, they do not come with them most of the time).
Tongs
What You Need It For: Water Bath Canning, Pressure Canning, or Both
Importance for Safe Canning: Optional
Price Level: Low to medium
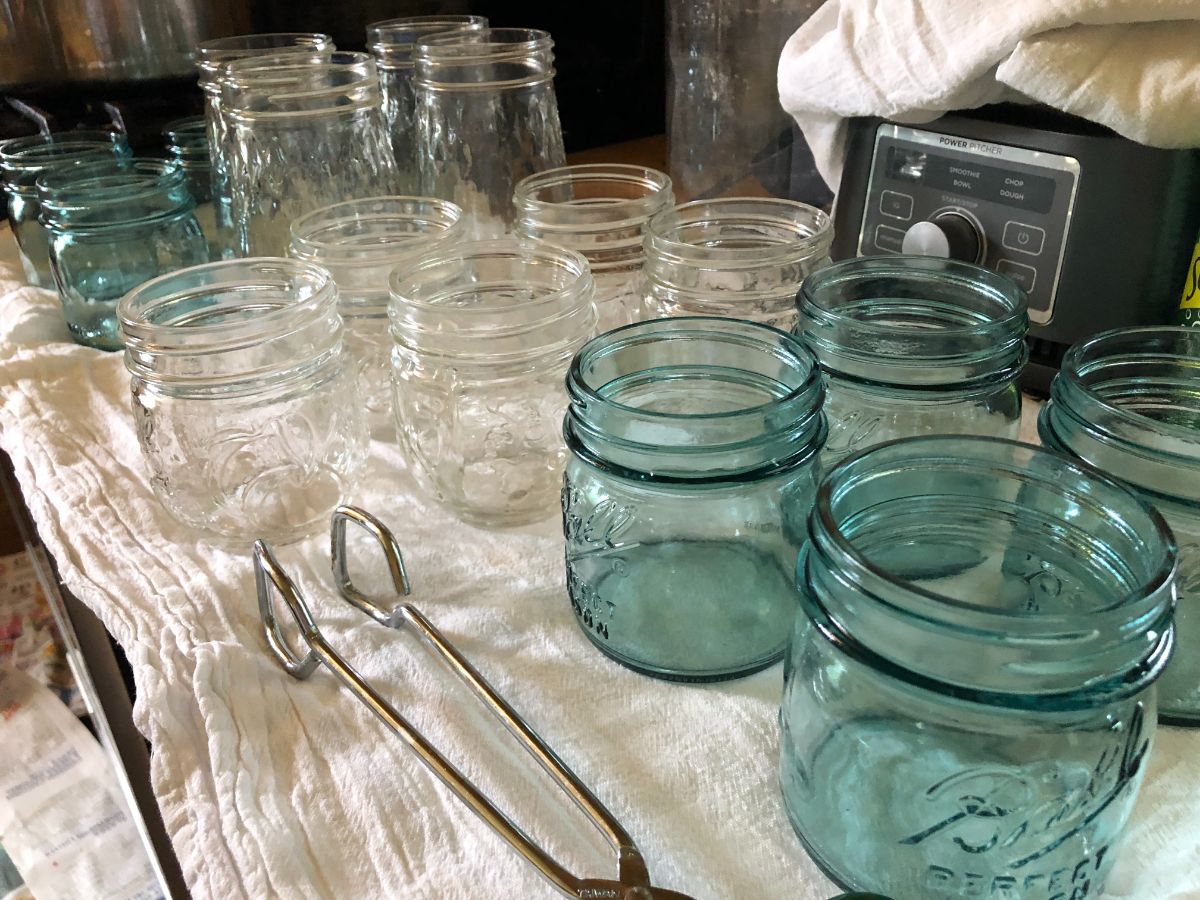
What It Is and What It Is Used For: The tongs used in canning are not really any different than normal kitchen tongs. They are used mostly for lifting and setting lids, but there are other options for this job, too. Still, a good set of inexpensive tongs will be useful in food prepping, too, so it’s smart to have for a variety of uses.
Magnet Wand
What You Need It For: Water Bath Canning, Pressure Canning, or Both
Importance for Safe Canning: Optional but recommended
Price Level: Low
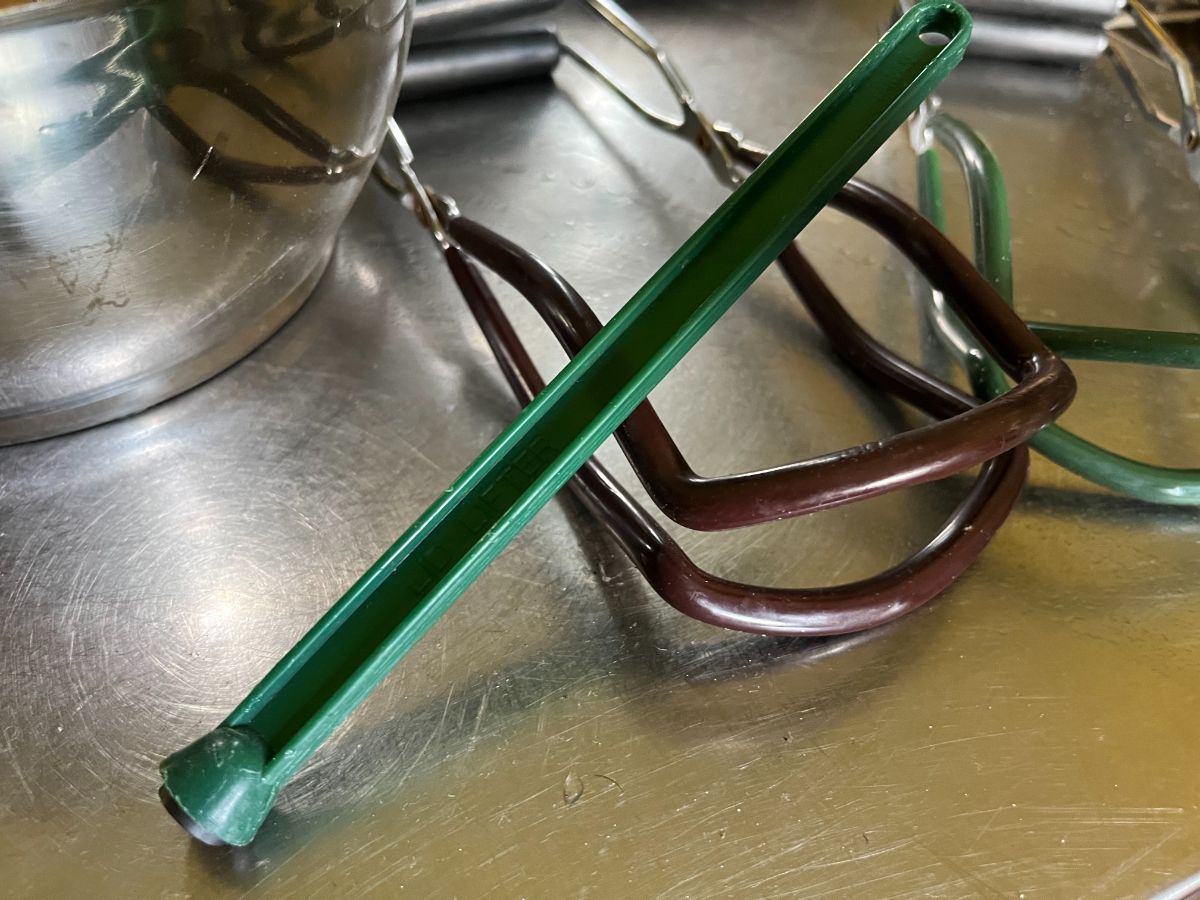
What It Is and What It Is Used For: A magnet wand is a simple little piece of equipment that is just a plastic stick with a magnet on end. They were designed in more recent years as a better way to take lids out of hot water when filling and capping jars.
Wands are very cheap, and they usually come in most starter canning utensil sets.
Jar Lifter
What You Need It For: Water Bath Canning, Pressure Canning, or Both
Importance for Safe Canning: Necessary
Price Level: Low
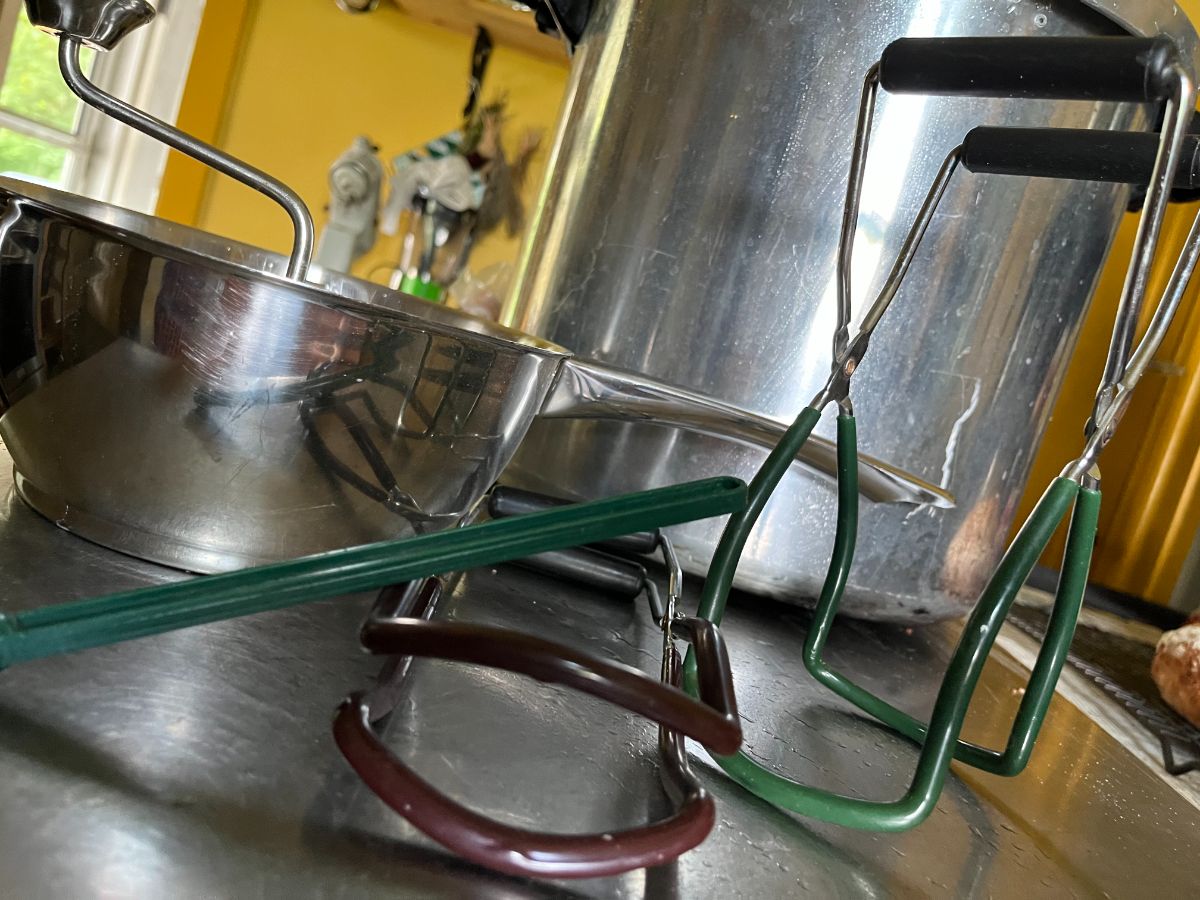
What It Is and What It Is Used For: Jar lifters are a type of tongs that are made wide and round at the lifting end. They are coated with rubber and specially made to latch onto hot jars of processed food while in the canner or underwater.
Though simple, this is a very necessary piece of equipment—don't skimp! Trying to use something not designed for the job is dangerous and will result in falling jars, splashing boiling water, and burns.
A jar lifter is also usually included in canning utensil sets.
Spatula (non-metallic)
What You Need It For: Water Bath Canning, Pressure Canning, or Both
Importance for Safe Canning: Optional
Price Level: Low
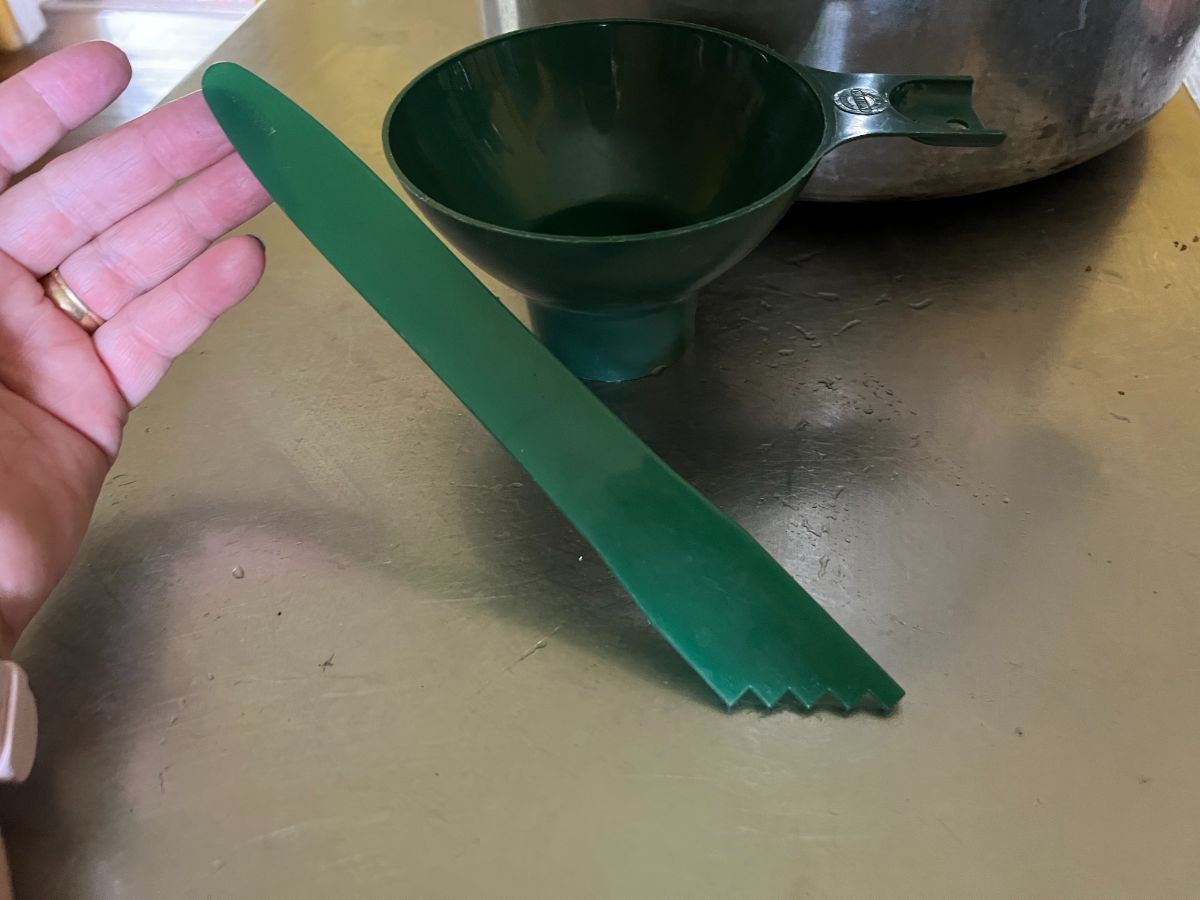
What It Is and What It Is Used For: Non-metallic spatulas, like the regular rubber kitchen spatulas used in cooking and baking, are used for packing vegetables and fruit into jars and for removing air bubbles before you set the caps (you just run the spatula along the outside of the food in the jar, along the inside edge of the jar). You want a rubber, not a metal, spatula so it does not scratch or chip the jar and is flexible enough to ride along the inside of the jar.
These are optional because there are other utensils that can do the job, too. There is a semi-hard flexible small spatula/multi-tool that comes in most canning utensil kits that are made for this job. It is about the size of a large butter knife and has another end with notched measurements to help you measure headspace in the jar so you know how high to fill your jars. If you have this or buy one in a kit, you can skip buying kitchen spatulas. If you buy kitchen spatulas, buy small spatulas.
Jelly Bag
What You Need It For: Water Bath Canning
Importance for Safe Canning: Optional
Price Level: Low to Medium
What It Is and What It Is Used For: Jelly bags are just fine mesh bags that fit over a saucepan or bowl or are used with a small metal stand. They are used to strain solids out of juices and jellies. Most of the products that would require one would be products that are made in a water bath canner, which is why we list them for use with water bathing.
If you don’t plan to make jelly or juice, you probably won’t need one. You can also use a muslin kitchen towel (if you don’t mind staining it) or cheesecloth in a colander.
Cheesecloth
What You Need It For: Water Bath Canning, Pressure Canning, or Both
Importance for Safe Canning: Optional
Price Level: Low to Medium
What It Is and What It Is Used For: Cheesecloth is a loose weave cloth used for straining solids from products when you prepare them or for making small baggies of spices or herbs that should be removed before you can the product.
This is another one that you are more likely to need for water bath canning recipes, but you may find a need for it in some pressure canning recipes (much less likely). It is also one you need only for certain recipes, so it’s optional, but not bad to have it on hand if you’re stocking up on supplies. If you’re limiting your budget and don’t have a recipe that says you need cheesecloth, you can skip it.
Food Mill
What You Need It For: Water Bath Canning, Pressure Canning, or Both
Importance for Safe Canning: Optional
Price Level: Medium
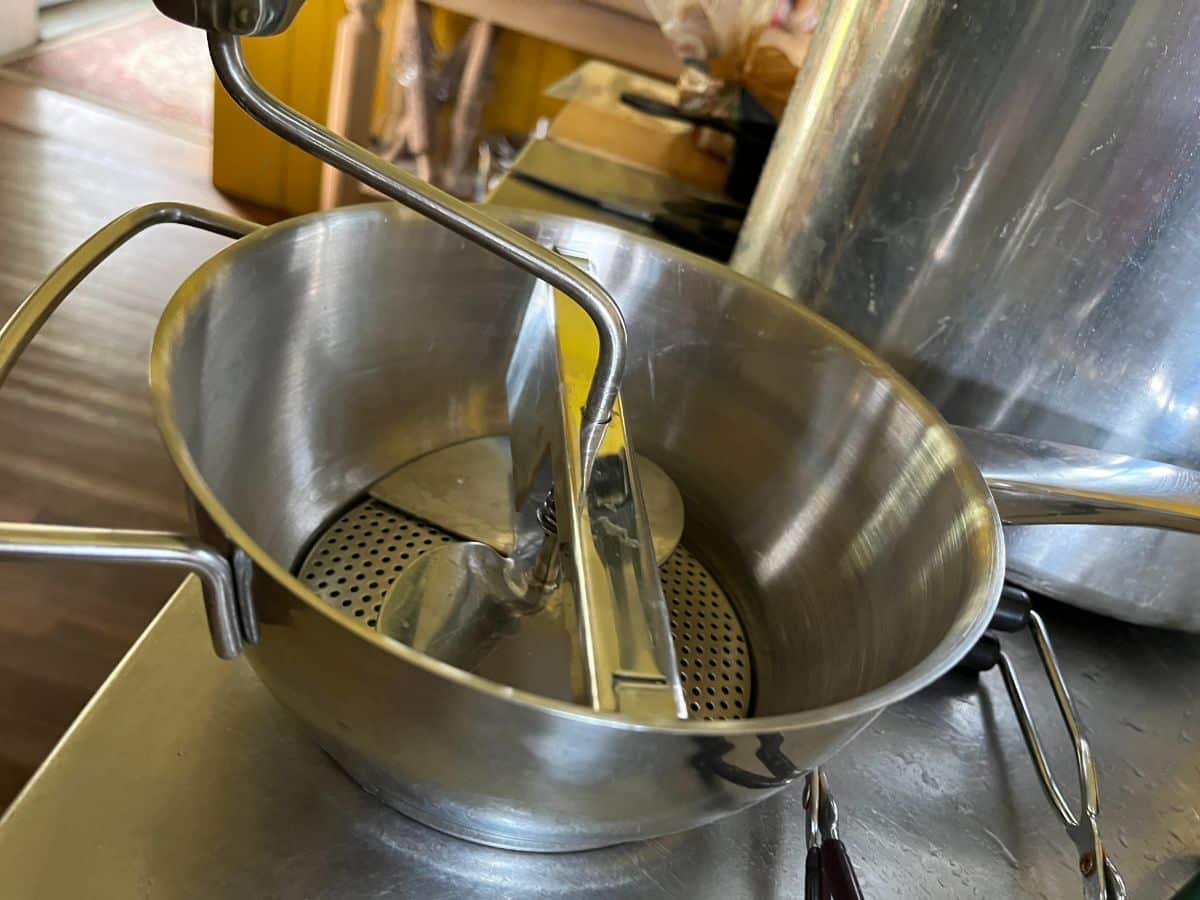
What It Is and What It Is Used For: A food mill is a hand-cranked kitchen utensil that strains and purees cooked foods to remove skins and seeds and/or to make a smooth, finer sauce.
A food mill is useful if you like sauce without seeds and skins, for making things like jellies and jellied cranberry sauce, or for making applesauce or other sauces without having to peel the fruit/vegetable first. It’s not a must-have and a lot of recipes won’t need it, but most canners find that there comes a time when they want one. If you’re on a budget getting started, this might be a piece of equipment that you wait to add on later.
Scale
What You Need It For: Water Bath Canning, Pressure Canning, or Both
Importance for Safe Canning: Optional
Price Level: Medium
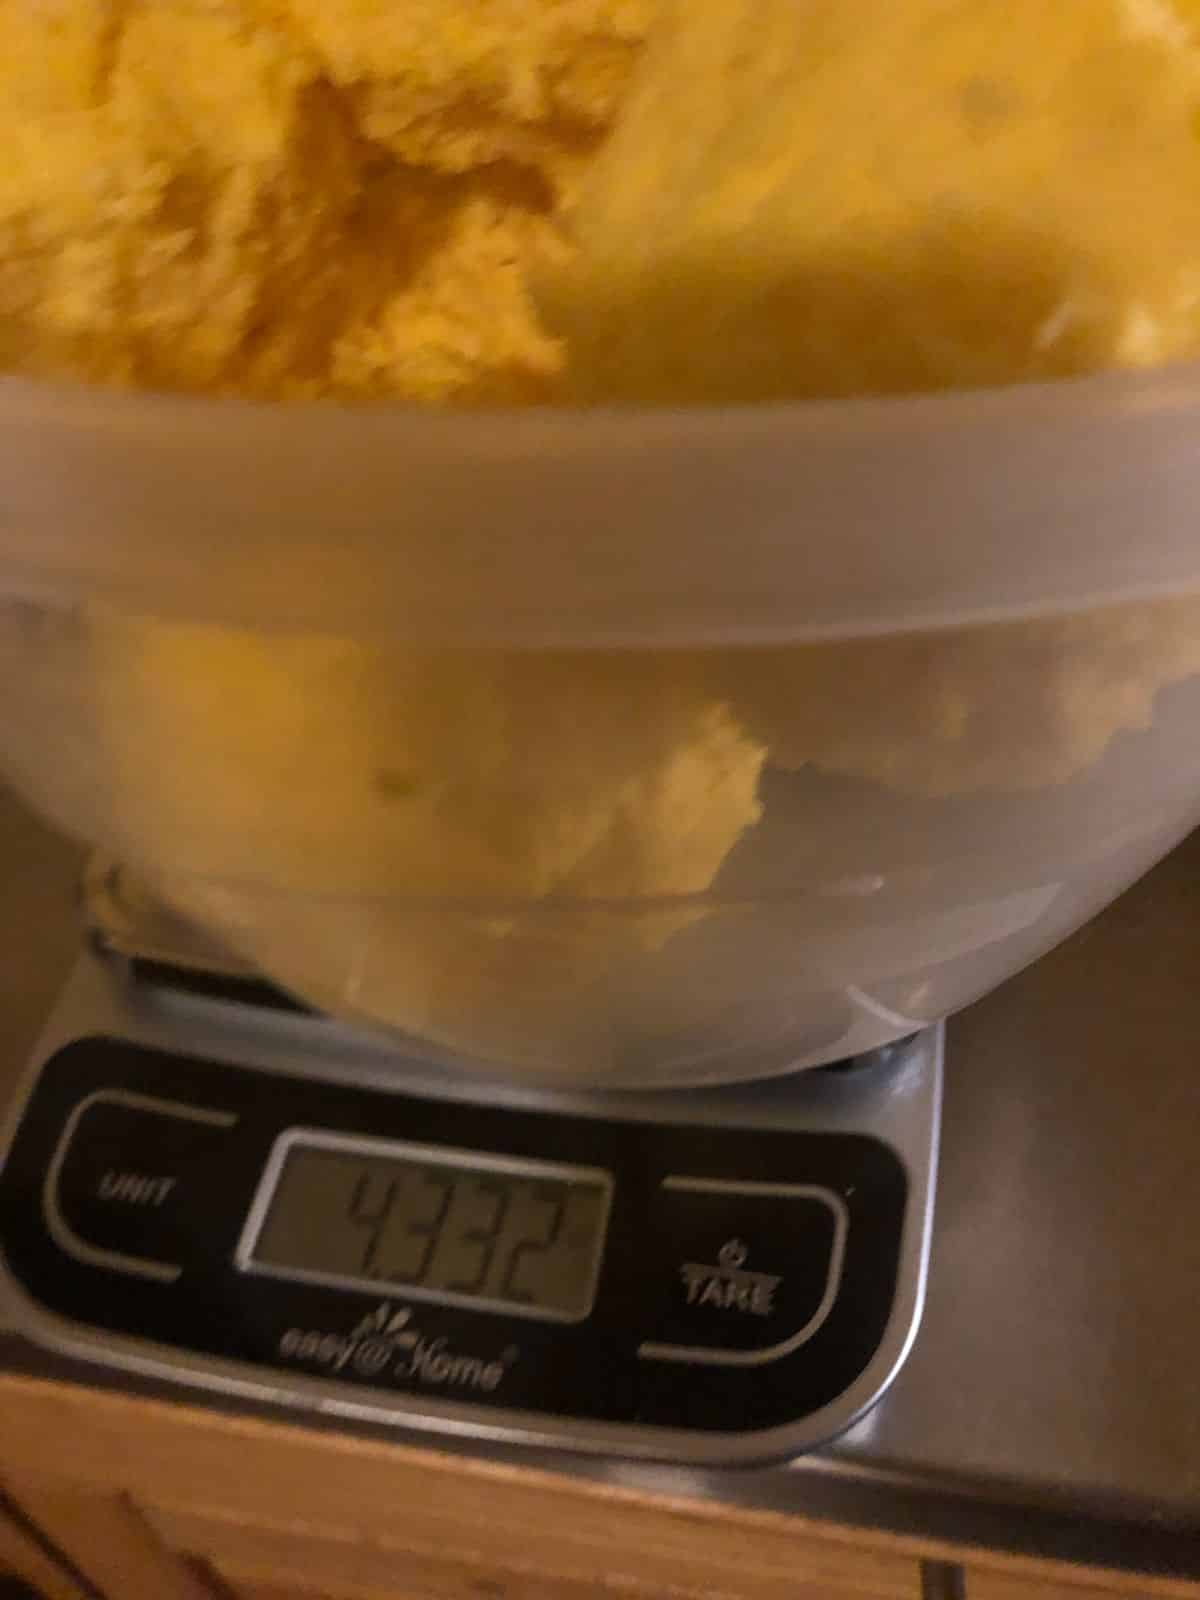
What It Is and What It Is Used For: Scales are used when you are canning in bulk. Sometimes weights instead of measurements are given for produce (and less often, for ingredients). It’s a helpful thing to have and something you will probably want at some point. It’s possible to live without one.
If you do buy a kitchen scale, we recommend a digital scale that can measure five to ten pounds or more.
Timer
What You Need It For: Water Bath Canning, Pressure Canning, or Both
Importance for Safe Canning: Optional
Price Level: Low
What It Is and What It Is Used For: It’s important to process your products for the amount of time listed in the recipe instructions. Of course, we have lots of timers at hand on stoves, watches, phones, and other places, but if you like a good kitchen timer, you won’t be sorry you have it when you’re canning.
Other Kitchen Utensils and Equipment to Have on Hand
- Ladles
- Spoons
- Slotted spoons
- Skimmers
- Measuring spoons
- Measuring cups
- Knives
- Vegetable peeler
- Saucepans, varying sizes
- Vegetable brushes for cleaning fruit and vegetables
- Colanders
- Towels for lining counters and covering jars to protect from drafts as they cool (newspaper makes a good counter liner, too)
- Digital thermometer or candy thermometer (optional, but will prove useful)
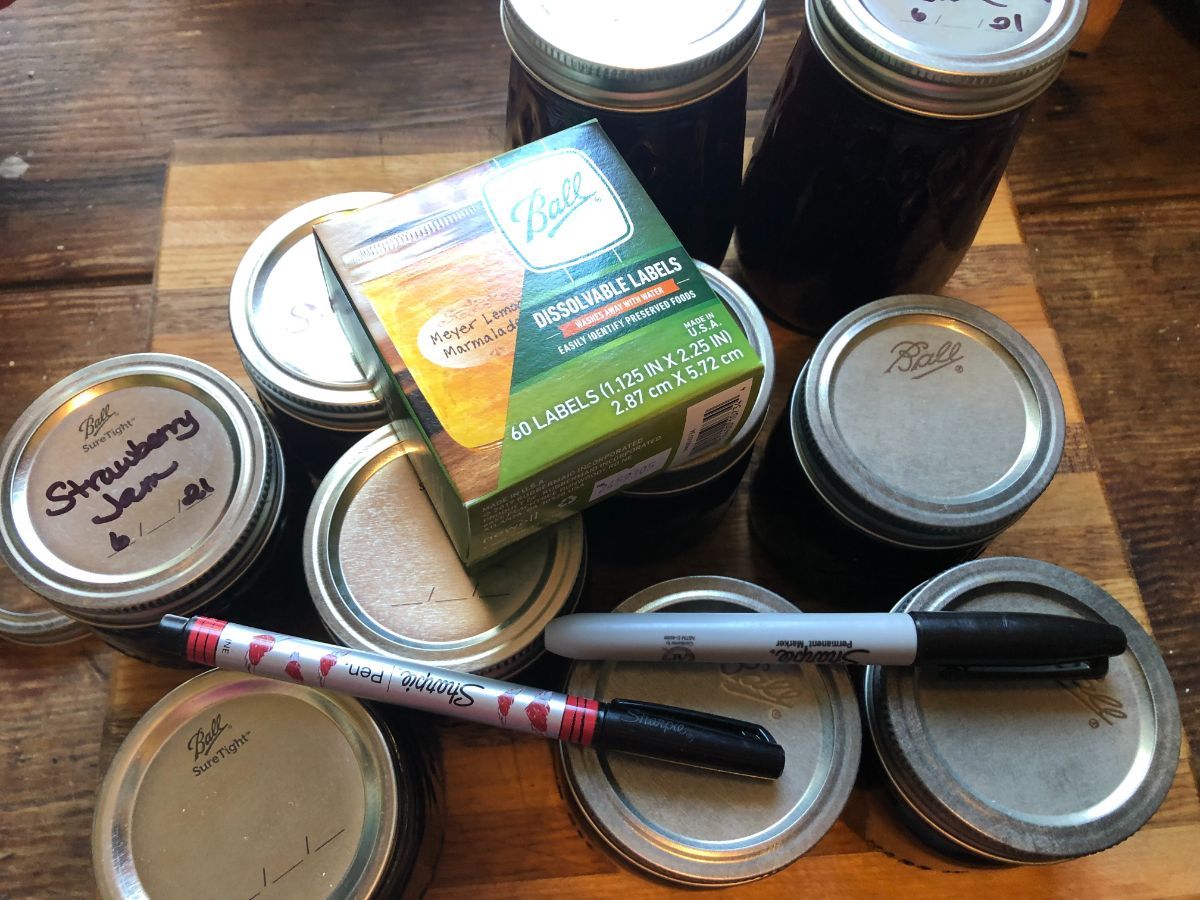
- Permanent markers for marking contents and dates on lids, or
- Adhesive canning jar labels
Most of the equipment and utensils you need for canning (other than the canning equipment itself) are things that you will already own. It can be helpful if you do a lot of canning to have two or three sets of some things, like measuring cups and measuring spoons, for example.
You will want spoons, ladles, and utensils with long handles to protect your hands so that you can easily reach the bottoms of your large cooking pans.
You will want a variety of pans and saucepans to heat brine and cook prepared products like jams and jellies. The product itself is not cooked or prepared in the canner; it is cooked in a saucepan. The canner(s) are only for heat treating and sealing the jars and sterilizing the product to finish it to make it shelf stable. If in doubt, buy or use a larger pan than you think you will need because jams, jellies, and foods tend to boil over easily, and you’ll want some extra space.
Pans should be of a non-reactive metal so that they are not pitted by acidic brines and do not react with cooking ingredients. The easiest and safest way to go is with stainless steel.
Some Helpful Canning Terms Worth Knowing:
- BWC: abbreviation for Boiling Water Canner
- Headspace: The amount of room you should leave above the food and liquid in your jars. Differs from one recipe to another but should be listed in the instructions.
- High acid food: A food that is naturally high in acid, like a fruit or berry, and that is typically safe to can in a water bath without adding acid.
- Hot pack: when a recipe says to hot pack, it means the food and liquid should be heated first. Instructions should be included, or consult a reference like the Ball Blue Book.
- Low acid food: A food that is naturally low in acid and needs to be pressure canned unless it is canned in an acid brine or with acid (lemon or lime juice, vinegar, or citric acid powder) according to recipe instructions.
- PC: An abbreviation for Pressure Canner
- Pretreat or pretreatment: Soaking produce in a product like citric acid or fruit preserver (such as the brand name product Fruit Fresh) to help it preserve its color and appearance.
- Process for: This is the amount of time you need to keep the jars processing with boiling water or with the pressure canner running (after venting and according to recipe instructions).
- Process at: You may see this term in pressure canning recipes. It tells you how many pounds of pressure the gauge or weighted jiggler needs to be set and processed at. Maintain the right level of pressure for the entire processing time.
- Raw pack: Vegetables that are packed raw, without cooking or heating first.
- Remove air bubbles: Before placing caps and rings on filled jars, you should use a tool or spatula to release trapped air bubbles. Run the utensil around the inside of the jar and let bubbles rise to the top.
- Regular mouth: The standard size of canning or jelly jar opening. Most jars are “regular mouth”.
- Water Bath: Sort of slang or abbreviated term for Boiling Water Bath Canner or Canning.
- Wide mouth: Canning jars with a larger opening. They may be preferred for some foods that you want to get in and out of the jar more easily, or if you want a straight, not tapered form to the products (wide mouth jars are mostly straight and the same size from top to bottom).
Canning Equipment Shopping Links
You certainly have options for where and when to shop for your canning equipment, but to help you be sure you are buying the right piece of equipment, here are some quick shopping links. Note that there are different styles, sizes, and manufacturers available, too.
Canning Essentials Utensil Set
Comes with a jar lifter, tongs, magnet wand, funnel, and headspace measurer/air bubble remover
Lids*
*Be sure to check to see if you need
Wide Mouth or
Regular Size Lids
for jars you already own**
Rings
Regular Mouth Rings
Wide Mouth Rings
Two-piece lid and ring combination pack
Regular Mouth Lids with Rings
Wide Mouth Lids with Rings
**New sets of canning jars come with lids and rings, so you do not need to buy new lids or rings until you reuse the jars. Lids should be new every time you reuse your jars (in other words, do not reuse lids). Rings only need to be replaced when they get rusty or corroded. You will need to replace lids far more often than you replace jars or rings, so what you usually need to shop for are the flat lids (aka caps).
Ball Canning Basics Book with Recipes
The All New Ball Book of Canning and Preserving
Canning Questions? Please Ask!
We hope that we’ve taken some of the mystery out of canning and canning terminology for you. It’s a big subject to cover, so if there is something we missed or a question you have, please ask away in the comments!

Leave a Reply