
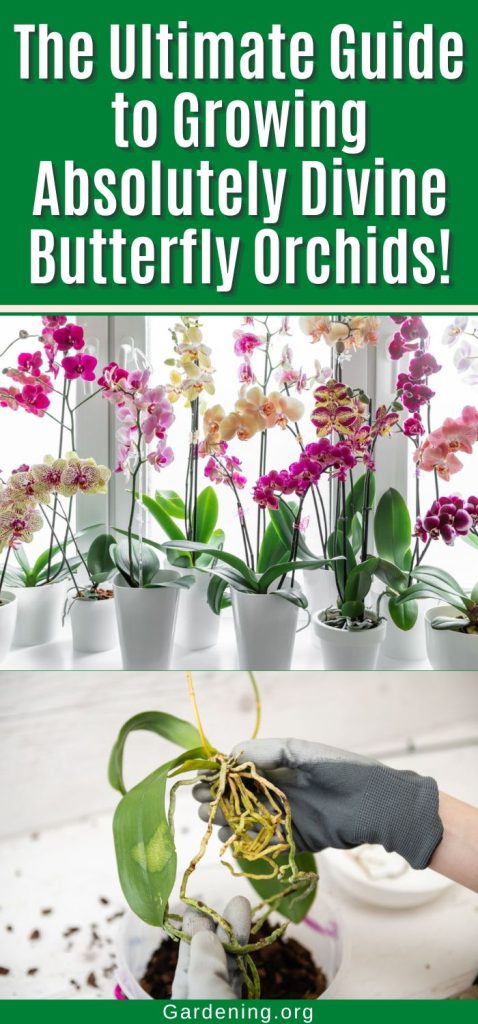
Phalaenopsis orchids, often called butterfly orchids, moth orchids, or Phals, have singlehandedly made orchid-growing accessible for millions of people.
These butterfly-shaped flowers are sold at big box stores and grocery stores at an affordable price. They are easy to keep alive, and their blooms can last from 2 to 6 months!
If you’ve had trouble growing these gorgeous orchids in the past, don’t worry. Read on for the few easy steps that will allow you to successfully grow them and enjoy their beautiful blooms for months.
Jump to:
- Why is the Phalaenopsis Orchid So Popular?
- To Care for Your Butterfly Orchid, Understand Its Native Habitat
- How Does This Translate into Growing a Butterfly Orchid in My Home?
- The Number One Thing You Should Not Do to Butterfly Orchids
- Best Care Practices for Butterfly Orchids
- When You Bring Home a Brand-New Phalaenopsis Orchid
- Watering
- Give Butterfly Orchids Extra Lighting to Encourage and Keep Blossoms
- Getting Your Butterfly Orchid to Bloom
- Fertilizers, Water, and Salts
- Keep Your Butterfly Orchid Misted!
- General Orchid Maintenance
Why is the Phalaenopsis Orchid So Popular?
This is the most commonly grown orchid because:
- It’s easy to grow (yes, really)
- It’s easy and cheap for suppliers to mass propagate and ship the plants.
- Phalaenopsis orchids are available in bloom and are relatively inexpensive.
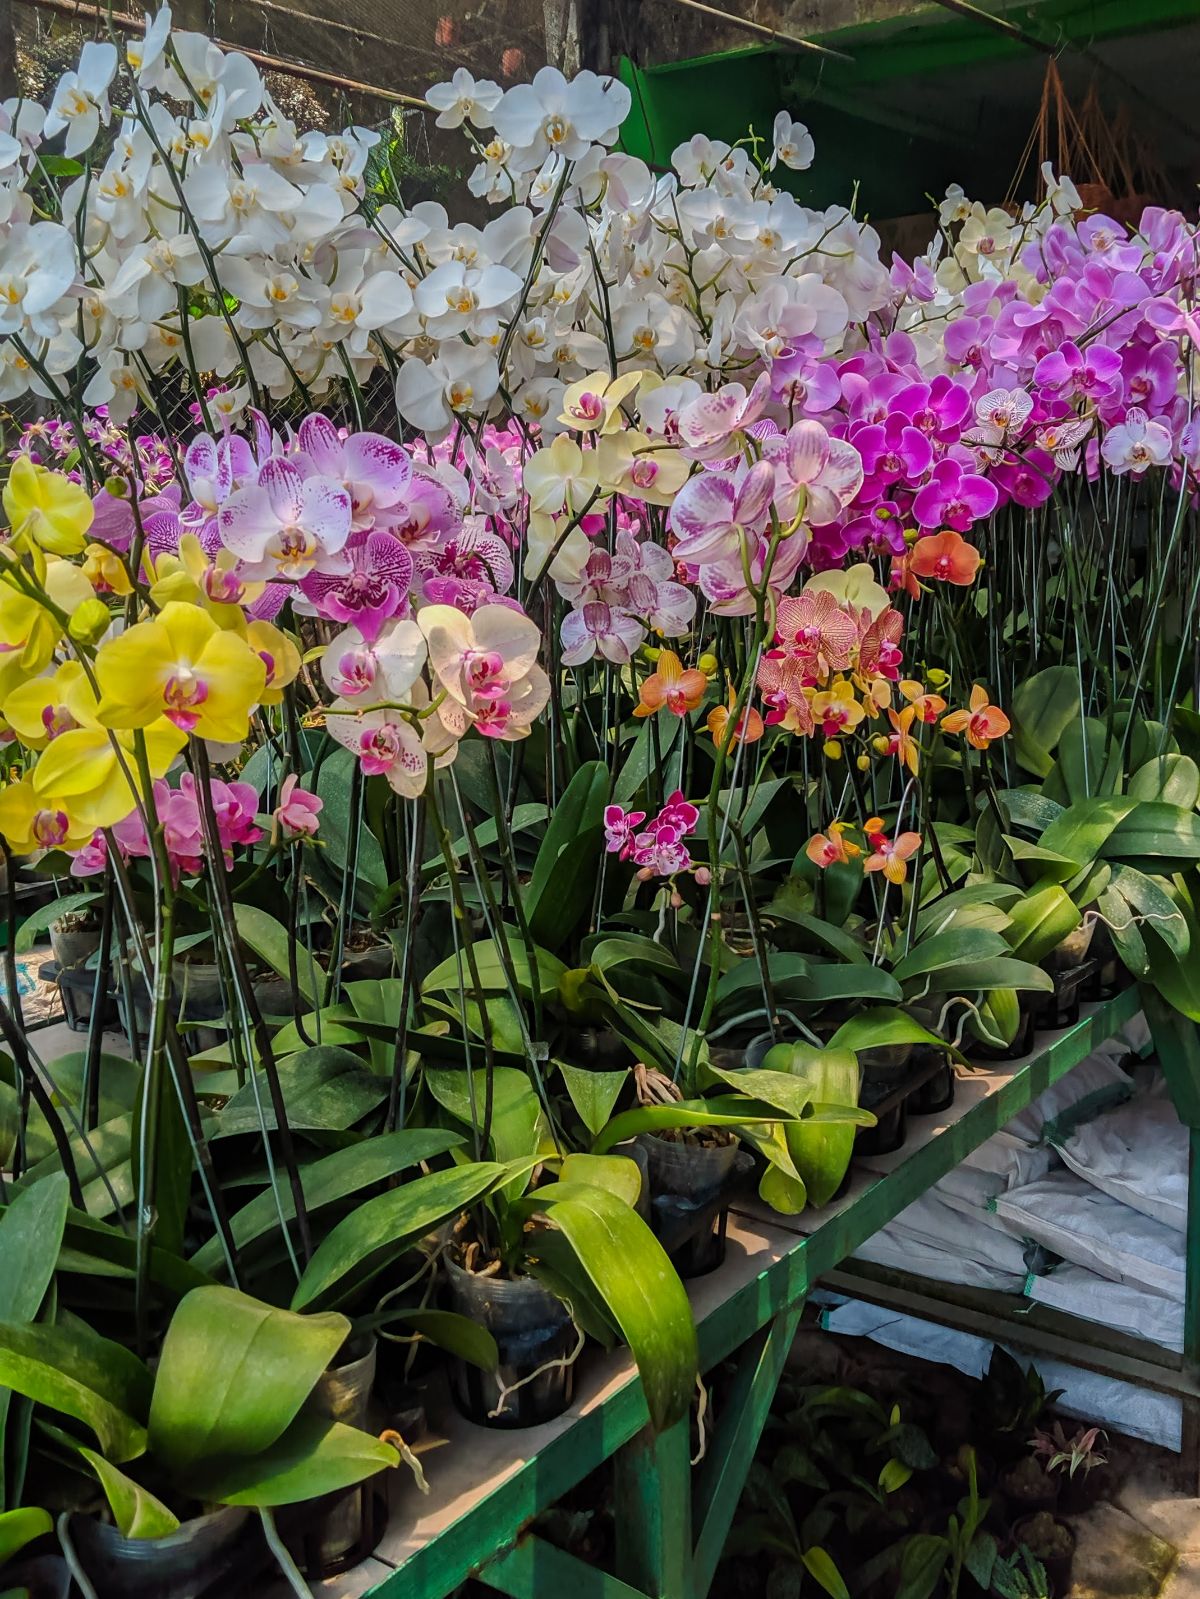
- Phal hybrids are available in a wide array of colors, patterns, and sizes.
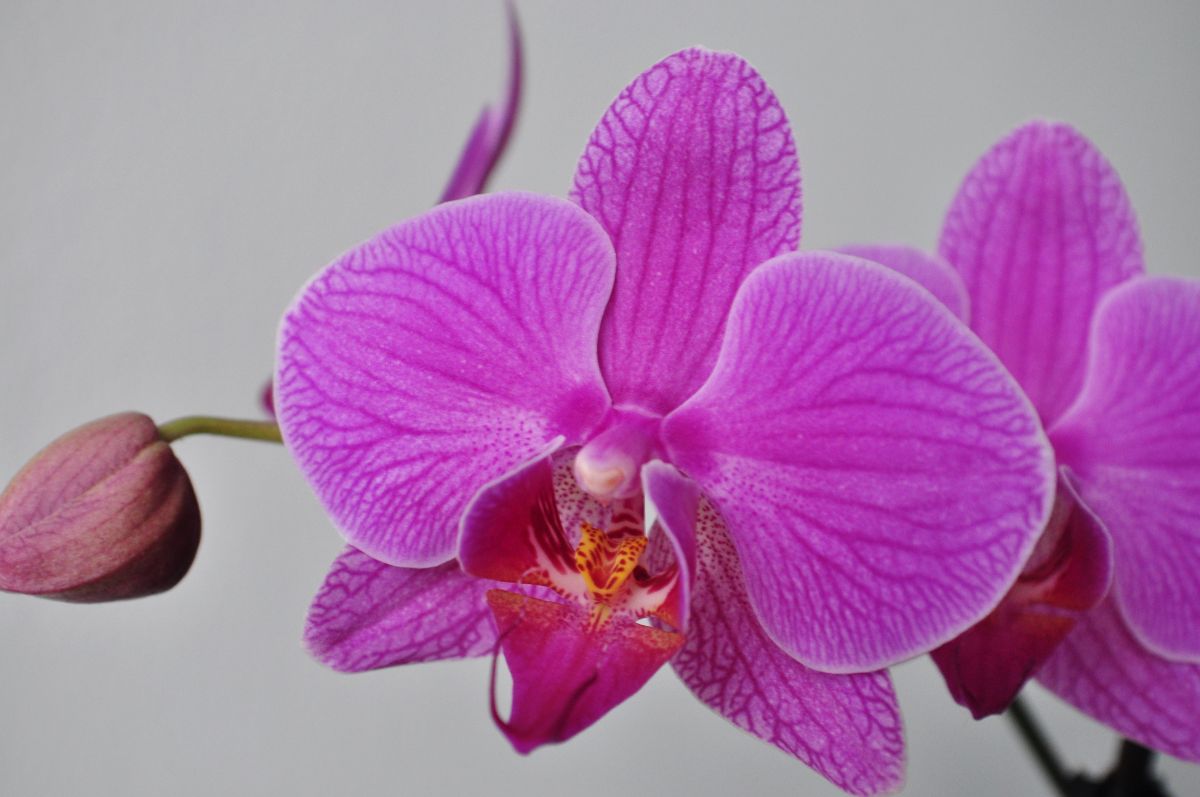
- Flowers range in color from magenta, cream, pink, violet, yellow, orange, and white.
- Butterfly orchids also have bleached harlequin or kaleidoscope flowers.
- The blossoms can last for up to six months!
- Moth orchids are eye-catching, stately, and beautiful in bloom.
- Phals don’t need a lot of light to grow (but a little extra light helps them flower).
To Care for Your Butterfly Orchid, Understand Its Native Habitat
The best way to take care of any plant is to learn how they grow in the wild and then try to provide similar conditions.
Butterfly orchids are native to the tropical rainforests in Indonesia, New Guinea, the Philippines, and Southeast Asia. These places sit on the equator, where it’s humid and hot.
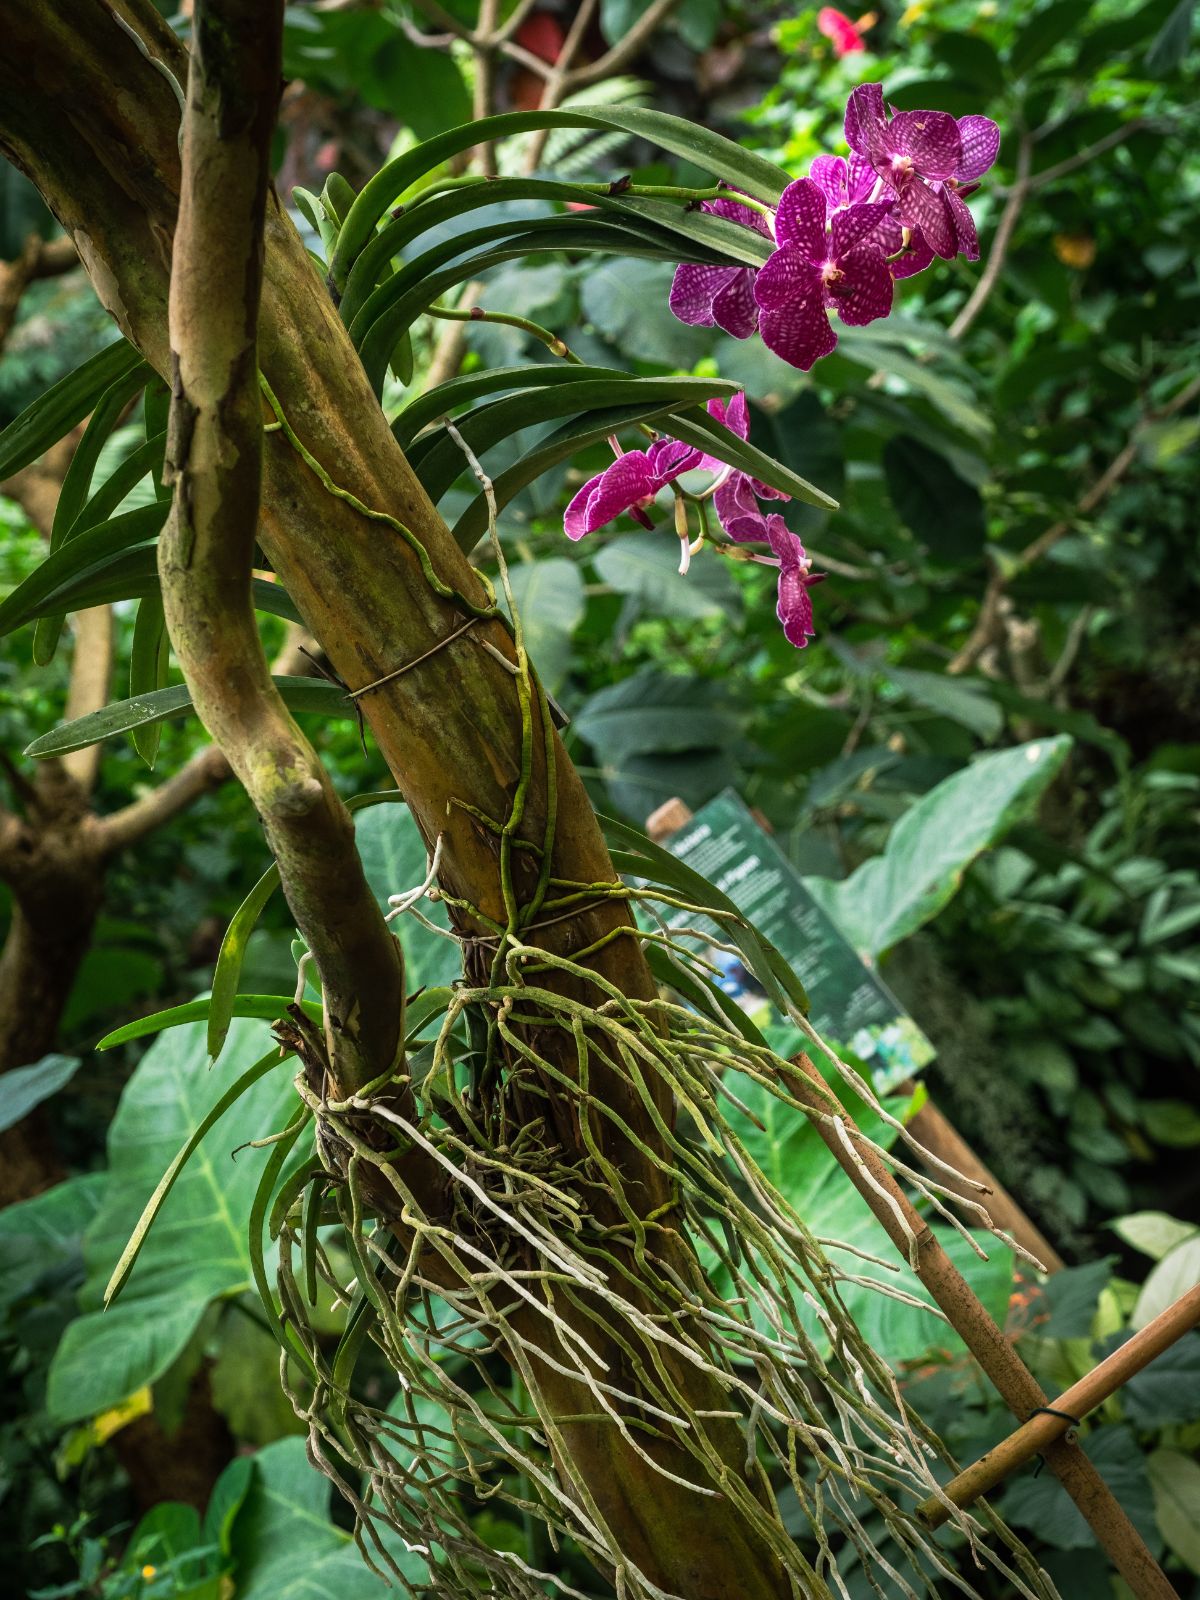
Phalaenopsis orchids are epiphytes, which means they grow in treetops with their roots stretching into the air to absorb moisture. Some of their roots wrap around the tree’s bark to anchor the plant.
Butterfly orchids grow on shady tree branches below the upper canopy. Here, bright light filters in through the thick leaves, and they’re protected from the burning sun.
In the rainforest, these orchids get torrential rain, then dry out a little – though not much due to the high humidity of the treetop around them – and then enjoy another rainfall.
Unlike terrestrial plants that grow with their roots in the soil, epiphytic orchids get their nutrients from the air, water, and from decaying leaves and other debris that gathers on their roots. They also get a little nutrition from the little gaps in the bark and from the moss that grows on the branch with them.
The low level of nutrients available in the treetops would stress and kill a terrestrial plant. However, these orchids and other epiphytes that have adapted to these conditions bloom their pretty heads off.
How Does This Translate into Growing a Butterfly Orchid in My Home?
Does this mean you have to replicate a little rainforest in your home? Grow a wee rainforest tree in the living room and put orchids in its upper branches?
Well, obviously, no; that would ruin the carpet. Their native habitat is a guide for their care – and what a butterfly orchid needs to thrive.
The Number One Thing You Should Not Do to Butterfly Orchids
I beg of you, I beseech you … please don’t water these orchids with ice. This terrible direction has killed a kajillion orchids.
“But a study done by The Ohio State University and the University of Georgia showed that orchids watered by ice cubes weekly for six months grew just as well as orchids that received the same amount of water.”
Yes, watering with ice works just fine if you intend to treat the orchid as disposable. In this case, leave it in the pot it was sold in, water it with ice until the flowers fall off, and then throw out the orchid and buy a new one.
However, you are probably reading this article because you want to grow the biggest, bloomingest orchids you have ever laid eyes upon.
Watering with ice isn’t the way to do it.
Because the Results section of the aforementioned study states, “The mean flower longevity in OH was 100 d (days) for both the ice- and water-irrigated orchids. In GA, the ice and water irrigation treatments had a mean flower longevity of 60 d (days) … The display life of the plants, which was determined as the number of days from arrival until the last flower on the plant wilted, also showed no irrigation treatment effect.”
What does all that mean? It means that the orchids in this study all started out with panicles of gorgeous flowers – and EVERY SINGLE FLOWER withered and fell off within 2 to 3 months.
Put four ice cubes in a cup and let them melt, and you get, what, a couple of teaspoons of water?
Imagine the orchid in its native habitat enjoying glorious bursts of rain … and then imagine that same orchid living on a few spoonfuls of water every week.
Orchids deserve better. And so do you!
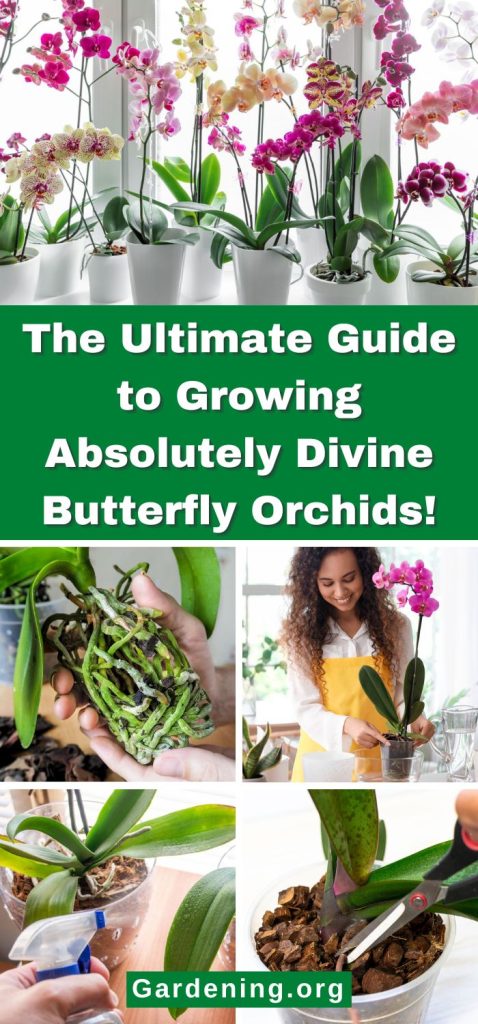
Best Care Practices for Butterfly Orchids
For best results, give butterfly orchids humid conditions and bright filtered light. They grow best in loose bark media with plenty of drainage – don’t let their roots sit in water – and comfortably warm temperatures, from 65 to 80 degrees.
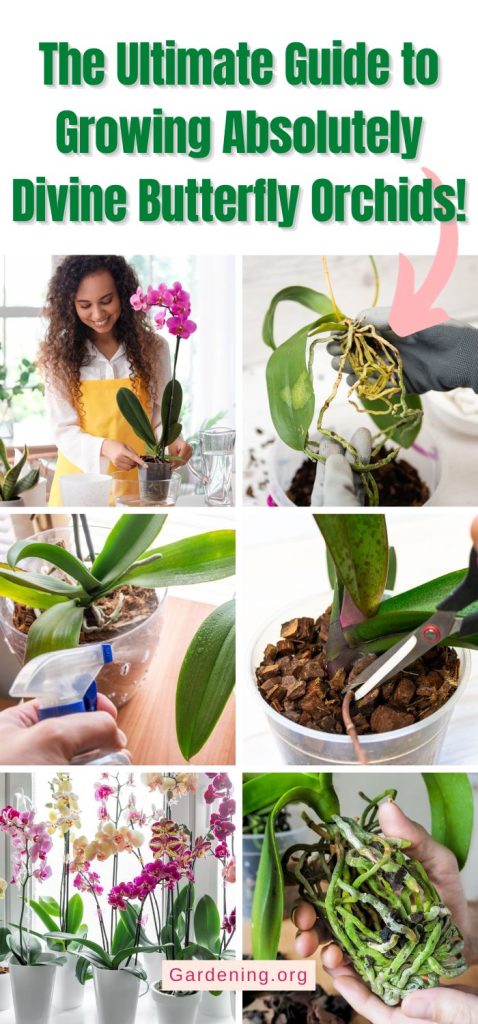
When You Bring Home a Brand-New Phalaenopsis Orchid
Follow these steps to give your plant a good start.
- If the temperature is below 45 degrees, protect the flowers and plant by putting a plastic bag upside down to cover the paper or plastic sleeve.
- Quickly get the orchid into your warm car and take it home. Orchid flowers and leaves will turn black and fall off when exposed to cold.
- Once home, remove the plastic sleeve, tags, and stickers.
- Find a place for the orchid where it can enjoy bright, indirect light (and you can enjoy its flowers)
- Then, immediately follow the watering steps below before setting it in its showcase place.
Watering
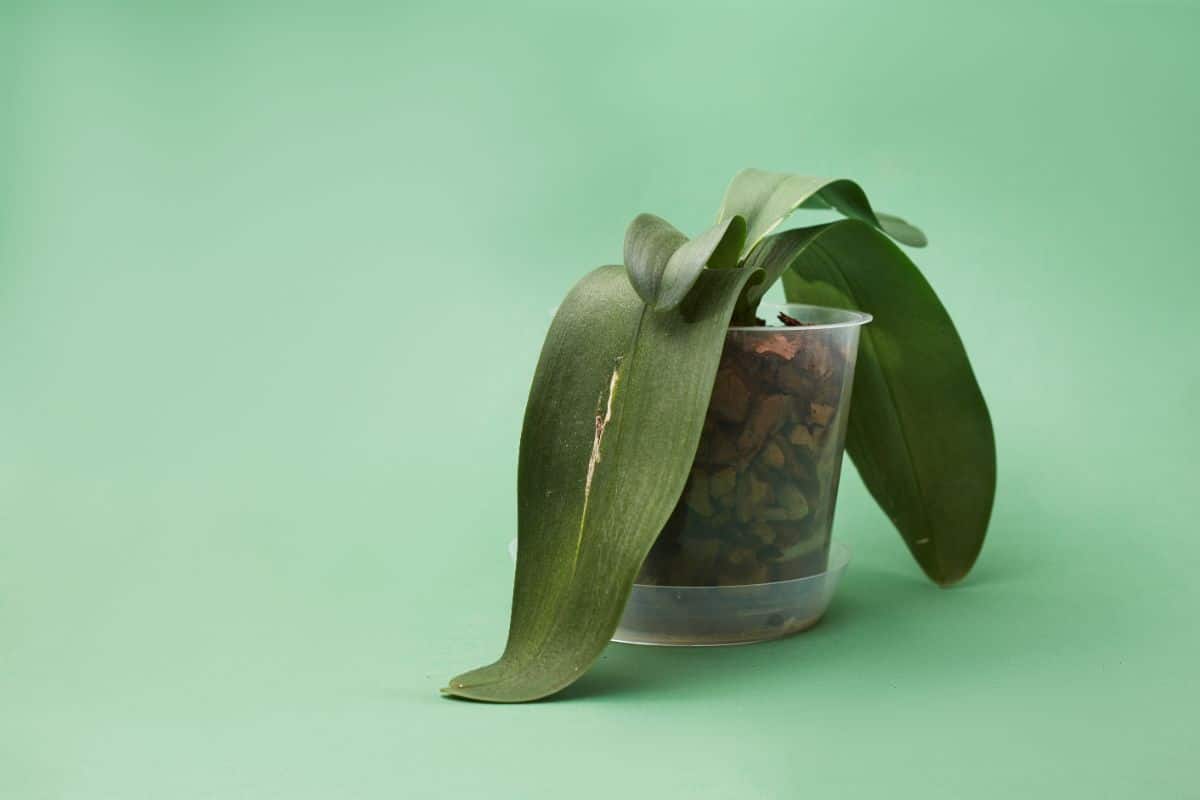
Since the moth orchid is a treetop dweller with its roots sticking out in the rainy air, it doesn’t like to sit in water – which happens when water collects in its decorative pot. It doesn’t want to dry completely out, either. Then the leaves droop, and the flowers fall off.
Orchids sold at big box stores are seldom watered, so any orchid you buy is likely going to be dry. Follow these watering steps as soon as you get the orchid, and follow them for its weekly watering.
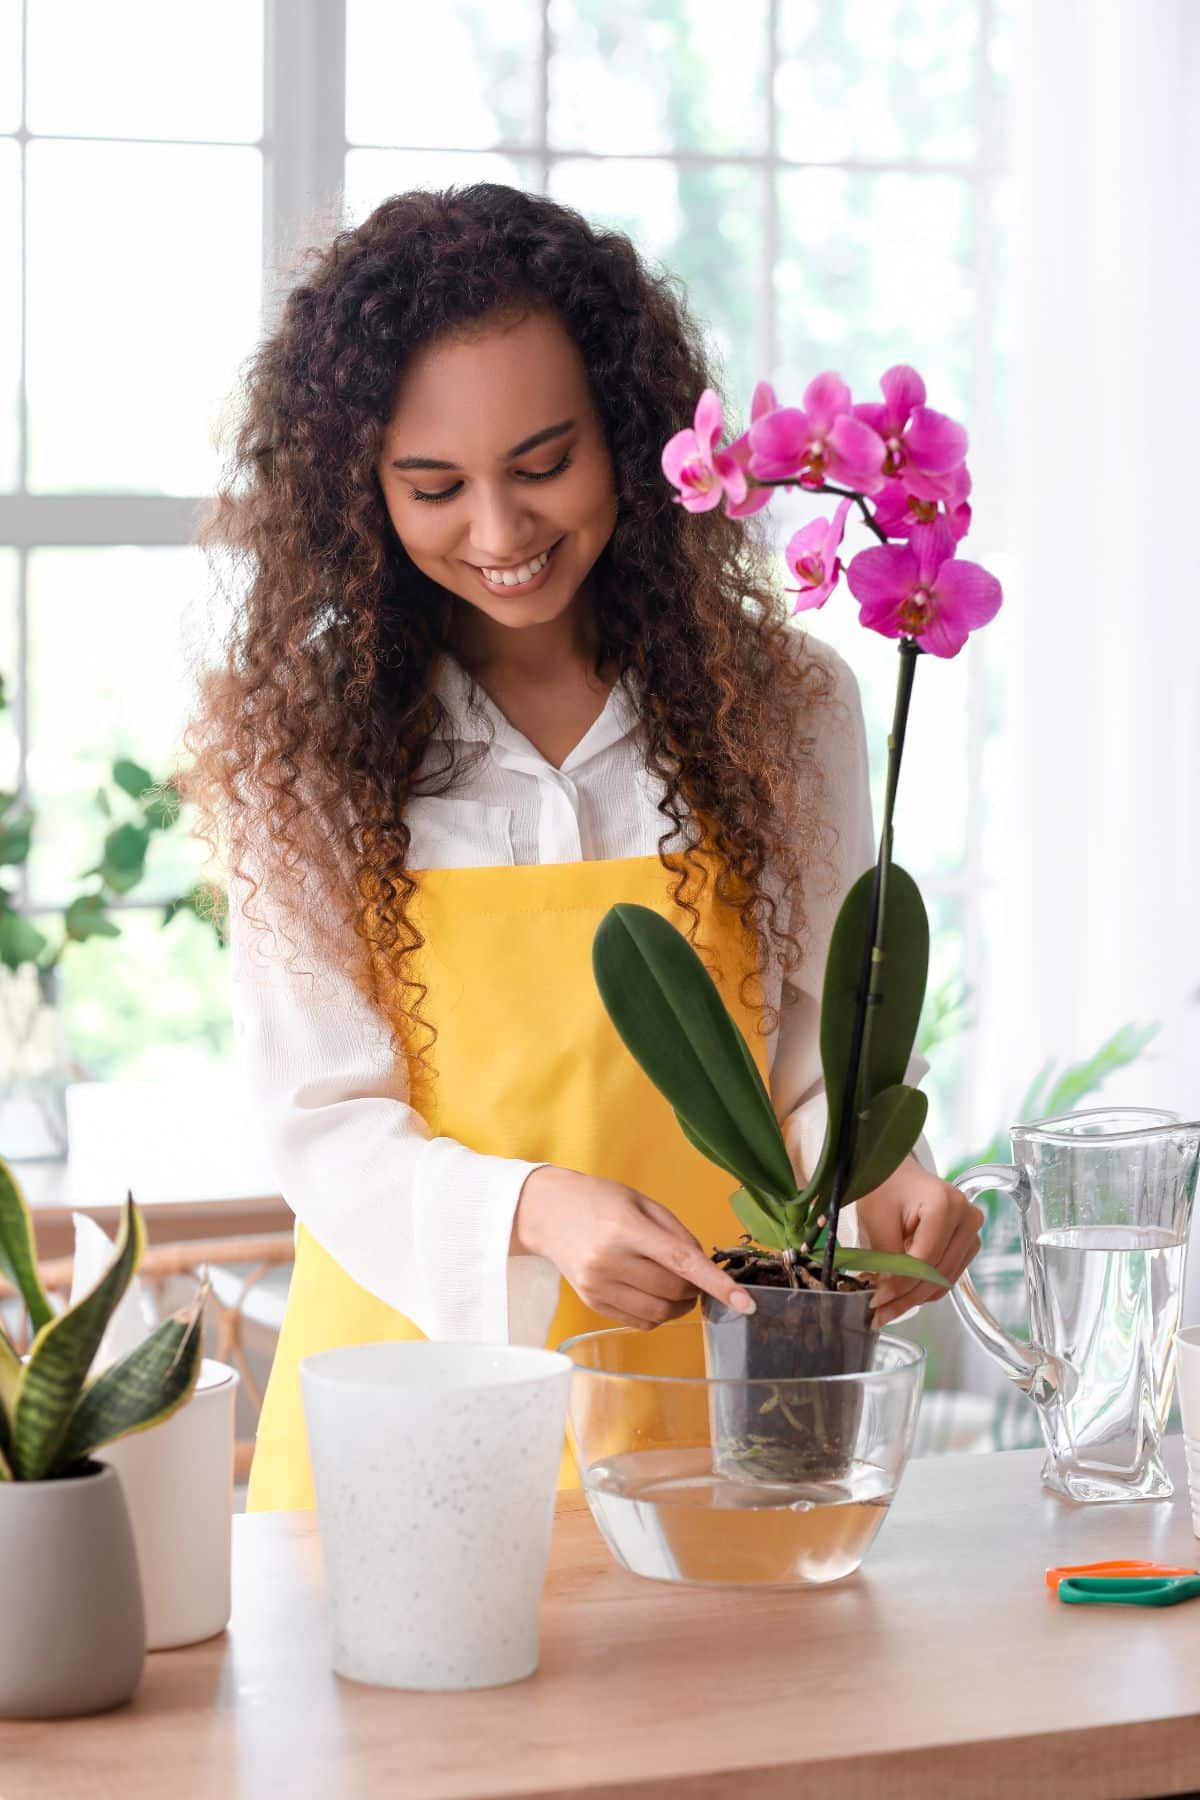
- Note that your orchid is actually sitting in two pots: A decorative flowerpot with no drainage holes and an inner plastic pot.
- Lift the inner pot out of the decorative flowerpot. The inner orchid pots are clear to allow you to check the roots to see if the plant needs water. If you lift out the pot and see that the roots are silvery, then it’s time to give your orchid a drink.
- Set the orchid in the sink or shower – someplace where you’re okay with small bark chips escaping down the drain. (If you’re not, put the orchid in a plastic dishpan or bucket.)
- With the orchid in its decorative container, fill it to close to the top of the bark with lukewarm water. Leave the bark and roots submerged for 5 or 10 minutes. This allows both to soak up water.
- Gently spray the orchid leaves and aerial roots with lukewarm water.
- Once bark and roots have soaked up their fill, lift out the clear pot. You’ll notice that the orchid roots have turned from silvery to green. That means they’re watered and happy.
- Let the clear pot drain. Wipe off the leaves with a paper towel and put it back in the decorative pot.
- Once it dries, put it back in its sunny spot.
- Some orchid growers prefer to set their orchid pot in a bowl of lukewarm water for anywhere from 5 minutes to a half-hour, then swap it out for the next orchid. This also works just fine. You can even add fertilizer to the water (half-strength only) and accomplish two things at once.
Give Butterfly Orchids Extra Lighting to Encourage and Keep Blossoms
Generally, a window with bright light will keep your orchid alive and growing, but sometimes what you think is bright light isn’t bright enough for a butterfly orchid, especially if you want them to bloom and keep blooming.
A couple of years ago, I was growing Phalaenopsis orchids at the office that were finally blooming. Then my flowers and I had to move to a darker office. I put all my orchids under a small fluorescent light – but the light was not bright enough, and all their flowers fell off!
Another time, I bought a mystery orchid at a local greenhouse (it turned out to be an Oncidium Alliance orchid) and set it in my south-facing window. It was a healthy green, but all it did was sit there for several months. Finally, I put it under a bright grow light. Within a few weeks, it sprouted a new stalk that eventually popped out a ton of cheerful yellow flowers.

Give your butterfly orchid a full-spectrum LED grow light. This gives your orchid white light that contains all the visible parts of the spectrum, and that will optimize photosynthesis in your plant. White light also makes your plant look good.
The red and blue grow lights are fine, but these turn all of your plants into a weird shade of “blurple” and you can’t really enjoy the flowers.
When adding a grow light, place it a little over a foot away. Move it closer if the orchid isn’t responding, or move it away if the leaves look scorched. When you find the sweet spot for light placement, your orchid will look cheerful and give you winter flowers.
Getting Your Butterfly Orchid to Bloom
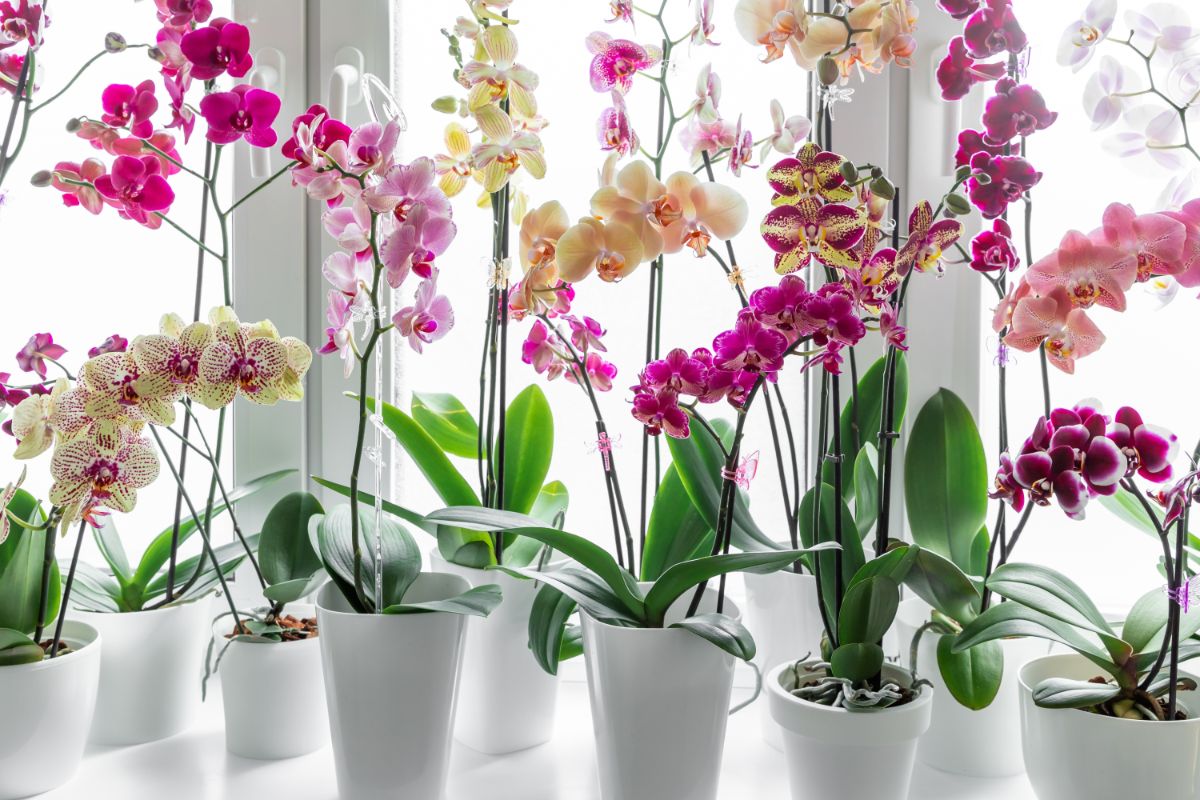
The natural bloom time for butterfly orchids is in winter, so they start putting out flower stalks toward the end of the year. It really lifts your spirits to have a colorful riot of flowers in your house while everything outside is white and brown.
It takes a lot of energy for an orchid to flower, and the two main ways they get energy are through 1) water and 2) photosynthesis.
A little extra fertilizer this time of year will encourage flower spikes. But fertilize only at half-strength since these orchids don’t require a lot of nourishment.
Keep the stick and the tiny clips after your flowers die off. Every year, bring it out of storage and clip the stem to it as the stalk grows. Clip below the flower buds so you don’t accidentally knock the new buds off.
Fertilizers, Water, and Salts
With so much rain falling over the wild treetop orchids, salts have no time to collect. As a result, epiphytic orchids such as the moth orchid are highly skilled in quickly absorbing salt.
Here’s the problem: If you put that orchid in an environment where it gets a normal (to us) amount of salt, its roots will pull salt into them as if they were magnets. And they won’t stop absorbing salt if they’re exposed to lots of it.
Unfortunately, there’s often salt in tap water and lots of salt in fertilizers. That’s why it’s a good idea to flush out your orchid pot every now and then.
Take your orchid out of its decorative pot, put it in the kitchen sink or shower, and run water through the pot for about a minute. Let it drain, dry off the leaves, and put it back in the decorative pot when you’re finished.
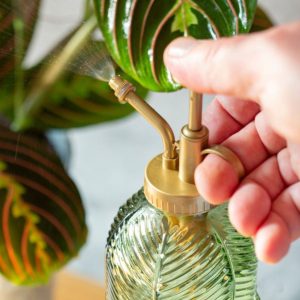
Keep Your Butterfly Orchid Misted!
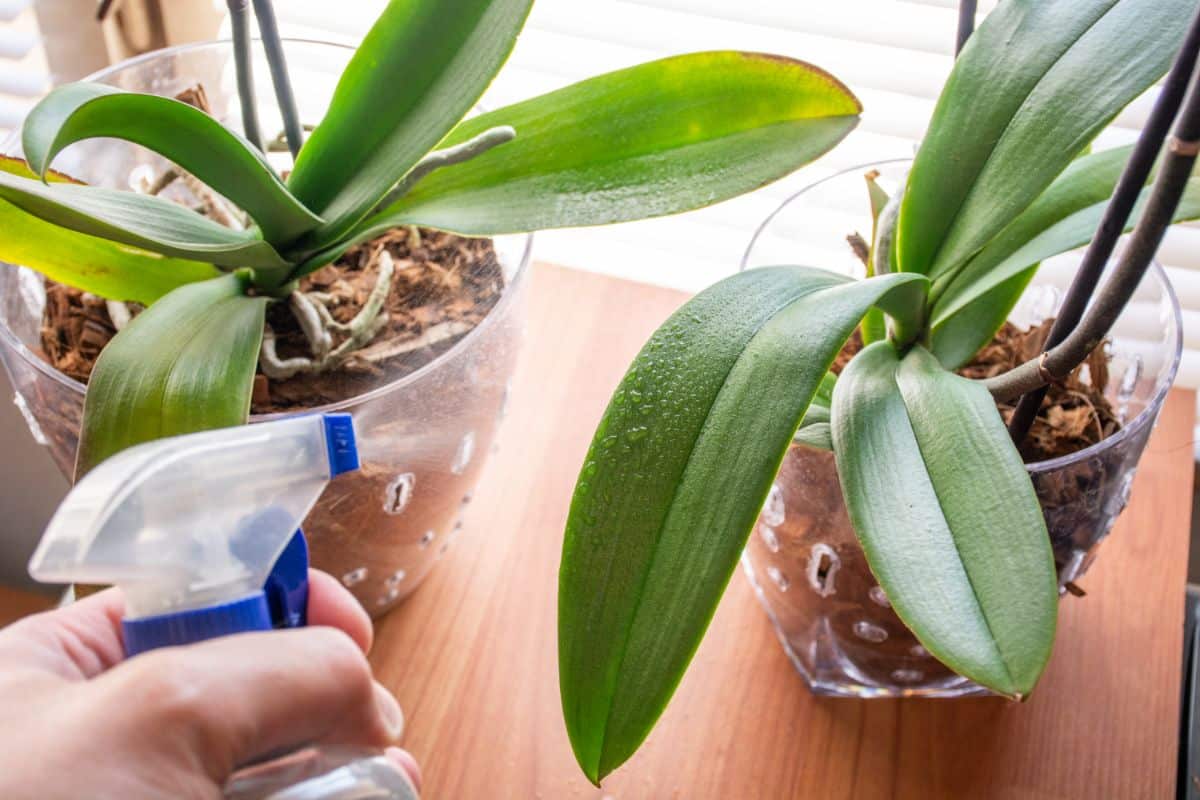
Orchids love being misted, and usually, a spray bottle of water will do the trick. If you have a lot of orchids, however, and the air is dry in your home, you might consider running a humidifier nearby to keep them hydrated. They do fine with humidity levels above 50 percent.
General Orchid Maintenance
Here are a few common problems that orchid growers run into.
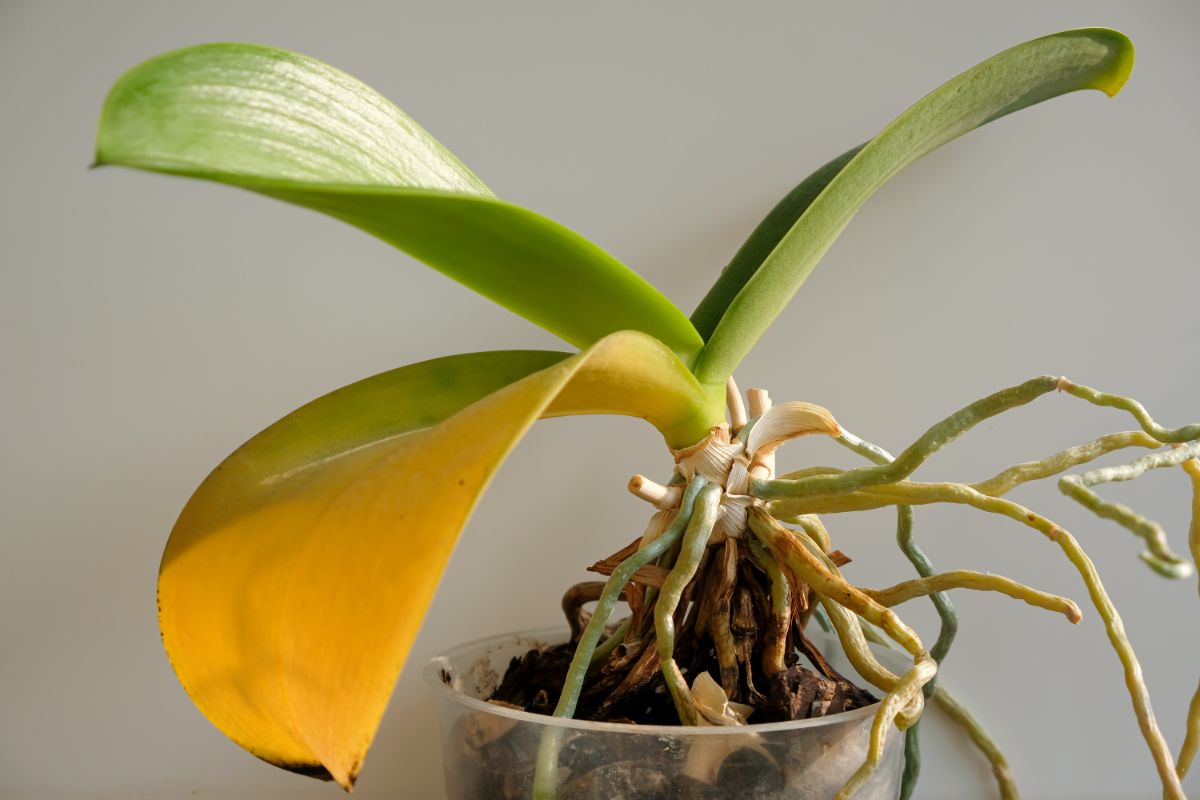
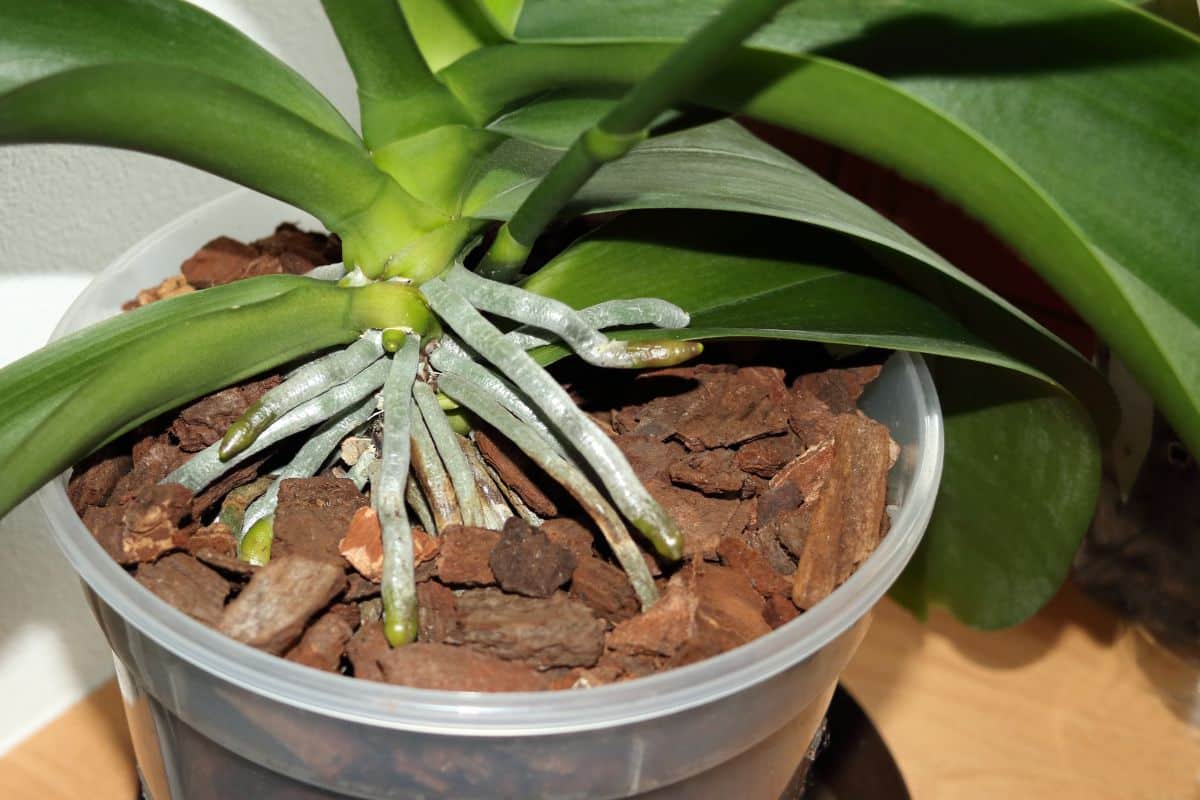
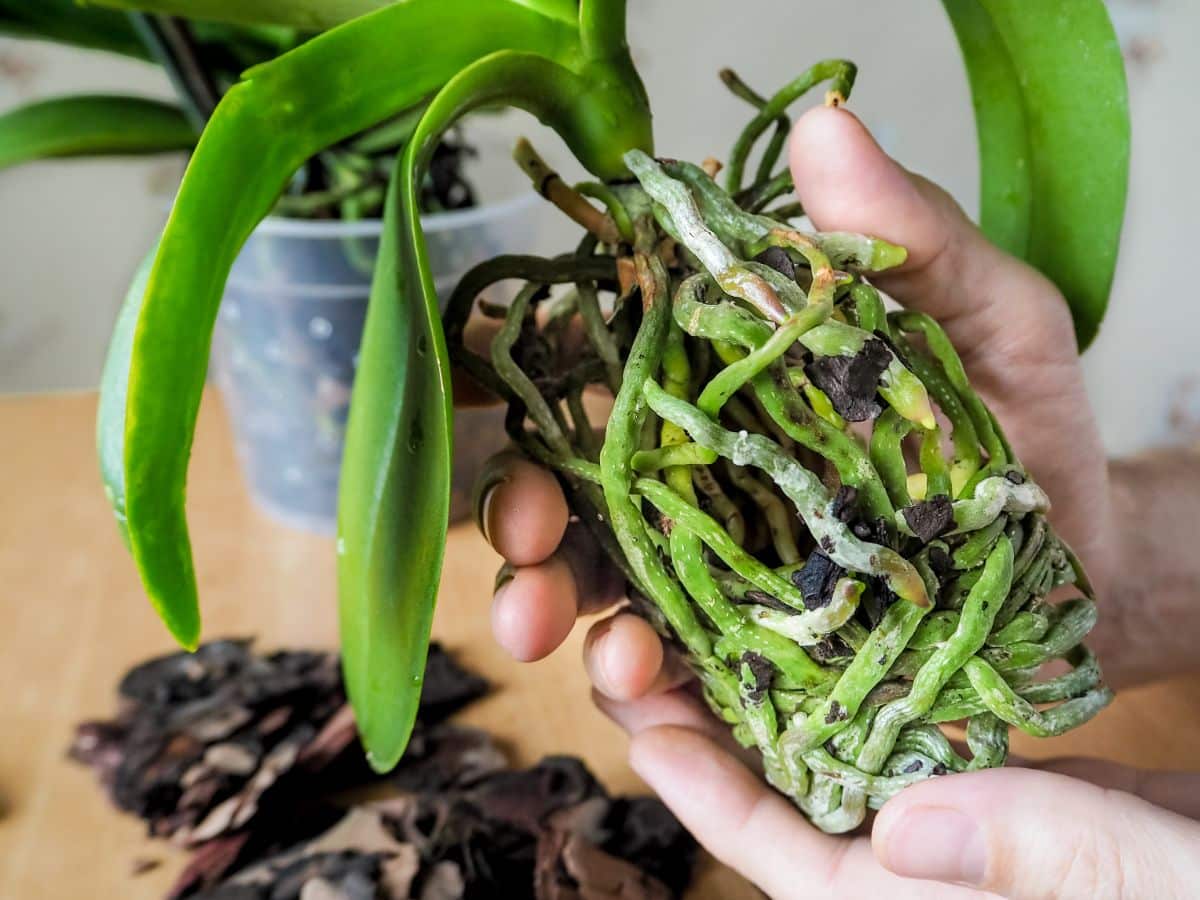
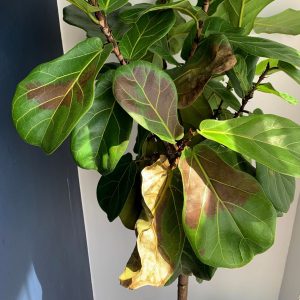
This orchid has grown way out of the pot. Note the yellowing leaf and yellowing roots. Cut off the yellow roots and repot it, setting the roots deeper into the bark medium.
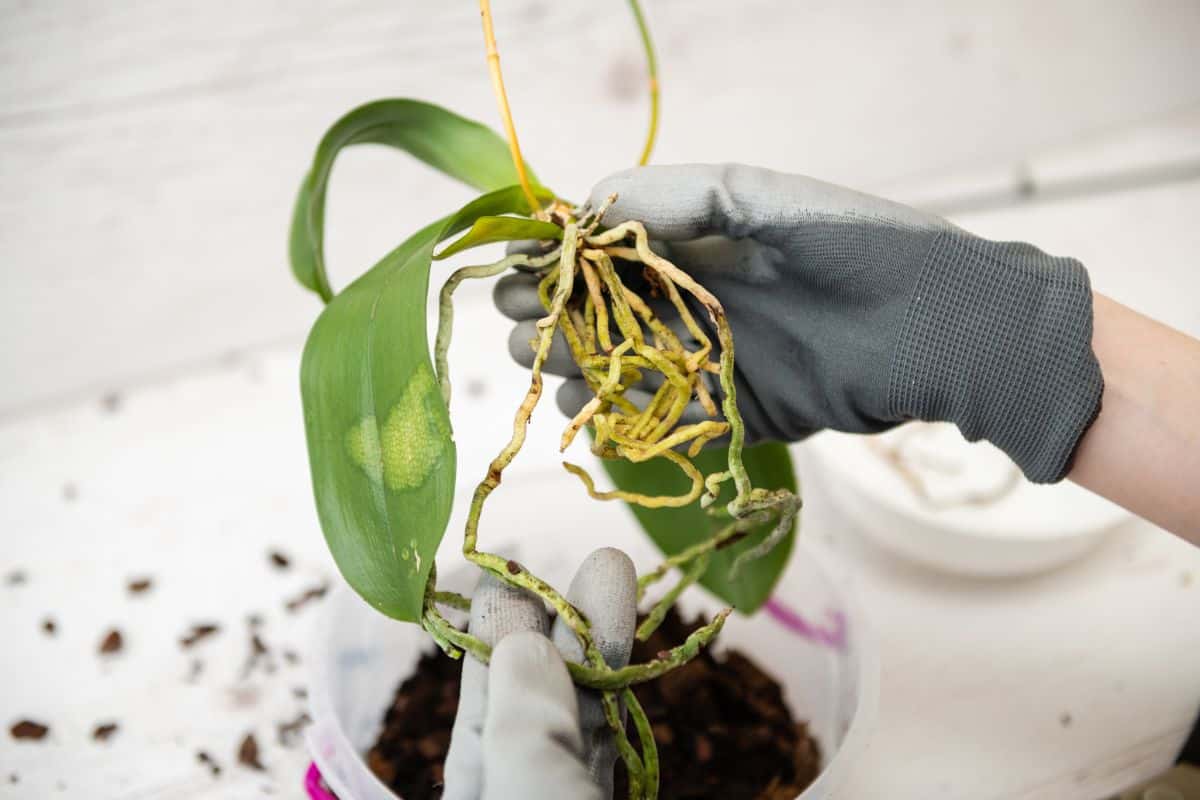
If you have diseased roots or leaves, cut them off.
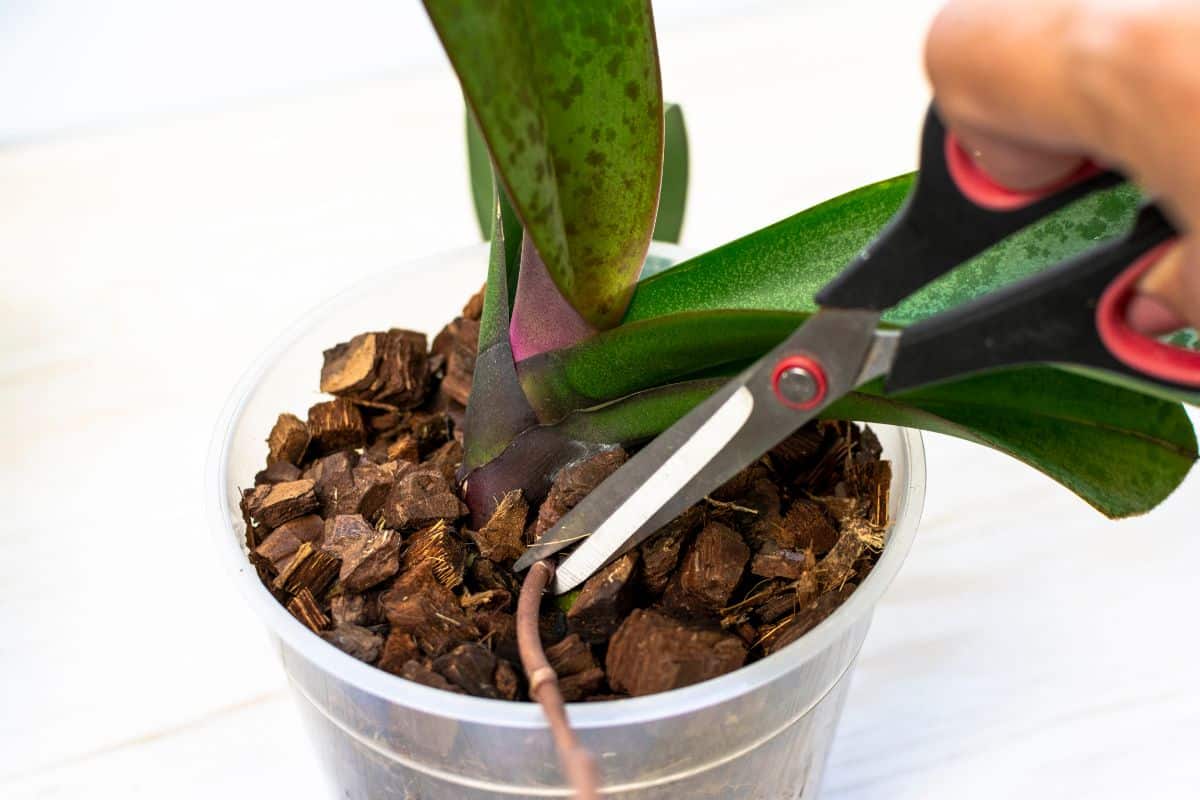
Cut off flower stalks near the base once they’re finished blooming. Sometimes, if all the flowers fall off a stalk, the orchid will form new buds, and after a month or so, you’ll start getting new flowers.
If you accidentally break a flower stem, the orchid sometimes sends up another spike.
Don’t overwater your orchids. Too much watering, or leaving water in the pot for days, can lead to bacterial brown rot and other diseases.
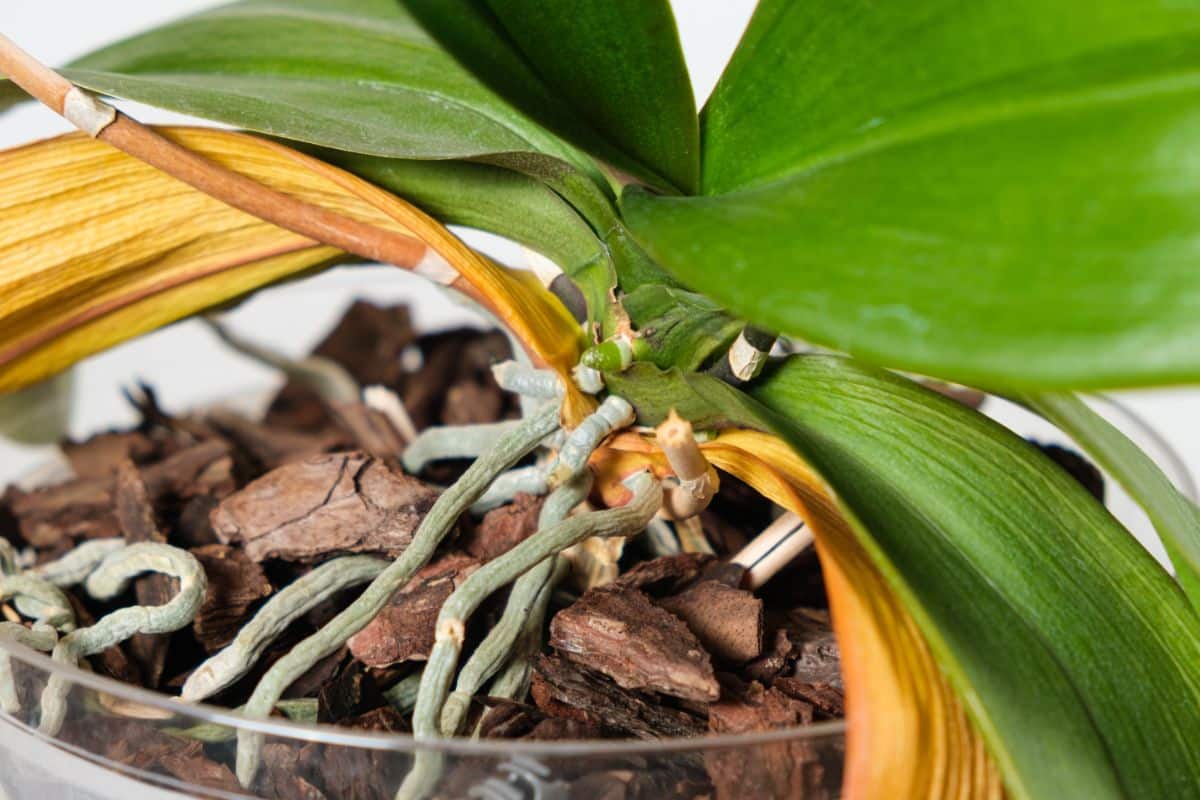
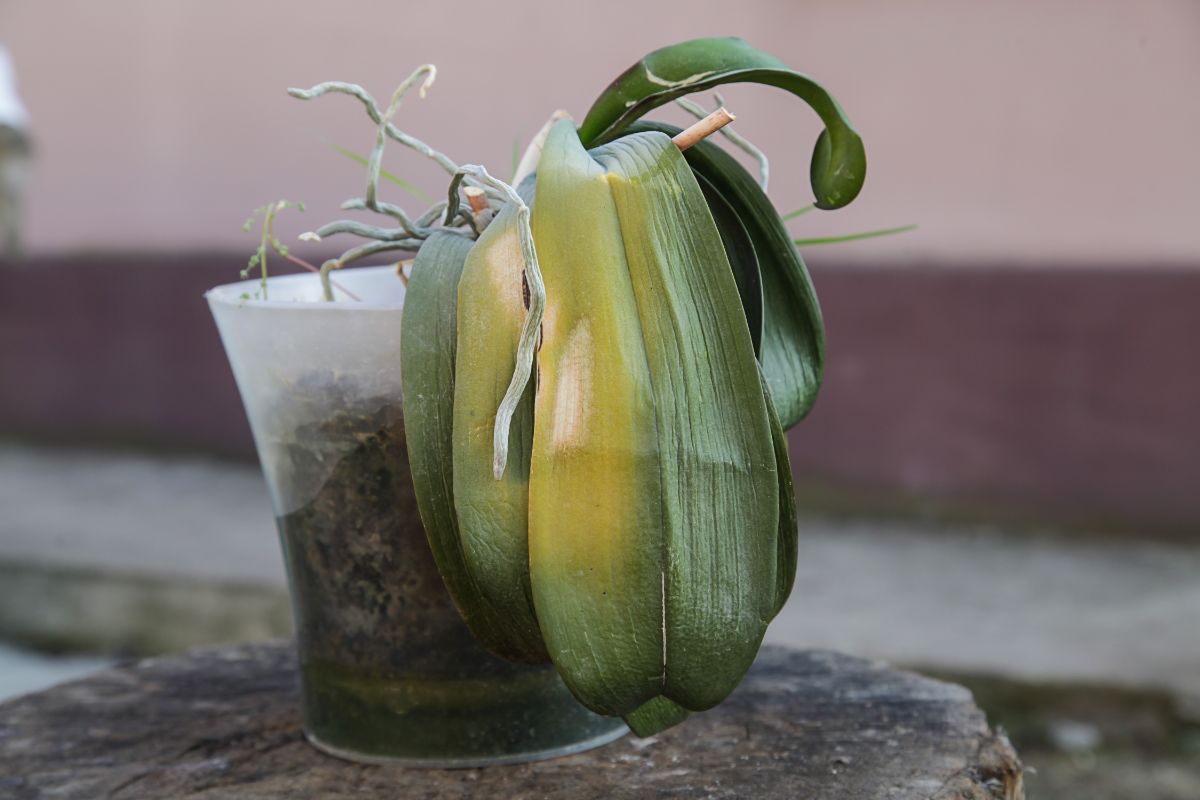
Leaving your orchid too dry will lead to flowers and leaves dying off. Its roots and leaves will wrinkle and droop as they lose water.
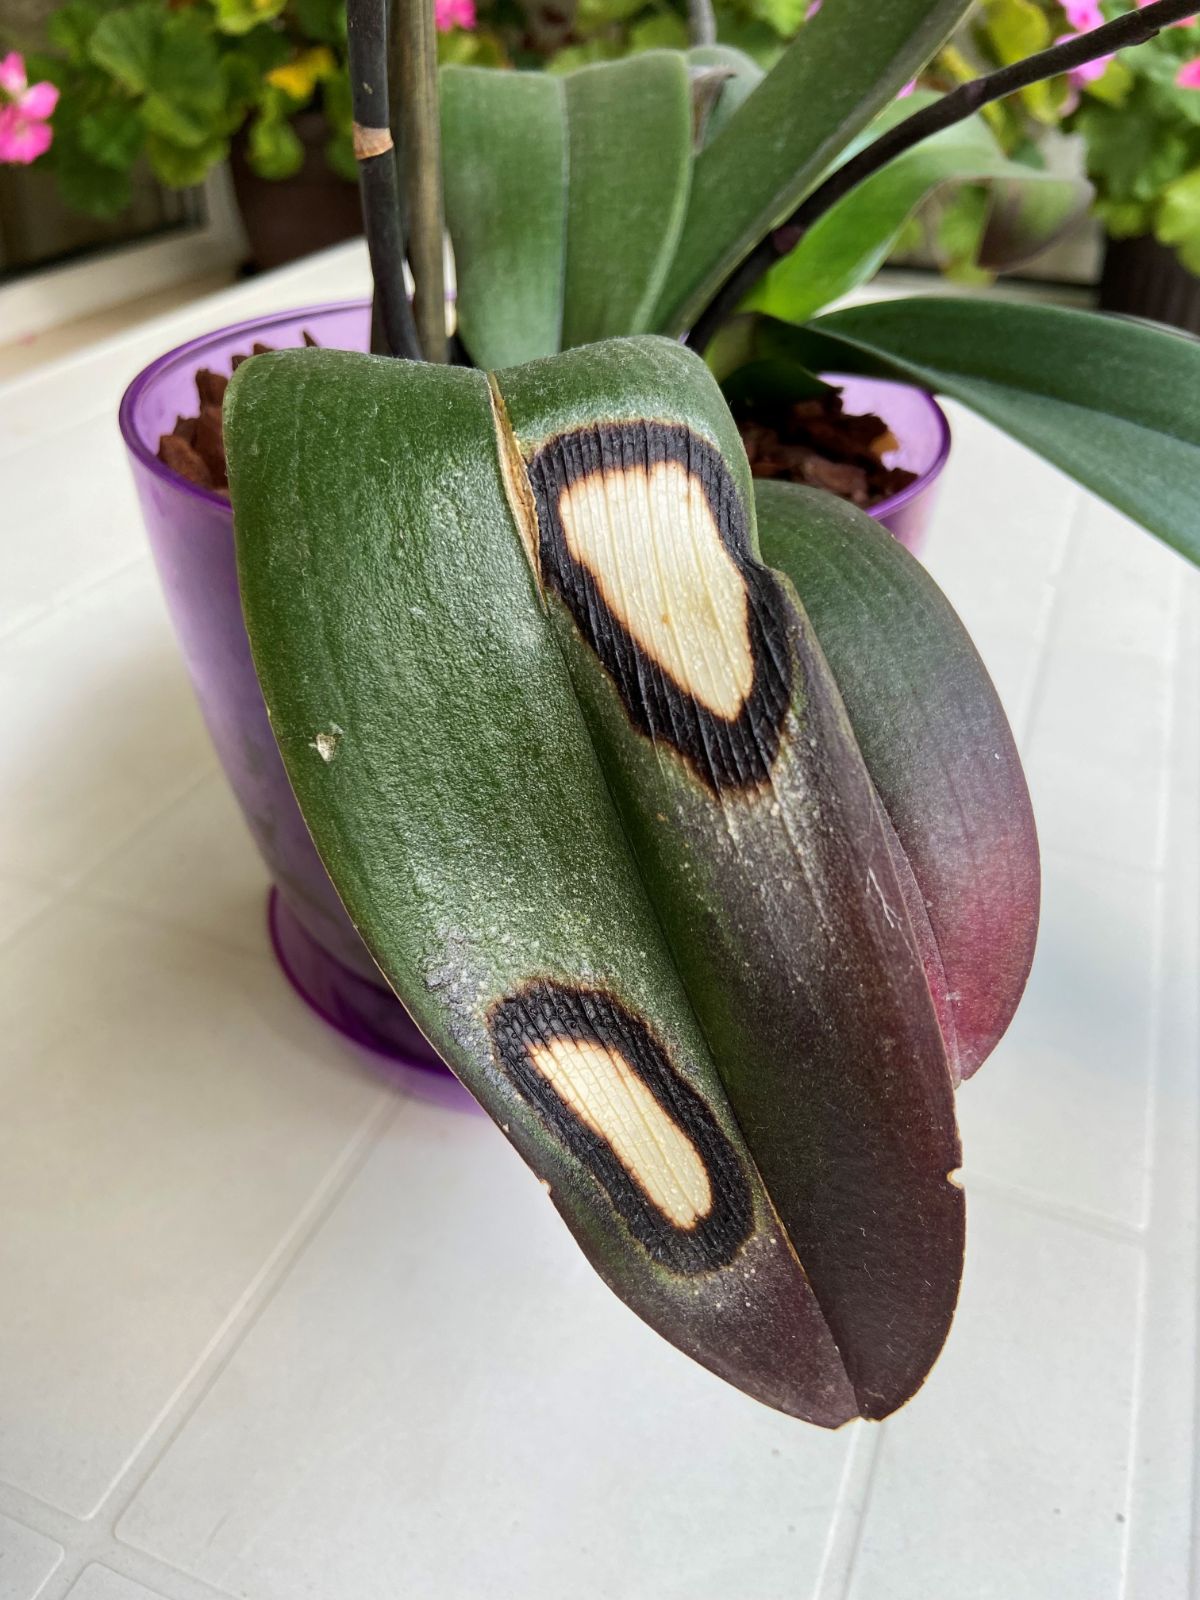
This orchid’s leaves were burned by direct sunlight. Butterfly orchids like bright light but keep them out of full sun.
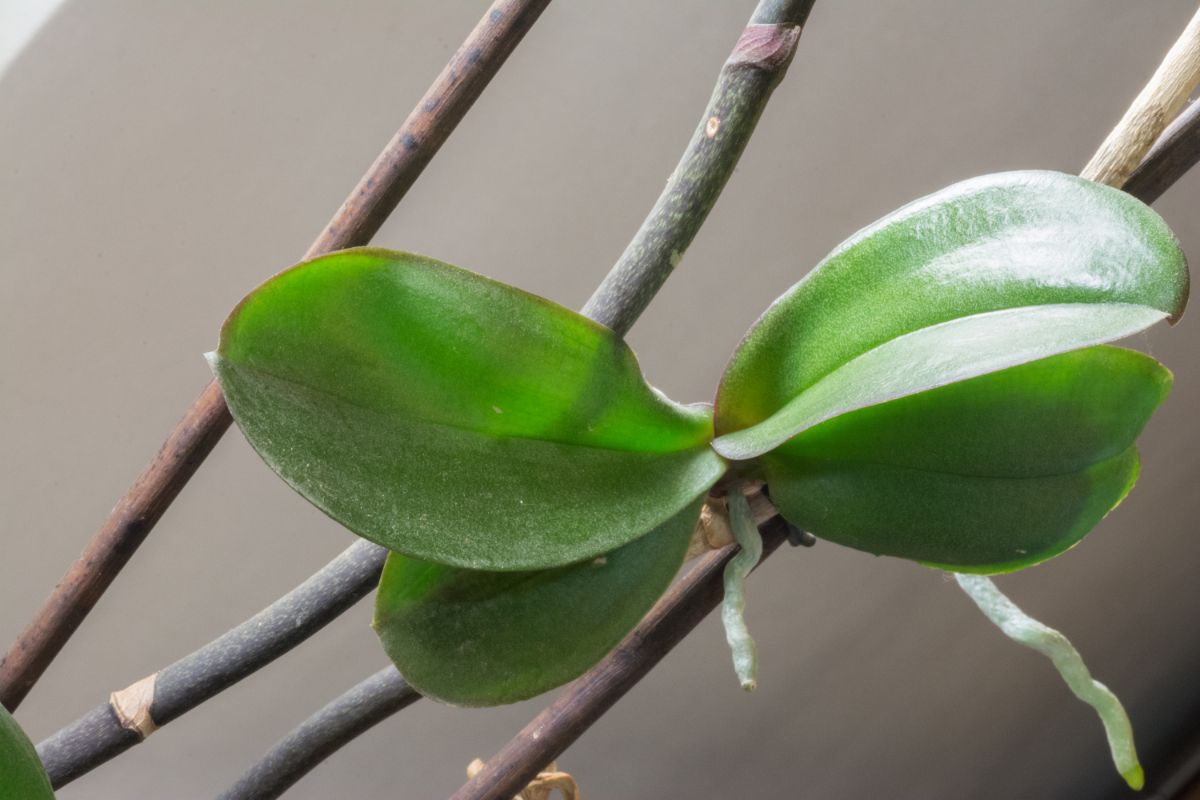
If one of your flower spikes suddenly starts sprouting out a baby plant, then congratulations! This is a keiki, a baby orchid that is genetically identical to the parent plant, so it will have the same flowers as the orchid it came from.
Once the keiki grows roots that are 1 to 3 inches long, cut the spike an inch or two below the keiki. Then repot the mother plant and put the keiki in next to her, using the spike to hold it in place, and encourage the keiki to put her roots into the potting mix. The mother plant will regulate moisture in the pot for the baby plant for the first year until it’s big enough to grow in its own pot.
Leave a Reply