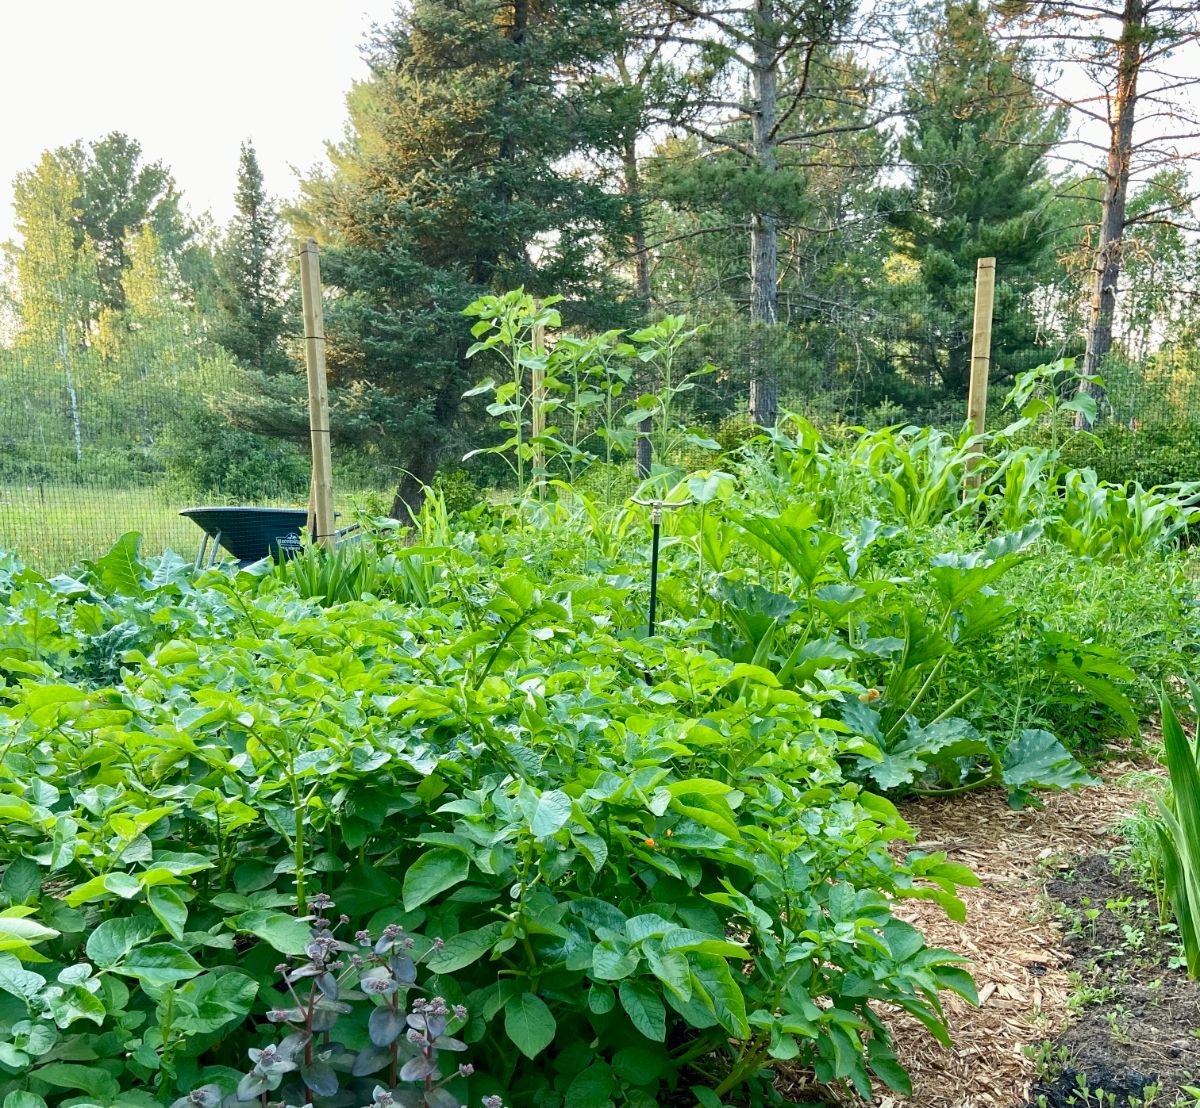
Late winter and early spring are when many of us start thinking about expanding the garden. Gone are the memories of too much weeding or thinking maybe we should scale back.
After months of winter, the idea of a bigger plot of garden, one with room to plant all the seeds we bought from winter garden catalogs, seems a good idea.
Maybe you are preparing a garden bed for the first time. Either way, there is some work to do to ensure a lush, thriving garden this summer.
While the best time to prepare a new garden bed was last fall and also the best time to take a soil sample and send it to the lab for testing, new beds can be broken in spring. I must confess, I am rarely so organized or efficient and usually end up doing it in spring like everyone else.
Jump to:
What equipment will I need?
Equipment needs vary with the size of the plot and the difficulty of the site to be worked.
As you might suppose, the larger the plot, the nicer it is to have mechanical equipment to assist.
I have broken many garden beds with nothing more than a simple garden spade, and I have used walk-behind tillers, tillers mounted on garden tractors and even agricultural tractors with a plow and disc. All have their uses. I am considering renting a small excavator this spring to deal with all of the rocks in my new beds.
Your physical capabilities are also a consideration. Breaking a large bed in heavy soil and rocks by hand with a shovel and wheelbarrow is dirty, hard work. Think prison work camp type of stuff. Assess if that is something you are capable or willing to do.
Hand tools
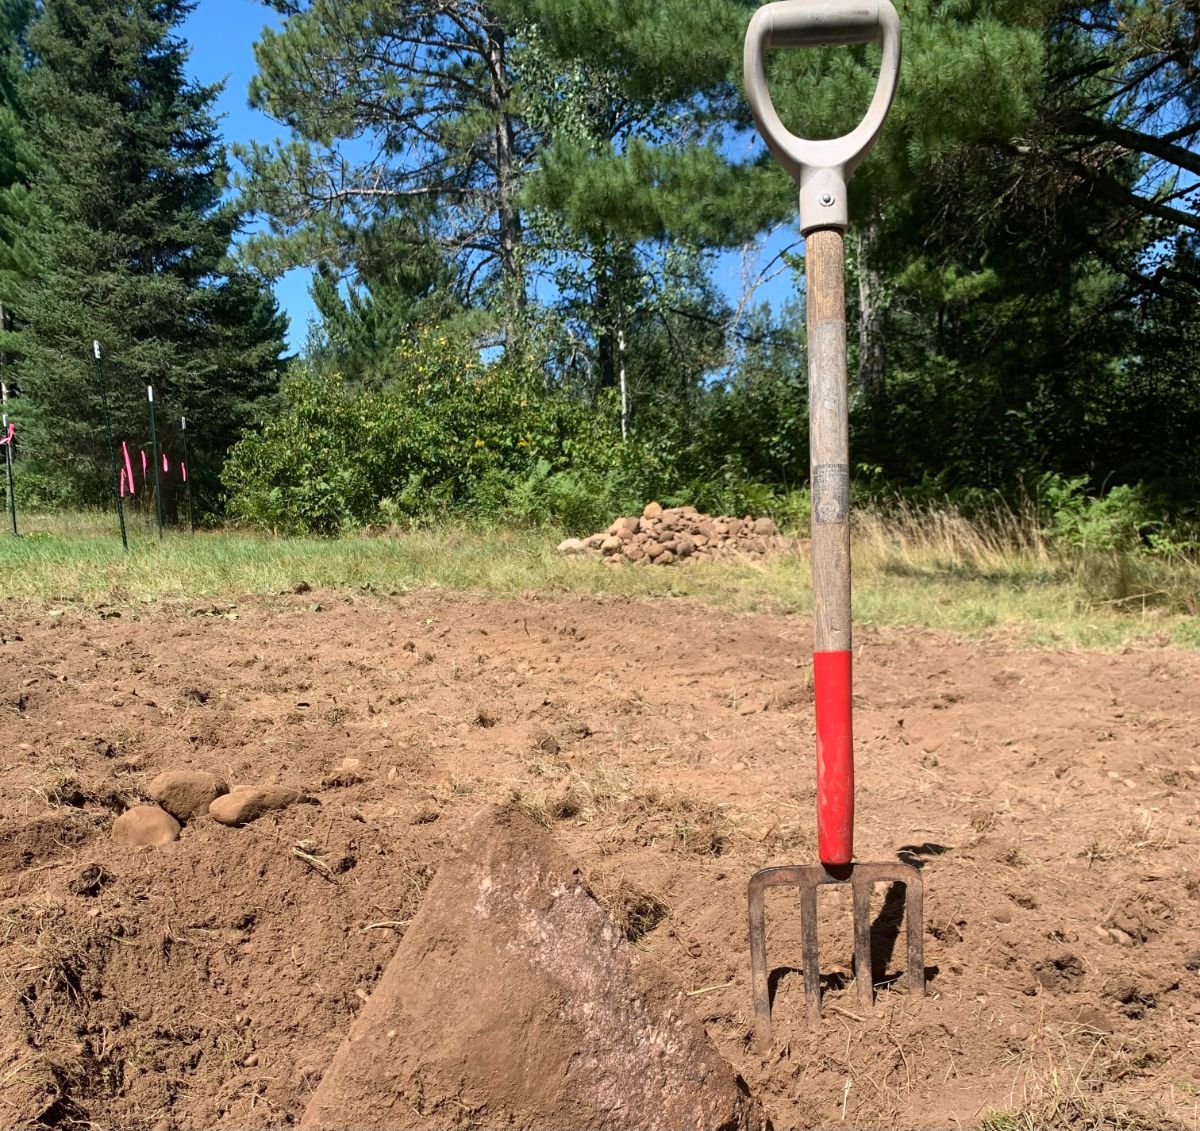
You likely have some of these already. Pull your tools out and give them a quick inspection before tackling this project. Here’s what I look for in these tools.
- Shovels: I prefer a long-handled one, not only for leverage but also to save my back.
- Check that your shovel handle is in good condition, and if not, replace it. Digging new beds is heavy work, and you will be applying force. A cracked shovel handle can cause a trip to the doctor if it breaks at the wrong time.
- Check that the shovel head is firmly attached and that the blade or edge of the shovel is in good condition.
- If you have a lot of sod to dig through, use a file to freshen up the edge. You don’t need to get it sharp, but it should not be rounded over or flat like the side of a coin. They usually come pretty dull from the store.
- Garden fork: sometimes also called a digging fork.
- These usually have four stout tines, unlike a fork meant for moving hay or manure.
- It can be easier than a spade or shovel to get into rocky ground. I use mine frequently.
- They come with stout, short handles. If I ever find a long-handled garden fork for sale, I’ll buy it on the spot.
- Rakes: a good stout garden rake with a handle as long as you can get is indispensable.
- Check the handle-to-head connection–it is the most common failure point.
- Don’t try to use a lawn or leaf rake to move soil and rocks; the wimpy tines are not up to the task.
- Picks: if you have many buried rocks, a good pickax can make prying them out much easier.
- You’ll be doing some prying, so again, check the handle first.
- Wear stout shoes or boots to protect your feet.
- Use short strokes and controlled movements. No need to swing for the fence.
- Wheelbarrows: great for hauling almost anything, especially rocks and stumps.
- Again, check the handles (good advice for all tools).
- Try not to run the tire off the rim. Check it is aired up at the start of every day. They go flat easily. A tire that looks well inflated without a load may reveal itself once the bed is piled with bags of compost.
- Don’t overfill it. Manufacturers like to sell wheelbarrows with huge boxes. I don’t fill my wheelbarrow more than half-full of anything heavy like rocks, soil, etc. Not only is it hard to control, but that is also how you break handles.
- Work gloves: don’t leave home without them. Save your hands.
- Digging rocks, moving soil, removing stumps, and the like is hard on gloves. Expect to go through a pair or even two.
- You don’t need a ton of dexterity for this job, so buy thicker gloves that can take some punishment. I prefer stout leather.
- Holes in fingers or at seams can be patched up with a couple wraps of duct tape and be almost as good as new, at least for this kind of work.
A Word About Rototillers
To till or not to till is an ongoing topic of discussion with many gardeners. For this case, we will assume that you will use some sort of tillage to break in a new bed, even though there are other methods out there. The most common home-owner-sized tillage equipment is a rototiller.
Walk-behind rototillers come in two basic configurations: front tine or rear tine. Either will work. Rear tine tillers are larger and more expensive, but a quality machine can save you work and time. Some come with an electric start option.
Front tine tillers are lighter and easier to maneuver in small spaces. They can be picked up by one or two people to get in and out of a truck bed, trunk, or trailer.
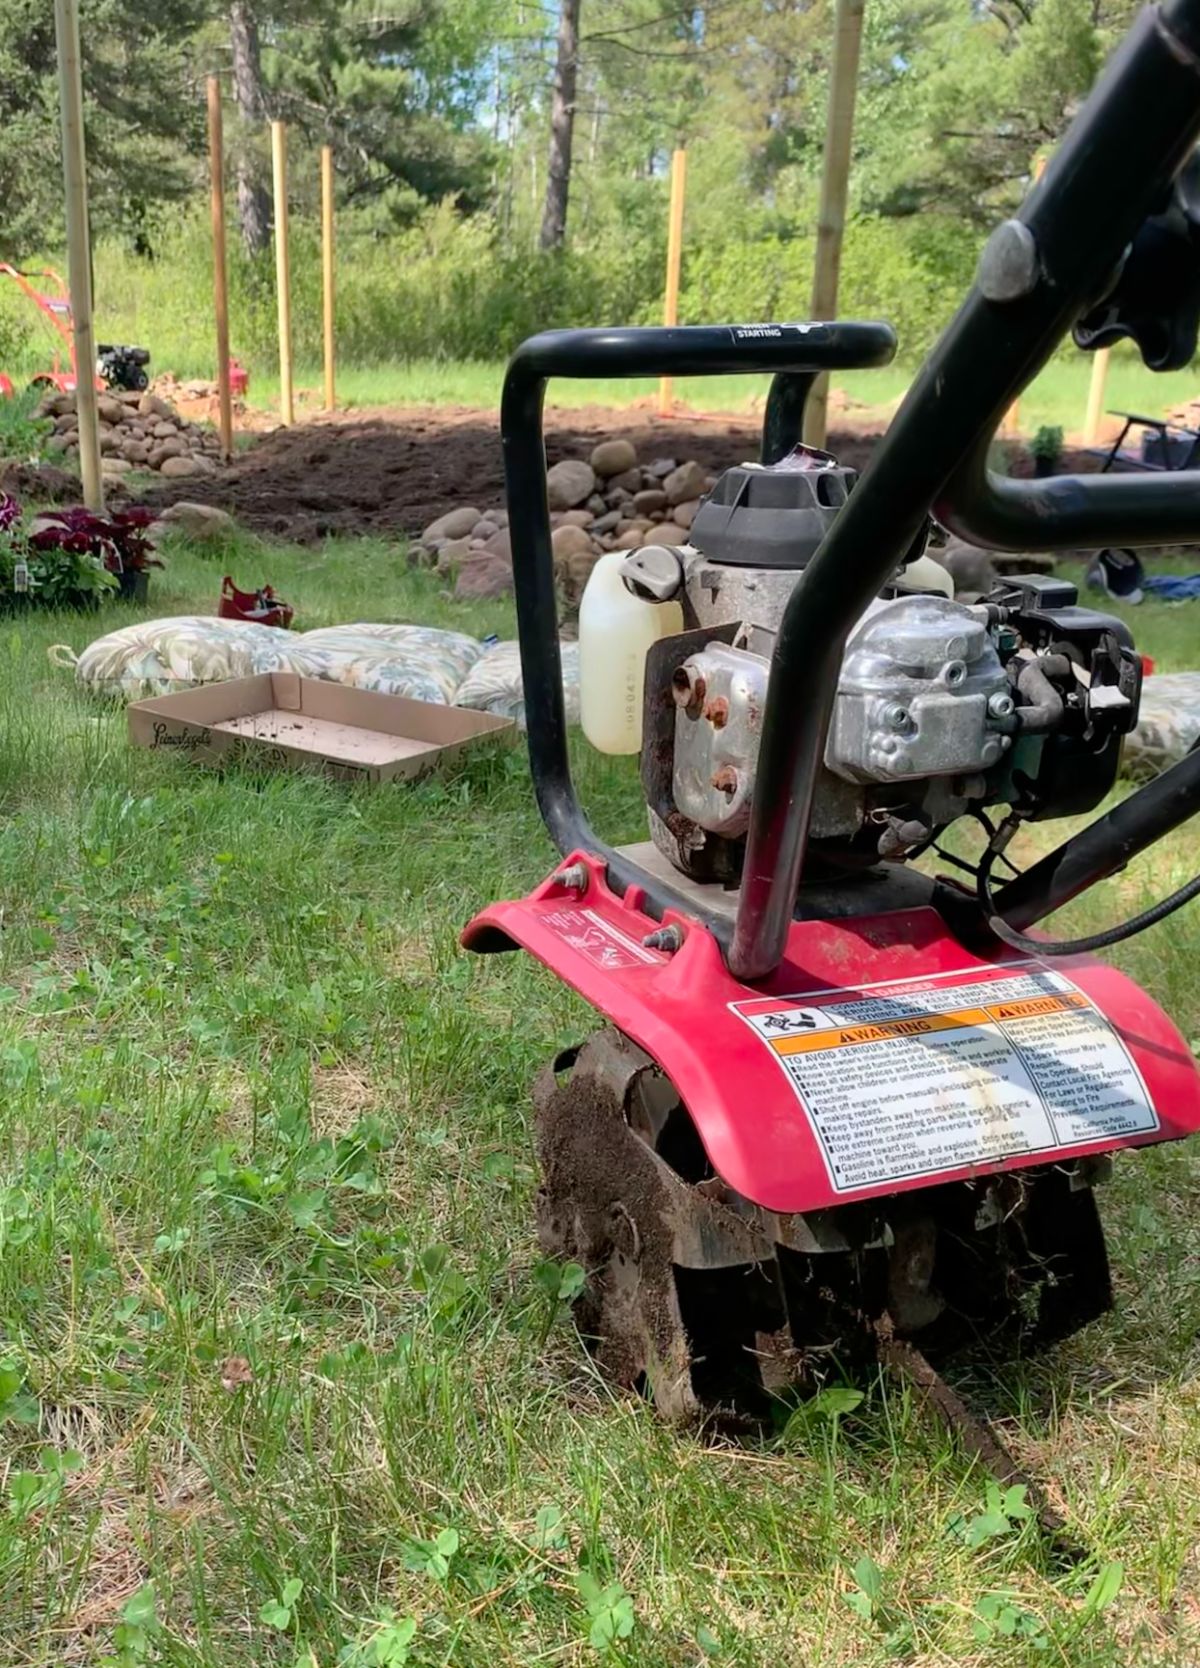
If you are not sure which machine is the right one for you or only need a tiller once in a while, I recommend renting one. Get it for the whole weekend, so you are not rushed. Return it, and save the hassle of trying to store it all year in your garage.
Always prepare the work area and work safely with these pieces of equipment. They are stronger than you are and improper use can lead to injury.
A tiller is not an end-all solution for creating garden beds. You will still need to remove the rocks, and I recommend removing or killing the grass before you till. More on that later.
Garden Tractors
Beware of the “garden tractor” designation. In the sixties, seventies, and even into the eighties, real garden tractors were manufactured by companies like John Deere, Gilson, Case, Cub Cadet, and others. These garden tractors looked like real full-size farm tractors in miniature and could run ground-engaging equipment like plows, discs, and tillers.
Oversized tires, three-point hitches, and hydraulic systems are good indicators of a garden tractor. If it looks like a lawnmower and has four tiny bolts holding on the turf tire in the rear, it is not a garden tractor, no matter the name or the horsepower.
An actual garden tractor is a workhorse for a large garden. Don’t bother with the imitations. You may be able to find someone with one of these incredible machines to hire for an hour. Well worth the money if you have a medium or large-sized plot to work.
Tools for Small plots
Sometimes you are just working up a small patch near the side of the house or by the sidewalk, and the ground is not all that bad. Small beds can be broken relatively quickly by hand with a shovel.
Work gloves, a comfortable spade or digging shovel–I prefer a long-handled one–and maybe a wheelbarrow is all you need.
If you have larger rocks, or the ground is very hard, a pick might also help loosen things up quickly.
PRO TIP: Take a moment to think about where you want any rocks to go. Moving rocks once is hard. Moving them twice is, well, twice as hard. Take it from me.
Equipment for Medium size gardens
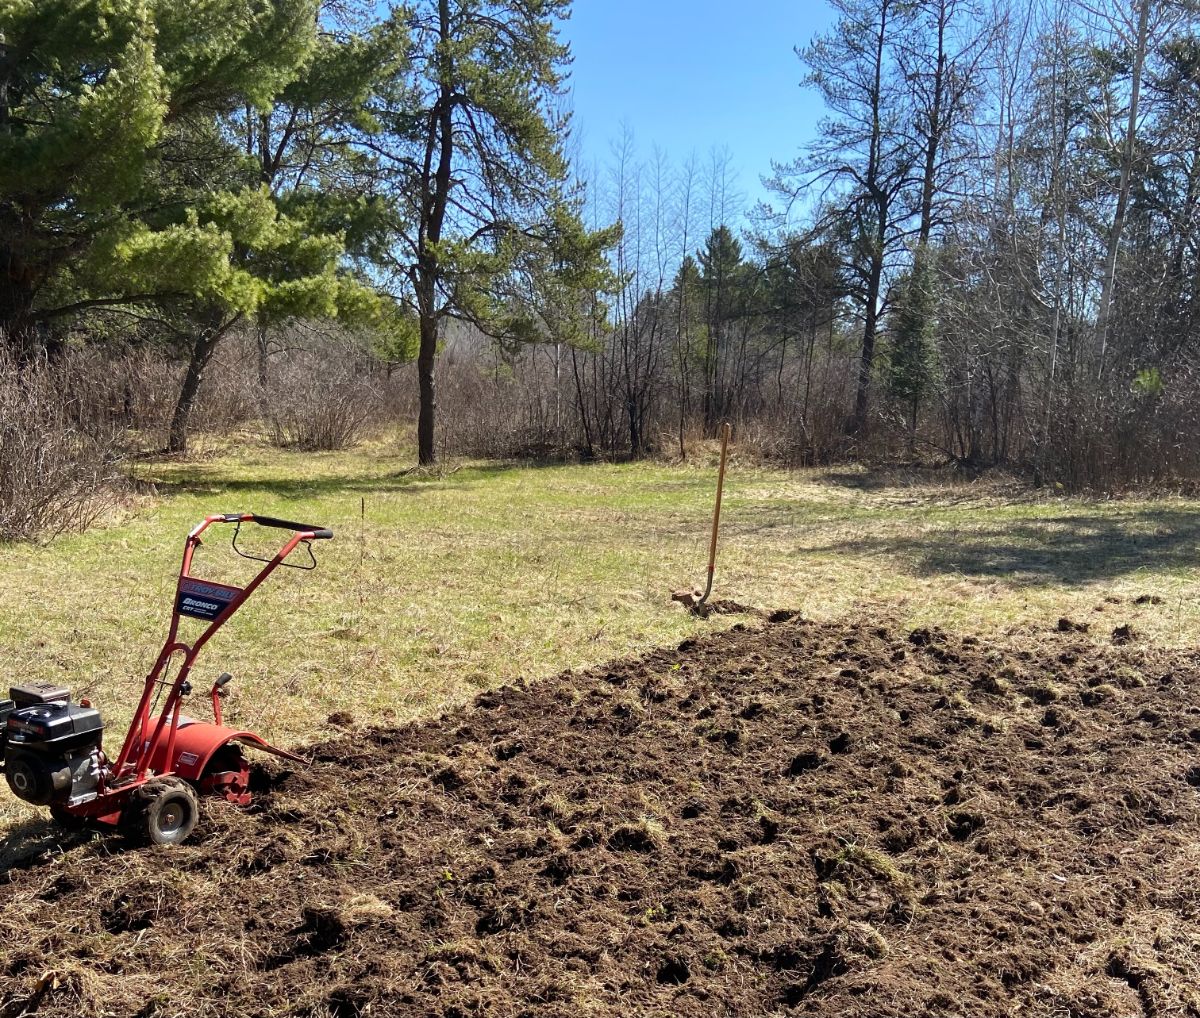
Medium-sized plots or gardens benefit significantly from the use of homeowner-sized power equipment.
Everyone has a different definition of what a medium-sized garden would be. I think a lot of that is subjective, based upon your capabilities and time. If you have dug a new garden bed by hand before, you likely have a good idea of what size you would consider too large for manual preparation.
In average backyard conditions, I recommend moving up to power equipment for most gardens over about 100 square feet, so 10’x10’ or the equivalent.
You can turn larger areas with hand tools, and it can be quite enjoyable to spend an hour or two every evening after work digging in the new beds. Just be realistic about the amount of work and the value of your time.
Large Gardens = Bigger and Better machines
If you are planning on putting in a large garden, you likely have some experience breaking in new beds, or you are in a mid-life crisis.
Professional quality equipment will save you hassle, time, and work. Hard work can sound romantic to the beginner, but its appeal quickly fades as the days tick by and the task is incomplete.
Walk-behind two-wheel tractors were invented for this sort of market garden work and were common back in the middle of the last century. They are making a resurgence in popularity as people return to the land, and consumers are willing to pay for fresh, high-quality, local produce.
Two-wheel tractors can handle plots of several acres, and many attachments are available. Even if you don’t need one, they can be fun to look into.
Small tractors designed for the hobby farm or market gardener can be outfitted with a tiller or a small disc. If you already have one of these machines lying around for other chores, it could be a good fit.
Location
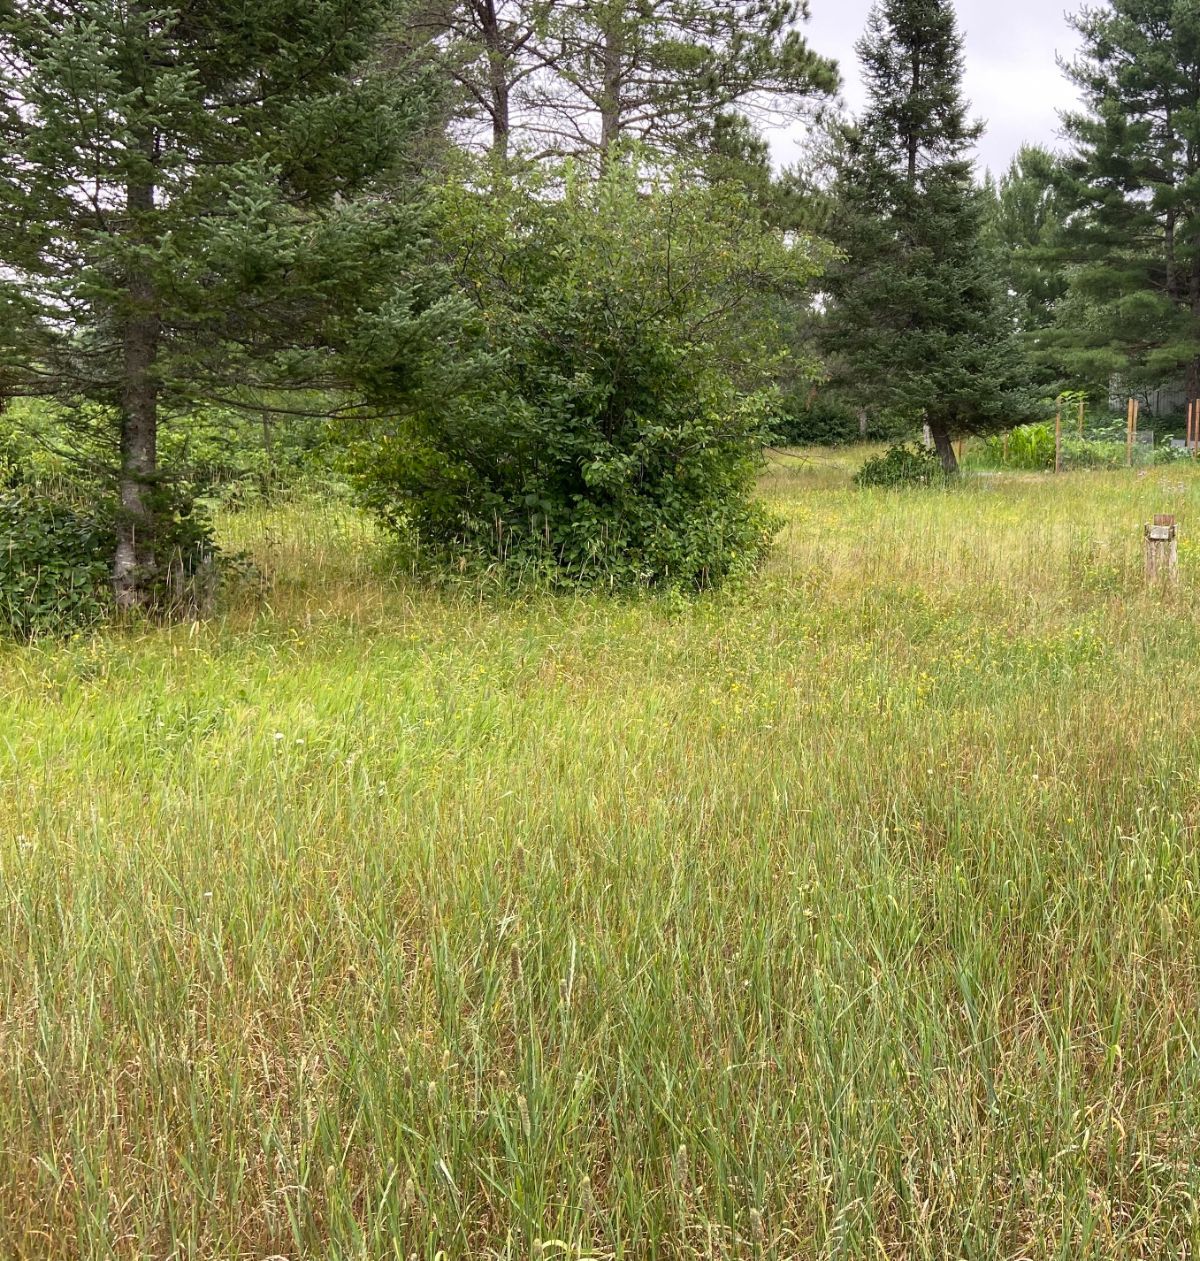
If you have the luxury of space and can put a garden bed anywhere you please, you are in luck. Many of us have to contend with shade from trees and buildings and other problems like sidewalks, underground utilities, steep slopes, frost pockets, and other nuisances.
Consider the items below, and grab some stakes, some string, or even just some rocks to try different layouts and visualize them. You’ll get a good feel for how big an area you are looking at and what will fit.
Where should I place my new garden?
There are a few considerations when planning the location of a new garden:
- Sunlight
- How many hours a day of sunlight does the location receive? Six or more hours a day will be needed to keep most vegetables and annual flowers happy.
- Partial sun or even shade can work well for many perennial gardens
- Map the area throughout the day. What time does it receive sun? You may be surprised at the shadows cast by trees and buildings.
- Drainage
- Be wary of low spots in your yard or areas where runoff from nearby building roofs or pavement collects or flows. A garden that is always wet is challenging to work with.
- If your grass grows poorly or is often stained brown with mud, the site may need attention before making a good garden. Reroute storm gutters, or dig a shallow drainage swale to another area to improve your drainage.
- Frost pockets
- If you live in an area with four seasons, frost pockets can be an issue.
- Frost pockets are usually located in low spots in the yard, or sometimes at the base of steep hills where cold air flows down at night.
- Areas, where the snow is always the last to melt, the first to stick, or the frost, is always the heaviest could be a cold spot in your yard. Locating a garden there can be challenging due to slow-to-warm soil temperatures compared to surrounding areas and slightly earlier frost damage in fall.
- Debris
- Urban areas can often hold surprises when it comes to what lies under the grass.
- Be especially careful when digging and working near old fencelines, garages, or places where dead vehicles may have been parked.
- Soil contamination can also be present due to leaked solvents, fluids, and road salt buildup if those chemicals are used in your area. This problem can take years to overcome. I recommend avoiding these areas.
- Utilities
- Call before you dig. Some lines are buried very shallowly. There could also be homeowner-installed lines from a previous occupant that lie in areas you may not expect.
- Call811.com is the national website for US residents. There are state-specific instructions. Give them a call a few days before you plan on getting started.
- Other uses of the area
- Do you need to keep an area free and available for play, either for pets or children?
- How will your new garden affect traffic to other areas, like the garbage cans or the garage?
- Will plants create a problem as they get taller and more expansive? Planting dahlias and sunflowers right against the sidewalk sounds fun, but you and your neighbors may tire of fighting your way through their stems in late summer.
- Will your sprinkler reach over the fence and water your neighbor’s clothesline, parking spot, or dog run? Your neighbor may not appreciate a muddy-pawed pup every time you water your garden.
Preparing the soil
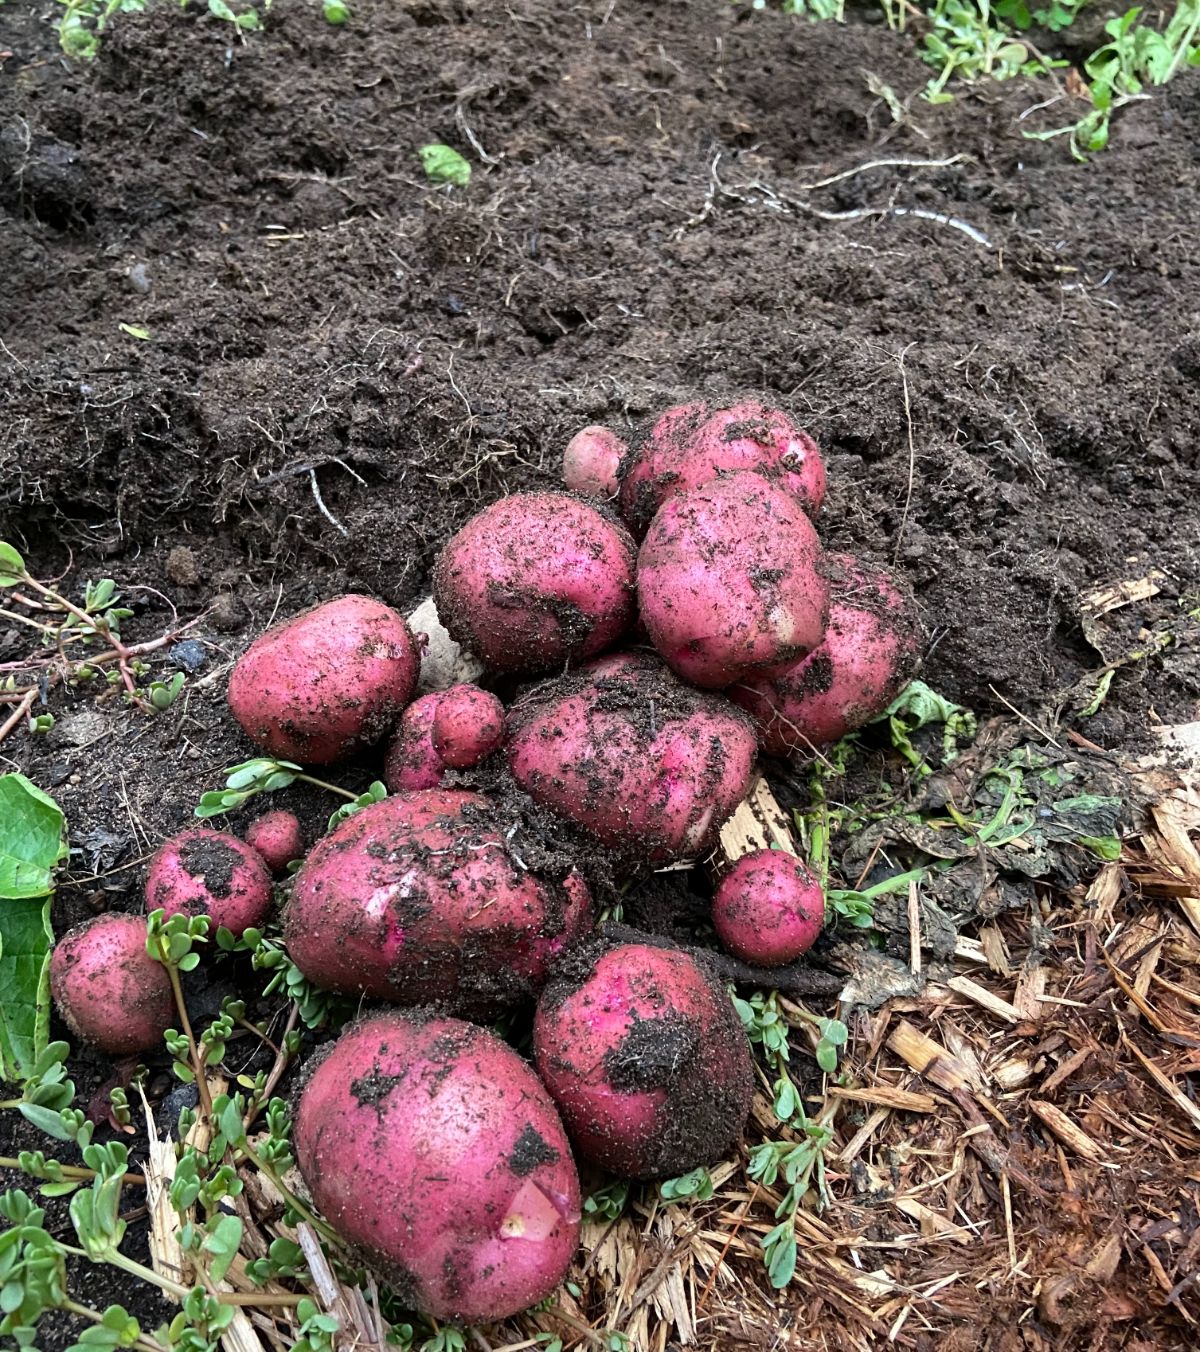
The layout of your new garden is complete. Now it’s time to get your hands dirty. Grass, weeds, brush, and rocks are common problems when breaking in a new garden. Just to make it easier on yourself, mow the grass and weeds down as low as possible first.
If the area is very overgrown, you may want to do a grid-search through the location, looking for things hidden in the grass like old well caps, fence wire, rocks, and other objects you don’t want to hit with a mower or tiller.
Stumps, brush, and roots
No easy way around this one. Stumps usually need to be dug out. Digging as much of the stump out as possible will make your gardening life easier in the long run. Sometimes they can be pulled out with a tractor or other machine. Grinding them flat still leaves all the roots in the way and a big part of the stump underground.
I’ll admit, I have one stump in a shady garden bed so intertwined with rocks and other tree roots that I gave up and just garden around it.
One or two stumps can be removed with a shovel, pry bar, and an old hatchet or ax. If you have a lot of stumps to contend with, renting a mini excavator or hiring it out might be the best path.
Depending on how much brush you have to deal with, it may be easier to just pull the brush out whole. If it can’t be yanked out by hand, brush grabbers that tighten their grip as they are pulled can be attached to anything with horsepower; riding lawnmower, ATV, or vehicle.
Exercise caution: the more force that is applied, the more likely things are to go flying through the air.
Dig up all roots and exposed rocks that you can locate at this point. Your tiller will thank you for it later.
Weeds and Grass
Many garden beds are made out of what used to be lawns. That patch of grass back by the garage that gets good sun could be growing flowers, tomatoes, and sweet corn with a little hard work.
Grass, especially quack grass, can be one of the most challenging problems for a new garden bed. The problem can be made worse by rototilling, which is how many of us break in a new garden bed.
Does this sound familiar?
A patch of lawn is identified, and the gas-powered rototiller is used to churn old lawn into a lovely, fluffy-soiled garden. The next day all the grass debris left on the surface looks pretty dried out and dead. But about ten days later, all these little green shoots start poking up. First by the dozen, then by the thousand.
Most grasses store a tremendous amount of energy in their root system, which if you have tried to dig up a patch of yard, you understand is quite extensive. The chopping action of the rototiller cuts all these rhizomes into smaller pieces, most of which will sprout a new stem and become a new grass plant. Ugh.
Good news for the survival of the grass species, bad news for your sanity and your new garden. The other thing that rototilling will do is expose dormant weed seeds buried in the soil. Now awakened, they sprout and grow vigorously.
The first year is the most challenging for many new garden beds for these two reasons. A hefty dose of frustration and limited success–due to weed pressure–is the main reason why abandoned small gardens covered in weeds are found in late summer in back yards across the country.
How to beat the grass
I’m not going to say I have the process perfect, and you won’t find a blade of the stuff attached to a chopped-up rhizome in my beds, but here are a couple of ways to reduce the grass problem for new garden beds. An hour spent on this preparation can save dozens of hours pulling weeds later.
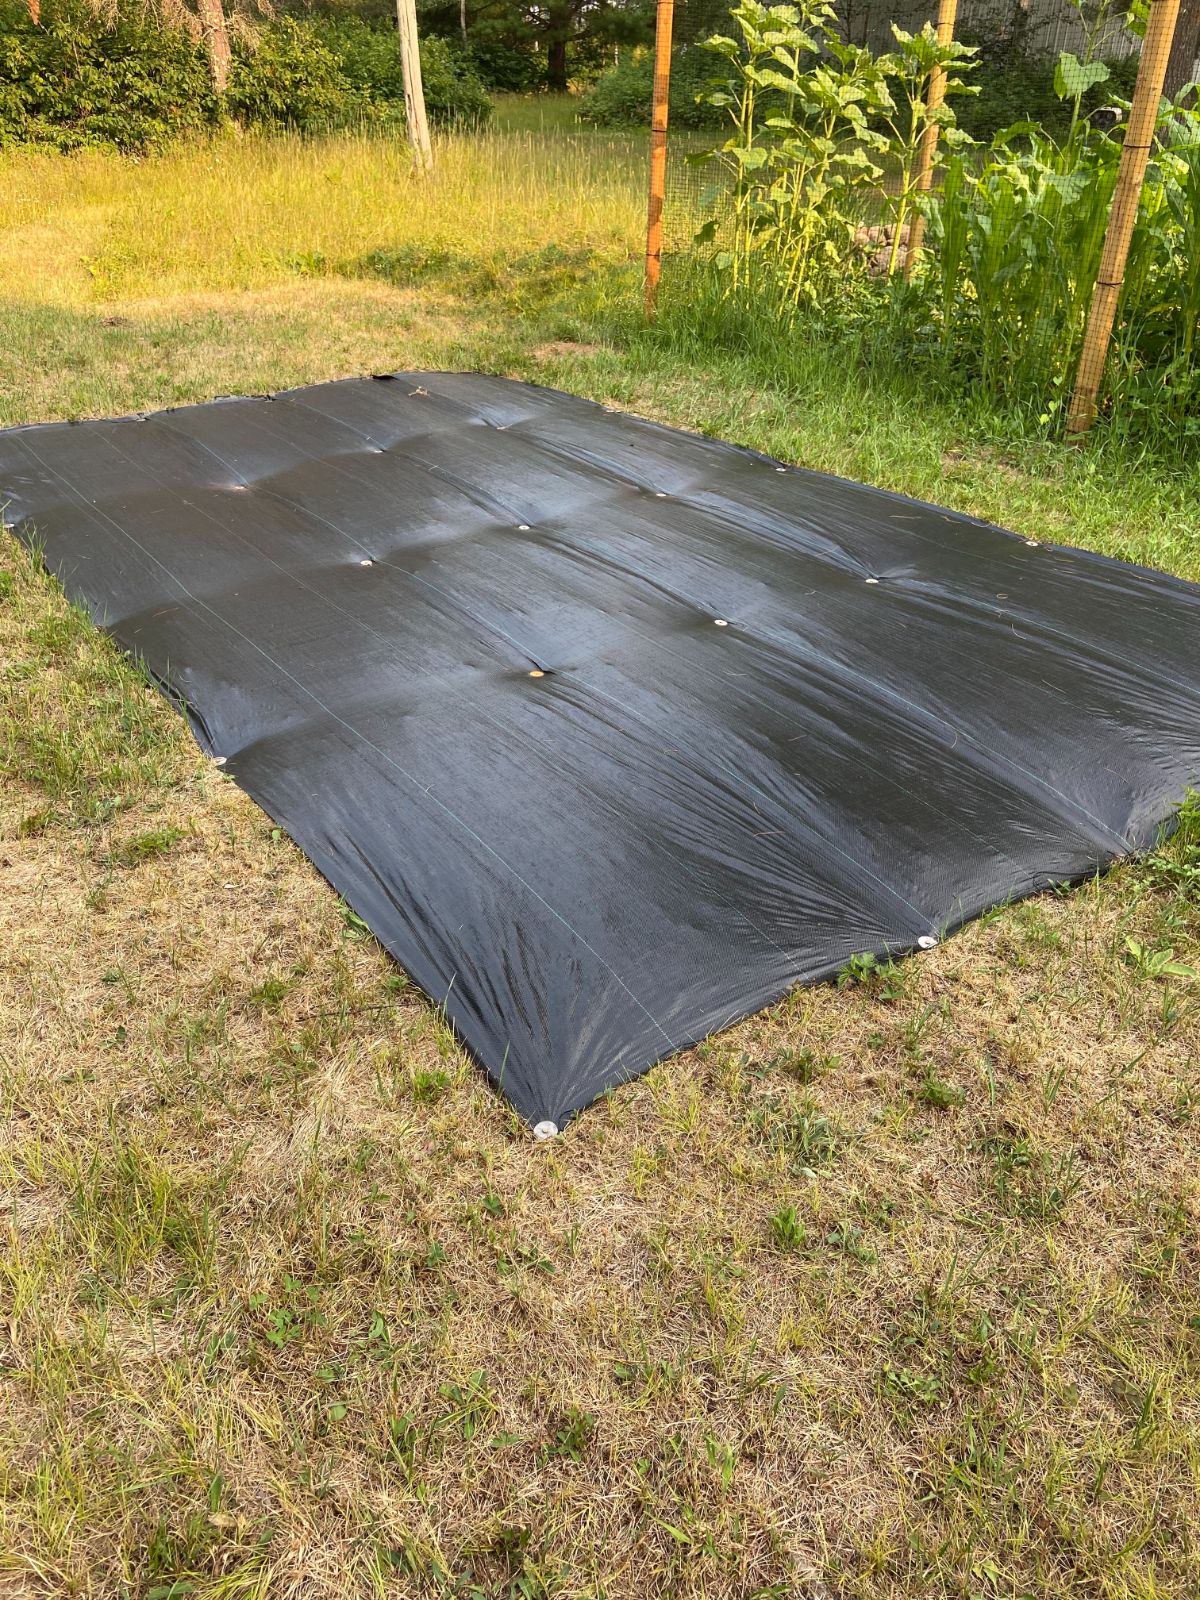
- Kill the grass with darkness.
- Grass, just like all green plants, needs light to make its food and survive. Too long without it, and the plant will die.
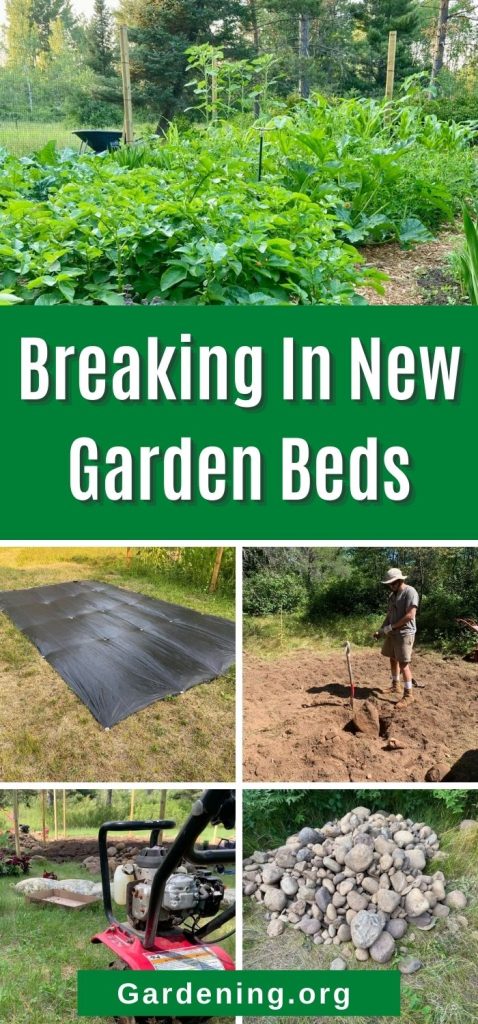
- To deprive the grass in your new garden bed of light, cover it with something. Ever lift up an old board or piece of cardboard and find you had killed the grass underneath? That’s what we are trying to do here.
- Use several layers of cardboard, old sheets of plywood, or anything that will block the light completely. Use heavy landscaping tarps or silage tarps if you have a larger area to do like I do. They can often be reused year after year.
- Leave the new bed covered for three to four weeks. Take a peek and see if it has all died before you go on with making the bed.
PRO TIP: If you have time to cover the bed again with light-blocking material after you till, for another 3-4 weeks, many of the little weeds that germinate from seed after tilling will be killed as well. This step can save you tons of time weeding in early summer.
- Kill the grass with herbicide.
- This method is quicker, although it carries the risk of the herbicide drifting toward areas you did not want to be affected and the hazards of handling the stuff.
- Use a general-purpose or non-specific herbicide to kill both broad-leaved weeds and unwanted grass.
- You may need a second application a week after the first to get the job done. It should look brown and dry and crispy. If it hasn’t dried out, it isn’t all the way dead.
- Remove the sod
- While this is a lot of work, it is probably the fastest way to get most of the grass out of your new bed.
- Gas-powered sod cutters can be rented at most tool rental stores and will make quick work of cutting the sod off your new garden bed.
- Roll up or pile the removed sod and compost it for use next year. There will be a few roots left to sprout, but most of your grass problems will be removed with the sod.
Rocks. Stones. Gravel. Boulders?
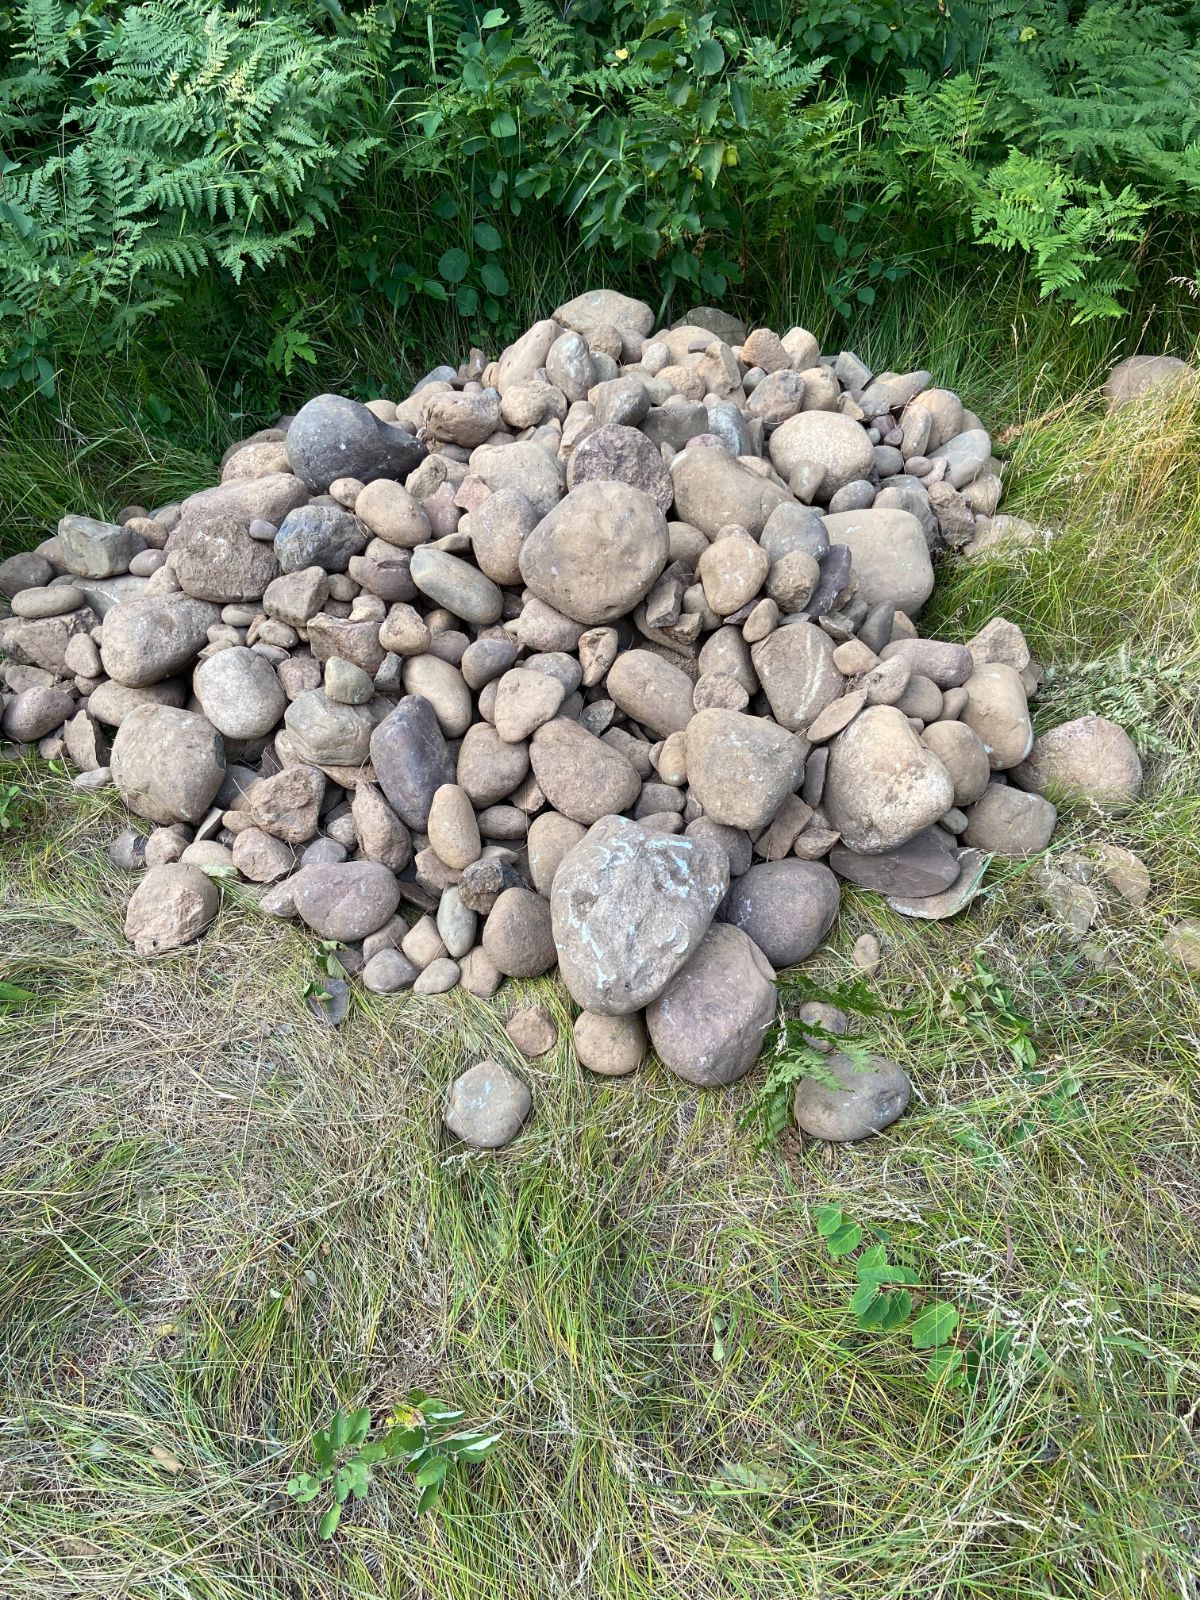
This is an issue for many of us. My flower farm was run by over by glaciers–at least four times from what I have read. I think each one left me with more rocks. Glacial till is the fancy word for the rock and boulder layer I struggle with. Your location may have issues with till, alluvial deposits, or even shallow bedrock.
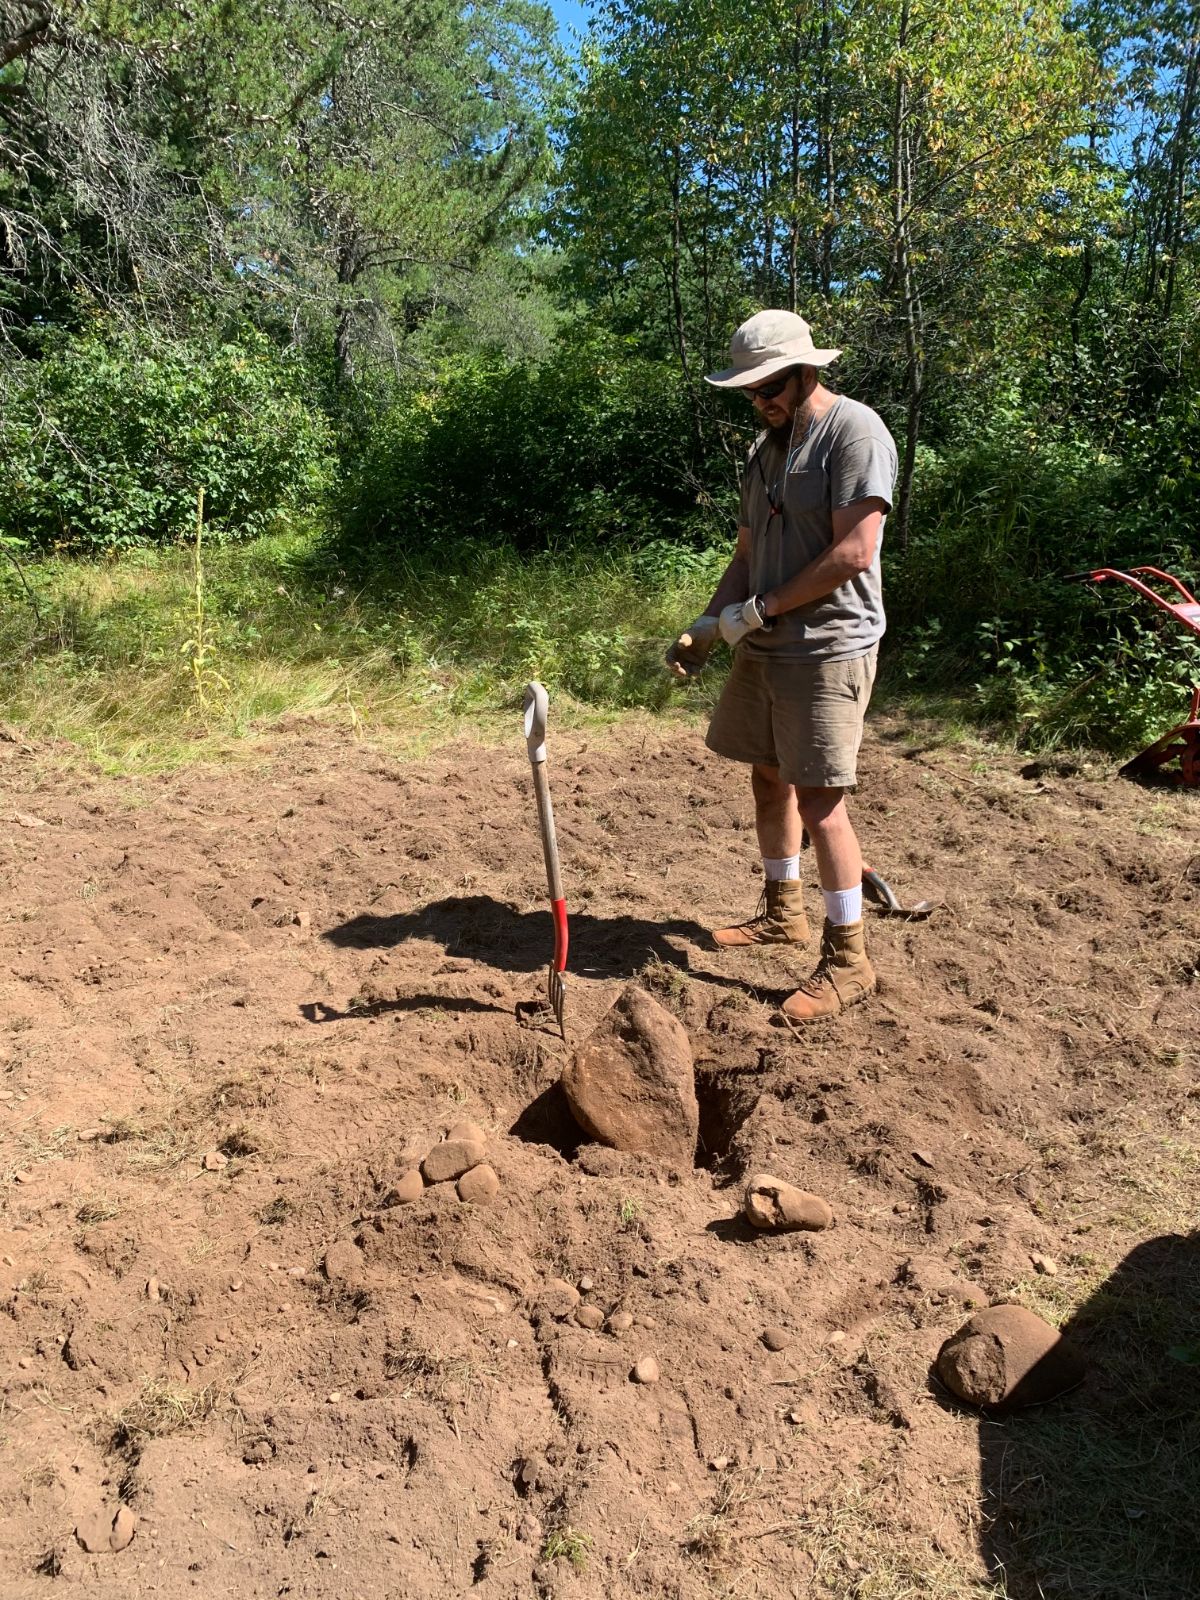
While a few stray rocks or some pebbles scattered are not a big deal, my soil is so filled with stones that before I break in a bed, there is nowhere a shovel can be pushed into the ground deeper than an inch. No kidding.
So I dig them up. And haul them off. And pile them. Sometimes it can seem to be a never-ending effort.
There is no easy way to get it done. All the big ones need to go. I dig down and free the soil from rocks to a depth of about 12 inches. Whatever remains below there is going to stay.
Why remove all the rocks?
- Primarily to make it at all possible to plant anything in the soil. Trying to transplant tomatoes or coneflowers is impossible if you can’t even get a shovel into the ground.
- I find the plants develop a better root system much more quickly in the loosened, mostly rock-free ground as well.
- Future working of the soil, either to incorporate amendments or to prepare the bed next year, whether using a broadfork, shovel, or tiller, is easier and less time-consuming. And less frustrating.
- Lastly, many of my flowers make a bulb or corm that must be dug up and brought inside over the winter. Doing so would be exponentially more difficult if I had to contend with them growing around and between baseball and larger rocks.
Depending on your site, you may be able to till or turn the soil after killing the grass and just pick out the exposed rocks. Stonier plots may need several cycles of rock picking and earth turning before the bed is ready.
On the bright side, I do enjoy looking at my rock piles and shaking my head in disbelief as I sip a beverage in the evening, showing my rock piles off to guests.
Whew, You’re done!
You’ve appropriately located your new garden, laid out the shape, cleared the area, beat the grass into submission (hopefully), and loosened the soil, removing the rocks you found.
Congratulations! The hard work is over–well, most of it. Now it is time to make the planting plan, add some compost, guard against critters, and enjoy the fun part–watching your garden grow. Stay tuned.


Leave a Reply