If you love cooking with dried herbs, but hate the cost of store bought produce, there’s a solution: grow your own dried herbs!
Although it may seem intimidating at first, many herbs and dried spices that you find on grocery store shelves can actually be grown in your own backyard and dried for storage. You can even grow herbs inside.These homegrown herbs are less expensive than their store bought counterparts and, since they’re fresher, they pack more flavor and nutrients too.
For anyone who’s ever wanted to grow herbs at home, this guide is for you. We’ll cover everything you need to know, from how to grow the best herbs for drying, to dehydrating, storing and using dried herbs.
So, if you’re ready to start preserving your own herbs for cooking, read on!
Jump to:
- Why grow your own dried herbs?
- Basics of herb drying
- 5 easy methods for herb drying
- I. Drying herbs with a food dehydrator.
- II. Drying herbs with your oven.
- III. Drying herbs with your microwave.
- IV. Drying your herbs in your car.
- V. Hang drying your herbs.
- 10 best herbs to grow for drying
- 1. Oregano
- 2. Mint
- 3. Rosemary
- 4. Thyme
- 5. Chives
- 6. Sage
- 7. Basil
- 8. Dill
- 9. Chamomile
- 10. Lavender
- Storing your dried herbs
- Using your dried herbs
- Conclusion
Why grow your own dried herbs?
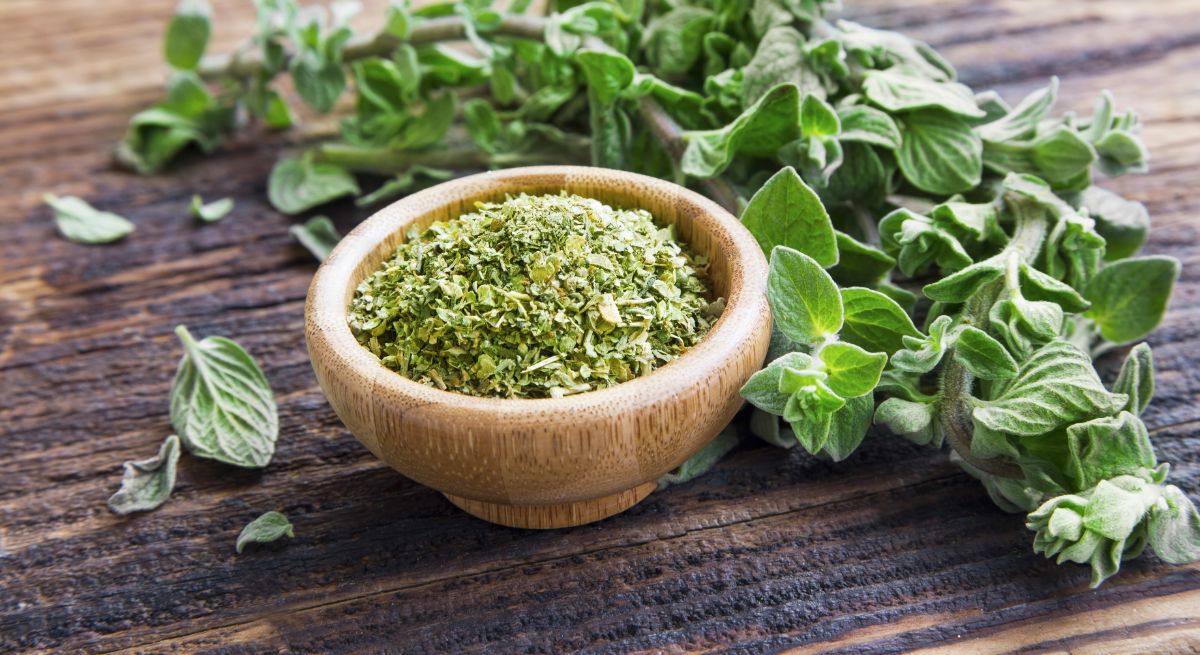
Store bought herbs can be pricey and, by weight, are some of the most expensive grocery items you can buy. For many, the cost savings of growing your own herbs is one of the primary reasons home gardeners start their own herb beds, but the benefits of growing your own dried herbs go much further than that.
Some of the key benefits of homegrown dried herbs include:
- Homegrown herbs are less expensive. Store bought herbs are pricey and, because they usually come in rather small quantities, home cooks who use a lot of dried herbs in their cooking often need to buy store bought herbs frequently. And this can drive up grocery bills a lot!By growing your own herbs for drying, you can reduce your weekly food budget. What’s more, most herbs grow very compactly so you can grow a ton of herbs in a small garden or indoor container.
- You know exactly how your plants are grown and harvested. Large-scale food producers may struggle with quality control; however, when you grow your own herbs, you know exactly how your herbs were grown, harvested and stored.That means that you can rest easy with the knowledge that your herbs were handled with the utmost care when growing, and were cleaned and stored in a way that suits your standards.
- You can grow organically. When you grow your own herbs, you can control every element of their growing conditions, including whether or not you’d like to grow them organically.While store bought herbs are expensive, organically-grown store bought herbs are even pricier. But, when you have your own herb garden, you can opt to raise organic herbs without driving up growing costs.
- Greater variety. If you enjoy cooking non-traditional cuisines or you have a taste for the unusual, you may find the selection of store bought herbs to be rather limiting. But, when you grow your own herbs, you can choose to plant less common herbs, like salad burnet or nasturtium, that you’ll never find in your grocery store’s spice aisle.Even if you just want to stick to standard herbs like sage and mint, you can grow unique flavor varieties like pineapple sage or chocolate mint for something a bit different.
- It’s easier on the environment. Grocery store herbs are often not grown organically, and
are frequently transported long distances and are usually stored in plastic containers. All these factors, from gas consumption to the use of pesticides, herbicides and non-biodegradable plastic containers, can be taxing on the environment.Homegrown herbs, on the other hand, can be grown without the use of chemical pesticides and herbicides or synthetic fertilizers. And, since they are harvested right in your backyard, they don’t require any fossil fuel-driven transport trucks or plastic storage containers either. - Growing your own dried herbs is fun and educational. Gardening is always a learning experience. You learn individual plant needs, but you also learn how to use new garden produce, which can encourage you to get creative in the kitchen.Experimenting with different ways to dehydrate, store and use your backyard herbs can encourage your creativity. Even better, it can be fun for the whole family – kids included!
Basics of herb drying
Before getting started with drying herbs, there are a few key points that you’ll want to remember. These tips will simplify the herb drying process and help to ensure that you end up with the best tasting dried herbs.
- Most herbs should be harvested right before they flower, for maximum potency.
- Don’t harvest more than ⅓ of a plant at a time unless it’s the end of the season and you’re harvesting annual herbs that don’t overwinter well.
- The best time to harvest herbs is early in the morning, just after the dew evaporates. This ensures your herbs won’t be wilted and that they’ll still retain most of their oils for greater potency and flavor.
- When harvesting herbs, avoid bruising herbs and use a sharp pair of kitchen shears or knife to minimize stem damage.
- To prepare your herbs for drying, give them a quick rinse and then shake away the excess water. Remove any bruised or damaged leaves before drying.
- Smaller leaves will dry quicker than larger leaves. This means that when drying larger pieces of herbs, you may need to increase drying time.
- Removing leaves from stems can speed up drying time.
- Herbs should be kept out of direct sunlight to preserve color, flavor and potency. This is important when hang drying herbs, but it is also crucial for long-term herb storage.
- When drying in a dehydrator or on another flat surface, lay out herbs for drying in a single layer. When hang drying herbs, make small (rather than large) bundles. This will help ensure everything dries consistently and will reduce the chances of mold.
- You can dry different types of herbs at the same time. However, highly fragranced herbs and spices, like garlic and hot peppers, should be dried by themselves as their flavors may permeate other more delicately flavored herbs.
- Woody-stemmed herbs are easier to hang dry. To preserve color and flavor, and reduce the chances of mold, it’s often best to dry tender-stemmed herbs quickly with a food dehydrator or similar fast drying method.
- If you’re hang drying herbs, try placing them loosely inside a lightweight paper bag or cheese cloth to gather any fallen leaves or seeds and prevent mess.
- Herbs are delicate and should be dried at temperatures between 95° F and 115° F, in most areas. Higher temperatures can cause scorching or destroy flavor and color.
- During the drying process, check your herbs frequently for doneness. This is especially important if you’re using a drying method (like a dehydrator or oven), which can quickly overheat your herbs.
- For better color retention, fast drying methods are often best.
- Herbs can be hang dried outdoors, but they may get spoiled by weather. Color and flavor retention is often poorer with outdoor hang drying too.
- Herbs should be fully dried before storing. Thoroughly dried herbs can be easily crumbled between your fingers with minimal pressure.
- After drying, store your herbs in an airtight container to prevent moisture issues and mold growth.
- Whole dried herbs stay fresher longer than pre-ground herbs. So, if you can, try storing your dried herbs whole and then grind them as needed for recipes.
- Properly dried herbs are usually 3 to 4 times more potent than fresh herbs. If you’re substituting dried herbs for fresh ones in recipes, only use about ¼ the quantity of dried herbs.
- Most dried herbs can last for 1 to 3 years when stored correctly.
5 easy methods for herb drying
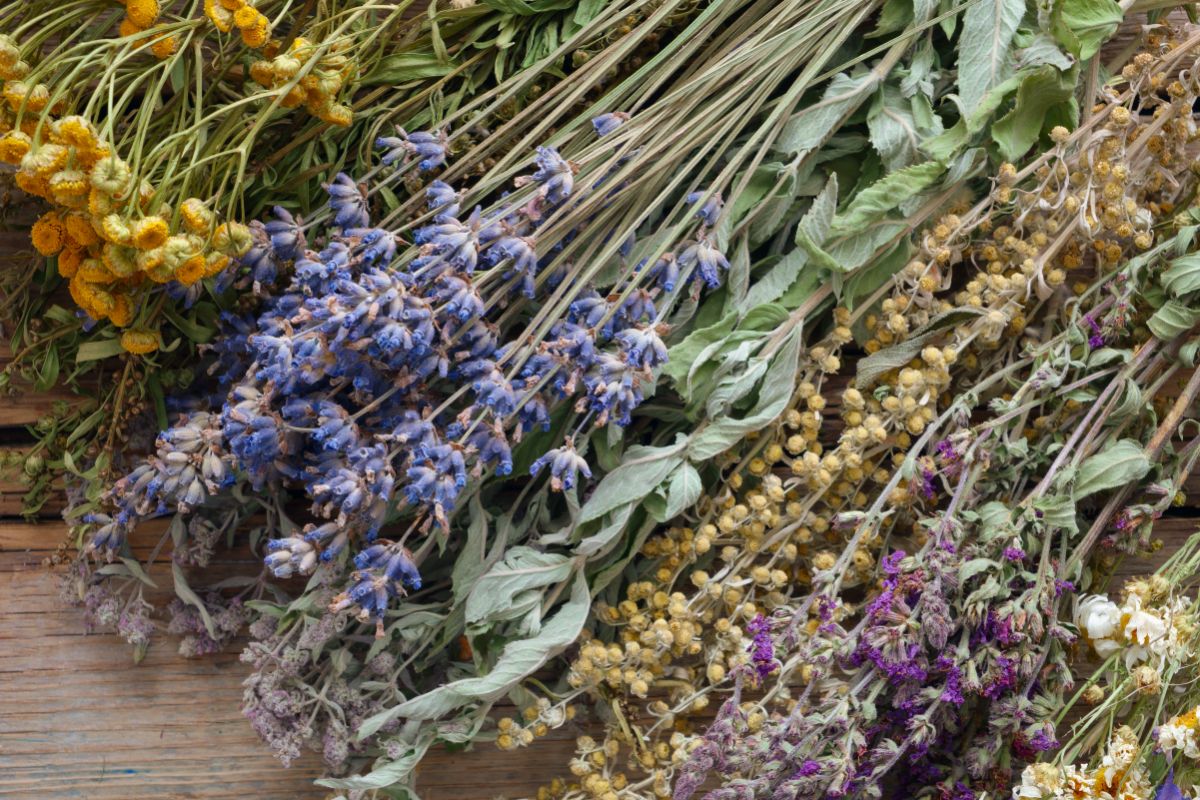
When it comes to drying herbs at home for storage, you don’t need any fancy equipment. Under the right conditions, you can dehydrate herbs with just a bundle of string, some good air flow and a bit of time. That said, having the right equipment can simplify the process significantly and can speed up drying times, allowing you to dry lots more herbs in just a matter of hours.
I. Drying herbs with a food dehydrator.
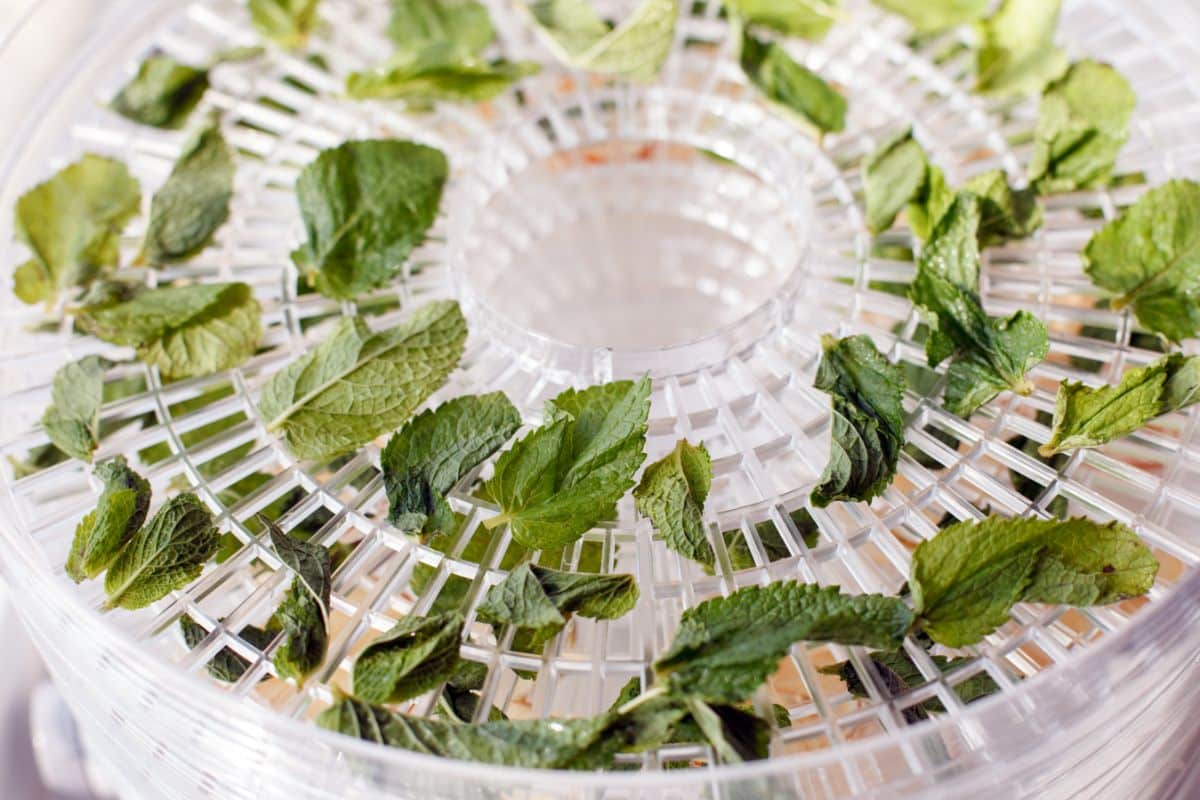
One of the most popular methods of drying herbs, food dehydrators are the best choice for drying large amounts of herbs quickly and producing consistent results. Because they dry out herbs in a matter of hours (rather than days), herb colors stay vibrant and herb flavor is often more potent.
Herbs require relatively low temperatures for drying, which is one of the reasons why food dehydrators are such great choices for herb preservation. Since food dehydrators run much cooler than ovens and microwaves, they are less likely to burn tender herbs or spoil flavor.
Unless you happen to already have a food dehydrator on hand, startup costs for drying herbs with a food dehydrator may be a bit higher at first. However, good food dehydrators are built to last and, since you’ll be using it for many years to come, you’ll definitely get your money’s worth.
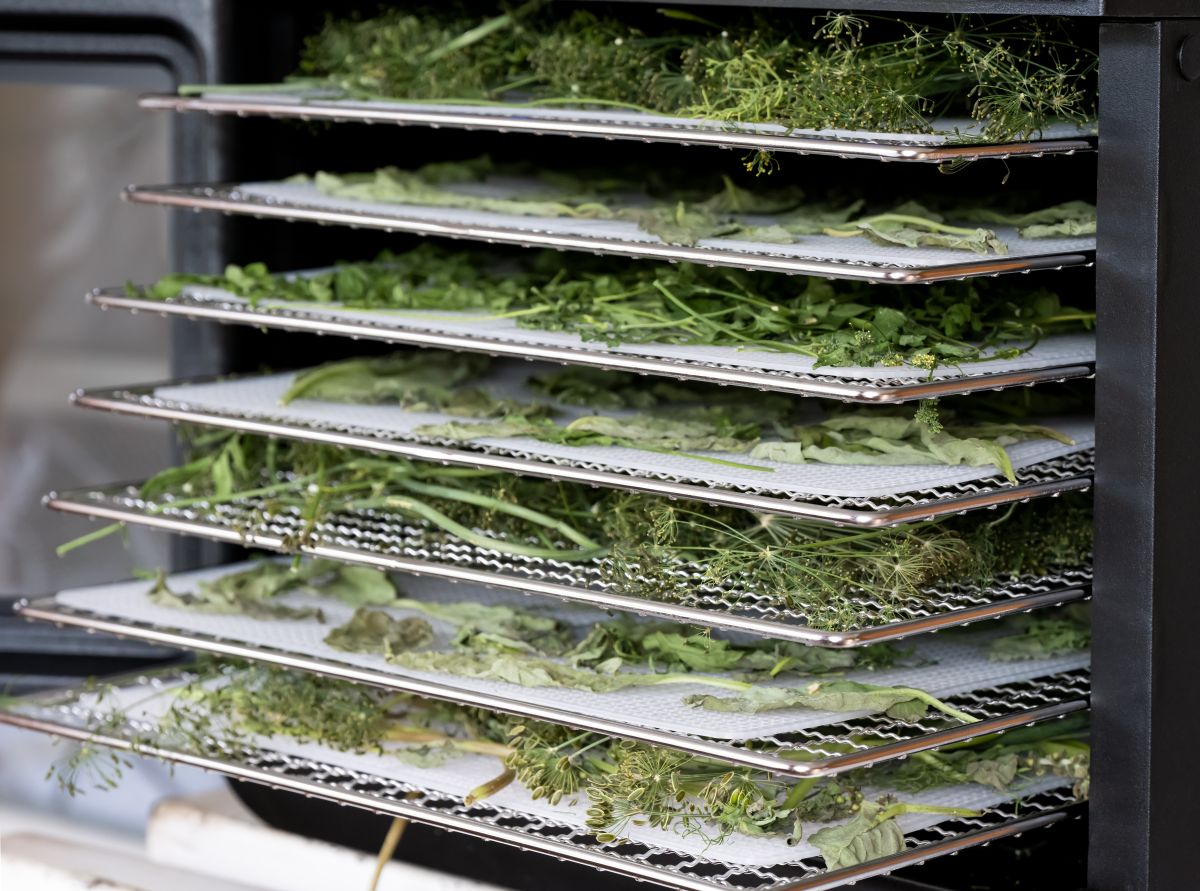
Food dehydrators generally come with a series of drying racks (with either solid or perforated bottoms). The more racks a dehydrator comes with, the more herbs you’ll be able to dry at one time. Dehydrators also utilize carefully regulated air circulation to speed up drying times.
Most food dehydrators have digital temperature and timer settings, so you can input the precise temperature and time for specific herbs. This is especially useful, because exact temperatures produce consistent results and prevent common issues like discoloration or uneven drying.
Producing consistent results is essential if you intend to dry herbs for resale, such as making homemade herbal teas blends or herb seasonings to share with friends.
How to dry herbs with a dehydrator
To dehydrate herbs with a food dehydrator, first, rinse off your herbs and shake them dry. Then spread out your herbs in a single layer on each herb rack, taking care to space your herbs so that they aren’t overlapping, which can produce uneven drying.
In general, you’ll want to set your dehydrator temperature to between 95° F and 115° F, which is suitable for most herbs. But, if you’re in a very humid area, you can increase the temperature setting to 125° F. For herbs with thick, tender stems, like mint, you can snip the leaves off the stem prior to drying to speed up drying times.
After prepping your herbs, run your dehydrator for 1 to 4 hours, depending on what herbs you’re drying, periodically checking your herbs for doneness As they’re drying, herbs should retain some color, but if they appear to be getting very dark or losing too much green, your temperature may need to be lowered.
Once you can easily crumble your herbs with your fingers, they’re done and ready for storage. If your herbs still seem floppy, moist or don’t easily crumble, just pop them back in the dehydrator, for a few more hours, checking every 30 minutes for doneness.
Since dehydrators vary, it’s always a good idea to read your owner’s manual for specific instructions and advice before use.
Picking the right dehydrator for herbs
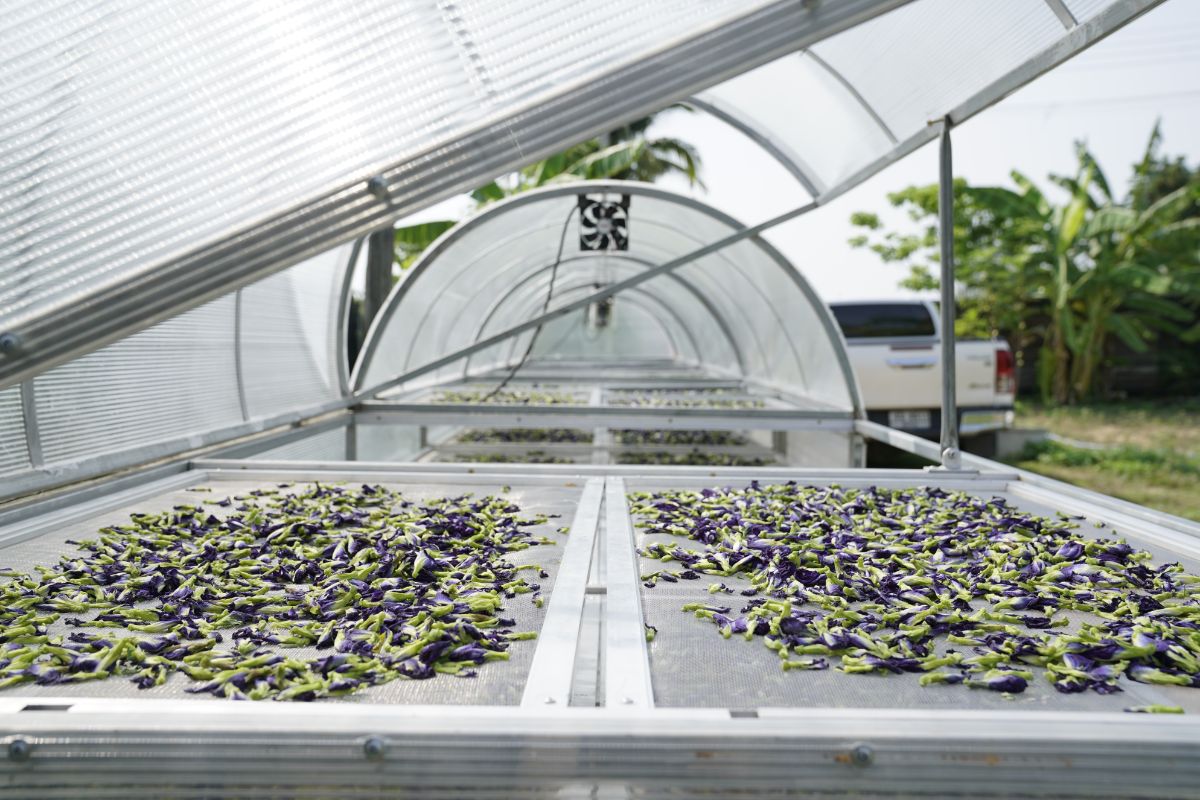
Which dehydrator you choose really depends on your budget, your kitchen space and how many herbs you’d like to dry at once. But, to get you started, below are some popular options for home food dehydrators that work well for herb drying.
- It’s no wonder why Magic Mill’s food dehydrator is one of the most popular options out there. It’s a sleek unit with a digital temperature and timer display for precise herb drying and, with 7 stainless steel drying racks, it’s got plenty of room for lots of herbs.Drying rack heights can be adjusted for ultimate convenience and the rear mounted fan is perfect for even drying. With dishwasher safe trays, this model is easy to clean too, is compact enough for most kitchens and even has an automatic shut off so you don’t need to worry about overly dried herbs.
For even more versatility, you can make jerky and fruit roll-ups with this dehydrator too!
- The food dehydrator by Commercial Chef is another good choice for drying herbs. It’s one of the most budget-friendly models on the market, so it’s a simpler design, but it has everything you need.Features include 5 layers of drying racks, a fully adjustable temperature range and dishwasher safe racks for easy cleaning. It’s also super compact making it ideal for small spaces.
- A top pick among food preservers, OSTBA’s food dehydrator combines a simple design with the elegance of a stainless steel exterior. With 5 BPA-free trays, it’s got space for plenty of herbs and it has an adjustable temperature knob with a wide temperature range.It’s also easy to clean with dishwasher safe trays and it has an airy, modern feel to the design, which is sure to please.
II. Drying herbs with your oven.

Unfortunately, most ovens run too hot for herb drying, as herbs need to be dehydrated at relatively low temperatures to ensure they don’t burn and their flavor doesn’t get spoiled. But, depending on your oven model, you may still be able to dry herbs in it. It’s worth a try anyway!
To dry herbs in your oven, set your oven at the lowest temperature you can. Place herbs in a single layer on a baking sheet and pop the sheet in the oven, leaving the oven door cracked a few inches to help keep temperatures lower.
Depending on what herbs you’re drying, leave your herbs in your oven for up to 4 hours. However, since ovens run much hotter than food dehydrators, you’ll need to be more vigilant about checking your herbs frequently to prevent burning. Delicate herbs, like chamomile, may take as little as 15 minutes to dry in an oven, so keep a careful eye on the process to prevent burning.
If your oven has a warming feature, or even just an oven light, sometimes that’s warm enough for herb drying. Experiment a bit to see what works for you.
One of the main perks of using your oven for dehydrating herbs is that you won’t need to buy or store any new equipment.
III. Drying herbs with your microwave.
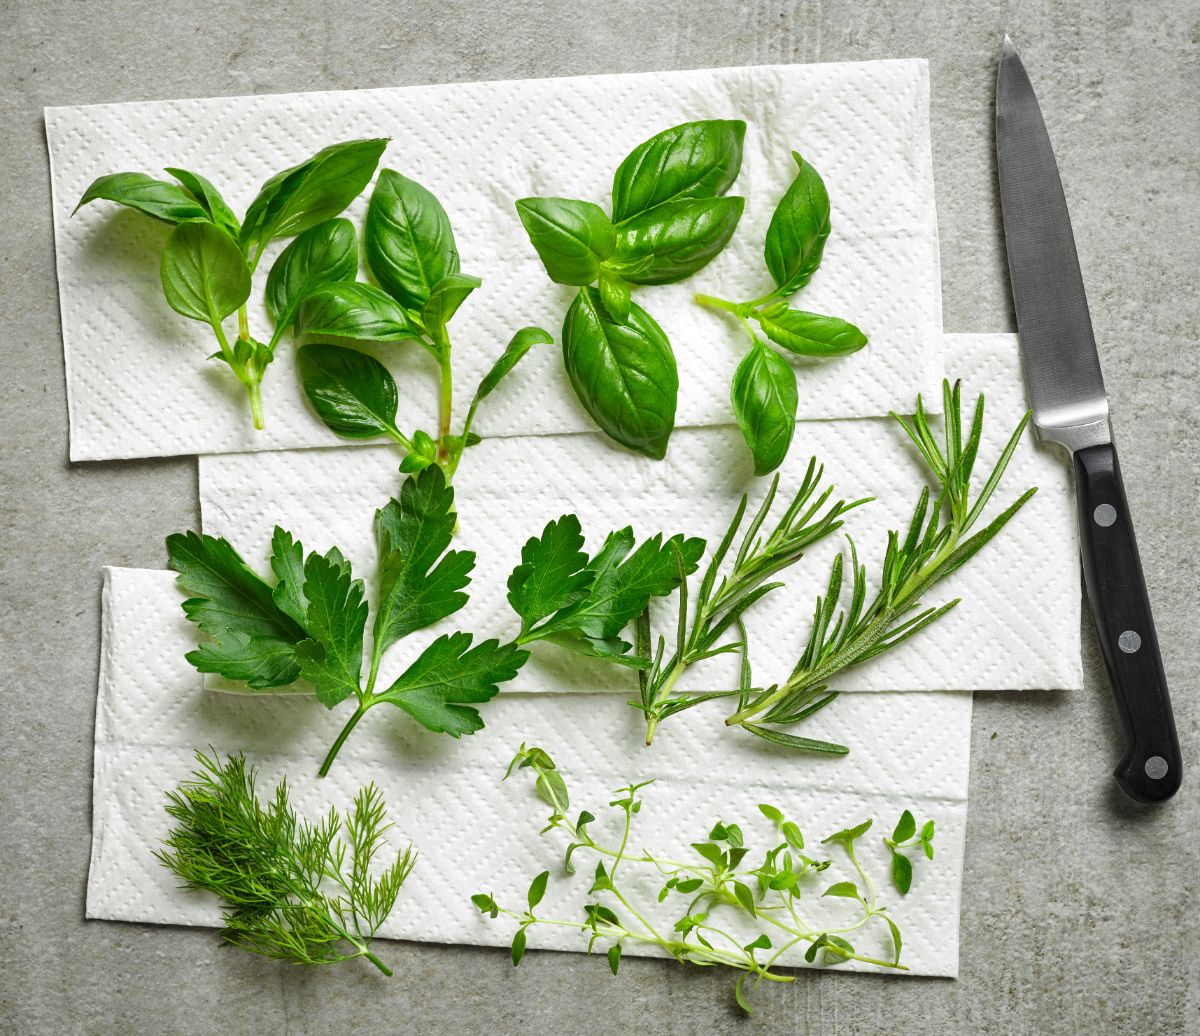
While oven drying herbs can work, you’ll usually get better results with microwaving. Microwave drying your herbs is a faster process and usually produces dried herbs with better color and flavor retention. However, texture of microwave dried herbs may be a bit different and the flavor may not be as intense as with herbs dried in a food dehydrator.
To dry herbs with a microwave, simply spread herbs out in a single layer on a paper towel and microwave them at 30 second intervals until they’re nice and crispy. Tender herbs, like tarragon, can take as little as a minute or two to dry fully, while woodier herbs may take longer. Once your herbs are dry, store them in an airtight container until you’re ready to use them.
IV. Drying your herbs in your car.

It may sound odd, but you can actually use your car as an electricity-free food dehydrator!
We all know how hot cars can get during the summer, but you can put that heat to good use by drying your herbs. Simply place your cleaned herbs in a single layer on a baking sheet and place the baking sheet on the dashboard of your car when it’s good and hot out. Check your herbs from time to time for doneness and, after a few hours, your herbs should be fully dry and ready for storing.
One of the major perks of this drying method is that it uses no electricity at all, so it’s free. You also don’t need to buy any new kitchen equipment for herb drying.
That said, temperatures can vary significantly in your car, so you may get inconsistent results with your dried herbs. This can be particularly problematic if you’re planning on selling dried herbs or you’re drying large volumes of herbs. Additionally, since this method relies on ambient temperature, it doesn’t work when outdoor temperatures are cool.
V. Hang drying your herbs.
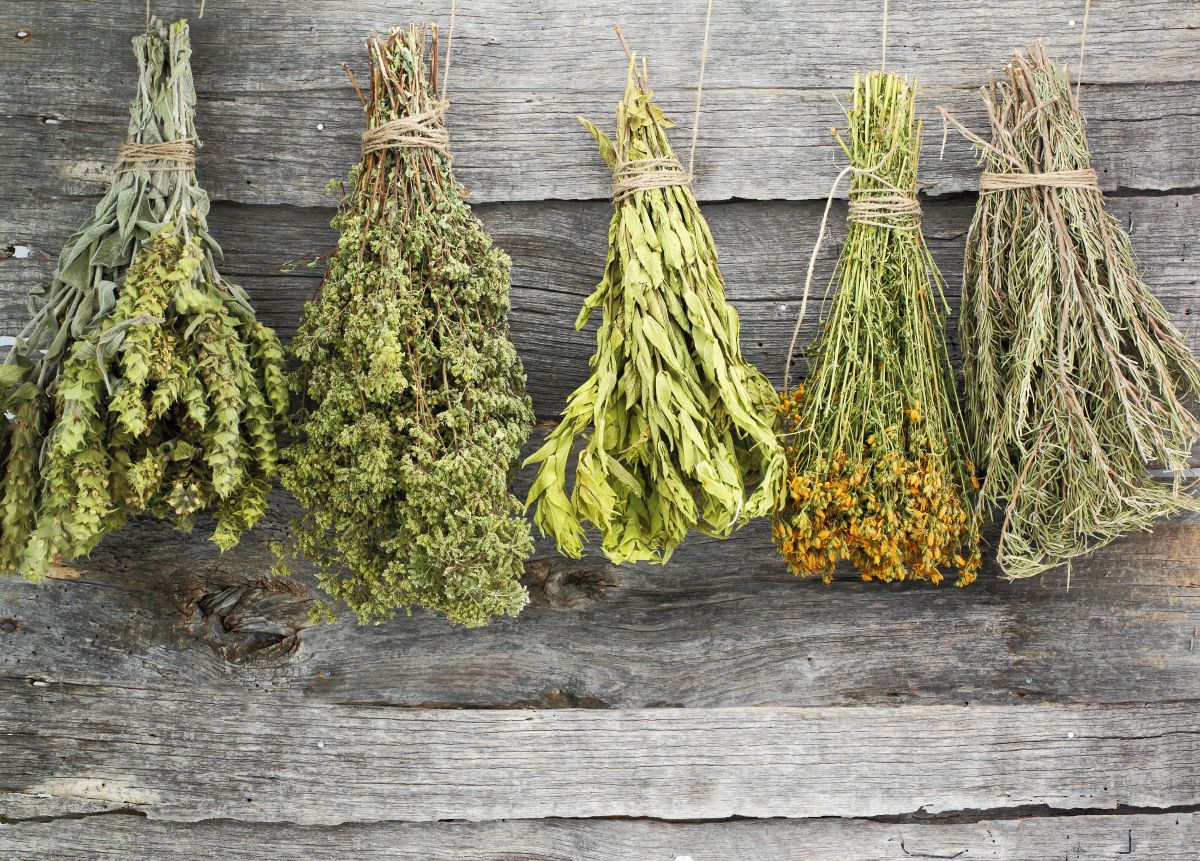
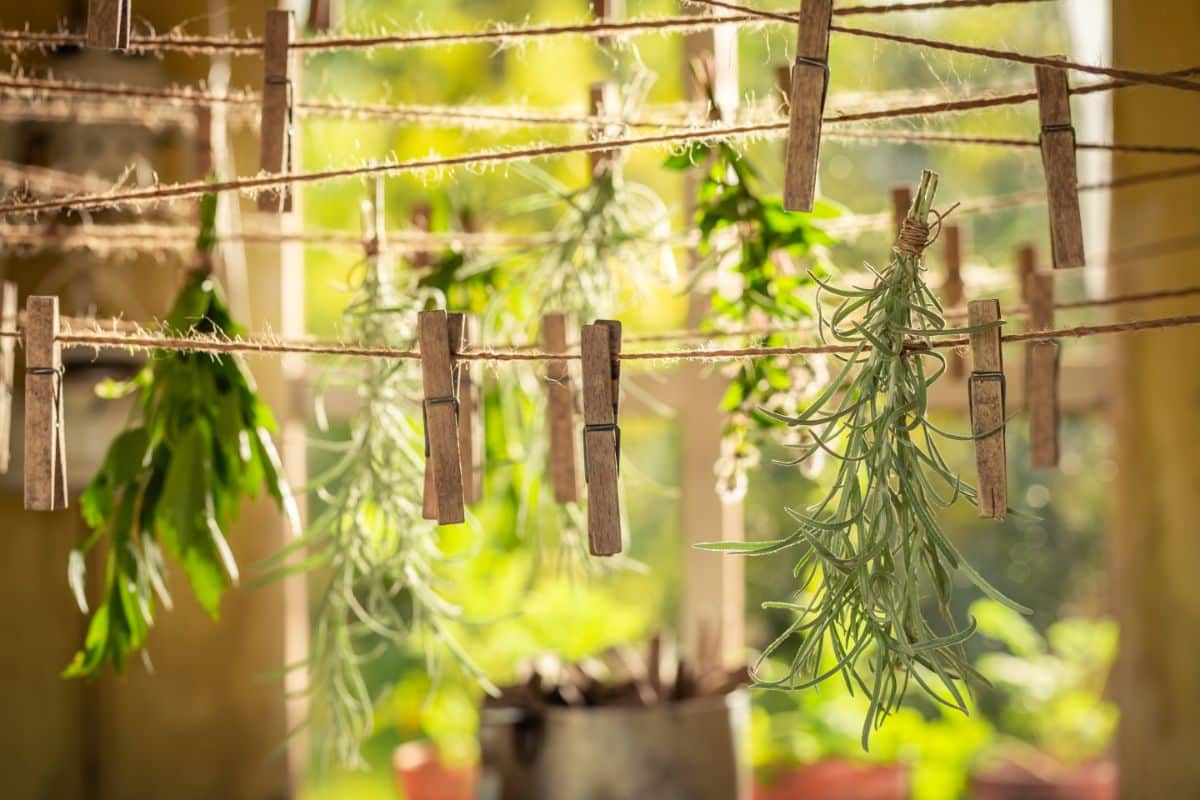
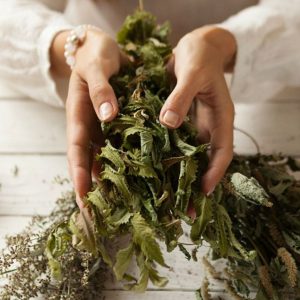
The simplest and most traditional method of herb drying, hang drying herbs doesn’t require any equipment. Even better, when you have bundles of herbs drying in your kitchen, it looks pretty too!
To hang dry herbs, simply tie up small bundles of herbs with hemp cord or cotton twine. Create bundles of just a few herb stems, as larger bundles have poorer air circulation and are more prone to mold. For easier hanging, you can use paperclips or clothespins to hang herb bundles from lengths of string or from a drying rack.
Hang herbs upside down in a warm, dry location and out of direct sunlight as bright sun can cause the herb flavor and color to degrade. You can also loosely wrap herbs in cheese cloth or a lightweight paper bag to catch any falling leaves and to keep dust away. After 7 to 10 days your herbs should be fully dry and readily crumble in your fingers.
Because hang drying herbs takes longer, herbs may lose a bit of color and flavor during the process, but they still taste much fresher than most store bought dried herbs. Hang drying herbs can also take up more space than other herb drying methods, so it’s not the best choice for tight quarters.
If space issues are a concern, instead of hang drying herbs in bundles, you can opt to use a premade hanging mesh herb drier.
These handy, electricity-free driers are made out of a soft, breathable mesh fabric and have multiple layers for lots of herbs. Each layer has a zippered closure to keep herbs in and dust and debris out, while the entire unit hangs from a simple loop so it will fit neatly in a small kitchen corner or a dry laundry room.
10 best herbs to grow for drying
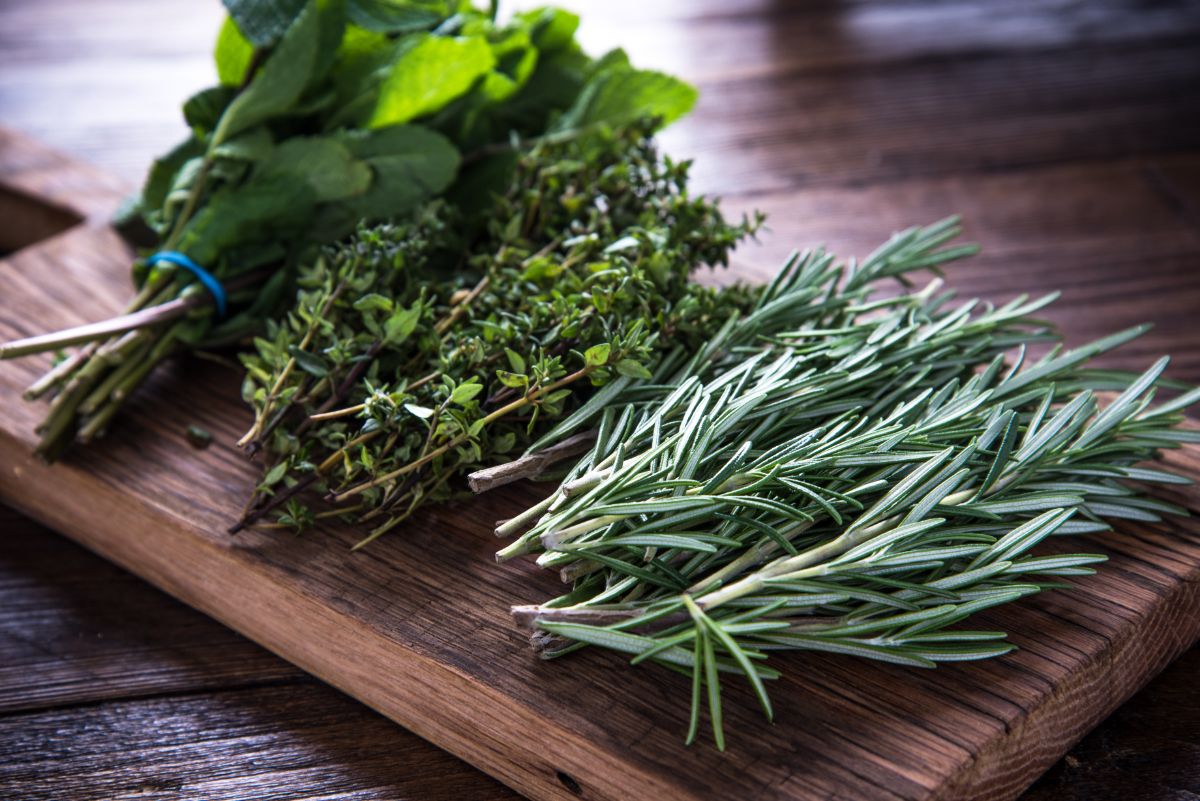
Ultimately, the best herbs to grow in your garden are the herbs that you’ll eat. If you hate the taste of sage, by all means, don’t grow it! Instead, pick herbs you enjoy and use a lot of. That way you’ll ensure that you’re getting the most use out of your garden space.
Since, they grow compactly, herbs are well-suited to both container gardening and in-ground garden beds. So, grow as many herbs as you have the space for.
With a bit of know-how, you can dry and store both woody and tender-stemmed herbs; however, woody stemmed herbs are easier to dry with hang drying. Since they contain more moisture, tender-stemmed herbs do best with quick drying methods (like food dehydrators), as this reduces the risk of common issues like mold.
Now, let’s take a look at some of the best herbs to grow for homemade dried herbs. These herbs are all easy to grow, small space-friendly, and tasty too!
1. Oregano
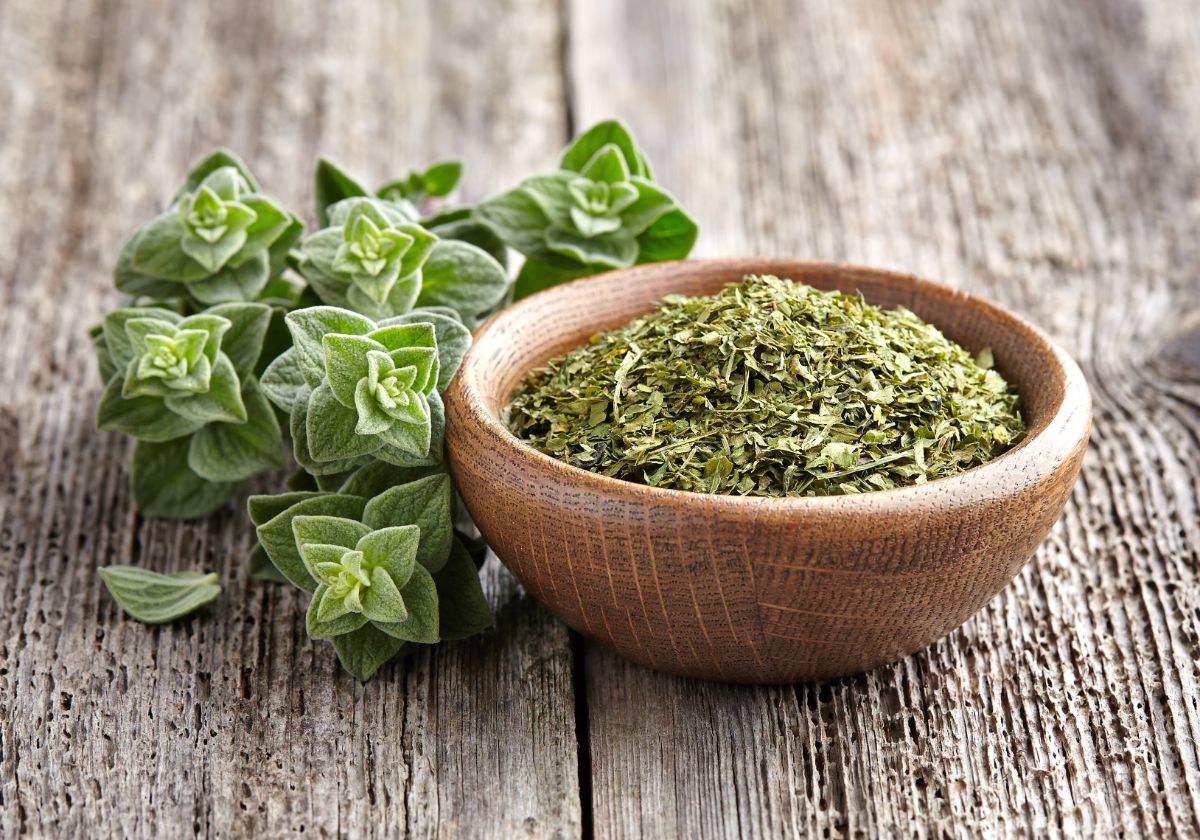
One of the most popular herbs around, oregano is prized for its strong earthy, and at times almost spicy, flavor. Native to the Mediterranean region, oregano is a woody-stemmed herb that doesn’t need a lot of water. Growing up to 2’ tall, oregano can be grown in-ground or in container planters too.
Growing:
Oregano can be grown from seeds, but is much easier and quicker to grow from nursery starts or when propagated from stem cuttings.Relatively drought tolerant, oregano needs minimal watering once established and prefers to be planted in an area with lots of bright sun. A single oregano plant needs a minimum pot size of 8 to 12” diameter.
Hardy from zones 4 to 10, oregano can be grown elsewhere as an indoor herb or as an annual.
Harvesting and drying:
When mature, oregano will bloom tiny flowers, but blooming can cause flavors to change and become a little bitter. For best results, harvest oregano before blooms appear, using a sharp knife or kitchen shears to clip away the top ⅓ of the plant.
As a woody stemmed herb, oregano can be dried using all of the drying methods mentioned above, including hang drying. It usually dries quite quickly, so be extra careful about drying oregano in ovens that run too hot.
How to use:
Oregano is a versatile herb that pairs nicely with tomatoes, olive oil and Italian fare. Try mixing dried oregano into Italian salad dressing recipes, sprinkle it over roasted vegetables or make a marinade blend for seasoning chicken, beef and lamb dishes.
Varieties to try:
Common oregano, Greek oregano, Italian oregano, Cuban oregano and golden oregano.
2. Mint
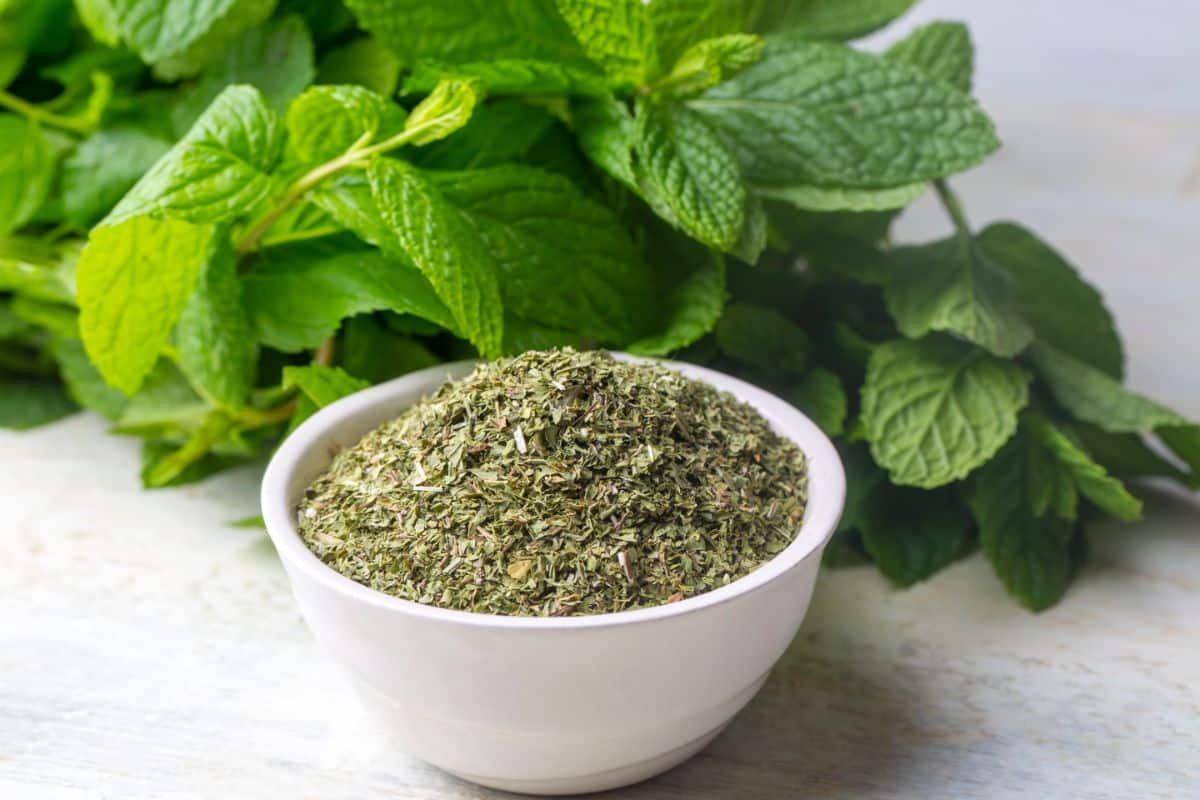
Mints come in a range of flavors, but they all bring freshness and brightness to recipes. Perfect for savory or sweet dishes, mint dries well for long term storage.
Growing:
One of the easiest herbs to grow, mint has earned a bit of notoriety for its vigorous growth habit. When left on its own, mint will spread rapidly via underground rhizomes and can quickly overwhelm less aggressively growing plants. For this reason, it’s usually best to grow mint by itself in dedicated raised beds or in containers.
Preferring lots of bright sun and a moderate amount of watering, pollinators love mint flowers! Like other herbs, mint doesn’t need a lot of fertilizer, although you can fertilize it with an organic liquid fertilizer on occasion if you’d like to. Because it spreads, mint should be potted up in at least a 12” diameter pot.
Hardy from zones 3 to 8, if you have mint growing in your garden, try cutting it down to a few inches high every autumn for tidier beds and better weed control.
Harvesting and drying:
For best flavor, harvest mint plants right before they flower by pinching off or cutting away the top section of plants. You can cut plants down quite a bit, until only 2 sets of leaves remain on each stem.
Mint can be hang dried, but it dries particularly well in dehydrators. For speedier drying, remove the stem prior to drying as it contains most of the plant’s moisture.
How to use:
Truly versatile herbs, mints work well in both savory and sweet dishes, from homemade mint chocolate chip ice cream to savory Mediterranean salads with feta and cucumber. For something different, try brewing different mint varieties in teas and cool drinks, like iced tea and lemonade.
Varieties to try:
Most mint plants you find at plant nurseries that are labeled “mint” are actually spearmint plants. For different flavors, try growing peppermint, lemon balm or bee balm, which are great for teas. Other fun flavors include pineapple mint, apple mint and chocolate mint.
Catnip, another type of mint, is a must-have for homes with kitties too!
3. Rosemary
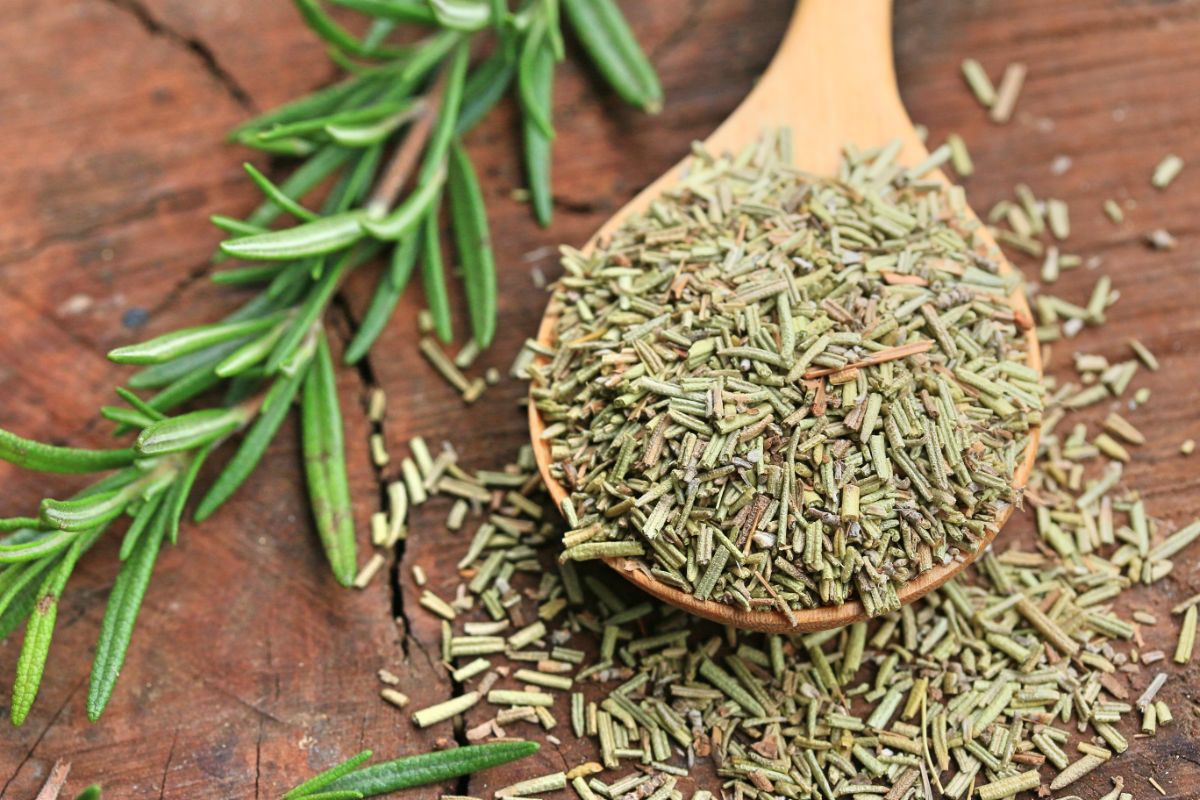
Ever popular rosemary is a wonderful plant to grow both in-ground or in containers. It can be snipped into creative topiaries or allowed to grow into a sprawling 5’ tall bush in warm areas where it can overwinter outside.
Growing:
Rosemary naturally grows in the Mediterranean region and it’s another woody-stemmed herb that is relatively drought tolerant once established. In fact, an established outdoor rosemary plant may not need any additional watering (beyond rain)!
Hardy from zones 7 to 10, rosemary can be kept as an annual elsewhere or it can be moved indoors during winter. Just keep in mind that rosemary may like dry soil, but it loves humidity too, so it should be grown on a pebble tray or near a humidifier if you plan on keeping it indoors.
Requiring bright sun and at least a 12” pot to grow in, rosemary doesn’t need a lot of fertilizer.
Harvesting and drying:
It’s important to only harvest a few inches of rosemary at a time and never overharvest this plant. For best results, harvest rosemary in the early morning and before flowers appear.
Rosemary can be dried with any of the drying methods listed. Because it doesn’t contain a lot of moisture, it dries well by hang drying, but it tends to drop a lot of leaves. To keep your kitchen clean while drying your rosemary, try hanging your rosemary inside a small paper bag to catch any falling pieces.
How to use:
Rosemary tastes like autumn, and is perfect for savory dishes on a cozy winter evening too. Try mixing in a pinch of dried rosemary into your roasted potatoes or add a dash to roasted chicken for a delicious treat.
Varieties to try:
Tuscan rosemary, golden rosemary or pine-scented rosemary.
4. Thyme
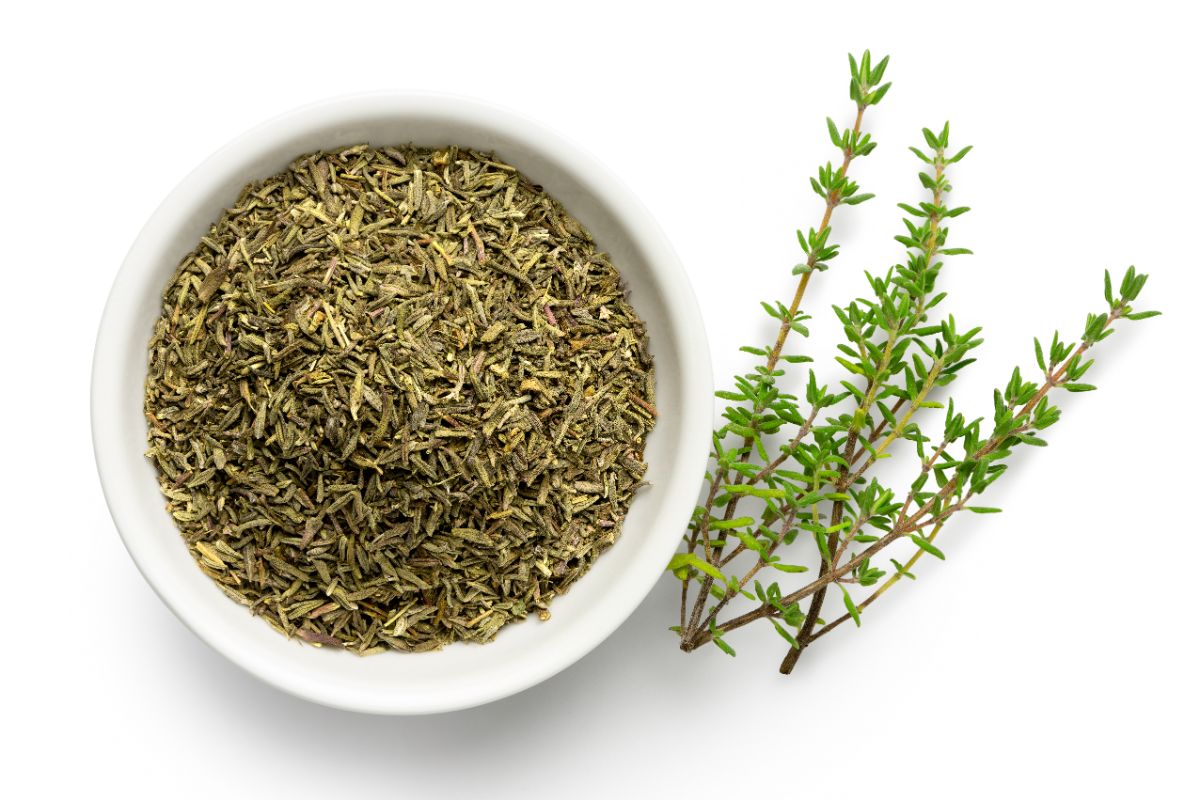
Thyme features tons of tiny leaves on woody stems. With a relatively low growth habit, thyme is a petite plant that is perfect for container gardens, while some varieties make a unique groundcover when planted in garden beds.
Growing:
Thyme doesn’t need a lot of water once established and should only be watered every 10 to 15 days. Because they stay pretty small, a single thyme plant can grow comfortably in a 4 to 6” pot.
Aside from the occasional watering, thyme needs lots of bright sun and minimal fertilizer. Relatively cold hardy, thyme can grow in zones 5 to 9 and can even retain is leaves throughout the winter in milder climates.
Harvesting and drying:
Thyme can be harvested a few times throughout the growing season (spring and summer). Just snip off the top ⅓ of the plant, before the plant blooms or even after flowers appear. Frequent pruning can keep your thyme from getting too woody or spindly looking.
Because thyme doesn’t contain a lot of moisture, it dries well with all herb dehydration methods. However, you’ll want to keep a close eye on it in hot ovens or dehydrators as it can dry out very quickly!
How to use:
Roasted mushrooms and vegetables, like potatoes and carrots, are easily elevated with a sprinkling of thyme. Thyme pairs well with pork, beans and many soups and can even be brewed as a tea.
Varieties to try:
Common thyme, lemon thyme, wooly thyme, French thyme and creeping thyme.
5. Chives
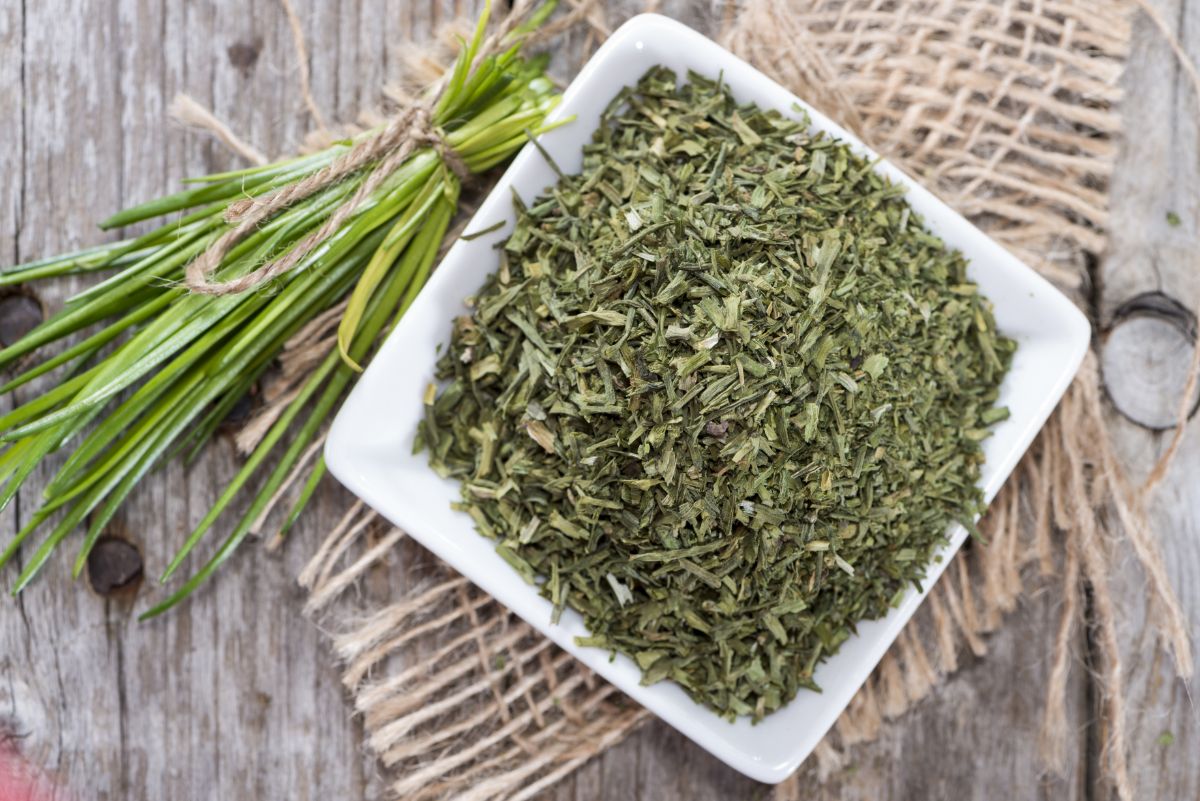
Chives are great for containers or in-ground beds, where they grow in clumps of lush and spiky leaves. A member of the allium family (which also includes onions and garlic), chives are prized for their zingy flavor and can even grow pretty and edible flowers too.
Growing:
Chives require a moderate amount of water and bright sun for best growth. If you’re keeping your chives in a container, provide them with a pot that is at least 8” diameter. A light application of an organic balanced liquid fertilizer once a year in spring can keep your chives growing strong for years to come.
Chives are popular plants in pollinator gardens (bees love them!) and they are excellent for natural pest control too. Chives don’t spread by rhizomes, but they are prolific self-seeders, so snip off flower buds if you don’t want lots of chives.
Harvesting and drying:
You can begin harvesting chives about 30 days after transplanting them into your garden or container bed. When harvesting, cut chive plants down low, leaving only 1 to 2” of stems above the soil line. Chives grow back quickly and can be harvested several times throughout the growing season.
Because chives are difficult to tie in bundles, they are not well suited for hang drying. They do dry well in dehydrators though!
How to use:
It’s an unwritten rule that baked potatoes require a good sprinkling of dried or fresh chives for best flavor. Dried chives are also nice on top of soups or stews, whipped into chive butter or mixed into scrambled eggs and omelets.
Varieties to try:
Common chives, garlic chives, giant Siberian chives and Siberian garlic chives.
6. Sage
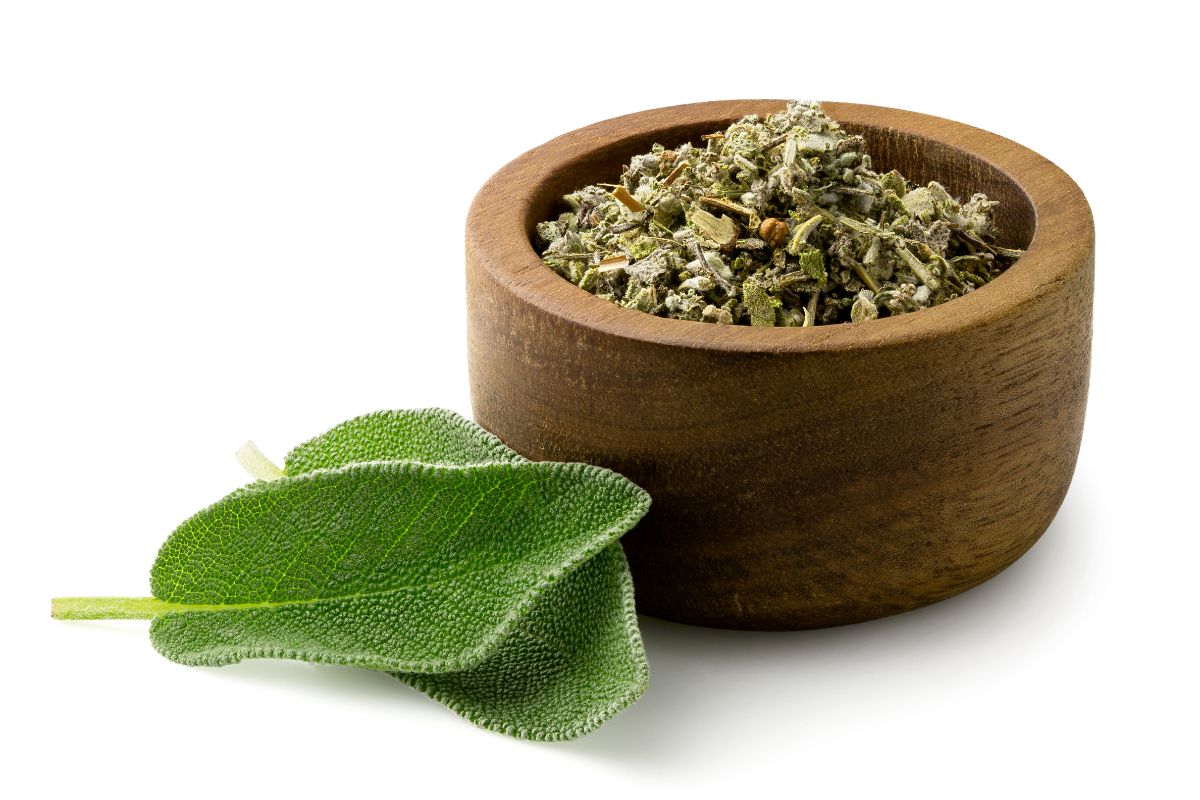
Sage is one of the best plants to grow for pollinators, as bees and other beneficial insects love their flowers. Native to the Mediterranean, sage is one of the largest herb plants you can grow (growing about 3’ high by 3’ wide), but when well pruned, you can keep it in containers too.
Growing:
Sage is a woody-stemmed herb that doesn’t need lots of water. Although young sage plants can handle more frequent watering, older sage plants should be watered every 1 to 2 weeks or less, to avoid creating issues with waterlogged soil and root rot.
If you plan on keeping sage as a potted plant, choose a pot that is at least 10” diameter and keep your plant well-pruned, to keep it from getting too large.
Growing as a perennial in zones 5 to 8, sage doesn’t tolerate high heat very well and should be kept as an indoor plant or annual in very hot areas.
Harvesting and drying:
During its first year, don’t harvest your sage plant very much, as you want it to have lots of leaves for proper growth. After the first year, you can harvest your sage plants up to 3 times throughout the growing season. Just snip off leaves or small, tender sprigs near stem ends as needed.
Sage dries well with all drying methods. If you choose to dry sage in an oven or dehydrator, remove the woody stem before drying to reduce processing time.
How to use:
Dried sage can be ground coarsely or processed into a fine powder. Sprinkle it on savory dishes, like roasted vegetables, soups and stews or meat dishes. It pairs particularly nicely with butter and sage and is a treat with gnocchi.
Varieties to try:
Common sage, purple sage, variegated sage, Greek sage, Spanish sage, pineapple sage and grape-scented sage.
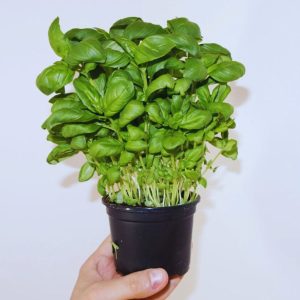
7. Basil
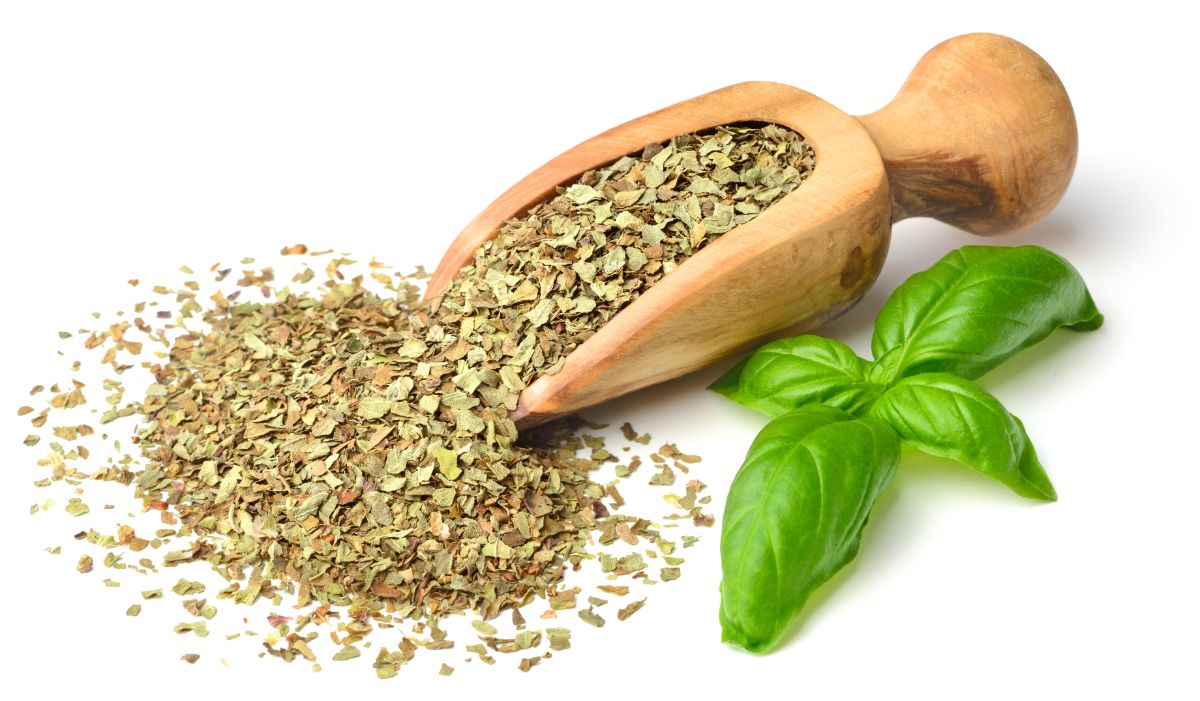
There is a good reason why basil is such a popular plant among home gardeners. It’s tasty, really easy to grow, pollinators love it and it makes a wonderful companion plant. But when you end up with too much basil to handle, drying your extra leaves is an easy way to preserve them.
Growing:
Basil can be grown in garden beds or in containers, with a minimum pot size diameter of 8” for a single plant, although 3 plants can fit together in a 12” diameter pot. An easy-going plant, basil is simple to start from seeds, but it can also be readily propagated in water via stem cuttings.
Basil prefers bright, indirect sun as direct light can cause leaf scorching. For this reason, basil is often interplanted with taller plants, like tomatoes, which help shield basil’s delicate leaves. In return basil assists other plants to grow better, and is even said to improve the flavor of tomatoes that are grown nearby.
As a tender stemmed herb, basil requires more frequent watering than other herbs, like rosemary. It also can benefit from a regular application of a nitrogen-rich organic fertilizer.
Harvesting and drying:
You can begin harvesting basil when plants are about 6 to 8” tall. Simply pinch off upper leaves as needed. Frequent harvesting of basil leaves will encourage your plants to branch out, grow bushier and produce more growth.
Since basil contains a lot of water, it is not the best candidate for hang drying. Instead, try drying your basil in a food dehydrator or a cool oven. To speed up drying times, remove the fleshy stem prior to drying as it contains much of the plant’s moisture.
How to use:
Basil is a must-have in Italian dishes, and is delicious in pizza and pasta sauces, or as an essential ingredient in margherita pizzas. While Genovese basil is the most popular type of basil to grow for Italian fare, Thai basil is a perfect choice for Thai cuisine and for Vietnamese pho.
Varieties to try:
Genovese basil, sweet Thai basil, holy basil, dark opal basil, lemon basil, lime basil and spicy bush basil.
8. Dill
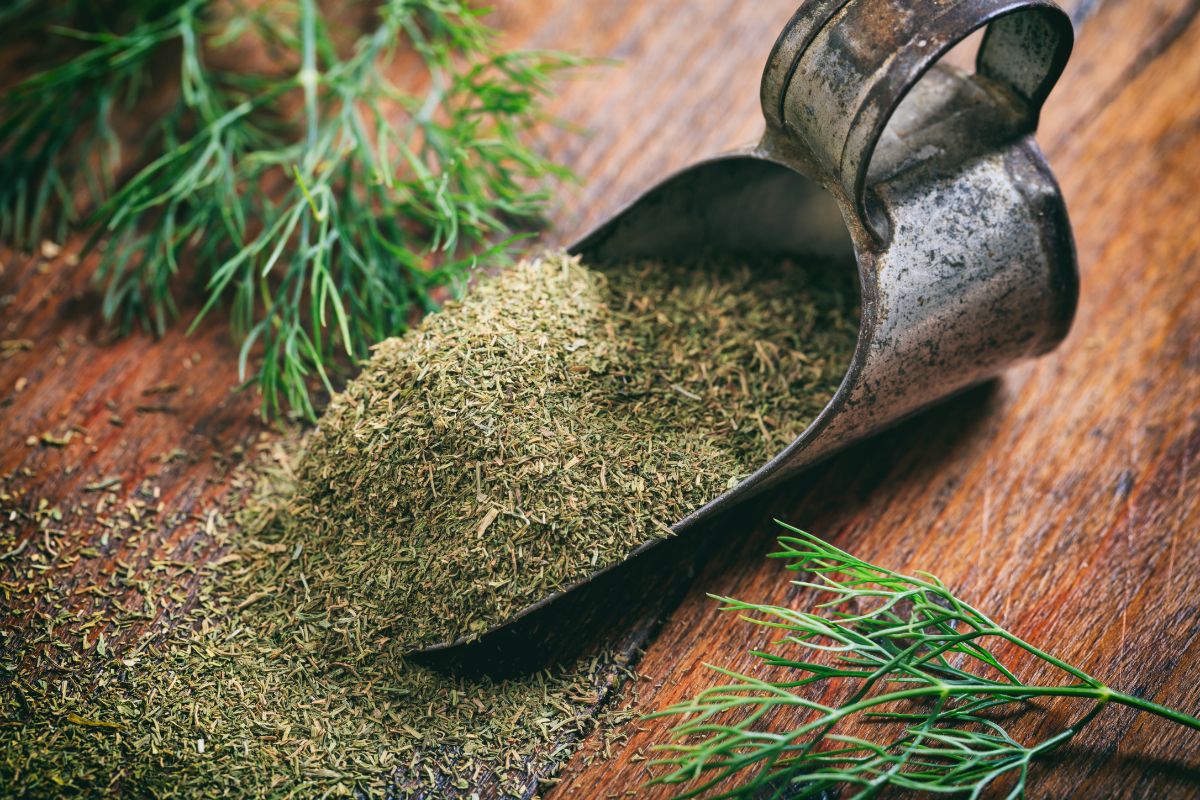
Dill is a feathery and flavorful herb that works in so many foods. But because of its delicate nature, it doesn’t last long when fresh. Drying dill can help preserve your harvest and is even a great solution if you accidentally bought too much fresh dill at the grocery store and you don’t want it to go to waste.
Growing:
Dill can be one of the trickier plants to grow for beginning gardeners, but it can help a lot if you understand its basic care requirements. Compared to other herbs, dill has a high water requirement and doesn’t tolerate heat well. During summer, it has a tendency to bolt, so it is an herb that should be succession sown every 2 to 3 weeks throughout the growing season.
To slow any bolting down, opt for slow-bolt dill seeds, plant your plants in an area that receives partial afternoon shade and keep your plants well-watered. With proper care, dill plants can grow up to 4’ high and readily self-sow via seeds.
Harvesting and drying:
Dill can be harvested when plants are 8 weeks old; however, flavor is best right when flower heads open. To harvest, simply snip off branches of dill right where they branch away from the main stem and be sure to use sharp scissors to avoid bruising the plant. Because fresh dill doesn’t last long, it’s best to only harvest what you plan on using or drying right away.
Since dill is such a delicate herb, it dries very rapidly and dried leaves often break and make a mess. If you’re hang drying your dill, try hanging bundles inside a loose paper bag to catch falling leaves. Alternatively, if you’re using an oven or dehydrator, watch your dill closely as it can dry out very quickly!
How to use:
Dill is a perfect addition to Middle Eastern dishes like tzatziki. It also pairs very nicely with seafood and can elevate fresh garden salads when used as a flavor booster.
Varieties to try:
‘Bouquet’ dill, ‘Fernleaf’ dill, ‘Dukat’ dill, ‘Hera’ dill, ‘Teddy’ dill and ‘Vierling’ dill.
9. Chamomile
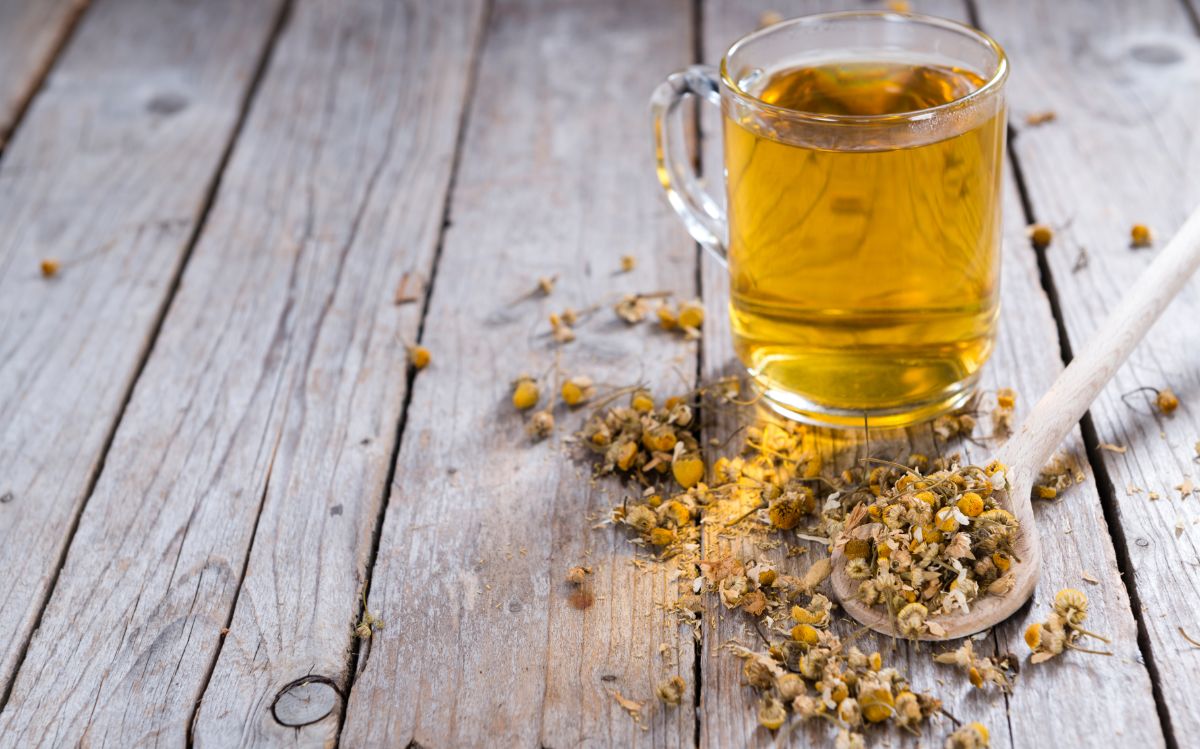
While not necessarily a culinary herb, chamomile is a very popular plant to grow, especially for anyone who’s fond of herbal teas. With a delicate, floral flavor, chamomile is a delightful little plant and one of the easiest plants to dry.
Growing:
Chamomile is easy to grow from seed, which can be sowed outdoors in mid-spring (April to May). Many gardeners try to plant too many chamomile plants close together, but for best growth, a single chamomile plant requires a 12” diameter minimum pot size.
Chamomile plants should be watered regularly and can grow in full sun to part shade. Flowers will begin blooming in late summer, with blooms lasting well into fall.
Harvesting and drying:
Chamomile flowers should be picked as they appear, by gently pinching off each flower head right where it meets the plant’s stem. Frequently harvesting your chamomile plants will encourage your plants to produce more flowers. Chamomile flowers only last for about 7 days, so if you choose to grow this plant, get into the habit of regularly harvesting.
Because chamomile flowers appear over a long period of time (summer to fall), it can be wasteful to run a dehydrator or oven just to dry a few flower heads at a time. Instead, if you plan on running your food dehydrator to dry other herbs, try drying a few chamomile flowers along with them to save energy. Since chamomile flowers dry quickly, they are also a good choice for drying in your car on a hot day, which will help you save energy too!
How to use:
By far, the most common way to use chamomile is to brew it in an herbal tea. Chamomile tea can be prepared by itself, or mixed with other herbs like lavender, and should be steeped for at least 5 minutes before drinking.
Other creative ways to use chamomile flowers include making your own chamomile jelly or mixing it into cookie or ice cream recipes.
Varieties to try:
German chamomile and Roman chamomile.
10. Lavender
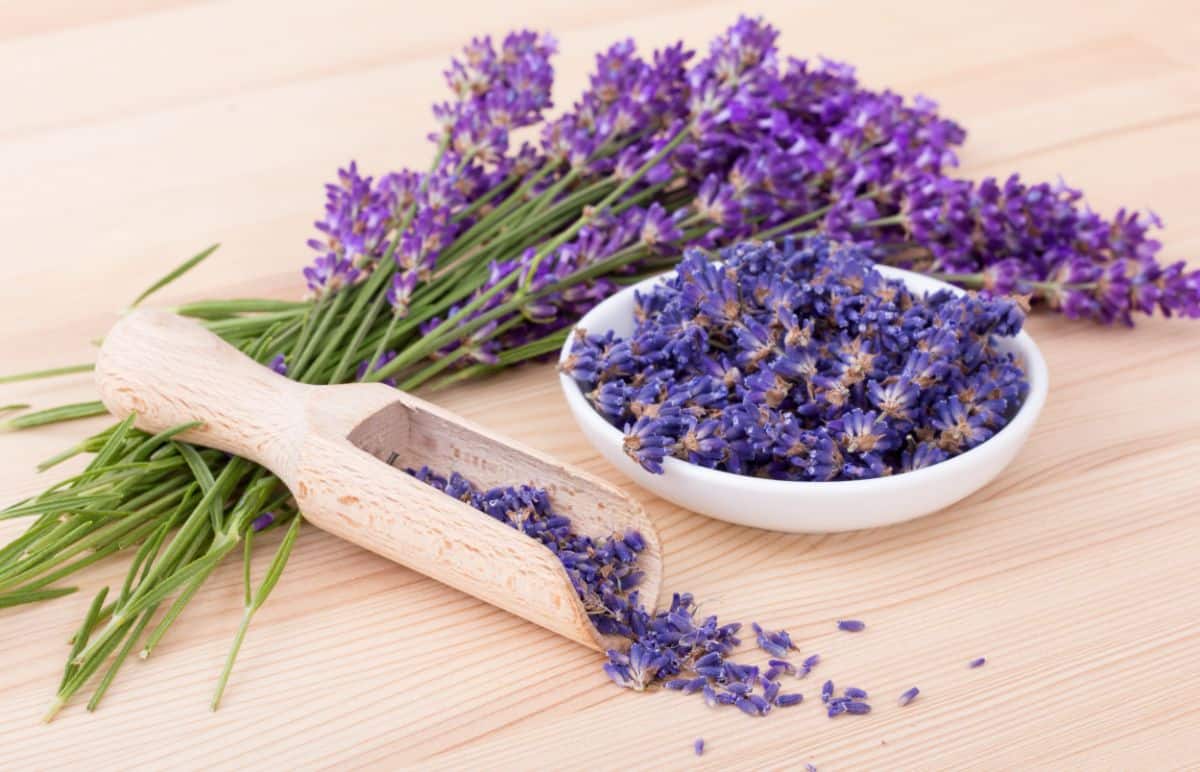
There are over 450 different kinds of lavender, but English lavender (Lavandula angustifolia) is the most common variety used in cooking. Beyond being an interesting herb to use in recipes and herbal teas, it is also a great pollinator plant, and is wonderful for using in crafts. Known for its soothing qualities, lavender is often sewn into lavender eye pillows or scented sachets and is a common ingredient in floral potpourris.
Growing:
Lavender is another woody-stemmed herb that comes from the Mediterranean. That means that it doesn’t require lots of water. In fact, if you struggle to grow lavender successfully, it’s usually because you’re giving it too much water. That said, certain varieties of lavender grow better in particular growing regions, so make sure you have the best variety to grow for your location.
Lavender can be quite difficult to grow from seeds and may fail to germinate without cold stratification. Instead, plants are more readily grown from nursery starts or propagated plant stems. When grown in containers, individual lavender plants should be provided with a pot with at least a 12 to 16” diameter.
Lavender prefers bright light and well-draining, sandy soil with low fertility. When properly cared for, lavender plants usually last about 10 to 15 years.
Harvesting and drying:
Lavender is best harvested in spring, when about 40 to 50% of the plant is beginning to flower. Cut stems about 2” above where woody growth begins and harvest your plants in the morning when oil concentration is highest. Try to time your harvesting for when flowers are just beginning to open up, but most of the flowers are not fully open.
Lavender can be dried using all of the drying methods mentioned. Like other woody herbs, it can dry quickly, so watch your lavender cuttings carefully in a dehydrator or oven to keep from over drying them.
How to use:
Lavender is a fun herb to brew with chamomile for a soothing herbal tea or a refreshing cool drink. Lavender flowers can also be mixed into desserts or used as colorful garnishes. Lavender is a perfect addition to many home crafts too, including homemade soaps, potpourris, scented sachets and soothing eye pillows.
Varieties to try:
‘Hidcote’ lavender, ‘Munstead’ lavender, ‘Grosso’ lavender, ‘Provence’ lavender, ‘Rosea’ lavender and ‘White Ice’ lavender.
Storing your dried herbs
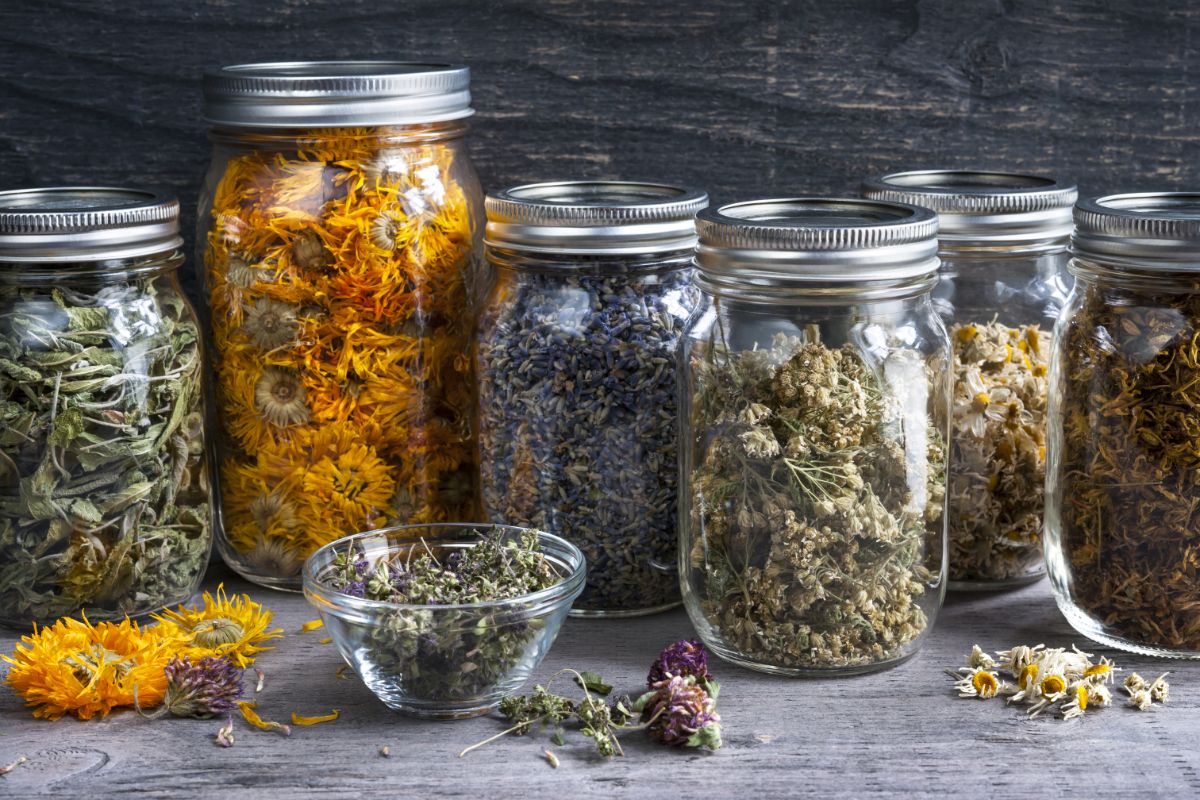
The most important factor when storing your herbs is that they need to be kept in a dry, airtight container. Moisture is dried herbs’ worst enemy after all, and can cause issues with mold, mildew and spoiled herbs if you’re not careful.
Prior to storing your dried herbs, you’ll want to ensure that they are completely and thoroughly dried. Try crumbling your herbs between your fingers. If they crumble easily with slight pressure, they are ready for storage; however, if they don’t crumble, it’s a good sign that they still contain moisture, so they’ll need further drying.
Once your herbs are absolutely dry, place them in an airtight container. Often, the best choices are glass canning jars, although you can repurpose old spice containers from store bought herbs too.
For more kitchen charm, glass or metal spice jars are great, just make sure whatever containers you choose are safe for food use. Some spice containers even come with magnetic bottoms so you can pop them on your fridge for extra convenience.
For best results, it’s usually best to store herbs as whole as you can and then just crumble or grind herbs as needed for recipes. Whole herbs last longer and retain a stronger, fresher taste than dried herbs that were pre-ground.
After you’ve selected the appropriate containers for your homegrown herbs, just make sure you place your spice jars in a cool, dry location and out of direct sunlight. Although a little light won’t harm them, too much bright light can degrade the oils in dried herbs, making them lose potency, flavor and nutrient content.
It’s also essential that you properly label your herbs. When you first store them, you might know what everything is, but after a few months on the shelf, unlabeled dried herbs start to look a lot like!
It’s a good idea to note the date when you harvested and stored your herbs too. While properly stored, dry herbs can last indefinitely, their flavor and potency diminishes over time. Different herbs have different shelf lives for best flavor (usually ranging from 1 to 3 years) and then they should be replaced.
Using your dried herbs
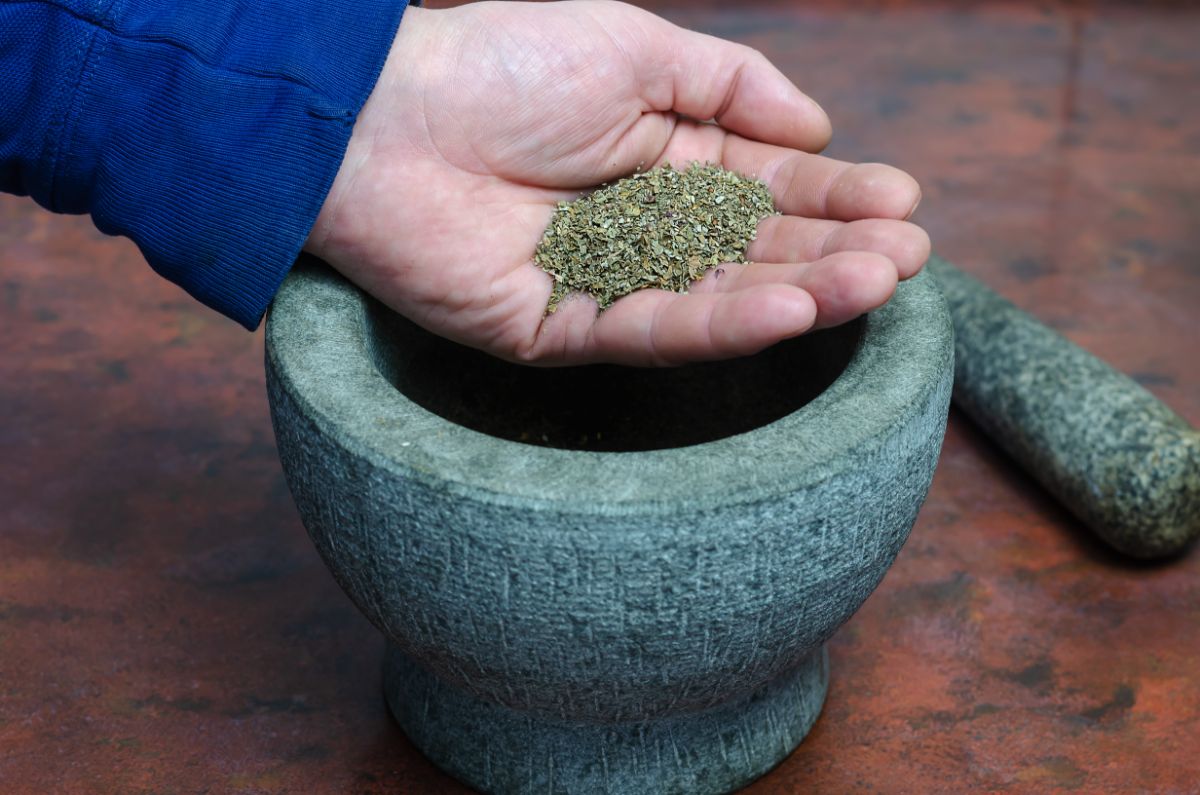
When it comes time to use your herbs, you may need to grind your herbs down to a usable size, depending on what herbs you’re using and what your recipes calls for. As whole herbs store best, you’ll usually want to wait to grind your herbs until you’re ready to use them.
Mortar and pestles are a traditional way of grinding dried herbs and work well for looser grinds or for recipes, like dried herb blends, where you’d like to blend herb flavors together to create a cohesive flavor.
Mortars are the durable bowls into which dried herbs, and other ingredients are placed. The pestle is the sturdy grinding instrument which is used to pulverize dried herbs and blend pastes and other concoctions together.
When choosing a mortar and pestle, look for a set that is made of a very strong material and isn’t likely to break. While marble and ceramic mortars and pestles look pretty, they can be rather delicate and prone to chipping.
Granite mortar and pestles, on the other hand, are made to withstand quite a bit of use and will last and last. Stainless steel sets are another good choice that can handle lots of stress and use.
For finer grinds, dedicated herb grinders or coffee mills are usually the best choice. These are also easier to use, as you can grind your herbs with just the simple push of a button.
If you decide to use a coffee mill for herb grinding, only use that coffee mill for herbs. Grinding herbs in the same mill you grind your coffee with will contaminate your herb flavors and make everything taste like coffee!
Once your herbs are ground as finely as you’d like, simply sprinkle them onto dishes, blend them with other herbs to make your own unique seasoning blends or steep them in oil to create tasty flavored oils for salad dressings and cooking.
Conclusion
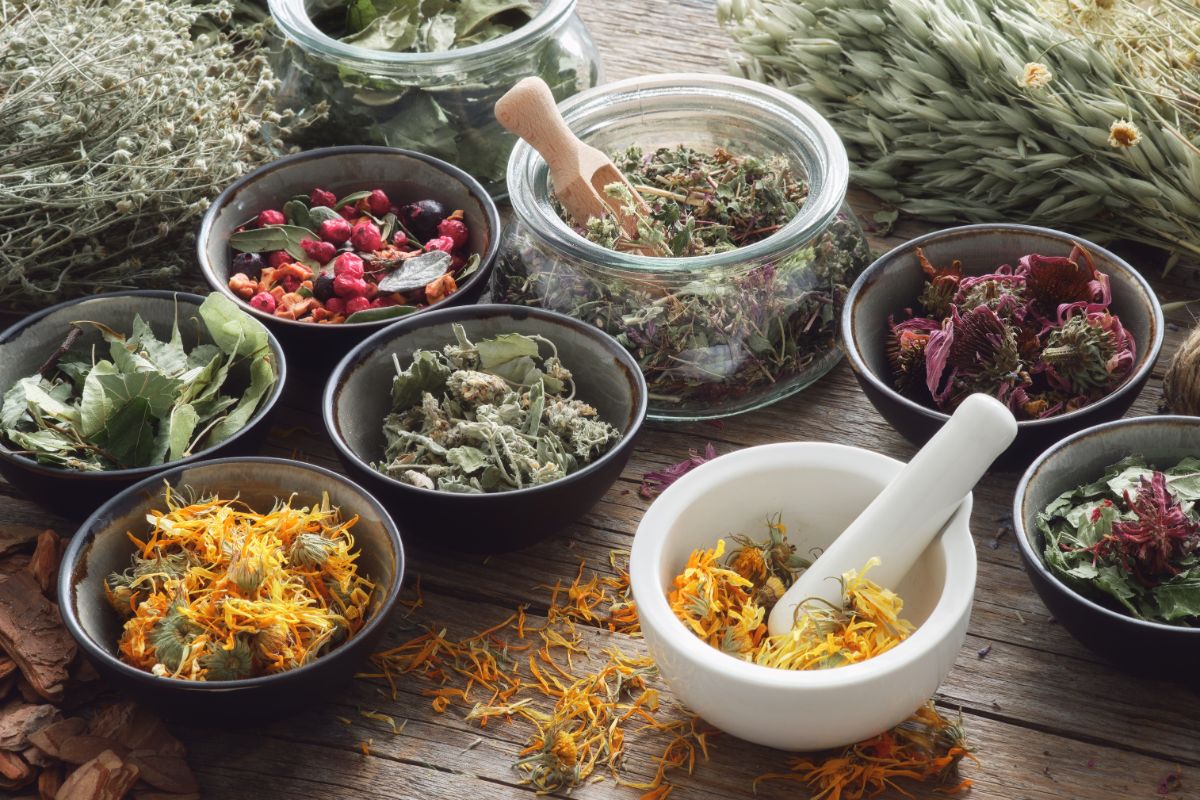
If you love cooking with herbs or you already have an herb garden started but struggle with using all your fresh herbs in time, drying your herbs is a simple and convenient solution. Homemade dried herbs help preserve your garden haul for years, and ensure that the herbs you cook with are the absolute freshest and best quality herbs around.
Store bought dried herbs are pricey, and growing your own herbs at home for drying can be a great way to cut grocery costs. But homegrown herbs offer other benefits too, such as fresher flavor and better color and, as you can grow them organically, they’re healthier too!
Herb drying doesn’t need to be a hassle either. With the help of handy tools, like food dehydrators, you can quickly and easily dehydrate large quantities of herbs in just a few hours. Or, for a budget-friendly solution, hang drying herbs works too.
Whatever herbs you decided to grow, and whatever drying methods you choose to use, is up to you. But what is certain is that when you first taste your own homegrown dried herbs, you’ll never want to go back to eating store bought herbs again.

Leave a Reply