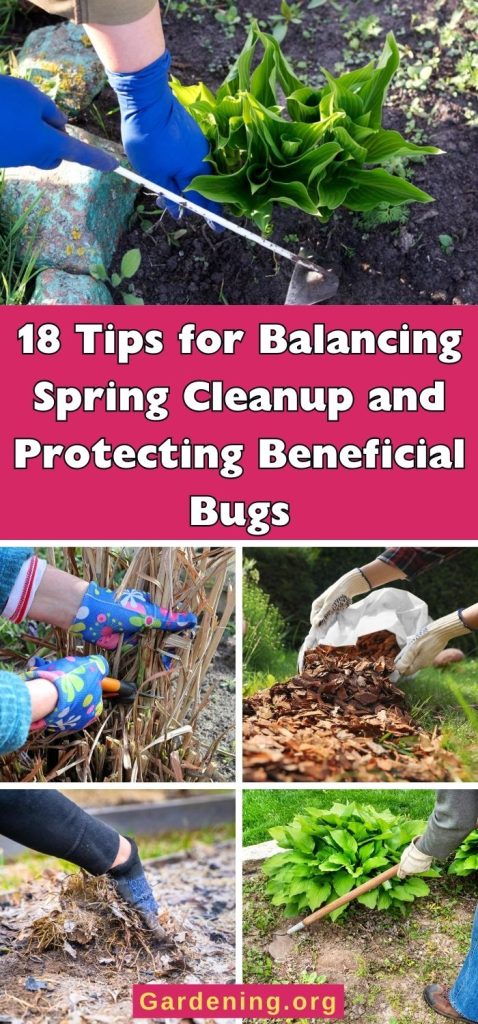
Protecting pollinators and beneficial insects has been gaining a lot of ground, and for very good reason – it's critical to life!
It can be hard to find the right time and balance to do this, but we’ve rounded up the best tips from universities and expert resources.
Jump to:
- The Challenge of Spring Cleaning and Pollinator Protection
- 18 Tips for Spring Garden Cleaning and Pollinator Protection (And Beneficial Bugs, Too!)
- 1. Wait for a warm up
- 2. Prioritize by growing time and emergence
- 3. Pull back and clean plants, then wait
- 4. Clean the most visible beds first
- 5. Clean only the most visible and obvious areas of beds
- 6. Cut perennial stalks to about 15 inches
- 7. Chop and drop
- 8. Leave leaves alone
- 9. Mulch on top of leaf litter and small natural debris
- 10. Keep mulch layers light –for now
- 11. Take a targeted approach to mulching
- 12. Reuse cleaned up, natural mulch
- 13. Just clean the “big stuff”
- 14. Look for nests and chrysalises when pruning (and come back another day)
- 15. Relocate trimmed stalks and leaf litter to sit until after the warm-up
- 16. Use low-impact tools to delay cleanup
- 17. Set aside a more naturalized, unmanaged perennial space
- 18. Think ahead, make tighter plantings, and use ground covers
- A Couple of Exceptions Worth Considering
The Challenge of Spring Cleaning and Pollinator Protection
One of the more recent recommendations is to wait to start cleaning until after overwintering insects have emerged. This can be challenging for perennial gardeners in edible perennial beds and for those who need to perform certain gardening chores and tasks on a schedule or timeline.
Some of the issues that arise are that there is a time crunch involved – you only have so much “spare” time in which to clean and tend your garden.
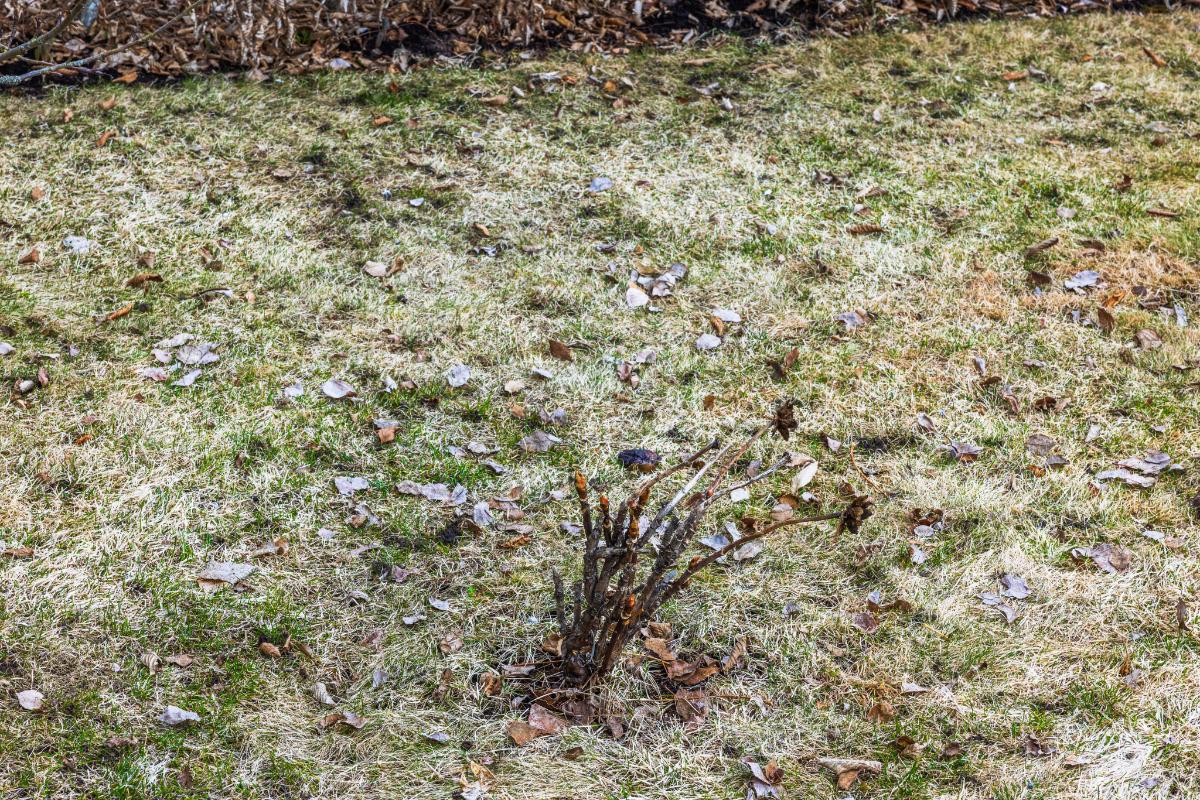
Another issue is that winter debris can hinder the growth and development of some plants, smothering valuable edible crops and ornamentals.
One other common problem is that if you don’t clean emerging perennials before the new year’s growth emerges, you risk damaging your valuable plants. It becomes difficult to access spaces, and rakes and garden tools rip and damage tender new growth.
So what’s a spring gardener to do?
We have some solutions to strike a nice balance while you maintain your spring gardens.
18 Tips for Spring Garden Cleaning and Pollinator Protection (And Beneficial Bugs, Too!)
1. Wait for a warm up
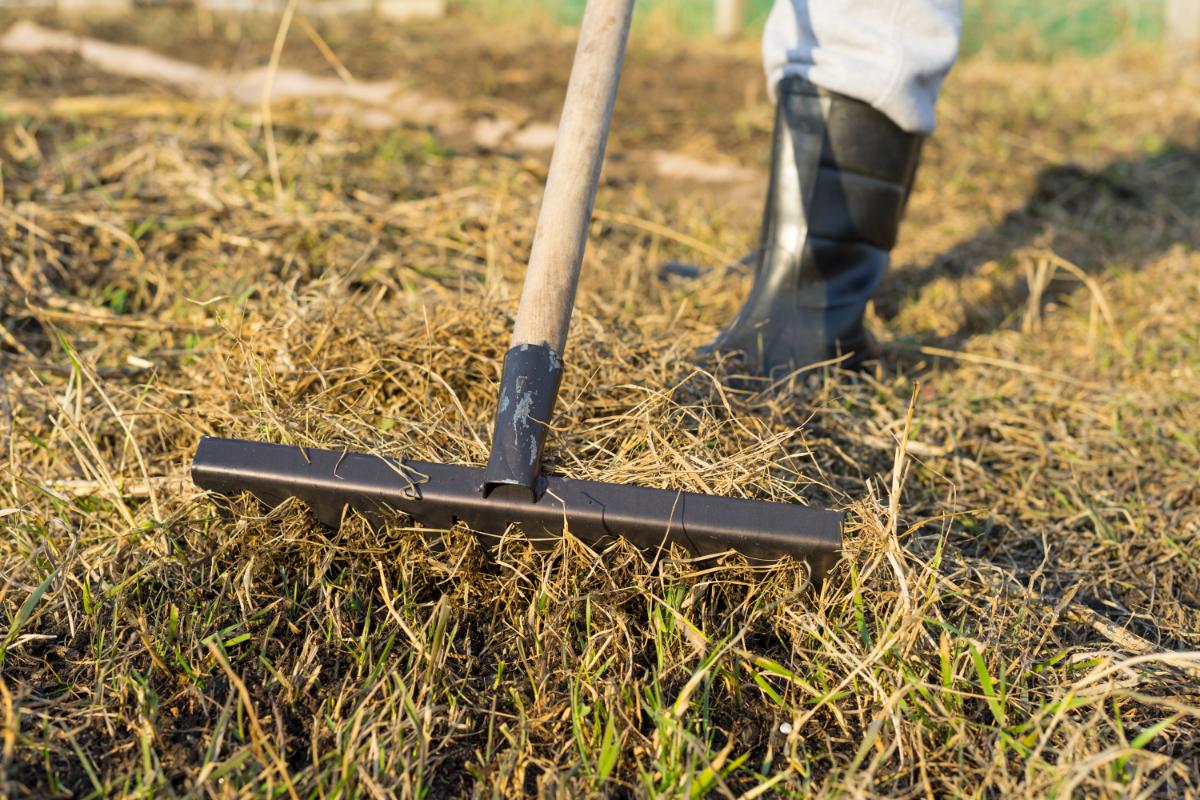
The top advice is to wait to start raking and spring cleaning until your daytime temperatures are consistently in the 50-degree range (Fahrenheit, that is – in Celsius, you’re waiting for 10 C or above). Bonus points if you can wait for five consecutive days of 50 degrees at night.
The idea here is that with daytime temperatures in the 50’s, overwintering insects should hatch and emerge. Though some say this is a bit of an arbitrary threshold, it’s sure to help, especially for things like cavity-nesting bees.
They also say that many of the typical spring cleaning tasks (like cutting dead grass stalks or pruning berry bushes) is not likely to cause widespread harm to pollinators. Some of them actually need clear ground to build spring nests, too.
And then there is the issue of managing the growth and viability of your plants...after all, those insects also need things to pollinate and gather from.
So again, it’s all about balance. And for the places you can’t wait to clean, the following will help you decide when and how to get your spring garden cleaning going.
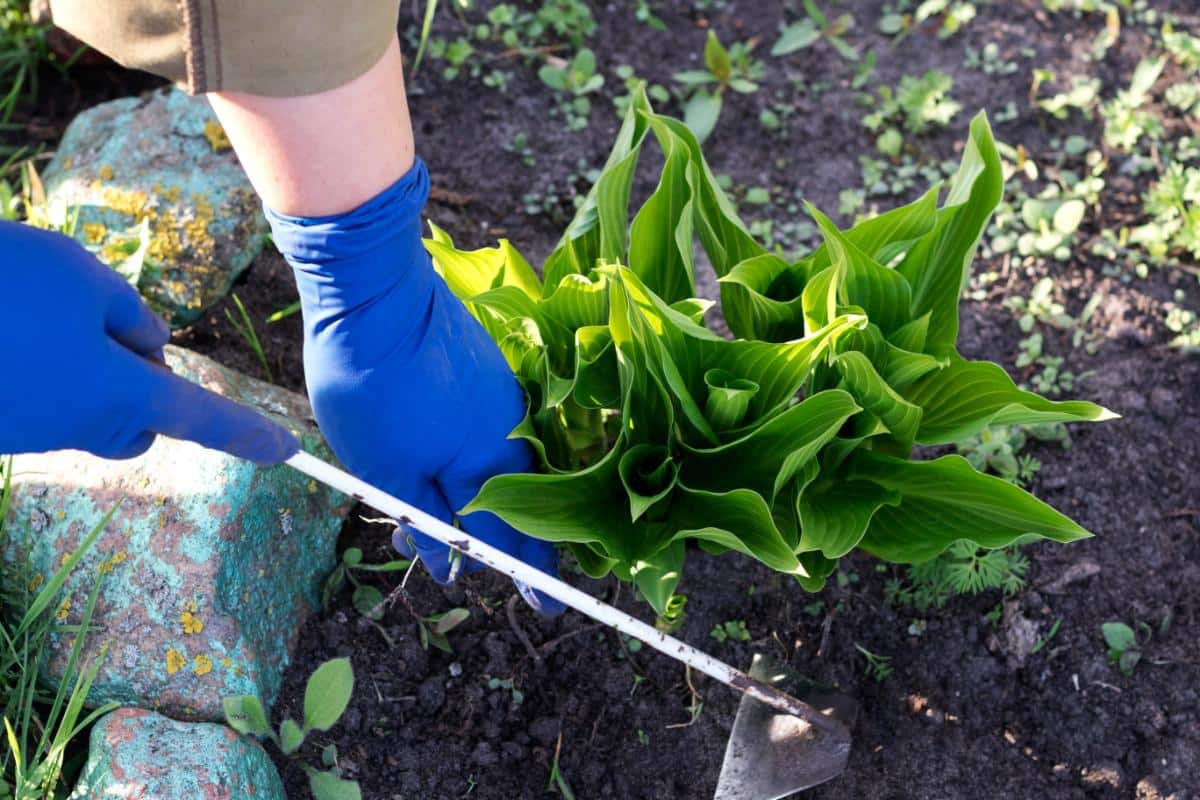
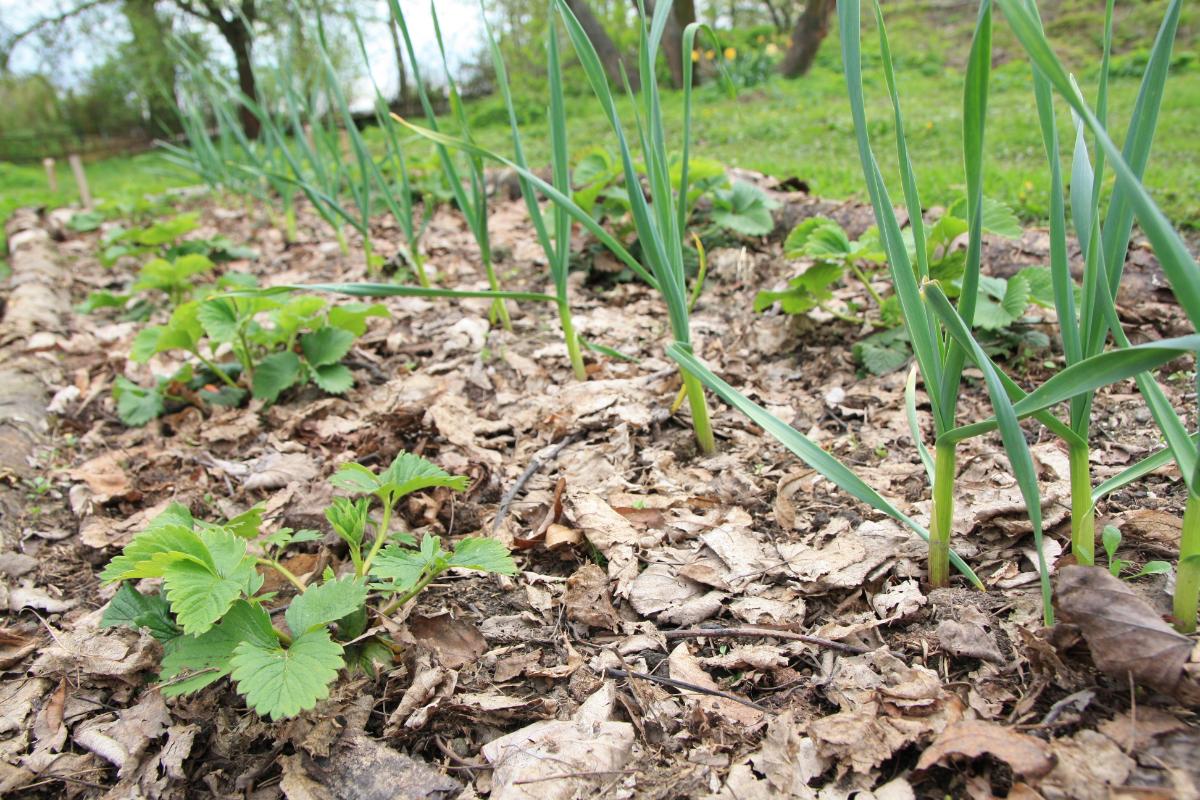
2. Prioritize by growing time and emergence
Do away with the idea that all your spring garden cleanup has to happen at once. Clean up in stages. Prioritize the beds that will start growing new growth first – those that will be most harmed or smothered if you wait too long to start cleaning.
Early blooming plants and early spring bulb beds are likely to be the most important on the prioritization list.
Start with perennial beds, since these will grow first, and leave the vegetable gardens and beds where you plant annuals until later. By the time it’s time to plant this year’s annuals (which are almost always frost sensitive), you’ll surely be into warm enough weather to protect the emerging overwintered beneficial creatures.
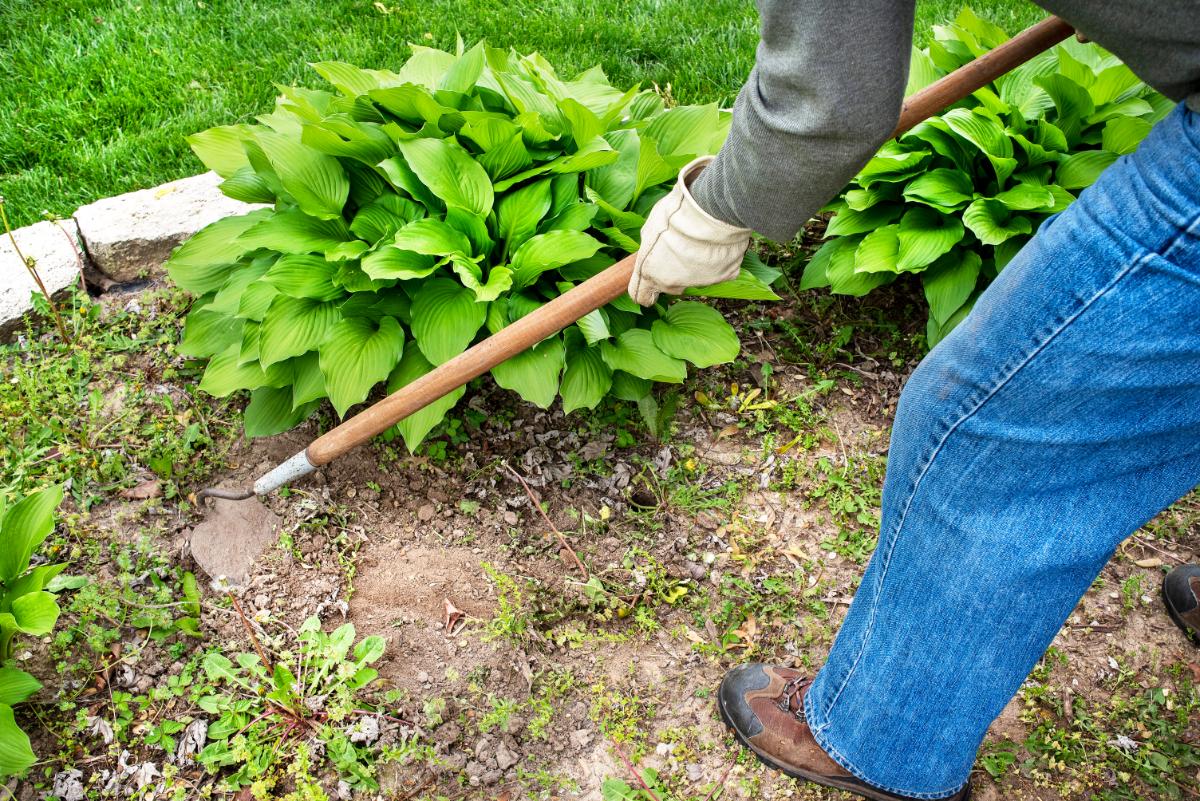
3. Pull back and clean plants, then wait
You might also do away with the notion that the whole bed needs to be cleaned at once. The priority is in uncovering the plants and seeds that need to emerge, or in cleaning those that you don’t want ripped to shreds when you do start raking.
You can just rake away or pull away the debris that will cause problems. Pull it back into a ring a few inches away from emerging growth, a bit past where the plant needs to be able to grow, and far enough back that you can come back with a rake to clean up later.
Then, leave it until after the insects become active and move out.
4. Clean the most visible beds first
Perennial and ornamental beds exist largely for our aesthetic pleasure and/or for curb appeal. It’s only natural that you’d want to give your home a fresh, spring-cleaned look.
Here’s the compromise version: clean the beds that people see the most. Leave less obvious or backyard beds to sit a little longer to let the hibernating beneficials come out.
5. Clean only the most visible and obvious areas of beds
Here’s a similar version of the above. You could just clean the more obvious parts of your beds.
For example, clean the open spaces and along the borders. Leave the leaves under plants and shrubs where they can’t be seen (they’ll act as both a natural mulch and an eventual soil amendment as they break down and rejuvenate the soil, adding depth and tilth).
Wait to (or never) clean behind the plants if it’s not obvious from the point of view of your garden.
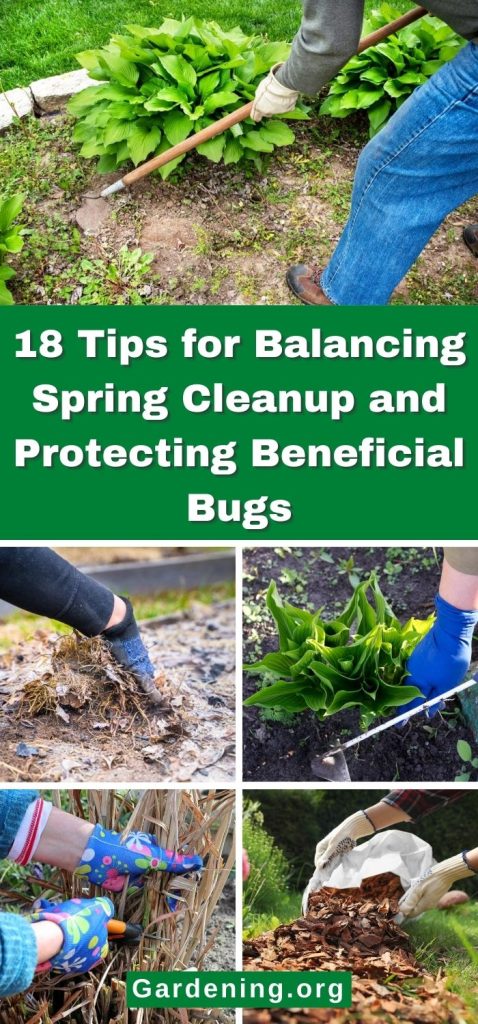
6. Cut perennial stalks to about 15 inches
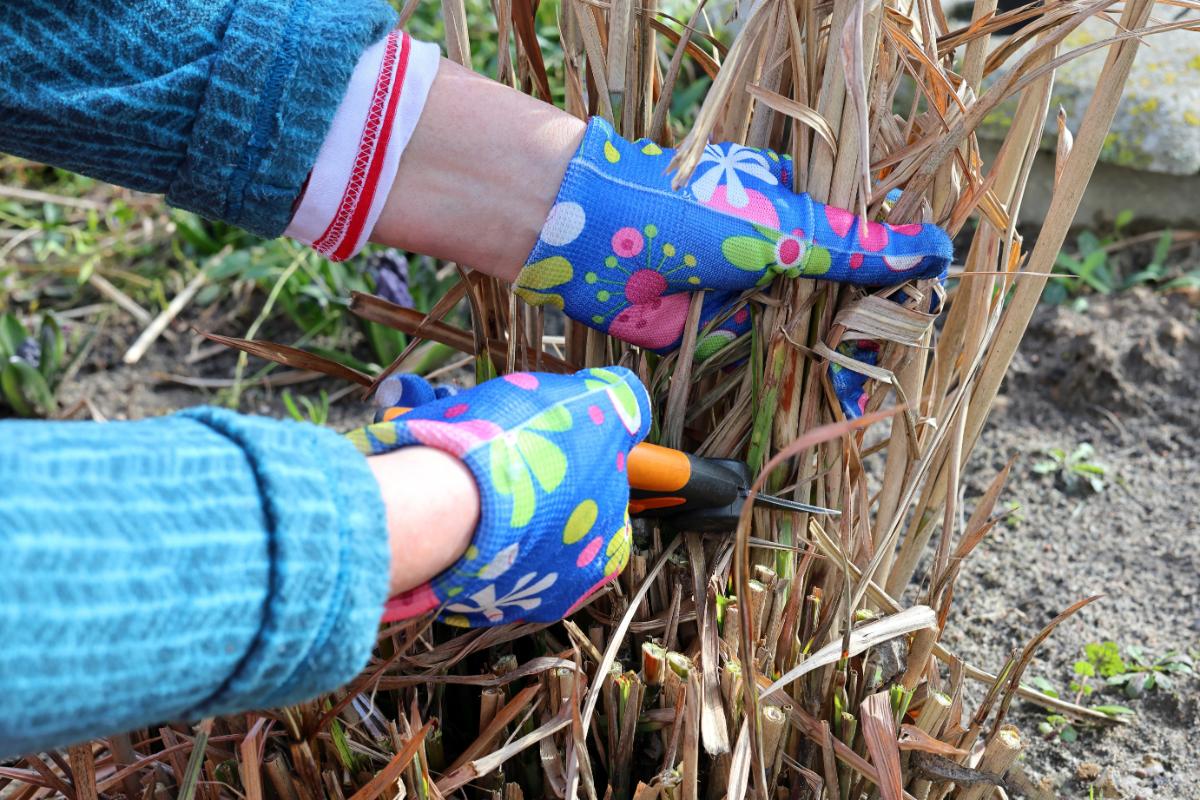
When you do cut the old, hollow stalks and stems from last year’s growth, cut them down to around 15 inches, then leave the rest of the old growth standing.
This is a height that will soon be covered up by the plant’s new growth, and by leaving it, you leave the insects that are burrowed at the bottom of the stems there to complete their life cycle and emergence.
You’ll also be providing a habitat for this year’s cavity-nesting bees to build homes in – right in your garden, where they’ll be on hand to pollinate.
7. Chop and drop
Another option – or one that you can use along with the above – is to go ahead and cut those stalks but drop them where they are.
The insects, eggs, and pupae that might be overwintering inside them are only using them for shelter, not nourishment, so if you simply drop them on the ground and let the world warm up, they’ll still be able to emerge.
If you do this, though, you don’t want to bury them before the insects come out, so keep this in mind when you’re managing your mulch.
If the looks don’t bother you, or if you can drop them in an inconspicuous place in the garden, the stalks can stay there. Eventually, they will become soil, too.
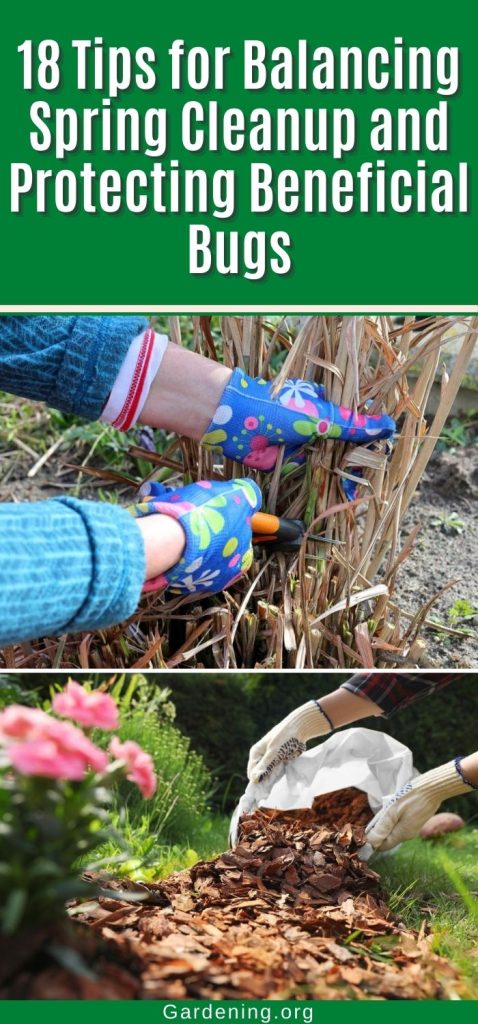
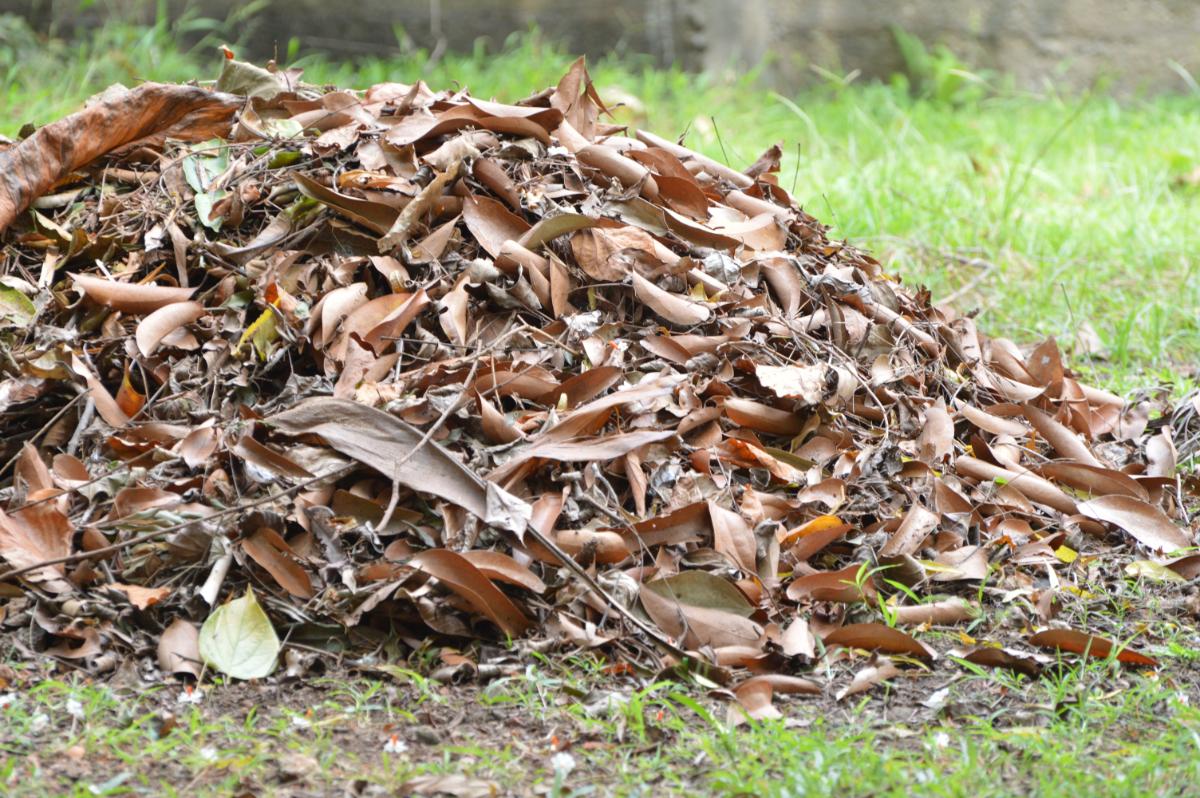
8. Leave leaves alone
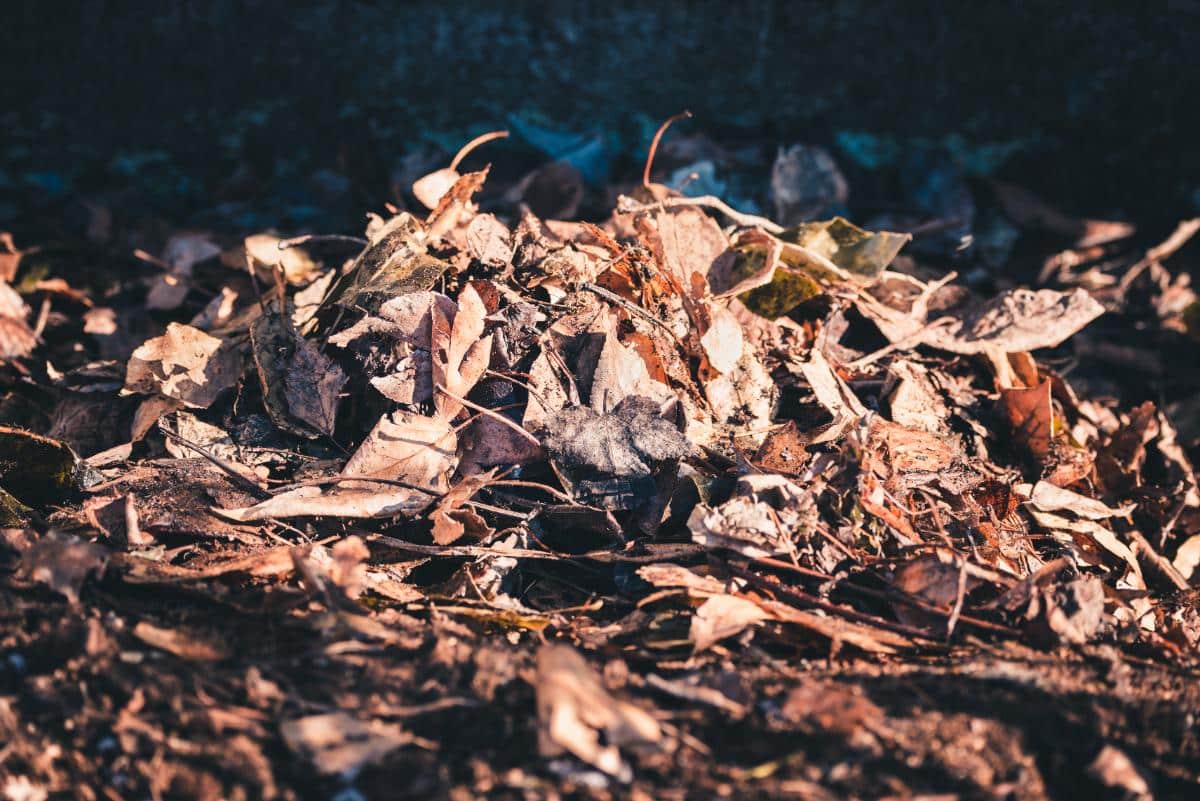
Other than the fact that someone, somewhere, one day decided leaves didn’t look good enough for the garden, there is no reason to get rid of them at all.
Leaves are a natural mulch of their own. It’s why forest floors are as open as they are. Every year they mulch the soil below them.
And the old leaves they cover up? Well, they become leaf mulch, which is a highly beneficial source of nutrition and an excellent “amendment” that improves the tilth of the soil. All while providing erosion protection and being self-regenerating.
So, if you don’t mind looking at them, or they’re really not that noticeable, or if they won’t be noticeable in a few weeks when the plants are larger, why remove them at all?
And then you don’t have to worry about the good bugs that are there (or the work of cleaning up your beds!).
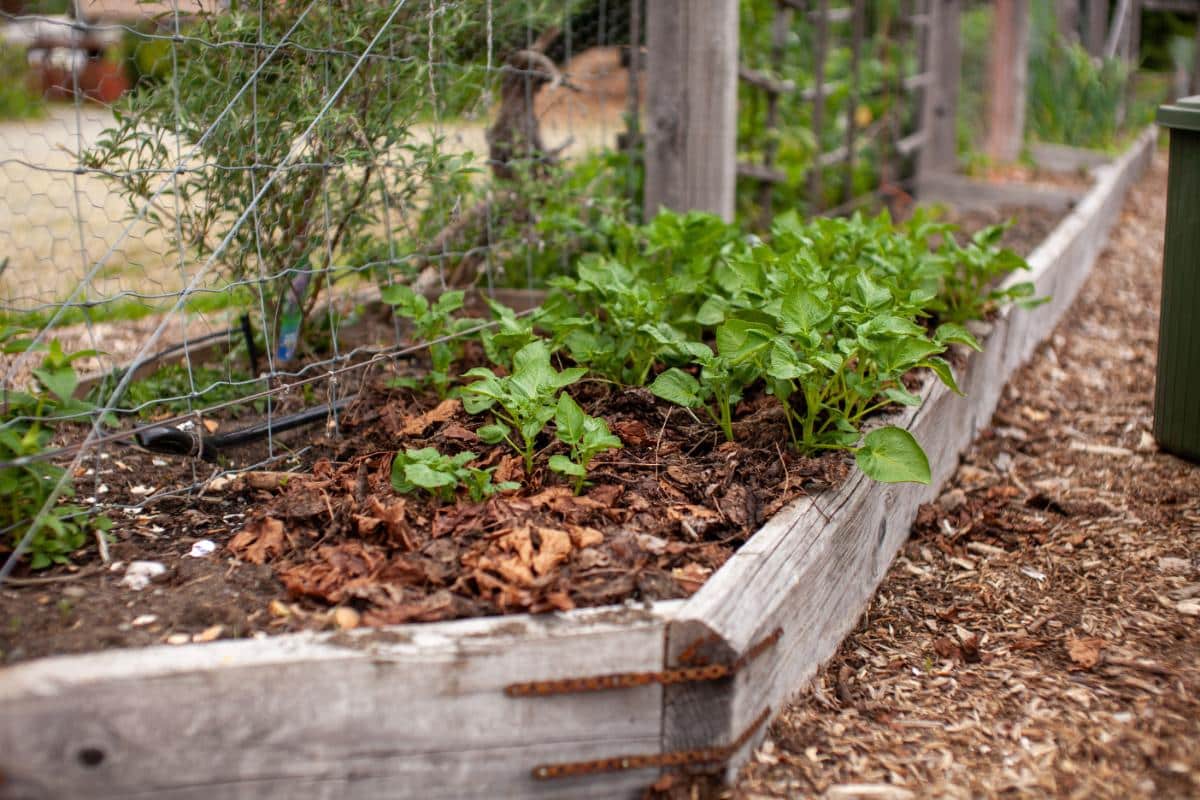
9. Mulch on top of leaf litter and small natural debris
If you don’t like the look of leaves in your beds, that’s okay, too. You can cover them with mulch without disturbing the hidden insects inside.
Or, even better, you can let the leaves be your mulch layer for the time being, and then cover it with a decorative layer after emergence.
10. Keep mulch layers light –for now
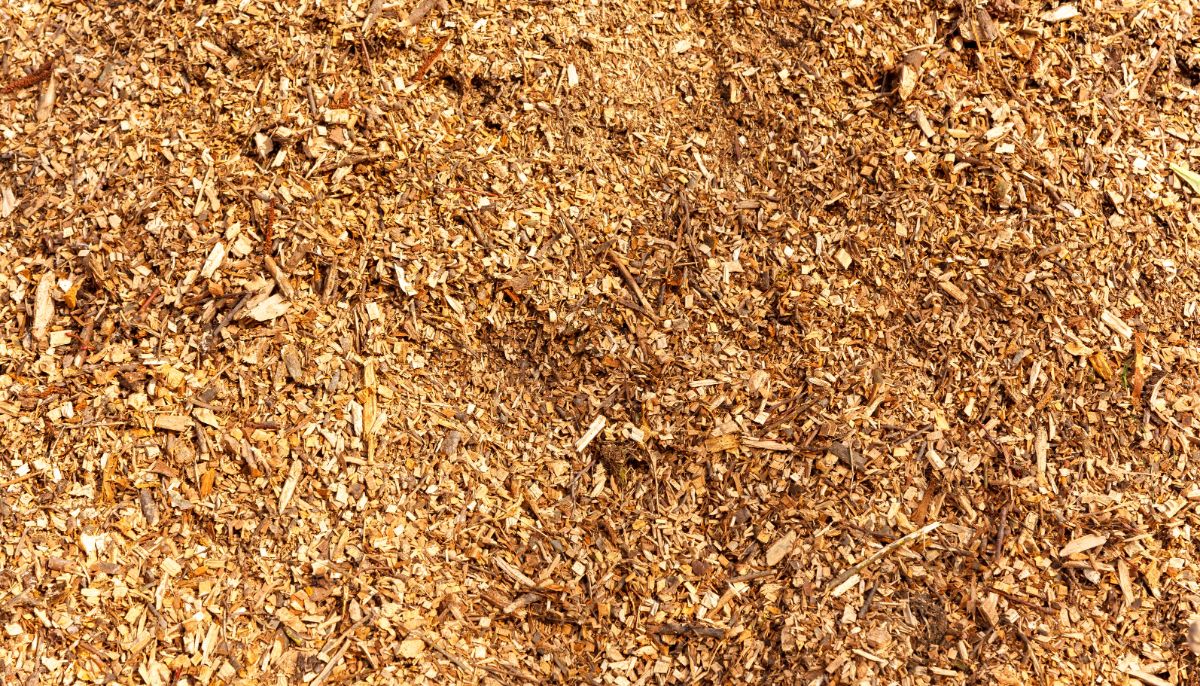
If you do decide to mulch over the existing layers where insects might be overwintering, keep the mulch light for the time being. If you cover the leaf layer too deeply, those insects might not be able to crawl out anyway.
For now, give your garden just a half to one inch of mulch to spruce things up. Come back later to build the mulch up to a solidly weed-suppressing depth of two to three inches.
Three inches is the deepest you want your mulch layer anyway, for the health of your plants, moisture penetration, and soil and root health.
11. Take a targeted approach to mulching
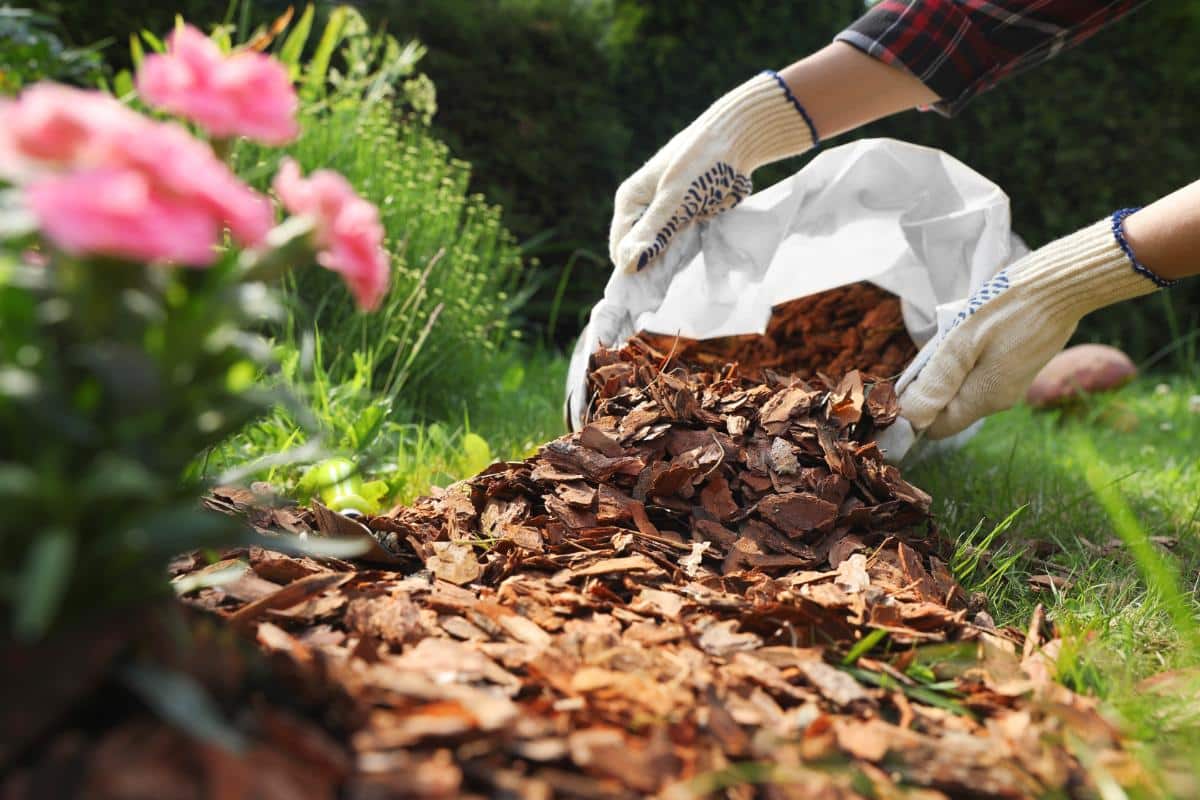
Another option to manage the mulching without having to come back around later is to only mulch the obvious places where it’s really needed.
For example, mulch the open areas to prevent weeds and preserve soil moisture, but don’t mulch close under shrubs and bushes that shade out the weeds anyway. Those shaded areas aren’t prone to high moisture loss, because the sun and winds that cause soil evaporation won’t reach there.
12. Reuse cleaned up, natural mulch

It’s fine if you just need to get a leaf or debris layer out of your beds. We get it. We have to pick, choose, and prioritize.
But just because you move, it doesn’t mean that the insects, eggs, or pupae inside are killed. So, if you can lay that leaf litter and those natural mulches (like pine needles, etc.) out somewhere else, there’s no real harm done.
Some good options would be cleaning out your ornamental gardens and using that leaf litter as mulch around vegetable plants or a bed where you want to build up or replenish the soil (like your vegetable garden or another annual bed, etc.).
Or use it in a hügelkultur or lasagna garden on the top layer. There are many ways to reuse yard debris in gardens and landscapes.
Even if you plan to till the leaf mulch into the soil, those gardens – or at least most of the area in those gardens – won't be planted until after a significant warm up and danger of frost has passed, so the insects you’re protecting will have warmed and been able to move on by then.
13. Just clean the “big stuff”
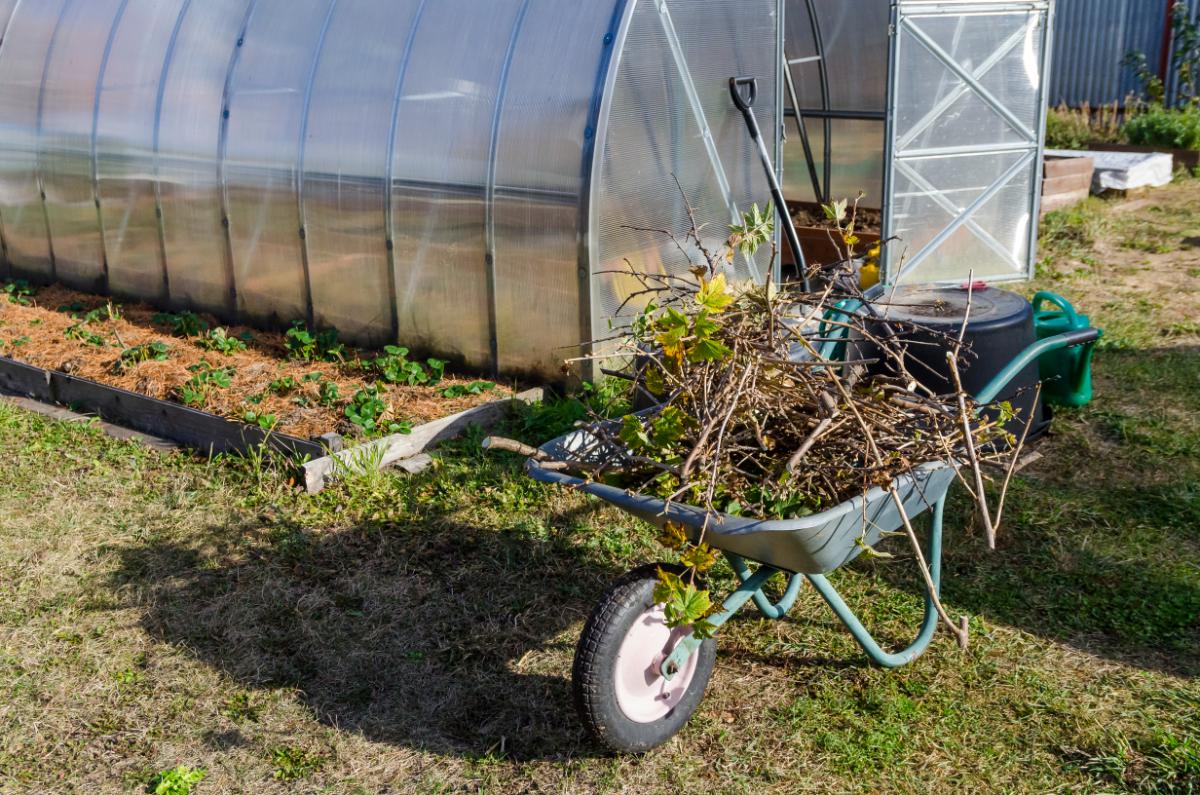
You could just clean up the largest of winter’s yard debris. Broken sticks, stalks, branches, things that were blown about...these larger pieces, especially if they come from somewhere else, probably are not what you’re targeting for pollinator protection anyway.
From there, you can make a decision about if and when the rest of the bed needs cleaning or mulching.
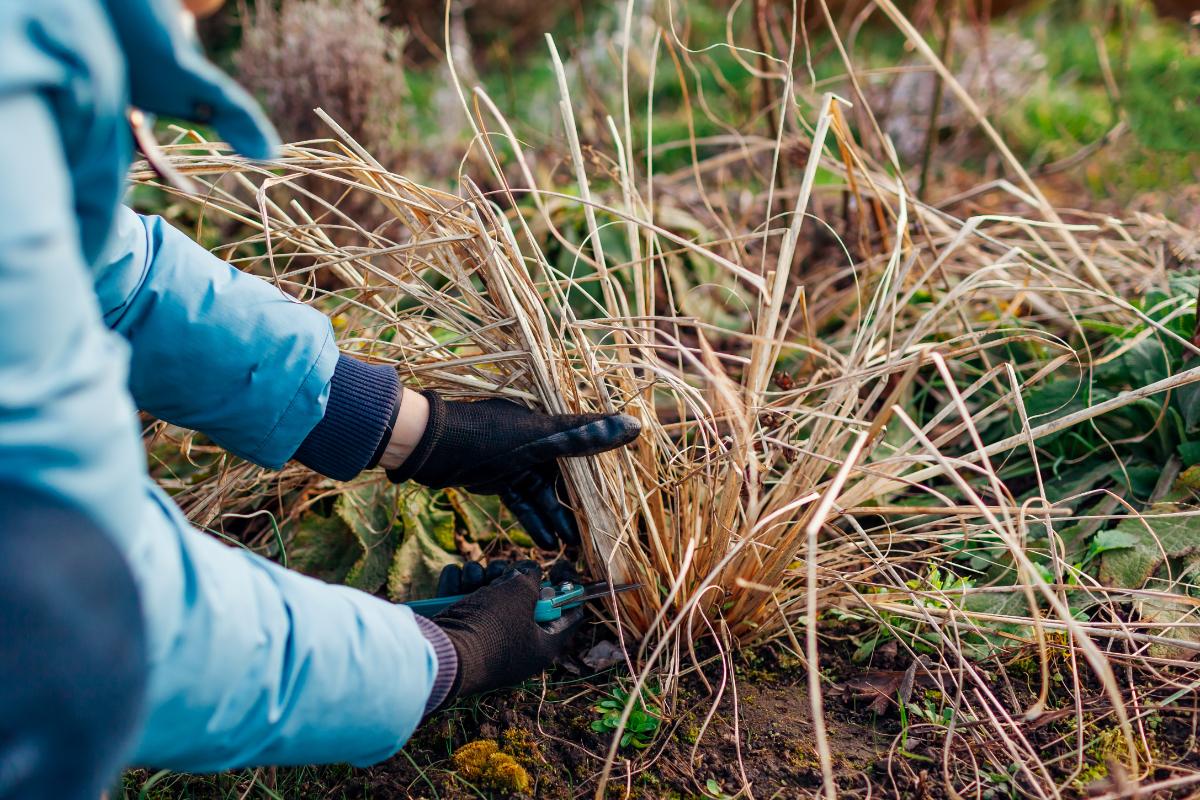
14. Look for nests and chrysalises when pruning (and come back another day)
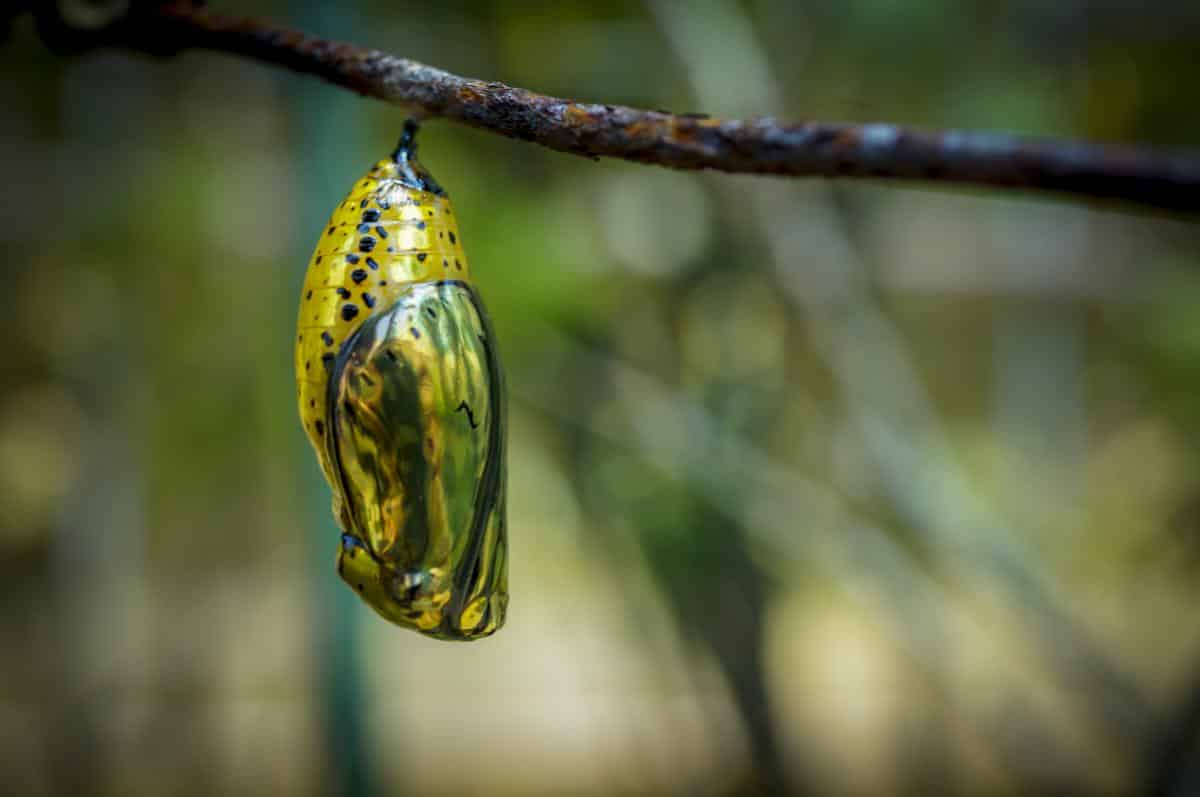
While you’re cleaning and pruning (which usually needs to be done while plants, shrubs, and trees are dormant or early in their spring growth cycle – so before 50+ degree days), just keep an eye out for new or occupied birds’ nests, hanging chrysalises, or egg casings of beneficial insects.
If you see them, prune around them and leave that stem or branch intact. You can always come back and cut out a branch or two later, after emergence.
Here, it's helpful to start identifying some of the more common beneficial insect casings and eggs in your area – and the bad ones, too. This is a great time to get rid of invasive and destructive pests before they become a problem!
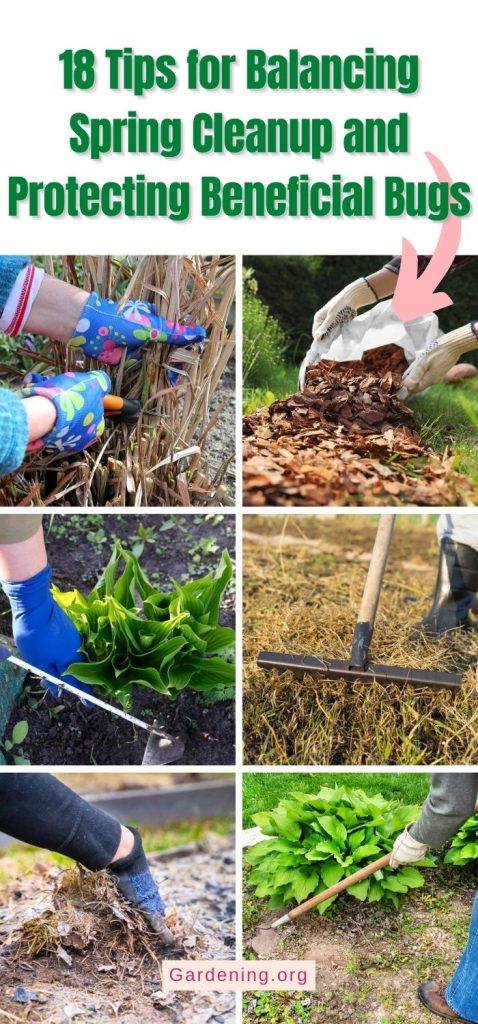
15. Relocate trimmed stalks and leaf litter to sit until after the warm-up
The reasoning here is similar to the idea of leaf litter relocation discussed above. Moving doesn’t mean killing, for the most part.
Go ahead and cut out those old, dead stalks and stems. Just don’t burn or destroy them (ideally, not even chipping or chopping just yet).
Find an out-of-the-way place in your yard, and stack the branches, stems, and debris until the days get warmer.
Loosely stack the stems and stalks. Dense piles start to decompose and heat up, like what happens in a compost pile. High heat will kill the insects.
So for now, keep loose piles. Spread the piles out in a general area, then rake or pull them together after insects emerge. Or, at that time, you can add them to a compost pile or burn them to make valuable ash to use as a garden or lawn amendment.
16. Use low-impact tools to delay cleanup
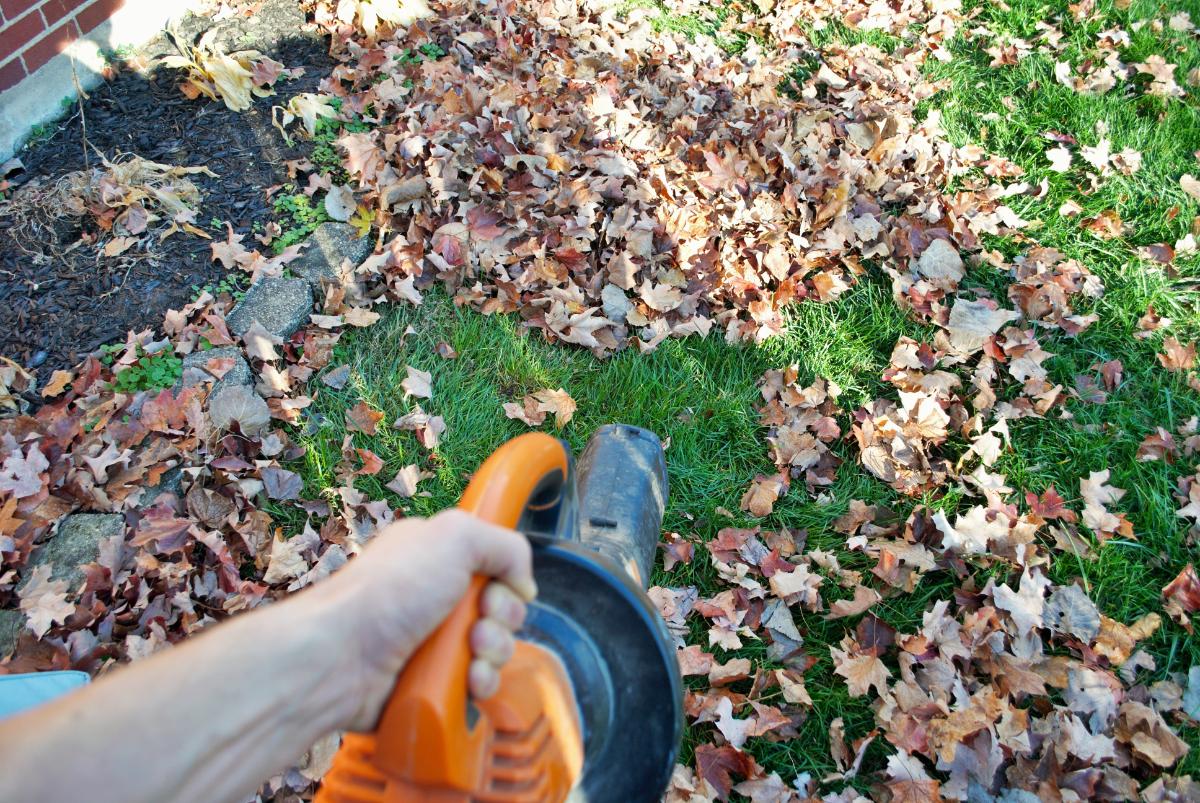
One of the difficulties with delaying spring cleanup is that it’s hard to rake and clean garden beds once plants start growing. You don’t want to rip, damage, and scar your beautiful plants.
There are garden tools that can do the job without injuring new growth. Work by hand where you need to, and use contactless tools, like a leaf blower, for the rest.
17. Set aside a more naturalized, unmanaged perennial space
Sometimes, life is all about compromise. You want to do your part to protect pollinators, but you need to get a job done, too. You may be out of choices.
Consider setting aside a part of the yard or garden that can grow more naturally or be managed with minimal disturbance. You may not be able to save all the insects that made your yard their winter home, but at least you can support a good portion of them.
This might also be the place that you relocate leaf-dwelling insects and stems and stalks to, as discussed above.
18. Think ahead, make tighter plantings, and use ground covers
As you clean, organize, design, and plant, think ahead to the future protection of pollinators, too. Set up your gardens so that cleaning isn’t much of an issue. If you have beds that don’t need mulching, for example, they won’t need much cleaning in the spring anyway.
In beds such as these, you’ll be able to let leaf litter break down into the soil and just remove the largest debris. Or sweep the litter around and under plants. New regrowth will take care of the rest.
Some ways to accomplish this are to close up the space between plants. Plant perennials closer together so you don’t have much visible ground showing in between. Use ground covering plants to close up space and block weeds.
You may just find that you like this low-maintenance, time and money-saving, mulch-saving option better.
A Couple of Exceptions Worth Considering
To add a couple more considerations to your personalized plan for balanced, pollinator-minded spring cleaning, here are a couple more points.
Bare ground is necessary for some good insects, like ground bees. So, if you feel you can’t wait to clean a certain space, this could be a good place to compromise and not feel too bad about it.
Bare soil does two things – it lets dormant ground-dwelling insects emerge, and it lets beneficial ground insects find bare ground to build their spring and summer homes in. It’s important, too.
Bad bugs, rodents, and other damaging pests are protected by delayed cleaning, too, so if you feel that a bad bug is a bigger problem or the majority resident, clean that space up and make room for the good guys. After all, if harmful pests destroy your gardens, there’s not going to be any future habitat for pollinators, either.
At the end of the day, it’s all about balance, and sometimes that means compromise, or doing the least harm if we’re not able to do no harm. These management and prioritization tips can help you find that balance and harmony in your garden spaces.

Leave a Reply