Have you ever enjoyed a tangy dill pickle from the deli or taken a bite of tart sauerkraut or spicy kimchi? Well, then, you’ve experienced the fruits of one of my favorite food preservation techniques: lacto-fermentation. And luckily, lacto-fermentation can be used to preserve many different homegrown veggies!
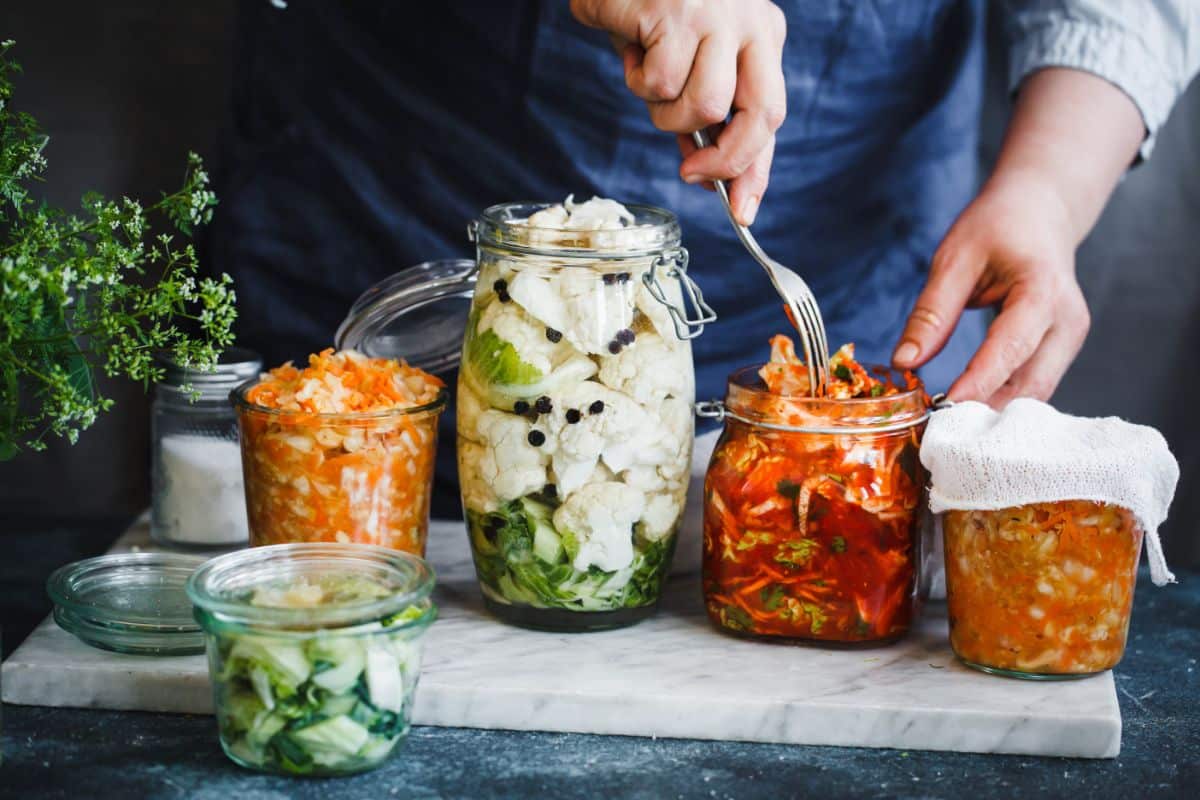
Unlike canning, lacto-fermentation doesn’t require any specific equipment, although investing in a few fermentation items can make it much easier to make pickles, sauerkraut, and more. Lacto-fermentation is also incredibly easy to master, and it’s a great place to start if you have a lot of produce on hand but you don’t want to tackle canning just yet. And, of course, when you lacto-ferment veggies, you create a gut-healthy product that’s rich in probiotics and easy to digest.
Even if you’ve never canned or pickled anything before, you can master lacto-fermentation in no time at all. To help you out, we’ve compiled this beginner-friendly guide that’s chocked full of lacto-fermenting tips and tricks!
Jump to:
- What is lacto-fermentation?
- Why should you lacto-ferment your harvest?
- How exactly do you lacto-ferment produce?
- What crops can you preserve with lacto-fermentation?
- What supplies do you need?
- How long do lacto-fermented preserves last?
- Can you can lacto-fermented foods?
- How do you know if your ferment is good or bad?
- Frequently asked questions
- Summary
What is lacto-fermentation?
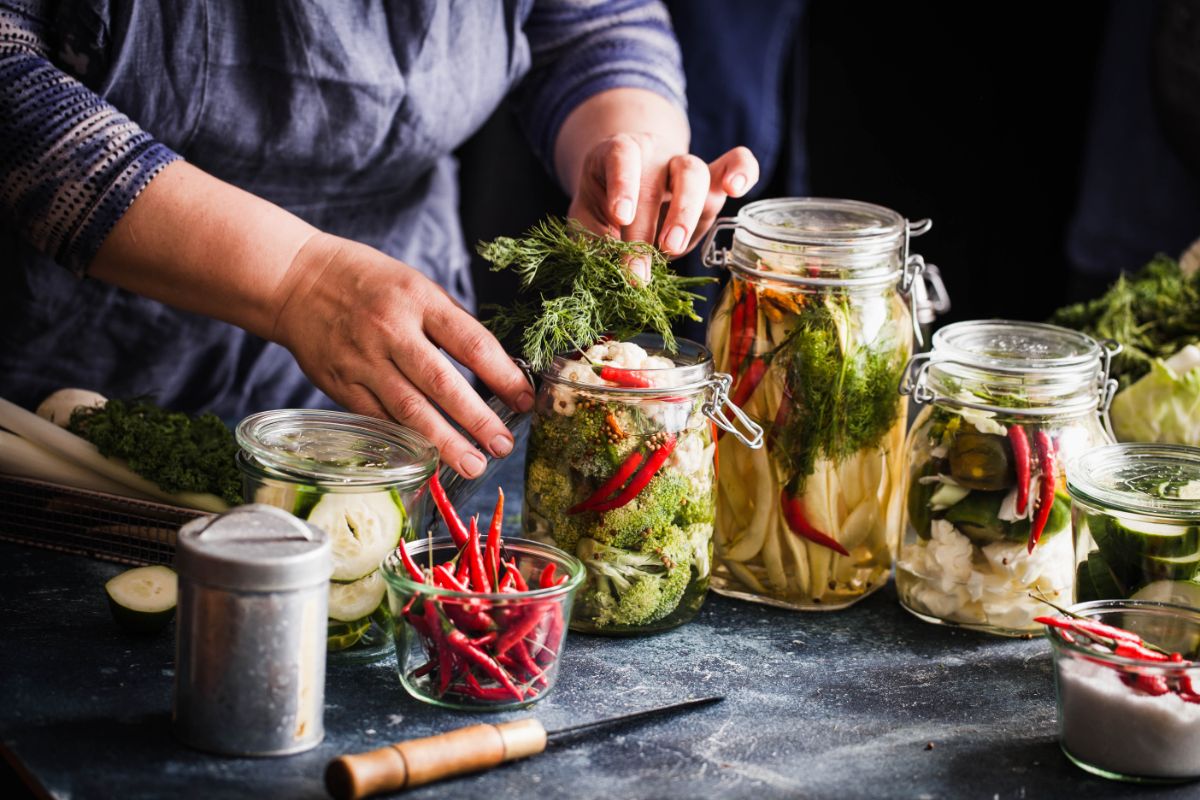
Lacto-fermentation is not the same as canning and pickling, although lacto-fermented goods can be called pickles, and they are occasionally processed with canning. Think of it this way: lacto-fermentation and pickling with vinegar can both give vegetables a delightful, tangy flavor, while canning can be used to extend the shelf life of both pickled and non-pickled produce. If you’d like to learn more about canning, we have a full guide on pressure and water bath canning methods here.
While lacto-fermentation has been gaining popularity among foodies and gardeners recently, this traditional food preservation method has been around for centuries. Utilizing the beneficial bacteria that already exist in nature (Lactobacillus), lacto-fermentation creates a cultured product that is full of gut-healthy bacteria and has a longer shelf life than fresh produce.
Every batch of lacto-fermented foods begins with a salted brine or salt water. This is an essential part of lacto fermentation as most harmful bacteria are sensitive to salt, while beneficial lactobacillus bacteria can tolerate saltier environments. When vegetables are placed in a salty brine, the harmful bacteria are killed off, leaving the lactobacillus bacteria free to start fermenting!
As the fermentation process begins, the lactobacillus bacteria start to convert the sugars and starches in vegetables into lactic acid. This helps to preserve the texture, flavor, and nutrient content of fermented foods, and it keeps harmful bacteria from growing. Foods can be fermented for different lengths of time depending on your tastes, but the end result is a flavorful fermented food that’s full of gut-healthy bacteria!
Why should you lacto-ferment your harvest?
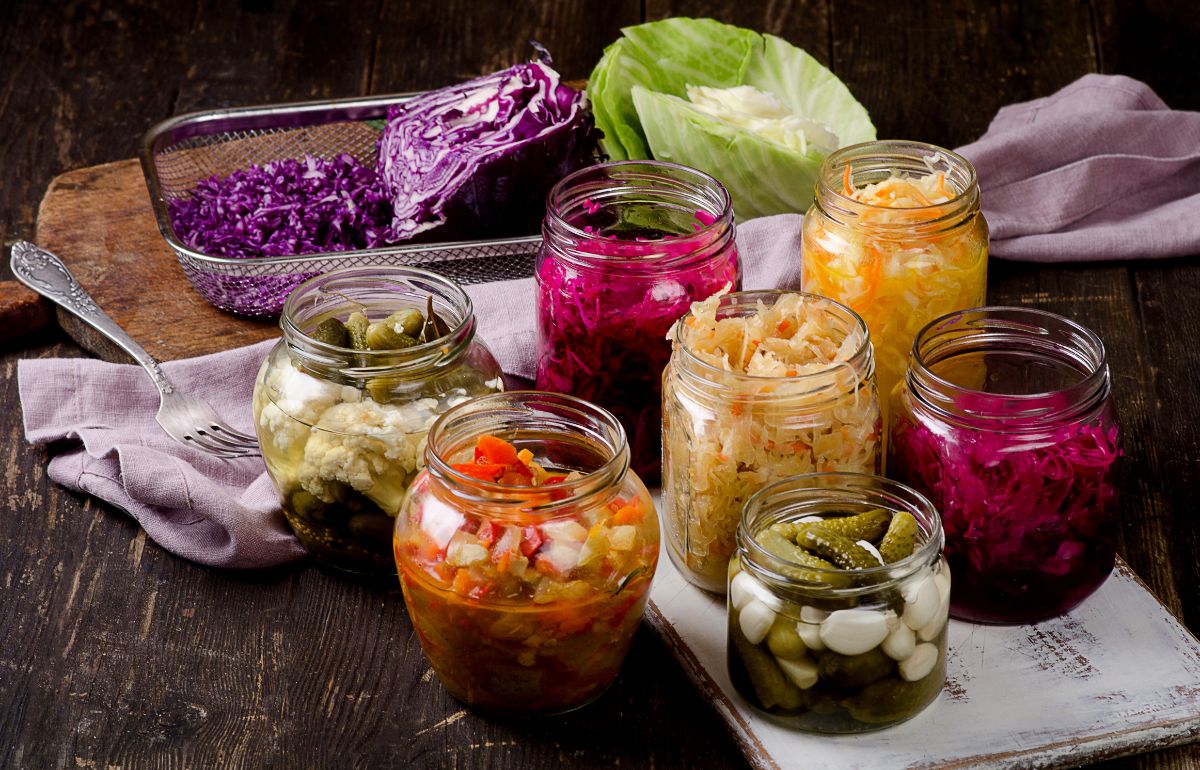
If you’ve had a successful growing season, you’ll often end up with more vegetables than you can use fresh. Homegrown foods can be frozen or canned, but another option is lacto-fermentation. This process creates a flavorful product, and it also prevents garden waste.
Unlike canning, lacto-fermentation doesn’t use heat, so the resulting canned good contains probiotics that can boost gut health. Beyond that, lacto-fermentation is easy to master, and it doesn’t require any special equipment. Finally, lacto-fermentation is a bit more forgiving than some other food preservation techniques, and you can switch up spices or herbs to create a ferment that’s perfectly personalized to your unique tastes!
How exactly do you lacto-ferment produce?
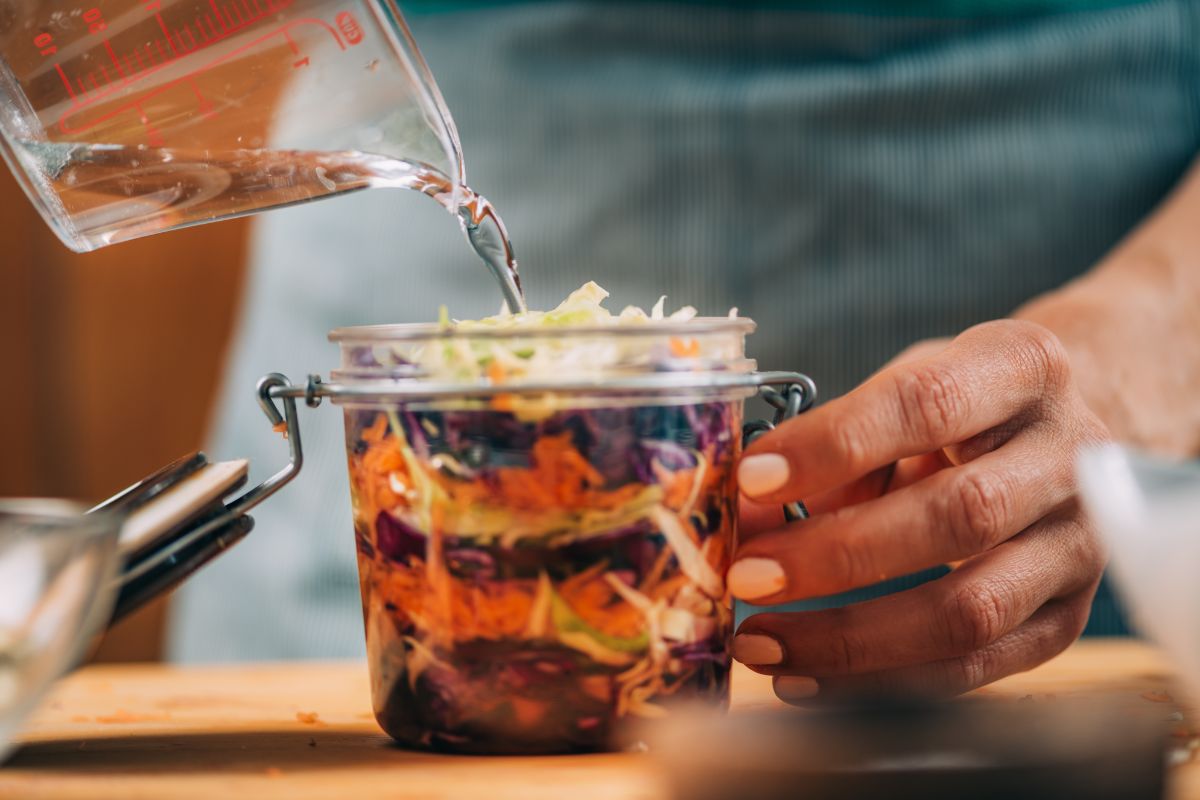
Any batch of lacto-fermented fruits and veggies begins with a sterilized fermentation container and a salty brine. Most lacto-ferments use a 3 to 5% salt brine, which is helpful to know as the percentage will allow you to scale up your brine if you need to make a large batch of fermented goodies!
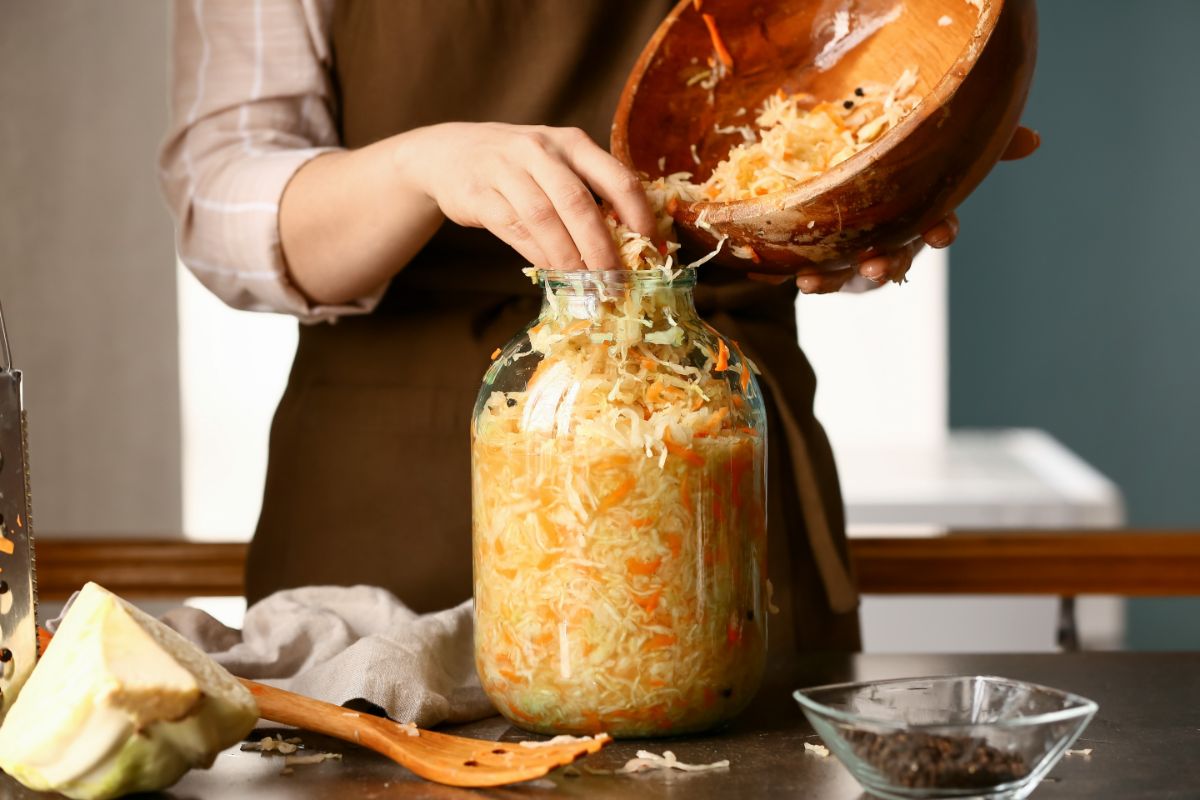
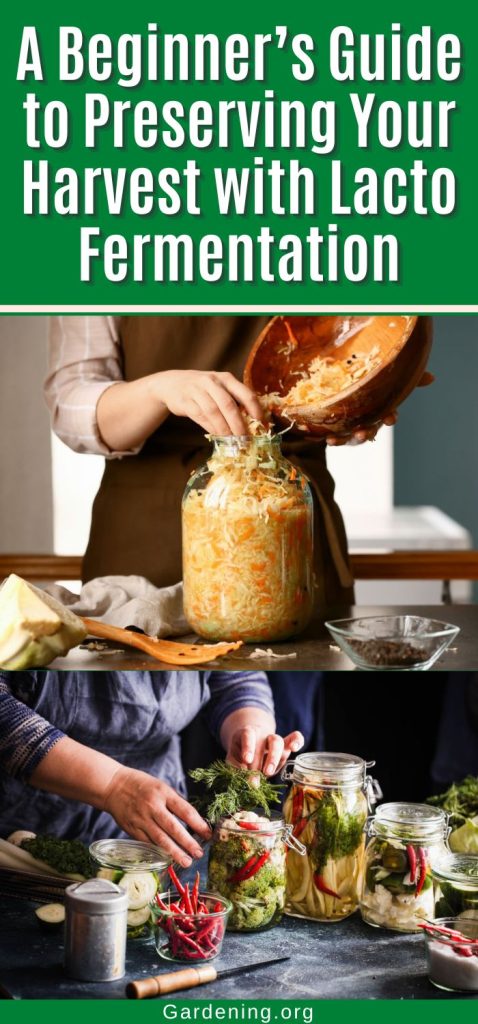
After making the brine, vegetables are washed thoroughly and then placed either whole, sliced, diced, or mashed into the fermentation crock or jar, along with spices and herbs. Dill, for instance, is usually added to fermented dill pickle recipes, while spice lovers may want to stir in some hot peppers or chili flakes. Other common add-ins to lacto-fermented recipes include mustard seeds, caraway seeds, peppercorns, cumin seeds, and juniper berries.
Once the ingredients are all in the jar, fermentation weights or a similarly heavy item is placed on top of the veggies or fruit to weigh them down below the surface of the brine. While the fermentation process is ongoing, produce should be completely submerged at all times to prevent mold. If the brine evaporates, you’ll need to add more brine into the jar to make sure your food is not exposed to the air.
After the brine is added, a lid (sometimes with an airlock) is affixed to the fermentation crock or jar, and the entire setup is stored at room temperature and out of direct sunlight. In the absence of an airlock, never completely screw jar lids on when lacto-fermenting, as this can cause gases in the jar to build up, and the jar may explode! To avoid this, some food preservers only cover their fermentation jars with cheesecloth or a clean kitchen towel affixed with a rubber band.
When the lid is in place, it’s time to start fermenting; however, fermentation times will vary depending on the foods you’re preserving and how tangy you like your ferments. Longer fermentation times will create a more sour batch of pickles and preserves, but the texture of foods will become softer with a longer ferment. Fermentation can take anywhere from a few days to a few weeks, but tasting your food from time to time will help you decide when it’s the perfect texture and flavor for your liking.
Once a batch of lacto-fermented foods is done, it should be stored in the fridge to halt the fermentation process.
What crops can you preserve with lacto-fermentation?
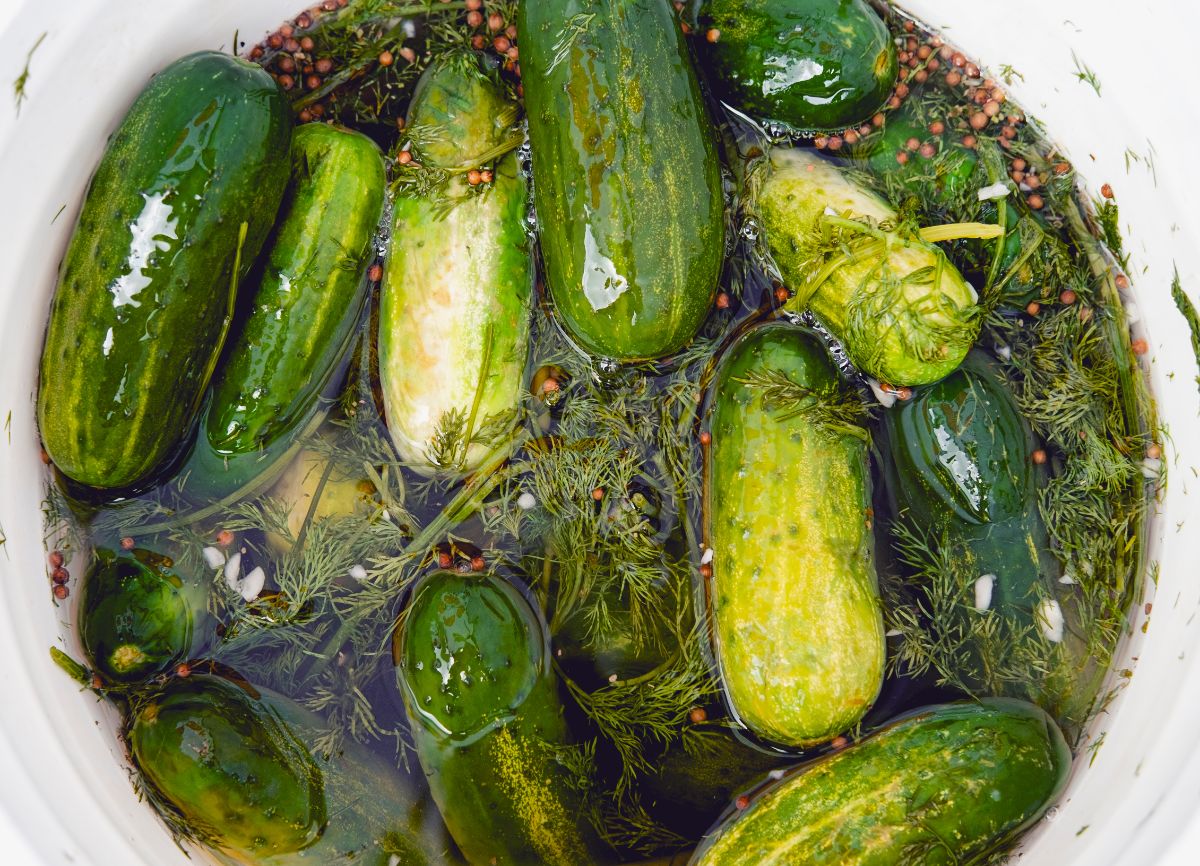
The most classic vegetables to preserve with lacto-fermentation are, of course, cucumbers! Classic deli pickles are usually lacto-fermented and preserved with dill for that special balance of crunch and zingy flavor. Cabbage is also a top choice for fermentation, and lacto-fermentation is the only way to make a true sauerkraut or kimchi.
Many other vegetables can be preserved with lacto-fermentation, including:
- Tomatoes
- Carrots
- Green beans
- Beets
- Onions
- Garlic
- Radishes
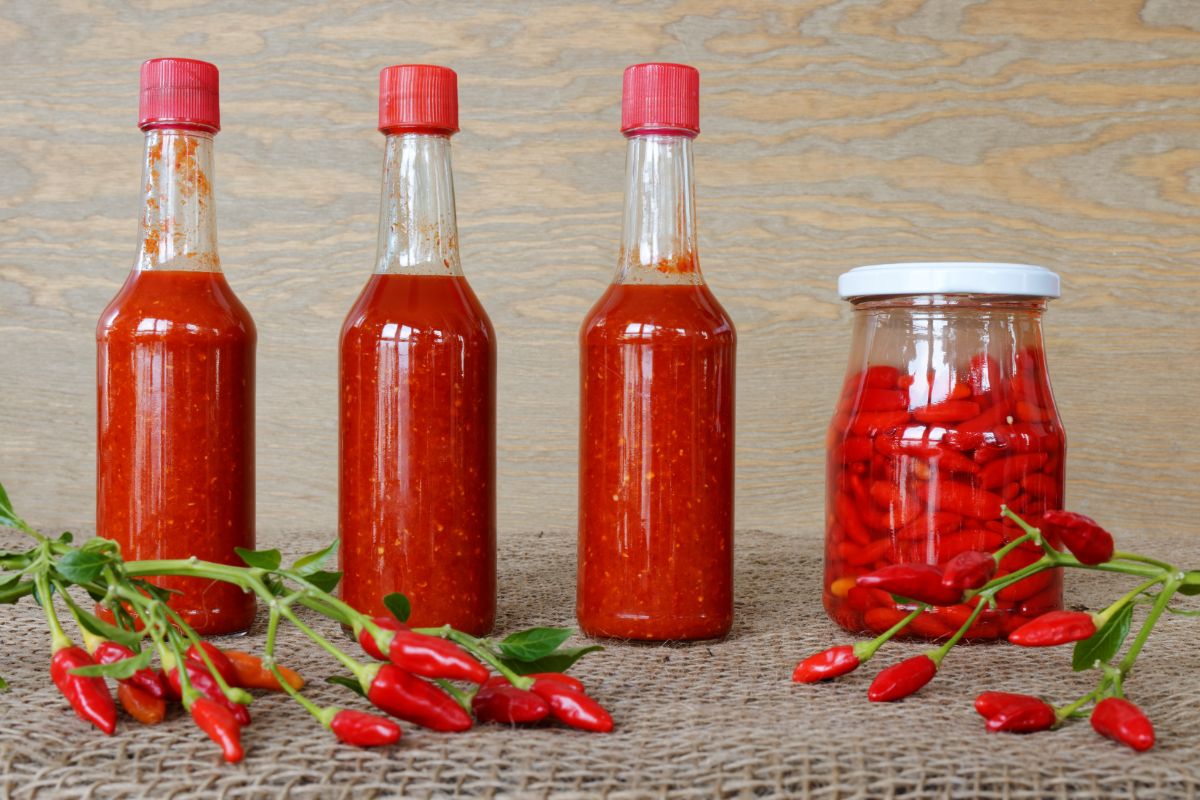
- Peppers (Both mild and fiery hot peppers are particularly good for fermentation since you can then turn them into homemade hot sauces!)
Most fruits can also be lacto-fermented, including berries, apples, and stone fruit. Traditional Japanese umeboshi plums are made with this process as well, and they are an exceptional addition to sushi and noodle and rice dishes.
If you want to discover even more foods that can be fermented, see our guide on the best vegetables to grow for lacto-fermentation.
What supplies do you need?
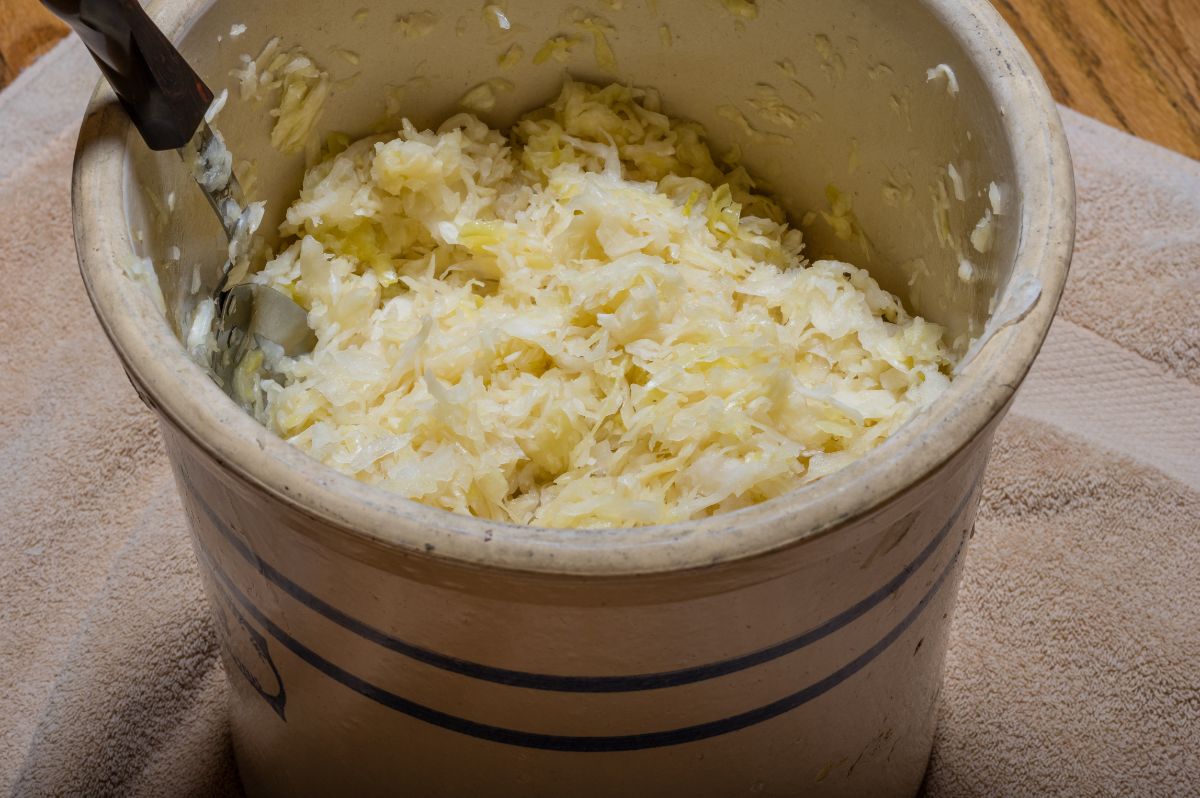
Unlike with canning, you don’t need any special supplies to start lacto-fermenting beyond your produce, salt, water, and a container. However, you can make your fermentation process go much more smoothly if you upgrade your container to a fermentation crock and include fermentation weights.
Salt.
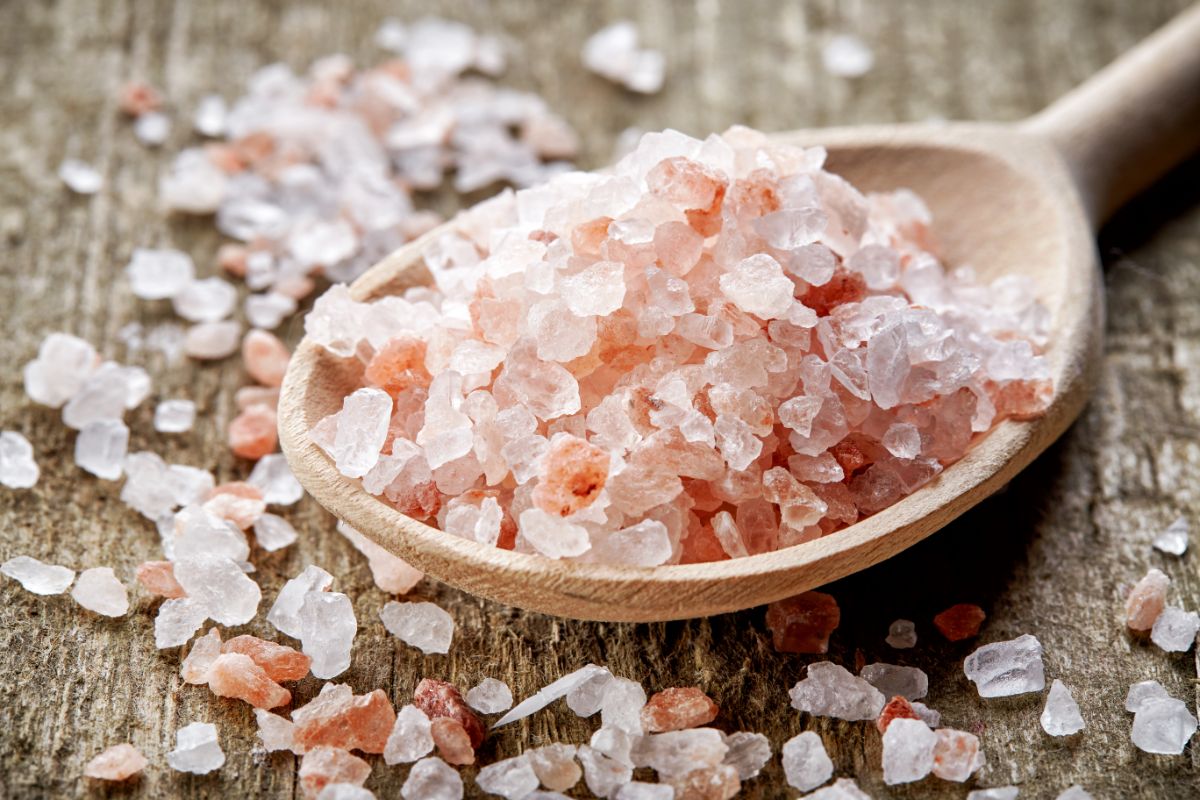
Believe it or not, not all salts are created equal, and some salts aren’t great for fermentation. Table salt, for instance, often contains iodine, which can inhibit the growth of beneficial bacteria and spoil a batch of fermented veggies. Kosher salt, on the other hand, often contains anti-caking agents that can leave an unpleasant aftertaste in your ferment.
While you will want to avoid table salt and kosher salt in your fermentation recipes, Himalayan salt and sea salt are ideal for lacto-fermentation. Both fine and coarse-grained salts are suitable for use in fermentation recipes.
Water.
Water may seem like a straightforward ingredient, but when it comes to home fermenting, you’ll want to stay away from using tap water. Tap water often contains chlorine that can interfere with the fermentation process, while bottled water is a safer option. Alternatively, you can boil and cool tap water or allow it to sit out for 24 hours before use to remove the chlorine.
Fermentation containers.
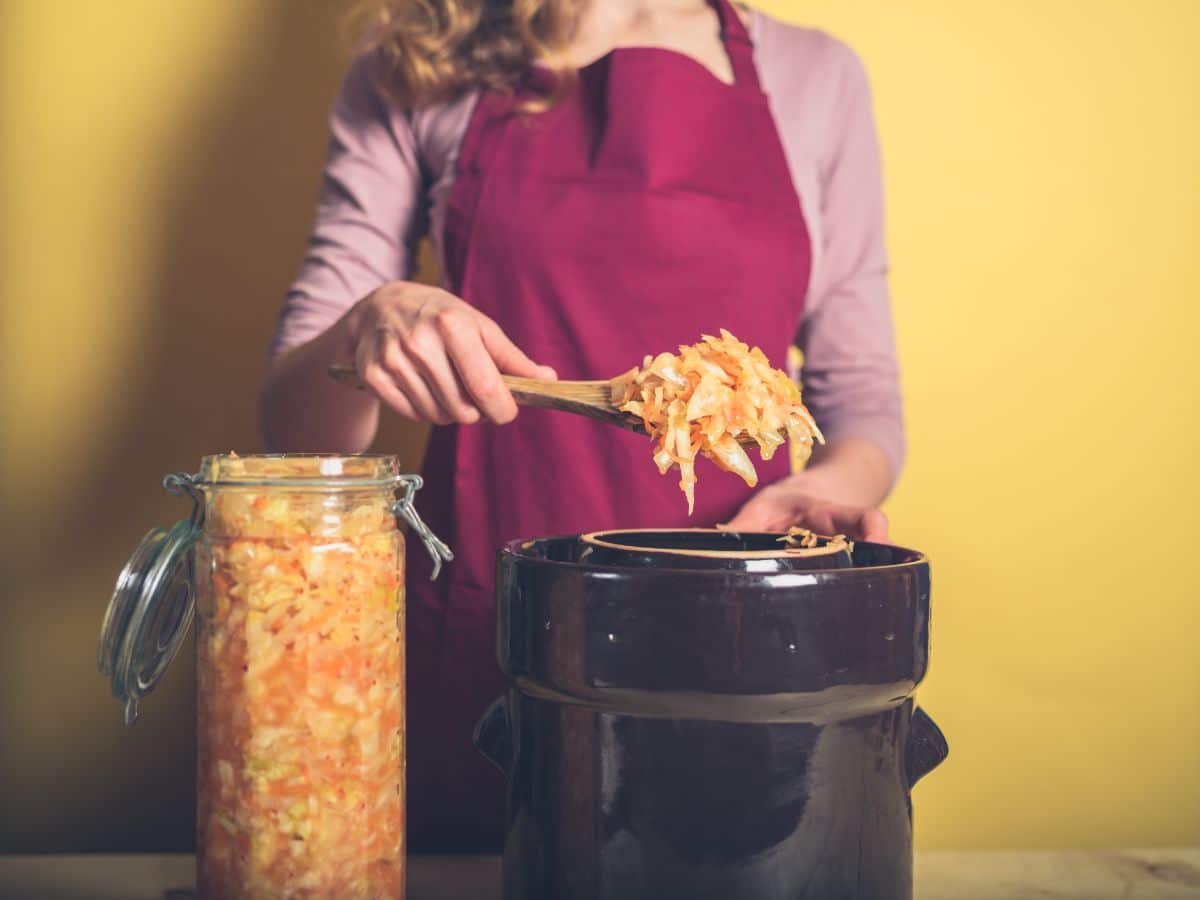
You can use a variety of different containers to ferment in, including glass containers and food-grade ceramic and stainless steel containers. However, it’s best to avoid other metal or plastic containers as these containers may react badly during the fermenting process.
If you just want to make a small batch of lacto-fermented foods, you can use a simple glass Mason jar to ferment in. For larger batches, oversized half-gallon Mason jars are very convenient, and they’re affordable too.
Dedicated fermentation crocks are even more handy to use as they often contain airlocks. Airlocks prevent air from entering into your fermentation containers, which is a good thing, as too much air can spoil a ferment. Beyond that, airlocks allow gasses to escape the fermentation crock, which is important because a buildup in gasses can potentially cause fermentation jars to explode!
If you like the idea of working with a fermentation crock, you can purchase premade kits that come with the fermentation jar, airlocks, and weights, such as this kit by the Nourished Essentials Store or this kit by JILLMO. Another option is to go the old-fashioned route and invest in a classic glass fermentation jar or stoneware fermentation crock. All of these setups will help you create a high-quality ferment, so what container you choose to ferment in really comes down to personal tastes.
Fermentation weights.
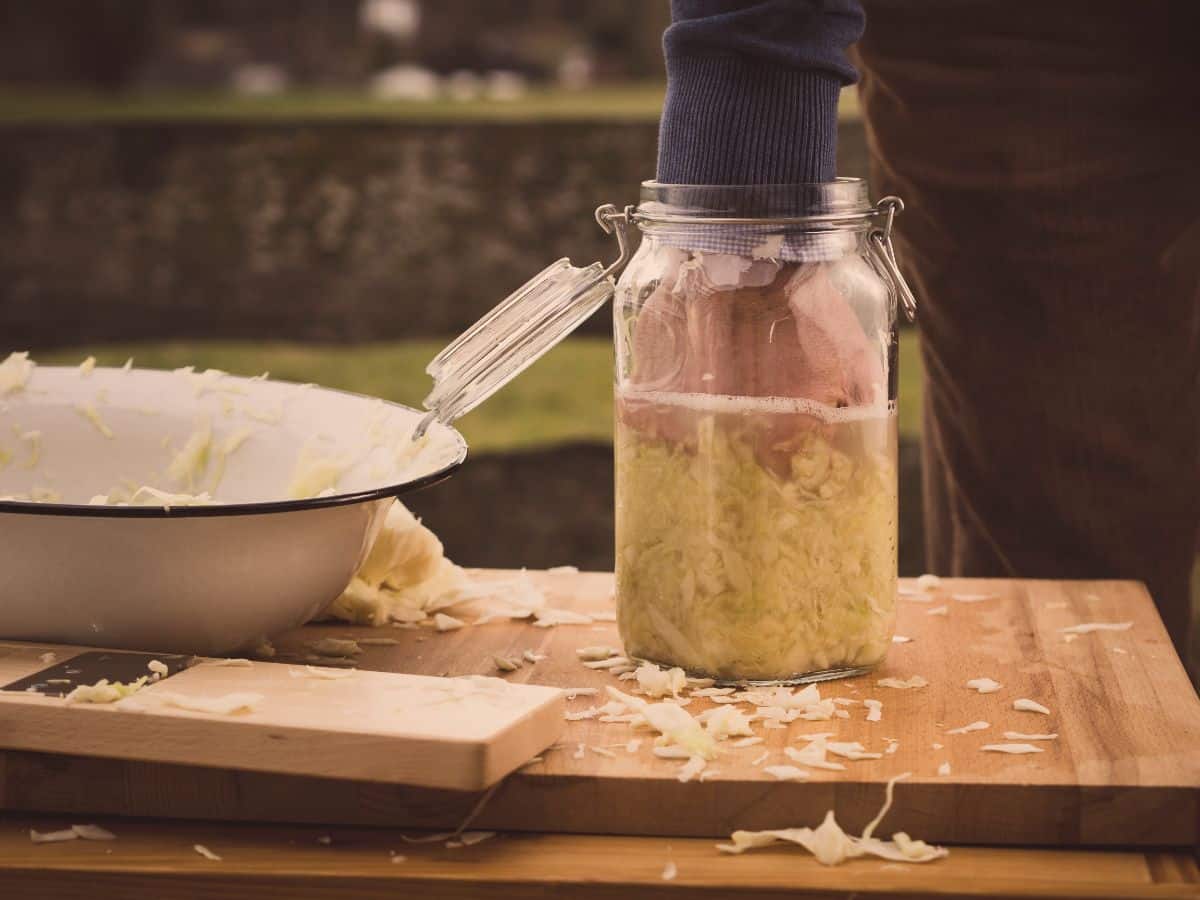
While vegetables are fermenting, they need to be completely submerged beneath the brine at all times so they don’t begin to mold. Fermentation weights help weigh veggies down and keeps them well below the brine.
Although fermentation weights are helpful, you don’t necessarily need to go out and buy them. Many other heavy, food-safe items can be used to weigh down your ferment, including cleaned stones, plates, and smaller Mason jars filled with water.
However, if you decide to invest in a set of fermentation weights, glass, and ceramic weights are easy to find, and they are perfectly sized to slip into Mason jars. Plus, they can be reused for many canning seasons to come!
Pounder.
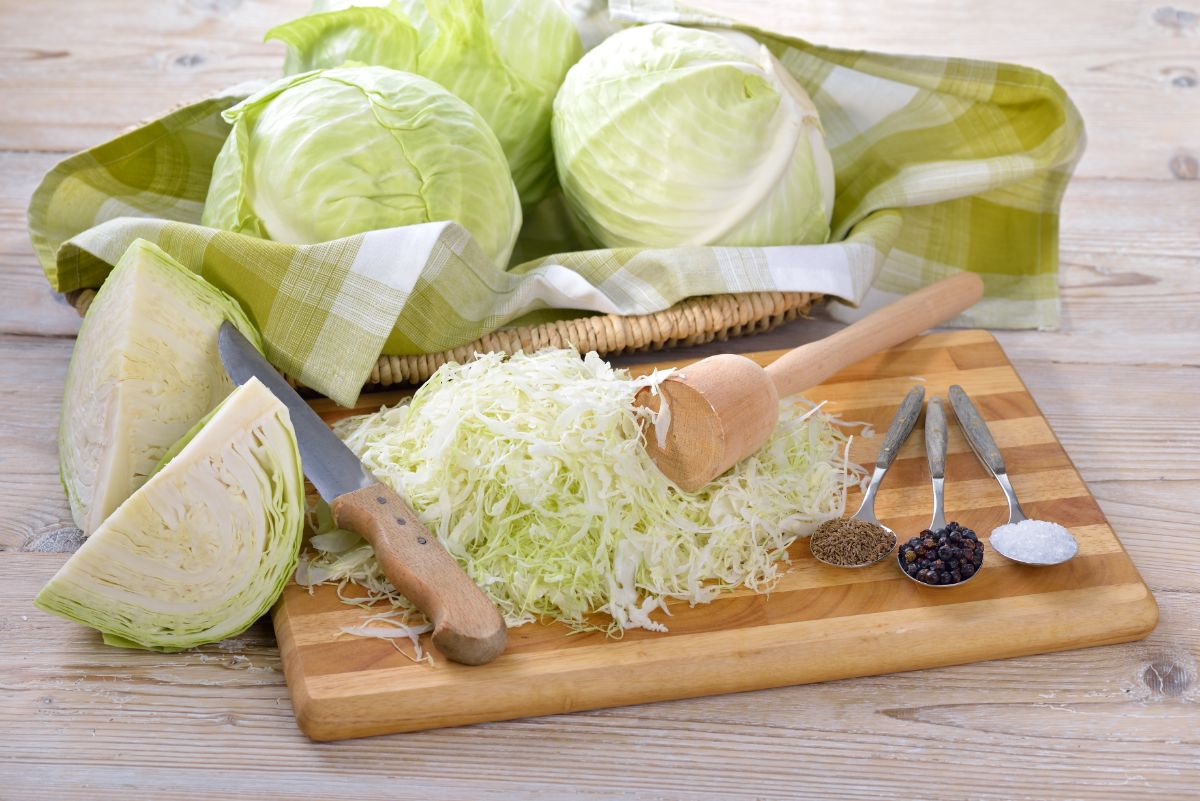
You don’t need a pounder for all types of ferments, but it is a very useful item to have for some sauerkraut recipes. Pounders are usually made of either wood or stainless steel, and they’re used to mash and bash sauerkraut to release water in the cabbage leaves and soften the texture for fermenting. If you don’t want to buy a pounder just for lacto-fermentation, you can pound sauerkraut with the side of a rolling pin or another heavy, food-safe item!
How long do lacto-fermented preserves last?

Once you’ve made your very own batch of fermented pickles or sauerkraut, it may not last long in your fridge because it’s just so tasty, and you’ll want to gobble it right up! However, lacto-fermented preserves have a much longer shelf life than fresh produce, so you don’t need to worry about eating them right away if you made a big batch of fermented food.
Pickles, sauerkraut, and other homemade ferments generally last in the fridge for about 4 to 6 months. However, keep in mind that lacto-fermented foods will continue to ferment, albeit slowly, in the refrigerator. Over time, foods can become a bit softer and tangier due to the ongoing fermentation process.
Can you can lacto-fermented foods?
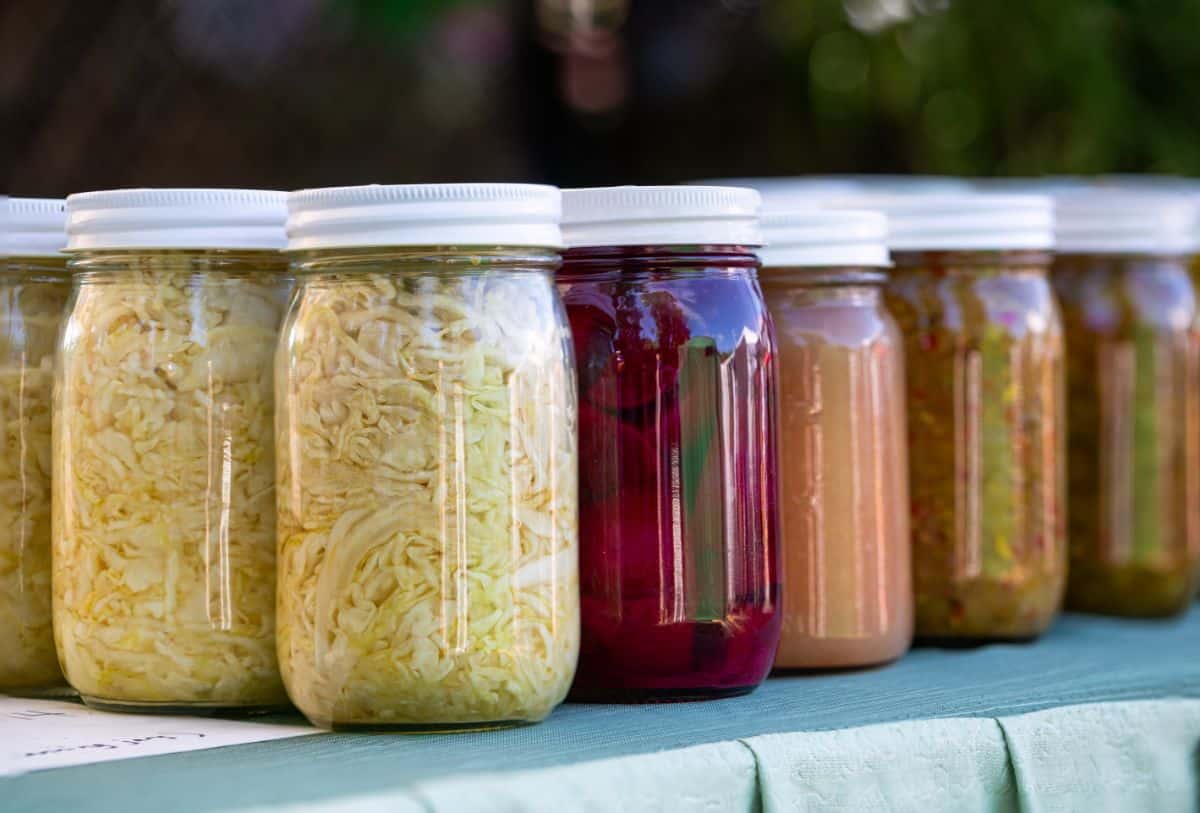
Yes, lacto-fermented foods can be canned, but you may not want to.
Canning processes use heat, which will kill off the beneficial microbes in your lacto-fermented fruits and vegetables. While the foods will taste about the same, they won’t contain any live probiotics, and they won’t offer the same health benefits. Most grocery store fermented foods are canned with heat as well, with the exception being pickles or sauerkraut that are kept in the refrigerated section of grocery stores.
Although canning fermented foods will kill off the beneficial bacteria they contain, canning may be in order if you made a very large batch of ferments and you can’t feasibly use it before it gets too old. In that case, you may want to can your fermented foods with water bath canning, which will then allow you to store your ferment in jars at room temperature for a year or more. Pressure canning is not recommended for fermented foods as it usually results in overcooked produce that has an unpleasant and overly mushy texture.
How do you know if your ferment is good or bad?
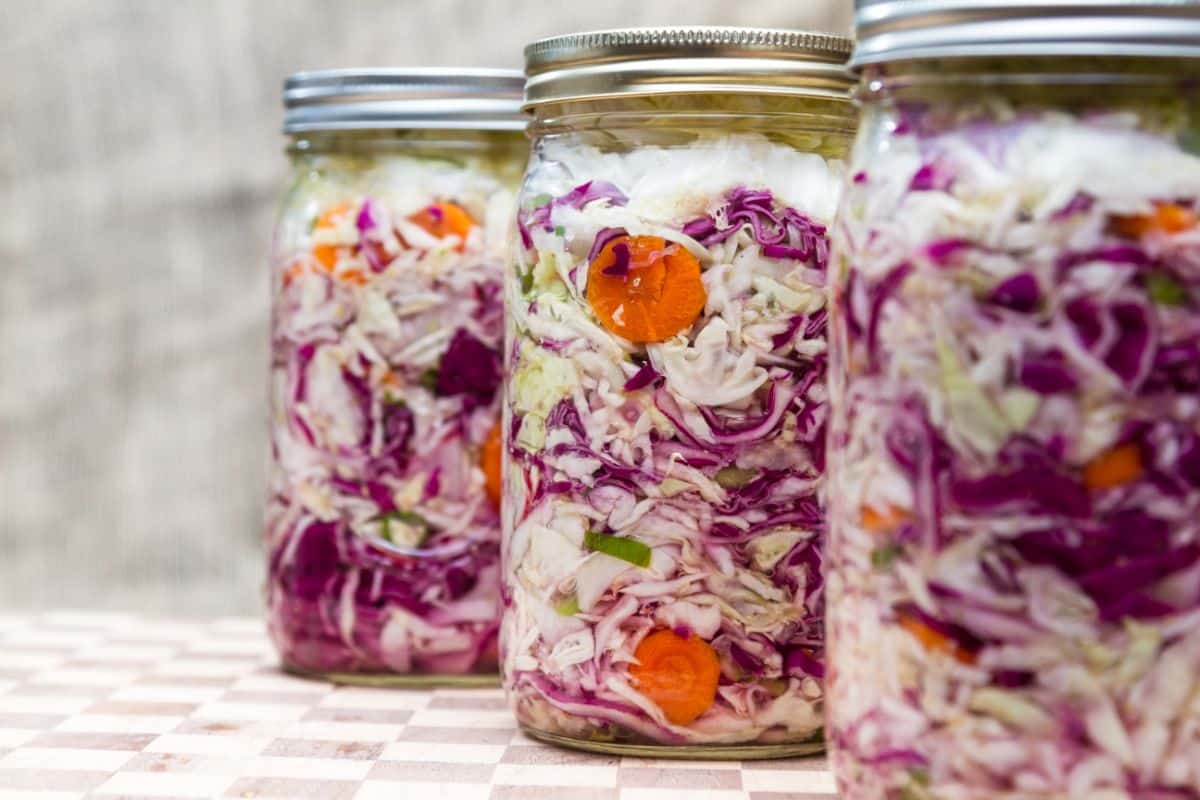
Most of the time, the sour flavor can be an indicator that food has spoiled; however, when it comes to fermented foods, a tangy taste is actually a good thing! So how do you know if your fermented food is safe to eat?
Fermented foods can feel a bit intimidating to new food preservers, but if your ferment tastes good, smells good, and looks good, those are all good signs! Some of the key indicators that your ferment was successful include:
- A pleasant, sour flavor. If you’ve ever savored sourdough or crunched into a deli pickle, you know what quality fermented food tastes like. Properly fermented foods should have a bit of a zing, but they should not be overpoweringly sour, and they should never taste spoiled.
- A pickle-like scent. Safe fermented foods should have a light fermented odor, like pickles. However, if the food smells spoiled, it is not safe to eat.
- Colorful veggies. Some vegetables, like beets, get even more colorful as they ferment, and their flesh can deepen in tone – this is normal. It’s also okay for garlic cloves to turn blue or green during the fermentation process.
- Kahm yeast. Kahm yeast has stressed out more than one home preserver over the years, but it’s perfectly normal. This yeast appears as a whiteish film (sometimes with bubbles!) on the top of ferments, but it’s just part of the natural fermentation process.
Before eating your fermented foods, simply skim the kahm yeast away and dig in!
- During fermentation, brine can bubble up out of your fermentation crock. This is just a sign that yeast is active in your ferment and creating lots of CO2.
Tip: To avoid a mess during fermentation, you may want to place your fermentation crock on a baking sheet to catch any overflow! - Some sediment. Slightly cloudy brine or sediment at the bottom of your jar can be normal too. If the ferment otherwise smells and looks okay, your ferment is likely still good!
As you can see, quite a lot happens to foods during fermentation, and they can significantly change in appearance and taste over time. However, while some variability in fermented foods is to be expected, ferments sometimes go bad, and they shouldn’t be eaten. Signs of a bad ferment include:
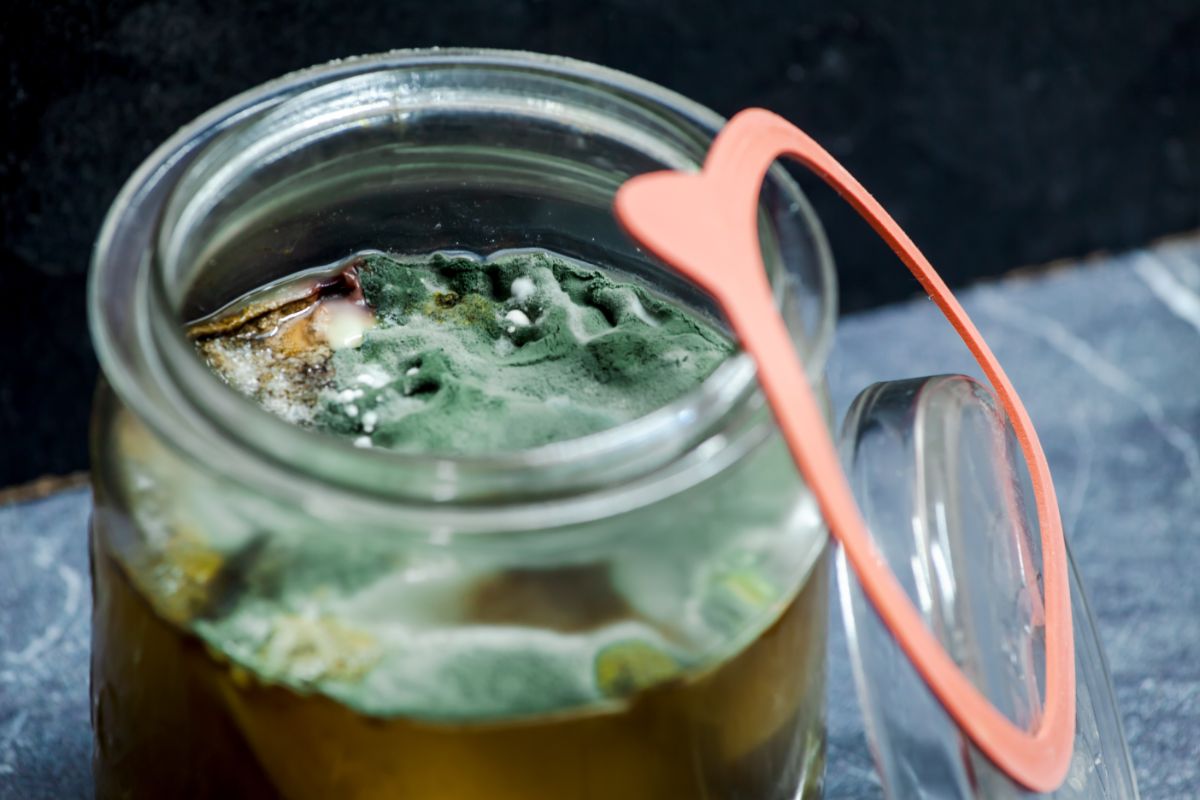
- Unpleasant odor. Fermented foods should have a slightly sour aroma, but it shouldn’t be overwhelming. If you open your fermentation crock and it smells spoiled or rancid, the ferment went bad, and it isn’t safe to eat.
- Discolored foods. Foods may change color during fermentation, but if your entire ferment turns dark or even black, that’s not a good sign!
- Visible mold. Kahm yeast occurs on healthy ferments, but mold is another story. Mold often occurs when foods rise above the brine during the fermentation process, which is why fermentation weights should always be used to weigh down your produce.
When mold occurs in ferments, some chefs scoop it away and still use the non-moldy food lower down in the crock, but this is not recommended. Mold can occur in several different colors, including blue, green, pink, black, or white, and it’s sometimes fuzzy. The safest thing to do if you see mold is to throw out your ferment and start over.
Tip: Kahm yeast is often confused with mold, but kahm yeast is more delicate and easier to see through. Kahm yeast is also whitish (not colorful!), and it isn’t fuzzy.
- Bad taste. Of course, one key indicator that your ferment went bad is if it doesn’t taste good! Fermented foods should taste slightly sour, but they should never taste spoiled.
- Slime has no business being in a fermentation crock, and it’s another sign that things aren’t right with your fermented foods. If your foods feel slimy, toss them out and start over.
Frequently asked questions
Technically no, but foods will become more sour and develop a softer texture the longer they’re fermented. Very long ferments can produce mushy foods that may not be as fun to eat. Additionally, longer ferments increase the chances that mold may develop in your fermentation crock.
Pretty much any vegetable can be fermented; however, if you’re new to fermenting, you may want to stick to the classics. Cabbage and cucumbers are particularly easy to ferment, and most home gardeners have an abundance of these two veggies! Snap peas, radishes, turnips, carrots, cauliflower, and peppers (fermented hot sauce, anyone?) are also beginner-friendly crops to try.
There’s no “wrong” vegetable for lacto-fermentation, but many leafy greens don’t ferment particularly well. These veggies often get mushy in ferment, and their high chlorophyll content may not appeal to everyone’s taste.
Pretty much! Unlike canned goods, fermented veggies retain most of their nutrient content, so eating them is very much like eating fresh produce. But with an added perk: fermented produce contains lots of probiotics!
No. While improperly canned goods can be a breeding ground for botulism, there’s much less risk of this occurring in lacto-fermented products. Properly preserved lacto-fermented foods contain a salty brine and lactic acid that keep botulism spores from growing.
Tasting foods often during the fermentation process will help you determine when your ferment is done. Some people prefer more sour ferments than others, so when your pickles or sauerkraut have that perfect “tang,” they’re ready to be placed in the fridge.
Summary
Lacto-fermentation gives us the opportunity to get creative with our homegrown produce and try out new recipes and flavor combos. But fermenting foods is also an easy way to preserve your harvest, and it’s even simpler to master than home canning. Once you take that first bite of a homemade pickle or freshly fermented sauerkraut, you’ll be glad that you ventured into the wonderful world of lacto-fermentation!
For more tips on how to preserve your garden harvest, check out our guide on keeping squash in cold storage or explore the best herbs to dehydrate for herbal teas.


Bran
So I should ferment a pickle? You may want to read over your article again.
Mary Ward
Yes, pickles can be made either by fermentation or they can be made with a vinegar brine. You also have the option of canning your fermented pickles in a water bath process to make them shelf stable. Lacto-fermentation is the original pickling process and is how pickles were first made before vinegar brines became more common.