Growing herbs inside is trickier than growing them outside. Herbs can be harder to grow than other indoor plants. It is certainly more than possible to grow herbs inside and the results are highly rewarding—herbs at your fingertips, all year long…fresh herbs on hand for all your cooking, baking, and even crafting needs!
Jump to:
- Herbs Indoors: Winter, Summer, Whenever!
- Plant Starting Options for Growing Herbs Inside
- Potting and Pot Selection for Indoor Herb Growing
- What type of pot material is best for herbs?
- What size pot is right?
- How many herbs per pot?
- What’s the right potting medium for indoor herbs?
- Selecting the Best Herbs for Indoor Growing
- What herbs are easiest to grow inside?
- Light Requirements for Indoor Herbs
- Reverse Hardening Outdoor Herbs
- Placement and Light Supplementation for Herbs
- Signs Your Herbs Need More Light
- Herbs With Lower Light Requirements
- Water Requirements For Growing Herbs Indoors
- Managing Humidity for Herbs Indoors
- Ideal Temperatures for Indoor Herbs
- Air Circulation to Promote Indoor Herb Health
- Rotate Herb Plants Regularly
- Fertilizing Herbs Grown Inside
- Indoor Herb Growing Maintenance and Use
- Potting Up and Keeping Indoor Plant Size Manageable
- Signs Your Herbs Need Potting Up or Dividing
- A Fresh Herb Seasoning Recipe Just for Fun
- Transitioning Indoor Herbs to Outdoor Growing
- Bringing Herbs Back Inside for Another Round
Herbs Indoors: Winter, Summer, Whenever!
Most people think about growing herbs indoors for the colder months of winter. Most herbs are not very hardy. Some are hardy enough to come back after a winter of unproductive dormancy, while others like basil will not survive harsh winters at all (this does, of course, all depend on where you live and what zone you are growing your herbs in).
Winter dearths may not be the only reason you want to look toward indoor herb gardening. You may have reasons all your own for growing your herbs inside—perhaps an issue of high-rise or apartment dwelling, lack of outdoor growing space, or simply the ease of using herbs grown inside.
Whatever your reason or the season, there are plenty of herbs you can grow inside. The same rules, tips, and tricks covered in this article will apply (you may just have to adjust accordingly depending on heating, cooling, seasonal dry air or humidity).
Plant Starting Options for Growing Herbs Inside
There are four basic options for starting herb plants to grow inside:
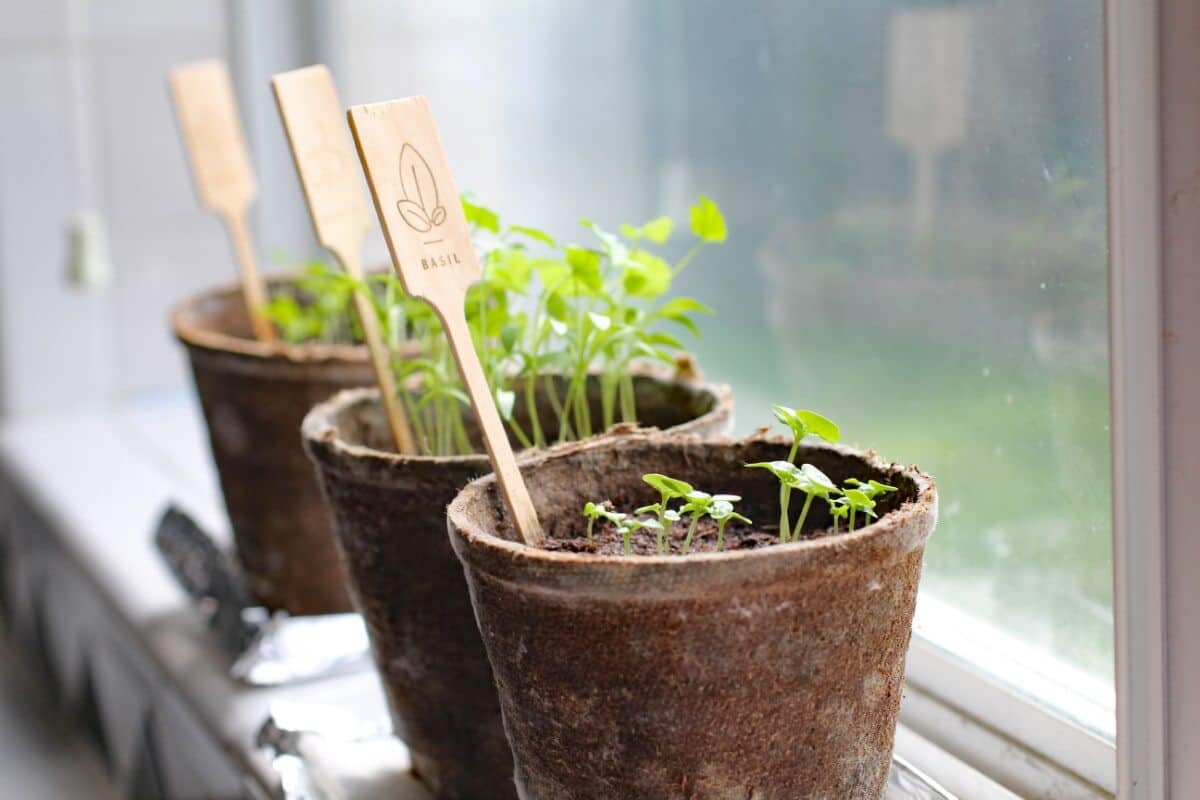
Starting herbs from seed is fairly inexpensive, but germination for some herbs can be tricky and results may be lower than you’d like. It’s best to over-plant to ensure enough plants for your needs. You can always cull excess later. Starting seeds is also the method that takes the longest and so it could be several months before you have herbs that are large enough to harvest. If this is the route you choose, consider starting your herb seeds eight or more weeks before you plan to be using them. For winter indoor herbs, this means you’ll actually want to be starting your herbs for indoor growing in late summer.
Propagating herbs from cuttings is another economical option. In fact, if you have viable herbs outdoors or otherwise available to you (perhaps a friend?) your costs will only be in potting mix and pots (a cost that you will have regardless of which method you choose for plant starts). This option is the middle-of-the-road option time-wise. Once started, your herbs should be rooted and growing larger within about four weeks.
Digging and potting outdoor herbs from your herb garden at the end of the growing season is a great way to grow indoor herbs in the winter with only the cost of potting equipment. It’s as cheap as propagating new herbs from cuttings but the larger plants will be much farther ahead and will be ready to harvest almost as soon as they come inside (though a rest period is advisable as the plant will be enduring some transplant shock). If your plants are large, you can dig and split off just a portion of the plant, making sure to dig adequate roots. If a small plant, it’s better to dig the entire plant and bring it inside for the winter.
Purchasing herbs already started will of course be the most expensive option, but it is usually a fairly moderate expense (and one that will pay back over the life and longevity of your plants if properly cared for—much cheaper than buying fresh out-of-season herbs all winter). Some farm and garden centers will have fresh potted herbs in the winter. The produce and/or floral departments of your local grocery may be another source. You can also buy live herb plants online and have a selection shipped to you. Purchasing four- or six-inch started herb plants is clearly the fastest way to get your indoor herb garden growing.
Potting and Pot Selection for Indoor Herb Growing
Potting and pot selection is a little more important for indoor herbs than it is for others types of potted plants. The reason is mainly that most herbs cannot tolerate wet feet, yet have unique humidity requirements to keep them from drying out.
What type of pot material is best for herbs?
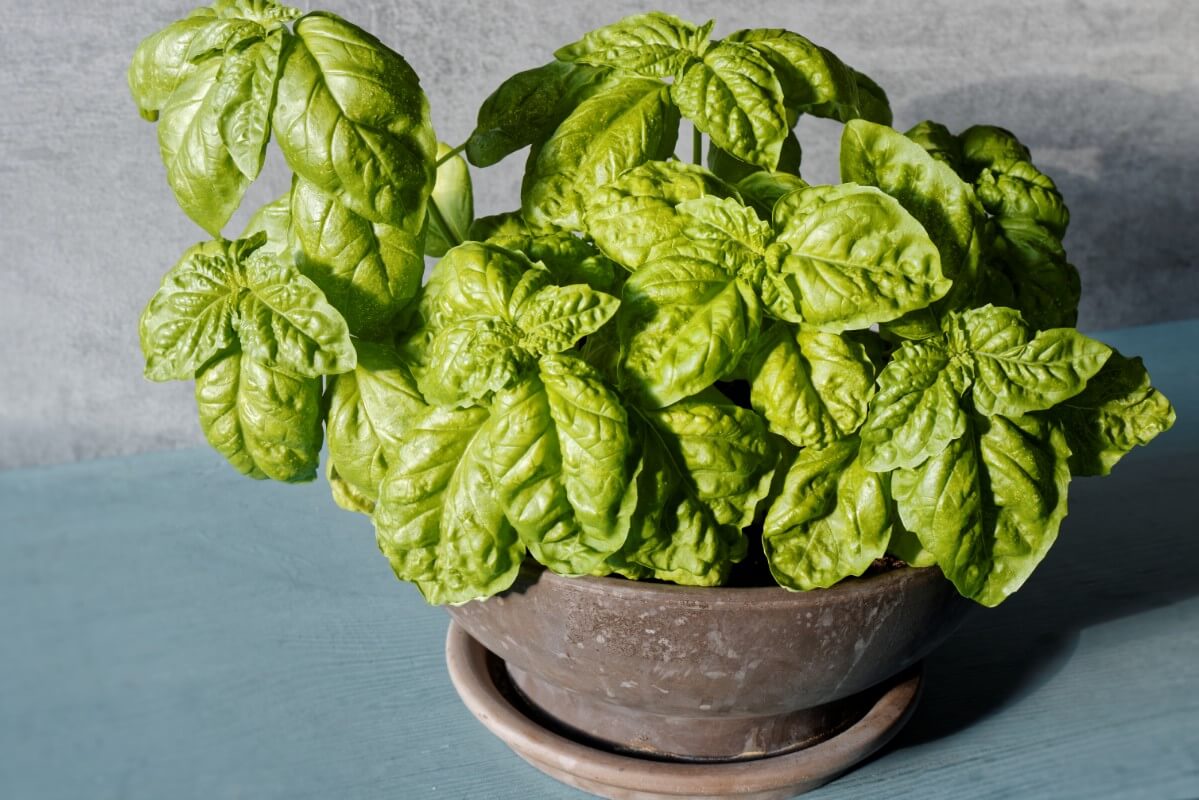
Porous pots like terra cotta or clay pots tend to be more herb-friendly. They do dry out faster, which can sometimes be a bit of an issue for winter growing when the air is usually very dry, but they keep herbs from standing in too moist conditions. It’s much easier to increase watering frequency for pots that maybe dry out a little faster than you’d like than it is to correct an issue of wetness or poor drainage.
Ceramic or glazed terra cotta or clay pots can be a good in-between for herbs inside in winter because they will take a bit longer to dry out but will still be more permeable than plastic. Plastic is not usually a good choice for potting herbs because it tends to stay wetter longer, and herb roots don’t want constant moisture. Plastic pots might be something to look towards if you find your herbs are drying out too fast if your home is very, very dry. Plastic is not, however, usually the best option for potting herbs.
No matter what material you choose for your herb pots, drainage holes are a must! This also means that a drip tray or saucers are a must to catch excess water and protect your furniture and windowsills.
What size pot is right?
A four to six-inch diameter pot is a good size for herbs growing indoors. This size pot is large enough to grow sizable herbs that will continue to replenish themselves yet is small enough not to take up too much space and remain manageable for indoor herb gardening. The pot should be at least four inches deep to accommodate good root growth. Plants with longer, deeper roots, like basil, for example, will do best in taller, deeper pots (minimum four inches deep for basil).
A good rule of thumb is to grow your herbs in a pot that is at least half the size of the plant (or larger), so plan your pots for the size of the plant you want to maintain. For example, your four-inch diameter pot should be able to house your plant until it is up to eight inches tall and six to eight inches wide. If your plants begin to outgrow this size pot (which we’ll discuss in a later section), you have a few options, depending on your available space.
How many herbs per pot?
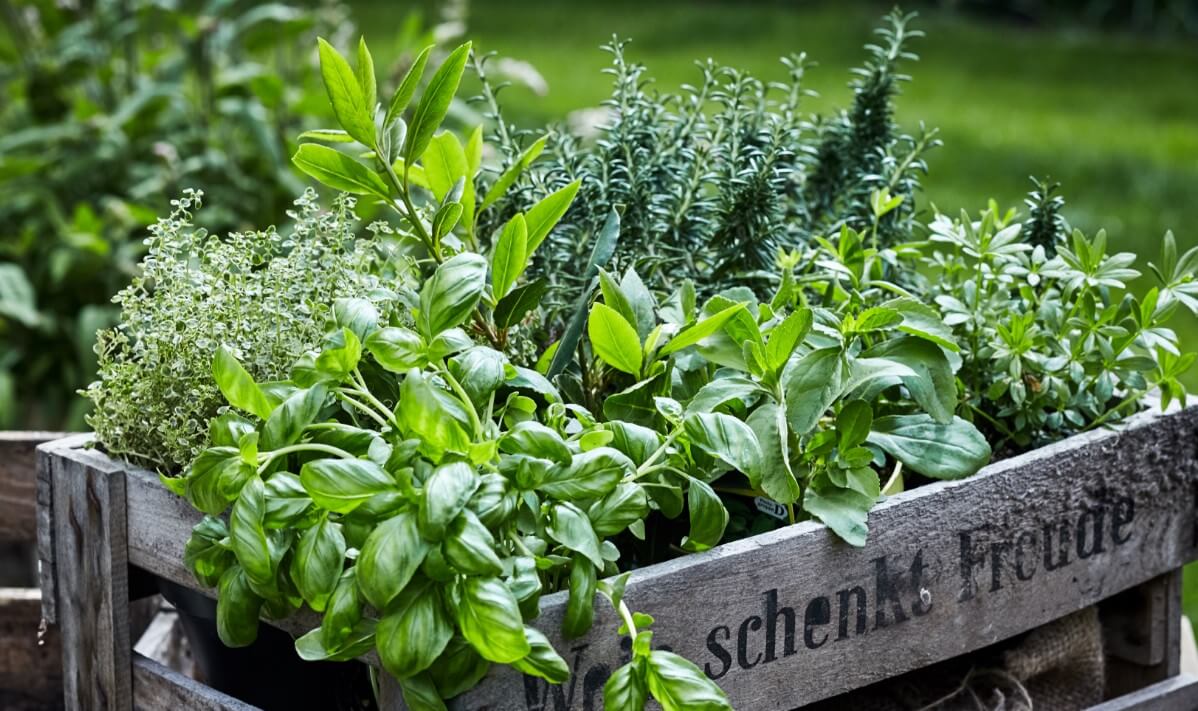
You should only plant one type of herb per pot. Flower-box styles herb gardens are a nice idea but are not really the best thing for your herbs. Different herbs have different growth rates, space, and growing requirements, and combination plantings can become problematic. The crowding in these types of planters also increases the chance of disease and makes it difficult to limit the spread of pests or disease. If your herb plants are small (such as if you started from seed) and you want a fuller-looking, more harvestable pot, you can plant two or three plants of one kind together in the same pot but your herbs will do much better if you do not mix different types of plants together.
What’s the right potting medium for indoor herbs?
Herbs are mostly Mediterranean plants that do not naturally grow in the best of soil conditions. Their natural soil trends more toward sandy and well-draining. This is why wet feet are such a problem for herbs. Therefore, your potting soil needs to be well-draining and not hold on to too much moisture.
Plant your herbs in a good-quality, sterile potting mix. Never plant indoor herbs in the soil you’ve dug from your garden. For one thing, it can harbor pests and diseases that are difficult to manage inside, but for another, it is just too dense and compacts too much.
Because herbs like sandier soils, it is a good idea to cut some clean sand or perlite into your potting mix for your herbs. A ratio of 25 to 30% perlite or sand in 75 to 70% potting mix is a good rate for herbs. Just be aware that many potting mixes already contain some perlite, so you may not need that high a rate, depending on the contents of your potting soil. There should be a label on the bag that lists the ingredients and the ratio of ingredients in the mix.
Selecting the Best Herbs for Indoor Growing
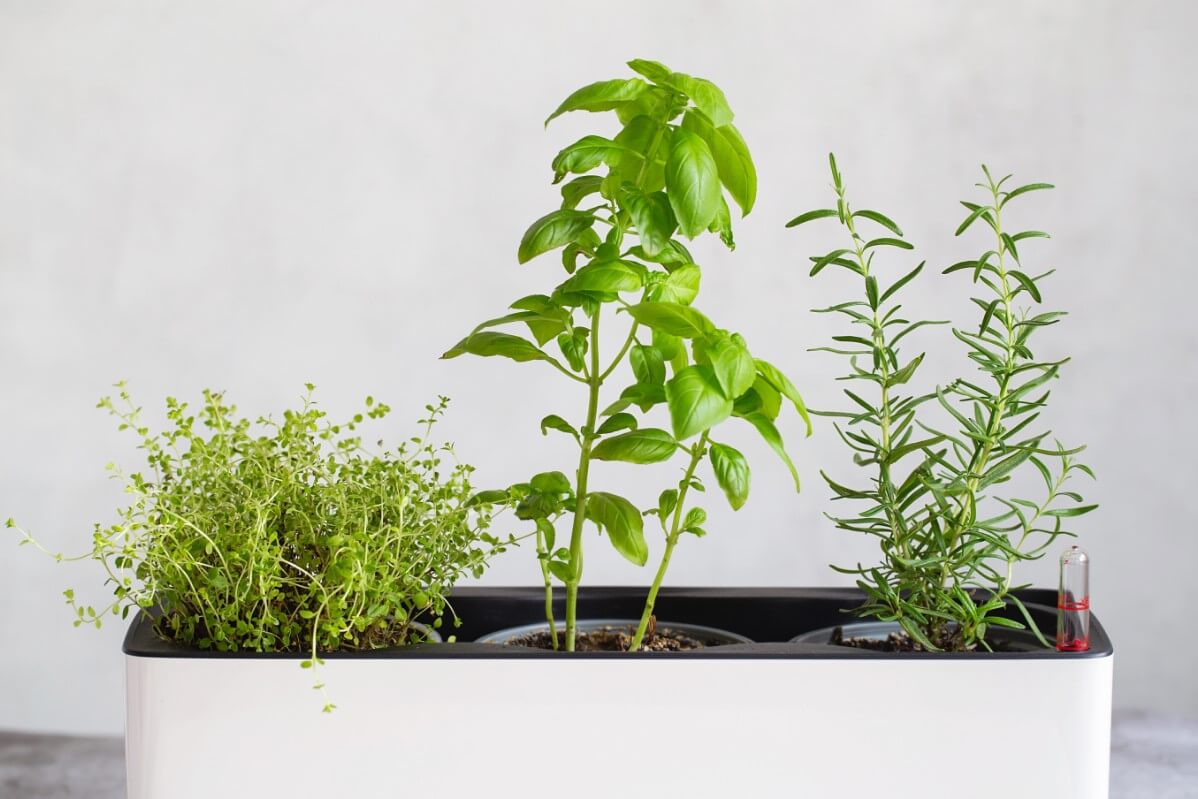
Now that you know how to plant and what to plant your indoor herbs in, it’s time to decide what you want to grow inside.
Most of us are much more limited on space for growing inside than we are for outdoor growing--which means you may not have the room to grow as many different types of herbs inside as you can outside.
So how do you choose?
Start by answering these questions first:
-What herb or herbs do you use the most of?
-What herbs are hardest to find fresh locally?
-What herbs do you not like in their dry form? For example, a lot of people love fresh cilantro, but would never touch the herb when dried.
Now that you’ve narrowed down what you can and cannot supplement from your local resources and decided what you need to grow from the perspective of supply and demand, think about a few other factors.
It’s easiest to grow herbs inside that can grow compactly and do well in a small space. Low-growing herbs, or at least those that can adjust to being low-growing, are best for indoors. Some of these may be herbs that grow large and bushy and out of control outside, but will still behave well and adjust when grown in pots inside.
Some herbs that are capable of growing in a more low and compact form include thyme, marjoram, savory, parsley, sage, basil, and chives.
What herbs are easiest to grow inside?
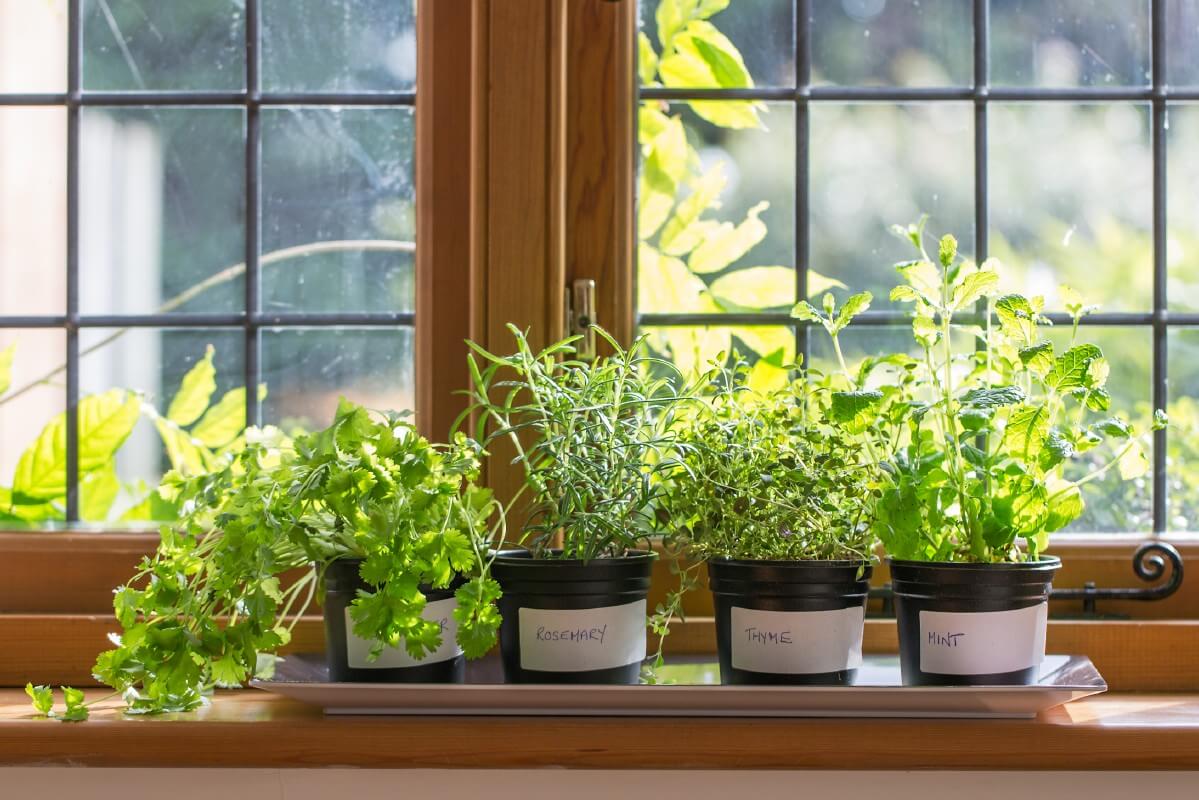
Ease of growth and compatibility to indoor growing are important, too. These are the herbs that are easiest to grow indoors, and which make the best candidates for indoor herb gardening:
-Basil
-Chives
-Mint
-Oregano
-Parsley
-Rosemary
-Thyme
-Seasoning celery
-Cilantro
-Dill (choose smaller varieties and avoid giant types; grow it as dill “weed” and use the green leaves and stems rather than waiting for flowering heads)
Light Requirements for Indoor Herbs
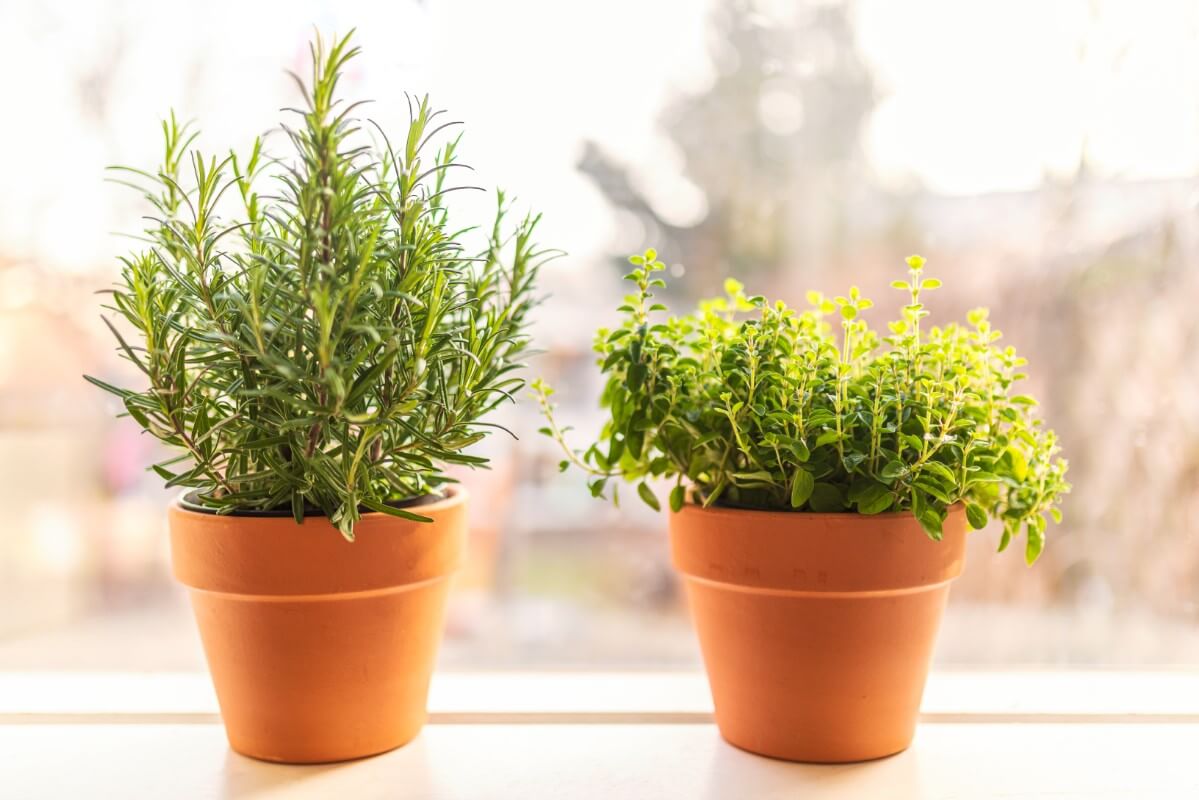
For herbs, light affects the rate and quality of growth and the flavor of the herbs, too. There is more to the story of light management for indoor herbs, though, and it starts with when you bring your outdoor herbs in.
Reverse Hardening Outdoor Herbs
If you choose to dig whole herb plants or divisions to bring them in for an indoor winter herb garden, or even if you are just moving container herbs inside that you grew outside over the summer, you should take them through a sort of reverse hardening process to acclimate them to the changes in indoor growing conditions. Mainly, you are helping them get accustomed to the lower light conditions of inside living (and to a lesser extent, lower humidity).
When we harden indoor plants for outdoor living in the spring, we take them through a process of gradual introduction to the stronger, hotter sun, light, and wind conditions that they will experience outside. When you bring your plants in, you want to gradually increase their shade and reduce their light over several days or a week. Pot the plants, then place them in a shady location for a couple of hours the first day, increasing to about four hours over the course of the week.
By the end of the week the herb plants should be in light for six to eight hours a day (whether natural or supplemented with grow lights). This will help them adjust to not only fewer light hours, but also less intense light.
Placement and Light Supplementation for Herbs
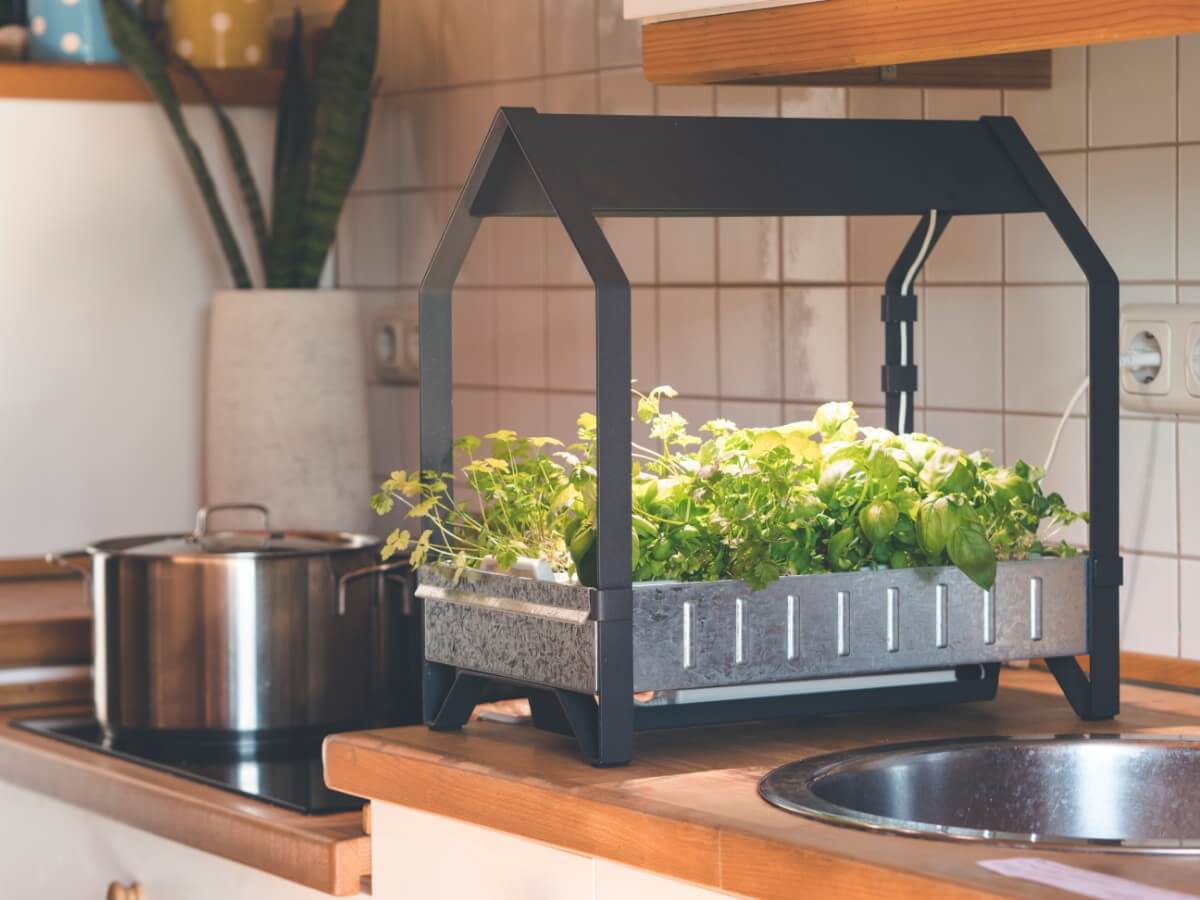
Once acclimated, place your herbs in a bright, sunny window that gets plenty of strong sunlight for as many hours as possible during the day. This is usually a south-facing window, if available. If not, do your best to make a home where your light is strongest, longest.
Most herbs require six to eight hours of good strong light per day. This can be natural light if available, light from a grow light setup or a combination of the two. For example, if your window can provide four hours of good, strong light each day, then you can use grow lights to provide the other two to four (a simple grow bulb in a lamp or nearby light fixture will do). Indoor herbs often require more hours of light than outdoor herbs because the light inside is less intense, so consider six to eight the bare minimum light requirement. It may take ten or twelve hours of light to really make your herbs thrive.
Signs Your Herbs Need More Light
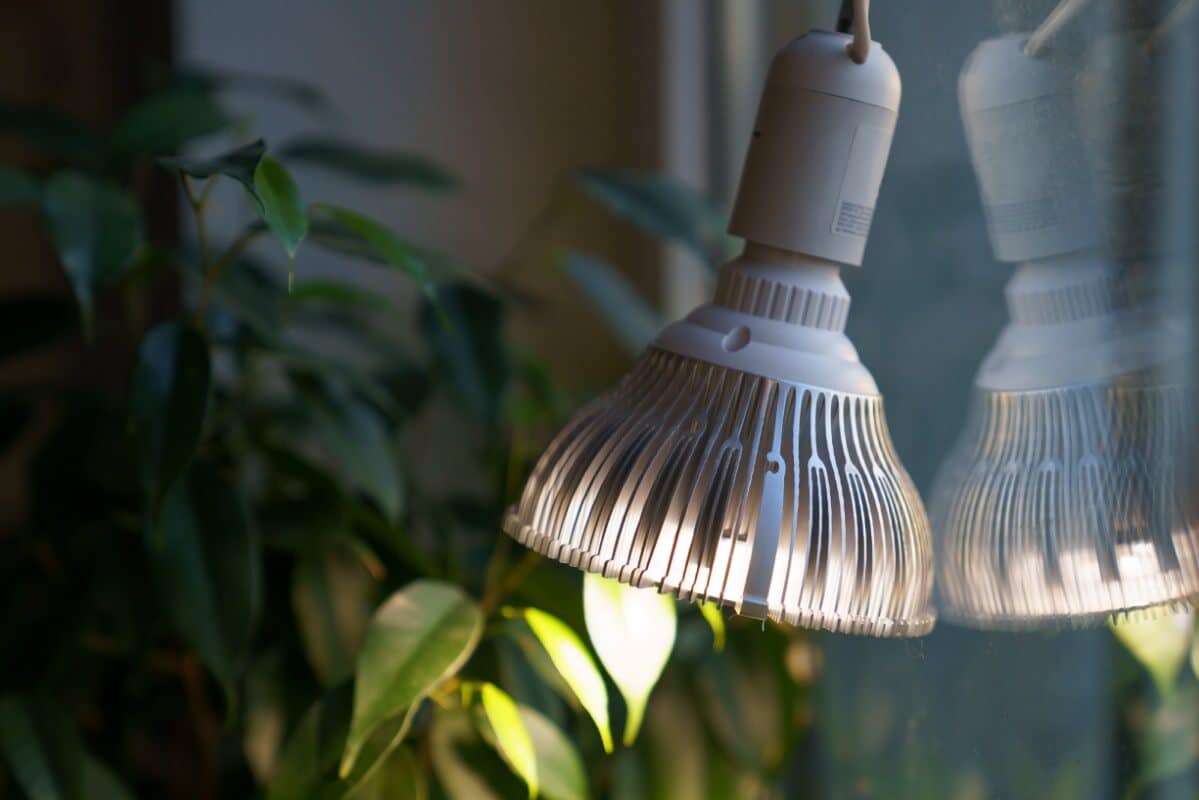
Observation is always the best management tool for gardeners. Keep an eye on your plants and look for signs of light deprivation. If you see any of these signs, first determine if another factor like over-watering might be at play, and then see what you can do to increase the light to improve your plants’ health. (The nice thing about providing more light is that it can’t hurt, so it’s hard to go wrong here!)
Signs that your herbs need more light include:
- Poor growth
- Slow growth
- Long, stemmy growth between leaf sets
- Legginess
- Small, undersized leaves
- Pale or yellow leaves or stems
Herbs With Lower Light Requirements
There are some herbs that are more forgiving of lower-light situations. If you struggle to be able to provide enough growing light, you might choose to focus more on these herbs:
- Dill
- Parsley
- Mint
- Thyme
Water Requirements For Growing Herbs Indoors
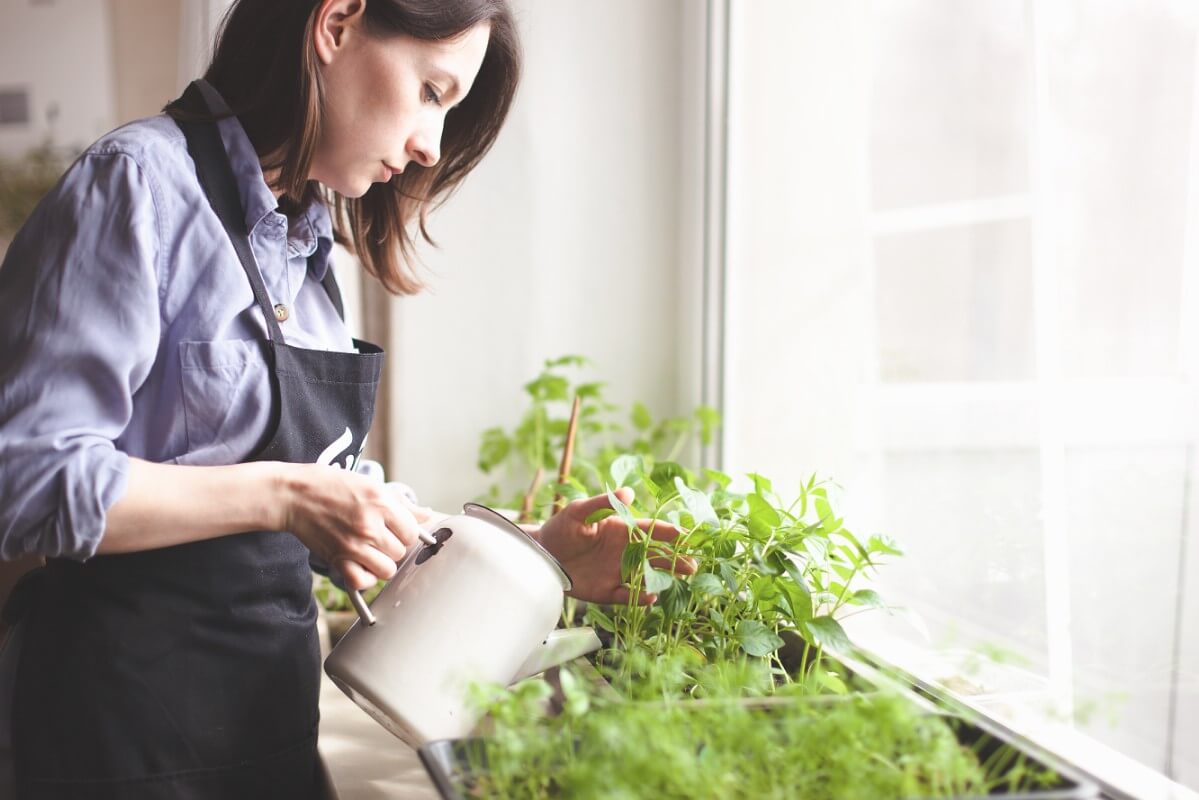
As a general rule, herbs do not require a lot of water. They do not like wet feet—they don’t like having their roots in soggy water. Most herbs are from the region of the Mediterranean and evolved in sandy soils in which water drained through with little of it staying in the soil where the herbs grew. This is the situation you want to recreate in your indoor herb garden. Attending to this is probably more important for herbs in containers than it is for herbs grown in the ground where the water has more places to go.
Plan to water your herbs once a week. If your home is very dry, you may need to increase this to twice a week or twice in ten days. Let your herbs and the soil guide you, not the calendar.
When you water your soil should be moist but not soggy and not water-logged. You should not let your soil get to the point of completely dried out. The soil should not be hard and compacted nor should it be dusty-dry.
Water your herbs when the top of the soil down to about one inch dries out. If you press gently on the top of the soil, even though the top layer is dry, the soil below should still have some spring and the pot will feel a bit spongy. This tells you there is still some moisture below the surface. That is good. It is time to give your herbs some more water.
Observe your plants for signs of overwatering. If the plants are limp and wilting despite having been watered, this is a sign they are getting too much water. Also, look for yellow and wilting leaves (the stems may or may not still be firm and look fine). Spongy, soft stems are another sign of overwatering.
When you do give your herbs water, do so slowly so the water has a chance to absorb into the soil and not just run out of the bottom. If in doubt, err on the side of caution—a bit under-watered is better than over-watered for herbs.
Managing Humidity for Herbs Indoors
Many herbs are called “upside-down” plants because they take a lot of their required moisture from the humid air. This is a critical point of indoor herb growing that a lot of people miss and it’s a big reason indoor herbs fail. Rosemary is especially famous for this. The problem is that air inside our homes, especially in winter, tends to be very dry.
There are a couple of things you can do to increase the humidity of your plants.
One of the most common pieces of advice is to place your herb pots on a tray that has either pebbles or a rack to elevate the herbs, with water in the bottom of the tray. The water will evaporate and rise up and around the herbs, increasing their humidity. It is important that the pots do not touch the water. This will only make them wick up the water and keep your roots too moist. Make sure there is at least ¼ inch of space between the surface of the water and the bottom of your pot.
You can keep several pots on the same tray of water as long as you space them appropriately. In fact, there are some very attractive tray and pot systems geared toward herb growing available online.
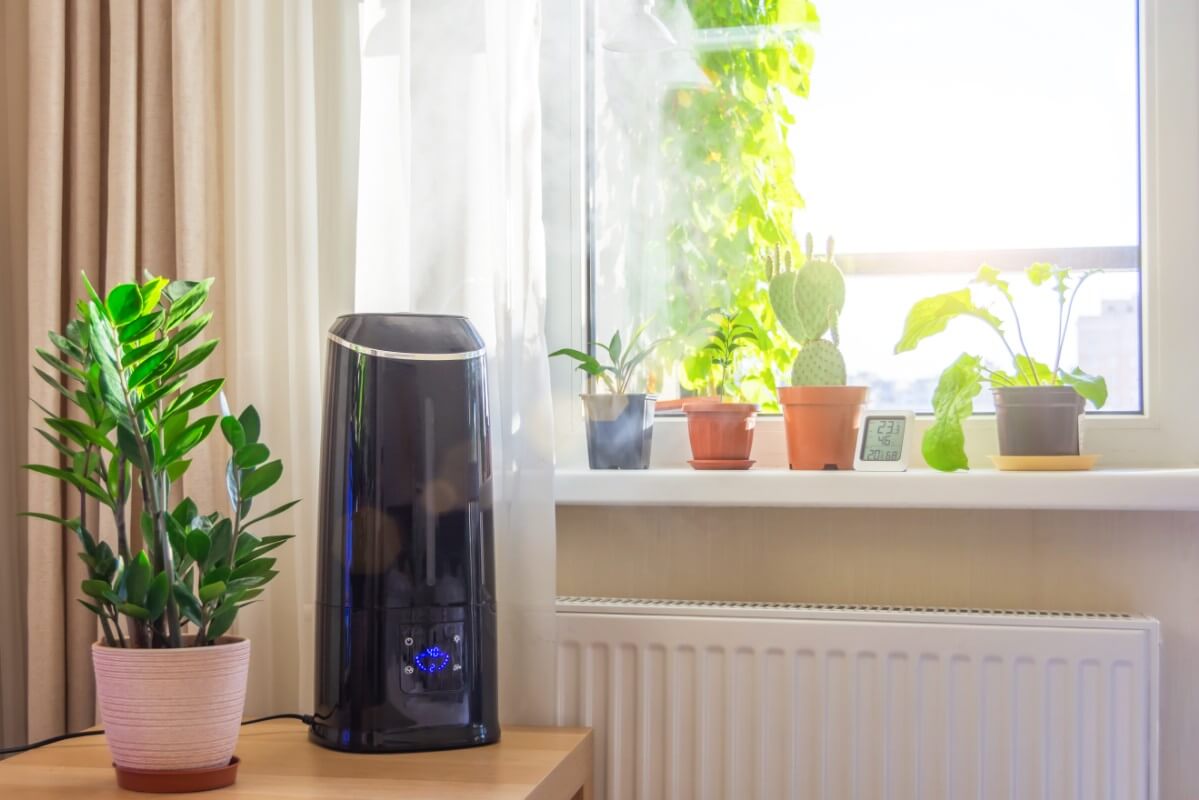
A whole-room humidifier is another way to increase humidity in the room your herbs are kept in, as are aromatic simmer pots on a stove.
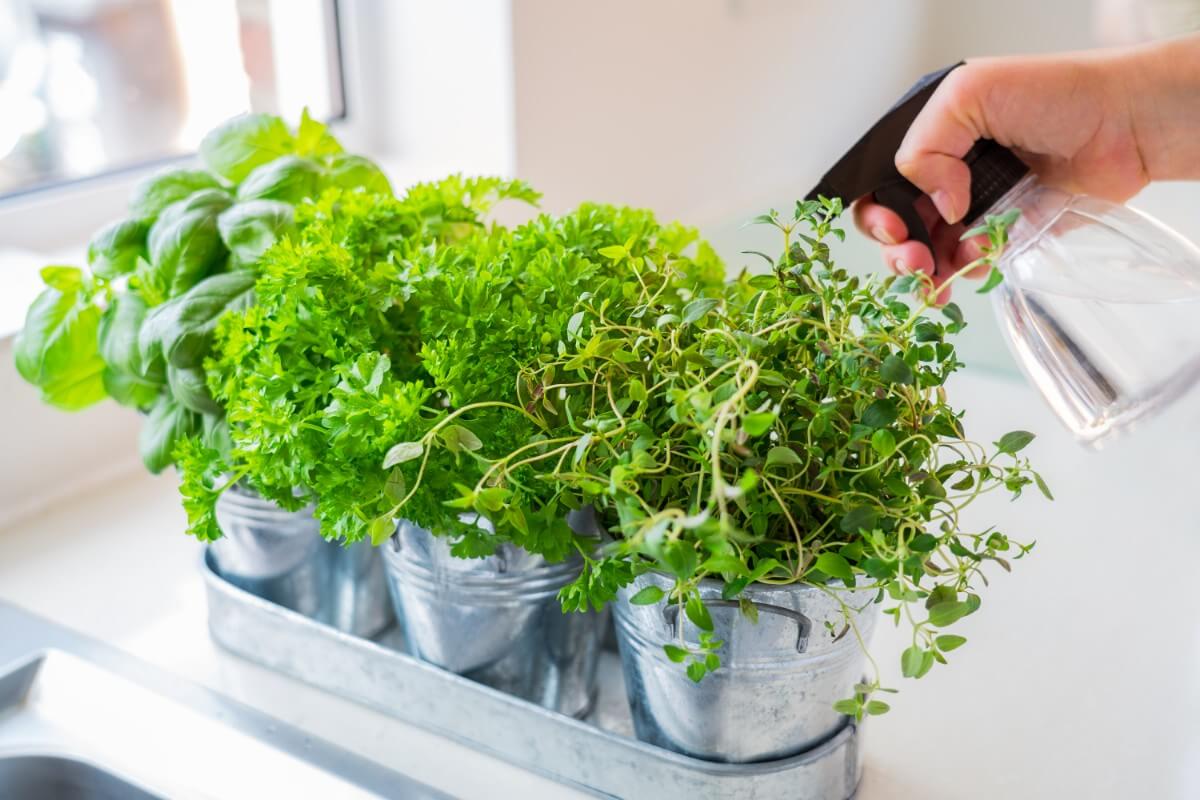
Another option is to regularly spritz your herbs with a light spray of room-temperature water. Simply mist the plants a couple of times each week. Note that you do not need (nor want) to keep the plant’s leaves constantly wet, which would invite mildew and disease.
Finally, selecting a more humid room for growing your herbs can help, too. Because we cook and simmer and boil in our kitchens, they tend to have higher levels of humidity than in other rooms of the house. And since the kitchen is where we want to use our herbs, if you have the space, the kitchen is a natural place to keep them.
Ideal Temperatures for Indoor Herbs
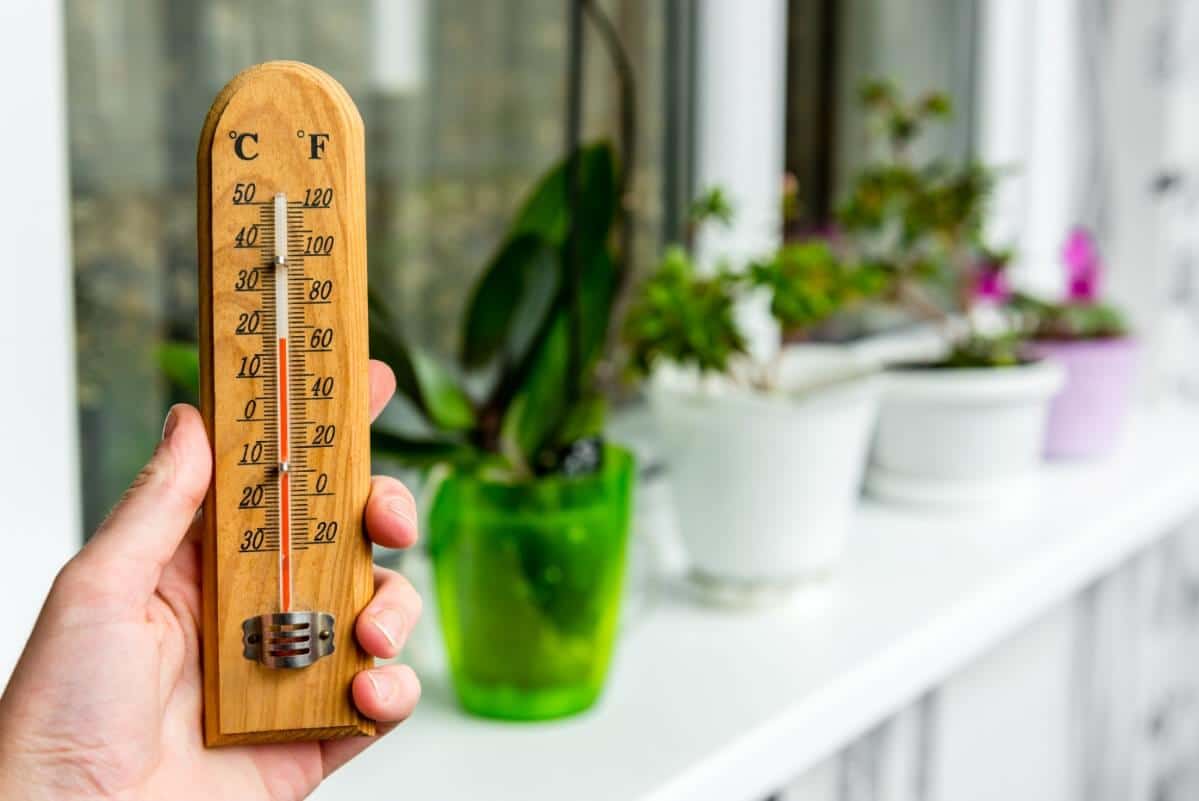
Herbs like temperature very close to that in which we are most comfortable. That means that if your home temperature is comfortable for you, your herbs will likely do just fine (unless you keep a very cool home).
Herbs grow best at an indoor temperature between 65 and 70 degrees Fahrenheit (18 to 22 Celsius). They should still do well at slightly lower temperatures of 60 to 65F (15 to 18 C). In fact, if you want to slow the growth of your herbs you can turn down the heat or move them to a cooler room.
Lower temperatures overnight are fine for most herbs (it mimics dropping nighttime temperatures outdoors), so if you decrease temperatures at night for sleeping most herbs will be unaffected. The exception to this is basil—basil is a bit of a diva that doesn’t like variations in temperature and prefers a steady 75F (24C). Avoid significant drops in temperature for basil as much as possible. The leaves of basil will wilt and drop if it is too stressed by the temperature.
As a larger-leafed plant, basil does also have higher light requirements, so placing your basil closest to an additional light source, which will also give off some additional warmth, is a good way to play to basil’s particular needs.
All of your indoor herbs will appreciate it if you keep their temperatures in range and avoid cold drafts upon them. It’s best not to place them near an outside door that will be opened frequently, and it’s smart not to let the plants or leaves touch the cold glass when housed on windowsills.
Air Circulation to Promote Indoor Herb Health
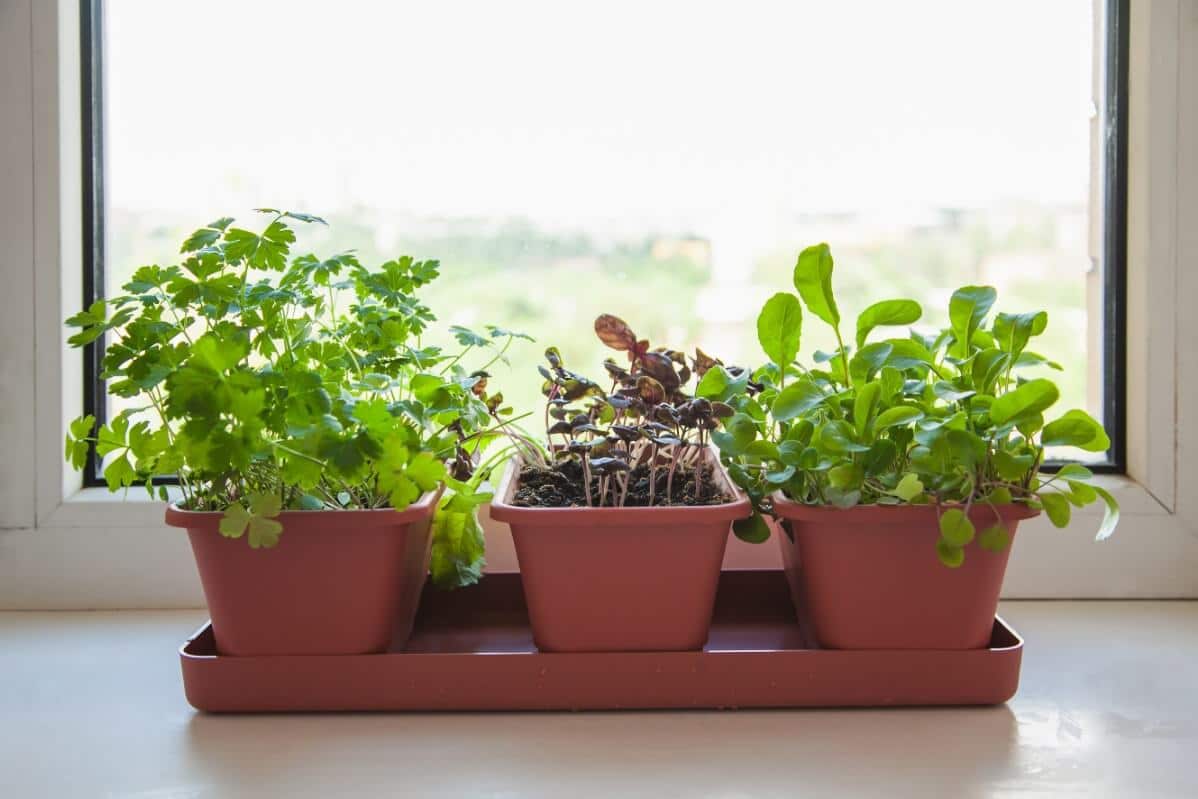
Good air circulation is important for all plants, and herbs are no exception. When plants are crowded, it invites disease and the spreading of it from plant to plant. It also allows pests to spread easily.
Follow the “no-touch, no-feel” rule with your herbs. This simply means the pots should be spaced enough that the plants are not touching each other. This helps ensure each plant has its own breathing space, provides air circulation to dry the surfaces, and reduces the likelihood of issues like powdery mildew and other funguses.
If you do not have good air movement in your home, a small fan blowing near (but not necessarily directly on) your herbs will help increase air circulation. This also helps to improve stem growth and strength. It is especially helpful as you start to look toward moving your plants outside (the fan helps to mimic outdoor wind conditions and acclimate your plants so they can deal with it).
Rotate Herb Plants Regularly
Rotating your herbs regularly is also a good idea. There’s nothing complicated about this—you’re just turning the pots and occasionally rearranging them, trading the spaces, and giving each plant a slightly different view.
Moving and rotating the pots mixes up the light exposure and helps increase air exposure and circulation, too. This keeps one plant from getting all the best light while another may be stuck in a more shaded corner of your windowsill or grow shelf. If you do this on a near-weekly basis you can keep everyone growing pretty happily and evenly. Even turning individual plants to expose a new side to the strongest light can make a big difference and help to keep the growth even all the way around the pot. It also evens out leaning and stretching towards the light or sun.
Fertilizing Herbs Grown Inside
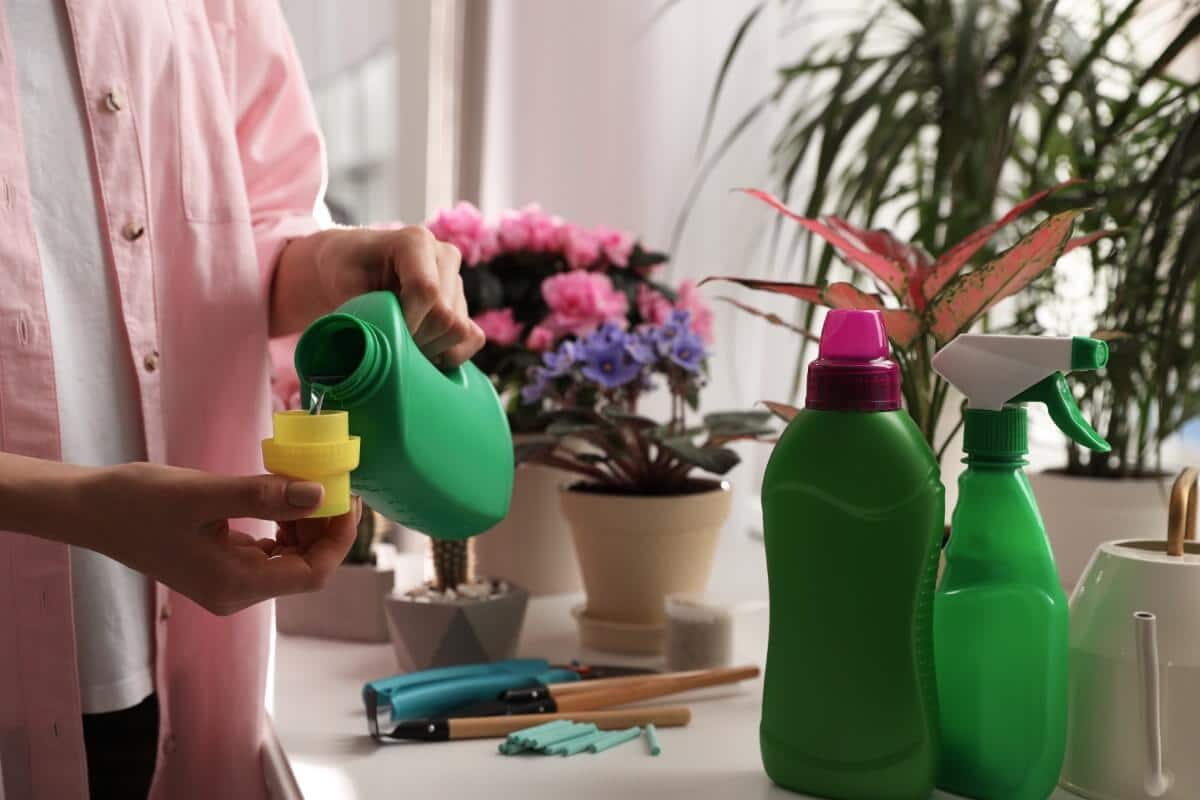
As compared to other plants, herbs do not have high fertilizer requirements to begin with. While inside your herbs will also be growing more slowly than they would outdoors. Together, this means that your indoor herbs do not have high fertilizer requirements and will not need to be fertilized as often.
You can either choose to fertilize your herbs once per month or you can use a weak fertilizer solution every time you water (once weekly). If you choose the weak solution, dilute your fertilizer to 25% of the recommended rate.
A water-soluble fertilizer will be easiest to administer. Seaweed or fish emulsion fertilizers are more gentle, natural fertilizers that work well for herbs. Whatever fertilizer you use, focus on the nitrogen content—nitrogen is what your herbs will need the most. Nitrogen promotes larger plants and leafy green growth, which is what we focus on (what we eat) when we use herbs.
When we use fertilizers in potted plants we do tend to get a build up of salts over time. It can also come from your water source, depending on the mineral content of your water. You see this as a white ring or covering on the surface of pots and sometimes as a white crust on the top of soils. Some pots (porous pots like terra cotta) will show this more than others.
It is a good idea to flush your potted herbs with water periodically to reduce the salt buildup. Do this once every two or three months by placing your herb pots in the sink and watering them thoroughly with lukewarm tap water, soaking the pot and letting the excess water run through.
Indoor Herb Growing Maintenance and Use
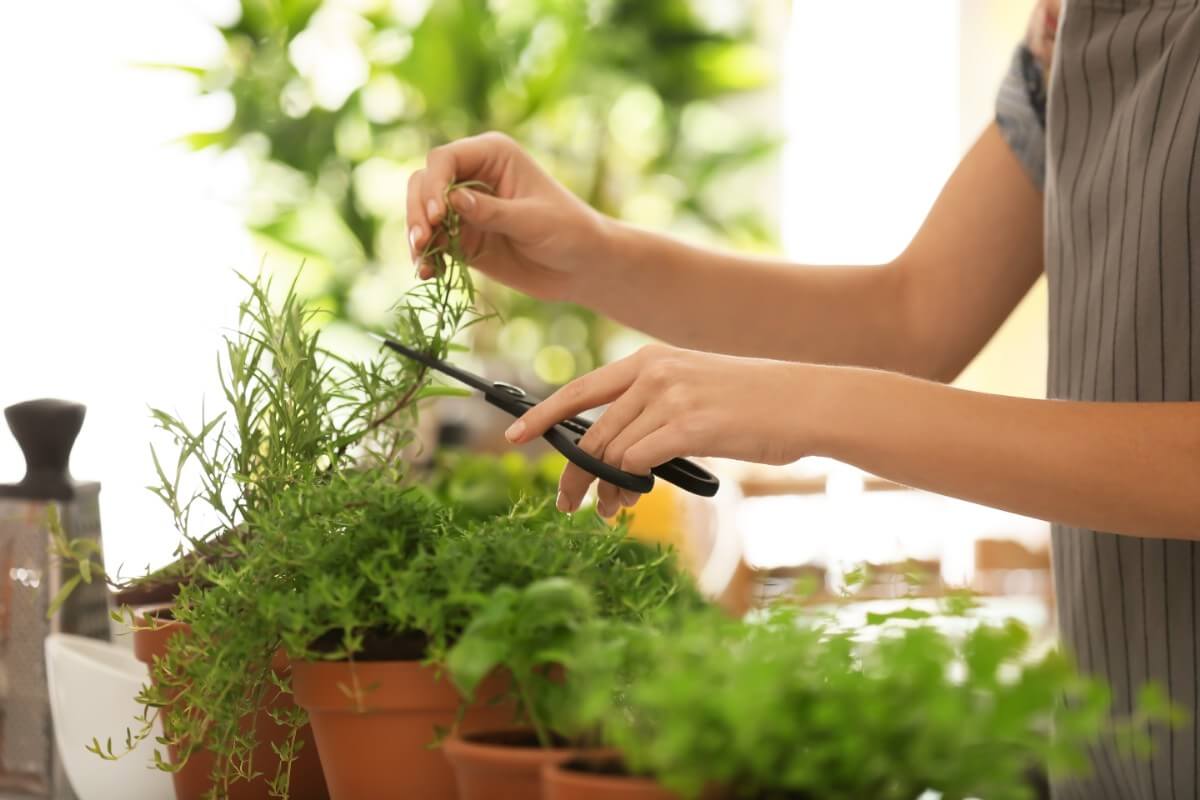
Regular use and trimming also helps to keep that important air space and circulation among your plants by making sure they don’t get overgrown or grow too densely in their pots. Keep your herbs growing low and bushy and at a manageable size. Regular trimming and use will help but you should also pinch off the terminal ends of new and long growth to promote bushing from the bottom rather than reaching, stemmy growth.
Regular harvesting will often take care of what trimming your herb plants need. The rule of thumb is not to harvest more than one-quarter or 25% of the plant at a time or you may be taking more than the plant needs to support itself through photosynthesis.
Even if you do not need a particular herb yet and it is growing large, give it a trim and dry the herbs out, then crush them and store them in a jar for use as a dried herb or powder. Herbs dry easily just by hanging in the air or spreading them out on a paper towel-lined tray. Air drying is preferable to drying in an oven or dehydrator for herbs, so don’t feel like you need to invest a lot of time or money to do it.
It is a good idea to show your herbs some regular attention and to brush your hand along the top of the plant regularly. This promotes strong stem growth, helps reduce leggy growing habit, and helps keep the plant and its stems strong for an eventual return outside.
Potting Up and Keeping Indoor Plant Size Manageable
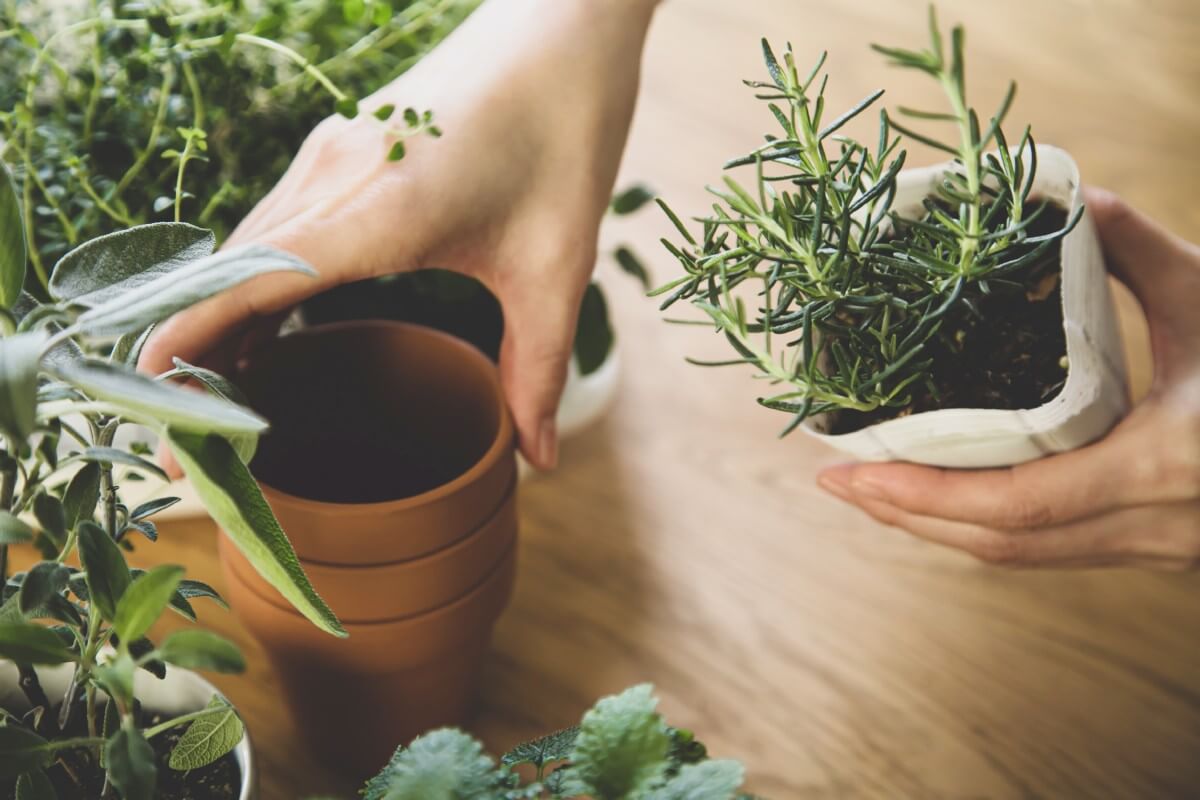
If you want to grow large, lush herbs you can certainly do so—as long as you have the space and light requirements to do so. If this is your goal, when your herbs grow large you should pot them up. Potting up expands the area for roots and also ensures that your plants have the access to soil and the capacity for that soil to hold enough water and nutrients to feed your larger plant.
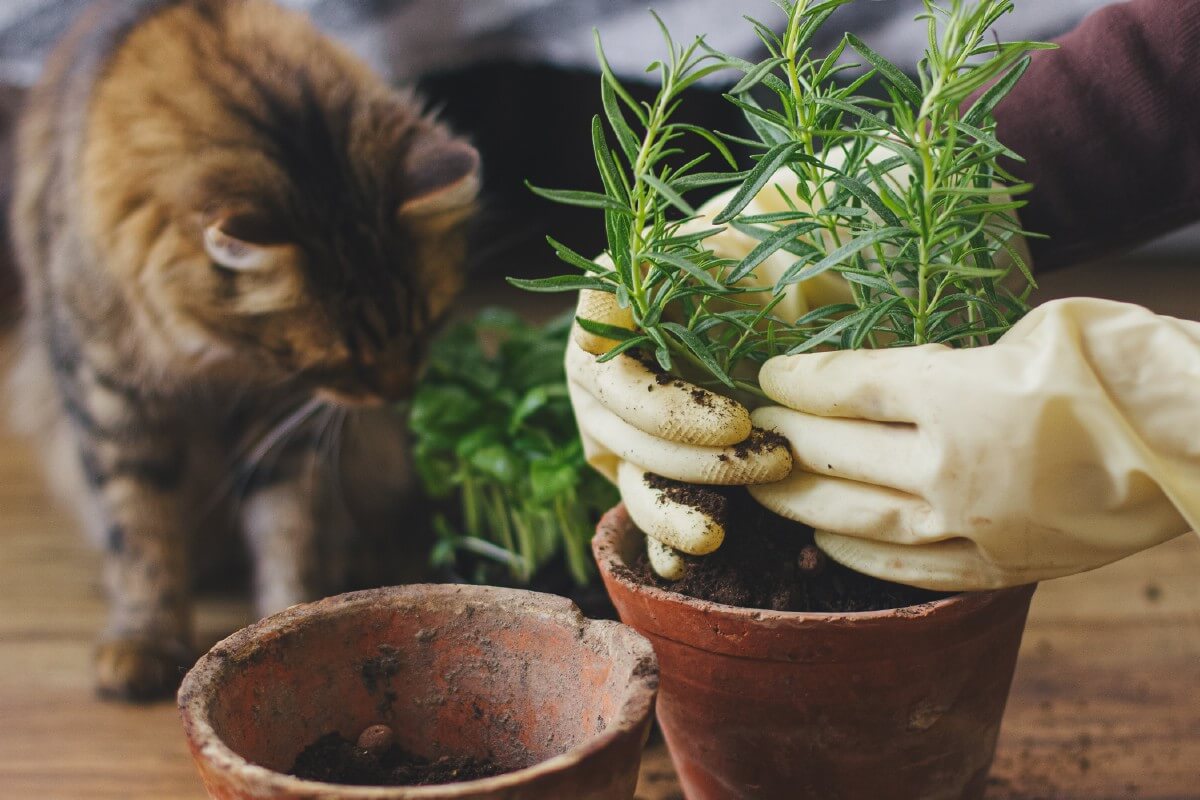
Potting up simply means repotting the plant into a larger pot—one or two sizes up is good. Remove the herb from its pot, gently tease and loosen the roots to allow them to stretch out and grow in the new pot, then replant in the larger pot, adding as much fresh potting soil as needed.
If you do not have the space or desire to keep large herbs, there are a couple of things you can do to keep them small.
One option is to prune the roots of the plant. This is often done in bonsai-type growing. To do this you need to remove the plant from the pot and cut away the outer roots. Cut up to one-third of the root ball. You can then repot it into the same pot, replacing any lost soil with fresh potting soil. This will help stimulate growth, stop the plant from being root-bound, and give the plant more room to continue growing in the pot.
A similar option that reduces both plant and root size is to divide the plant into two or more plants. To do this, remove your plant from its pot, cut or pull apart the plant into however many divisions you want (making sure each division has good root growth and the plant is not divided down to too small a bundle), trim back green growth, and repot each division. Now you have more herbs to love or to share and give as gifts.
Signs Your Herbs Need Potting Up or Dividing
You’ll know it’s time to pot up, root prune, or divide your indoor herbs when you notice the following:
- Roots growing out of drainage holes
- Stalled growth
- Falling over or flopping of top growth
- Pots that dry out too quickly and plants that require very frequent watering
- Herbs that are larger than two times the size of the pot (more than two times taller and more than two times wider)
A Fresh Herb Seasoning Recipe Just for Fun
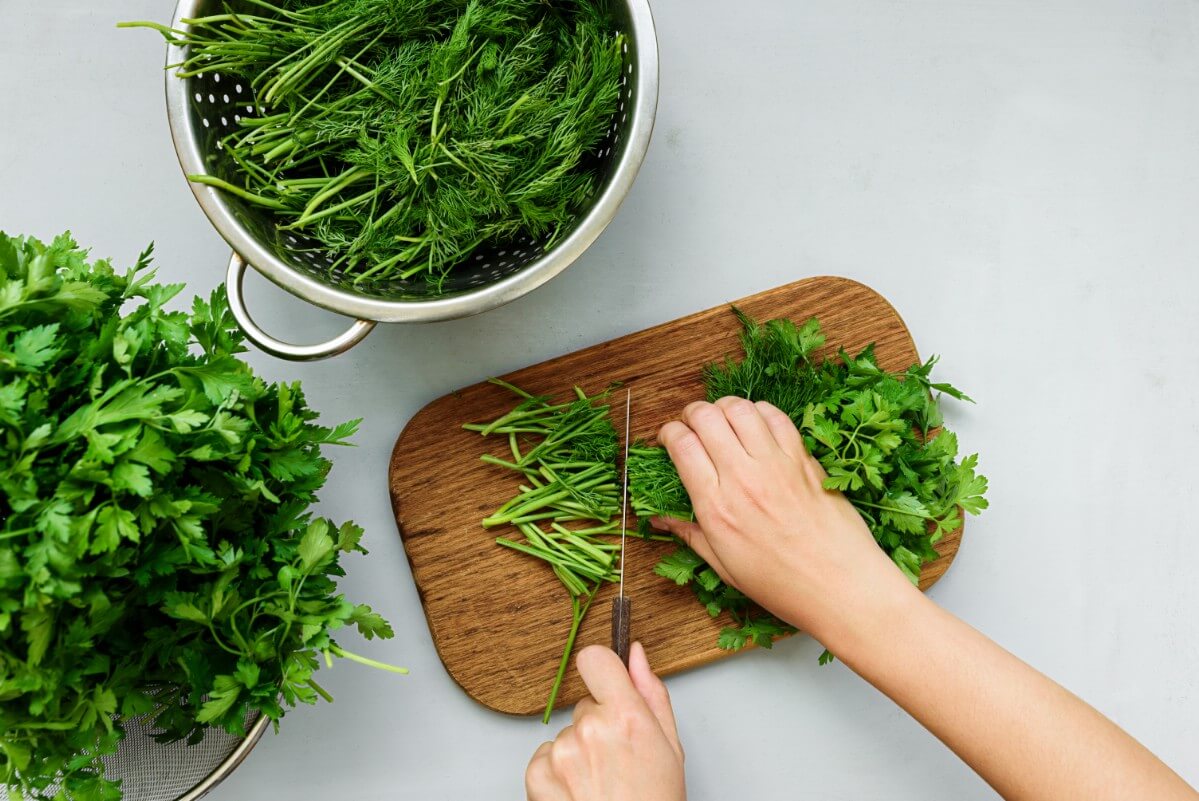
What fun is growing herbs indoors if you don’t have a fresh new way to use them? Here’s an excellent seasoning blend recipe to pique your interest:
Fresh Herb Seasoning Blend
Mix together the following herbs. Measurements are for fresh chopped herbs but dried herbs may be used also. It is not advised to mix dry and fresh herbs as this will throw off measurements and ratios.
-¼ cup fresh oregano, chopped
-¼ cup fresh basil, chopped
-¼ cup fresh thyme, chopped
-⅛ cup fresh sage, chopped
-2 teaspoons fresh rosemary leaves
Combine all herbs and mix through until evenly distributed. Use as desired as a rub or seasoning. May also be combined with olive oil and/or vinegar as a dressing or dipping oil. Leftover blends or mixed oils may be kept for up to one week but must be refrigerated.
Here’s another handy tip: Stripped rosemary twigs can be used as skewers for meats, grilling, or any number of savory appetizers or dishes.
And one more handy thing worth knowing? If you need to convert an herb measurement to fresh from dry or vice versa, the rule of thumb is to use twice as much fresh herb as you would for dry (or half as much dry as you would for fresh). So if a recipe calls for one tablespoon of dried basil and you have your lovely fresh basil growing in your kitchen, use two tablespoons of fresh chopped basil.
Transitioning Indoor Herbs to Outdoor Growing
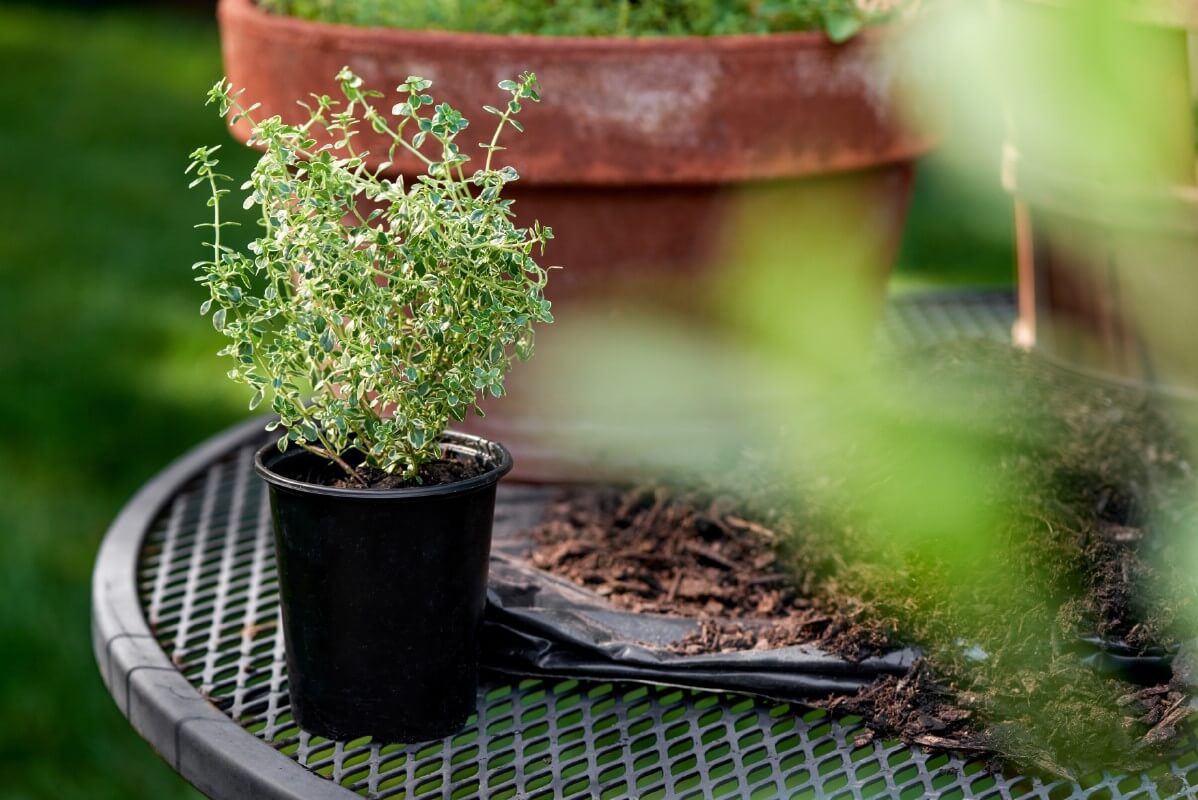
At the end of the long, cold winter, you can move your potted herbs out to a sunny deck or patio garden, or you can plant them in the ground. It is smart to take some cuttings and trim back excess leafy growth before you do. Extra leaves and growth only mean the roots of the transitioning plant has more to feed and water.
Your plants also need to be hardened off again, just as if they were newly-started transplants from seeds. All plants that have spent time living inside should be hardened off to acclimatize them for outdoor living.
If you are planning to continue growing your herbs in containers, they should be potted up into a larger container for life outdoors. Your herbs are getting older and will want to grow bigger. Outdoor conditions will be more favorable, with stronger light and longer days in the growing season, so they will grow larger when outside than they did indoors.
Bringing Herbs Back Inside for Another Round
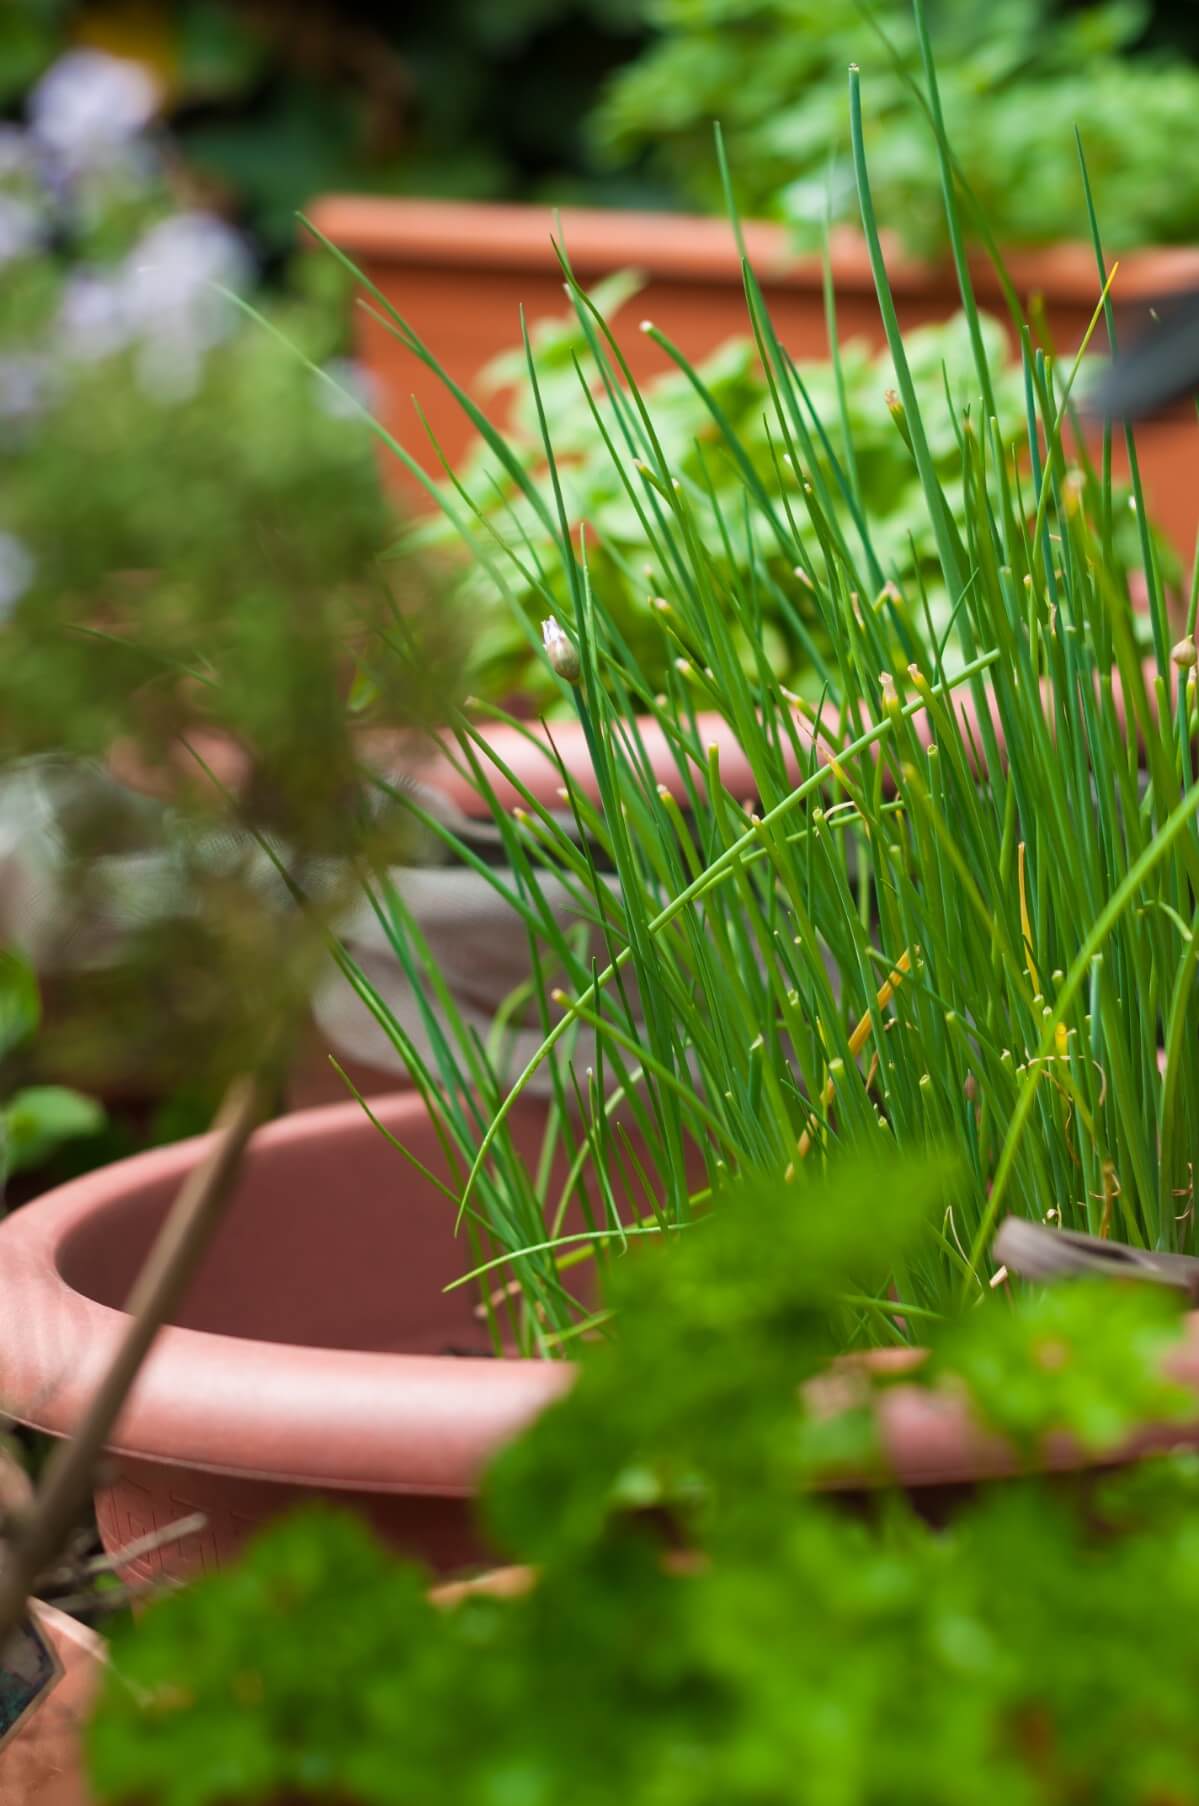
At the end of yet another growing season, as cold and frosts loom, it’s time to plan for your next indoor herb garden. Take cuttings or dig your herbs for your next indoor garden early enough so they can acclimate and grow and be ready for you to start harvesting once your outdoor garden is done for the year.
This cycle of life and propagation can be kept going almost endlessly with good care and management. Most herbs, if protected from the elements that make them lie dormant or kill them, are perennials that can be grown on and on for many years—some longer than others, but a single plant, well managed throughout the seasons, should keep you going and growing, indoors and out, for a very long time. And we’ve never heard anyone complain about having too many fresh herbs available!

Florence
Hi Gardening.org
I was anticipating growing mainly cilantro, however, it appears growing herbs is way more challenging than growing children... I might just purchase what I need....
This is so complicated 😶🥴
Mary Ward
Not as complicated as it sounds. Just trying to give you a thorough guide! I do encourage you to try--how else do we learn and gain a new skill?? Maybe buy a cilantro plant and start with that. Though I do have to say, of all the herbs I've grown, cilantro is usually one of the easiest for me. Spread several seeds over the top of a soil-filled pot, cover with about 1/2 inch of soil, water, and wait. I think it will do well for you. And there is nothing like FRESH cilantro! P.S.--the cilantro will always be where you told it to be, and it won't talk back!