Rosemary is one of a host of herbs that root and grow especially well from cuttings. Propagating rosemary from cuttings is a great way to bring your favorite rosemary plant indoors to grow and use throughout the winter, or to expand your plantings in your garden. The process is easy and armed with a little knowledge and care, you’ll have more than enough rosemary for all your needs, year-round, indoors or out.
Jump to:
- Why Grow Rosemary from Cuttings Instead of Starting From Seed?
- When is the Best Time to Propagate Rosemary from Cuttings?
- How to Propagate and Root Rosemary from Cuttings
- Tips for Taking Good Cuttings
- Some Notes on Proper Pot Selection
- Rooting After-Care
- Rosemary Growing Preferences
- Light Requirements for Rosemary Indoors
- Watering Rosemary
- Managing Rosemary Humidity Indoors
- Use Your Plant to Promote Good Growth
- Pests and Diseases of Rosemary Cuttings and Plants
- Fertilizing Propagated Rosemary Plants
- Moving Indoor Rosemary Plants Back Outside
- Good Uses for Rosemary
Why Grow Rosemary from Cuttings Instead of Starting From Seed?
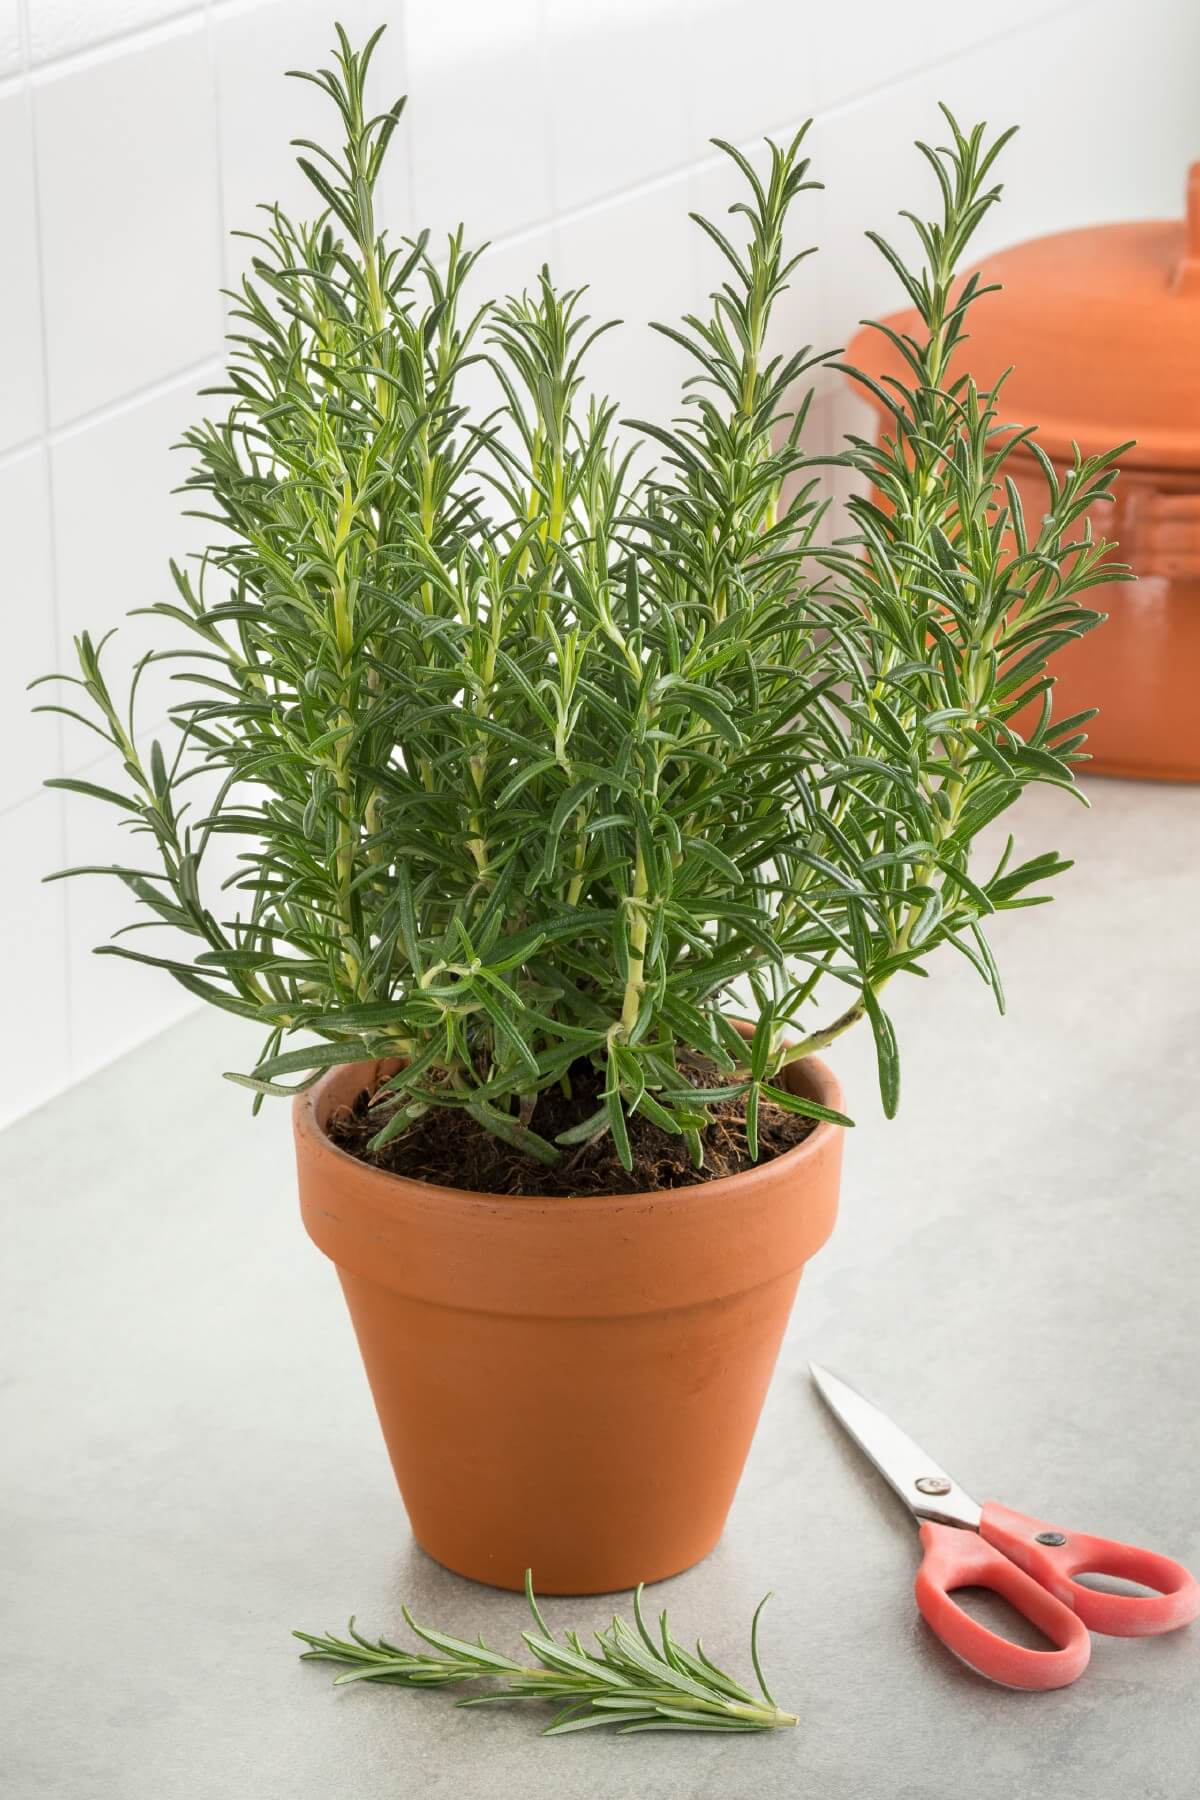
Rosemary can be started from seed, so why wouldn’t you just do that?
Certainly, starting rosemary from seed is an option, but there are some very good reasons to start new rosemary plants from cuttings instead. Many growers and gardeners find propagating rosemary from cuttings to be preferable. Here’s why:
Faster growth, shorter time to harvest. Rosemary, like many herbs, is very, very slow to start from seed and it can take quite a long time to get your plant to harvestable size. Rooted cuttings are much quicker to establish and grow to size.
Perfectly “clone” the parent. Cuttings have the same exact genetic makeup of the parent plant that they are taken from. You’ll never need to guess what your new plant will look or taste like.
Quickly expand your plantings. Taking and rooting cuttings is the fastest and easiest way to grow more plants to expand your stock or garden. If the weather is warm and it is still growing season, you can actually root the cuttings right in the ground in the place you want the plants to grow. It’s much easier than planting potted starts!
Economy and money-saving. One rosemary plant can provide you with all the cuttings you need to grow countless new plants. The cost? Virtually free. Less, even, than the cost of a packet of rosemary seeds (of which not all are likely to germinate or live through to planting, and which also require supplies investment).
End of season indoor growing. Taking a few cuttings towards the end of your garden season makes bringing your favorite rosemary inside for a fresh winter supply easy. This is much easier and less disturbing for the plant than digging the plant to move it in and out.
Overwintering your plant for next year. Again, propagating a few cuttings is much easier than digging and repotting a large plant which means propagating cuttings is an easier way to overwinter rosemary in locations where it acts more like an annual. In some zones, a rosemary plant that is left in the ground can survive the winter and come back next year. In the middle growing zones, this can be iffy. Some people are able to perennially grow rosemary in zone 5 while others report this just never happens in a zone that low. To be safe and to keep your beloved rosemary plant going, take a cutting or two, root it, and grow it through the winter, and then you’ll have this plant to replant outside in the spring. Anyone can use this method to overwinter their rosemary, but it’s especially recommended for zones 5 and lower.
When is the Best Time to Propagate Rosemary from Cuttings?
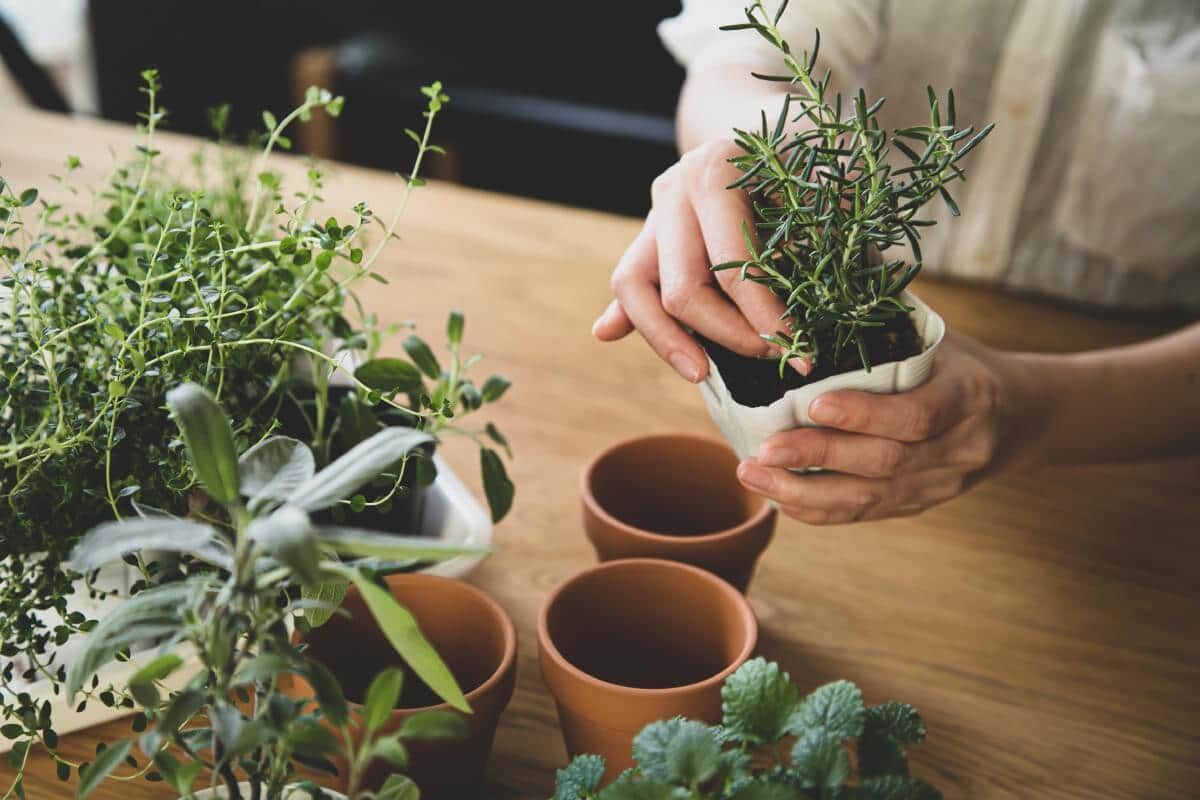
There are two times of the year that are best for taking cuttings for propagating rosemary—in the fall or in the spring. A lot depends on what your goals are and why you are taking the cuttings. That said if the rosemary is growing and has leaves on it, even if it is not the “best” time of year, you can still take some cuttings and your propagation will probably be successful (just note that in the ground rooting is more difficult in the hot, dry extremes of high summer).
The advantage to taking cuttings and propagating new rosemary plants in the spring is that the plant is geared up and very actively growing. This should speed new root formation. You also have the advantage of just being able to stick the cuttings in your desired growing pot or straight in the ground and not having to replant or transplant the young plant later.
The advantages of propagating rosemary in the fall are that you can start plants to keep inside for fresh herbs all winter long, establish larger plants for planting outdoors next season, and, as previously mentioned, save a plant that would otherwise die and keep it going for next season’s planting—saving you the cost of having to replace your rosemary every year. Though plants tend to slow and prepare for dormancy in the fall, this often helps propagation because slower growth is more focused on root formation than the fast and furious stem and leaf production that is the hallmark of the growing season.
How to Propagate and Root Rosemary from Cuttings
Growing new plants from rosemary cuttings is a very simple process.
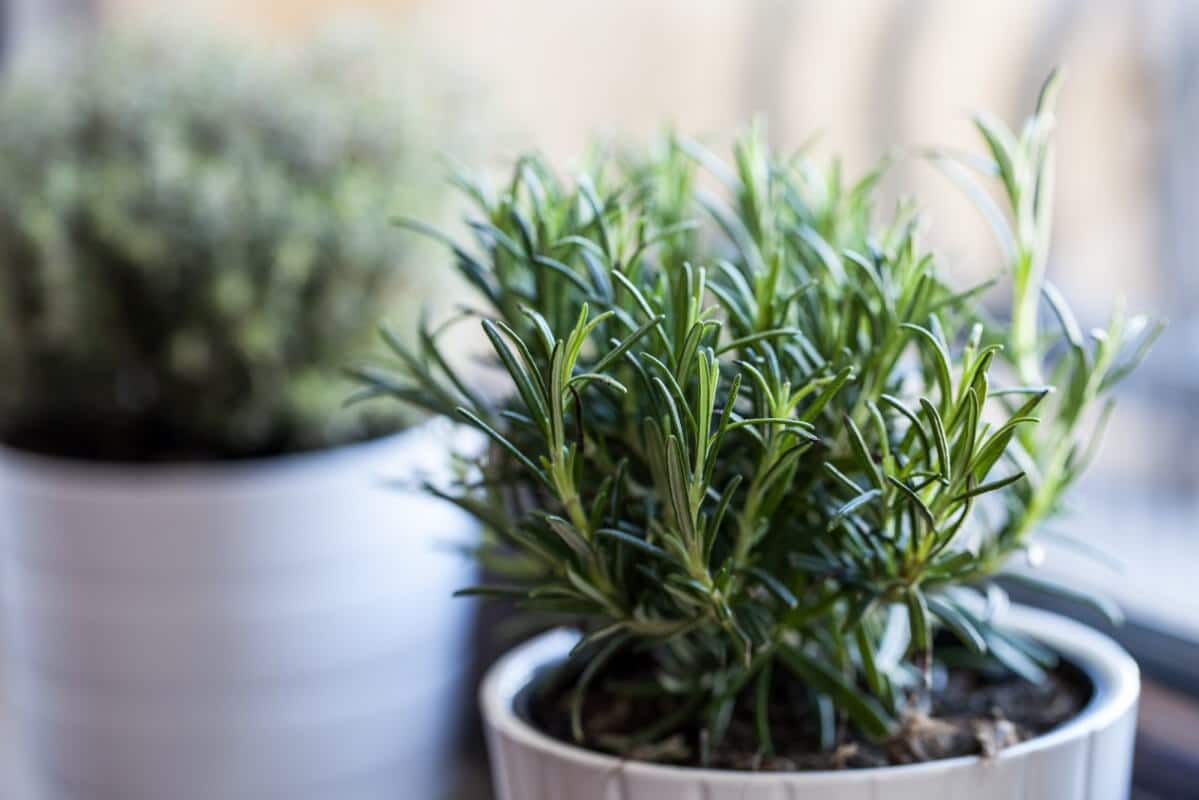
You will need:
- One or more pots (depending on how many plants you want to grow and if you want to pot-up and transplant the young plants after rooting)
- Sterile potting mix
- Rooting hormone (optional but highly recommended)
- Sharp scissors or cutters
The process:
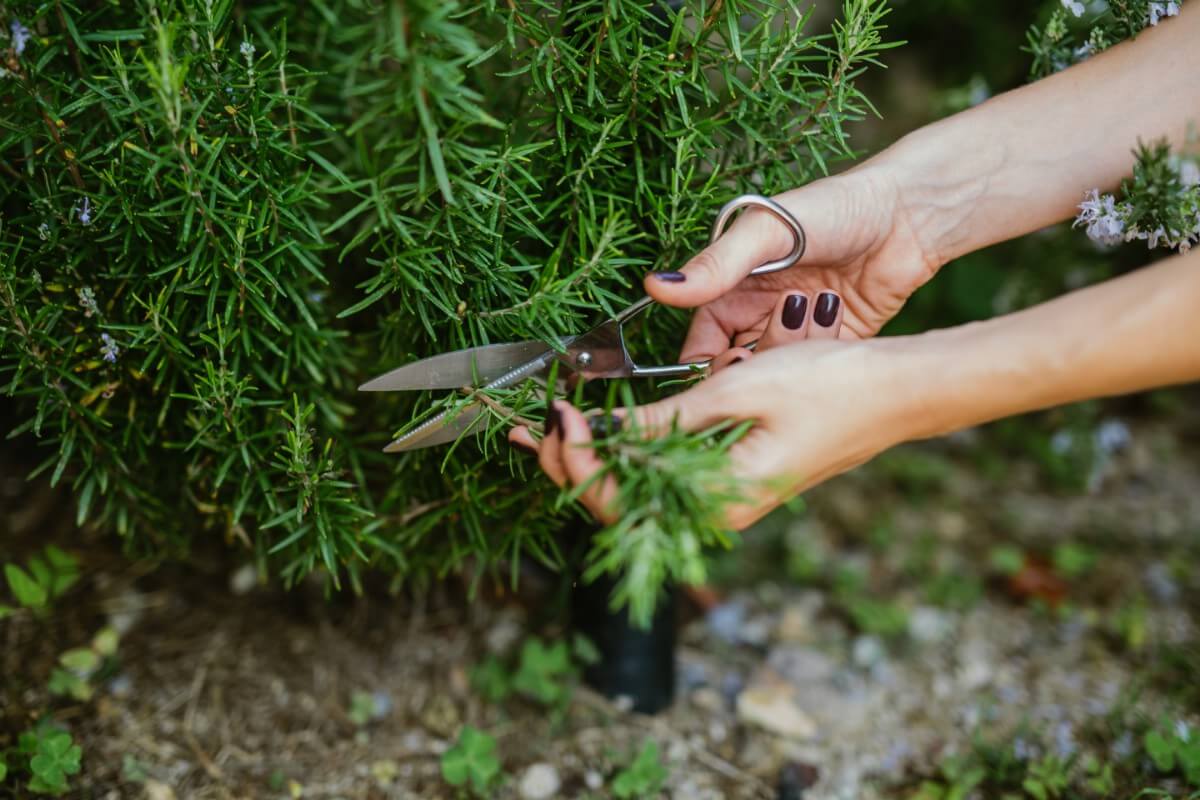
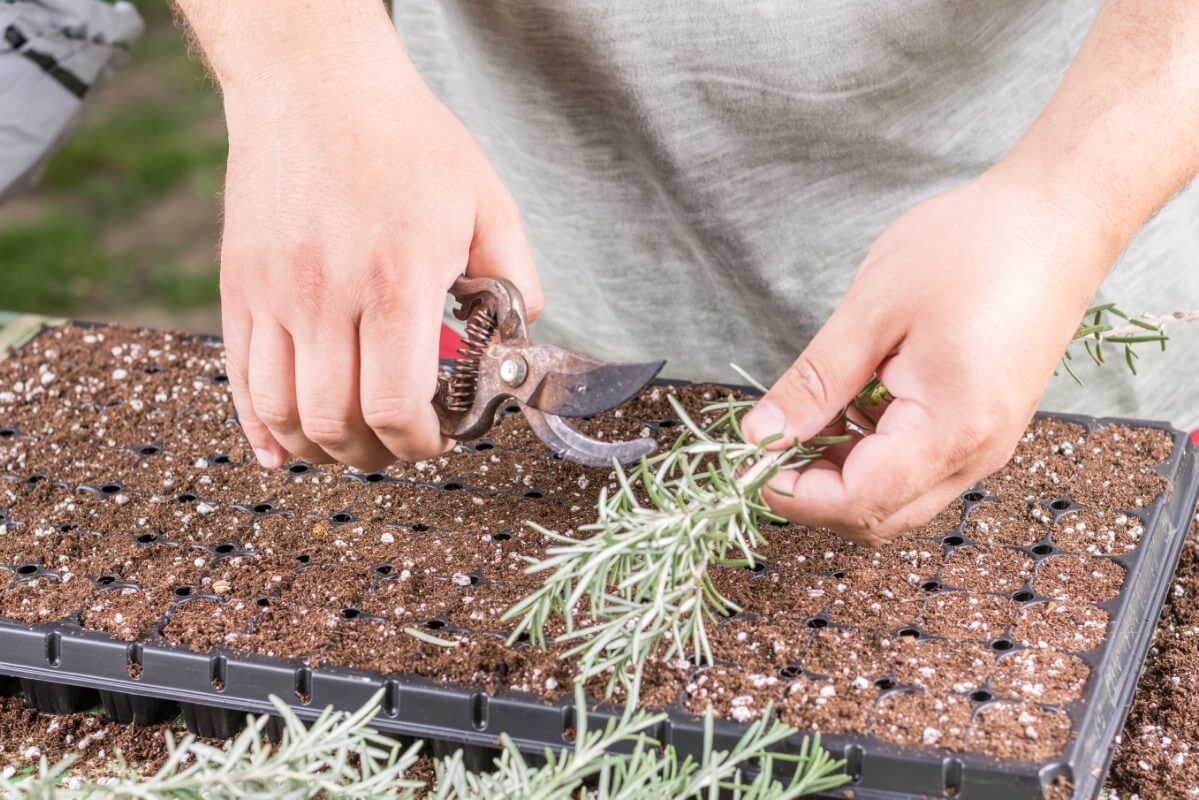
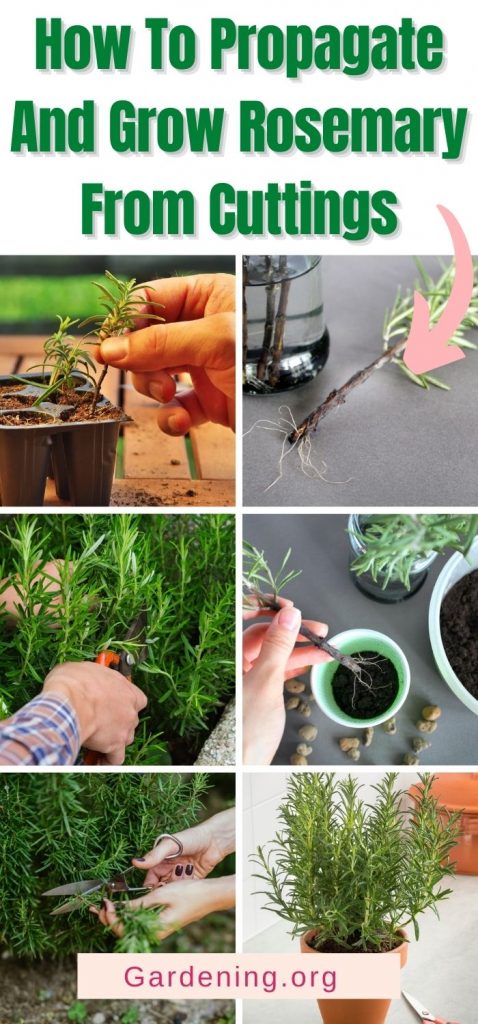
- Cut sections of rosemary from the parent plant. Cut from the tip end of a shoot of current growth—a shoot that has grown within the last year. Aim for sections about 6 inches long. If the stems are very long, you can take more than one cutting from the same stem; just be sure you keep the lower end as the bottom and don’t flip the pieces upside down when rooting.
One trick is to cut the bottom/lower end at an angle and the top end straight across—the pointed, angled end, therefore, is always “down”. The angle will also help “plant” the piece in your soil. You do not need to trim the tip of the rosemary unless you are cutting one stem into several sections. It is wise to start more cuttings than you need in case some fail.
- Prepare your pot(s). Fill your pot or pots with moistened potting mix (aka potting soil). You can plant one cutting per pot or you can plant several cuttings in one six-inch pot and then separate them and pot them up later after the plants have rooted.
The advantage of one stem per pot is that you do not have to repot later—you can start with your desired pot size; the advantage of starting several cuttings in one pot is that you can see which ones take and root and which fail or die off, and you won’t have wasted any time or materials on failed cuttings. It is also a space-saver to manage only one pot of cuttings in the early stage.
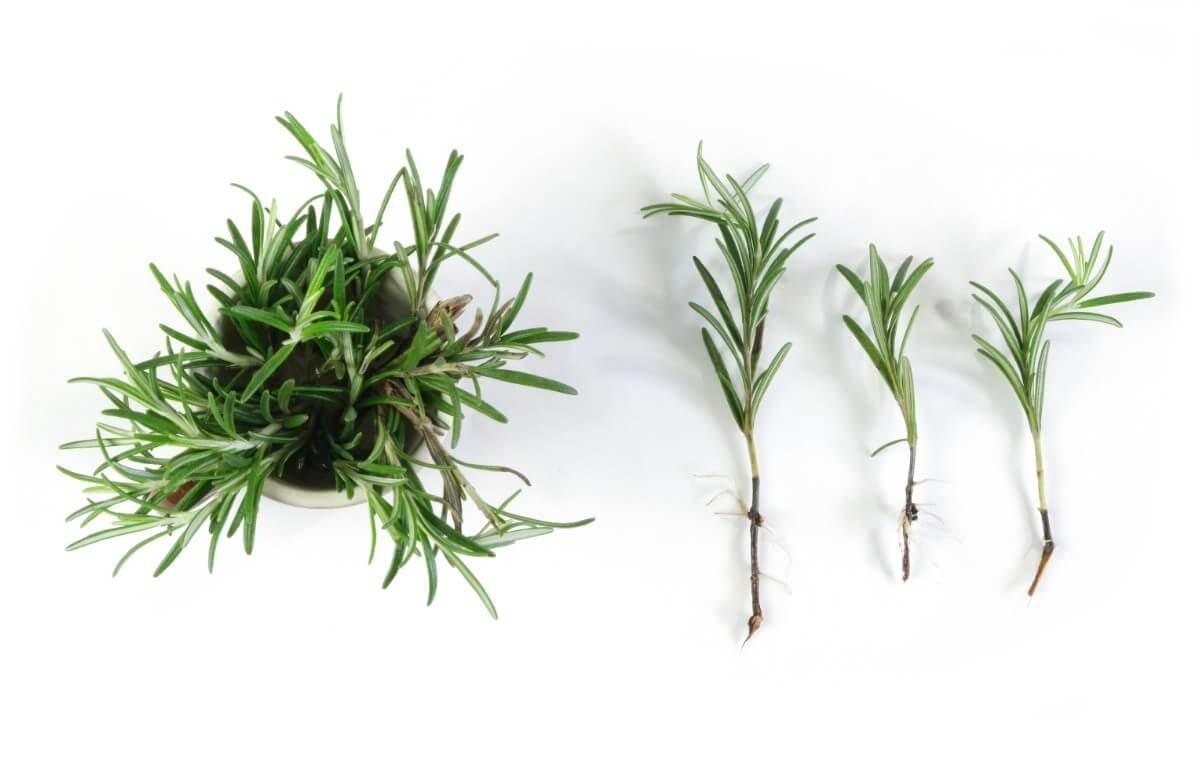
- Strip the lower leaves. Use your fingers and draw them firmly down the stem to strip the lower leaves. You want at least two inches of bare stem. You only need to leave a minimum of 3 or 4 leaf sets at the top—between one and two inches (and don’t be surprised if some fall off during rooting—that’s not necessarily a sign of death).
- Dip the cut end in rooting hormone. Powdered rooting hormone is easy to work with. Simply dip the bottom end of the cutting in water and then in rooting powder and tap to shake off the excess.
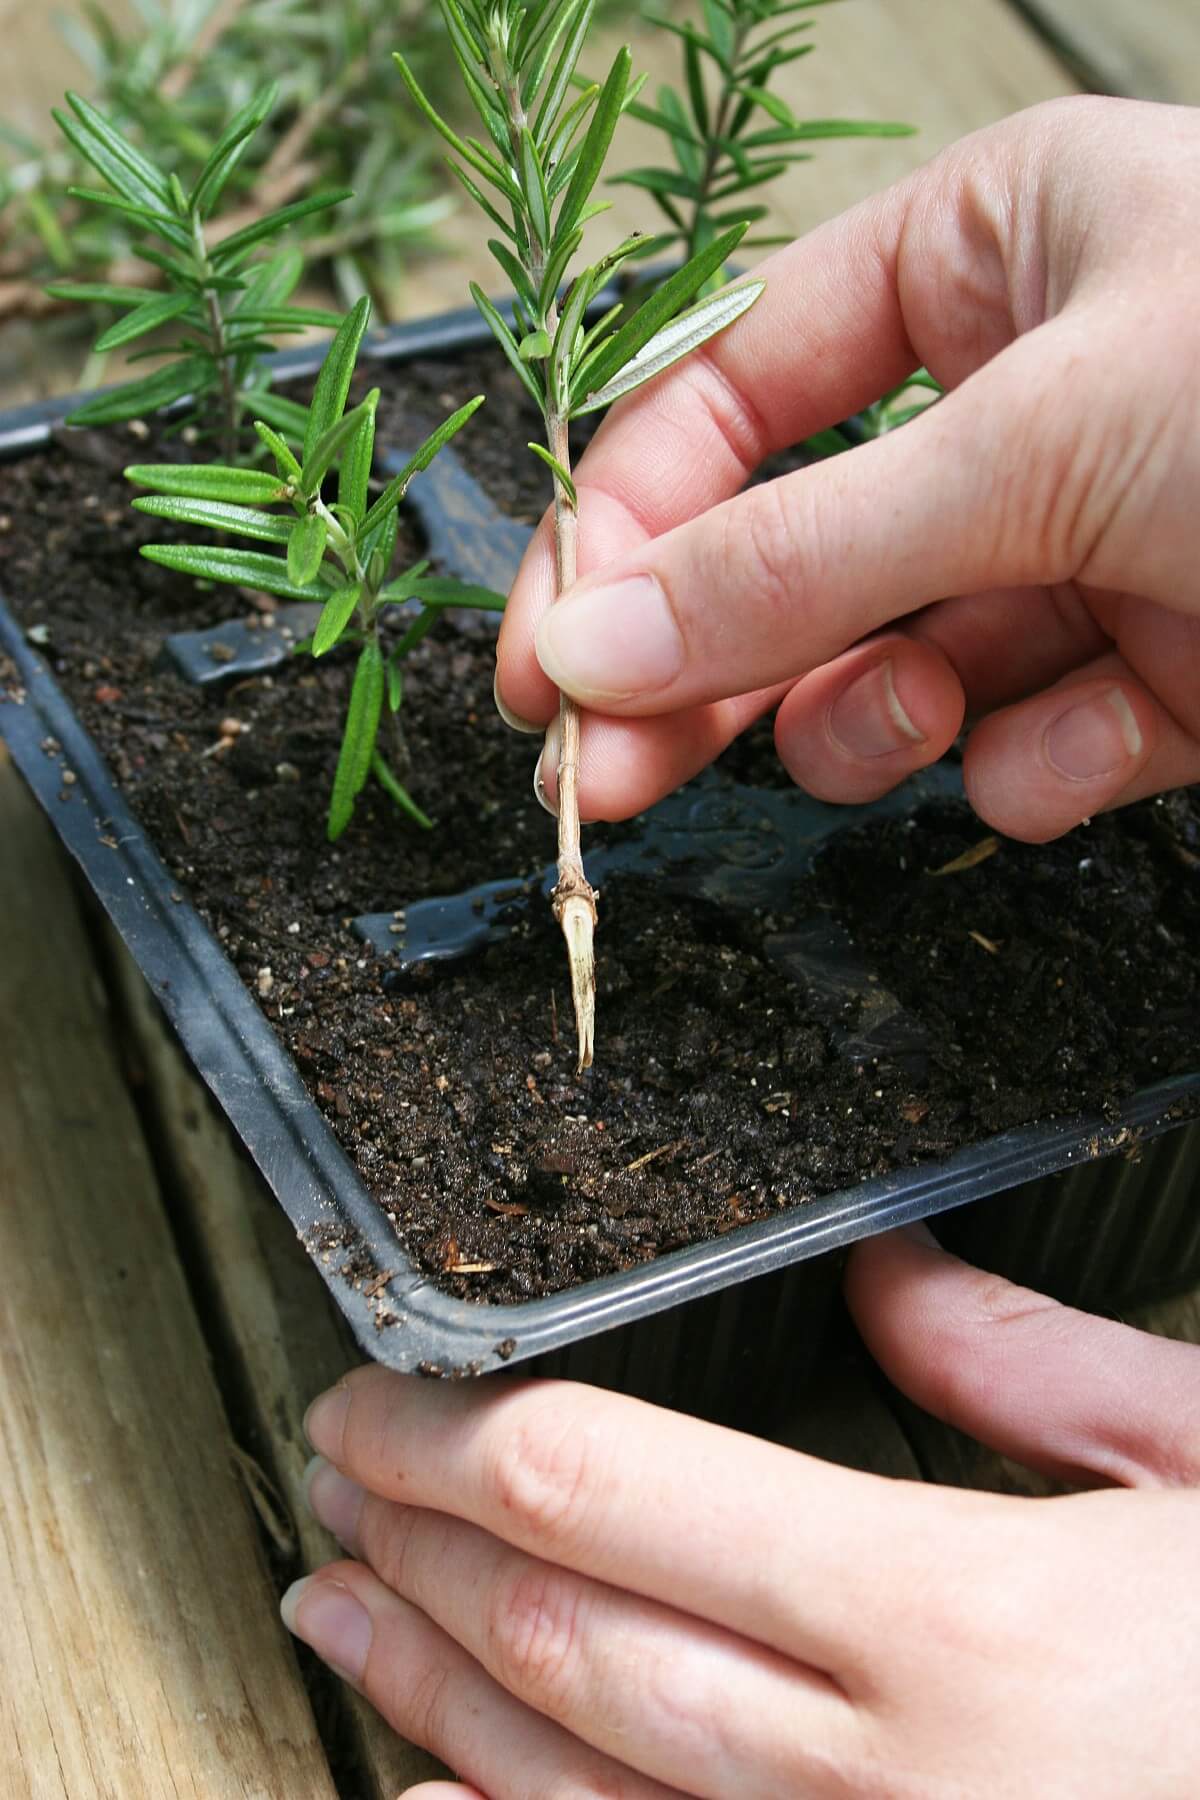
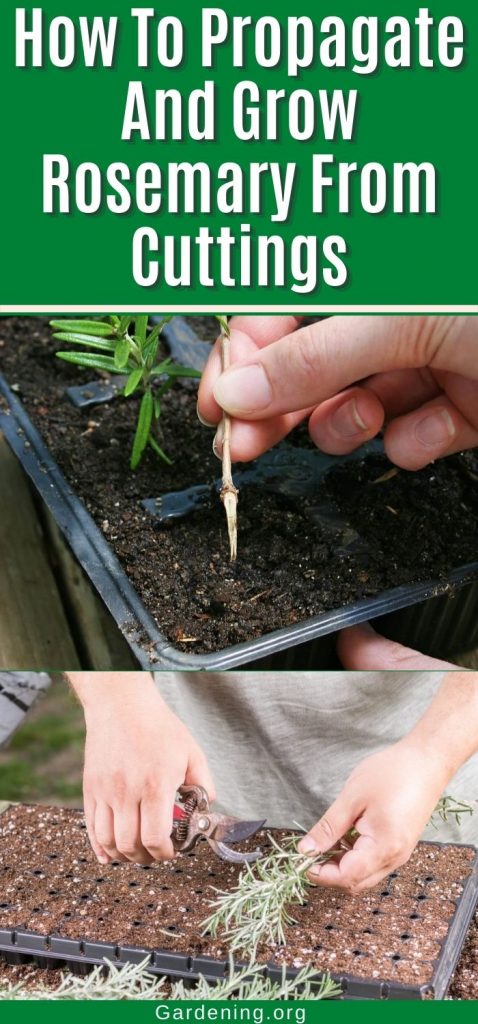
- “Plant” the cutting in soil. Use a skewer or pencil to make a hole in the soil, then sink the cutting down into the hole. If the stem is firm enough and the soil is loose enough, you can also just poke the stem down into the soil.
Your rosemary will root from the leaf nodes (the places where leaves were attached and growing before you stripped them). Make sure you are covering at least two sets of leaf nodes with soil (a set is the set of leaves on each side of the stem). It is better to treat and sink a few leaf attachment points to increase the likelihood of rooting. This is easy to do since rosemary leaves grow so close together. Make sure at least an inch of the stem is sunk below the soil’s surface. Pinch and tamp the soil around the cutting to ensure good stem-to-soil contact.
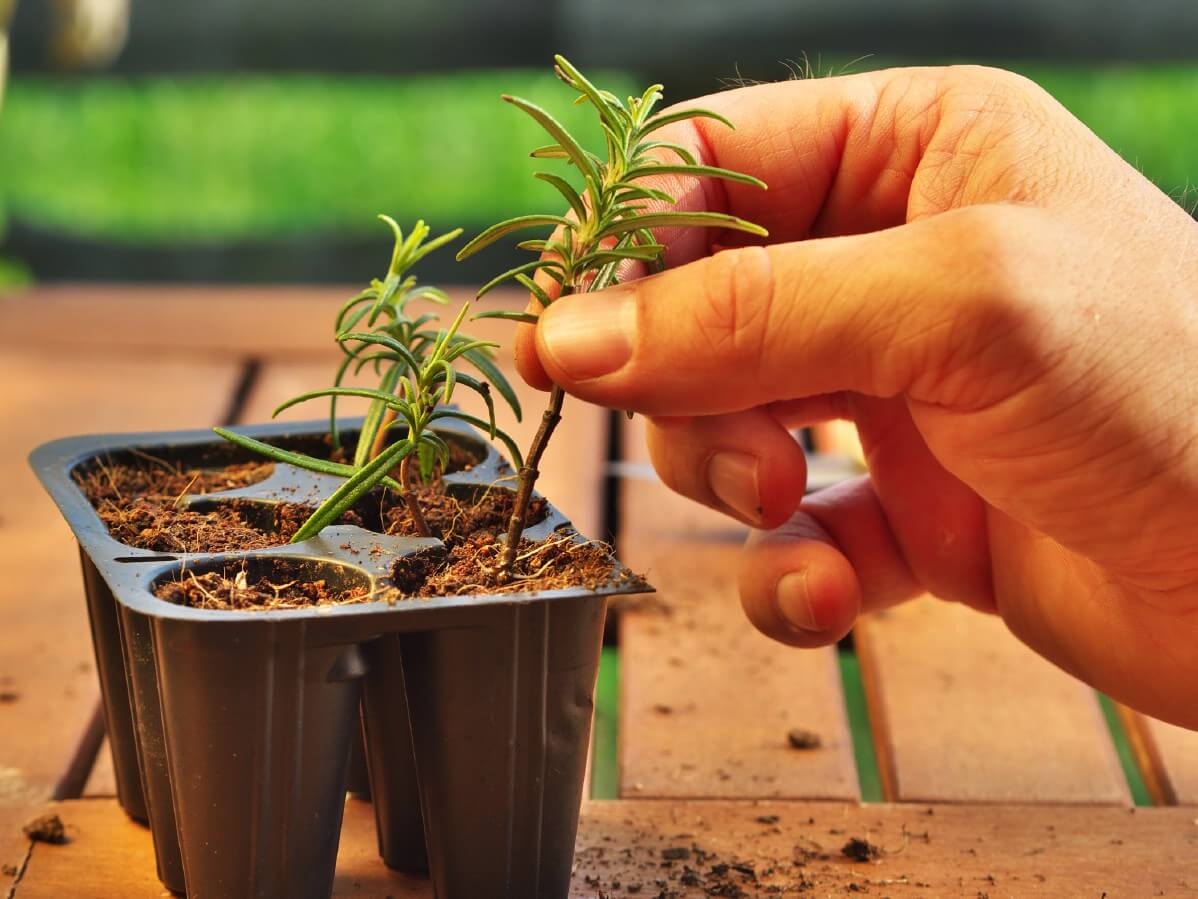
- Water the cuttings. Water the pot(s) of cuttings until the soil is wetted all the way through. Try not to over-water and don’t make mud, but make sure that the soil is wet from top to bottom for this first stage.
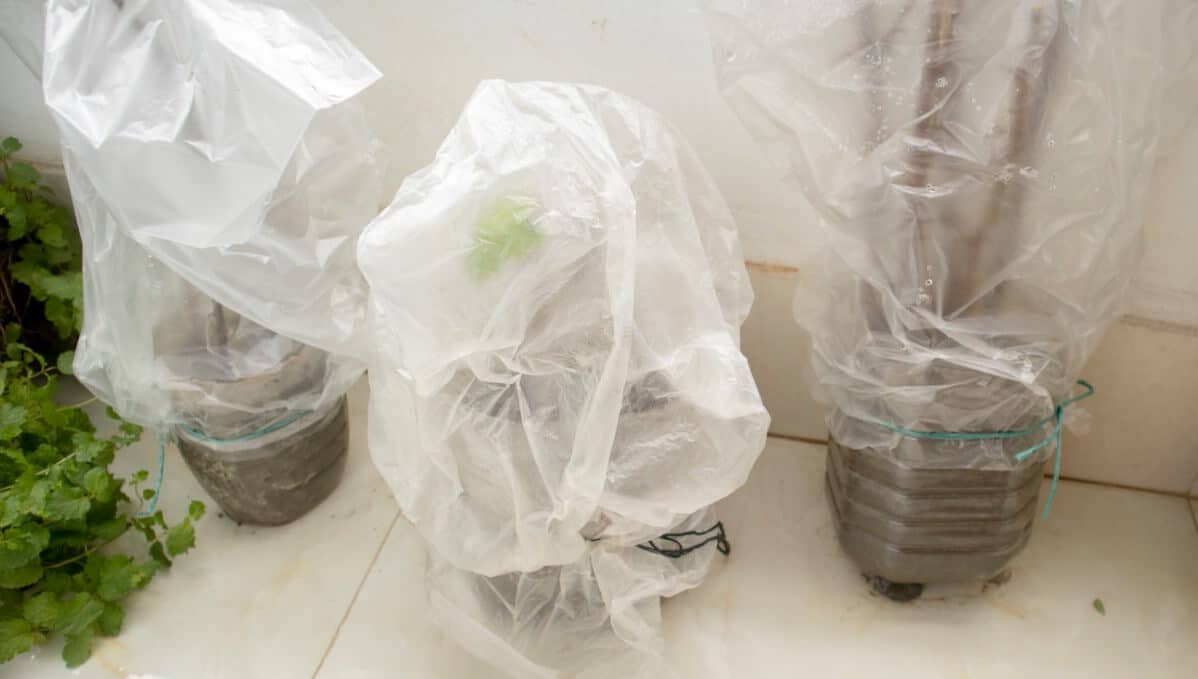
- Some consider this step to be optional, but covering the cutting with a loose, clear plastic bag is a bit like creating a mini greenhouse and will help keep humidity in the pot, keep the remaining leaves and the stem hydrated, and maintain a higher level of moisture that cuttings need while rooting.
Remember that you will have just deprived the cuttings of their ability to uptake water from the roots and so until roots are reestablished, it will be very easy for these plants to dry out. Rosemary in particular is notorious for drying out when grown inside, even when soil moisture is adequate, so covering your new cuttings while they root is especially important for rosemary—more so than for other plants and cuttings.
Tips for Taking Good Cuttings
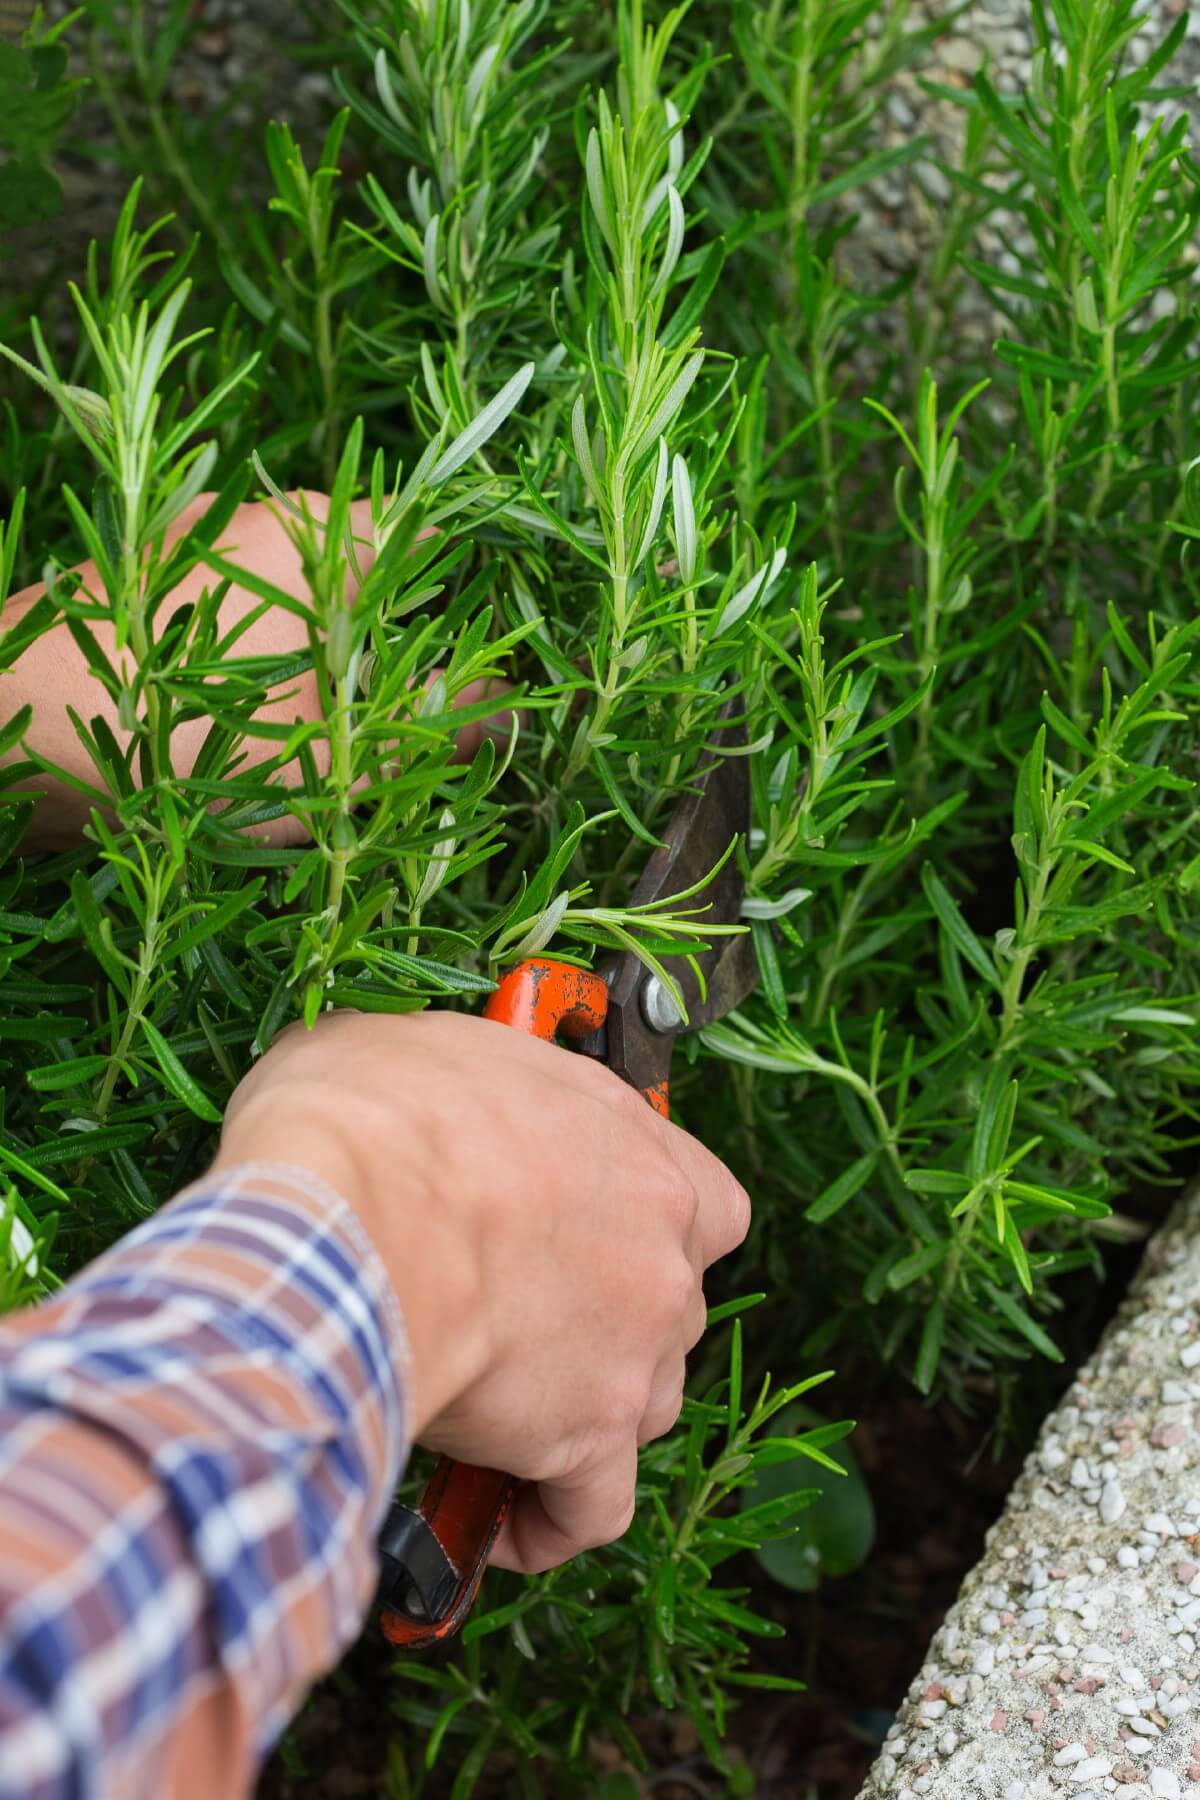
- Use clean, sharp scissors or cutters. Shaggy, damaged stems can cause problems and invite death at parts of the stem where you need to maintain a healthy life. Clean and sanitized cutters will not spread disease.
- Take cuttings from newer, fresher growth—from branches/stems that have grown this season.
- Cuttings are best if the stem is a little on the green side and not too woody.
- Stems should be somewhat flexible and should not break when gently bent.
- Take cuttings from healthy, pest- and disease-free plants.
- Angled bottom cuts help work cuttings into soil without damage and help you remember which end is down.
- For a healthy, pest-free start you can dip or spray the entire stem with a solution of Neem oil (or ready to use Neem oil). Neem oil is a natural, chemical-free product that kills fungal diseases, mildews, problem pests, and more. This is especially helpful if you are taking cuttings from outside plants so that you do not bring pests like aphids indoors and so that you control common garden diseases.
Some Notes on Proper Pot Selection
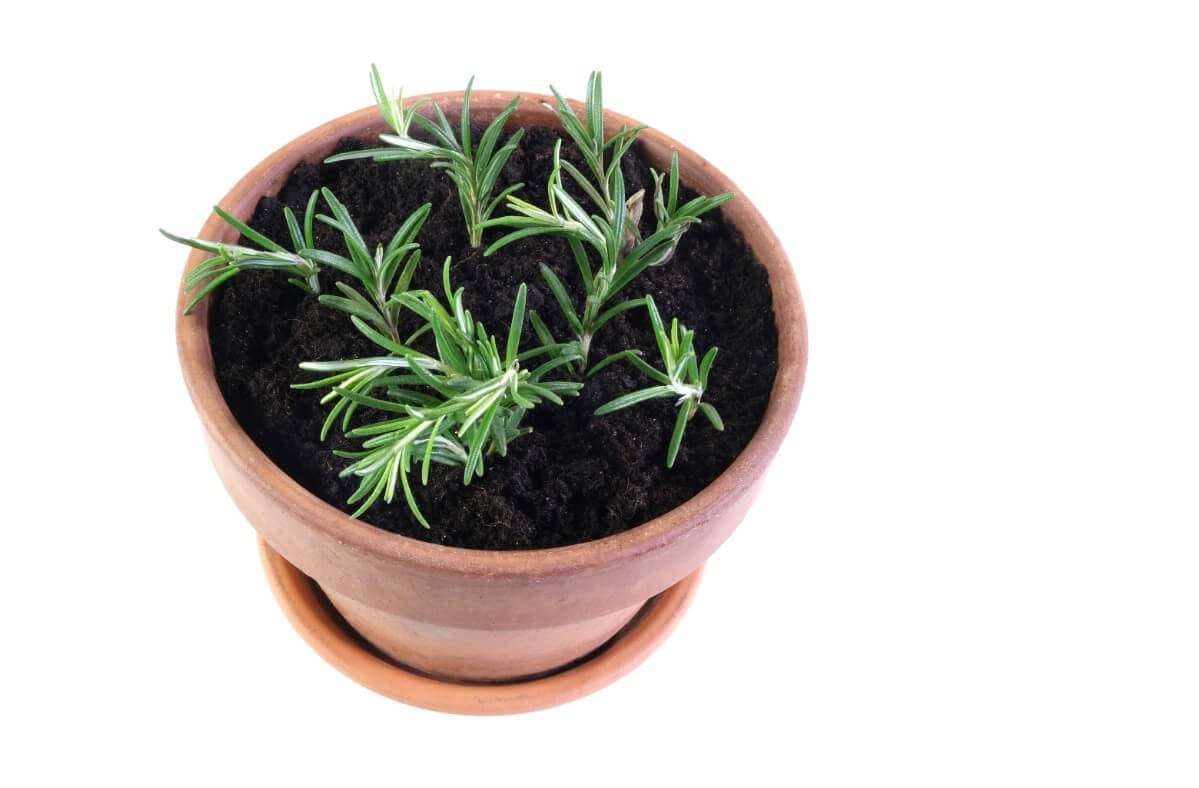
Rosemary does not like wet “feet” and so it is best to plant in a pot that can breathe and that will not retain too much water. Clay terra cotta pots are the best choice for propagating rosemary and for transplanting it and growing it on.
A good size pot for an indoor rosemary plant is four to six inches. If you have space to grow a larger plant, by all means, feel free to plant in a larger pot. The rule of thumb for rosemary is to use a pot as deep as the plant is tall—so a six-inch tall plant should have a six-inch deep pot. Limiting root capacity is one way to limit the size of the rosemary plant, so keep this in mind if space is a concern for your indoor growing.
For the rooting stage, you can start with the pot that you intend to keep the plant in, or you can start smaller and pot up. As previously mentioned you can start several plants in one larger pot and then prick them out and separate them to pot them up once you have seen which plants are thriving. If you do this plant in a circle around the outer edge of the pot and leave a couple of inches between shoots.
The soil you use in your pot should be a good, light sterile potting mix. As rosemary is a Mediterranean plant not accustomed to heavier, loamier soils, it often prefers something more on the lighter and better-draining side (read: sandy). It is a good idea to mix some clean sand into your rosemary’s soil. Around 25 to 30% sand is a good mix. Mixing in perlite is also an option. Be aware that sandier soils dry out faster (which is why the dry-loving rosemary plants like them) and keep this in mind for watering.
The real key to successfully potting rosemary is drainage. Always make sure the pot you choose has a drainage hole to allow excess water to drain out. You may also line the bottom of the pot with small stones or pebbles to increase drainage.
Rooting After-Care
Now that your cuttings are prepped and planted, how do you care for them as they root and prepare to grow?
For the first one to two weeks you want to keep your plant out of direct sunlight. While normally sunlight is necessary and recommended for growing rosemary, at this point we are focusing on root growth, not leaf production. Keep your plant in a slightly cooler (not cold) area away from the bright light of windows and doors.
Keep the plastic bag “greenhouse” covering on your plant for this time but remove it periodically for a few hours to allow the plant to breathe. A daily breather is a good idea but if you find this schedule difficult to stick to every few days will suffice.
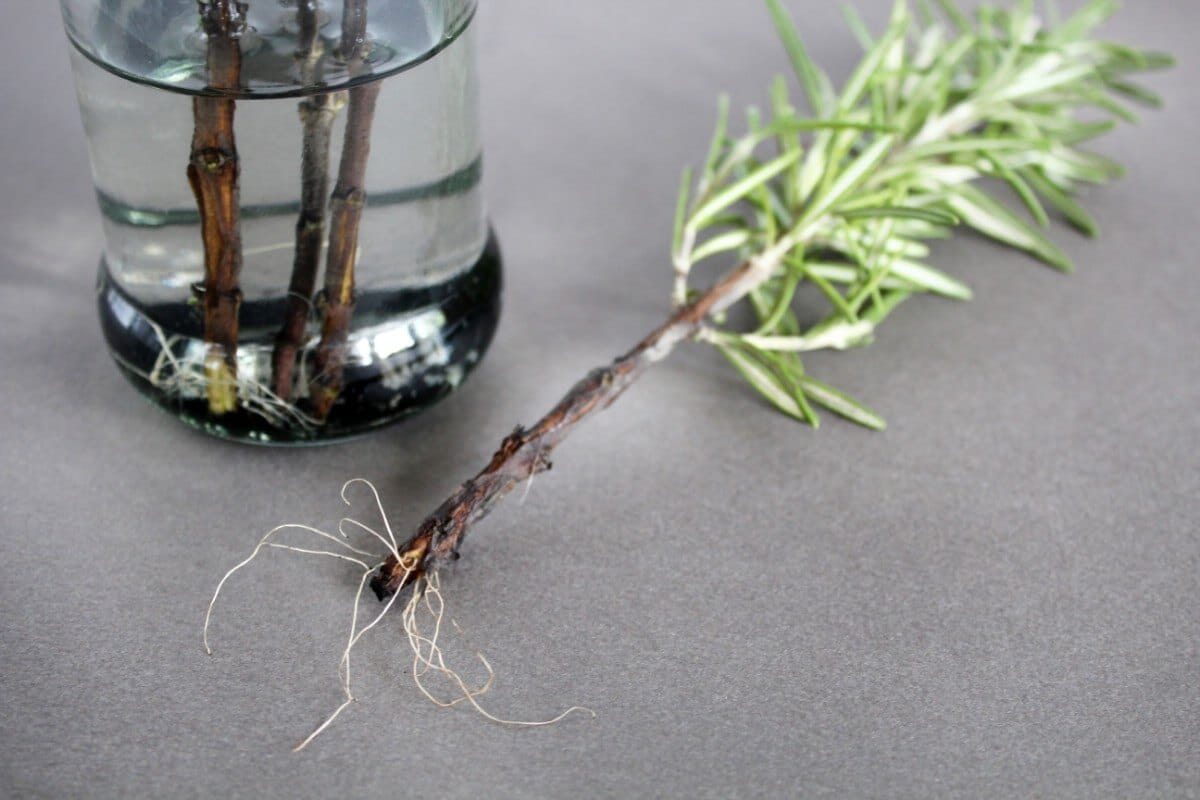
In general, an indoor rosemary plant should only be watered once every one or two weeks. This depends on indoor conditions and how fast your plant dries out. During the rooting stage, however, you may need to increase the watering interval to once or twice per week. The goal is to never let the rooting soil dry out completely, but never let rosemary soil be soggy. Water your rooting rosemary when the top of the soil is dry to the touch.
Willow water (a garden tea made from steeping shoots of willow in water) is a natural rooting solution. It can even be used in place of rooting hormone. While using willow water is not critical, if you have some willow twigs available to you watering periodically with willow water can enhance root formation.
Your rosemary plants should be rooted after about four weeks, though it may take up to eight weeks for roots to form. One way to tell if your rosemary cuttings have rooted is to gently tug up on the stem. If the plant has good roots you will feel resistance and it will not pull out of the soil. If it comes up freely, it does not have adequate roots. In shallower pots, you may also see roots emerging from drainage holes and this is a sure sign of both root formation and the need for either root pruning or a larger pot.
After the first two weeks, you can start to increase the light your rosemary cuttings receive. Definitely move your rosemary to a brighter home once roots have formed.
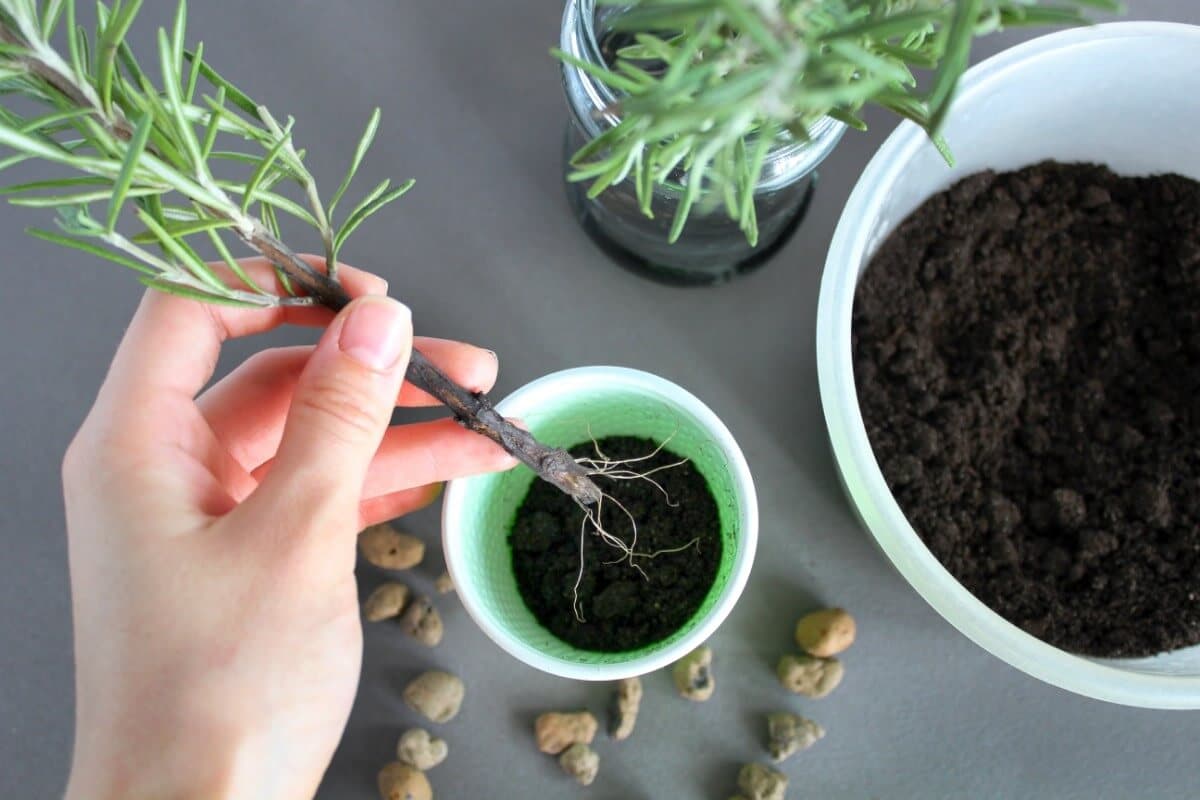
Now that roots have formed, this is the time to separate and/or pot up your rosemary plantlings into their long-term or next-phase growing pots.
Rosemary Growing Preferences
Now that your rosemary can officially be considered an indoor plant, how do you care for it?
Light Requirements for Rosemary Indoors
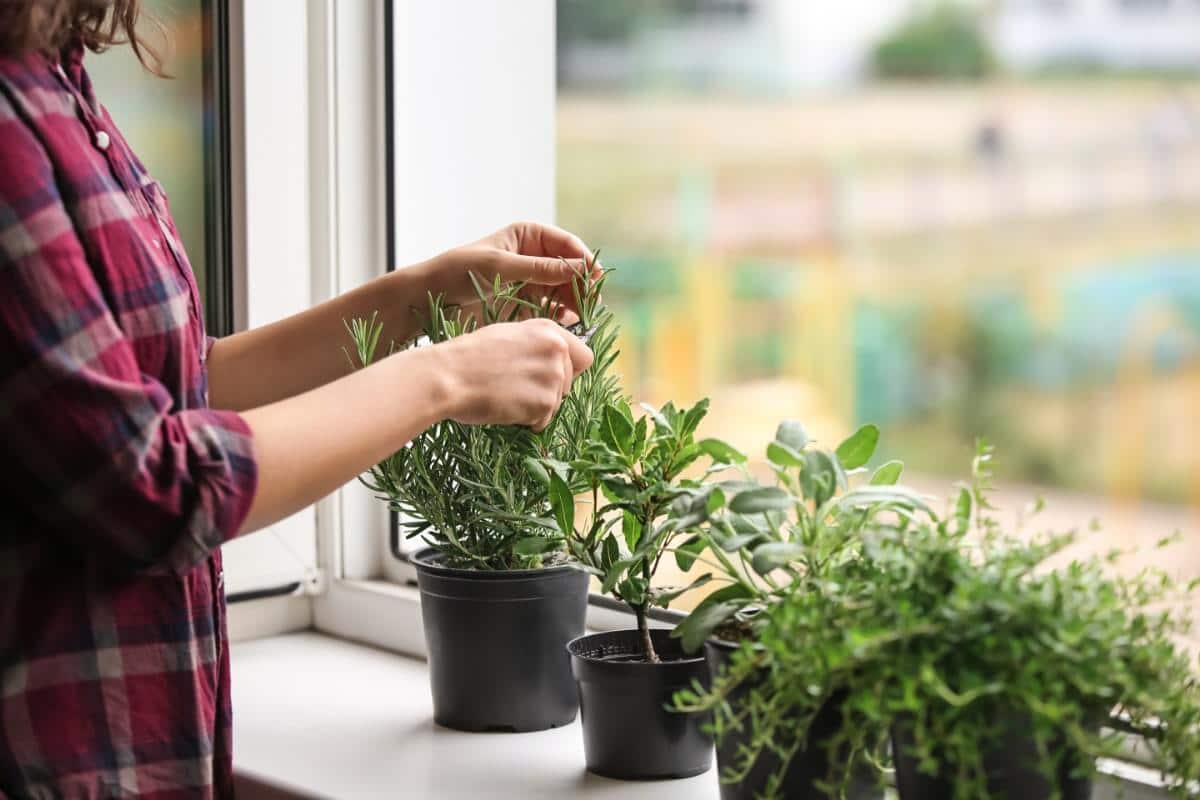
Rosemary in its growing phase has high light requirements. After your cuttings are rooted and in their long-term or next-stage growing pots, you will need to increase their light exposure. Give your rosemary at least six to eight hours of bright light per day.
Your brightest window can make a nice, light-filled home for your rosemary plant. Do know that you may also have to provide supplemental full-spectrum light if your natural lighting is not adequate. Observe your plant and if it is leggy, yellowing, or generally not growing and thriving, increase the light it receives. A grow bulb in a nearby lamp may suffice.
Watering Rosemary
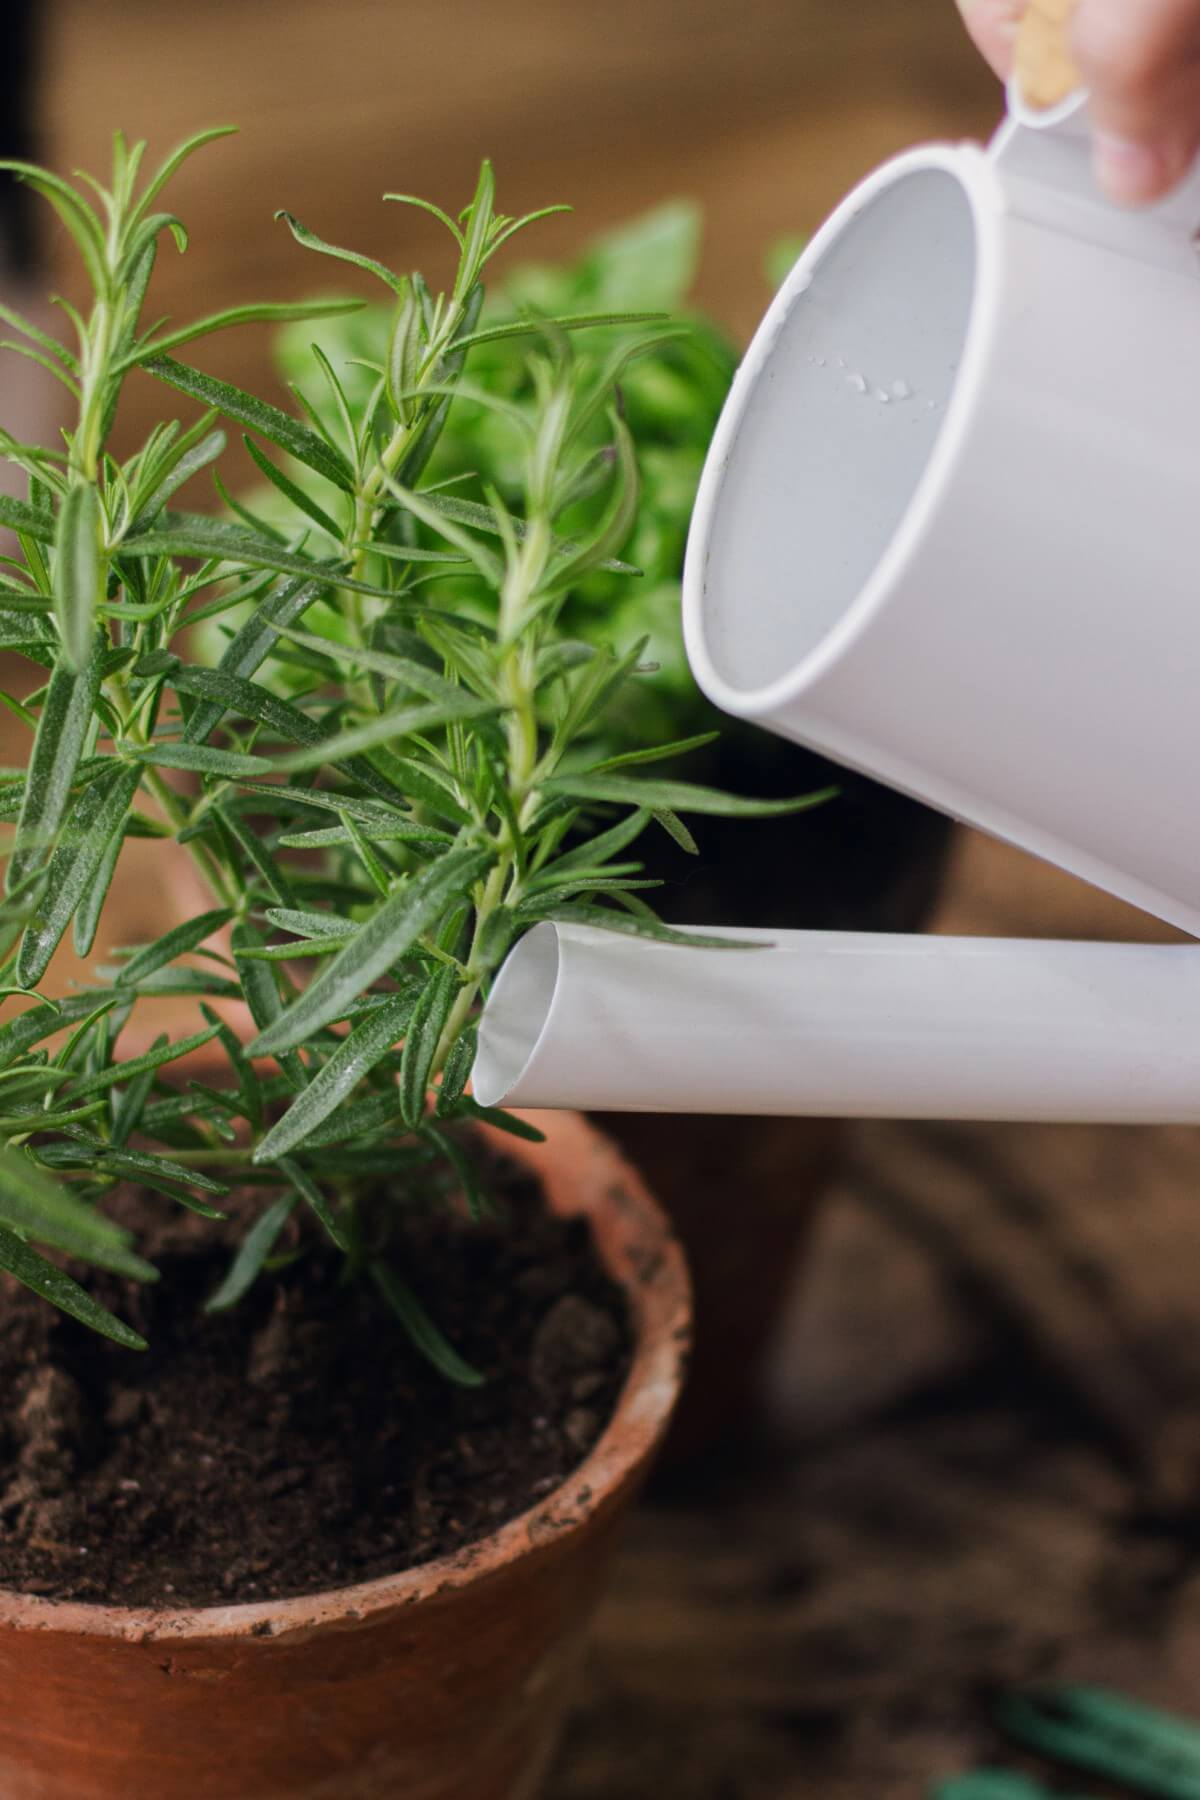
One of the most common causes of failure-to-thrive in rosemary plants is a watering issue. Rosemary will not do well in soil that is too moist. Let your rooted, growing plants dry out between watering (not to the dry and powdery stage, but to the spongy-dry soil stage). For rosemary, it is important to know that overwatering is much worse than underwatering and its roots will easily rot if kept too wet. There is a balance to strike, though, and if your plant is too severely underwatered the roots will die back, will be unable to support the plant, and your rosemary will die.
Also understand that the growth of your rosemary being grown inside and through the winter will be slower. Its water use will also be slower. You will not have drying outdoor elements like high sun, heat, and wind to contend with. This means that the watering schedule you maintain for your outdoor plants will be different for your indoor rosemary and you need to let the plant and your conditions be your guide.
Managing Rosemary Humidity Indoors
Humidity control is important for rosemary. This is related to watering but is a separate condition that needs to be attended to on its own.
Rosemary is considered an “upside-down” plant. This means that it would rather take its moisture from the top side than the bottom side—from its leaves and moisture from the air rather than from its roots and soil. This is why rosemary does not do well with wet feet. Rosemary developed in a moist sea-side Mediterranean climate in sub-par soils where moisture is more available from the air than from the ground. It needs our help in recreating this environment for it.
Instead of leaning toward watering and moist soil as you might with other plants, create an environment that allows your rosemary to collect moisture from that environment. One way to do this is to keep your potted rosemary in a tray lined with pebbles and add water to the pebbles. The rosemary will collect the moisture as the water evaporates. The water level should not reach the level of the pot or its drainage holes so that it does not wick up excess water through the bottom. There should be no contact between the water in the tray and the plant’s roots or soil.
A second option is to spritz your rosemary plants regularly with a spray bottle of room temperature water. Do this every 7 to 10 days. Do not spritz the plant daily because that will keep the leaves of the plant too wet and can invite diseases like powdery mildew, which rosemary can be prone to.
Note that neither of these practices should replace watering—your rosemary plant will still need to be watered once every week or two (depending on conditions and letting your plant be the guide).
Use Your Plant to Promote Good Growth
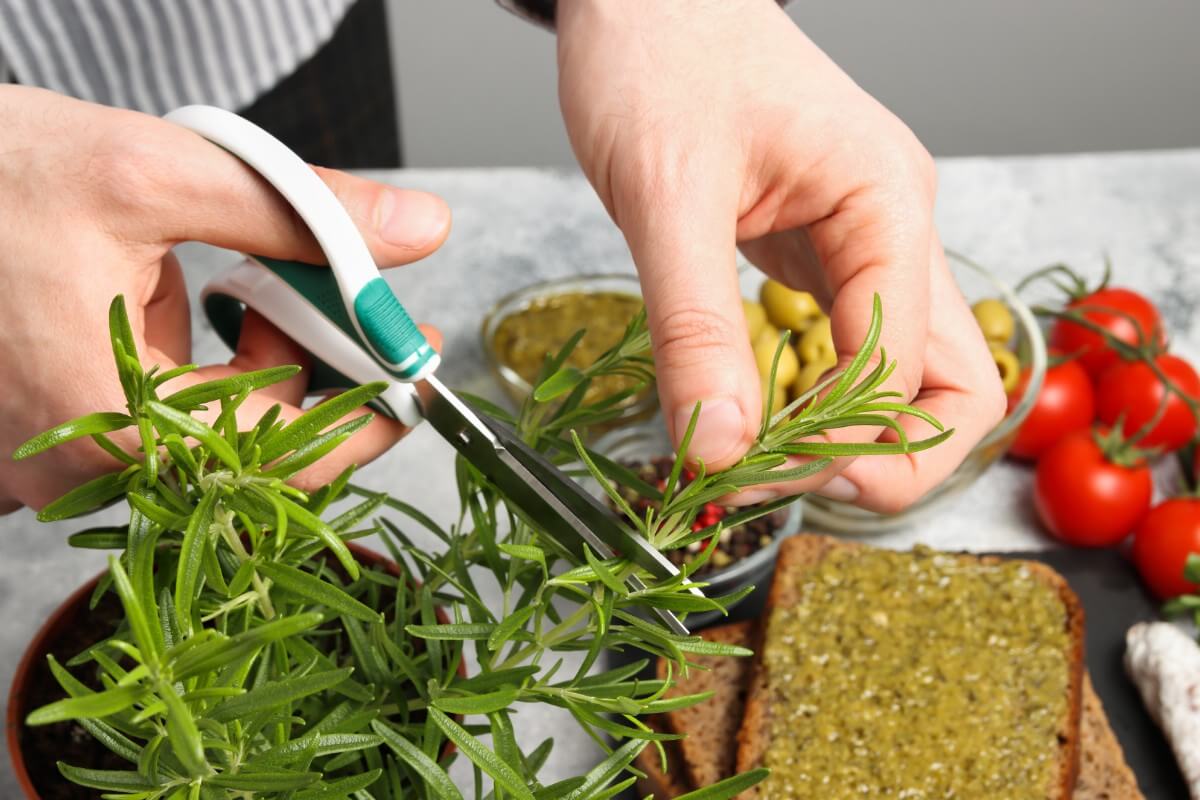
Frequent use and cutting promote a bushy habit in rosemary. Don’t be shy about using your rosemary that you are growing inside once it has a good amount of growth (at least four to six inches and more than three sprigs). Just be sure that you do not take away all its growth because like all plants, rosemary needs its leaves to photosynthesize and feed itself.
If you use rosemary heavily and have big plans for your indoor fresh rosemary through the winter, consider planting it in a larger pot that can support a larger plant and prolific growth.
Pests and Diseases of Rosemary Cuttings and Plants
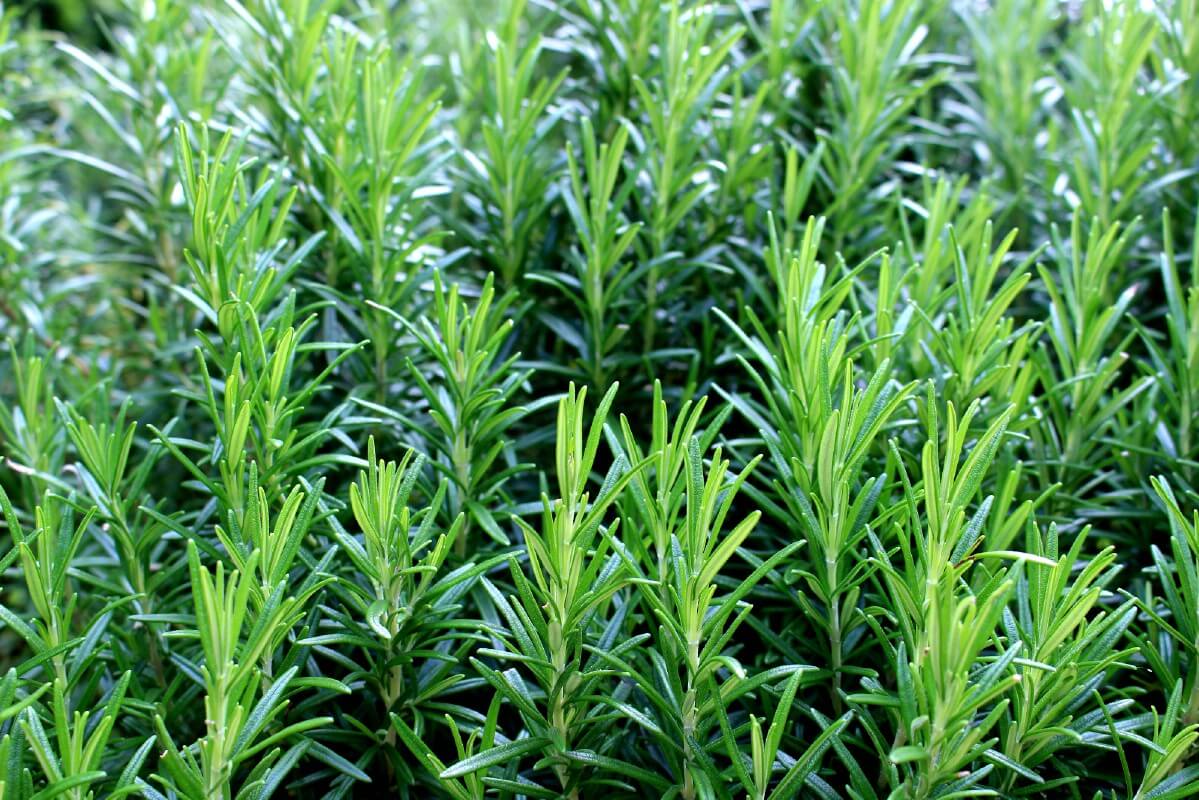
Rosemary is not commonly plagued by pests or disease but there are a few things that can cause issues.
As mentioned, rosemary can be prone to moisture-related diseases such as powdery mildew and root rot is a problem associated with wet soil. Powdery mildew is a disease that comes from too much moisture and humidity and it can sometimes be difficult to find the right balance when you are trying to provide the humidity the plant wants.
Aphids, spittlebugs, and whiteflies can sometimes be problems with rosemary pests.
All of these issues are fairly simple to manage. For powdery mildew or fungal disease, the key is pairing good air circulation with moderate levels of moisture and humidity. If needed, placing a fan near your plants (but not always blowing directly on it) is helpful. If you feel the room itself is too moist and the leaves or stem of the plant are constantly wet, move the plant to a less humid room. A bathroom or a kitchen, for example, may be too humid.
If problems do arise trim off affected areas and/or use a treatment of organic Neem oil. Neem oil (a naturally-derived plant oil from the Neem tree) will treat the pests that may infect rosemary but it is also a good, safe chemical-free treatment for powdery mildew and fungal diseases. Be sure to read the label before using it and use it according to label directions to determine application rates and dilution. You can also buy Neem oil in a spray bottle that is premixed and ready to use.
One of the best ways to manage both pests and disease when you are propagating rosemary from cuttings is to keep any outside problems outside. Spraying your clippings with Neem oil or dipping them in a Neem oil solution before bringing them inside should kill problem spores and problem pests. Once inside, without new populations, those pests will be easier to control. Bugs and diseases can also infect other indoor plants.
Though Neem oil is recommended where there are other products that can treat these diseases. Do read labels, research, and follow label directions. Treat problems as soon as they arise, especially for new plantings. Rosemary that is weakened by pests or disease is more likely to fall victim to them and the cycle can become an endless circle if left unchecked. If any of these problems present themselves on outdoor plants, the same treatment can be used.
Fertilizing Propagated Rosemary Plants

While indoors, your rosemary will need very little fertilizing (in fact even outdoors its fertilizer requirements are low). Often the fertilizer in your potting soil mix will be enough to carry it for months, and possibly through the entire winter. Your propagated rosemary will not need any fertilizer until it is rooted, planted, and actively growing.
The best way to determine when to fertilize indoor rosemary plants is to observe them. If the plant is yellowing or is not growing, you may apply a dilute water-soluble fertilizer or indoor plant food once every four to eight weeks. As a plant that is basically all leaves and green growth, nitrogen is the nutrient source to focus on for rosemary.
You may also choose to give your plant a dose of fertilizer about a month before you move it outside. Stop fertilizer application during the hardening-off phase, though. Also, note that the signs that indicate fertilization may be warranted are also indicators of low light conditions. Between the two, attend to light issues first if you are troubleshooting.
Moving Indoor Rosemary Plants Back Outside
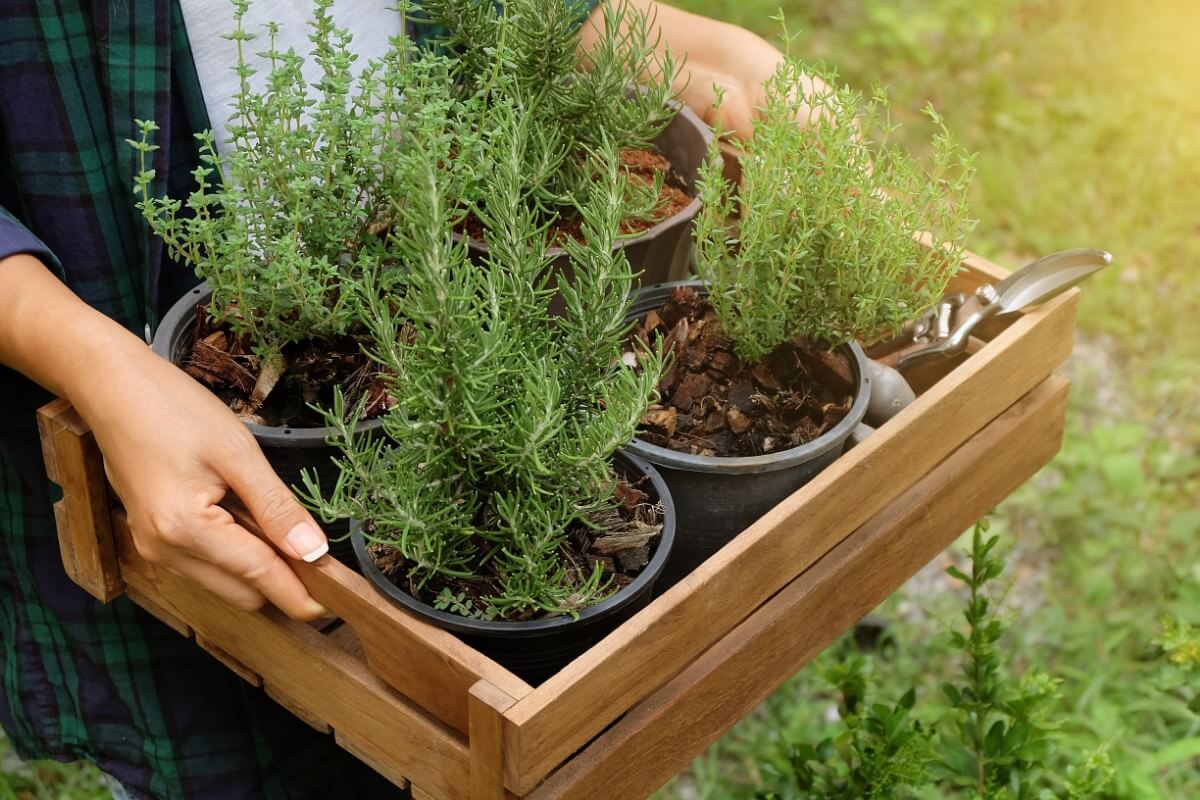
Moving your rosemary plants back outside—whether you are just moving a potted container to a deck or garden area or you are transplanting your propagated plants into your herb garden—is not unlike moving other plants and seedlings outdoors. The key is a gradual introduction to withstand the elements of outdoor, less protected, less controlled living.
Like all plants, rosemary should be hardened off https://gardening.org/hardening-off-garden-transplants-steps-benefits-and-how-to-do-it/ before it is taken to its permanent outdoor home.
Good Uses for Rosemary
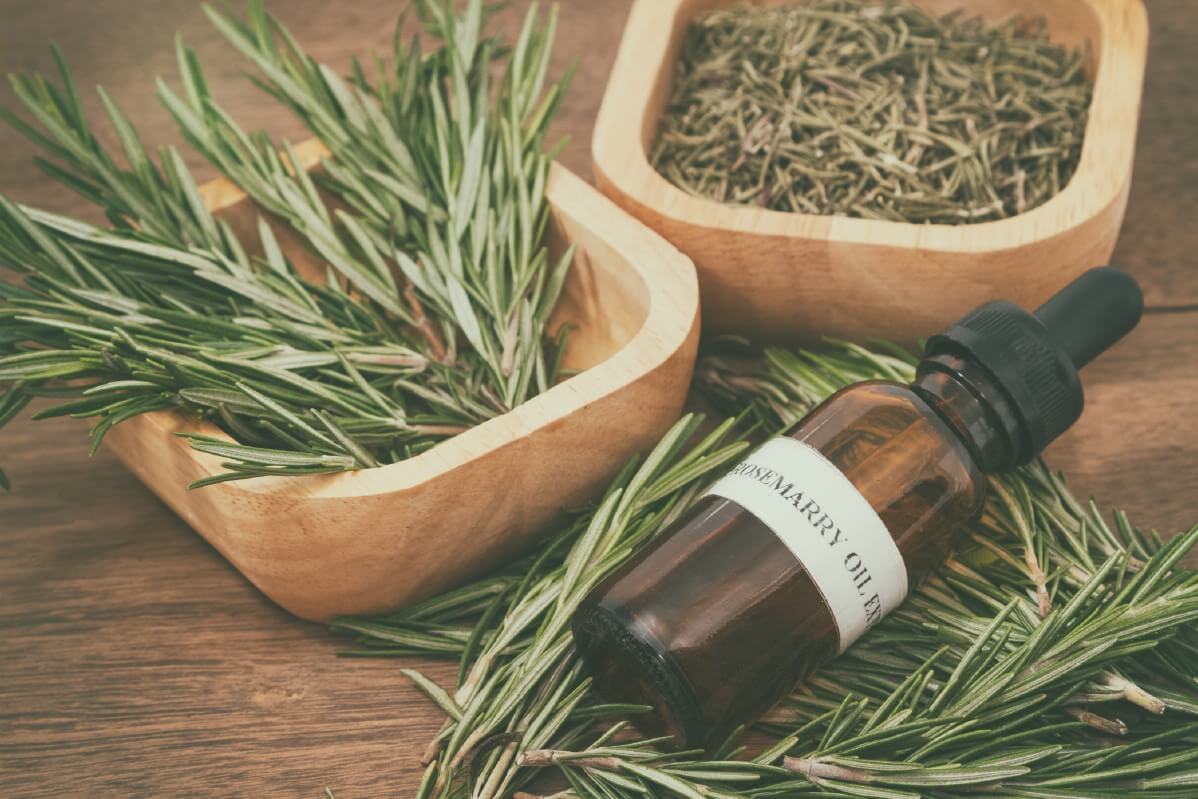
Rosemary is a lovely herb with a variety of uses. It is, of course, a culinary favorite. You’ll enjoy having fresh plants to use all year round. Rosemary holds up well under heat so it is a great flavoring for meats, stews, baking, and roasting. Rosemary-infused cooking oil is a treat, too (just heat oil with sprigs of rosemary for ten minutes, then cool and strain).
Rosemary also makes wonderful sachets and potpourri. It pairs well with mint and thyme. Rosemary potpourri or sachets will nicely freshen a room or can be used in drawers and closets.
Rosemary in a warm bath is relaxing and enjoyable, too. Just steep leaves or sprigs in hot bathwater for ten minutes, let the temperature come down, bath, and enjoy.
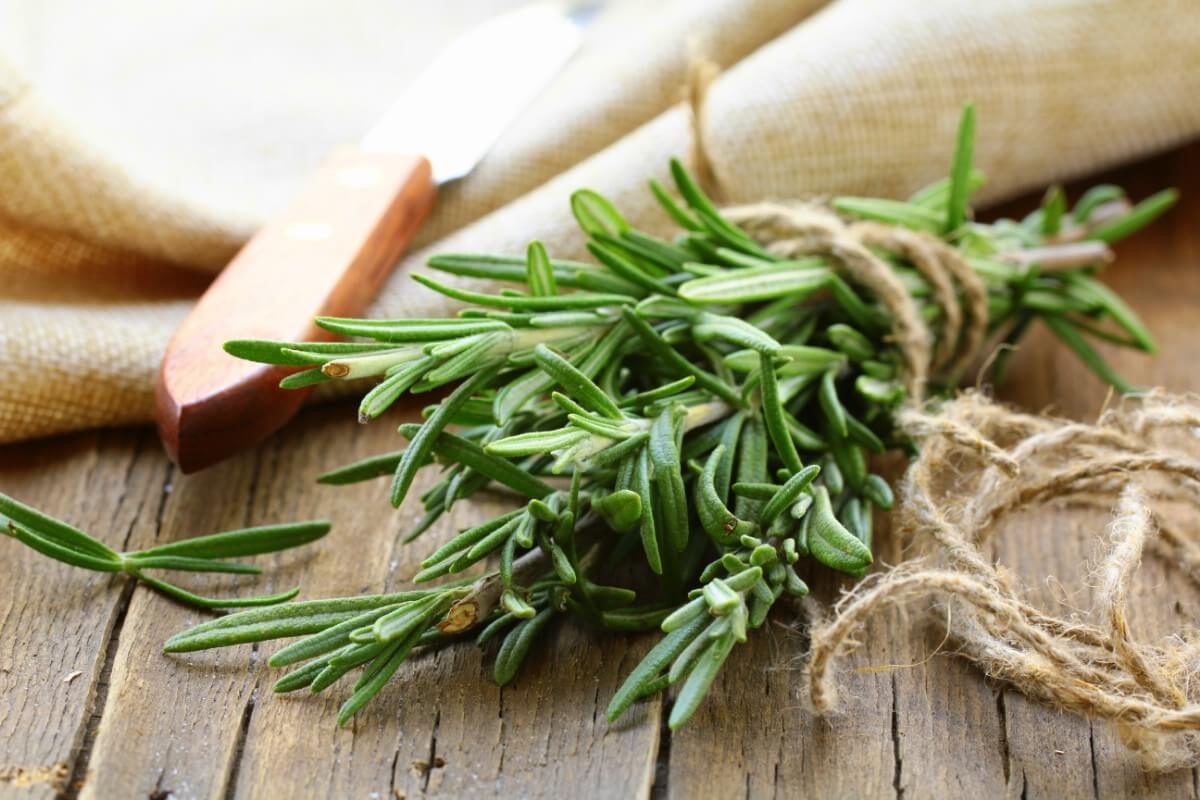
Versatile and delicious, savory, fragrant rosemary is one plant you will enjoy growing and using, indoors and out, all year long.





Julie Loh
Very good explanation
I am so happy to hear from you
Thoko
Very informative, thank you.
Taneesha Alwani
your blog always helps me to understand better about the plants that you share.
Thanks for updating with new varieties.
Shyamadas Banerji
Very informative. Particularly not to to over water which happens as my Rosemary plants are mixed with other plants which require water. best place to grow is on slopes where there is natural drainage and hence no wet feet . In San Francisco rosemary grows with wild abandon , particularly the creeping variety .