If you are longing for some fresh garden produce – if you’re stuck inside because everything is covered with ice and the wind chill is 18 degrees below zero – if the pictures of tasty heirloom beans, peas, lettuces, and strawberries in the seed catalogs are driving you crazy – then you should grow an indoor garden.
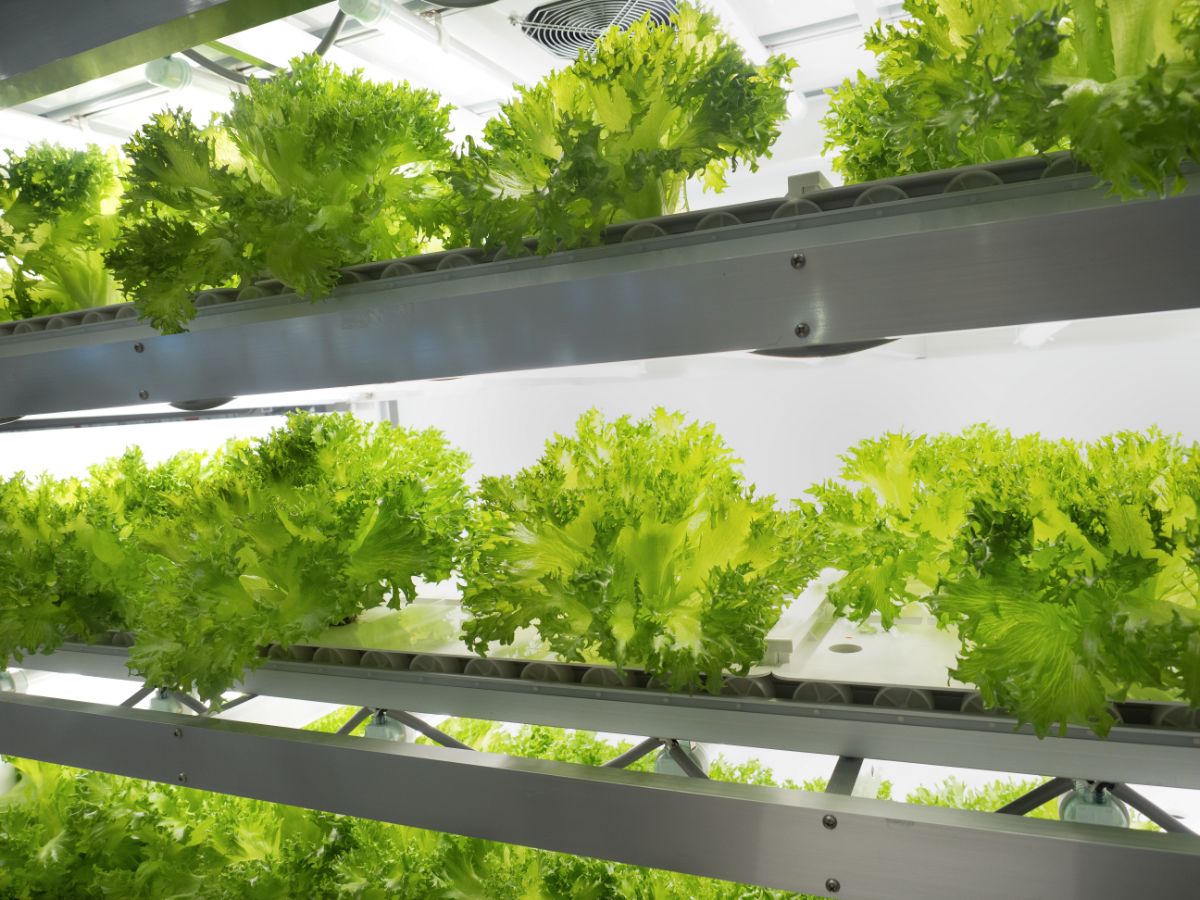
Growing fruits and vegetables indoors is different than growing houseplants. Food plants need brighter light, better-drained soil, and extra space (depending on what you’re growing). Some food plants even need to be hand-pollinated if you want to go big.
Jump to:
- What You Need to Grow Vegetables Indoors
- Where To Put an Indoor Garden in Small Apartments
- Grow Lights and the Indoor Garden
- Artificial Lighting for Indoor Plants
- Controlling Pests and Diseases
- A Quick Note About Fertilizer
- GROWING LEAFY VEGETABLES UNDER LIGHTS
- GROWING ROOT VEGETABLES
- Plants That Need Pollination!
- Additional Tomato Tips
What You Need to Grow Vegetables Indoors
- A bright, south-facing window can work, but for best results, you need to add supplemental grow lights.
- Potting soil. Never use garden soil in pots. Garden soil works fine outdoors, where you have a wide array of insects, arthropods, and worms digging and keeping the soil fluffy. A flowerpot doesn’t have this living network. Instead, use a fluffy potting mix with materials like coco coir, perlite, or vermiculite that roots can easily move through.
- Pots and trays. For large plants such as strawberries, beans, peas, and tomatoes, use larger pots. Microgreens can be grown in trays with a little soil. Make sure all pots and trays have drainage.
- Have a source of water and a place to put your plants so they don’t get water all over the place. They also need a place for excess water to go – but dump out excess water after a few hours.
- Plants! You can start seeds. In some places, you can buy live plants, but not many suppliers will ship them during winter. If your grocery store sells cuttings of live herbs, you can put just about any of these in water to root. If you have strawberry plants in your garden or raspberries, you can dig up a few starts, plant them in pots, and then acclimate them slowly to warmer temperatures until they’re able to live indoors.
- A place to put everything. It’s best to have a dedicated area for your plants where they can grow undisturbed, get enough light, and be out of the way.
Where To Put an Indoor Garden in Small Apartments
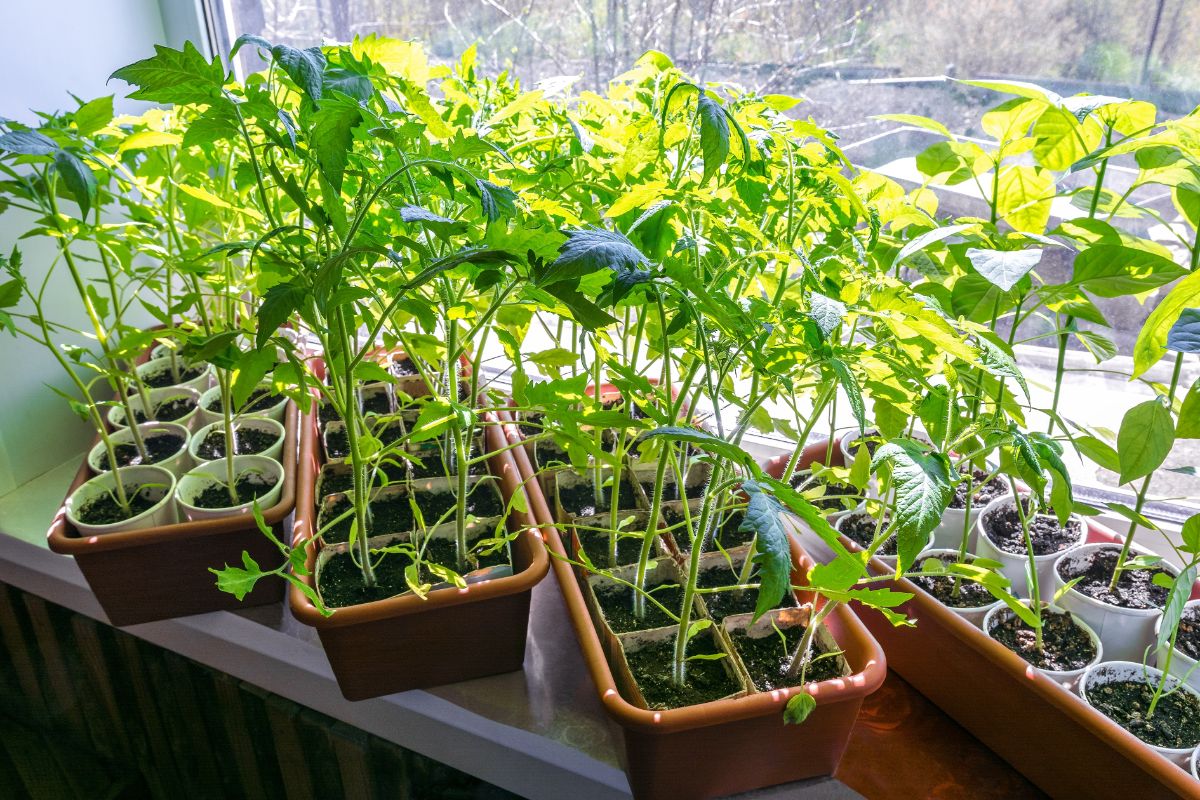
Not everybody has a palatial mansion where they can dedicate a room or greenhouse to an indoor garden, especially in this economy. However, you can make room by using spaces that are out of the way.
Hanging Window Garden
If you have a large window with plenty of light, you can hang a series of pots in the window from macramé hangers, little chains, or shelves.
Bay Window Garden
Stick all your plants in the bay window, and boom, you’re set. Even a north-facing window would get a good deal of light, though you should add a supplemental grow light for a window that gets less than 6 hours of bright light a day.
Kitchen Countertop Herb Garden
Install some LED grow lights to the undersides of your cabinets and set your kitchen herbs underneath them on a raised platform. This keeps the plants close to the light while opening up some storage space underneath.
Indoor Hydroponic Garden
A nice choice for the kitchen countertop is an Aerogarden or a similar setup with an attached grow light and a hydroponic attachment. One of these plant stations will cost a couple hundred bucks, and you’ll need to buy pods and nutrient packets.
However, a small, self-contained hydroponic garden is compact and convenient. Light, water, and nutrients are all taken care of for you, and there’s no mess. Best of all, hydroponically grown plants will mature more quickly than soil-based plants – hence their appeal.
Windowsill Garden
Expand your windowsill with open-backed shelves if the windowsill is wide enough, and pile on the plants.
Bookshelf Garden
Bid a tearful goodbye to a whole shelf of books as you clear them off to make way for plants. Set up track lighting on the underside of the shelf and run the electric cord through a space in the back of the bookcase. Place a waterproof, shallow container on the shelf to protect the rest of the bookshelf from spilled water or soil. Put plants on the shelf. Now you’re all set.
Living Wall
Hang up a shelf and stick a pretty container with plants on it. Set a grow light to shine on it.
If you want to grow a vertical garden with shelves of garden boxes straight down your wall, this is certainly another possibility.
Plant Shelves
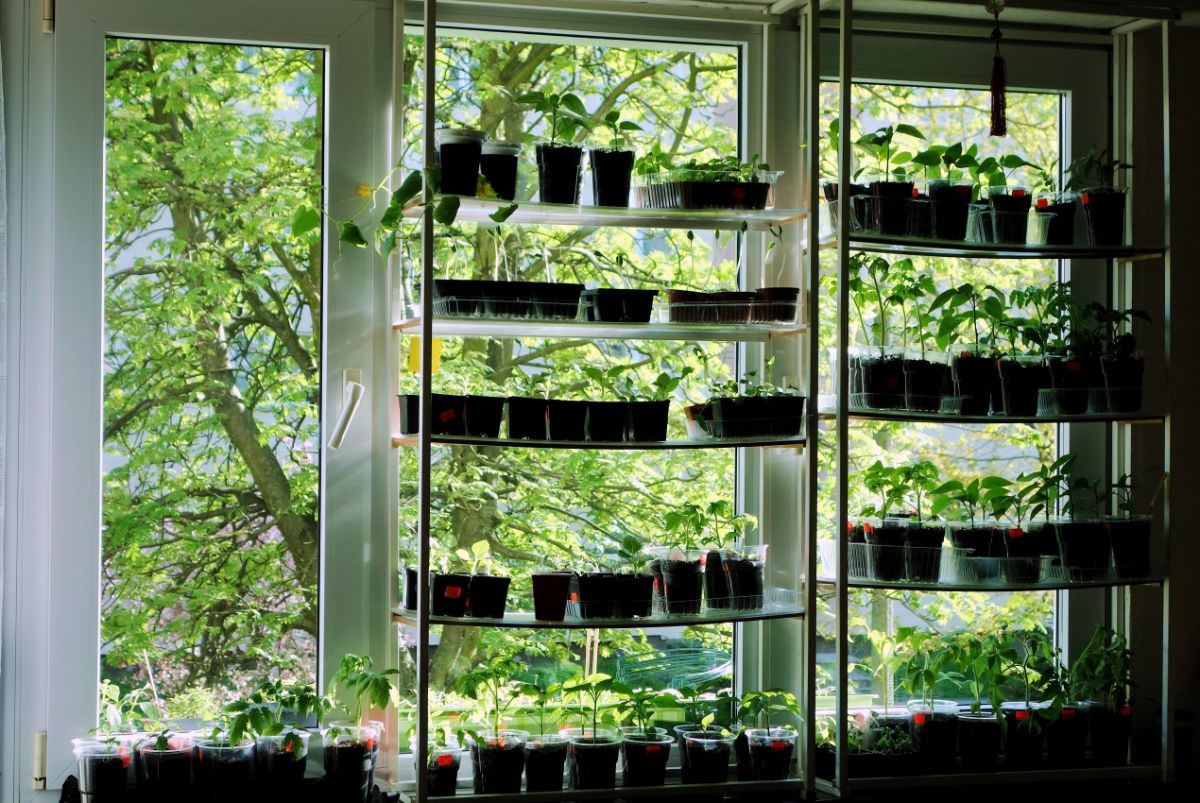
This is pretty self-explanatory. Put a shelf with plants in front of a window. Add supplemental grow lights on the bottom of the shelves.
Grow Cart Garden
A grow cart is an open-sided shelf on wheels with a grow light or shop lights under each shelf. The plants go on the shelves.
You can buy grow carts that are small as an end table to carts as big as Godzilla. If you’re a dedicated plant fiend, you can get a Godzilla-sized plant cart, load it up with a truckful of seedlings, and roll your plant juggernaut through the dining room to show off.
Some grow carts have adjustable lights that you can lower for tiny seedlings and then raise as those seedlings grow. If you’re a dedicated grower, a good grow cart will be a necessary part of your operation.
Coffee Table Garden
You can also get actual side tables or coffee tables for growing plants. It has a tabletop on top and a place for your plants underneath, complete with grow lights. Just slide the table and plants next to the living-room couch, set your Pepsi on it, and you and the plants can watch old episodes of M*A*S*H together.
Keep It Cheap
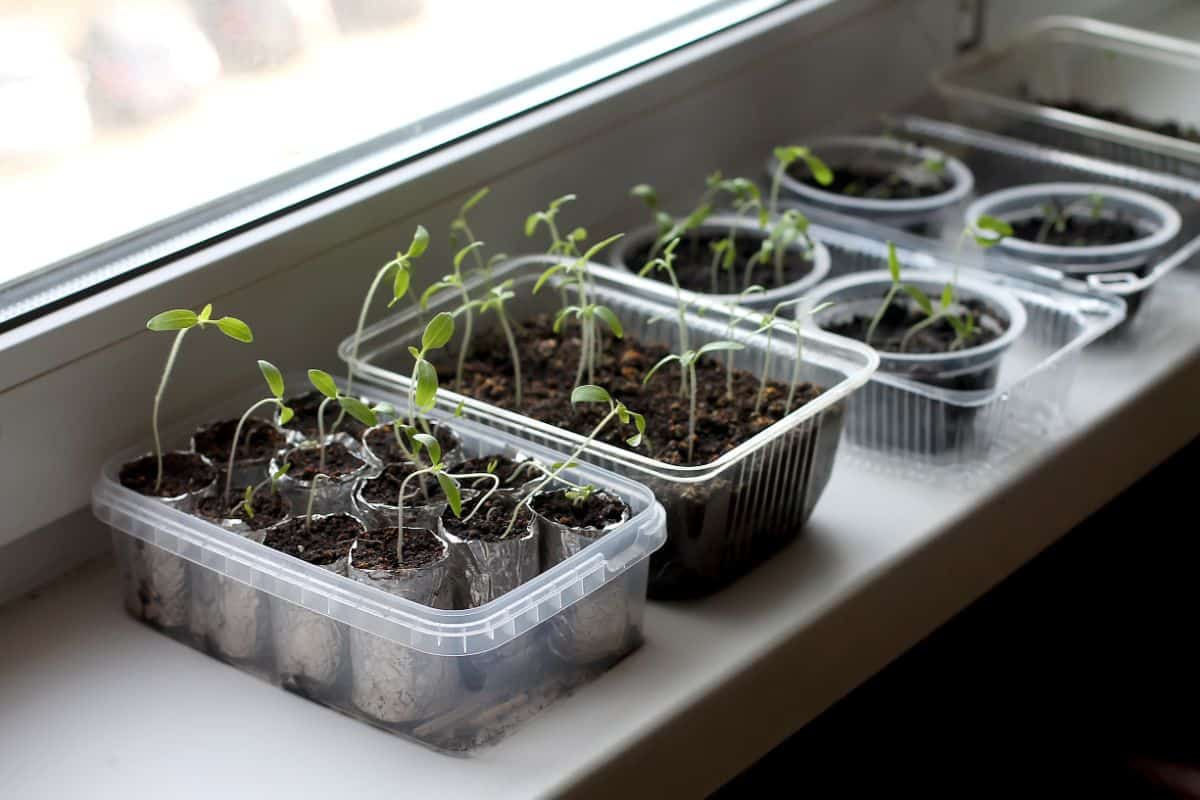
I am too young to be talking like an old codger, but nowadays, it seems like people just want you to go out and buy stuff for gardening and spend a lot of money.
Back in my day – technically, back in my grandparents’ day – gardeners used a lot of odds and ends for gardening. They reused old pots. Punched holes in the bottoms of food trays and used those to start seeds. Gathered seeds from heirloom plants and used those to start next year’s garden.
Feel free to be a hardcore recycler. Gardening has a long and proud tradition of “make it do or do without.”
Read more: Choosing the Right Grow Lights for Seed Starting
Grow Lights and the Indoor Garden
Photosynthesis – What Do Plants Need to Be Healthy?
Let’s start with a primer about plants and photosynthesis.
Photosynthesis, a process wherein a plant turns sunlight, carbon dioxide, nutrients, and water into sugar or carbohydrates, is how the plant makes the energy it needs to survive.
When a plant’s light needs are met, the little energy factories inside every cell in every leaf keep cranking out the carbs and sugars that the plant needs to survive. That energy goes toward creating new cells in roots, stems, and leaves so they can grow.
Plants can survive in low light, but they won’t have the energy to grow flowers or fruits. If your pepper isn’t blooming, light is the first thing you should add.
Read more: 12 Best Mini Fruit Trees to Grow Indoors
Artificial Lighting for Indoor Plants
A room that we consider well-lighted actually looks like near-darkness to most plants. House lights don’t produce the intense, full-spectrum light that supports most plant life. This is doubly true when you’re trying to grow vegetable and fruit plants indoors. Outdoors, they need full sunlight for at least six hours a day to produce blossoms and fruits. Indoor, they often need closer to 12 hours of daily light.
Why Do We Have Red and Blue Glow Lights?
In the past, full-spectrum lights were expensive and became hot to the touch. To save money, manufacturers of grow lights created red and blue grow lights.
Red and blue lights have long been touted as being the most efficient for plants because these are the parts of the light wavelength that leaves absorb for photosynthesis.
Targeted Full-Spectrum LED Lights Are Best
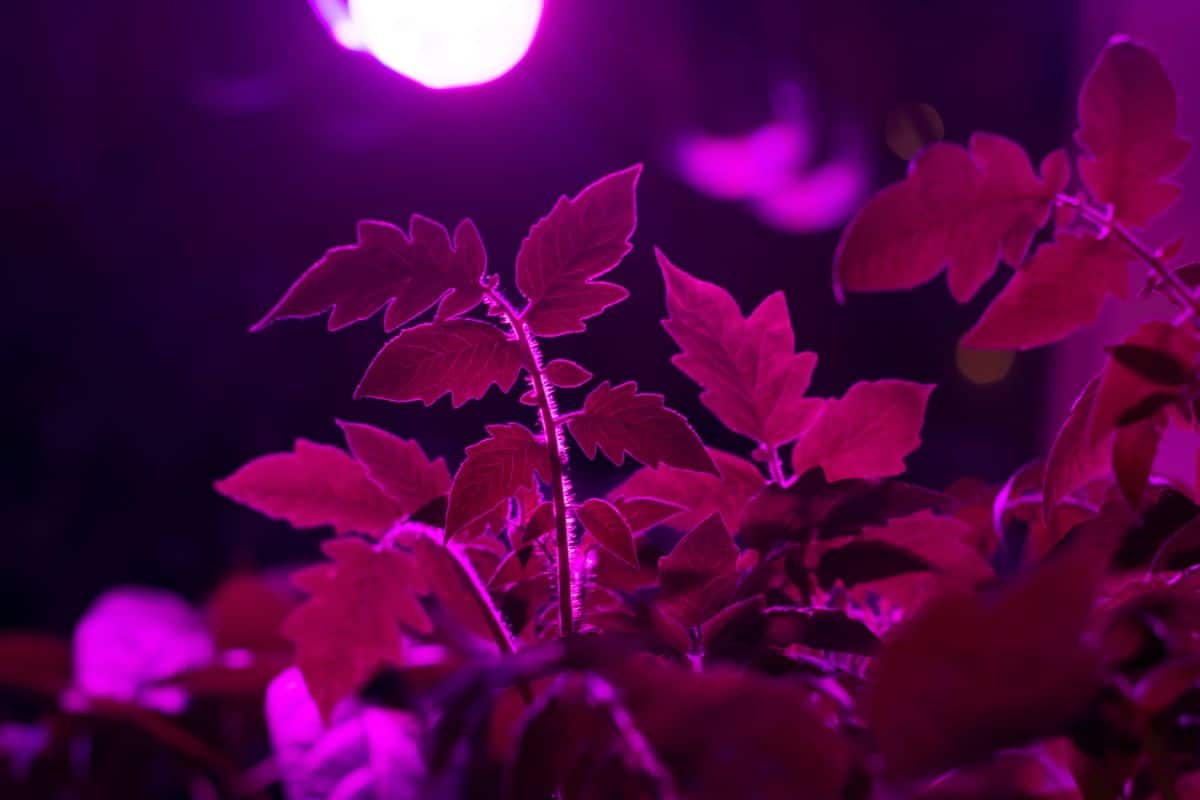
Full-spectrum lights copy the spectrum of natural daylight. Some lights are better at this than others. Each light should have a Color Rendering Index or CRI. To be considered a full-spectrum bulb, the CRI must be 95 or higher. A high CRI means that the bulb is a close representation of natural daylight.
It also needs to have a color temperature of 6500k, which, on the Kelvin scale, is white light.
Full-spectrum lights (especially in winter) have a host of other benefits to humans as well. They help improve mood and reduce Seasonal Affective Disorder (SAD).
Read more: 20 Fruits and Vegetables to Grow in a Small Space Container Garden
However, a full-spectrum light can end up being too hot and can use too much energy on spectrums that the plants don’t need a lot of. It’s like when you take your vitamins. You have smaller doses of some vitamins because you honestly don’t need 500% of your recommended daily average of selenium.
It’s the same with the green and yellow parts of the spectrum. Targeted-spectrum LED grow lights will dial back certain parts of the spectrum and focus on red and blues and the more useful parts. This also helps with utility bills, especially if you’re growing a lot of plants.
Controlling Pests and Diseases
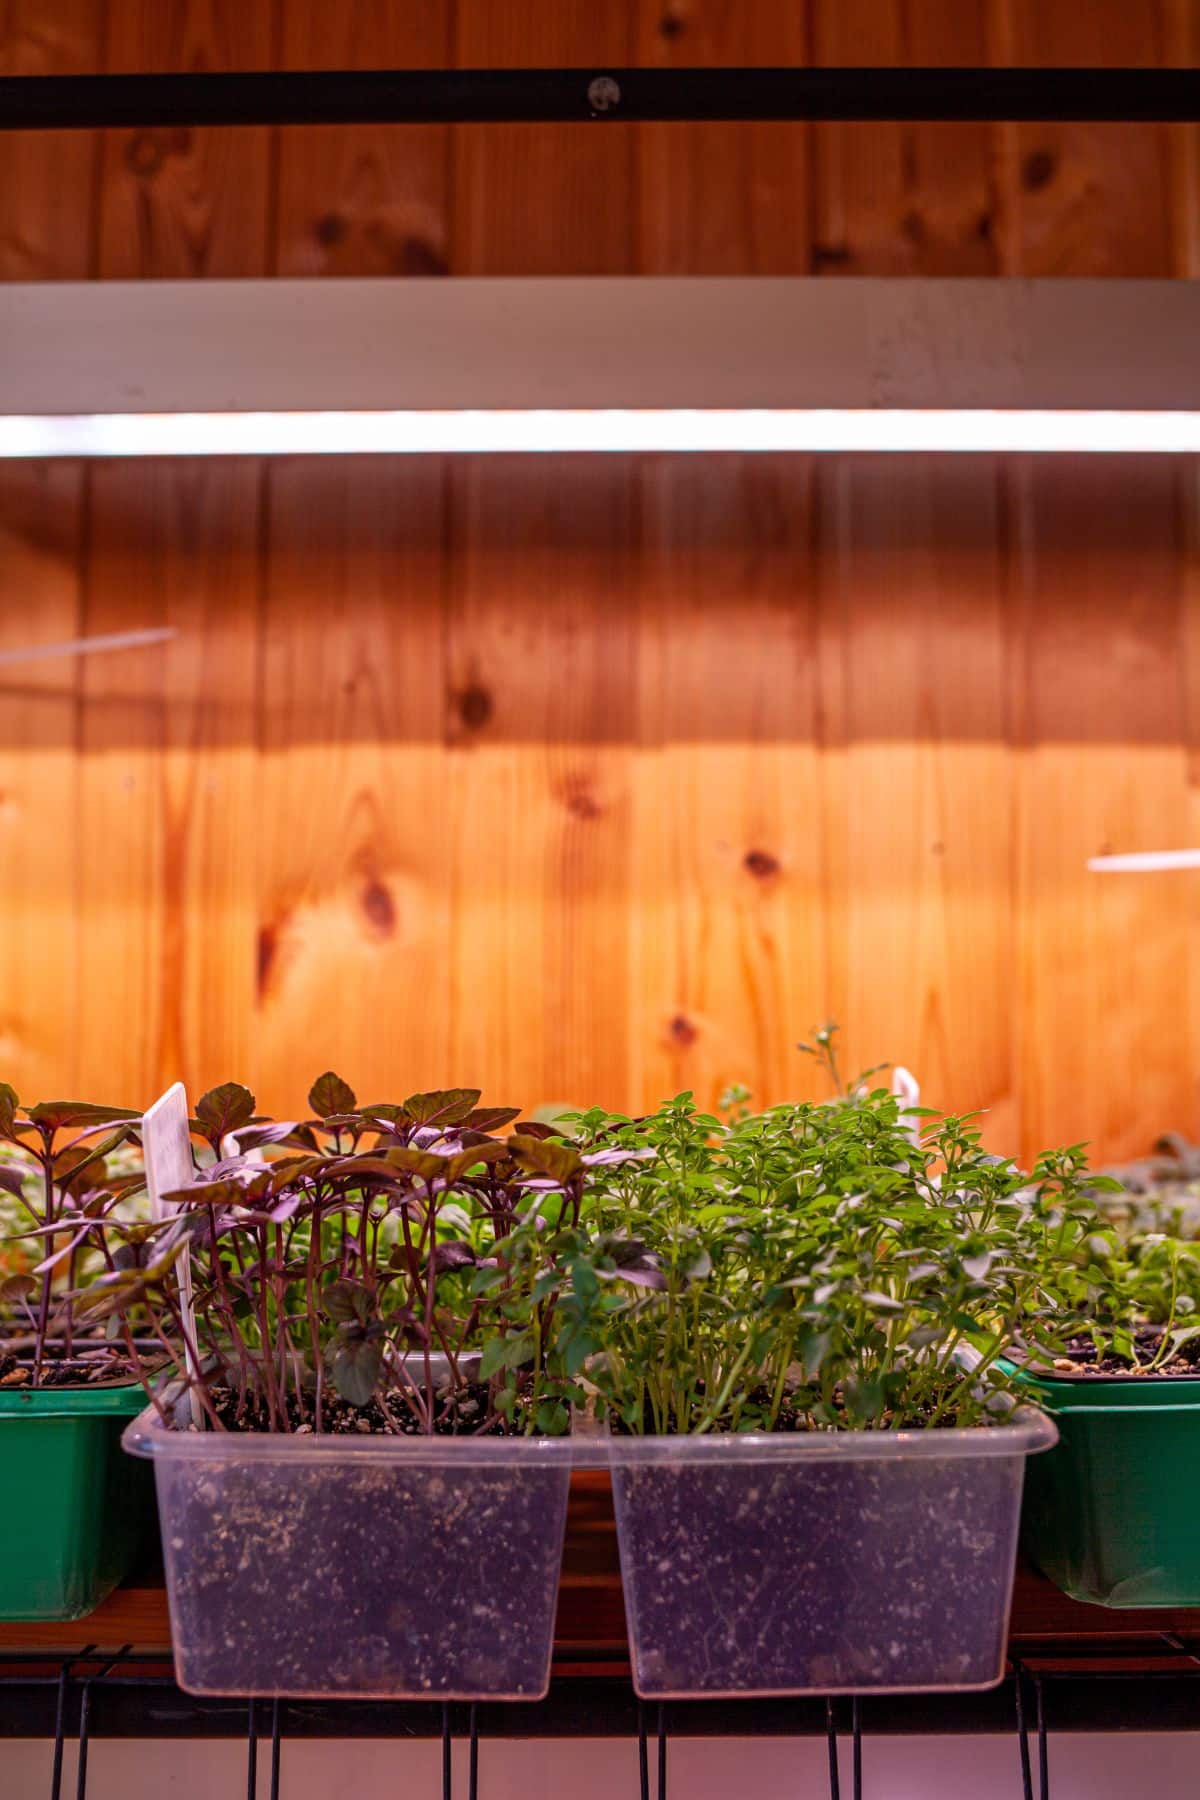
- Any time you bring home a new plant or bring one in from outdoors, keep it separate from the others for about six weeks and check it for pests and diseases once a week.
- Monitor your plants weekly for pests and diseases.
- Invest in yellow sticky trap cards off eBay or Etsy. Put them up around your plants to catch flying insects such as fungus gnats or whiteflies.
- Get rid of any dead or dying leaves and other plant wastes.
- If you notice a plant looking odd or different, move it away from the other plants and see what the matter is. Keep it separated until the issue is resolved.
- Many tiny pests can be wiped off with a Q-tip dipped in rubbing alcohol. Make sure the alcohol doesn’t affect the surface of the leaf.
- Plants need humid air, but they also need air circulation. Have a small fan running. This is crucial, especially for seedlings, which are prone to damping off disease.
Read more: The Keys to Successfully Growing Herbs Indoors
A Quick Note About Fertilizer
When growing plants in containers, the adage “More isn’t necessarily better” definitely applies, especially when it comes to fertilizer.
Use an all-purpose fertilizer that includes trace minerals. When adding fertilizer to the water, always read and follow label directions, and don’t use more than you need. Too much fertilizer could build up the salt content of your plant containers and flowerpots, causing plants to fail.
GROWING LEAFY VEGETABLES UNDER LIGHTS
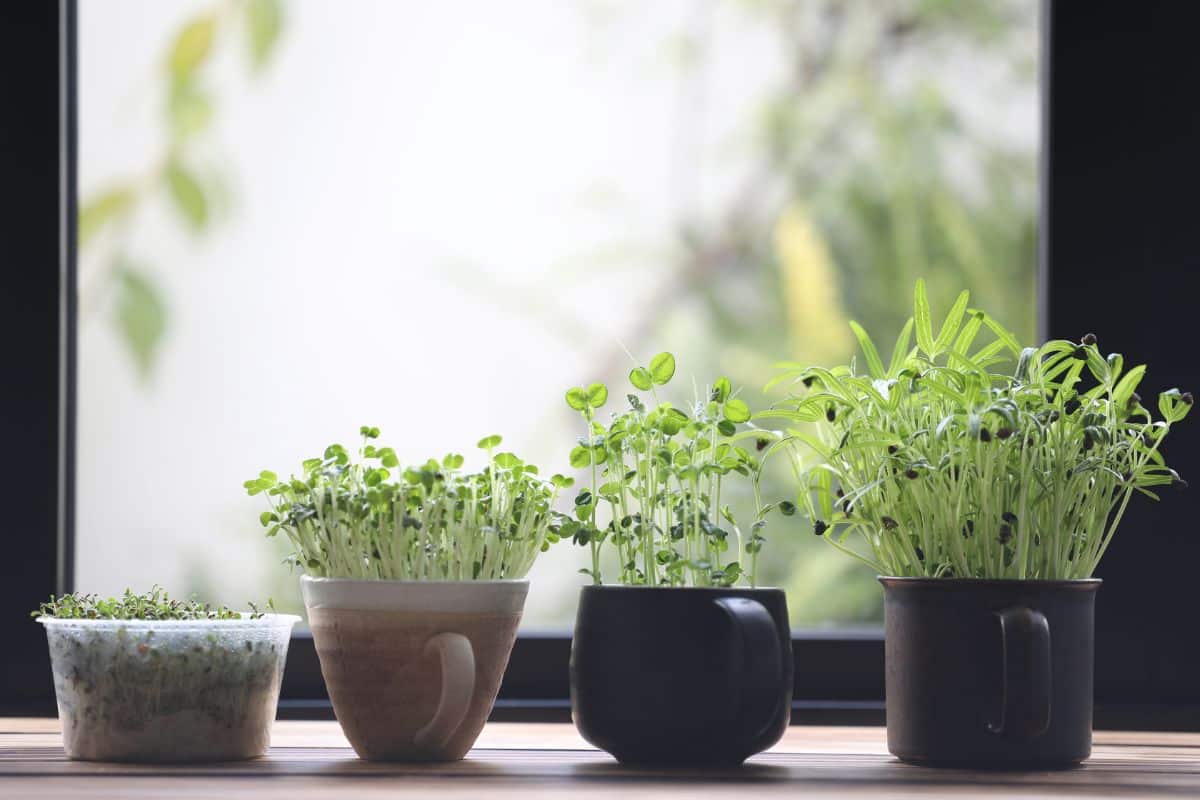
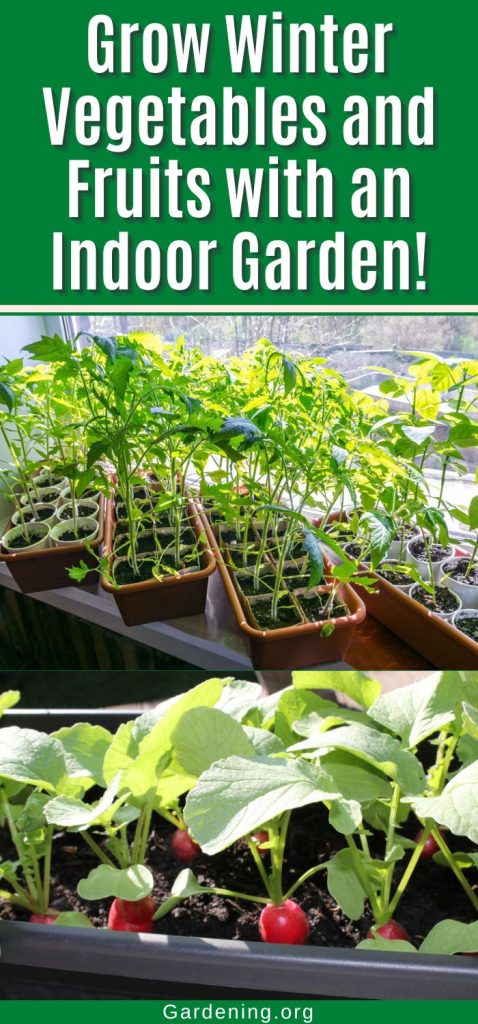
Even if you have a bright southern window, supplemental lighting will help the leafy vegetables grow compactly and more quickly. Some panel lights would work, or two 40-watt cool white fluorescent lights that are 6 to 12 inches over the vegetable flats.
If you’re trying to save space, loose-leaf greens will take up less space than head lettuce. However, there are some adorable small-head lettuces that will fit the confines of your pots.
That said, you can certainly grow large plants as well. One of my college buddies grew a ginormous head of cabbage indoors over winter. Start several seeds in a pot, then thin out the small ones until only the largest seedling is left. This is the Chosen One, the one destined to be cabbage.
Seeding greens
Sow greens ¼ inch deep in a tray or container with drainage holes. If the room is cold, keep the soil warm with a heat lamp overhead or a heating mat underneath. Thin them as they grow. You can also let the young greens grow to 3 inches tall, then selectively harvest them for your salads. Do your best to not disturb the roots of the remaining plants!
Lettuce can be harvested at 4 weeks or earlier. Use the “cut and come again” method: Cut the leaves for harvest above the growing parts, then let new leaves grow out. Greens can be stored in the fridge for about a week.
Keep leaf crops prefer temperatures at 55 to 65 degrees. If they get too warm, they’ll bolt, get tall, send up a flower stalk, and the leaves will turn bitter.
Read more: How to Grow Microgreens from Leftover Garden Seeds
GROWING ROOT VEGETABLES
GROWING RADISHES UNDER LIGHTS
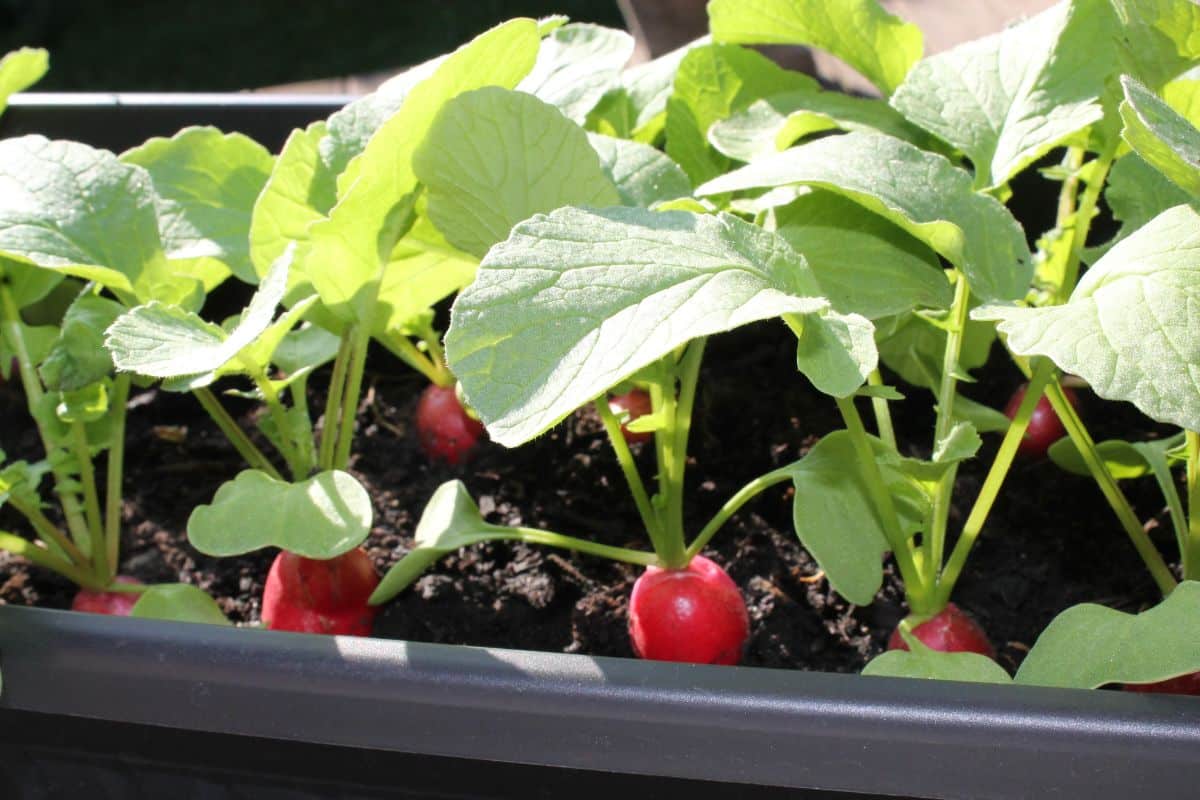
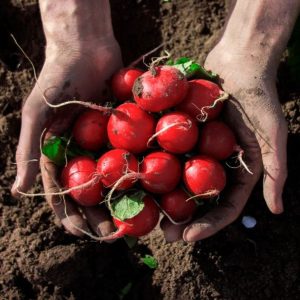
Radishes are an excellent choice for indoor gardens because you can squeeze a bunch of them into a container. Radishes take about three to five weeks to mature. You can also eat the greens – waste not, want not.
Radishes need 12 to 16 hours of grow light daily and a container that’s at least 8 inches deep.
Keep temperatures cool for radishes – otherwise, they’ll bolt and become wooden and bitter.
Radishes require soil that’s light and fluffy.
Radish seeds are tiny. Sprinkle them over the soil, then sift soil over them until they’re well-covered. Water them in, and they’ll start germinating in about a week. Thin as needed. Thin the radishes with an eye toward giving each plant enough elbow room to prosper.
Mammoth Red or Strainer are good, medium-sized radishes for container growing, as well as Cherry Belle, Icicle, Scarlet Globe, Champion, Comet, Sparkler, and White Icicle.
GROWING CARROTS UNDER LIGHTS
Again, keep the temperatures cool for carrots so the roots don’t turn bitter.
Grow carrots in a container that’s at least 18 inches deep, with drainage holes. Fill this container with the lightest, fluffiest soil to within an inch of the top. The soil should contain no pebbles or other obstructions.
Poke planting holes into the soil that are about a half-inch deep, spacing them a half-inch apart, drop three carrot seeds into each hole, and cover them with a ¼ inch of soil and water.
Cover the pot with plastic to keep moisture and warmth in – but keep the pot away from the sun.
Seedlings should appear in 6 to 10 days. Some take up to 21 days. Check the back of the seed packet for specific germination times.
Uncover the carrots and put them in the sun. Carrots need full sunlight for 6 to 8 hours a day or supplemental lighting, such as grow lights, for 10 to 12 hours a day.
Once seedlings are about three inches tall, fertilize them every other week.
As the carrots grow, keep thinning out the smallest seedlings until each carrot has at least two inches of space around it. You can eat the seedling carrots as you’re thinning them – both leaves and root.
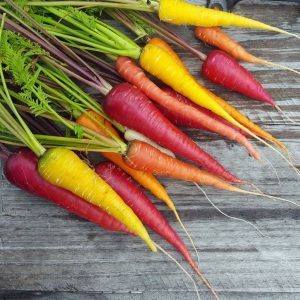
Carrots are ready to harvest when they turn orange (or red, or yellow, or purple, depending on the variety). Harvest carrots when they’re young. When they get old, they turn woody, and the roots will crack.
If you want more carrots over a longer harvest time, start a second pot two weeks after the first – then a third pot two weeks after the second – and so forth.
Short carrot varieties are best for pots. Choose short carrots like Oxheart (this is a chubby, wide carrot, so give it space), Round, Parmex, or Rondo.
Other good container varieties include Danvers Half Long, Short ‘n’ Sweet, Tiny Sweet, Scarlet Nantes, Gold Nugget, Little Finger, Baby Spike, Thumbelina, Parisienne, Paris Market, Romeo, and Caracas.
Read more: 12 Must-Have Products for Starting Seeds Indoors
Beets and Chard
It’s worth noting that, for some reason, you might not get any beetroots from potted beets. At most, you might get small bulbs, if any! I recommend simply growing beets for the greens. If you do manage to get good-tasting beetroots, count it as a bonus.
Five-gallon buckets with drainage holes drilled into the bottom are best for root crops. Even though the edible roots grow only a couple of inches, their feeder roots will go deep into the soil. Once those roots hit the bottom of the pot, they stop growing.
Sow beets at least ¼ inch deep directly into the soil, an inch apart, then gently water them. Thin them until they’re three or four inches apart.
Seed packets might tell you the beet will be ready for harvest 50 days after germination. Pay no attention to it. Beets and other root vegetables go by different rules in containers and under lights. Sometimes, it takes 90 to 95 days to develop a beet. Be patient and nibble on the beet greens while you’re waiting.
Choose a fertilizer that is low in nitrogen if you’re trying for beetroots. Give them the maximum acceptable dose of fertilizer because root vegetables are heavy feeders.
Growing beets and chard as greens
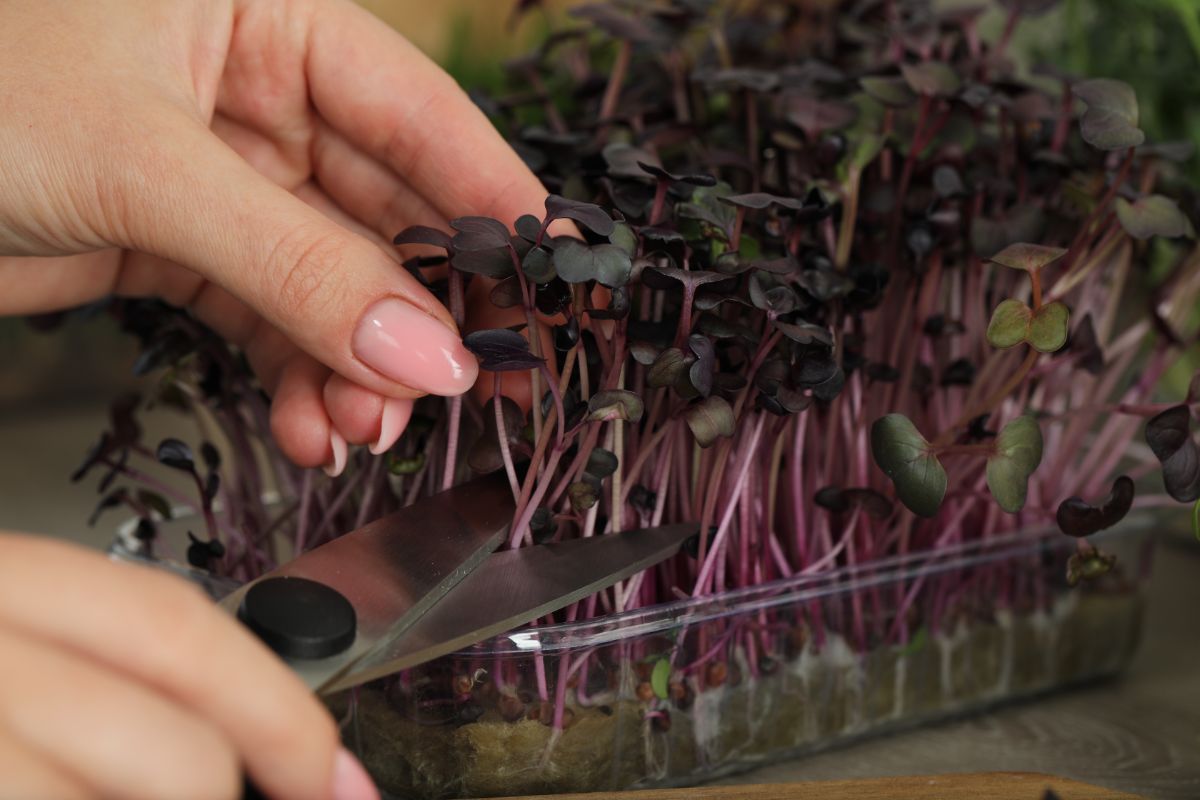
Beet greens and Swiss chard are fantastic on their own, and if you simply focus on growing them as greens, you will meet with better results. You can eat the leaves right off the plant or cook them as greens with red pepper and bacon.
If you grow beets as greens, like their botanical cousin, Swiss chard, you can use a container that’s not as deep and give them a fertilizer higher in nitrogen, as this will give you large, tender leaves. Again, as with other plants, you can use them as “cut-and-come-again” crops for longer yields. After a while, the greens will turn bitter, so compost them and start a new crop.
Plants That Need Pollination!
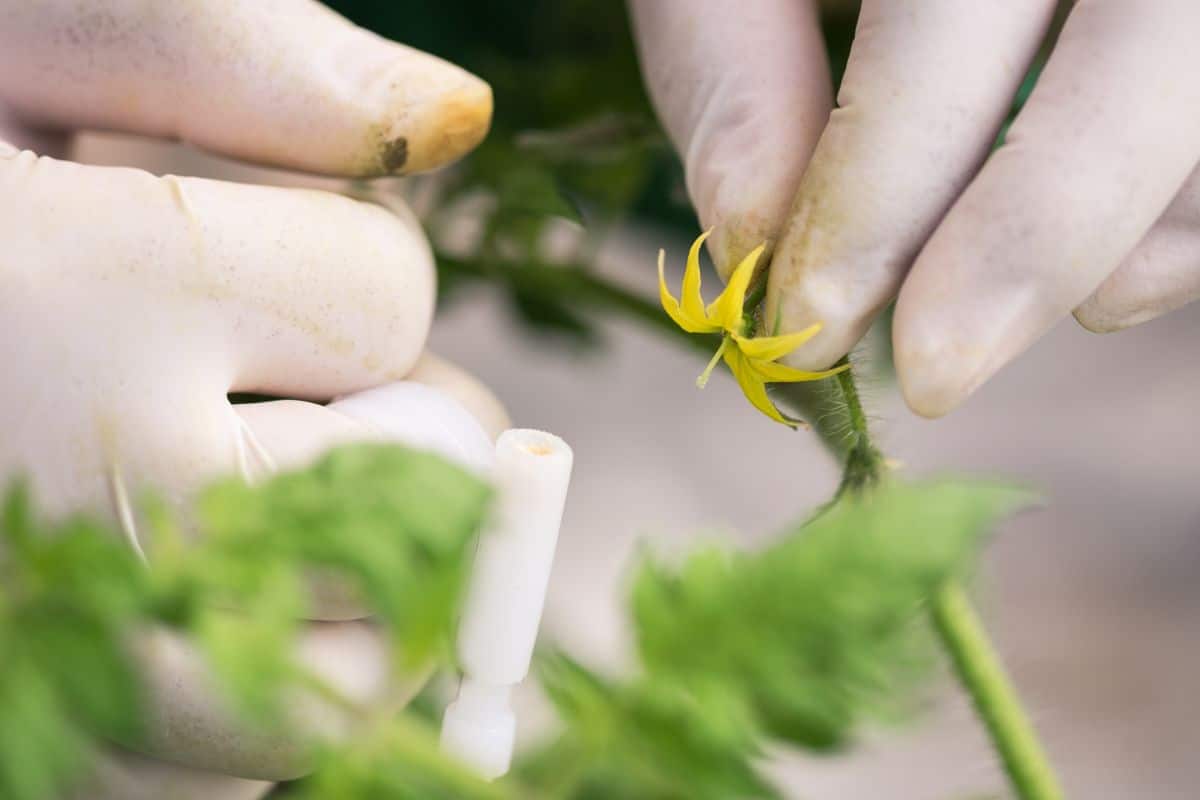
The next group of plants will need to be hand-pollinated if you want them to bear fruit. Pollination is not too hard if you are willing to spend a little time.
Get a Q-tip, a toothpick, or a little soft paintbrush to transfer pollen from one flower to the stigma of the other flowers. Methodically transfer pollen to the stigmas of every flower. Pollinate each new flower as they open up if you want a tasty little fruit or vegetable!
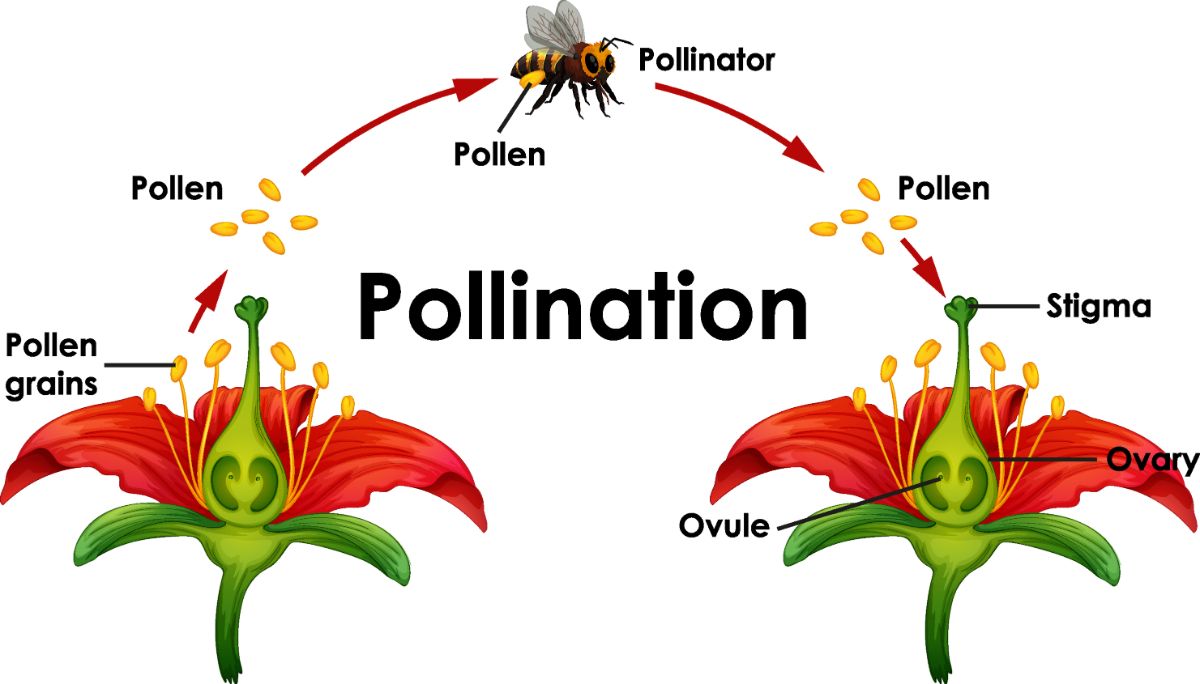
If you have multiple plants, use the pollen from one plant to pollinate another for the best results. If you have a lot of flowers, you could even pick one of the flowers and touch its pollen to all the stigmas on the plant.
Strawberries require more effort because every single stigma must be pollinated so you don’t get misshapen fruit. More about that in the “Strawberries” section.
GROWING PEPPERS, EGGPLANTS, AND TOMATOES UNDER LIGHTS
I’m combining these three since they’re in the Solanaceae family (aka the Nightshade family). One useful thing to remember about plant families is that they’ll share many of the same needs as others. They’re also susceptible to similar insect pests and diseases.
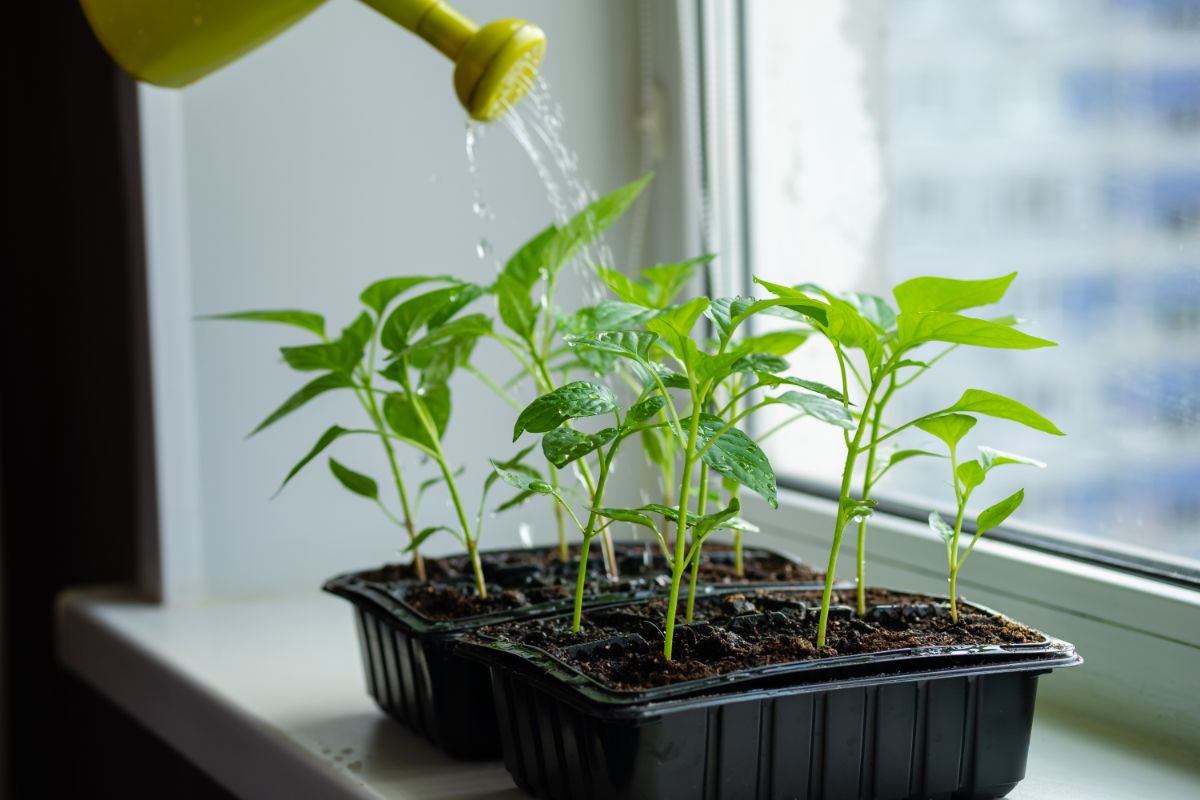
Peppers, eggplants, and tomatoes enjoy warmth and lots of light. A large grow light suspended ten inches over them, one that can be raised as they grow, is ideal.
These plants are heavy feeders, so plant them in a well-draining potting soil. Add a water-soluble fertilizer such as Osmocote to their soil. Then, water them with an additional dose of fertilizer every two weeks.
Pinch back the tops of these plants a couple of times while they’re still young to encourage them to bush out – so they’re growing out instead of straight up.
Have a fan blowing on them to keep the air circulating. Peppers, eggplants, and tomatoes are susceptible to fungal diseases such as powdery mildew.
Once they start flowering, the fan will also help circulate the pollen. These plants are wind-pollinated, so the pollen will be very light and fine and easily drifts around on any breeze. (If you’re allergic to wind-borne pollen, you might stock up on allergy medicine.)
To help with pollination, flick the flowers to help scatter the pollen. Give the plants a little shake now and then to get the pollen out in the air.
I also have used a toothpick to move pollen from the anthers to the stigma to make sure they’ve been pollinated, because I want my tomatoes, people. The stigma is the pointy part of the flower.
Additional Tomato Tips
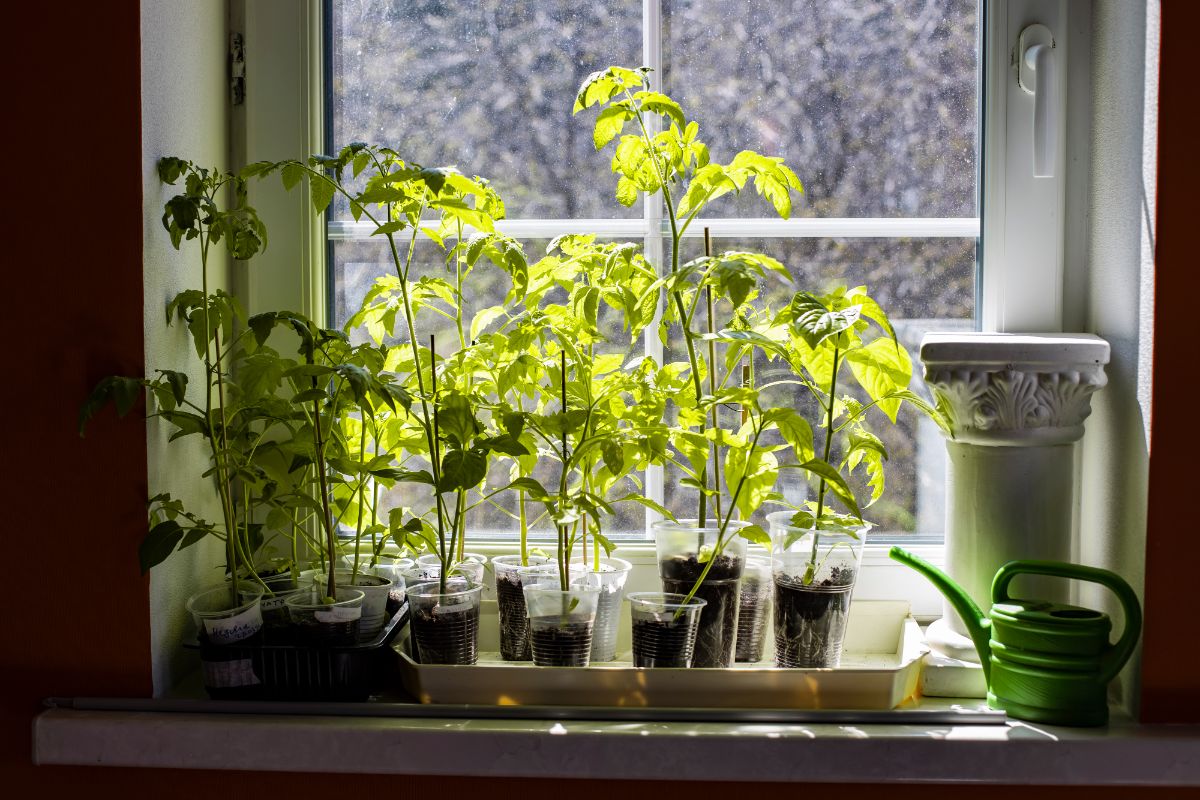
- Grow determinant tomatoes. These will grow up for a little while, and then they stop growing and bear tomatoes. Indeterminate tomatoes keep growing and growing. They’ll take over your whole house if you let them. (Though I can see where a tomato-filled house could be a win for some of you tomato maniacs.)
- Start tomatoes in small pots. Then, after they grow their second set of true leaves, transplant them into a bigger pot, such as a five or ten-gallon bucket with holes drilled in the bottom. Tomatoes and many plants with similar fibrous root systems prosper from being transplanted.
- Use a garden tower to prop tomatoes up to avoid calamity in the form of gigantic plants falling over on your carpet. Or do the sensible thing and keep cutting back your suckers.
- Add 10-20-20 fertilizer granules to the soil and an additional tablespoon once a month. Water about every 3-4 days once the top inch of the soil is dry.
- Tomato plants need 10-12 hours of light daily. If you have an especially large tomato plant with lots of interior leaves and stems, invest in a full-spectrum grow light with more green in the spectrum. The green light penetrates more deeply into the canopy to reach the interior leaves and stems so they can photosynthesize, too.
- If you have a tomato plant that you’re training up next to a window, provide supplemental bright light in the form of several gooseneck lamps with full-spectrum LED lights aimed at the foliage.
Read more: 9+ Vegetables You Can Grow from Grocery Store Produce
GROWING STRAWBERRIES UNDER LIGHTS
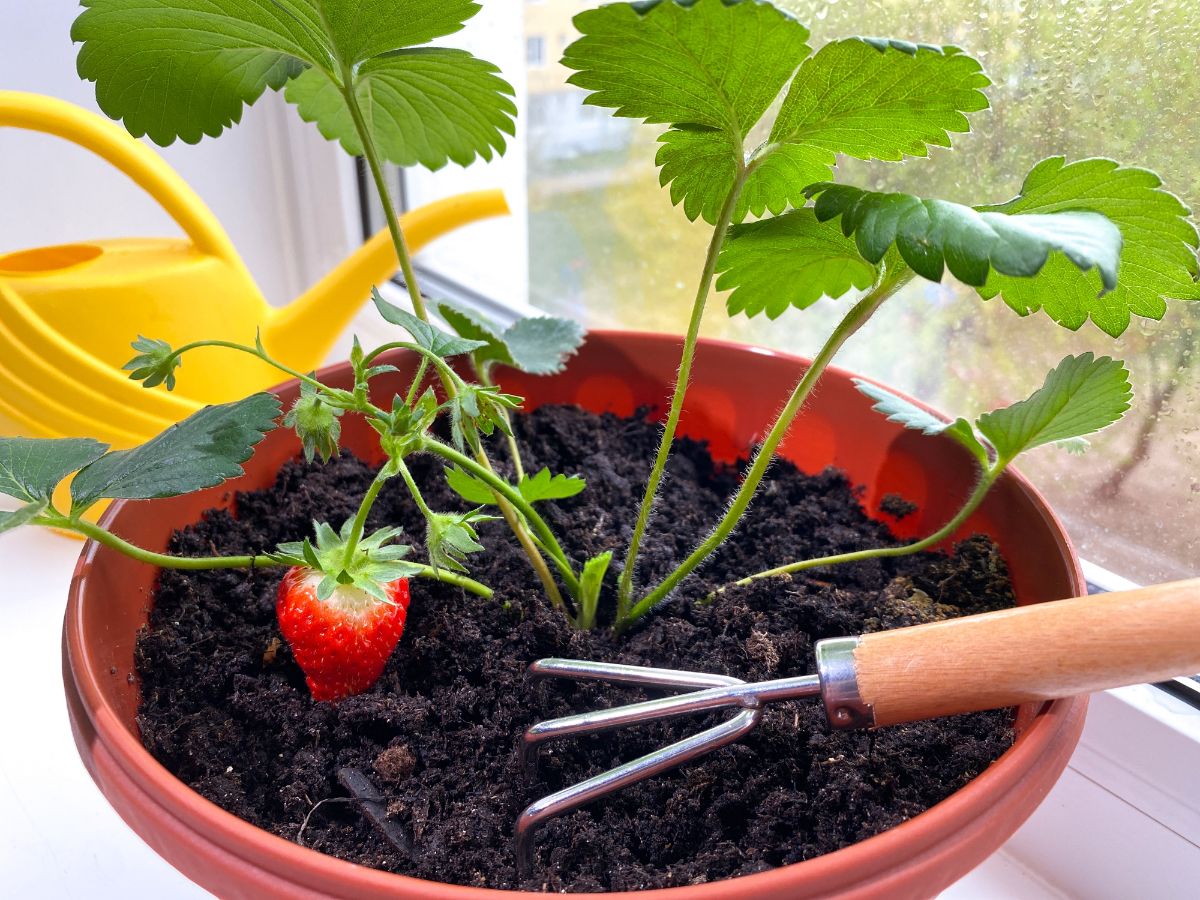
- Choose everbearing or day-neutral strawberries for your indoor garden. These will bear strawberries for a long time in the right conditions.
- June-bearing plants, on the other hand, will put out a lot of strawberries at once, then croak at the end of the season.
- Try to get live plants, whether potted or bare root, instead of seeds. Bare-root plants reach maturity much more quickly than seeds will. (I’m automatically leery of strawberry seeds because they don’t grow true to seed – so you don’t really know if the fruit is going to be sweet and tasty.)
- Strawberry plants need a lot of water, but they are susceptible to crown rot or root rot. Grow your plants in well-drained potting soil, and don’t let the pot stand in water for a long time.
- When growing strawberries, remove all of the runners because these will not fruit. Allow no more than three crowns per plant.
- However, when spring rolls in, let some of the runners grow, root them, and use them to get new starts for the strawberry garden outdoors.
- If you have more than three strawberry flowers on a stem, remove the smallest flowers. This will give you larger flowers … and berries.
Read more: Japanese Cardboard Box Indoor Composting System (Complete Guide)
Strawberry Pollination
Pollinators are especially important to strawberries. Most flowers have one ovary where a single seed forms. To pollinate it, you transfer pollen from the anther to the style – boom, done, not with strawberry flowers. A strawberry flower can have up to 500 ovaries.
On the full-grown fruit, these ovaries turn into the little strawberry “seeds” all over the fruit – technically, they are called achemes.
Every one of these little achemes needs a bit of pollen.
When a group of achemes is not pollinated, you get a deformed berry with a sour cluster of little green seeds at the bottom of the strawberry or a little green seedy nubbin. However, when the strawberry is fully pollinated, you get a big ol’ happy red berry that looks gorgeous and tastes sweet.
(Fun fact: Some studies have indicated that achemes might contribute to the antioxidant compounds in the strawberry.)
Pollinated strawberry fruits will take their sweet time in developing. Just hang in there.
Strawberries need lots of light and water (but don’t water the leaves as they will burn easily). In low light, their leaves will die off.

Leave a Reply