Healthy soil is the most important part of a successful garden. But soil nutrients can become depleted from gardening practices, exposure to the elements, and other factors. Some soils are also naturally deficient in certain nutrients, or they may be too rich in clay or sand to support healthy plant growth.
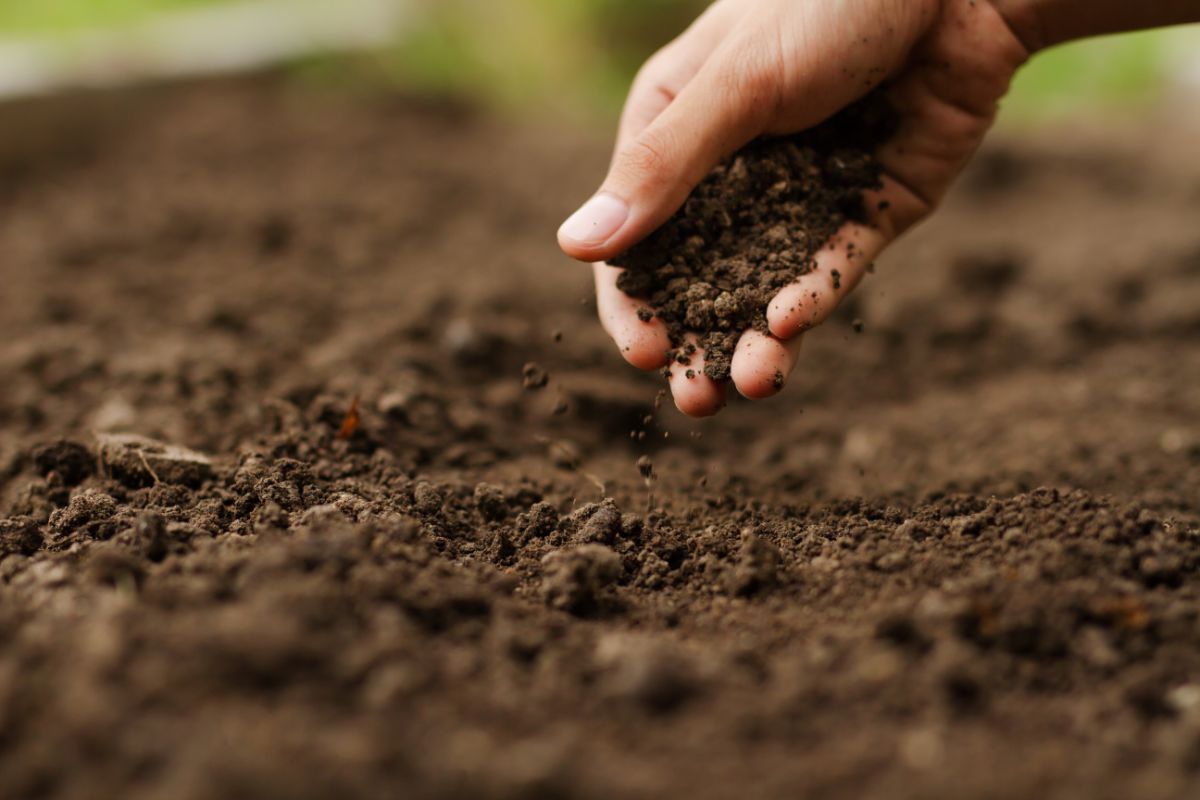
If you’ve noticed that your plants are failing to thrive, or you’re just beginning a new garden from scratch, it’s a good idea to get your soil tested. In this guide, we’ll walk you through the steps of testing your own soil and sending out a soil test to professionals to give you a complete picture of your garden. With this information in hand, you can determine which amendments to use in your garden and which plants will grow best in the specific type of soil you have.
Jump to:
Why do a soil test?

Soil tests will provide you with a lot of critical information to help you garden more successfully. A complete soil analysis will tell you which nutrients are lacking in your soil, and some professional tests will also give you a list of recommended additives to try.
Soil tests can also pick up on any contaminants, like lead, in your soil. This can be particularly helpful if you have an older home with lead paint, but you’re thinking about growing food in your yard.
Finally, some soil tests will also analyze soil structure and pH levels. Since pH can affect how plants absorb nutrients, pH imbalances can cause nutrient deficiencies in plants and other issues. Meanwhile, soil structures that are imbalanced with too much clay or sand won’t drain properly or retain nutrients.
Understanding this information will make it easier to amend your soil and improve drainage issues so that plants grow better.
What do soil tests show?
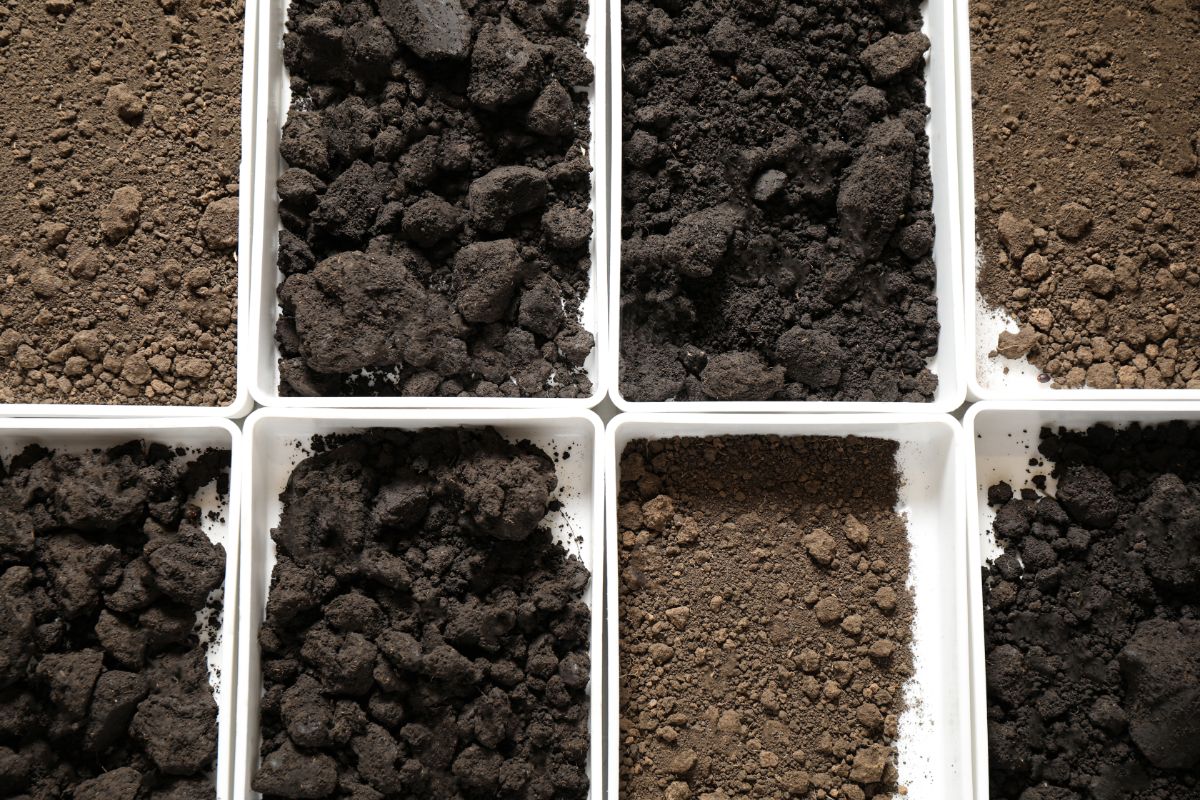
Different soil tests will provide you with different information. Standard soil tests will check for nutrients such as nitrogen, potassium, and calcium. Tests can also check for pH issues and determine how much sand, silt, and clay your soil contains.
How often should soil be tested?
New garden soil should always be tested to provide you with more information about your garden and help you address any potential issues before they cause real problems. After your initial soil test, it’s a good idea to test your soil every 3 to 5 years.
If plants are failing in your yard or your lawn is developing yellow spots that don’t seem to have any known cause, you may want to test your soil more regularly.
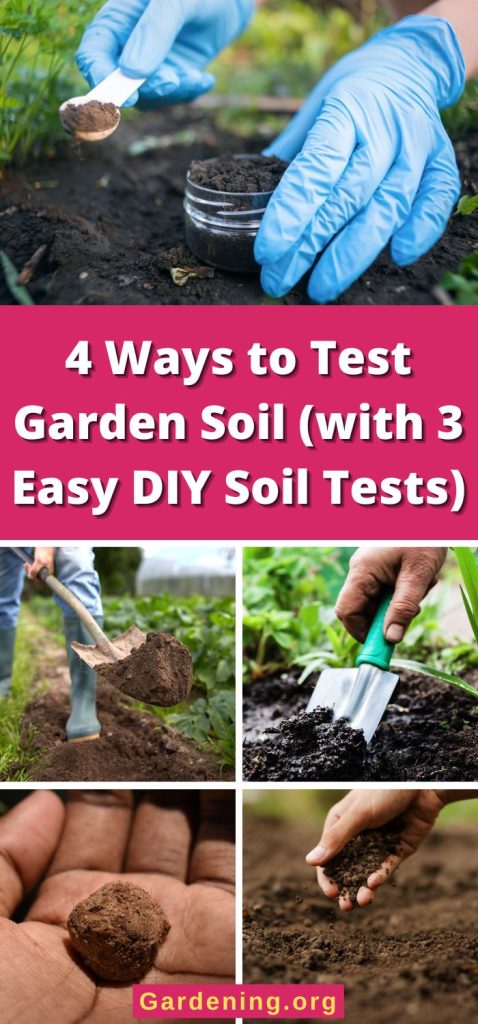
4 ways to test garden soil
From professional soil tests to easy DIY options, there are a lot of ways to test your soil and get a better picture of what’s going on in your garden. Here are 4 simple ways to do just that!
Method 1: Get your soil tested by a professional
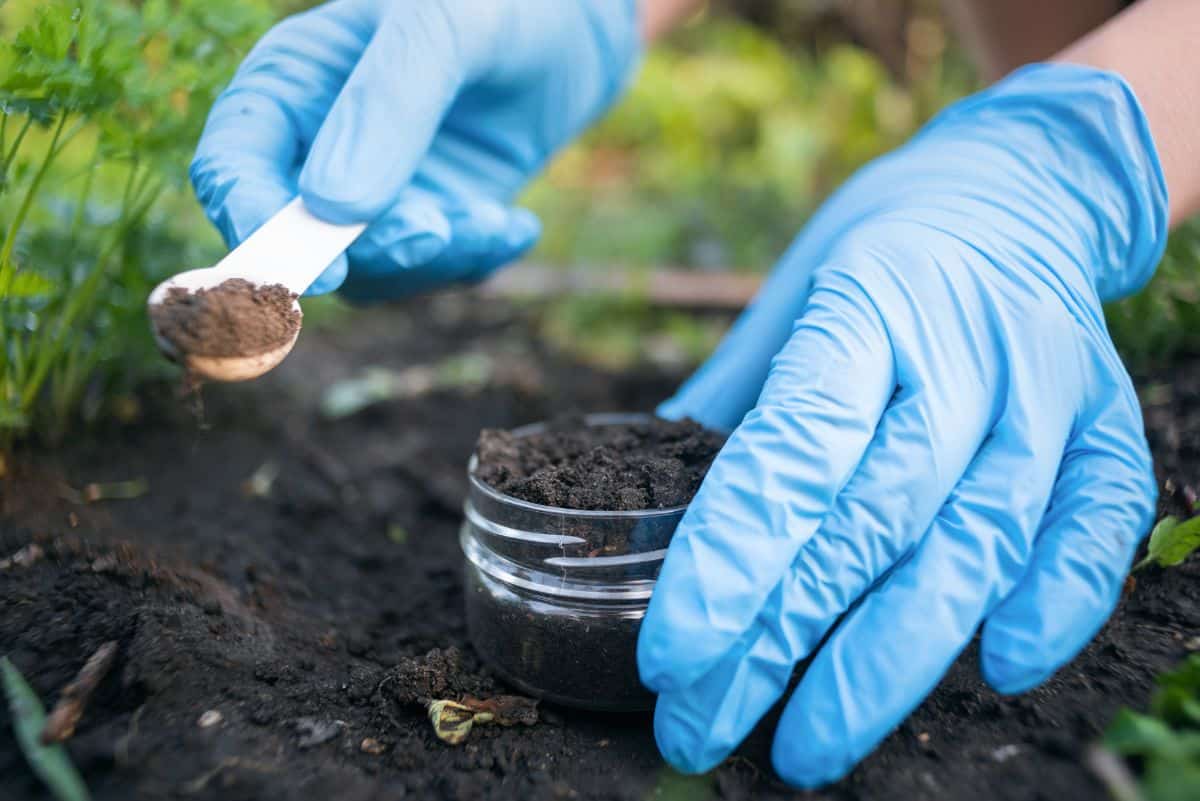
Cooperative extension offices or similar facilities will do soil tests for you, and their results are more accurate than home tests. For this reason, if you’re starting a new garden from scratch, you may want to invest in a professional soil test at least once.
Cooperative extension offices don’t just test your soil. They will also give you a full soil test report complete with recommendations of which soil amendments to use to address any issues discovered with the soil test. Many offices will also provide both organic and conventional soil amendment suggestions, which can be extremely helpful if you’re keeping an organic garden.
If you want to have your soil tested by a cooperative extension office, follow the steps below. On the other hand, if you prefer to go the DIY route, skip ahead to methods 2 through 4.
Equipment needed:
- Bucket
- Hand trowel
- Any required forms or containers from your local cooperative extension office.
Step 1: Request a soil testing form and container.
Most cooperative extension offices require you to submit a form with your soil test. They may also want you to use a special container to gather your samples. So you’ll need to contact your local cooperative extension office and request a form.
You can request these materials from the website of your local cooperative extension office.
Step 2: Gather your samples.
Once you have your soil test form in hand, it’s time to gather your samples.
To take a sample, carefully scrape away anything covering the soil surface, such as leaf litter or mulch. Then take a soil sample with your hand trowel by digging a V-shaped hole straight down into the soil. Avoid gathering samples from areas where you’ve stored items like compost or wood ash, as these soil samples will not be accurate.
Samples can be gathered throughout your lawn and garden, as well as from the soil under trees. However, soil in these areas will need to be dug at different depths. Soil samples from garden beds should be taken at 8” in depth, lawn samples at 3 to 4” in depth, and samples under trees at 12” in depth.
You will want to take about 15 samples throughout your yard, which will be mixed together later. However, if there are any particularly problematic spots that you have been struggling with, take soil samples from those areas but keep them separate from the rest of your soil test samples. Soil from problem areas will be tested on its own to see what’s going on with that section of your garden.
For even more accurate samples, you can take separate samples from your vegetable garden, ornamental beds, and lawn, or you can mix these soil samples together. It’s up to you.
Step 3: Blend your samples.
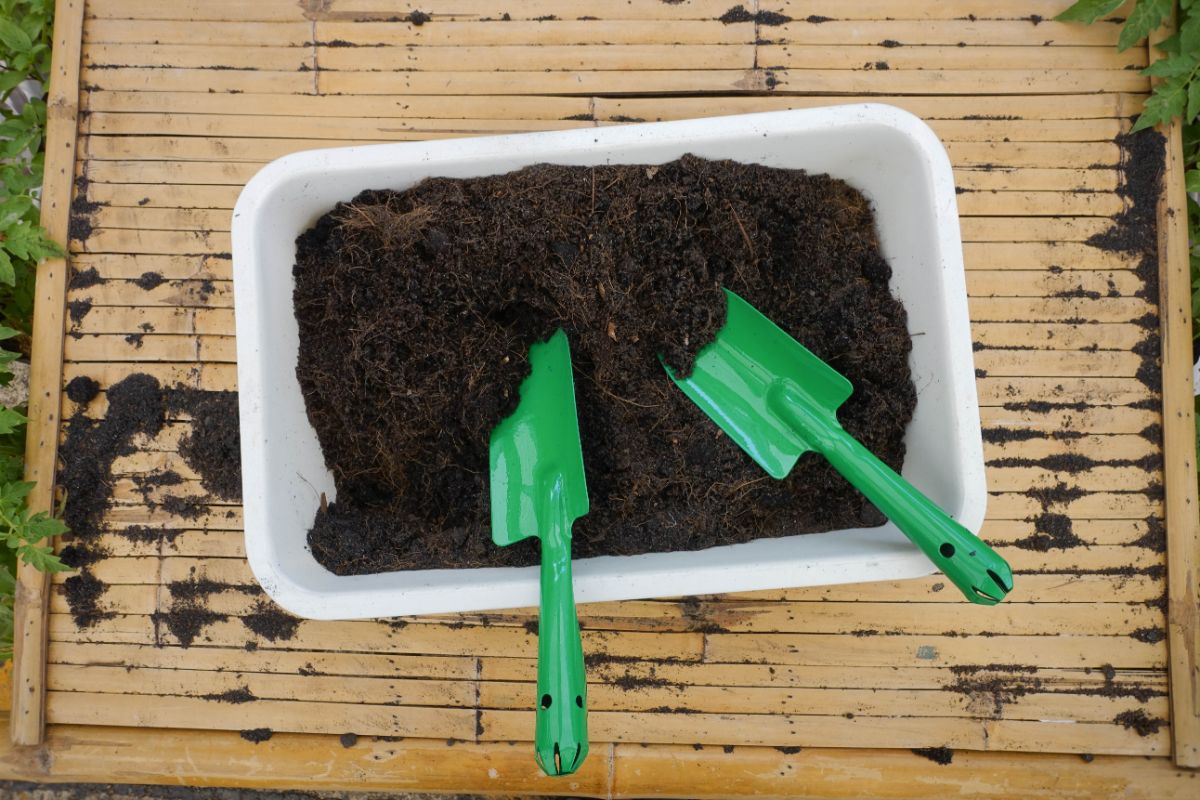
After taking your samples, mix together your samples in a clean, plastic bucket. Just be sure to keep samples taken from problem areas separate, and don’t blend them with the rest of your soil.
Step 4: Place your soil sample in a container.
Now that you’ve blended your soil samples together well, scoop out about a pint of soil and add it to a clean container. If your cooperative extension office gave you test containers, use those containers.
Step 5: Label your sample.
Careful labeling is possibly the most important step when getting your soil tested, and it will affect the results you get.
After packaging your soil samples, label the container with your name and the sample name. Then fill out the soil testing form, adding as much information as you can, such as sample name, what you want to grow there, and the size of your garden where you took the samples from.
Step 6: Send in your soil test.
When your soil test is packaged up properly, you can simply mail it to your local cooperative extension office or drop it off in person if you live close enough to the facility.
Step 7: Interpreting your results.
One of the great things about having your soil tested by a professional is that they will give you more information about the nutrient makeup of your soil. They will also provide you with recommendations for soil amendments and how much to use in your garden. This takes a lot of the guesswork out of improving your soil and which products to buy.
Method 2: Use a home test kit (DIY)
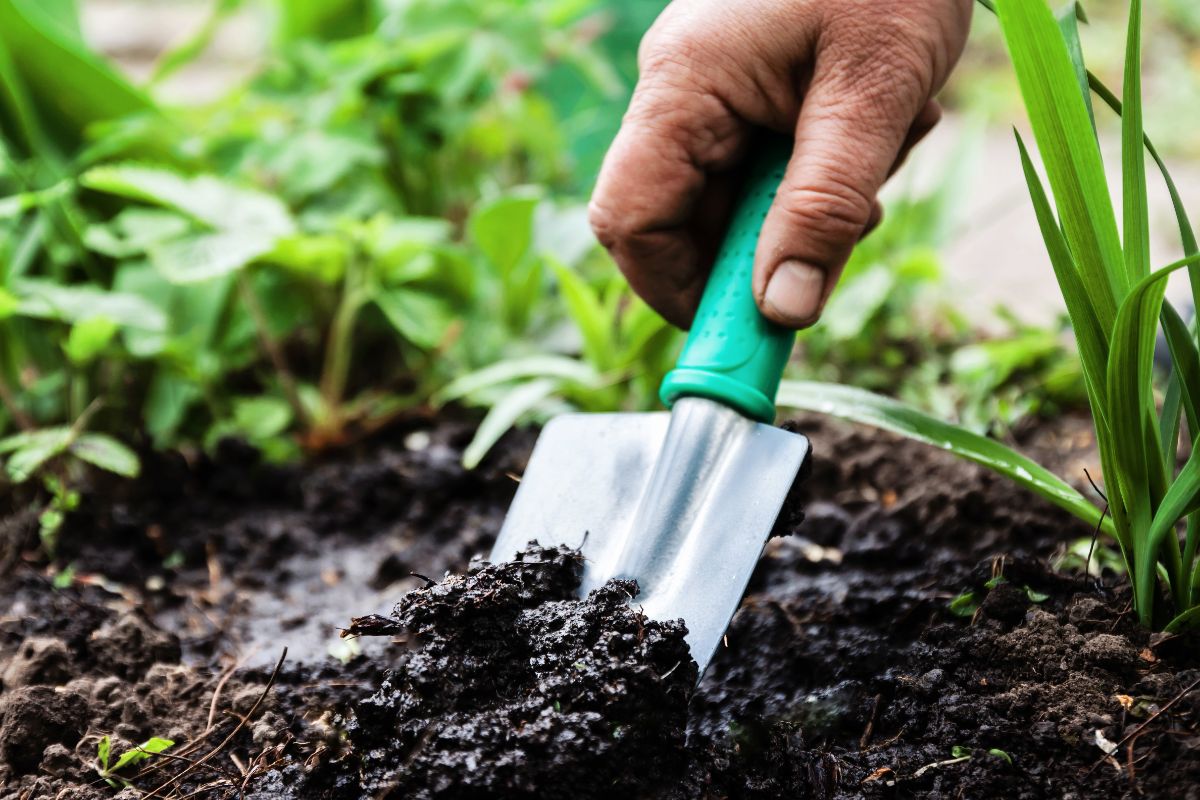
While professional soil analyses will give you more precise results, you can also test your soil at home with a home testing kit. To do this, you will need to follow the instructions on the testing kit, since test methods can vary significantly.
In general, for these types of tests, samples of soil are gathered from your lawn and garden, but the samples aren’t mixed together. Instead, each soil sample is tested independently to give you a better picture of the soil structure and nutrient content throughout your yard.
Some of these testing kits come with small mixing containers and capsules that you mix into a blend of distilled water and soil. Once the mix is stirred up, you can compare how the chemicals in the capsules react to a standardized pH and nutrient chart. When you compare the color from your test to the color-coded chart, you will learn more about your soil.
Home testing kits can tell you a lot about your soil including: pH, potassium, nitrogen, and phosphorus levels, as well as if there is any lead in your soil.
Method 3: Do a ribbon test (DIY)
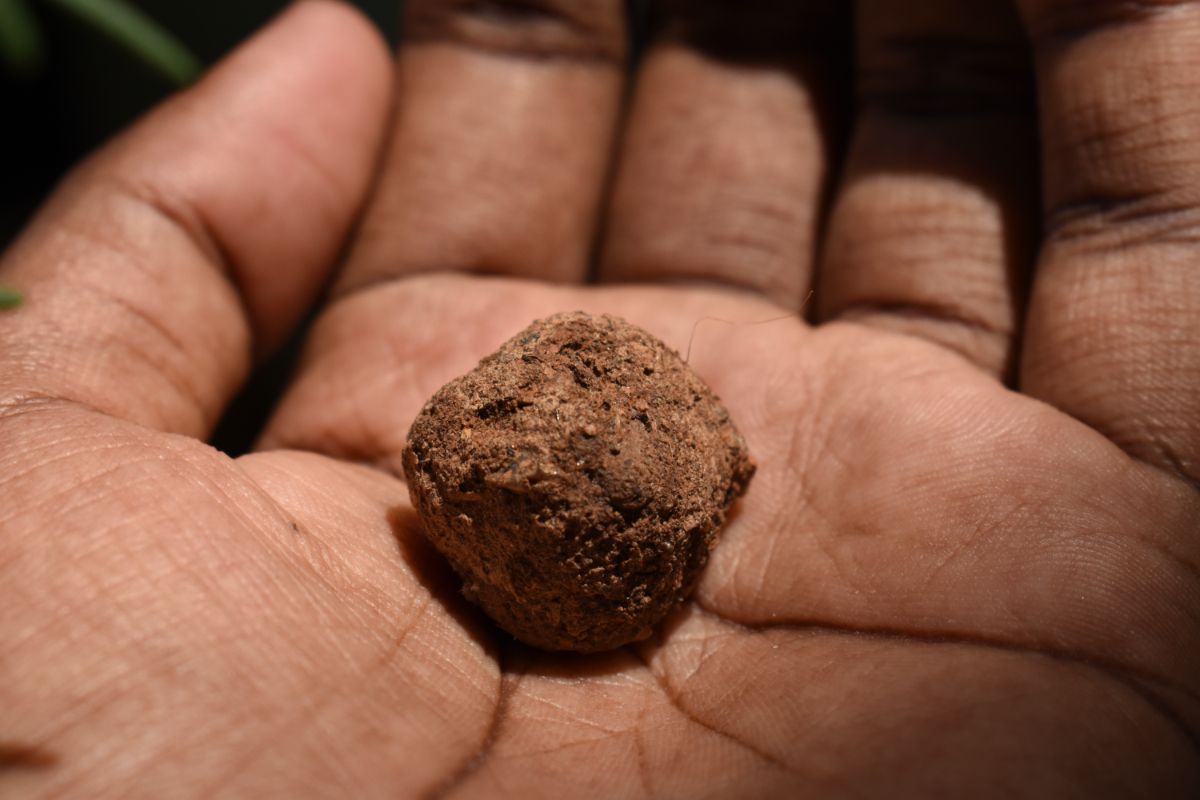
Perhaps the simplest way to test your soil’s structure is the basic ribbon test. This test will let you know the general makeup of your soil and how much clay and sand it contains.
Equipment needed:
- Hand trowel
- Water
Step 1: Take your soil sample.
To get started, you’ll first need a sample of your soil. Select an area of your garden or lawn that you’d like to test, then scrape away any grass or debris on top of the soil line. Then dig a small 6” hole and remove a sample of soil with your hand trowel.
Step 2: Add water.
Hold your soil in your hand or place it in a small plastic container and add a bit of water. Don’t add too much water, though. You want your soil to have the consistency of moist puddy.
Step 3: Blend your soil.
After adding your water, mix your soil well.
Step 4: Make a ball.
Now, try to form your soil sample into a ball shape. If you can create a firm ball, your soil has a lot of clay in it. If you can’t form a ball at all, your soil is rich in the sand.
Step 5: Make a ribbon.
Next, hold your soil sample between your thumb and forefinger and press your fingers together. As the soil sample flattens out, notice whether it sticks together or not and if it forms a “ribbon” as it flattens.
If the soil sample flattens out easily and creates a long, flat ribbon of soil, the sample contains a lot of clay. If the ribbon breaks off quickly and won’t form a ribbon, you have a lot of sand in your soil.
Step 6: Interpreting your results.
The best kind of soil to grow crops in is sandy-loam soil, with a blend of clay, silt, and sand. Too much sand or clay will cause drainage issues and nutrient-poor earth. If your soil test shows that your garden is too rich in clay or sand, you may want to amend your soil with compost or aged manure prior to planting.
Method 4: Do a jar test (DIY)
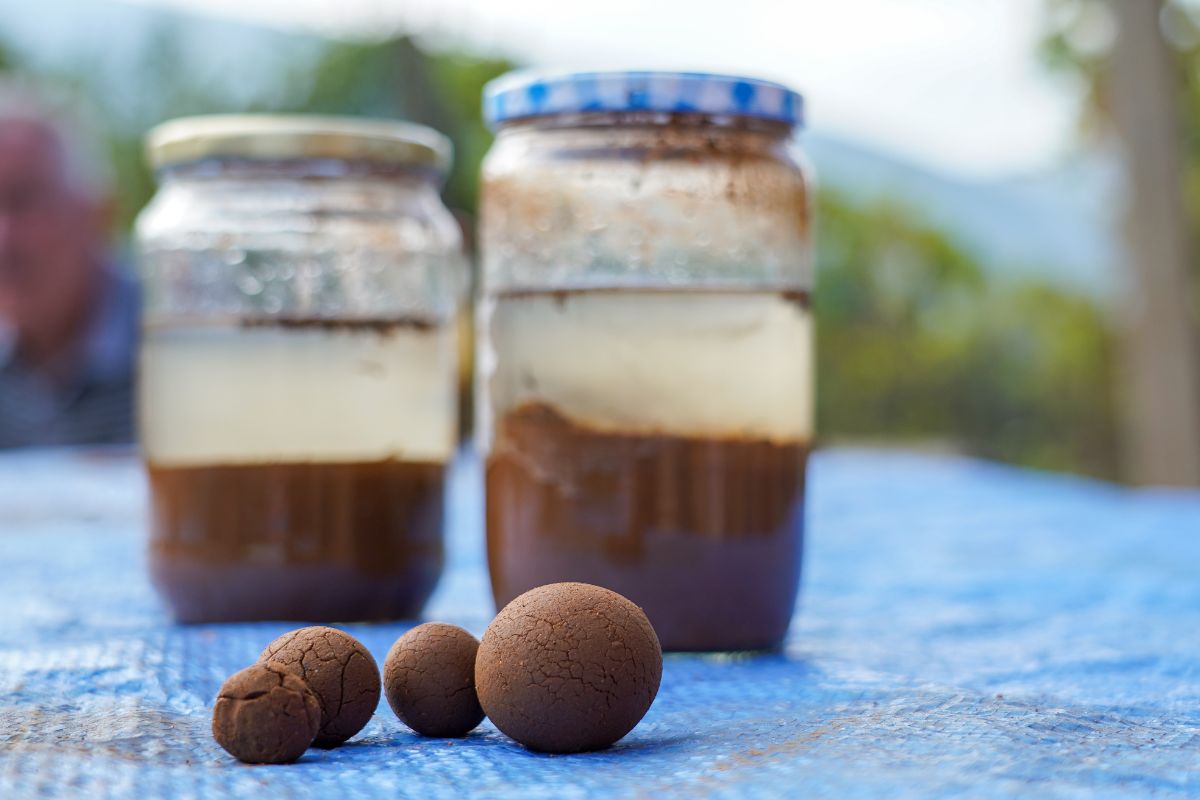
This super simple, DIY soil test will give you a general idea about your soil structure and how much sand, clay, and silt your soil contains. With this information in hand, you’ll have a better idea of what plants to grow.
Equipment needed:
- Small jar with straight sides, like a peanut butter jar
- Hand trowel
- Water
- Stopwatch
- Ruler
Step 1: Take your soil sample.
Choose an area of your garden or lawn where you’d like to test the soil. Then scrape away any grass or debris on top of the soil line and use your hand trowel to dig down about 6” into the soil. Scoop up a sample of the soil and add it to your jar until the jar is about ½ full.
Step 2: Add water.
Now, fill up the rest of the jar with water and screw the lid on. Allow the jar to rest for a bit so that the soil can soak up some of the water.
Step 3: Shake, shake, shake!
Next, make sure your jar lid is secure, and then give your jar a good shake -- really try to get the soil and water moving around! You should shake your jar for about 3 minutes.
Step 4: Record your results.
Then place your jar on a flat surface and start your stopwatch.
After 1 minute, take your ruler and measure how much soil has sunk to the bottom of your jar. Record this height. This is the amount of sand your garden soil contains.
Wait another 4 minutes and take another measurement with your ruler. The difference between this measurement and the last measurement tells you how much silt is in your soil.
Finally, take one last measurement after 24 hours. The difference between this measurement and the second measurement will tell you how much clay was in the soil sample.
Step 5: Interpreting your results.
Healthy soil should contain about 20% clay, 40% silt, and 40% sand. Compare the measurements you took to this ratio to learn more about the makeup of your soil.
Clay-heavy soil doesn’t drain well, while sandy soil won’t hold onto water or nutrients. Depending on the results from your soil test, you may want to amend your soil with organic matter, like compost.
Summary
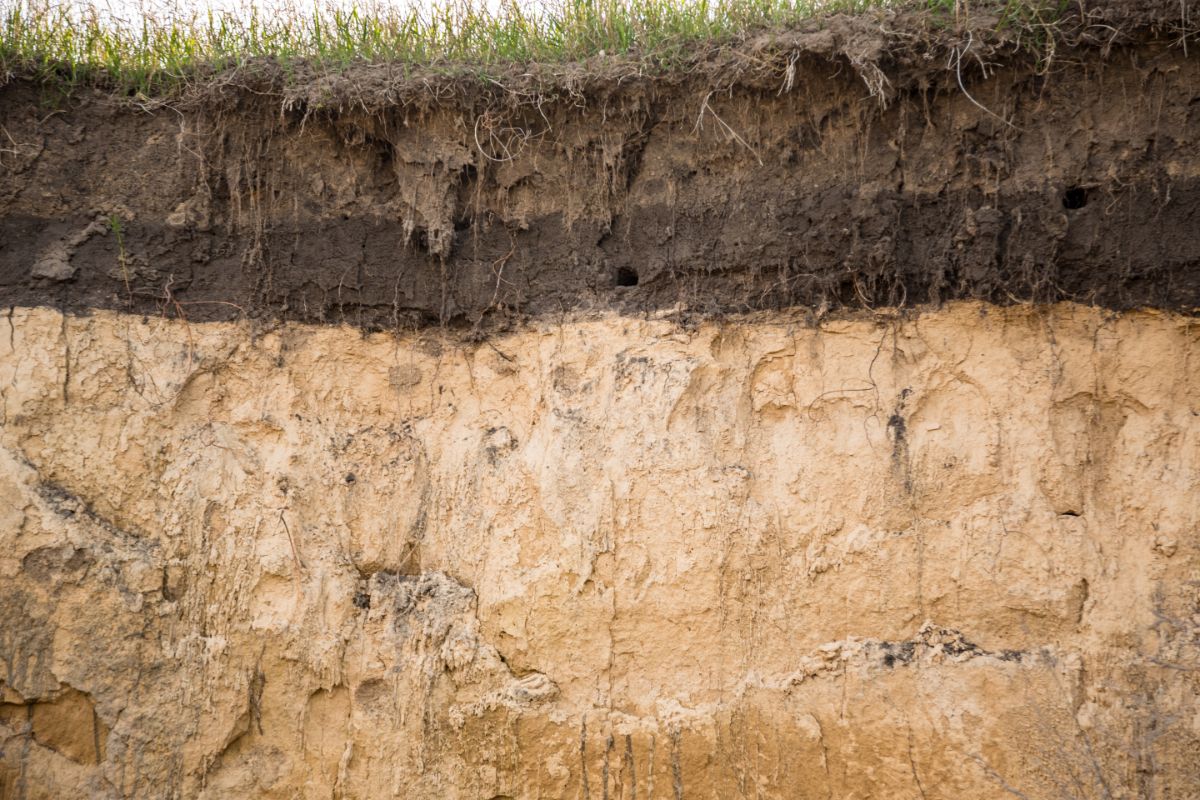
Soil test results can tell you a lot about a garden. These results will show any nutrient deficiencies in the soil, pH imbalances, poor soil structure, and more. With this information in hand, home gardeners can easily tackle garden issues and correct them before they become more pressing problems.
Soil testing may sound difficult, but there’s a lot you can learn from simple DIY tests. And, if in doubt, you can always send a soil sample to experts at your local cooperative extension office, who will provide you with everything you need to know about your garden.
If you’d like to learn more about improving your soil, read our guides on composting or how to use aged manure in your garden.



Leave a Reply