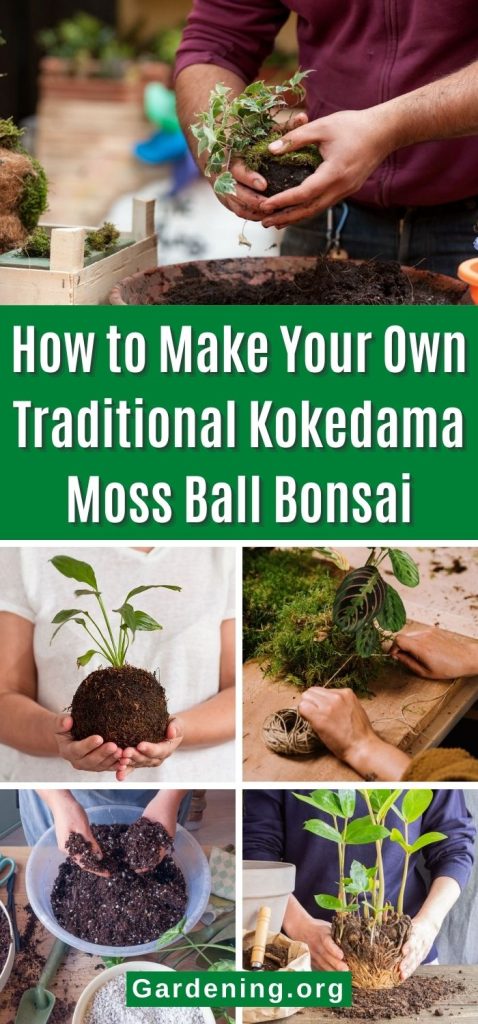
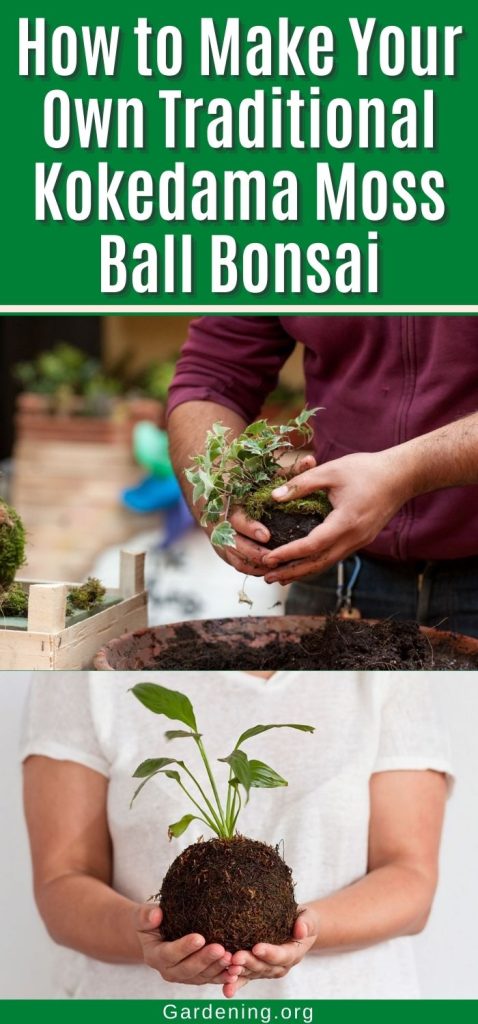
A creative take on the traditional bonsai, kokedama moss balls are easy to make, and they are a chic and modern way to display your houseplants!
Bonsai arrangements are stunning, but they can take years to create and are often difficult to keep indoors. But if you love the thought of creating a sculptural plant arrangement, you may just want to try your hand at Kokedama.
In this guide, we’ll teach you everything you need to know to create your own kokedama and how to maintain this modern-looking bonsai for years to come!
Jump to:
What is Kokedama?

Kokedama is a traditional bonsai form that was first developed in Japan during the Edo Period (1603-1867). The name literally translates to ‘koke-’ meaning ‘moss’ and ‘dama-’ meaning ‘ball.’ A very appropriate name for a planting arrangement that features a spherical moss orb!
Kokedama functions as an alternative to plant pots and terrariums. Instead of keeping your plant growing in a plastic planter, you can wrap your plant’s roots in substrate and moss to create your kokedama. This allows plant roots to breathe better and it’s stylish too.
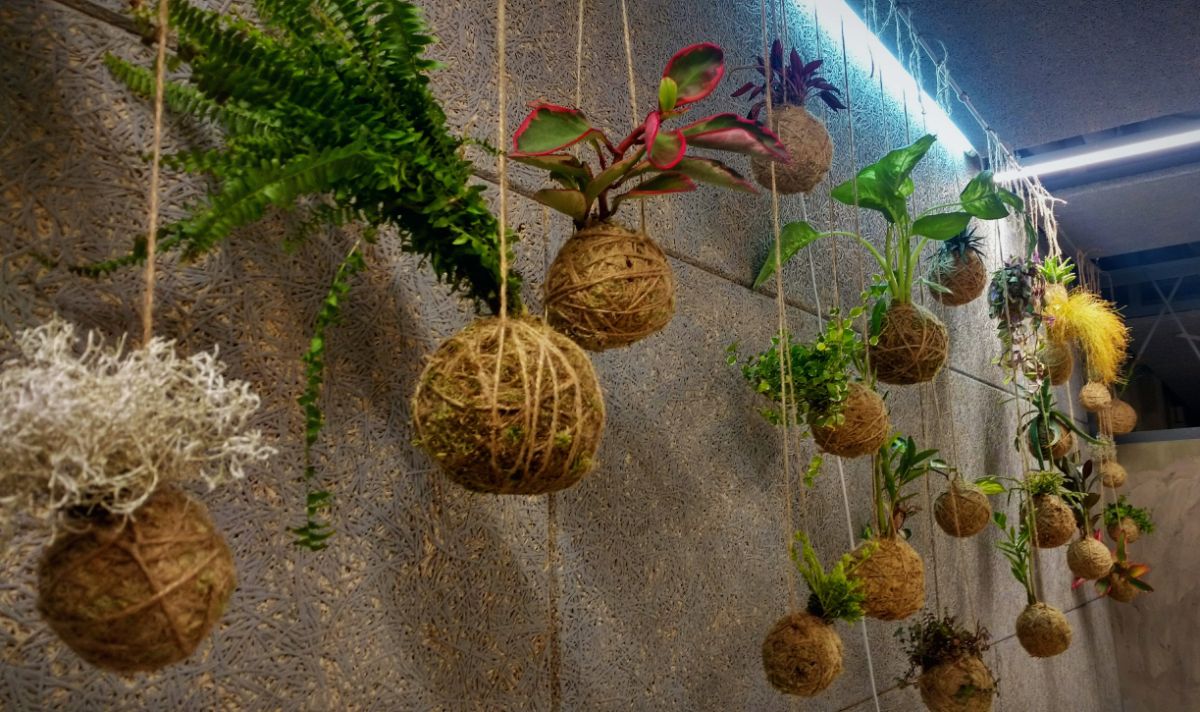
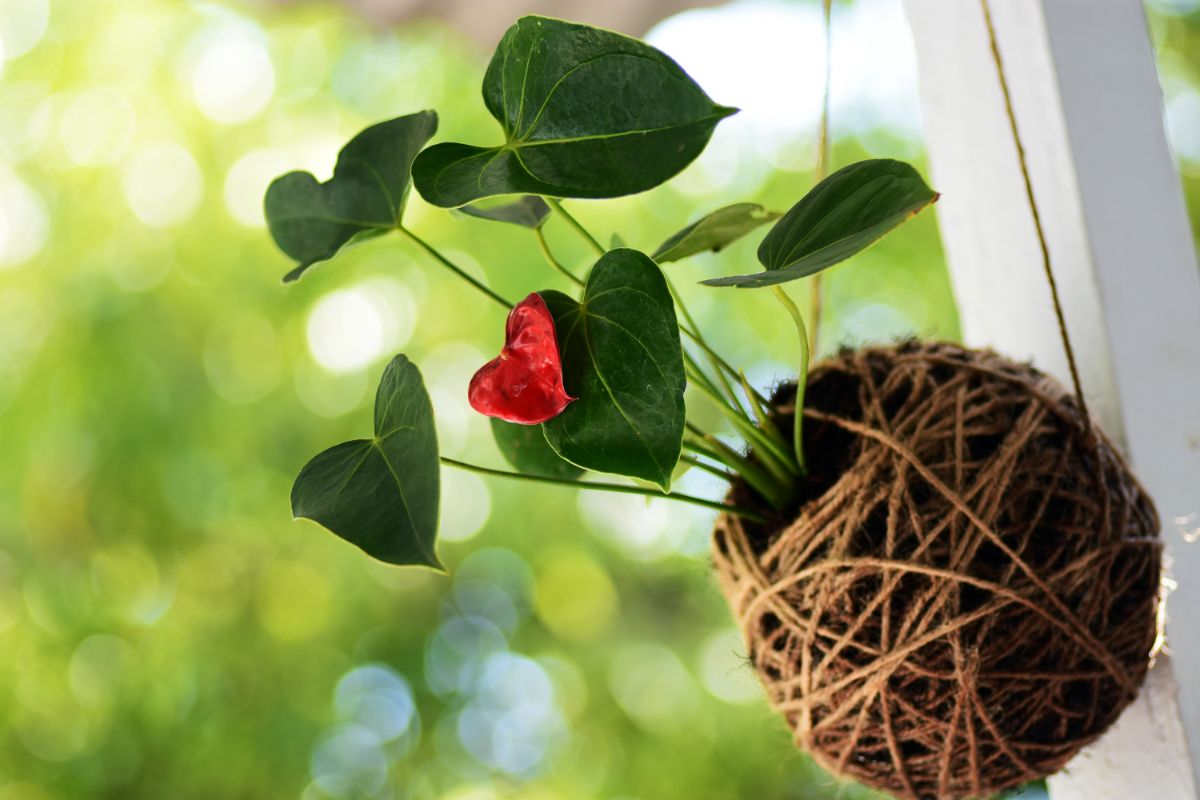
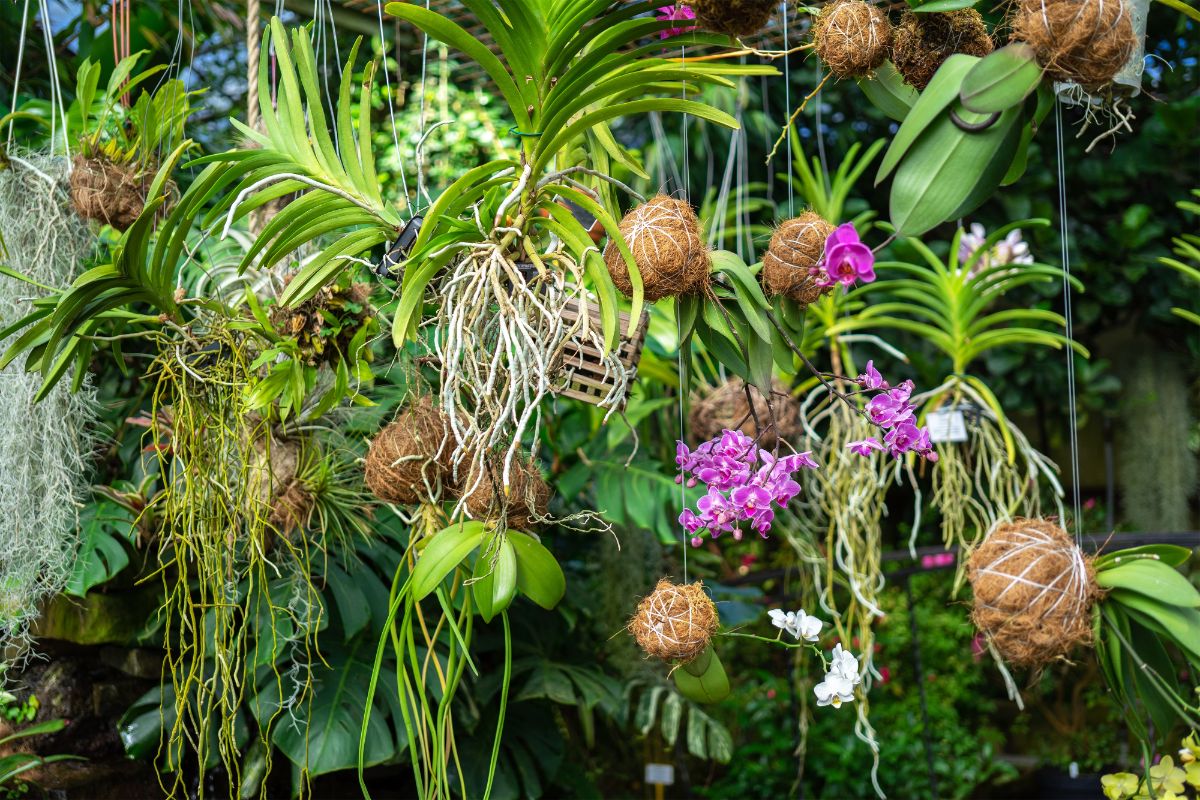
While most of the kokedama you’ll encounter are displayed on hanging strings, these moss balls can also be placed inside of terrariums or installed as funky centerpieces on your coffee table or shelf.
What’s more, these bonsai are super easy to make, and they can be fun for the whole family too!
How to make a kokedama moss ball
If you’re ready to make your own kokedama, you’ll need to gather a few supplies. You’ll also have to pick out the right houseplant to plant in your kokedama moss ball.
While you can choose houseplants of different sizes, the size of your houseplant will determine how large your kokedama will be. Since oversized kokedama can be much more unwieldy than smaller ones, building your kokedama around a small houseplant will be much easier. For best results, look for a houseplant that is in a 4 to 6” pot, although you can try larger plants too.
What you’ll need:
- Houseplant of your choice
- Peat moss or coconut coir
- Bonsai soil
- Moss – you can use moss harvested from your backyard, or you can use sheet moss sold for crafting
- Waxed string
- Mixing bowl
- Water
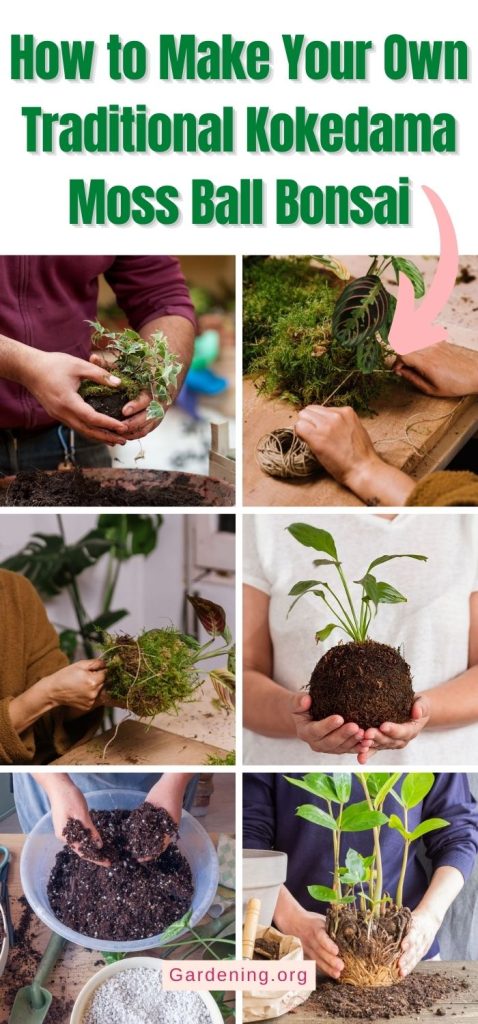
The process
- The first step you need to take to create your kokedama ball is to prepare your moss.
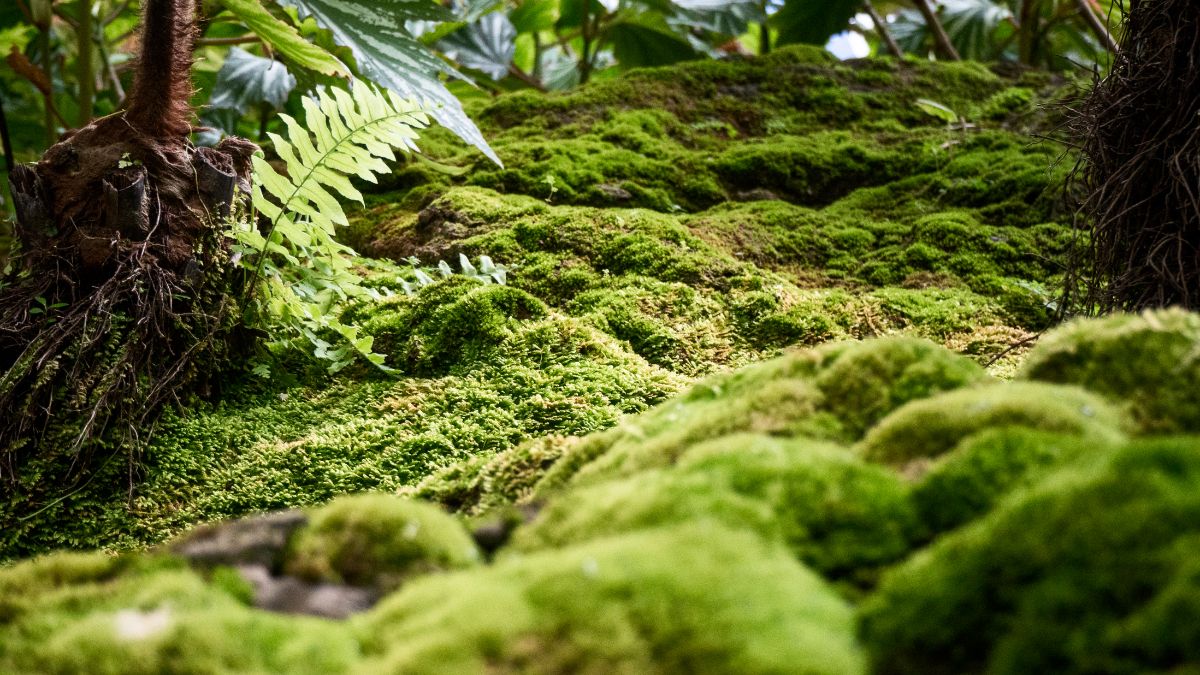
You can either purchase preserved moss for crafting or use foraged moss that you find on nearby hikes or right in your backyard.
If you use foraged moss, be sure to follow local guidelines when harvesting and only harvest ⅓ of the moss you see in a particular area to avoid overharvesting. You may also want to wash your natural moss to make sure it doesn’t have any insects or undesirable debris inside.
Regardless of whether you use fresh or preserved moss, place your moss in a bowl of water and allow it to soak and rehydrate while you prepare your kokedama ball.
- Next, you need to mix your substrate blend, which will form the base of your kokedama.
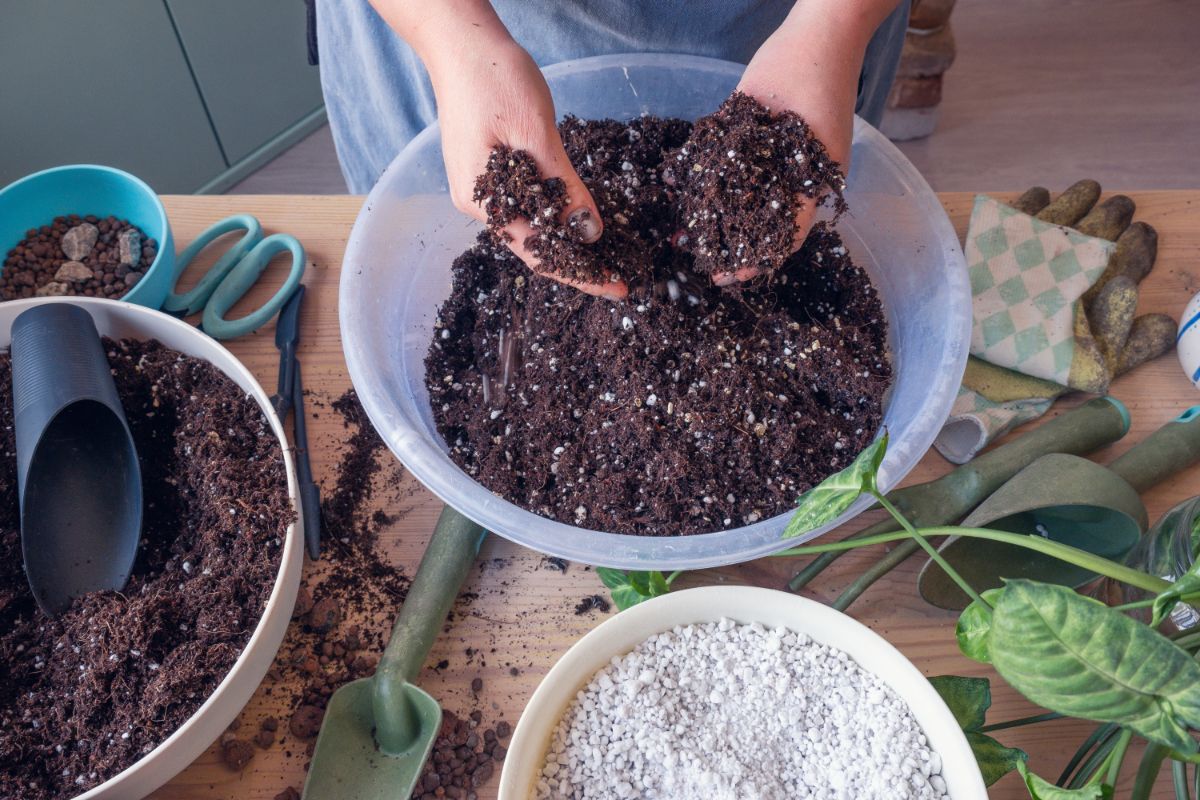
To do this, combine 1 part peat moss or coconut coir with 1 part bonsai soil in a mixing bowl. Blend the two substrates together well and then moisten them with water until they have the consistency of a wet sponge. You’ll know your soil is damp enough if you can easily form it into a ball with your hands.
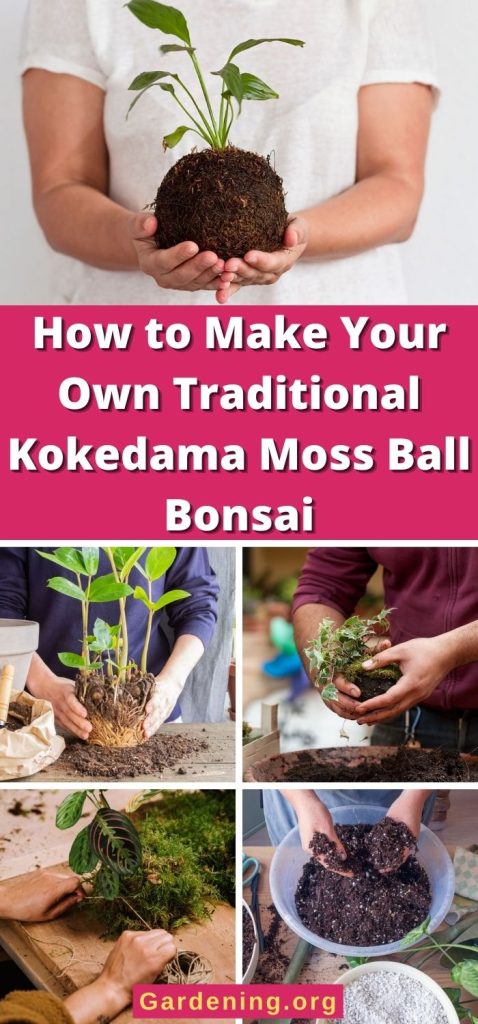
- Remove your houseplant from its pot and shake away as much of the soil as you can. You can gently tease your plant’s roots apart to help remove the soil.
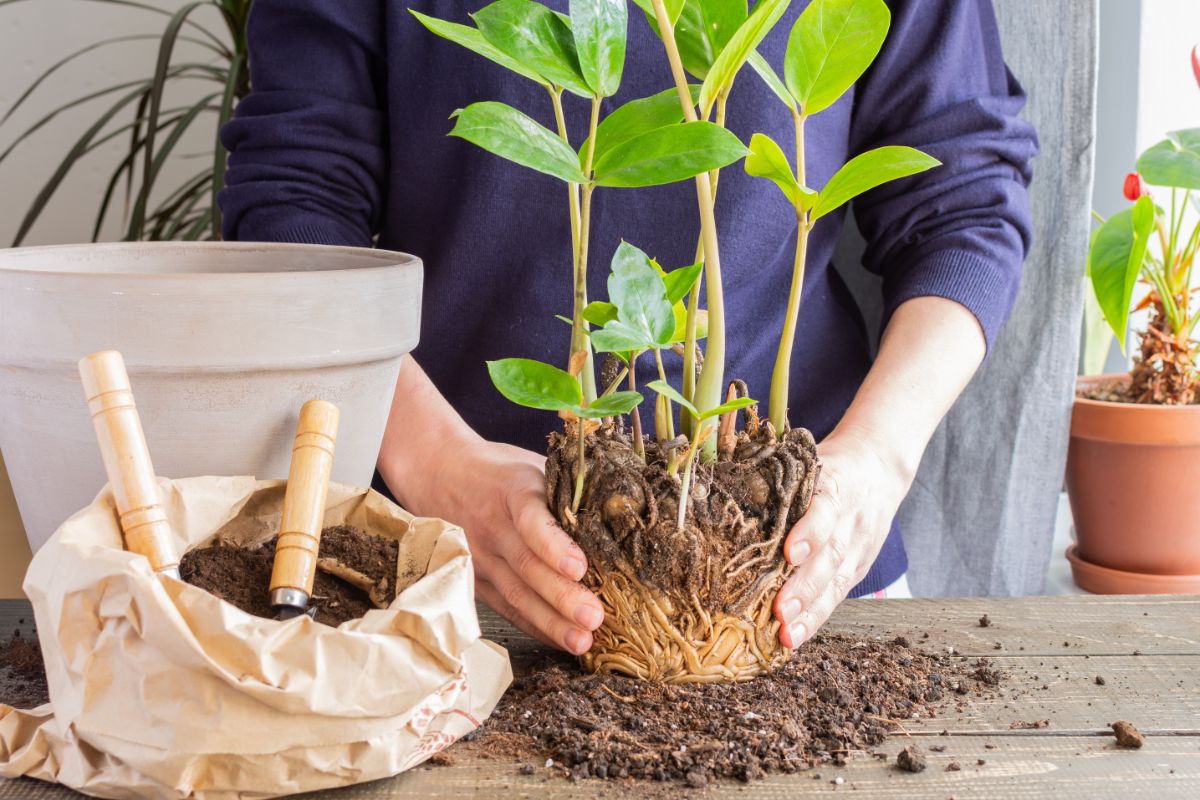
Once you’ve gotten most of the soil off of your plant’s roots, rinse any leftover soil from your plant with water. You’ll want your roots to be nice and clean for the next steps!
- After your substrate is thoroughly mixed and moist, begin to mold it into a sphere with your hands. The size of the sphere you make will be directly determined by the size of your plant. Make the sphere large enough to contain all of your plant’s roots, and add a bit of extra soil so that the roots will have some space to grow.
As you mold your soil ball, press the soil firmly to help it stick together.
- Now that you’ve formed your soil ball, it’s time to insert your plant!
To do this, gently crack your soil ball in half, position your plant’s roots inside the two halves and then reform the soil ball around the plant’s roots. Press the soil firmly together to help form a solid ball, but don’t press so hard that you damage your plant’s roots.
This part can be a bit tricky, so don’t feel bad if your soil ball falls apart. Simply remold it.
As you work, add a bit of extra soil around your plant’s roots if needed to help the ball stick together and to cover up the entire root system.

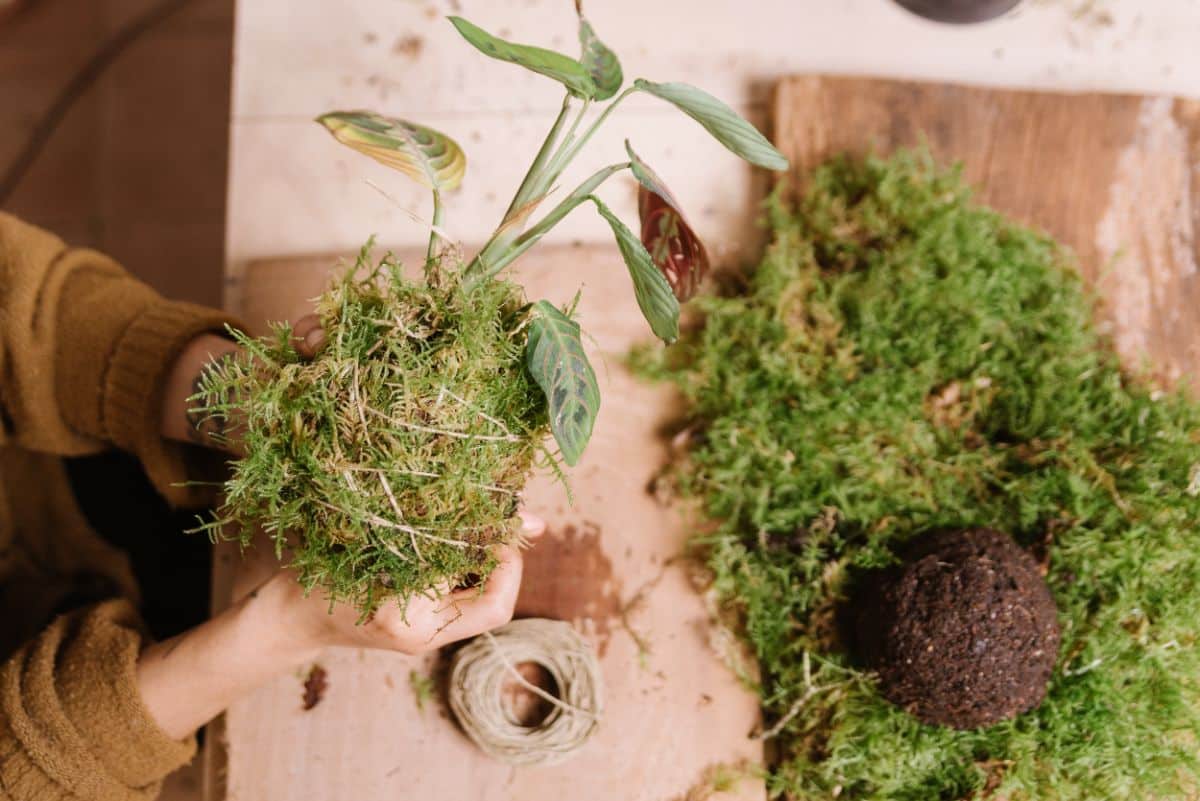
- After positioning your plant in your soil, you’ll need to wrap the soil ball with your sheet moss to create the quintessential kokedama spherical form.
Carefully remove your moss from the water it was soaking in and wring out the extra moisture. However, don’t be too rough with your moss, as you don’t want it to crumble apart!
- Spread out your moss on your working surface. If you’re using sheet moss for crafting, lay the moss out flat and position the colored, green side down.
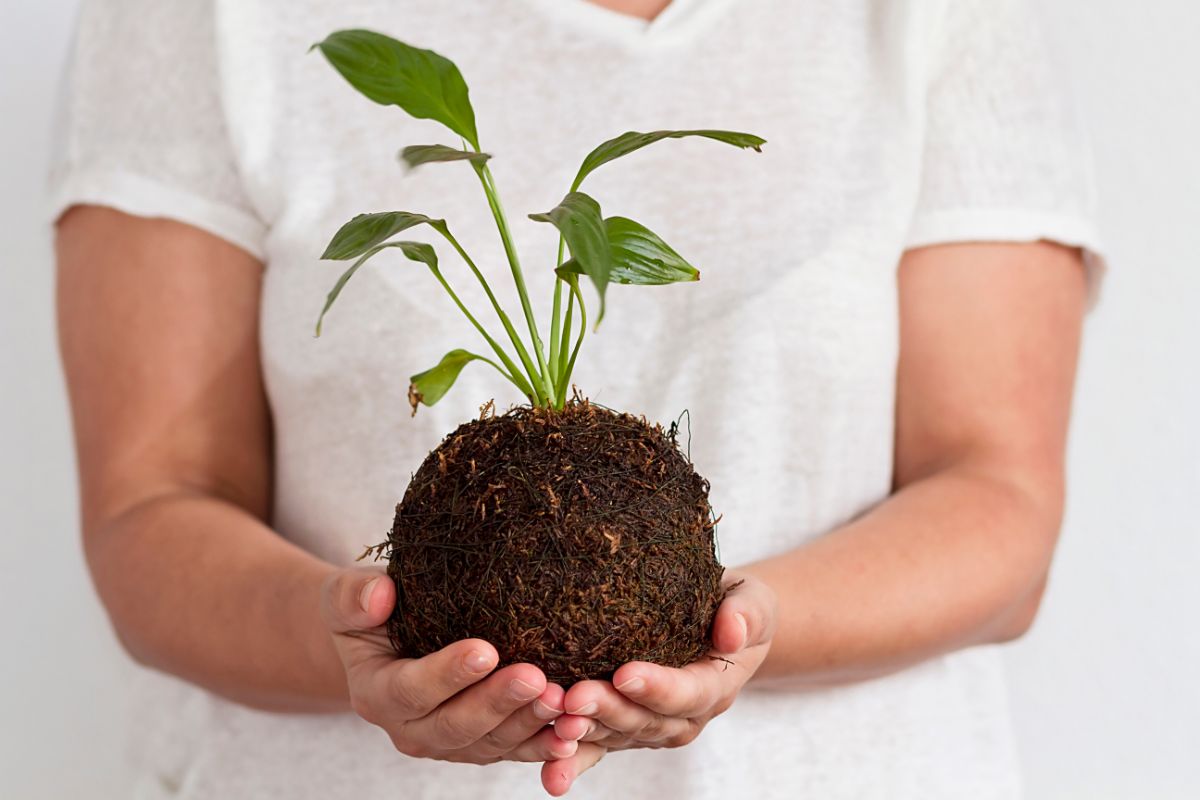
Place your soil ball in the center of your moss and begin to fold the moss up and around your soil ball. Keep working until you’ve covered all of the soil with moss.
As you go, press the moss firmly into place and hold it together with one of your hands if needed.
To make a hanging kokedama, mold the soil and moss ball into a spherical shape.
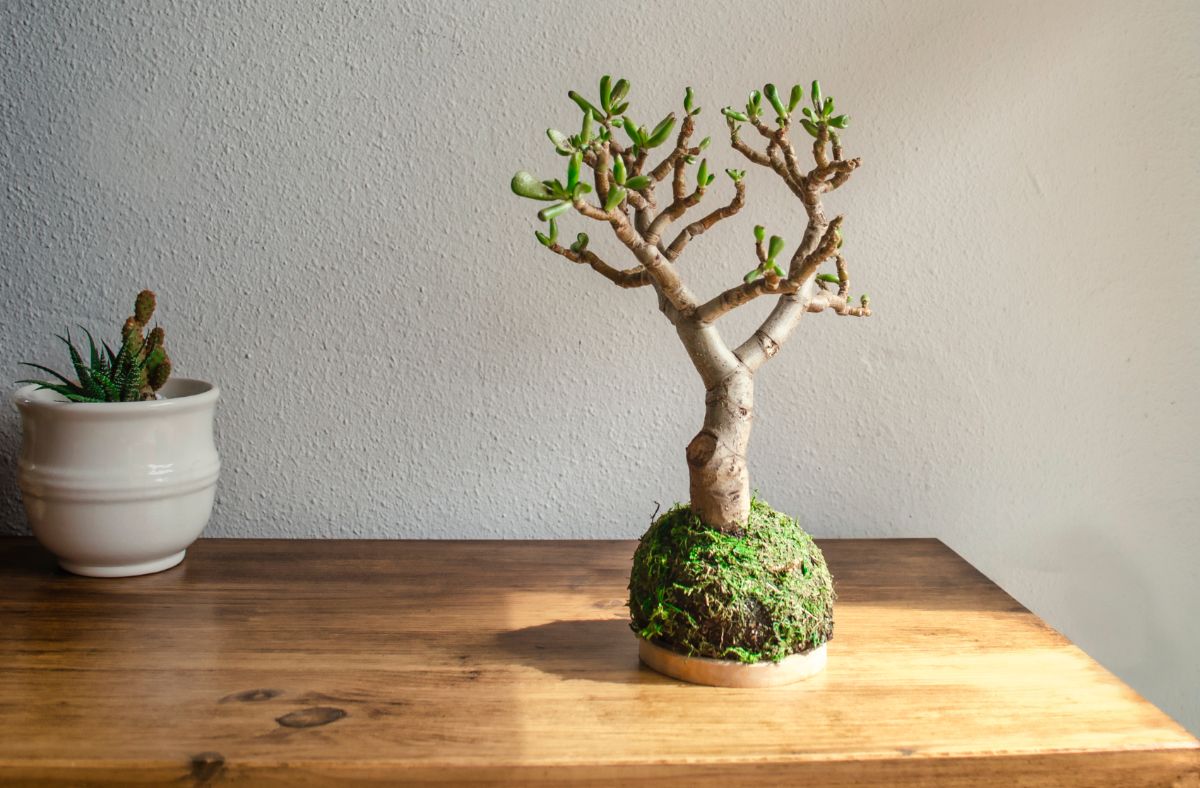
To make a tabletop kokedama, press the bottom of your moss ball against your work surface to form a flat bottom for your kokedama to sit on.
- Now your project is beginning to look like a true kokedama, but you’re not done yet! You still need to secure your moss to your soil ball.
First, wrap a length of waxed string around the top of your kokedama and then secure the string with a double knot. Be sure the string holds the top of the moss around the base of your plant, but don’t pull the string so tight that it will constrict your plant’s stem.
Trim off the extra string.
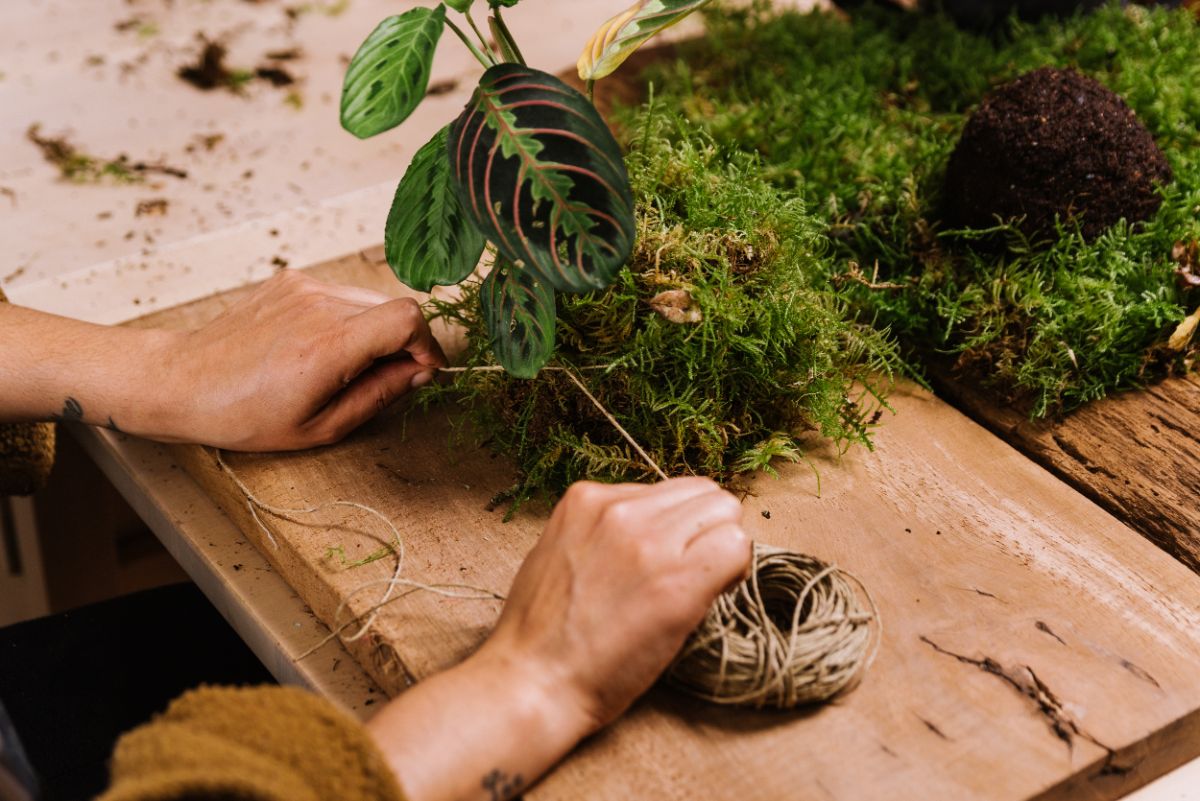
Next, take another longer length of waxed string and tie one end to the string at the top of your kokedama. Then begin to wrap the waxed string around and around your moss ball moving in every direction. The goal is to firmly wrap your ball so that the moss and soil stay together and form a sturdy structure for your plant to grow in.
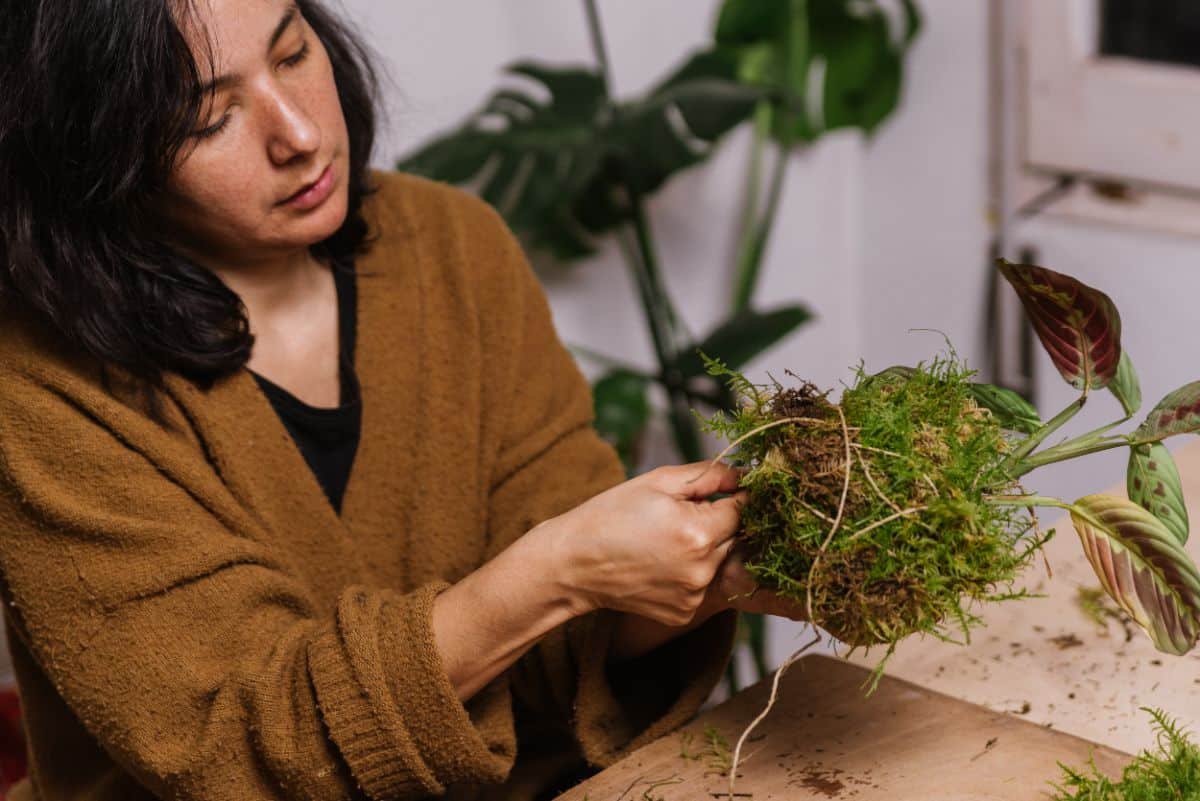
When you’re done, your ball should feel firm, and your plant should be well-supported.
- If you want to keep your kokedama as a tabletop bonsai, your kokedama is finished. Now you can choose how you want to display it. You can place your moss ball on top of a decorative charger, in a glass bowl or terrarium, or mount it on a piece of driftwood or showcase your ball in another creative way.
If you’d prefer to hang your kokedama, create a simple hanger by cutting 3 equal lengths of wax string. Then form your hanger by tying each end of your strings to your moss ball.
How to maintain your kokedama moss ball
With proper care and maintenance, your kokedama should last about 2 years. After that time, you can remove your plant from your kokedama and pot it in a planter or create another, larger kokedama to fit your growing plant.
In order to keep your kokedama looking its best, be sure to keep the following tips in mind.
Water
How often your kokedama needs to be watered will depend upon the type of plant you’re keeping in your moss ball. Most tropical plants in kokedama displays will need to be watered approximately once or twice a week; however, plants that like drier conditions will need less moisture.
Also, remember that plants in kokedama may dry out faster than plants kept in pots because water will evaporate quicker from the exposed moss surface. If your kokedama feels dry to the touch, it’s time to water.
To water your moss ball, submerge the moss and soil ball in water for approximately 3 minutes. Then remove the ball from the water and allow it to drain for about 5 minutes before returning it to its display.
Humidity
Depending on the plant you use, you may need to mist your kokedama daily or place it near a humidifier to boost humidity levels. For example, ferns are excellent choices for kokedama, but they have high humidity needs, so they will need an extra boost of moisture.
Additionally, if you used live moss instead of preserved moss to create your moss ball, you will need to mist your moss regularly to keep it from turning brown. Misting your kokedama well every 1 to 3 days should do the trick.
Light
As with water, the amount of light your kokedama needs will be determined by what type of plant you’re keeping. For this reason, you’ll want to research individual plant’s needs before creating your moss ball to ensure that you’re selecting a plant variety that will thrive in this growing setup.
Live moss has low light needs, while preserved moss is not living and doesn’t need light at all. Keep this in mind when designing your kokedama.
Fertilizer
Kokedama only need to be fertilized sparingly during the growing season, and they don’t need any fertilizer in winter. To fertilize your moss ball, dilute organic, water-soluble fertilizer to half-strength with water, and then use this liquid when you rehydrate your kokedama with your weekly watering.
Best plants for kokedama
Most small, tropical plants will grow well in kokedama. However, some of the best plants to try with this bonsai technique include:
- Ferns
- Anthurium
- Arrowhead vine
- Pothos
- Dracaena
- Philodendron
- Spider plants
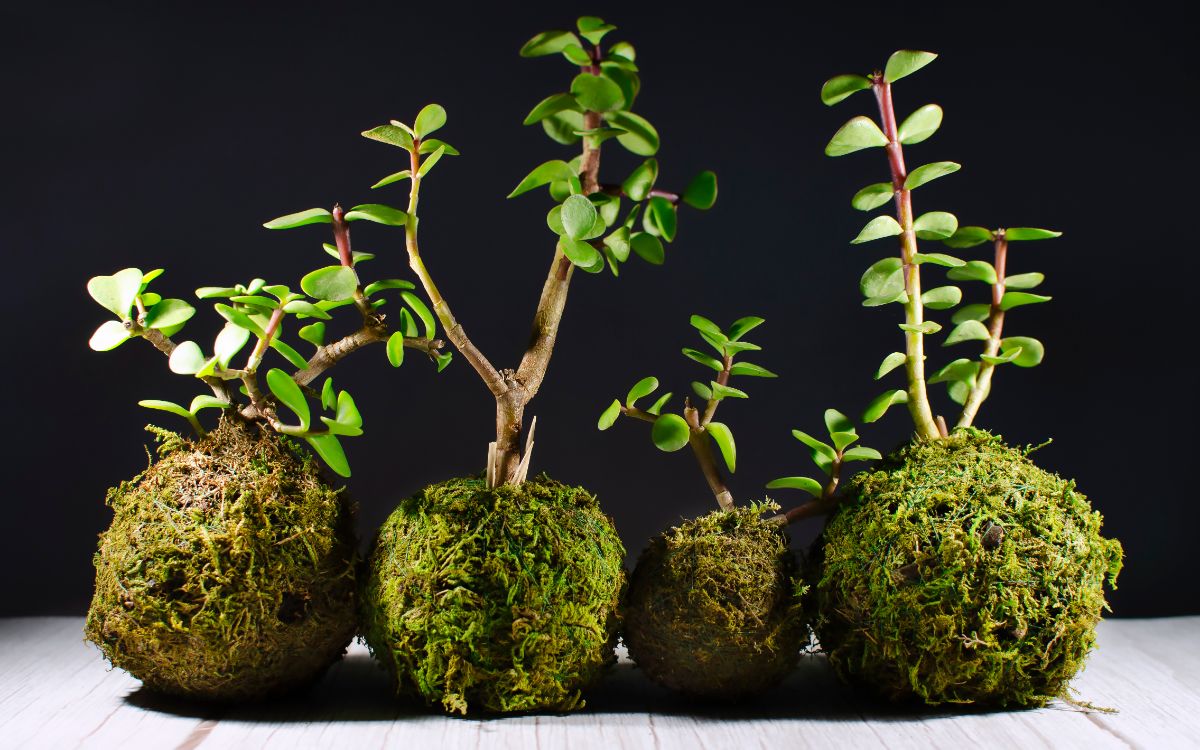
Due to their moisture levels, kokedama are not well-suited to plants that like drier conditions, such as cacti and succulents. These plants also generally have smaller root systems, which can be difficult to anchor inside a kokedama ball.
Frequently asked questions
Kokedama will last for about 1 to 2 years. After this time, your plant should be unwrapped, and the soil should be refreshed. Then you can repot your plant in a container or a larger kokedama.
Kokedama is primarily aesthetic and offers a chic and modern look to your houseplant collection. Depending on the plant you choose to keep in your moss ball, your kokedama can also have air-purifying abilities. For instance, spider plants are well known for their ability to purify your home’s indoor air.
Regular potting mix is too lightweight to use in a kokedama and won’t form a study moss ball. Using dense soil, such as bonsai soil, will help ensure your kokedama won’t break apart.
Kokedama should be tended just as you would a standard houseplant by providing it with water, diluted fertilizer, and light. Moss balls may dry out quicker than plants kept in pots. Also, if you’re using live moss, you will need to mist your kokedama regularly.
Live moss should be misted every 1 to 3 days. Alternatively, you can locate your kokedama near a humidifier to boost moisture levels.
To replace plants in your kokedama, snip away your strings and unfurl the moss sheet. Then you can simply crack your soil ball open and replace your plant as needed.
Summary
Bonsai are classic ways to keep plants, and kokedama is a popular variety of bonsai that is easy to make and simple to keep.
Depending on which types of moss you use and which plants you choose to grow, you can vary your kokedama’s look and appeal dramatically. Opt for trailing pothos to give your kokedama movement, or select a ZZ plant to form a kokedama with sculptural flare. Either way, your houseplant collection will look even more fantastic with a kokedama or two in the mix!
Note: If you have been inspired to make your own kokedama, don’t forget to mist your moss ball daily! For easier upkeep, you can try out one of these top humidifiers too!
Leave a Reply