Grass lawns are monocultures, that don’t benefit wildlife like bees and other pollinators. Grass also often requires higher levels of maintenance and regular watering. This can make grass a hassle to maintain, particularly in regions that don’t experience lots of rainfall.

Clover lawns are an exciting and low maintenance alternative. These pretty lawn covers offer flowers for bees and pollinators to enjoy, and they are also highly adaptable.
Requiring less water than grass lawns, clover is perfect for shady backyards or spaces with poorly draining soil. Because they need less maintenance, they are more eco-friendly. Additionally, as clover grows quite vigorously, it naturally works to suppress weeds, so you won’t need to use herbicides.
If you’re interested in trying out a clover lawn, this guide is the perfect place to start. We’ll cover the top tips for planting and maintaining your own clover lawn and the best clover varieties to try.
Fun fact: Clover lawns were quite common before the advent of broadleaf weed herbicides in the 1950s. These herbicides were developed to kill weeds, like plantain and dandelions, but they also killed clover lawns. That’s why clover lawns are less common today.
Jump to:
- 13 tips for planting and maintaining a clover lawn
- 1. Select your clover seeds
- 2. Know when to plant your clover
- 3. Decide how you want to seed your lawn
- 4. Prepare your lawn for overseeding with clover
- 5. Grow your clover lawn from scratch
- 6. Add soil amendments
- 7. Broadcast your clover seeds
- 8. Settle your seeds in
- 9. Keep new clover lawn well-watered
- 10. Don’t walk on new sprouts
- 11. Avoid nitrogen-rich fertilizer
- 12. Mow monthly
- 13. Don’t use herbicides
- Why grow a clover lawn?
- Frequently asked questions
- Summary
13 tips for planting and maintaining a clover lawn
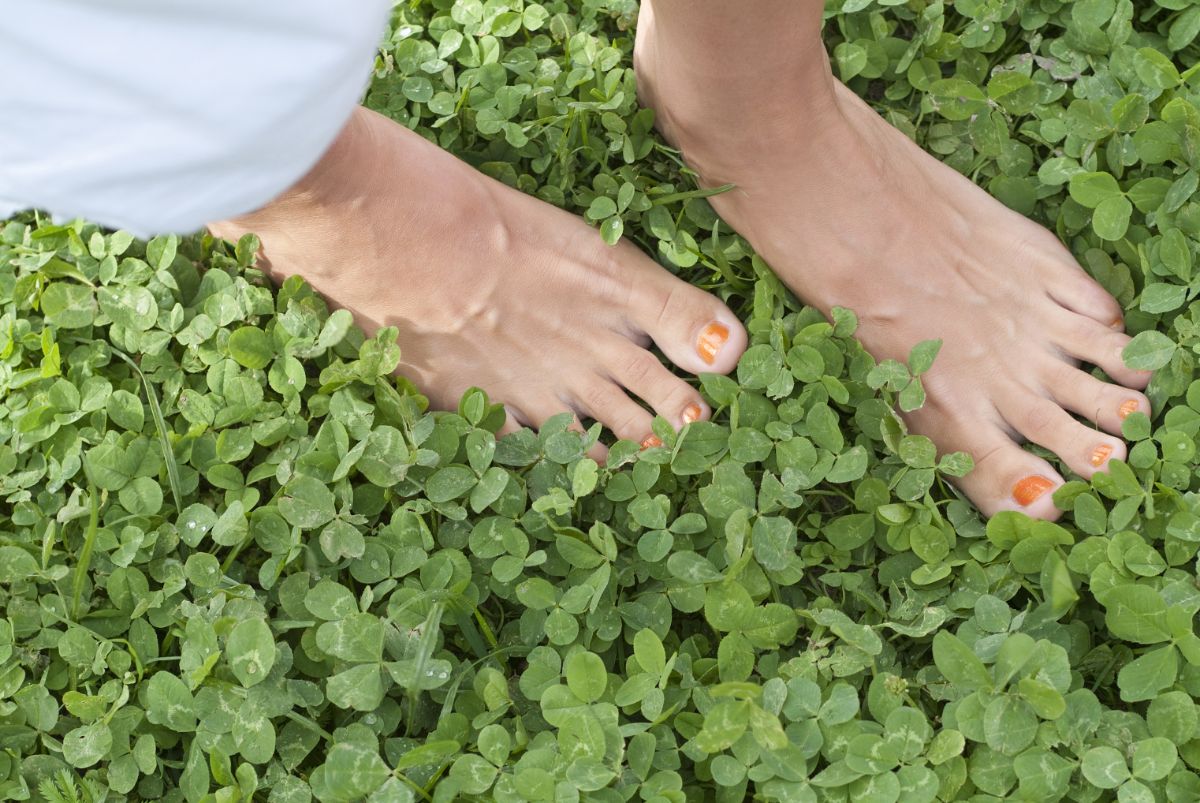
Planting a clover lawn has never been easier. Whether you have an existing grass lawn, or you’re starting from scratch with bare earth, follow along with these simple tips and start growing your own bee-friendly clover yard today.
1. Select your clover seeds
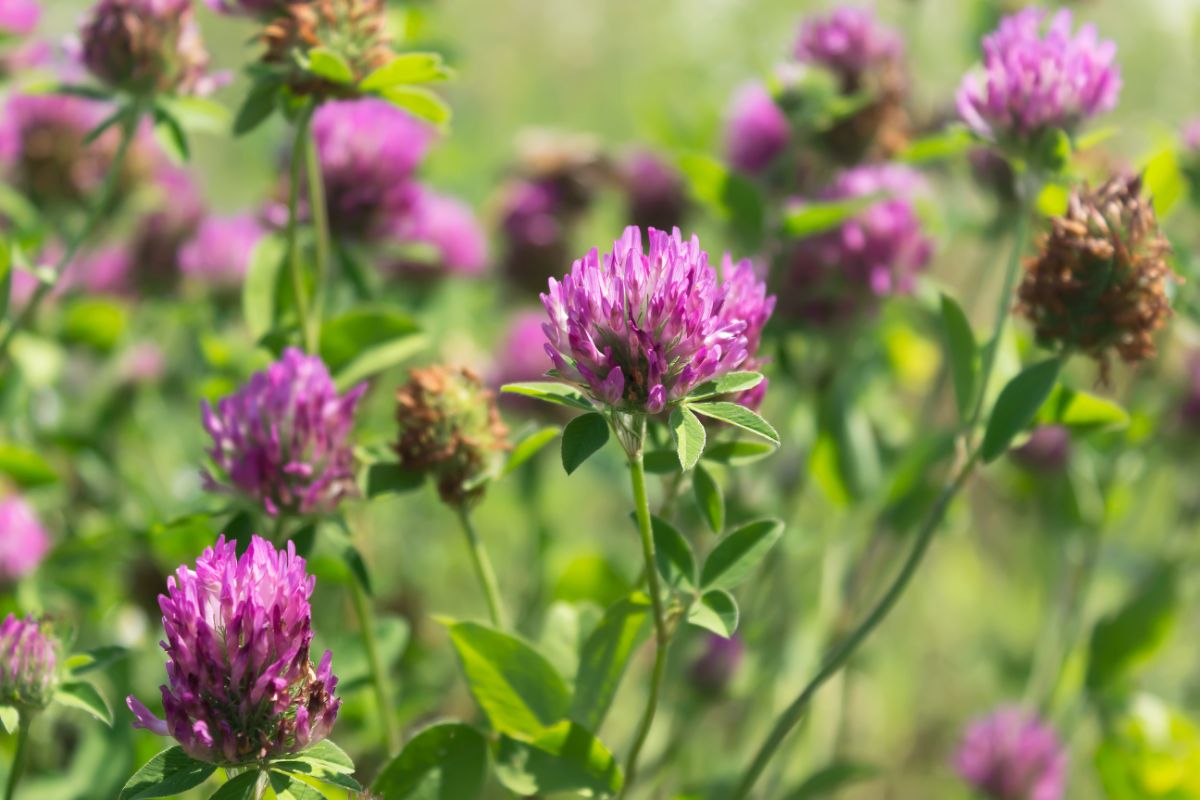
There are several different types of clover that work well for pollinator lawns. The most common types of clover available are white, red and strawberry clover.
White clover (Trifolium repens) is the most common type of clover and is usually easy to find at home improvement stores and garden centers. It is also readily available online. One popular variety of white clover is micro clover, which grows lower to the ground for a more uniform lawn look and it won’t compete with turf grass.
Red clover (Trifolium pratense) grows a bit taller than white clover and offers larger and more colorful flowers. Additionally, it has larger seeds so it is easier to sow. Red clover is not as cold hardy as white clover and may grow as an annual in cooler locations.
Strawberry clover (Trifolium fragiferum) is more cold hardy than the other types and also grows more vigorously. This clover variety is perfect for choking out weeds, but it doesn’t do as well in hot areas.
2. Know when to plant your clover
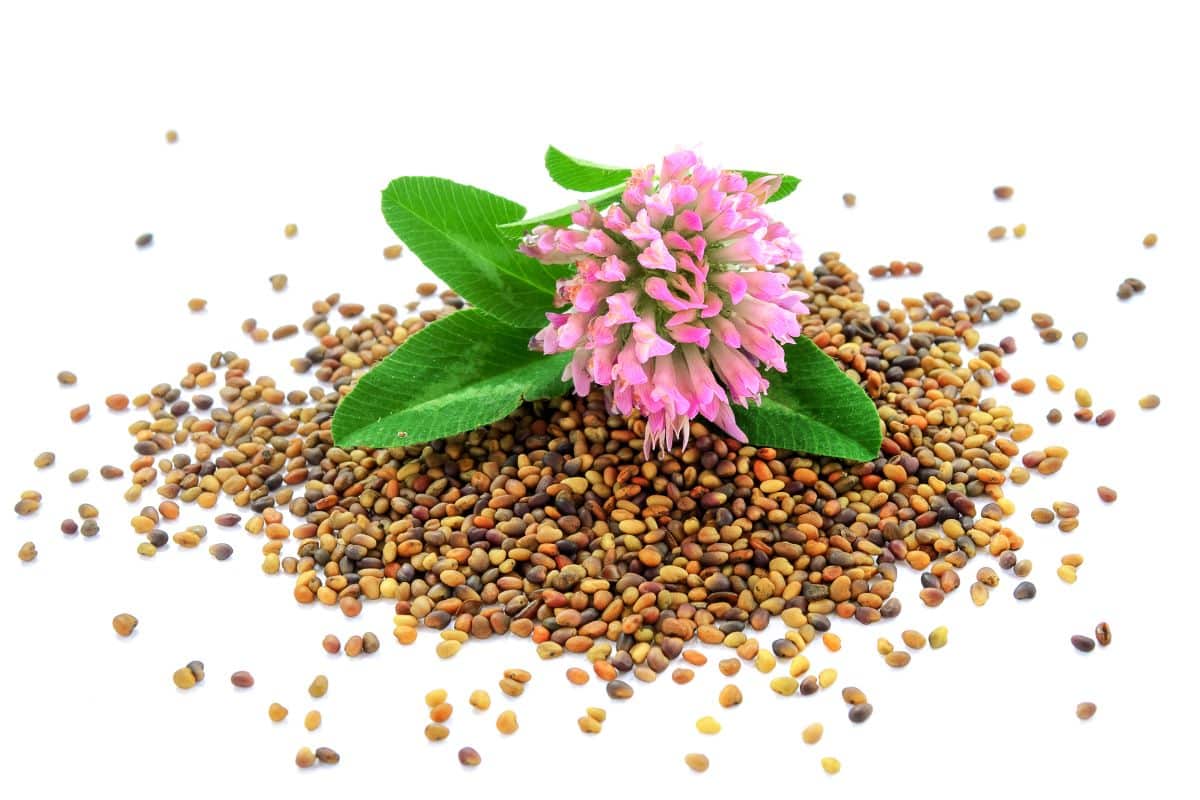
Generally speaking, the best time to plant clover is in late spring, after temperatures have started to climb. For best results, try to plan your clover sowing for a period of the year when it usually rains, as this will keep you from needing to water your new lawn as much.
In warmer regions, clover lawns can also be planted in autumn. However, try to allow several months of grow time before the first frost of fall is expected. This will ensure your new clover plants have enough time to get established before winter starts.
3. Decide how you want to seed your lawn
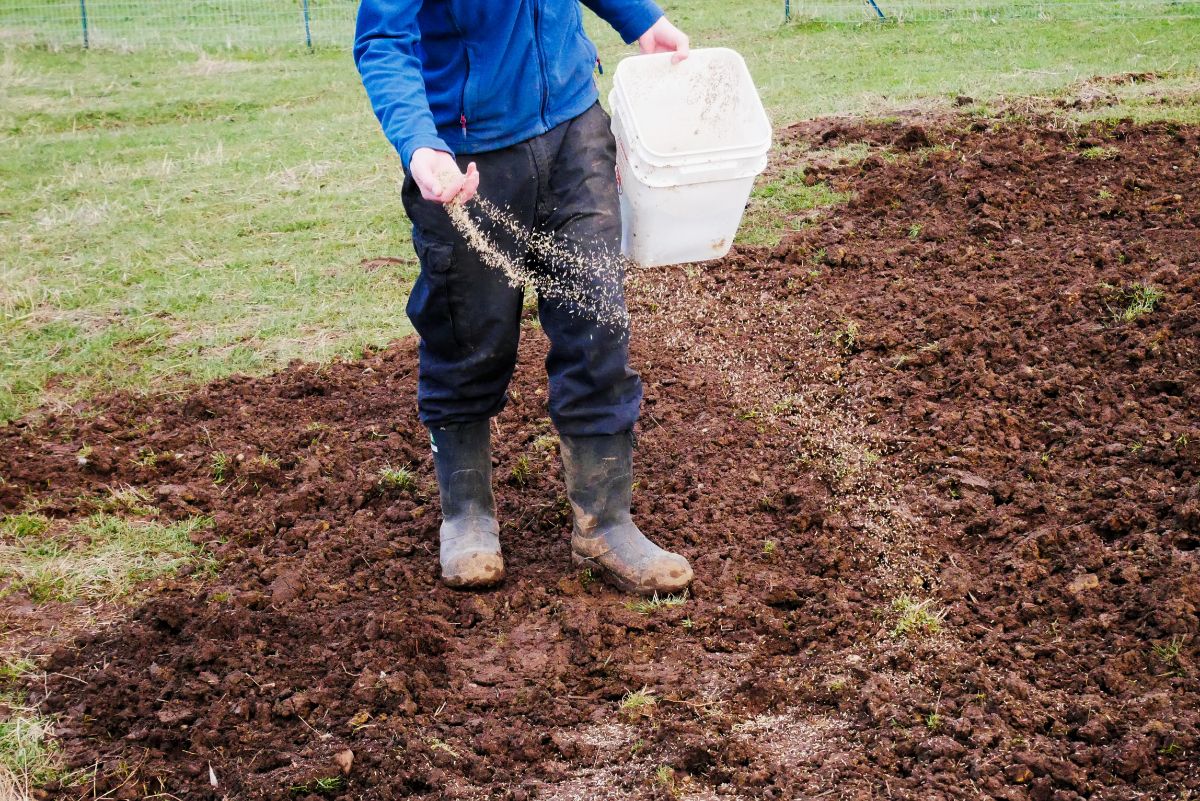
You can either choose to overseed an existing lawn or start from scratch with cleared soil.
Overseeding an existing lawn is easier to do and requires less prep work. Also, as a full clover lawn is technically a monoculture, mixed grass and clover lawns are generally more resilient. This is because creating a lawn out of a single plant species means that the whole lawn will be vulnerable to the same sorts of pests or environmental factors.
Starting a clover lawn from scratch may take more work at first. However, a full clover lawn is visually stunning and uniform in appearance. It will also produce more flowering clover for bees and other pollinators.
4. Prepare your lawn for overseeding with clover
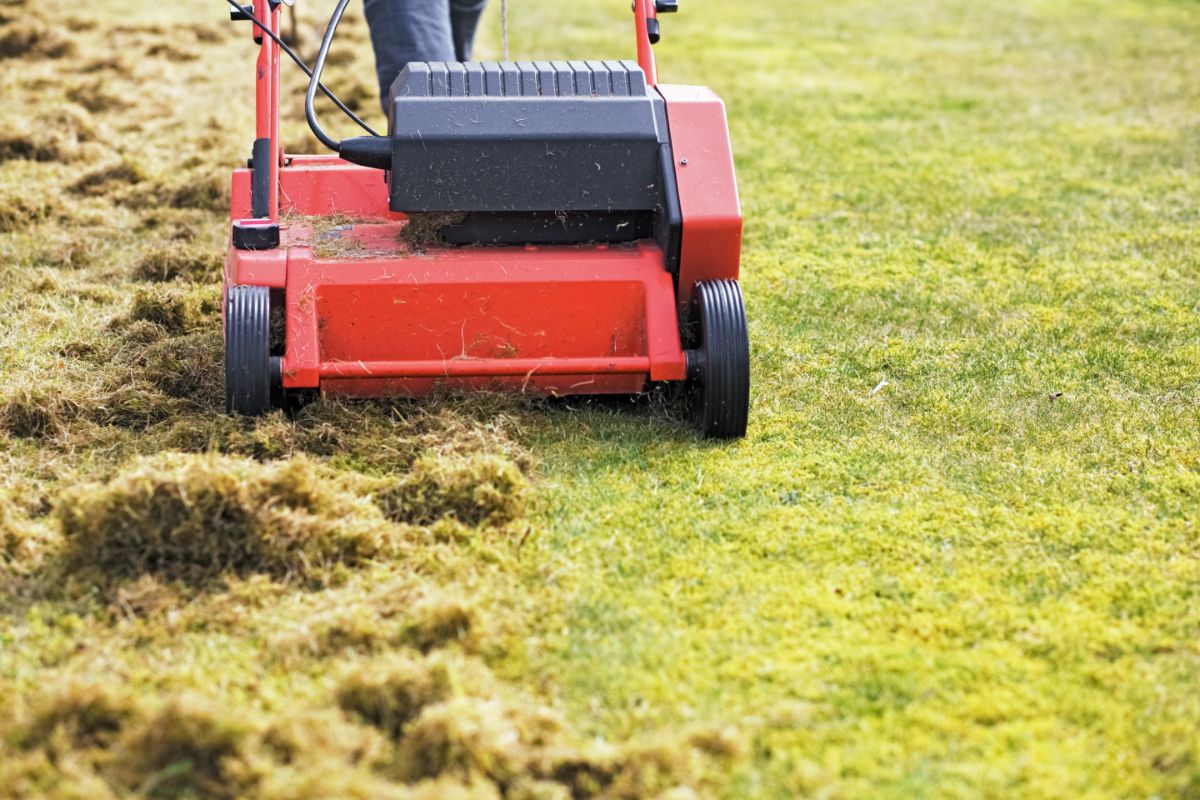
If you want to overseed an existing lawn, you’ll need to prep your yard before planting.
To get started, mow your existing lawn close to the ground.
Dethatching your lawn will also remove thick thatch at the base of your existing grass, which will make it easier for clover seeds to sprout.
You may also want to consider aerating your soil, which will reduce soil compaction and may improve germination rates.
5. Grow your clover lawn from scratch
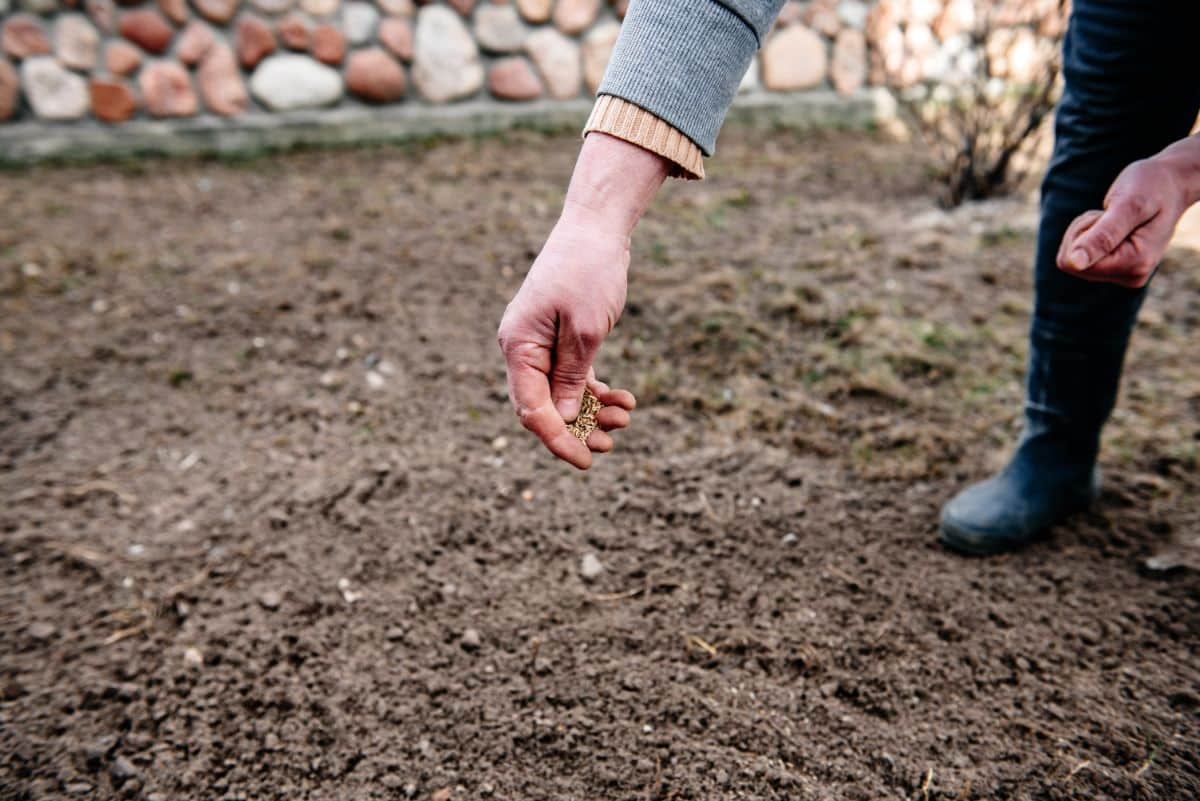
Starting over with a full clover lawn may take more work at the outset, but it is the best way to achieve a uniform appearance with your finished lawn.
To begin, prepare your soil several weeks before you intend to plant your clover. Remove as much of the existing grass or ground cover as possible and then till the soil. Pick out as many large rocks as you can and rake up and compost weeds and other plant debris.
Water the bare soil thoroughly and wait a few weeks for weeds to start to sprout. Several days before you plan on planting your clover seeds, hoe up any weeds that have grown and then rake the soil smooth again before planting your clover.
6. Add soil amendments
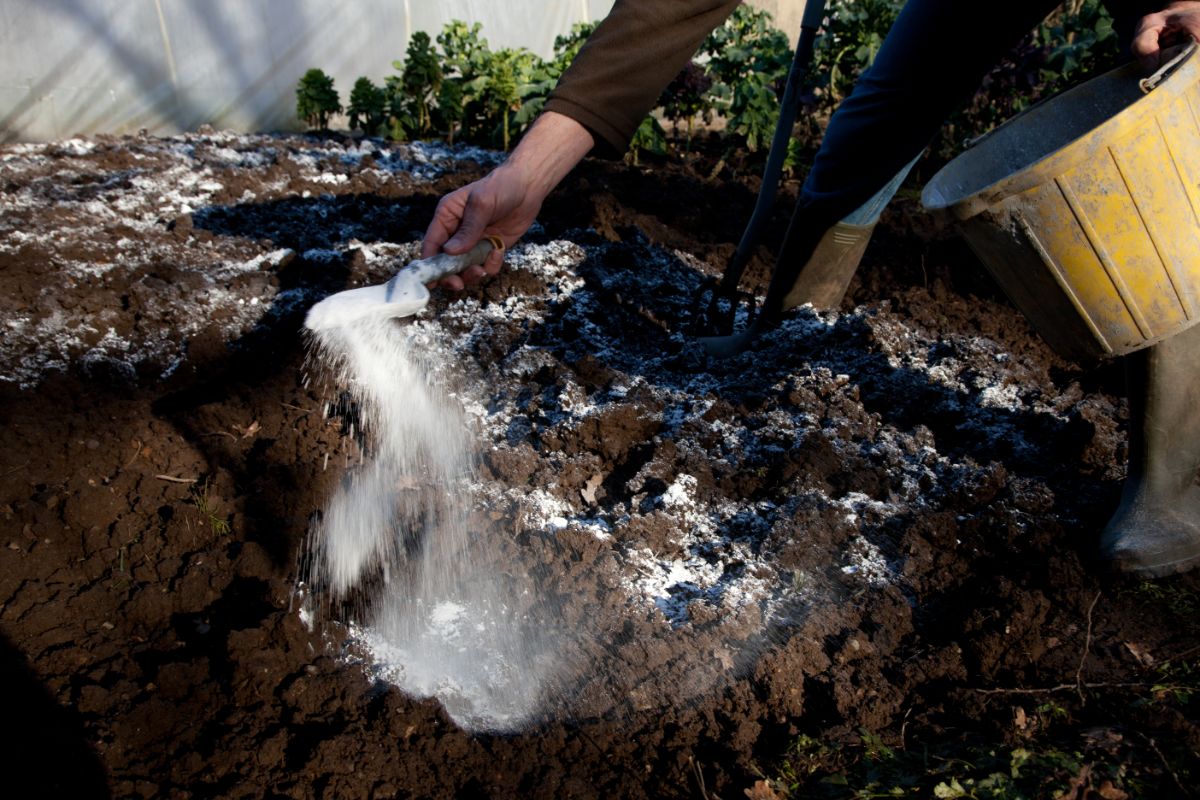
While it’s not necessary, adding soil amendments to your yard prior to planting your clover seeds can give your new lawn a competitive edge.
Sprinkling your soil with aged manure or organic compost can make it easier for your clover seeds to take root.
You can also test your soil’s pH and adjust it as necessary. Clover grows best in soils with a pH of between 6.0 and 7.0. If you need to alter your pH levels, try out lime (to create more alkaline soil) or elemental sulfur (to create more acidic soil).
7. Broadcast your clover seeds
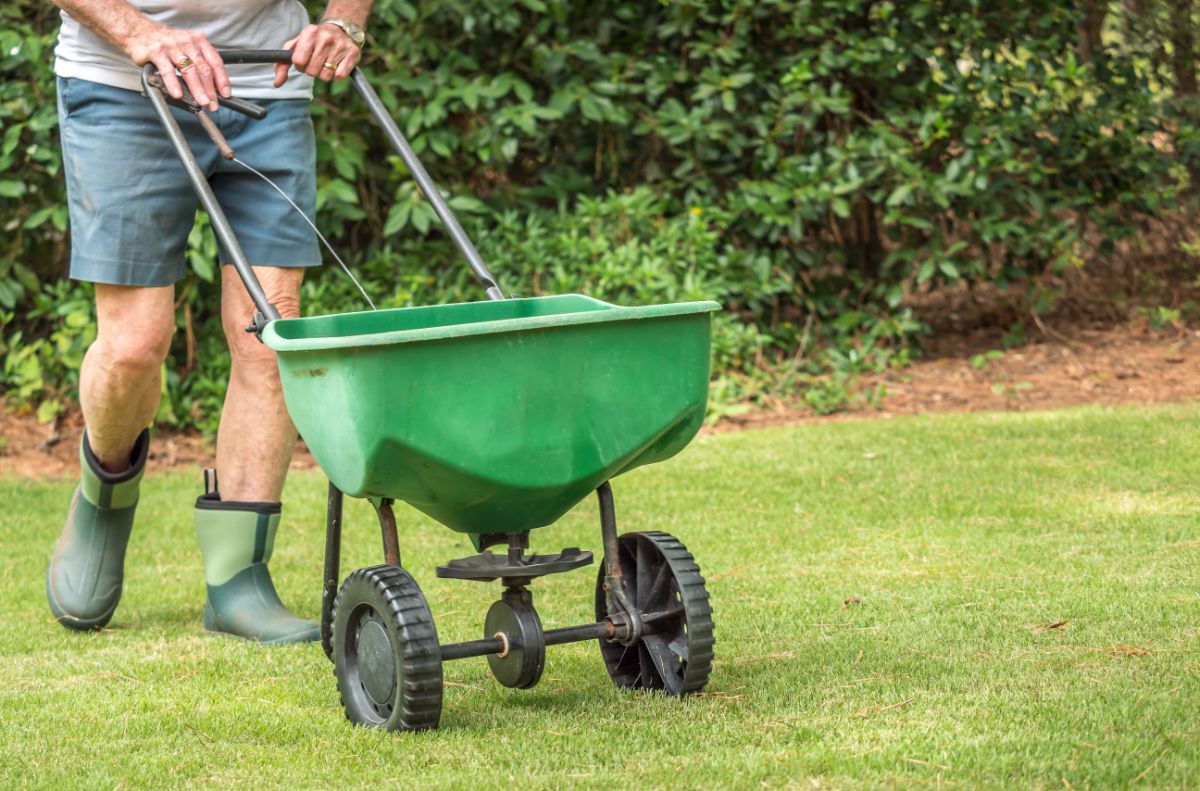
Once your yard is prepped, spreading your clover can be as simple as gathering up handles of clover seeds and scattering them around. However, to make spreading your seeds even easier, it can help to mix your seeds in with a bit of soil, sand or sawdust before sowing.
If you want, you can also use a broadcast spreader set on its smallest setting to plant your clover lawn.
To plant your seeds, work across your yard in a systematic, grid like pattern. First, spread your seeds in a north to south direction. Then, double back and sow your seeds again in an east to west direction to make sure you’ve covered every inch of soil.
8. Settle your seeds in
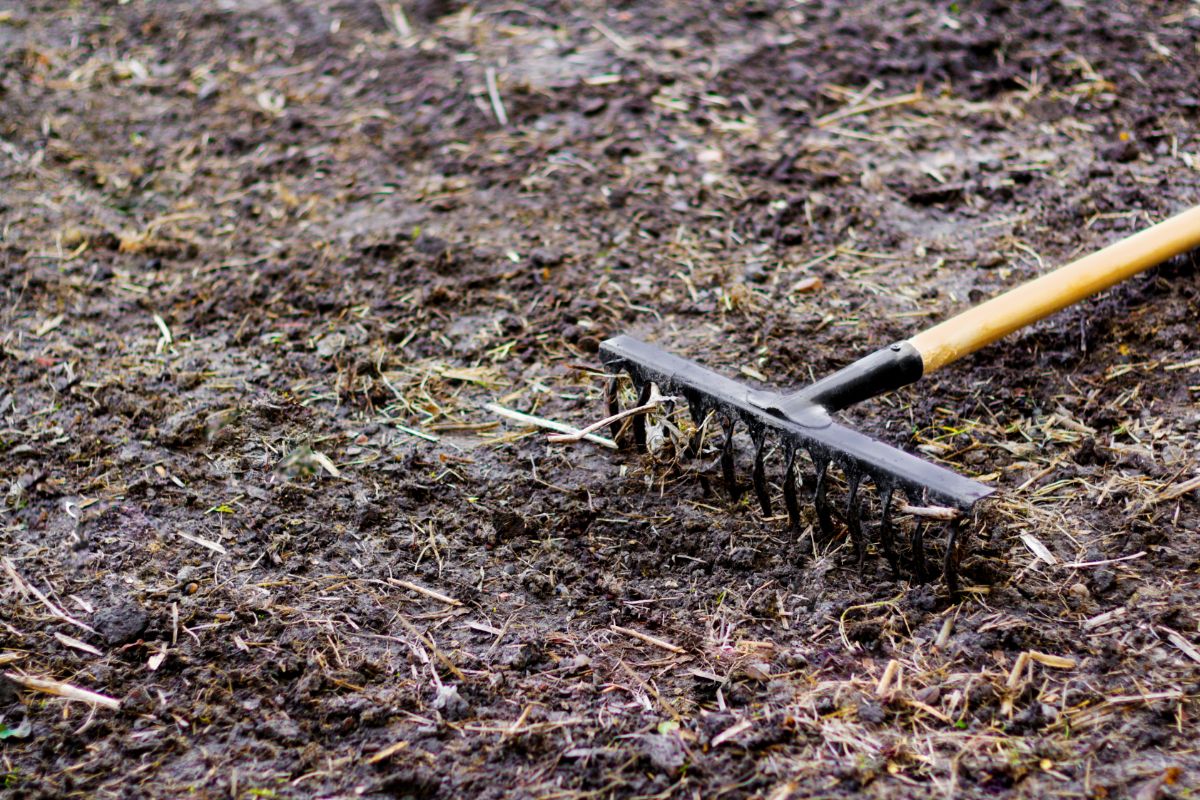
After sowing your clover, don’t bury your seeds as this can impact germination rates. However, gently raking over your lawn can help spread out your seeds in an even coating.
Once your lawn is planted, gently water your clover seeds into the soil.
9. Keep new clover lawn well-watered
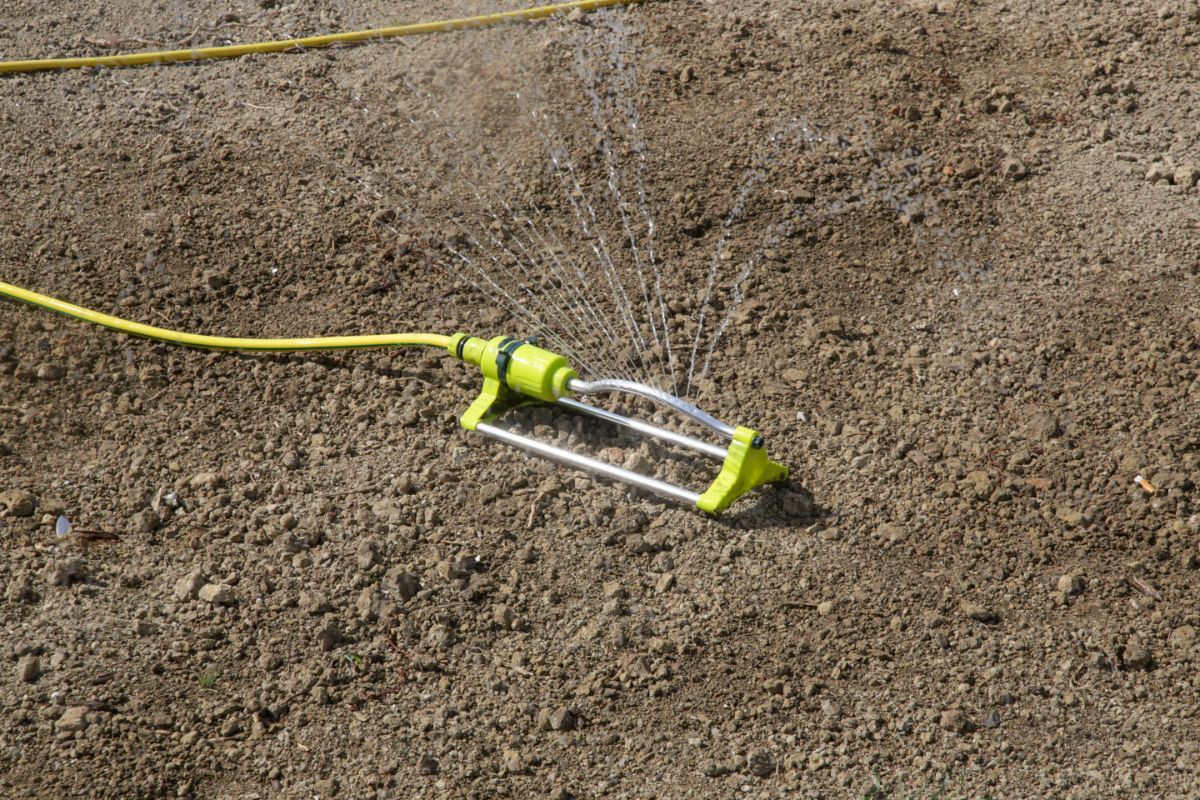
Mature clover plants don’t need a lot of water, but baby clover plants do.
While your clover lawn is getting established, be sure to regularly water your clover every 1 to 2 days for the first few months. Timing the planting of your clover for a rainy part of the year (like spring or fall) can reduce the need for hand watering.
10. Don’t walk on new sprouts
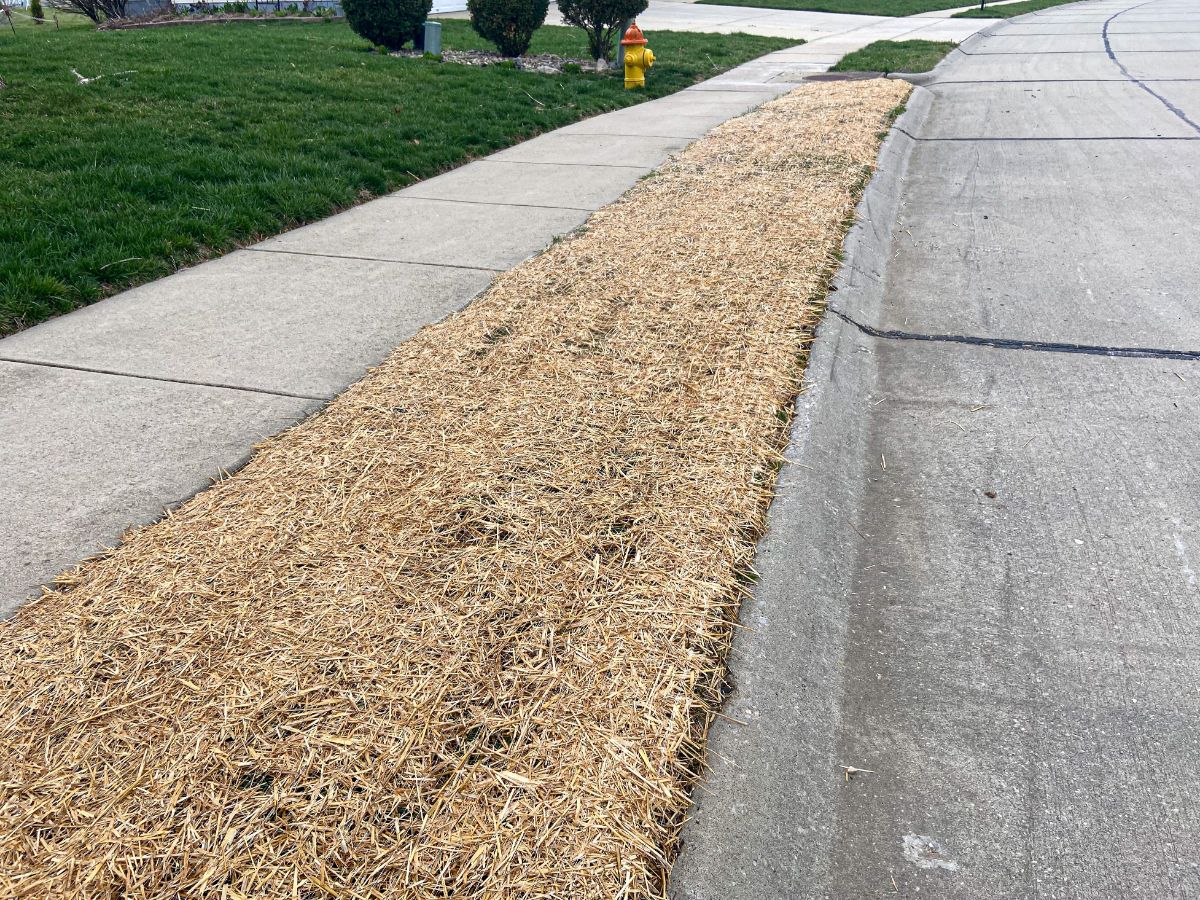
While mature clover is quite tough, new clover lawns need to be protected when they’re just starting out. For this reason, try to avoid walking on your clover lawn as much as possible. You may even want to fence off a section of your lawn for a while to reduce foot traffic if that makes sense for your space.
Once your clover is a few inches tall, you can walk and play on it as usual. Your plants will be fully mature after overwintering their first winter. Clover flowers usually appear after the first year’s growth.
11. Avoid nitrogen-rich fertilizer
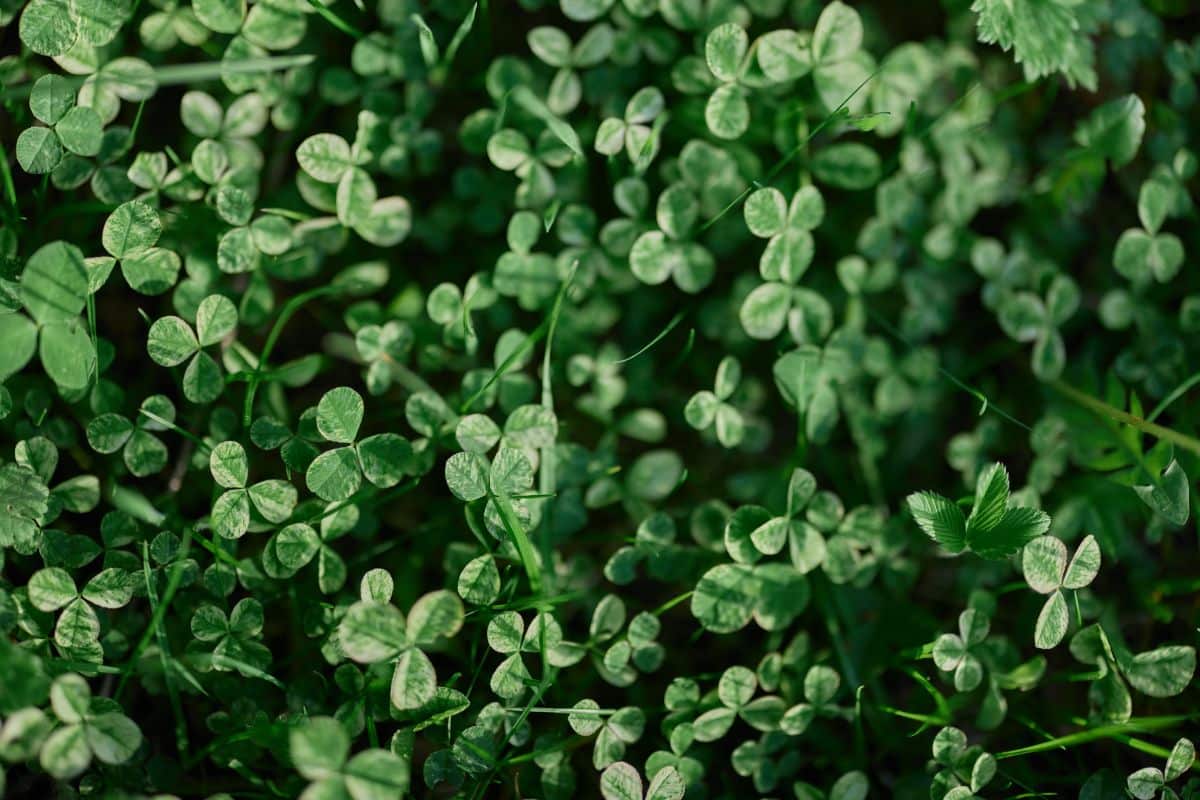
Since clover is naturally nitrogen fixing, it usually doesn’t need any added fertilizer. But reducing or eliminating extra fertilizer in yard can help your clover outcompete weeds. Since clover can create it’s own fertilizer, it will naturally have an edge over weeds.
12. Mow monthly
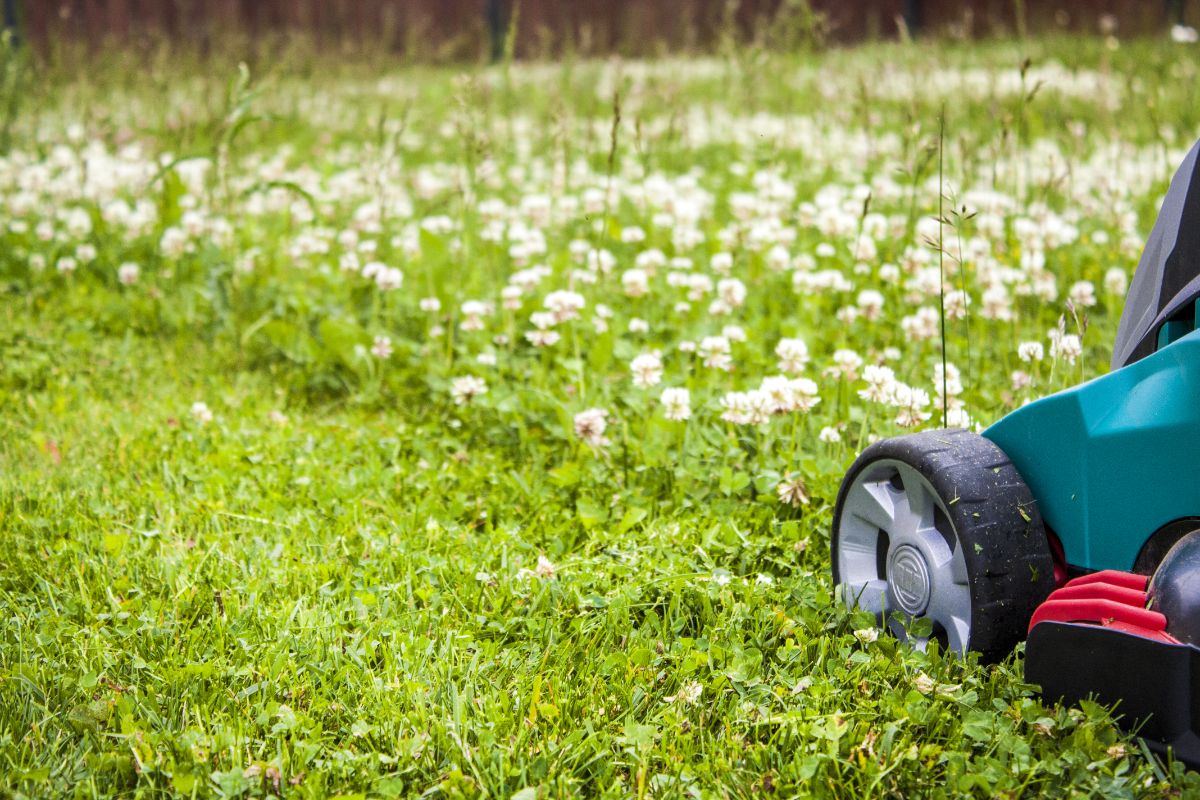
For best results, wait to mow your lawn until your clover flowers and drop seeds for the first time, then cut your lawn low, to about 2” high. This will benefit your clover and help reduce weeds.
After this initial cutting, trim your clover yard approximately monthly and set your lawnmower a bit higher, so you trim your clover off at about 3” in height. Once you’ve mowed your lawn, leave your lawn cuttings in place to create a natural compost to improve your soil.
13. Don’t use herbicides
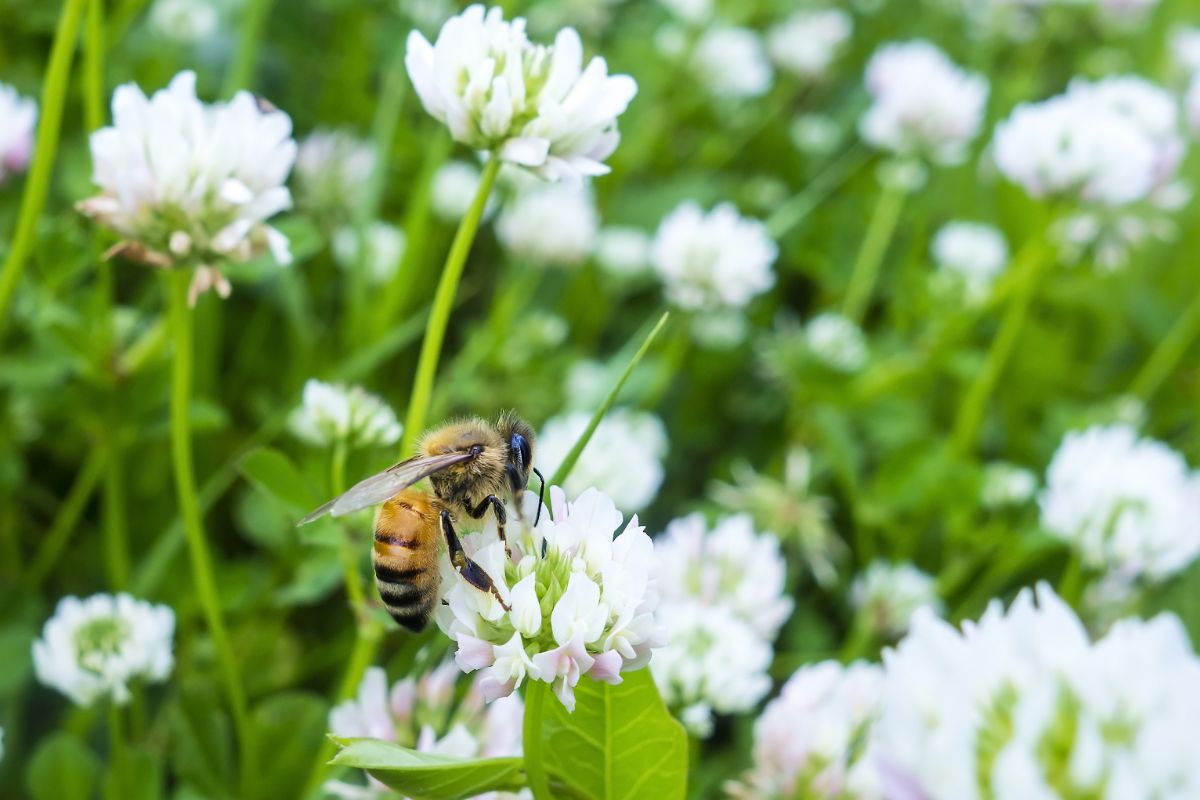
Clover is susceptible to chemical herbicides, so never apply them on your clover yard. The good news is that clover naturally suppresses most weeds, so you shouldn’t have to deal with many nuisance plants.If weeds do arise, simply dig them out with a weeding fork, or spray them down with horticultural vinegar.
Why grow a clover lawn?
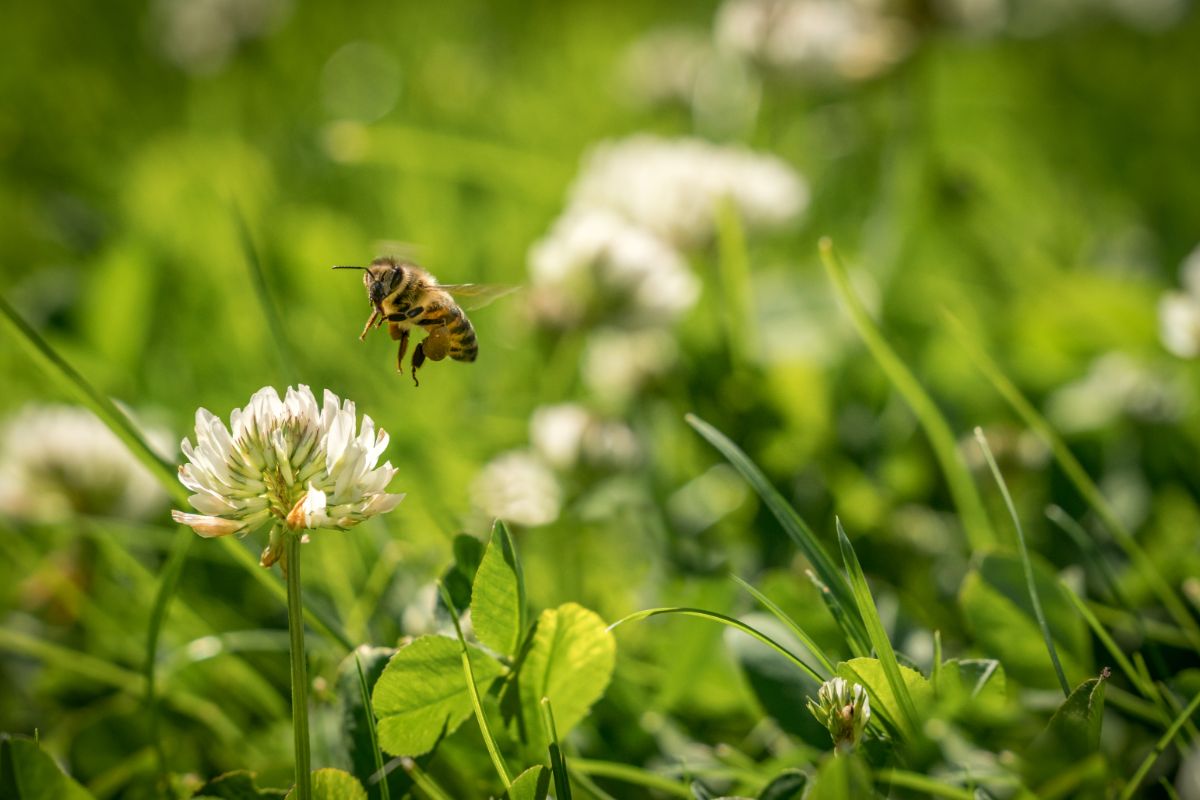
If you’re still on the fence about transitioning to a clover lawn, below are the top reasons why you may want to make the switch. Clover lawns aren’t just pretty, they’re also super practical too!
- Clover lawns require less maintenance. Clover naturally grows closer to the ground than most grasses, so you won’t need to cut it as much.
- Bees love it. Clover is full of pollen and nectar, which bees and other pollinators love. At a time when pollinator populations are on the decline, planting a clover lawn can help ensure these valuable species have something nutritious to eat.
- Clover lawns can prevent pests in your veggie garden. Deer and rabbits can be nuisances in your garden, but clover lawns can keep them at bay. Deer and rabbits adore clover and they’ll often prefer munching on clover lawns instead of your garden produce!
- You don’t need to fertilize clover lawns. Clover is a nitrogen-fixing plant, which means it naturally pulls nitrogen out of the air, so you won’t need to add extra nitrogen fertilizer.
- Clover improves your soil. Because clover is a nitrogen-fixing plant, it adds nitrogen to the surrounding soil. That means that if you have a mixed grass and clover lawn, the clover will help to fertilize the grass and boost your soil’s health over all.
- It requires less water. Clover is quite drought-resistant, thanks to its deep root system. This means it needs less water than grass, making it an eco-friendly choice.
- Clover is tough. Clover can take a lot of foot traffic and stress, and is often much hardier than grass.
- It represses weeds. You should never apply herbicides to a clover lawn, as these chemicals will kill off your clover. That said, clover is a vigorously growing plant and is capable of suppressing weeds on its own, so you won’t need to spray your lawn anyway!
- Clover can adapt to difficult spots. Clover can grow in a range of conditions and is the perfect solution for poorly draining or shady lawns.
- Pet spots are less of an issue. Yellow and dead grass caused by pet urine can be an eyesore. Luckily, clover is able to keep its lush, green look… even in Fido’s favorite spot of the yard.
Frequently asked questions
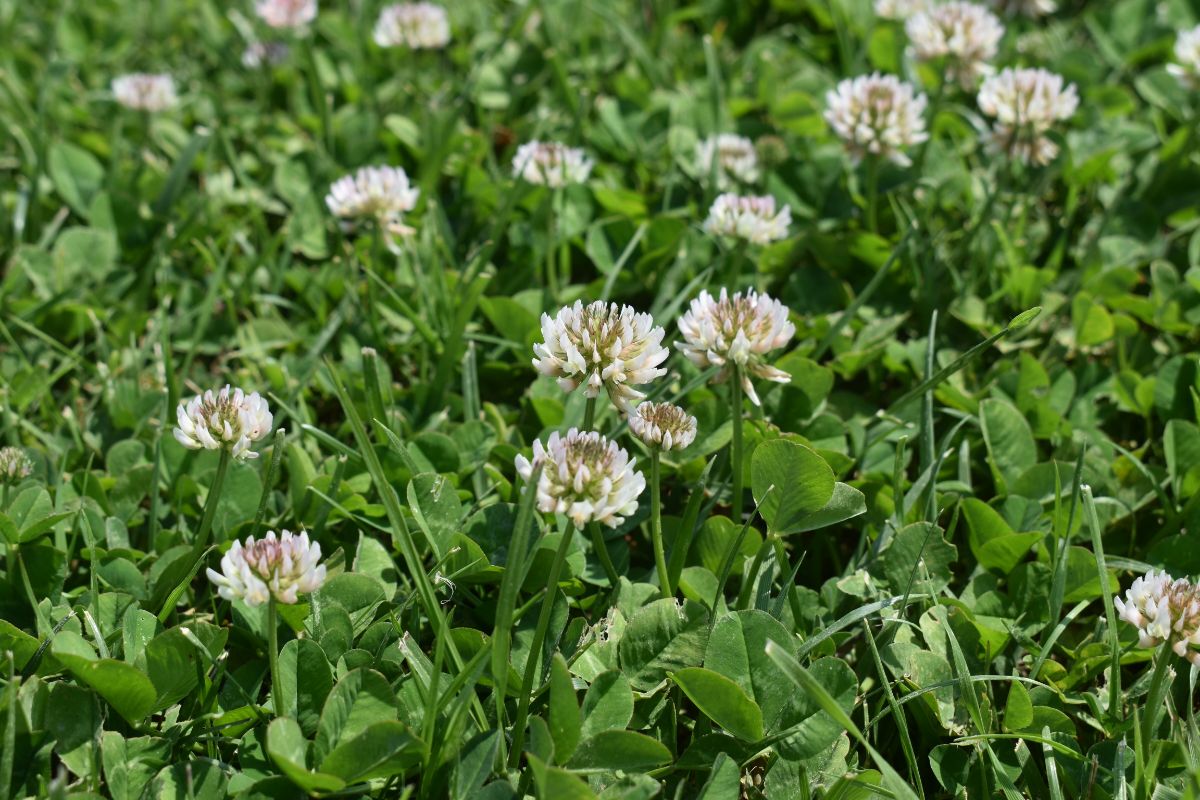
Clover seeds will begin to sprout about 2 to 3 days after planting; however, it can take up to 10 days, depending on the temperature. Clover will be fully mature within 1 year after planting and will begin flowering.
Clover is a short-lived perennial, so it may need to be reseeded every 1 to 3 years, depending on what type of clover you’re growing and your growing region. If you have a mixed grass lawn, your clover should naturally reseed itself, but you can fill in bald spots with extra clover seed.
Approximately monthly.
Red clover is edible and the leaves make a nice addition to salads or when steeped into teas. However, the flowers are particularly prized and can be used to make syrups, jellies or lemonade.
Summary
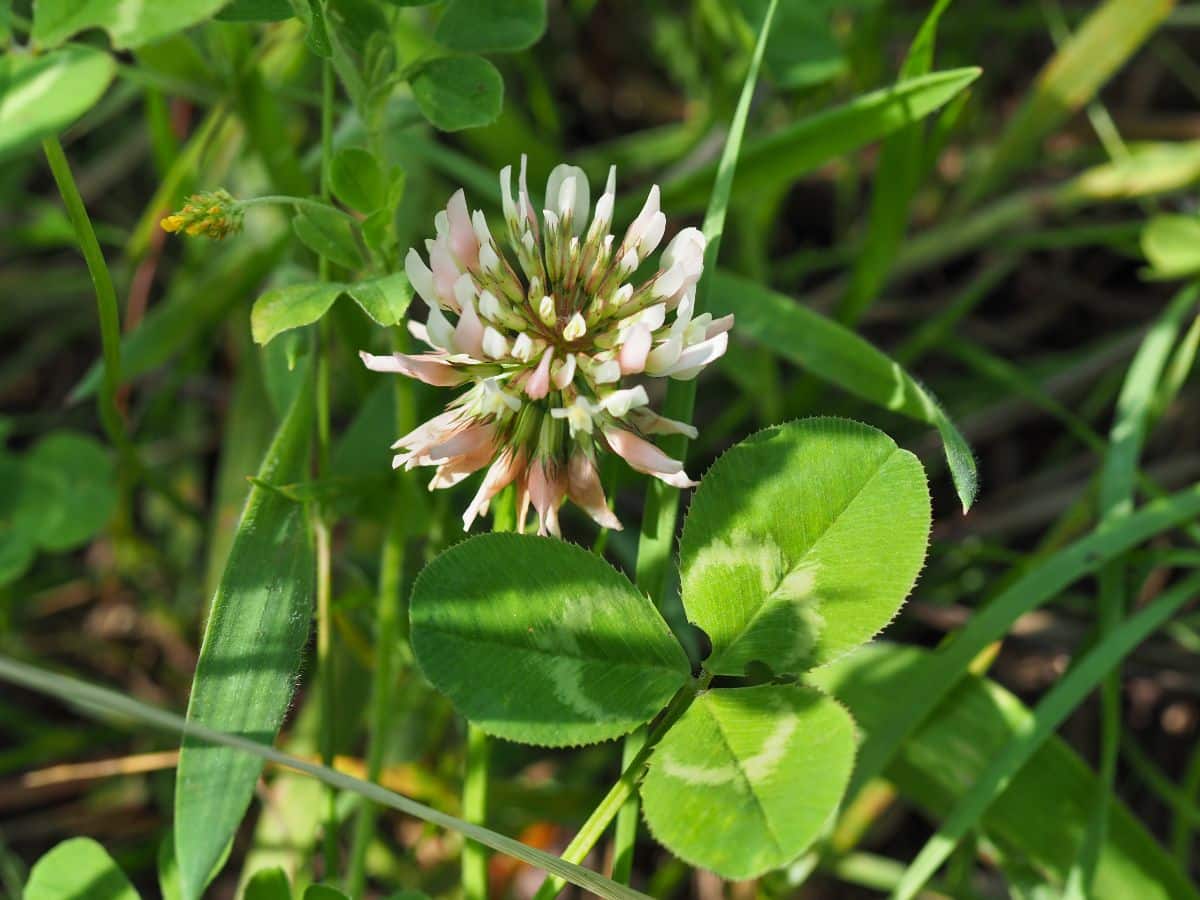
Grass lawns are monocultures that don’t support wildlife and can be difficult to maintain. If you’re tired of plain grass, clover lawns can be an excellent solution.
These low maintenance lawn covers are easy to care for, drought-tolerant, resilient and even pretty when they flower. Growing your own clover lawn can have tons of benefits, from feeding the pollinators to resisting pet urine spots and troublesome weeds. Even better, clover lawns can be seeded directly on top of existing grass yards or they can be planted on bare earth.
If you ever wanted to plant a clover lawn, follow along with the steps in this guide and you’ll be growing a gorgeous backyard in no time. And, once your neighbors see how great your pollinator yard looks, they may want some tips to grow their own!
If you enjoyed this article, check out our piece on planting a pollinator garden for more bee-friendly tips.


Gretel
Thanks! Any tips to avoid mowing are appreciated!
Mary Ward
Honestly! A lawn you only have to mow monthly? And honestly, if you don't mind a tall lawn, you could probably do it less, or not at all.
David Sprouse
Now that I have established a clover/grass lawn I am unsure just how much watering I should be doing... and I cannot find any information in that regard. I have a B-hyve smart controller that allows you to choose the plant type but it doesnt list clover as an option. Which category of plant type should I choose: cool turf, warm turf, annual flowers, trees, shrubs/perennials, desert plants? What should I set the Root zone depth to? 6 inches? more or less? If anyone has any suggestions it would be greatly appreciated. I live in Denver, Colorado i that is helpful.
Mary Ward
Is there a legume setting?
The root depth depends on your variety. I would look up the root depth for the variety you planted. Also, you could shoot an email to the Colorado State University Extension service. https://extension.colostate.edu/contact-us/
Kelly
Thanks for the info! Are you suggesting vinegar as a good weed killing option because it does not harm clover?
Thanks
Mary Ward
No. I'm suggesting it because it has no residual synthetic chemicals that will harm bees and pollinators. It will kill clover (though depending on the vinegar strength it may take more than one application--I have killed clover with one application of horticultural vinegar, though).