Dehydrating is an easy means of preserving food. Still, and for beginners especially, there is a learning curve, and there are some things that should not be assumed. You need to make sure you’re doing the job right so that your food is dried safely and stored well to ensure a long, nutritious shelf life.
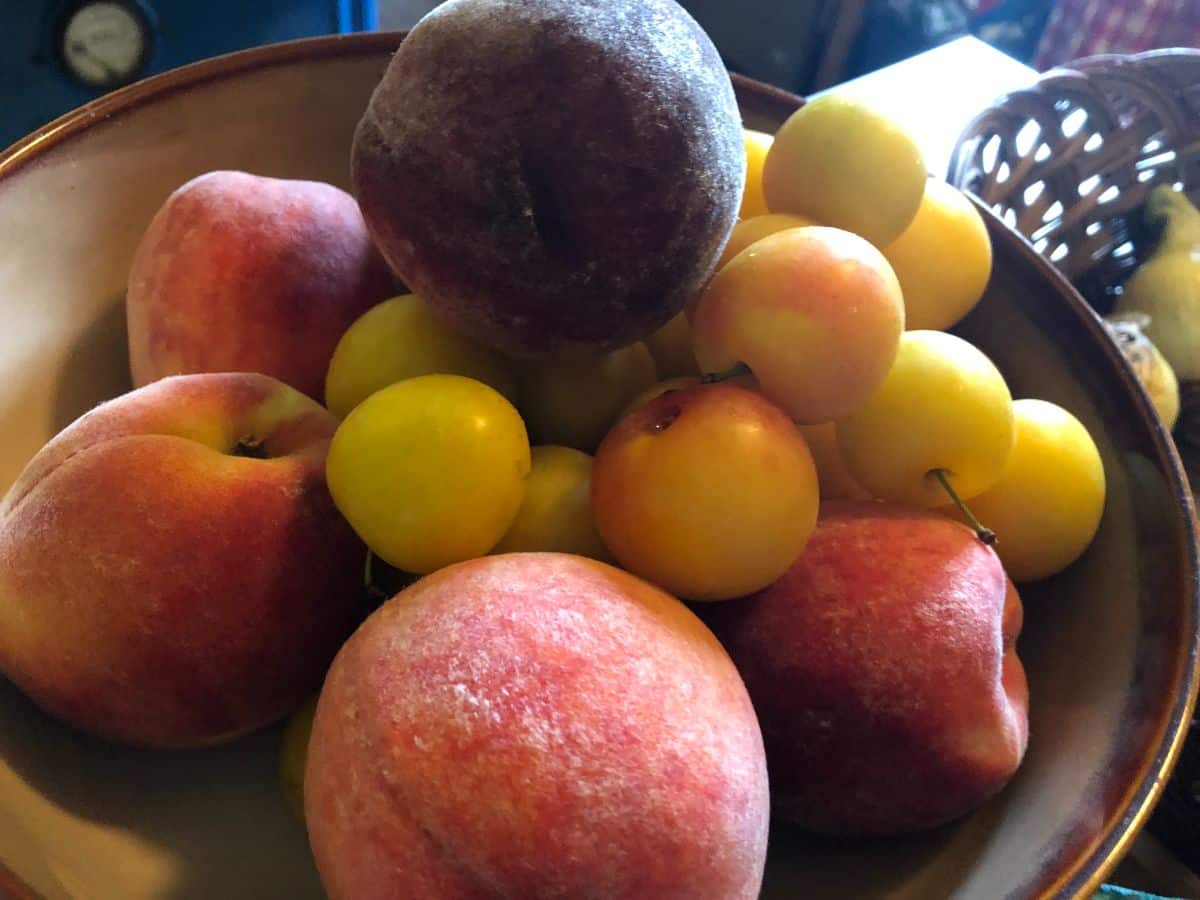
Of all the methods of preserving garden vegetables and homegrown herbs and fruits, dehydrating is probably the simplest and easiest to learn. To make sure your experience is as easy as it can be and to make sure that you’re preserving properly, we’ve put together these thirteen top tips.
Jump to:
- 12 Top Tips to Help You Preserve Properly and Simply with Dehydration
- 1. Get a good book.
- 2. Invest in a dehydrator.
- 3. Square fan in the back (or side) styles are better than round.
- 4. Open your mind to a new way to preserve old favorites.
- 5. Know how to prep your produce.
- 6. Reduce drying time by removing excess water and moisture before you start.
- 7. Don’t let food stack, layer, or touch.
- 8. Dehydrate at the recommended temperature for the product you’re drying or making.
- 9. Find a good space to run your dehydrator.
- 8. Rotate trays a time or two while drying.
- 9. Timelines are guidelines.
- 10. Make a plan for good, long-term storage (read, get some good containers to keep it).
- 11. Label dried products.
- 12. Learn new ways to use dried fruits and vegetables.
- 13. Buy some handy accessories.
- Take Note!
- Dehydrating Deserves Our Preservation Attention, too!
12 Top Tips to Help You Preserve Properly and Simply with Dehydration
Start with these simple nuggets of dehydrating advice, and you’ll be well on your way to a pantry full of nicely preserved, highly nutritious, and useful garden harvests (or farmers’ market hauls—whichever your case may be!).
1. Get a good book.
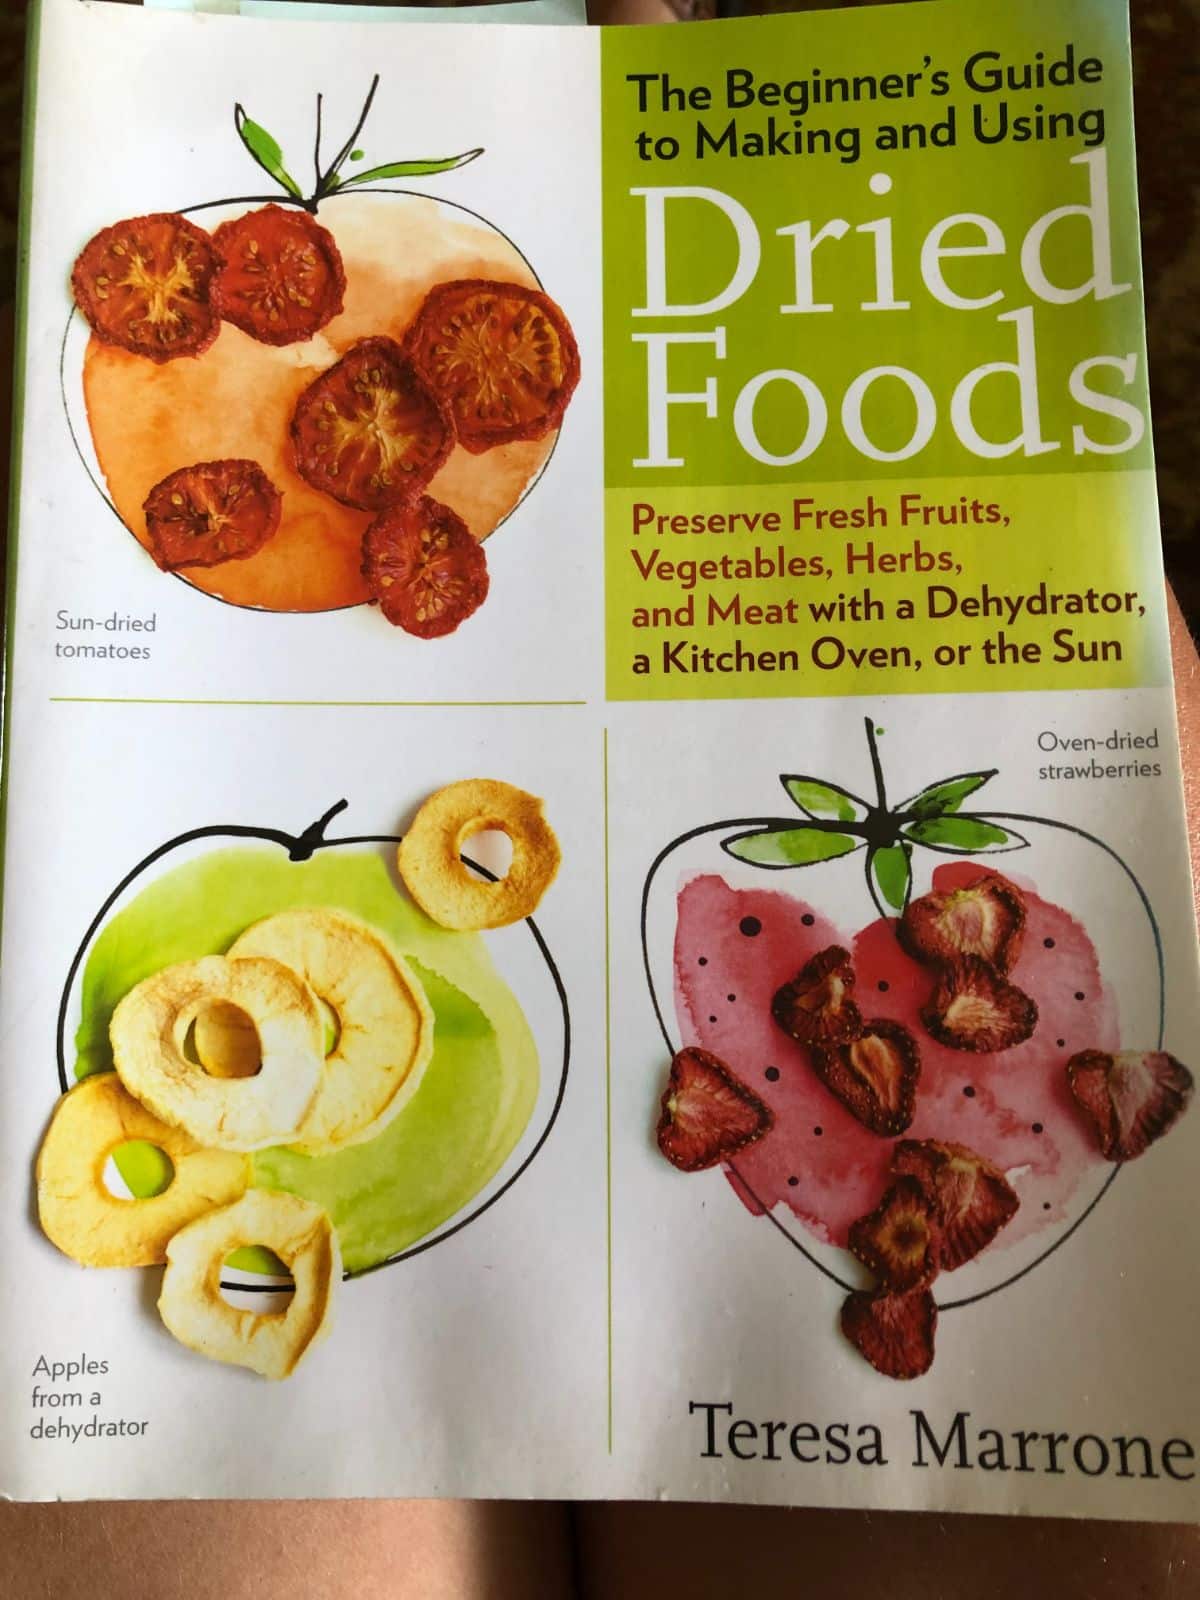
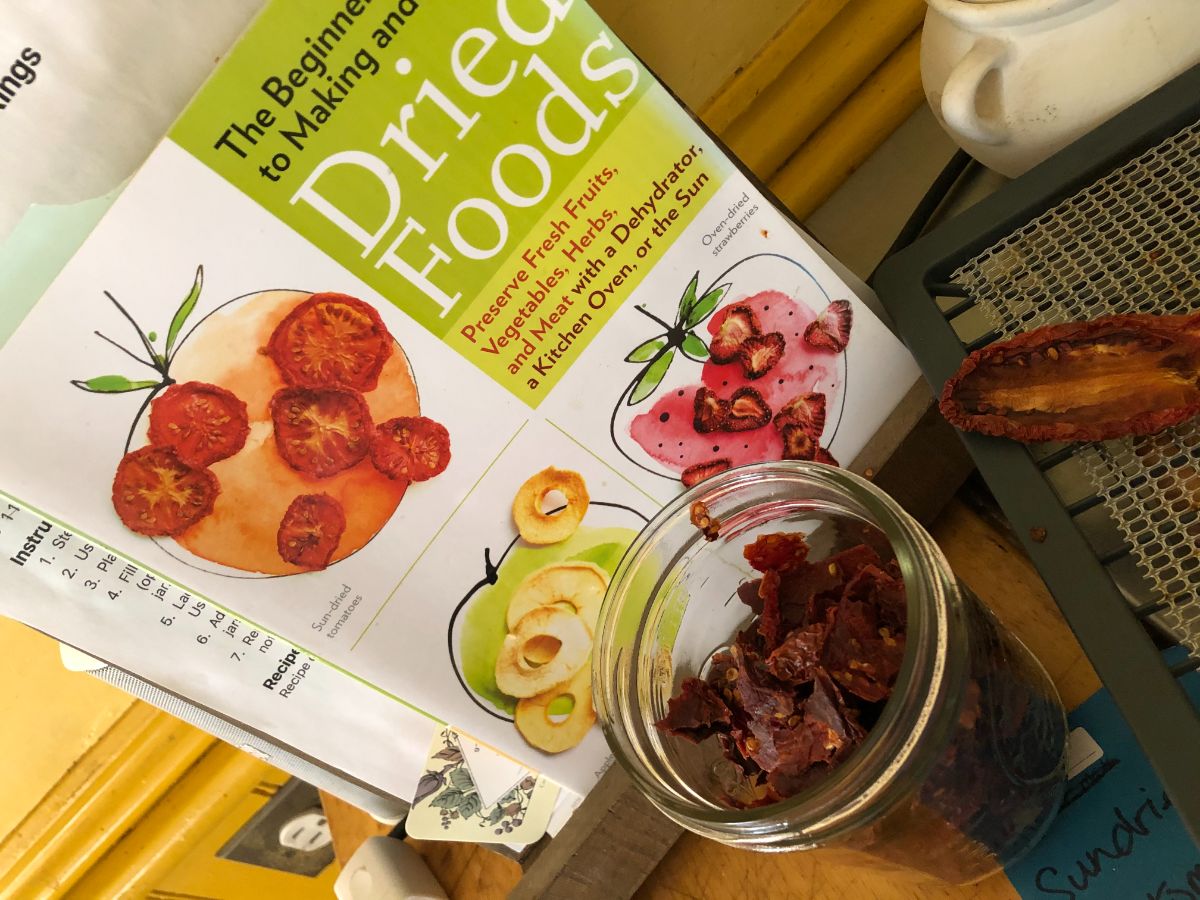
Get you a good, basic dehydrating book or two. You’ll want this resource so you can learn a little before you start, but more importantly, you’ll want to have a guide within reach that is easy to grab when and while you’re dehydrating your vegetables and fruits.
A good dehydrating book will give you some solid foundational information and then break it down for specific types of herbs, berries, fruits, and vegetables (and probably more, truth be told). This is what you want—the basics to get you started and the individual listings so you know how to prep and dry each single type of produce you preserve.
Here are some of our favorite dehydrating books:
The Beginner's Guide to Making and Using Dried Foods by Teresa Marrone
Complete Dehydrator Cookbook by Carol Cancler
Dehydrating Basics + Journal by Darcy Baldwin
2. Invest in a dehydrator.
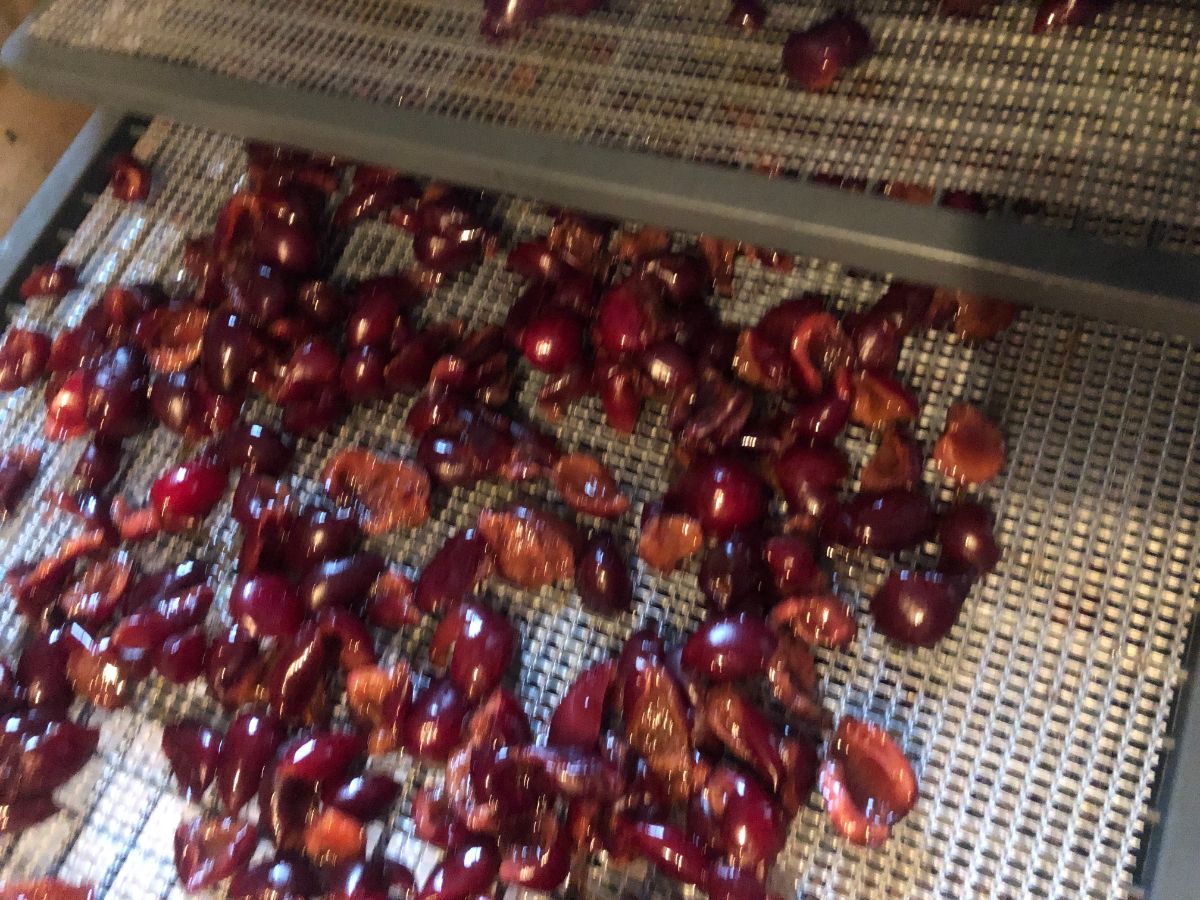
While it is true that you can dehydrate foods without a dehydrator, the dehydrator is the best piece of equipment for the job.
Air drying is only an option for a select few things, mostly herbs, flowers like elderflowers, and perhaps some very small berries. The harvest season tends to be a humid time of year in most areas, and it is difficult to air dry (and perhaps unsafe to air dry) many types of produce.
Solar dehydrators can work well for some produce, too. But you are often at the mercy of uncooperative weather and humidity. Flies and insects can also be an issue.
Home ovens are an option, but they can be difficult to work with because most ovens do not go below 145 F (62 C) (which is the lowest home ovens usually go—175 F or 79 C is more common). A temperature of 145 F (62 C) is the high end of what you would use for dehydration. To achieve temperatures low enough to dehydrate and not cook your food (this is not what you want to do!), you have to fiddle around with turning the oven off and on, leaving food in the warm oven, and/or running the oven with the door open. This presents safety risks, makes much more work of things, and requires much more of your time and attention.
Keep in mind that you may have to run your oven for 12 hours or more when you’re dehydrating. That can get costly, and you’re likely to find that a decent, moderately-priced dehydrator pays for itself in the end.
Dehydrators are designed for the job. They are made to run in the correct temperature ranges without a lot of babysitting. They are compact but able to handle a large load, and they are easy to place in a safe location away from pets and children.
Dehydrators can handle all types of produce, from seeds and nuts to tender herbs and vegetables that should not be air-dried. They can even do non-garden foods like meat and jerky.
3. Square fan in the back (or side) styles are better than round.
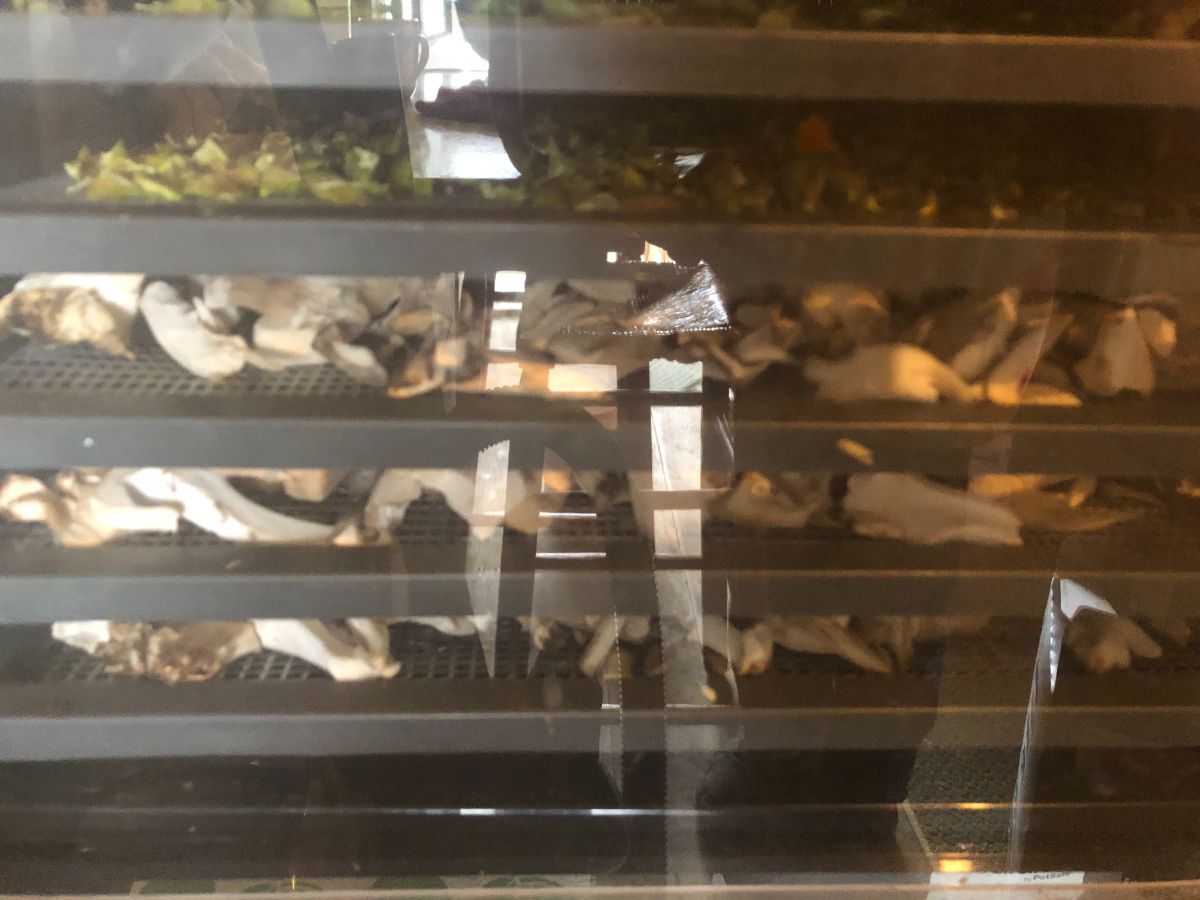
When you buy a dehydrator, if at all within your budget, go for a square style with trays and a fan that is in the back or on the side. These fan placements use horizontal air flow as opposed to center or bottom-up, and the horizontal flow gives more even air circulation and more even drying.
There are a number of round styles, and they work well enough, but the units become cumbersome when you need to check or rotate trays. The fan and motor are inserted down into the center. This takes up a lot of space, and the drying is more inconsistent throughout. The trays are usually stackable, so you can’t access a single tray without taking the whole unit apart. The round, donut-shaped trays don’t hold as much food.
4. Open your mind to a new way to preserve old favorites.
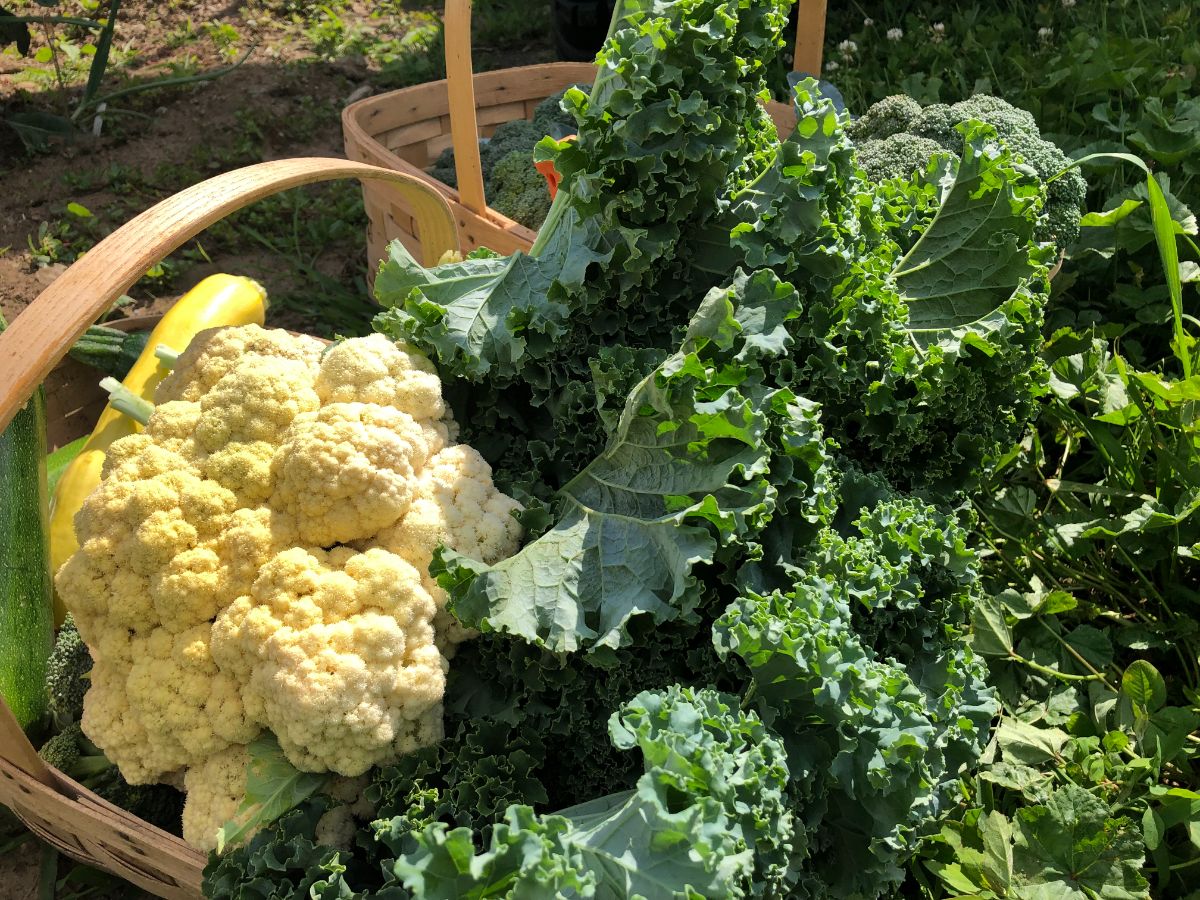
Explore the new ways you can use your favorite herbs, fruits, and vegetables. We all can get stuck in a rut with what we grow and how we preserve it. This can often result in us not using as many of the crops that we grow as we could be using. There’s nothing wrong with preserving the old favorites and stand-bys, but why not do more?
When you add dehydrating to your preserving repertoire, you open up a whole new world of possibilities.
Now, instead of just making tomato sauce, you can make sauce and sun-dried tomatoes. You can make tomato powder to replace tomato paste. You can make dried diced tomatoes to use in all sorts of chilis, soups, and casseroles (anywhere you’d use canned diced tomatoes). You can prep soup or meals in a jar that includes your tomatoes.
A wider range of uses means less food waste and more to feed yourself and your family with.
5. Know how to prep your produce.
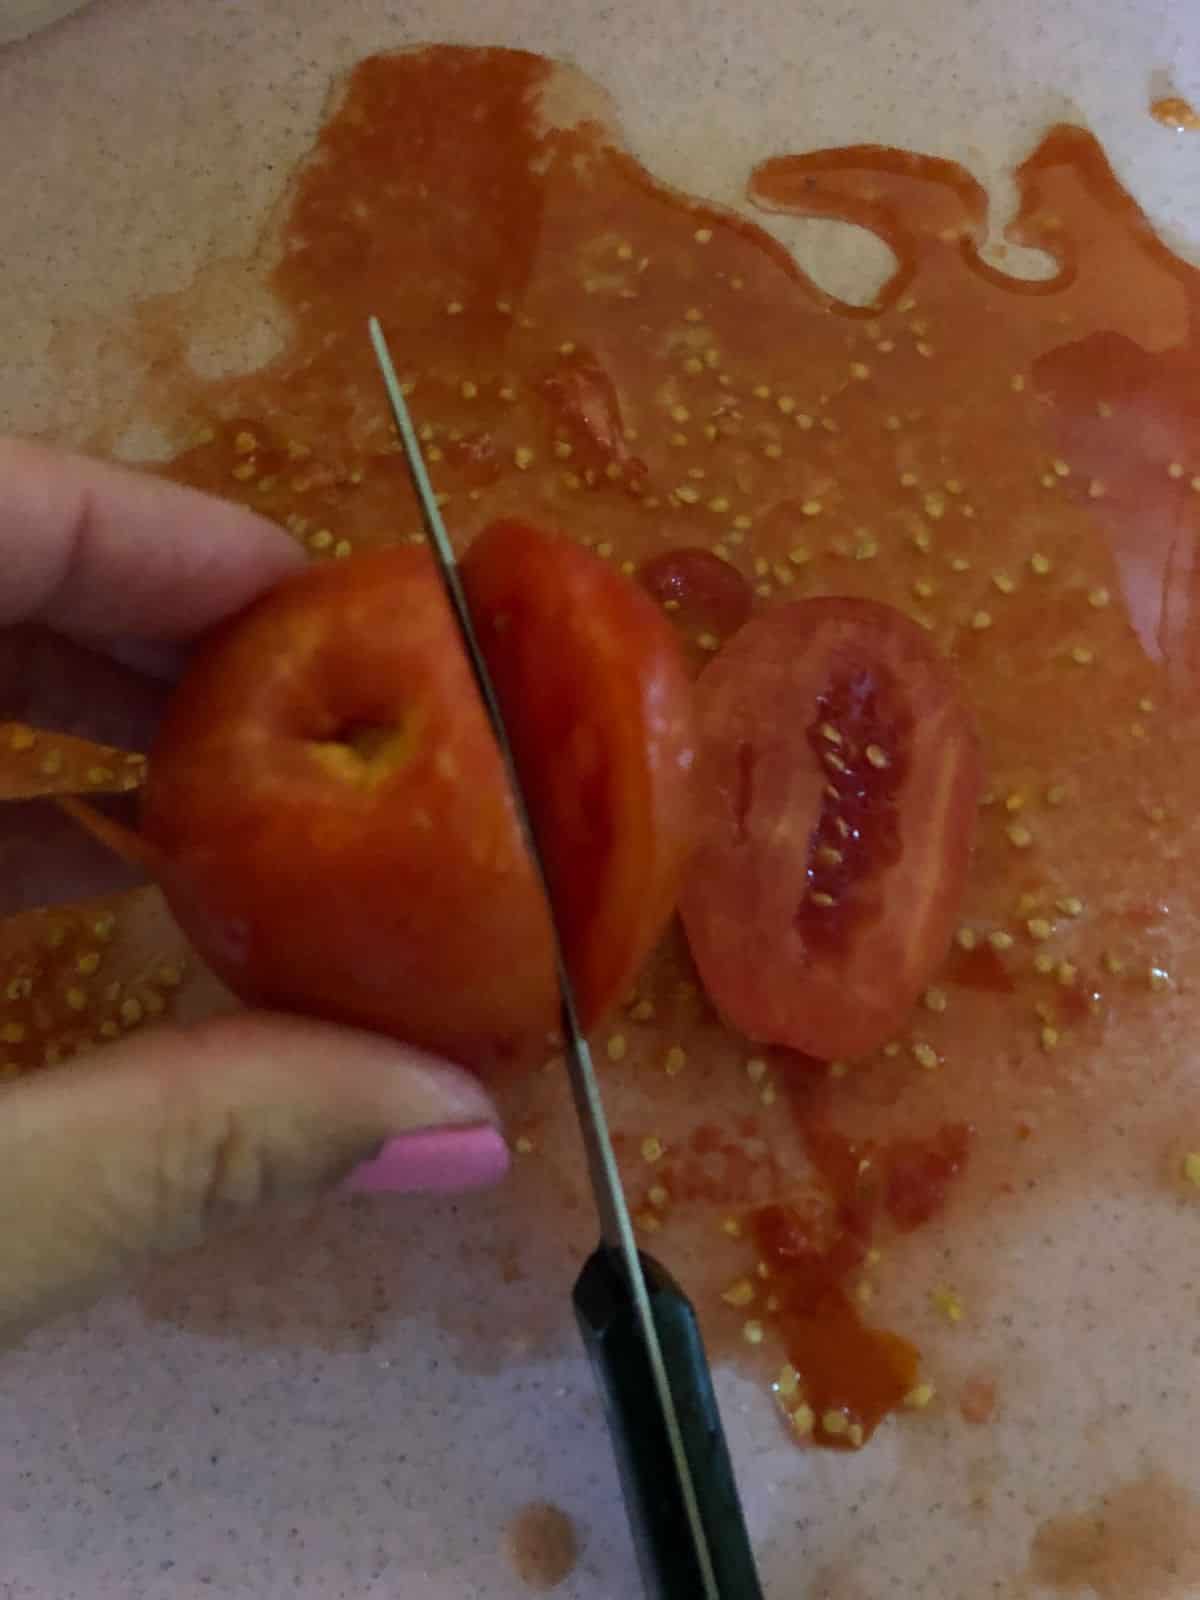
Each type of fruit, berry, herb, or vegetable has its own small ways in which it should be prepped for optimal dehydration and quality. None of these are very hard or time-consuming things, but they make a big difference in the quality and flavor of the end product. They are things that preserve color, protect the taste, and aid in increasing the longevity of your stored foods.
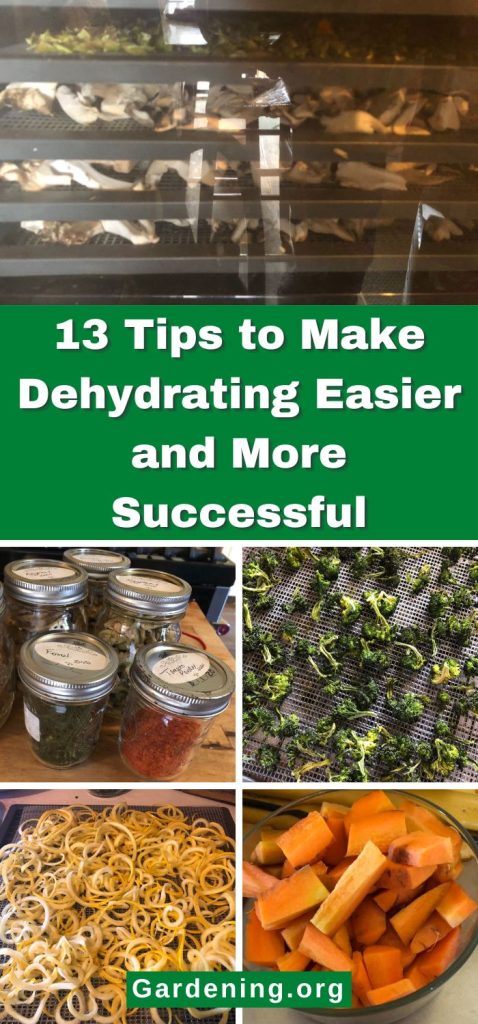
Some fruits and vegetables are very easy to prepare. In fact, most are, and for them, the process consists of just washing, patting dry, placing on dehydration trays, and starting up the dehydrator.
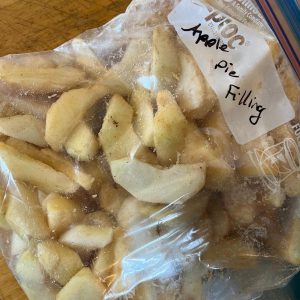
Others need a little bit more prep. For example, a fruit like apples might require a dip in a fruit preserver (like FruitFresh). Vegetables like broccoli should be quickly blanched before they are dehydrated.
This is where a good book and some solid resources come in. The internet is great, of course, but I would recommend printing off what you find for when you’re ready to dehydrate. An at-hand, reliable resource is easier to reach for and refer back to. A good one will lay it all out for you, too.
6. Reduce drying time by removing excess water and moisture before you start.
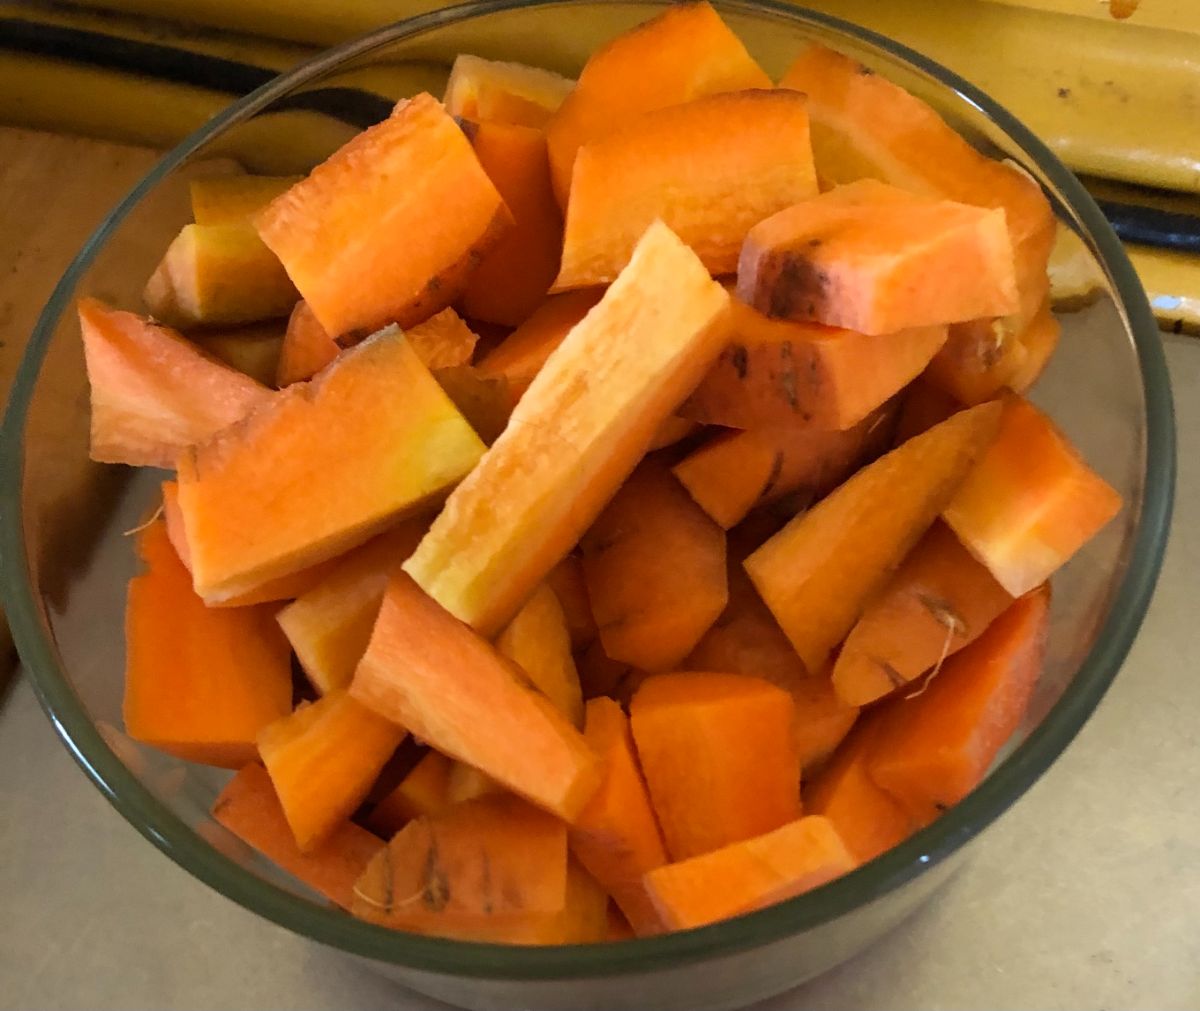
Dehydrating garden produce is just a process of removing the water so that pathogens and spoiling bacteria don’t have enough moisture in which to grow. We often end up adding water when we wash and prep our vegetables for preserving.
Some produce naturally has a high water content, too.
You can cut down on drying time (which typically makes a better product and at least saves utilities and time) by taking steps to remove any excess water before you start.
- After washing, lay the produce out to dry on some paper towels or kitchen towels (set them over a newspaper, and it sucks up even more water).
- Let very wet slices of prepped veggies drain for a bit in a colander or on a baking rack (not too long, but at least while you’re prepping the batch).
- Pat washed or wet, weeping foods dry with a wad of paper towels.
Do these things to get the surface water off, and your dehydrating fruits and vegetables will be off to a better start and take less time to dry.
7. Don’t let food stack, layer, or touch.
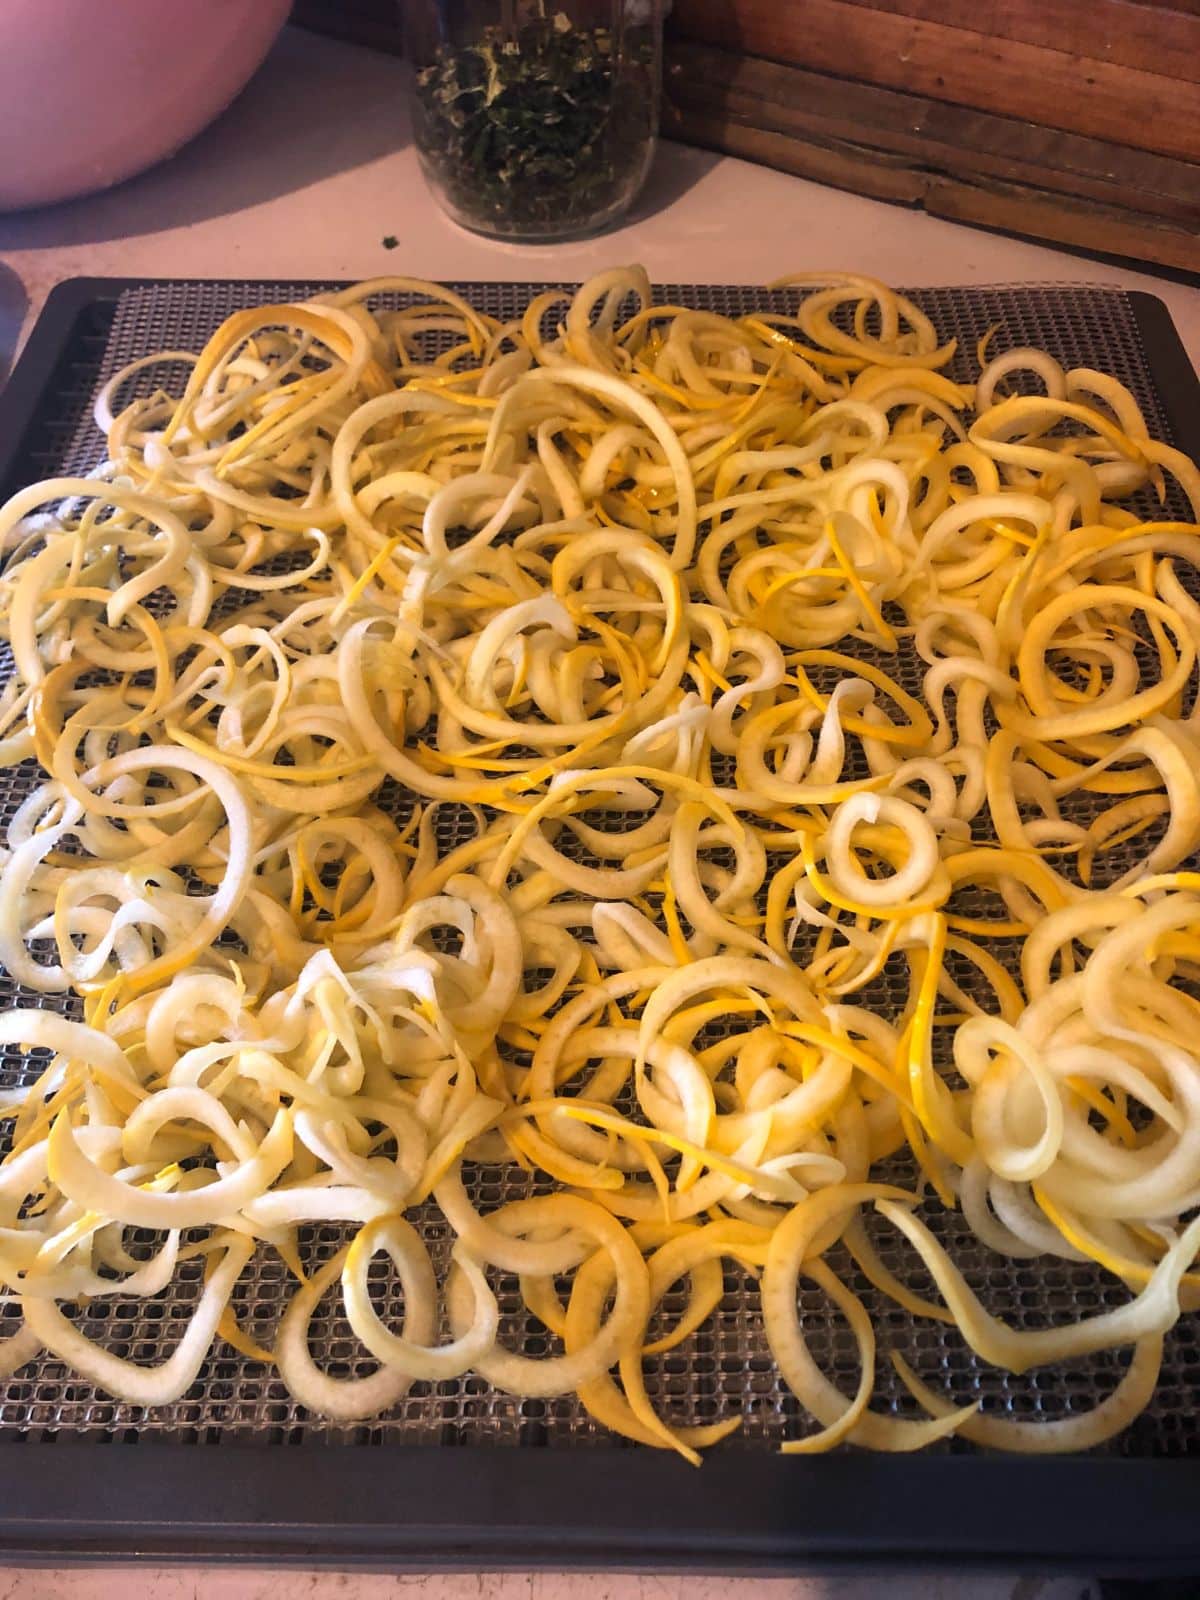
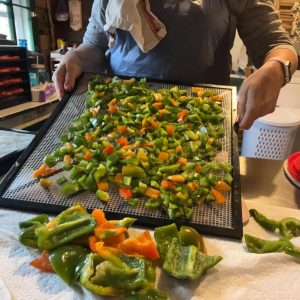
When dehydrating, lay your food out in a single layer on the trays. Don’t pile or stack produce. Spread out slices so they don’t touch. This will make a better, free-moving product in the end, but more importantly, it ensures good airflow and it eliminates problematic moist spots.
Moist spots are potential places where mold and pathogens can grow, ruining your food, but it also can extend the drying time and make a lot of your product become over-dried, while parts of it might still be undone.
Spread things out, give them their space, and create a good, even drying environment.
8. Dehydrate at the recommended temperature for the product you’re drying or making.
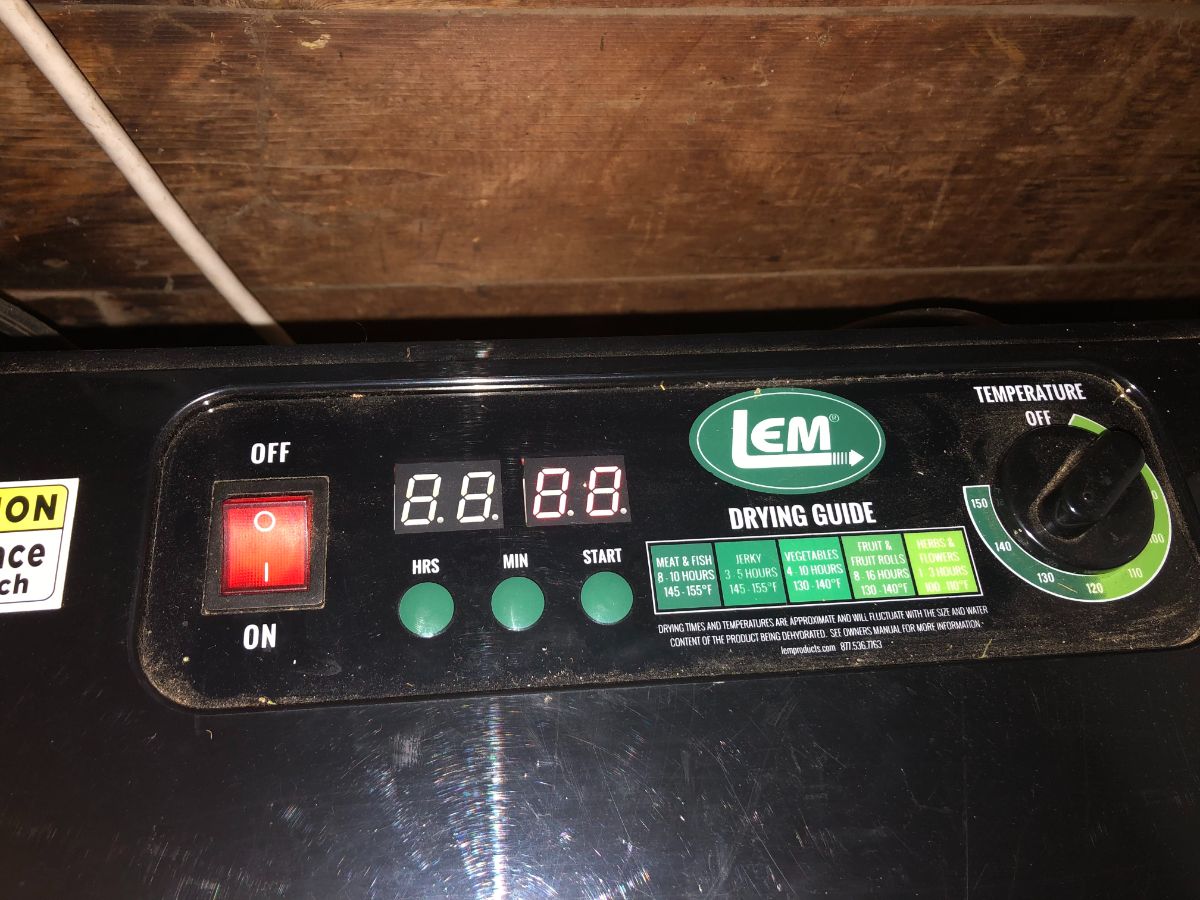
There are different ranges for different types of herbs, fruits, and vegetables. These depend on the structure, size, and thickness of your produce and on the water content.
You want to make sure that you are dehydrating at the right and recommended temperature for the product you are drying. Also, make sure that you plan to dehydrate for the recommended amount of time.
Not drying at the right temperature results in discolored products, over-drying, and drying, and sometimes it can make things cook or at least taste cooked when they shouldn’t. If you are drying a wet vegetable at too low of a temperature, you are prolonging the process, making it take way too much time, and you might be creating a situation where the product begins to ferment, rot, or mold instead of dehydrating and preserving.
This isn’t meant to scare you off dehydrating—it's only meant to point out that there are different “right” ranges, and you should follow them. Again, this is where good resources like a solid book to guide you are important. Any good book will easily list the right temperature range and a range of time in which you can plan for the product to dehydrate.
You should look up the right temperature for the specific type of herb, fruit, or vegetable that you are drying, but the following is a list of general temperature ranges:
- Herbs: 95 to 105 F (35 to 40 C)
- Fruits and berries (including fruit leathers): 130 to 135 F (54 to 57 C)
- Vegetables: 125 to 130 F (51.5 to 54 C)
9. Find a good space to run your dehydrator.

Your kitchen is probably not the best place to run your dehydrator. If possible, inside your house is often not the best place for it at all.
Better places to run a dehydrator, when possible, are outside on a protected porch, deck, or patio, in a mudroom with a window that can be left open (weather permitting), or in a garage. You don’t need to worry about the space being heated because the dehydrator will make its own heat (which, in cold weather, might help warm your space). It just needs to be dry and out of elements like wind and rain.
When you’re dehydrating, some things can give off very strong odors. Some of these odors might surprise you. As the food concentrates, so do the smells, at least for a part of the drying time (you’ll find this lessens as the process gets nearer to completion).
Some are just extremely concentrated versions of the food’s natural and expected smell. (Think garlic and onions, for example—we love the smell of it cooking, but a harvest' worth concentrating and drying and off-gassing that odor in one small space is a bit much.) Broccoli and cabbage relatives are another. It’s fine to smell a small amount while cooking, but in large quantities in a dehydrator, the smell is strong and can be overpowering.
You don’t need to worry about these strong odors when storing or using. They moderate as the process finishes, and many will disappear. But you will want to take steps to manage odors while the produce is dehydrating.
The best place to run your dehydrator is one where:
- Strong odors won’t bother you
- Excess heat will not be a problem
- Heat will not compete with air conditioning and cooling units
- You won’t mind the noise
- The unit can run for 12 or more hours straight without being a nuisance
- It won’t get wet from rain or weather
- If possible (and it isn’t always), in air with lower humidity, or at least not in the most humid space
- There is nothing else producing extra humidity—like humidity from boiling or cooking in a kitchen
- A place that is clean and hygienic enough – a covered porch can be fine, as long as you’re not experiencing a lot of dust and wind that could cover or get into the unit
Do consider the heat that the dehydrator produces. It’s not exactly like a space heater, but the effect can be similar, and this isn't something you want at certain times of the year, like in the middle of a hot summer. On the other hand, in the dead of winter, you might not mind a little extra warmth.
8. Rotate trays a time or two while drying.
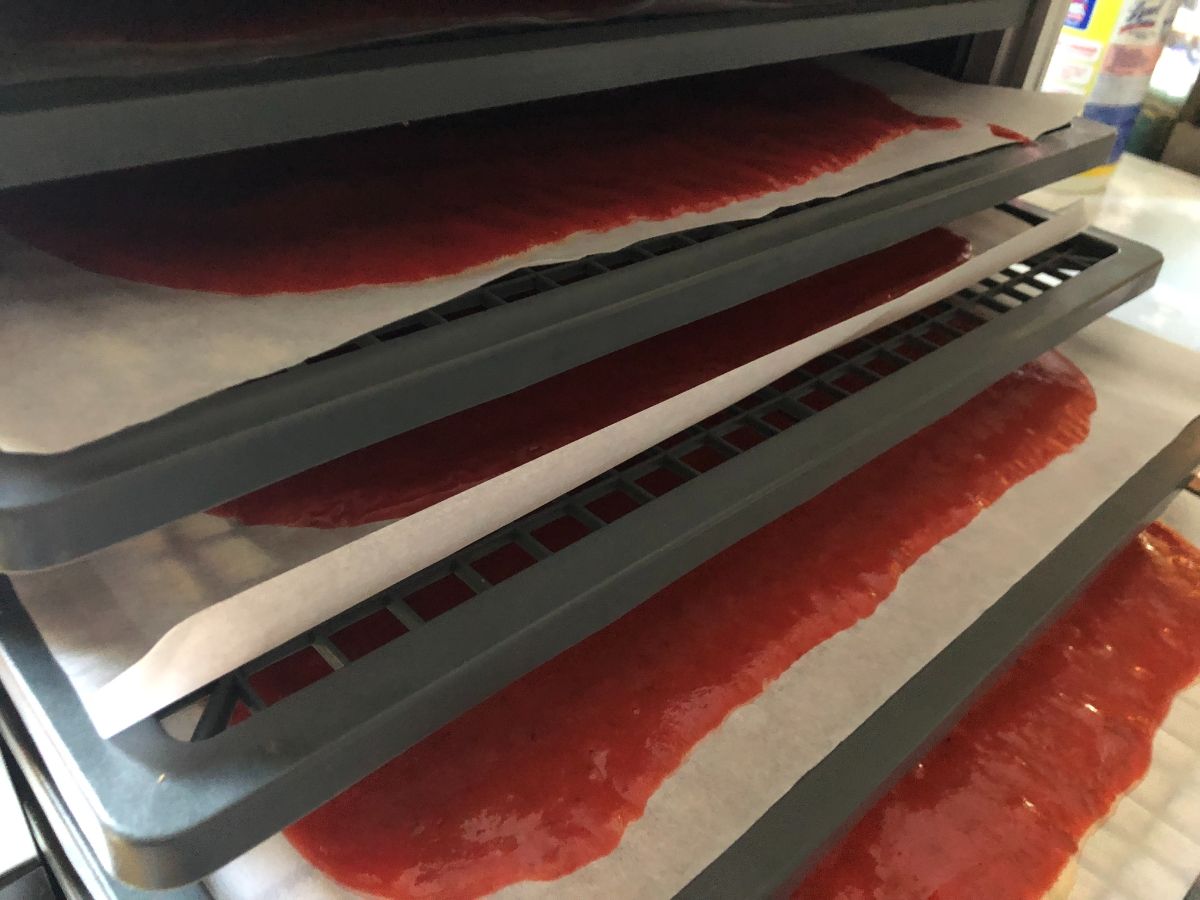
Like ovens, dehydrators have areas where the temperature runs a little higher or lower, and the air circulates better or worse. This means that everything will not always dry exactly evenly. Depending on your unit, you may find that the back of the trays dried faster or the middle racks in the middle of the unit take longer. The top may dry faster than the bottom.
There’s no one set of rules as to which spot will dry the fastest. This varies depending on how fully loaded the dehydrator is and the type and style of dehydrator you have.
The way to even this out is to turn and rotate the trays. To turn, take the tray out and make the back the front, or turn it one turn to make the sides the back/front. To rotate, change the order of the trays—for example, make the bottom the top, and so on.
Turn and rotate at least at the halfway point, but it’s often helpful and results in more even drying if you turn and rotate every two or three hours (depending on expected drying time).
9. Timelines are guidelines.
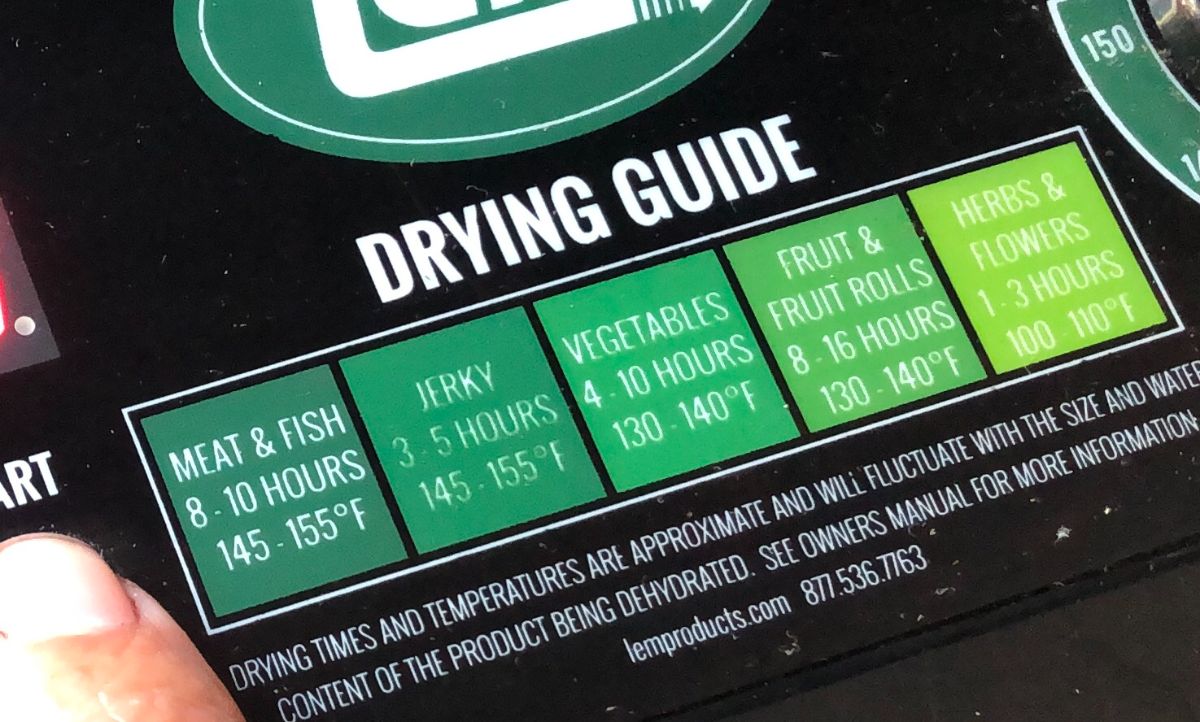
With recipes and instructions, you’ll be given a time range that your produce should be dry. However, there is a lot that can change drying times.
Times can change if it is very warm or very cool outside, or more impactful if the humidity in the air is high, for example. How thick and evenly you cut your produce when prepping, the moisture content of the herbs, fruit, or vegetables, which may even change depending on your growing year, are other factors; the age of the food and how fresh it is from harvest...These are all things that may make your expected drying time shorter or longer.
The point is that you have to trust yourself and your product, and you cannot rely on a timer for dehydrating foods the way you can mostly rely on an oven timer for baked goods or boiling eggs. Use the time as a guide only and follow instructions to figure out when you think your food is done.
10. Make a plan for good, long-term storage (read, get some good containers to keep it).
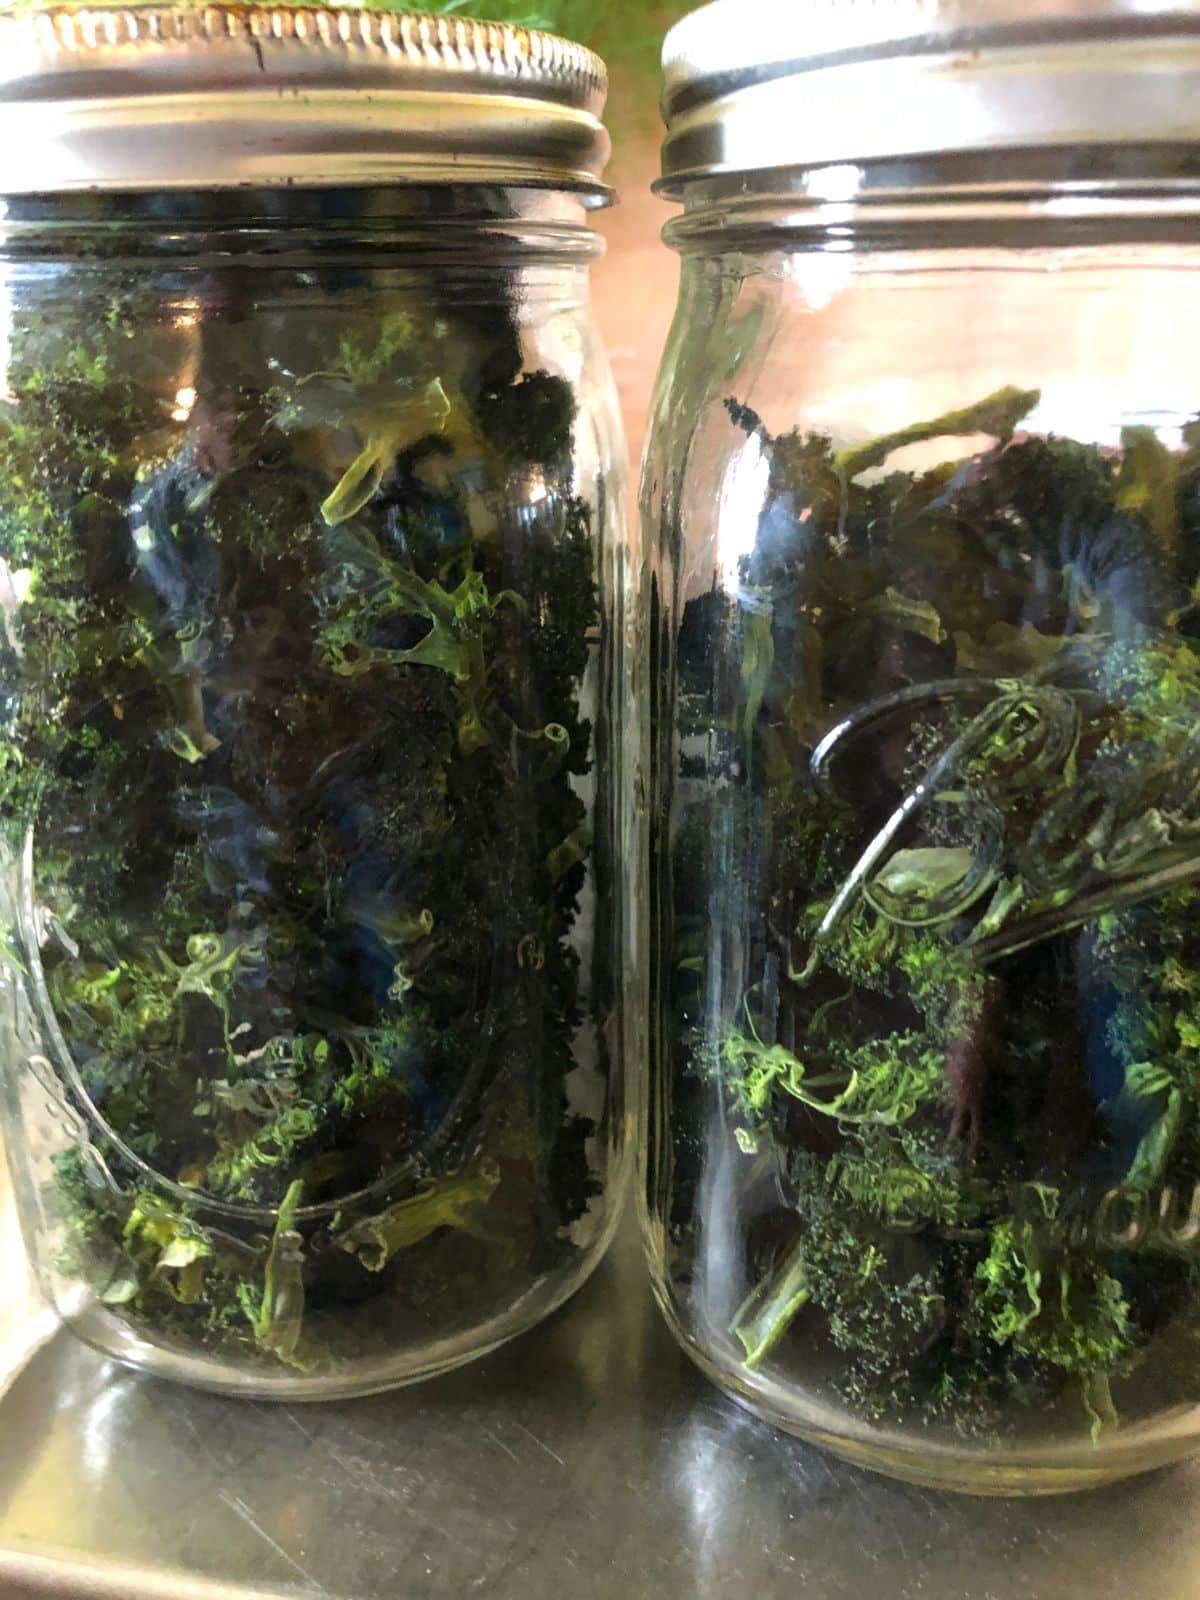
Plan ahead so you can store your dehydrated produce when it is done and cooled. Have containers, bags, or sealers at the ready.
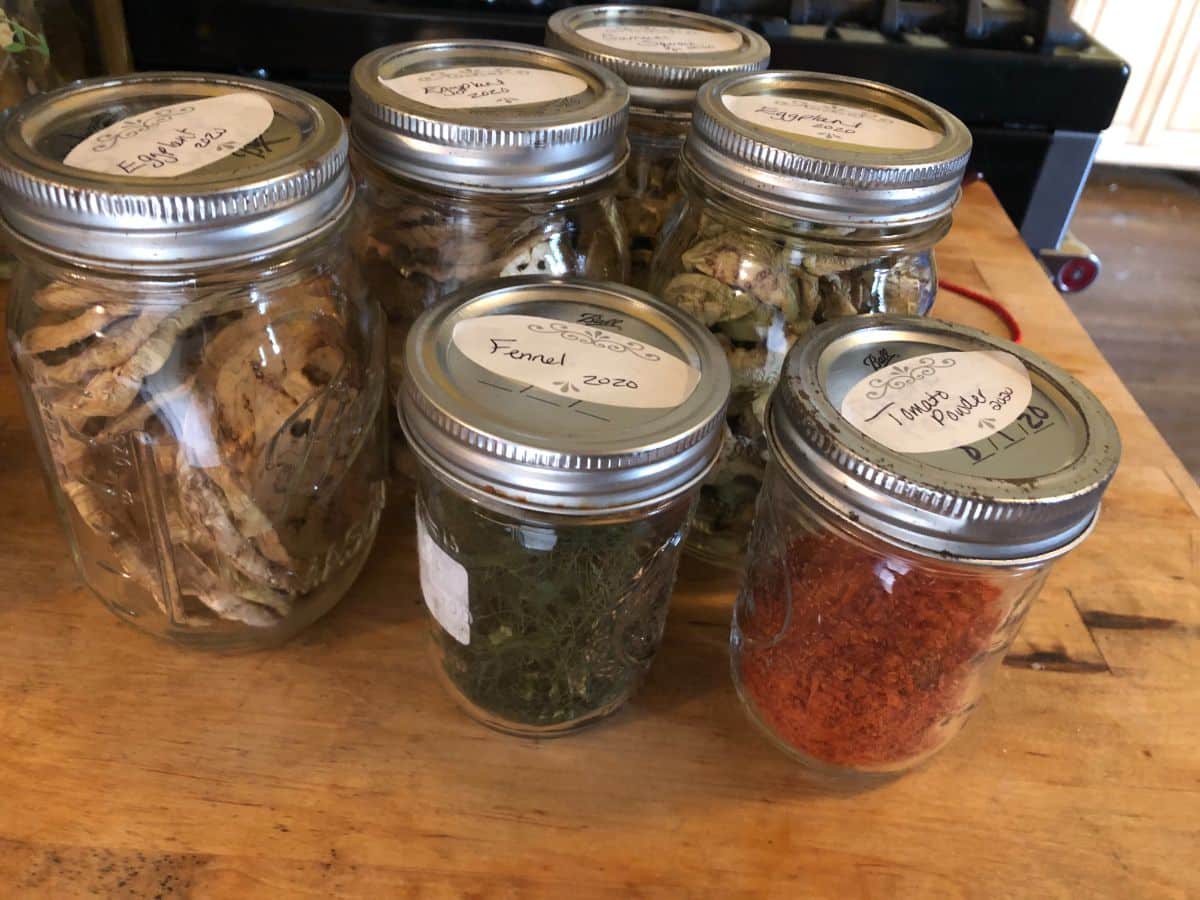
After dehydrating, cool the food, then condition it right away. (Conditioning just means you leave the batch in a jar to even out moisture content for a few days and check for signs of moisture forming before storing permanently). After a few days of conditioning, your food is ready for permanent packing.
A couple of tips: Canning or Mason jars with two-piece lids and a canning jar vacuum sealer attachment work wonders. Any other plastic or glass air-tight container can be used. Vacuum sealer bags are also good ways to store dried foods, and they can be stacked so they take up less space.
The good thing about jars and containers for dehydrated foods is that most of them can be reused, so you won’t have to worry about costly and wasteful single-use products (not so much the case with vacuum sealer bags, though). Over time, by reusing good jars, your storage cost becomes very low.
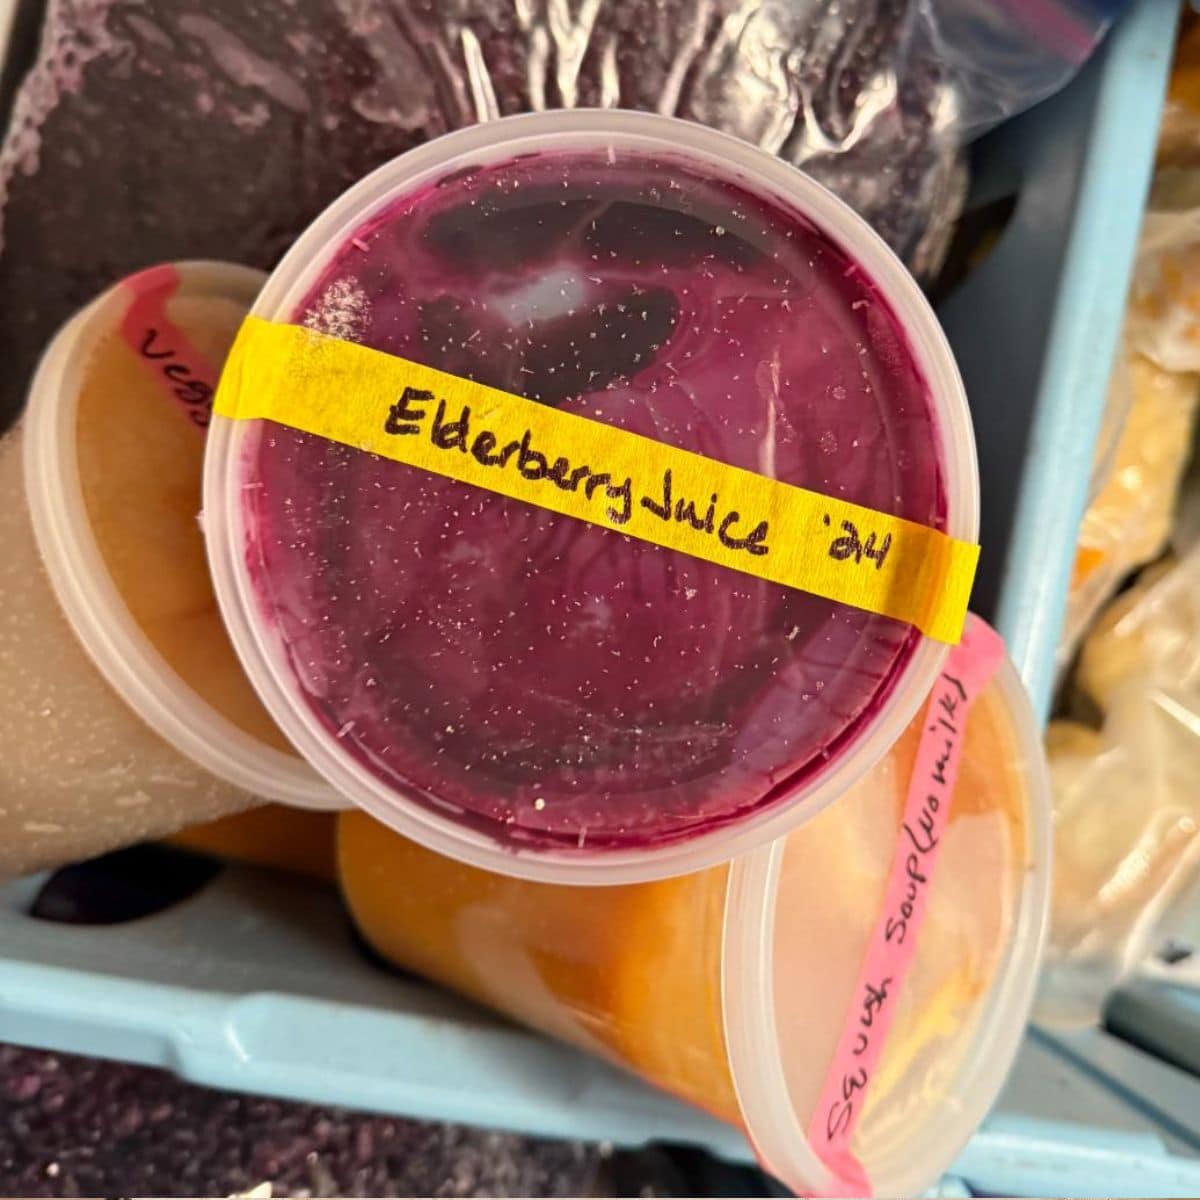
11. Label dried products.
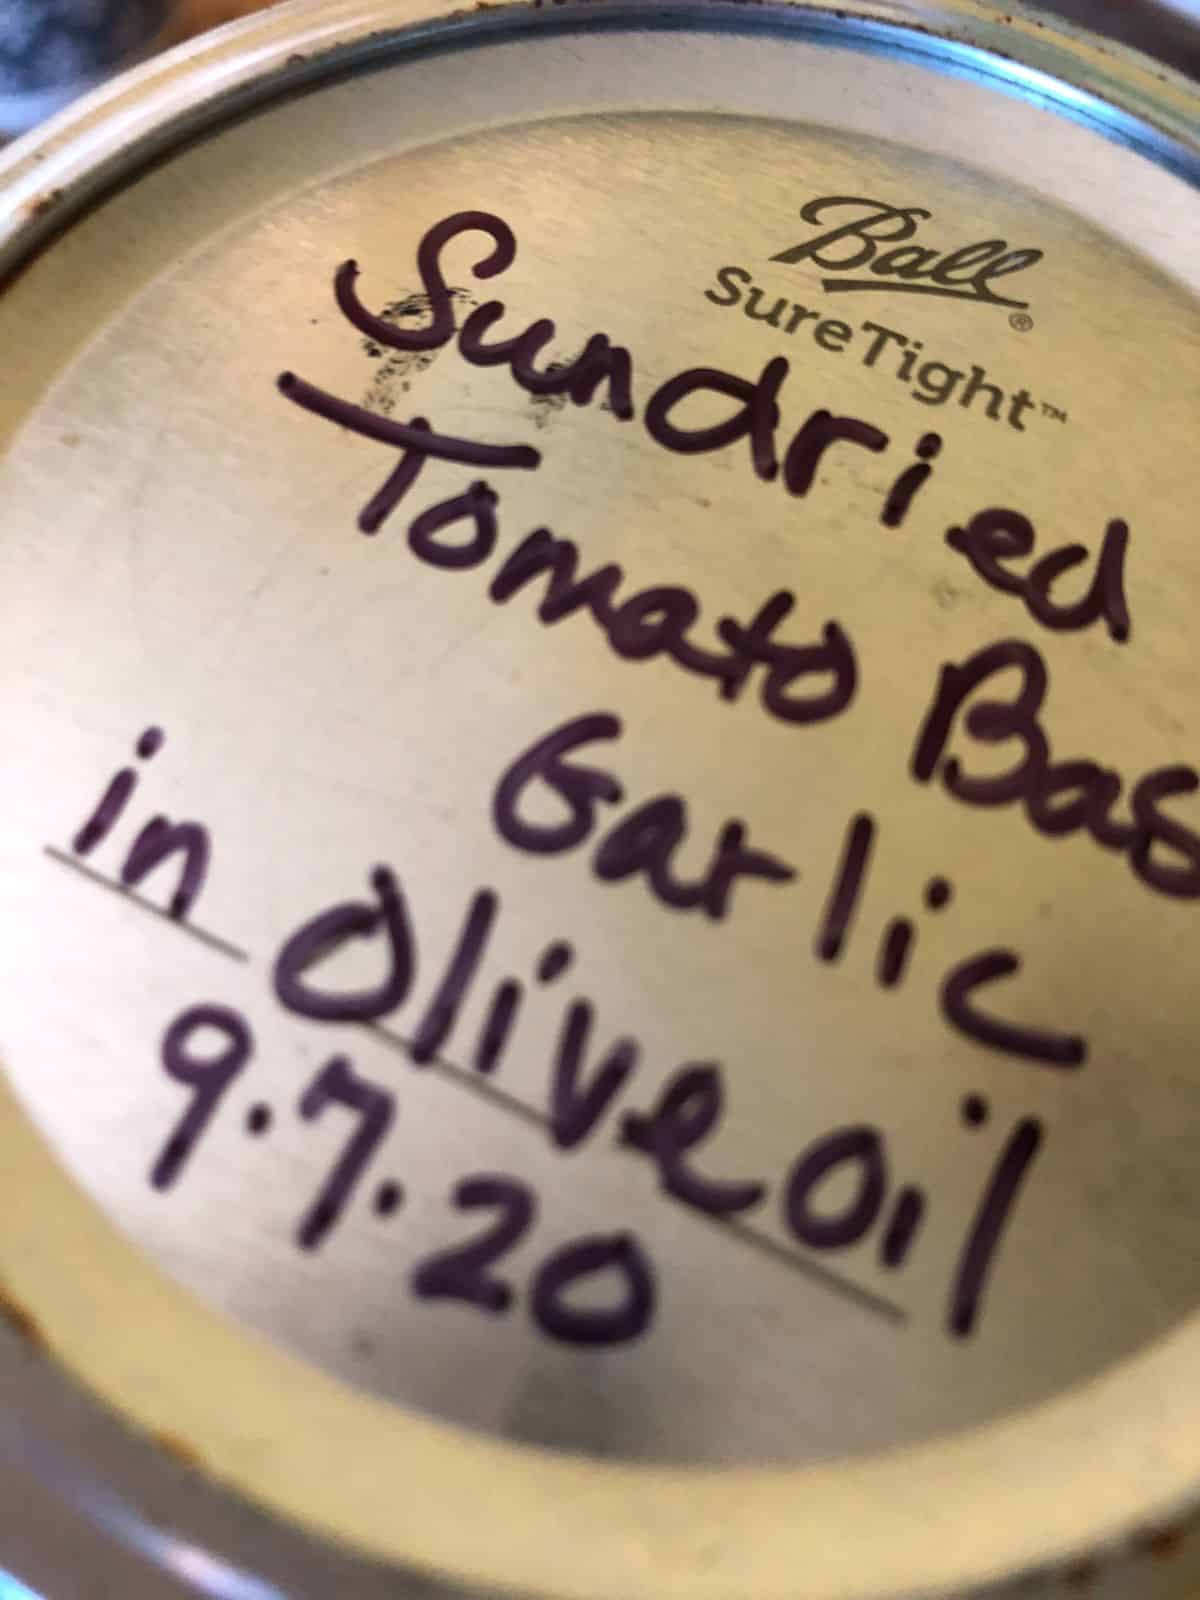
This is one of those silly things we take for granted but that we soon come to regret. We think it is obvious what we dried and saved. We assume a dehydrated version of a fruit or vegetable (or, more confusing—herbs!) will look enough like the original produce that we will know what it is in that pretty, colorful mason jar. Not true!
Once dried, many things look alike, or they hardly look like their original produce product at all! Things get dark, shriveled, hard, and maybe don’t even seem that appetizing (we promise they are!). One green herb looks exactly like another, especially once you’ve chopped, pulverized, or powdered it.
Take it from one who knows. Take a minute to label your jars or bags when you package your products. Write the date so you know how long ago it was dehydrated (at least the year), and so you can use the oldest products first. Don’t rely on your sense of smell, adventure, or detective skills to figure out what is on your pantry shelf.
12. Learn new ways to use dried fruits and vegetables.
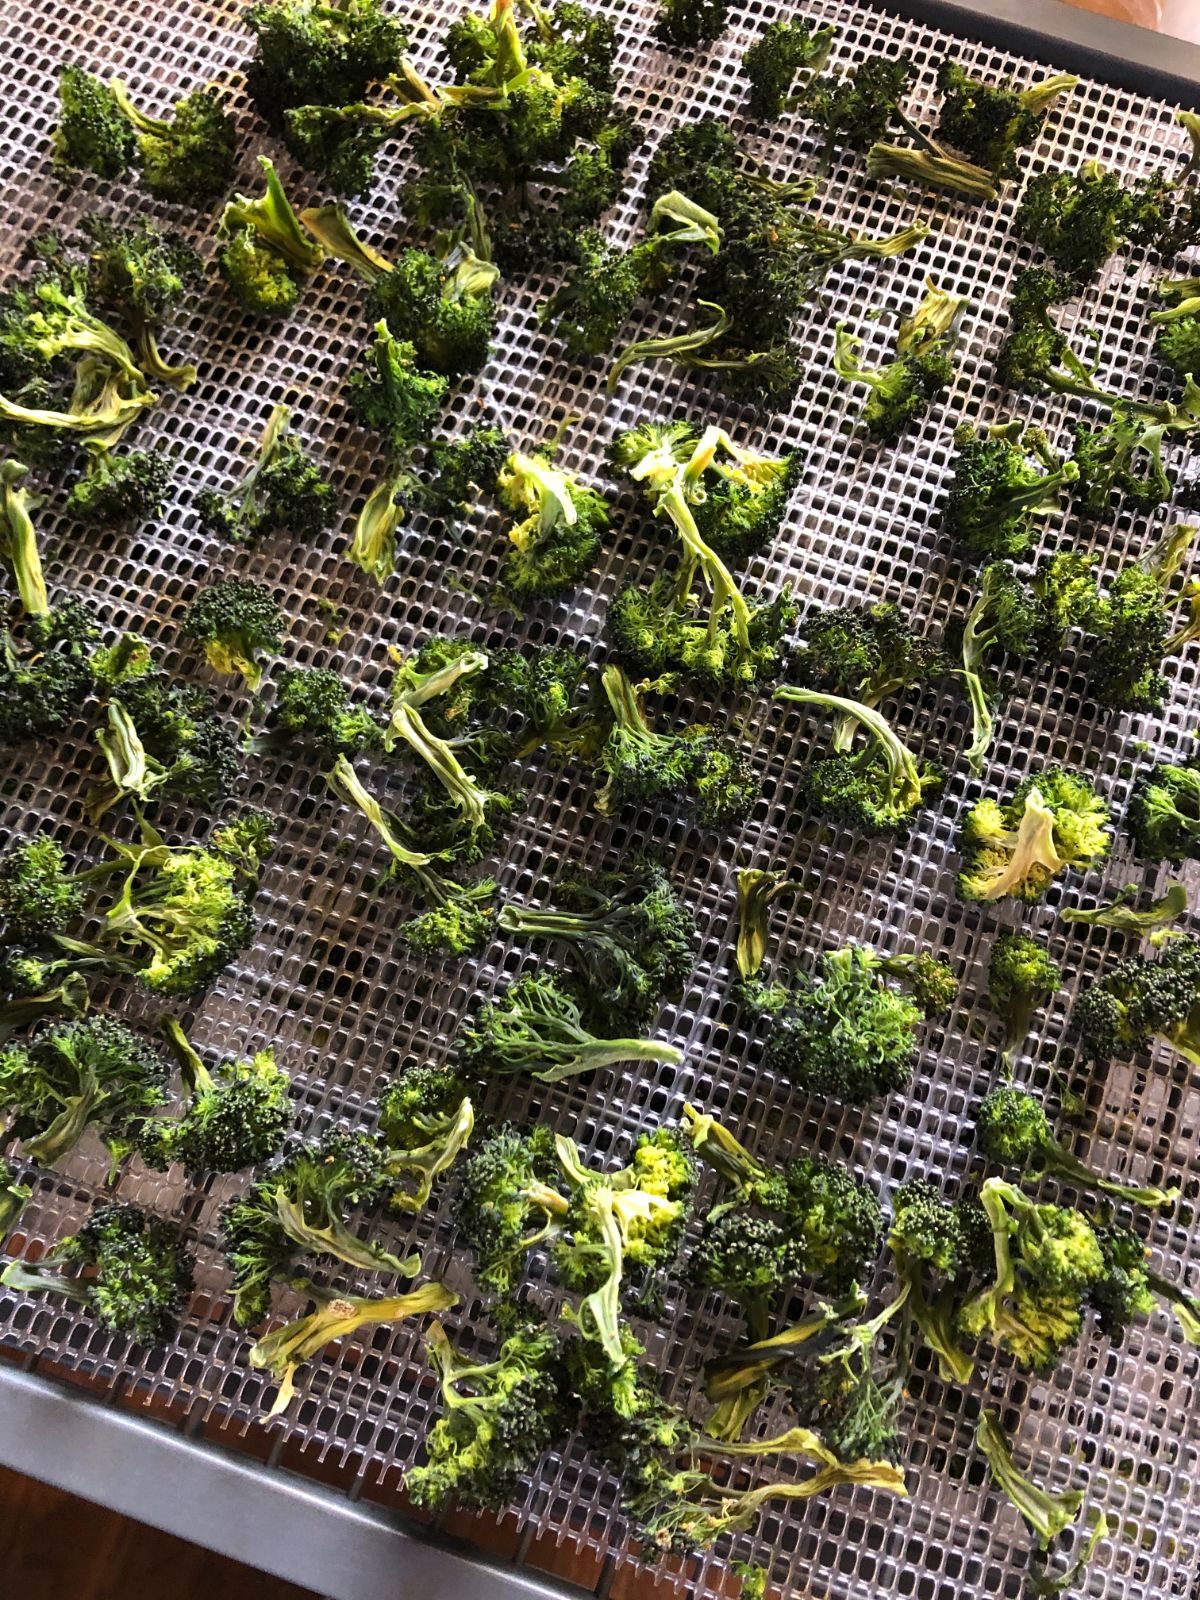
One reason people don’t do more dehydrating is that we’re not that familiar with how to use dehydrated foods. We’ve been taught to cook a lot with canned, fresh, or frozen, but much less with cooking with dried products.
The more you learn, the more you know, the more comfortable you will be with cooking meals and dishes from dehydrated foods. You’ll learn what you like (or don’t). You'll learn how similar to fresh that rehydrated, previously dehydrated produce can be. And you’ll be more comfortable with it.
Being more comfortable with using the end product will make you more comfortable with drying more of your homegrown fresh herbs, fruits, and vegetables. And that will encourage you to do more of it. Learning to use things after they are dried is one of the best ways to make you want to make more of your own dried foods.
If you don’t have a lot of your own produce to work with yet, pick some up and start experimenting.
13. Buy some handy accessories.
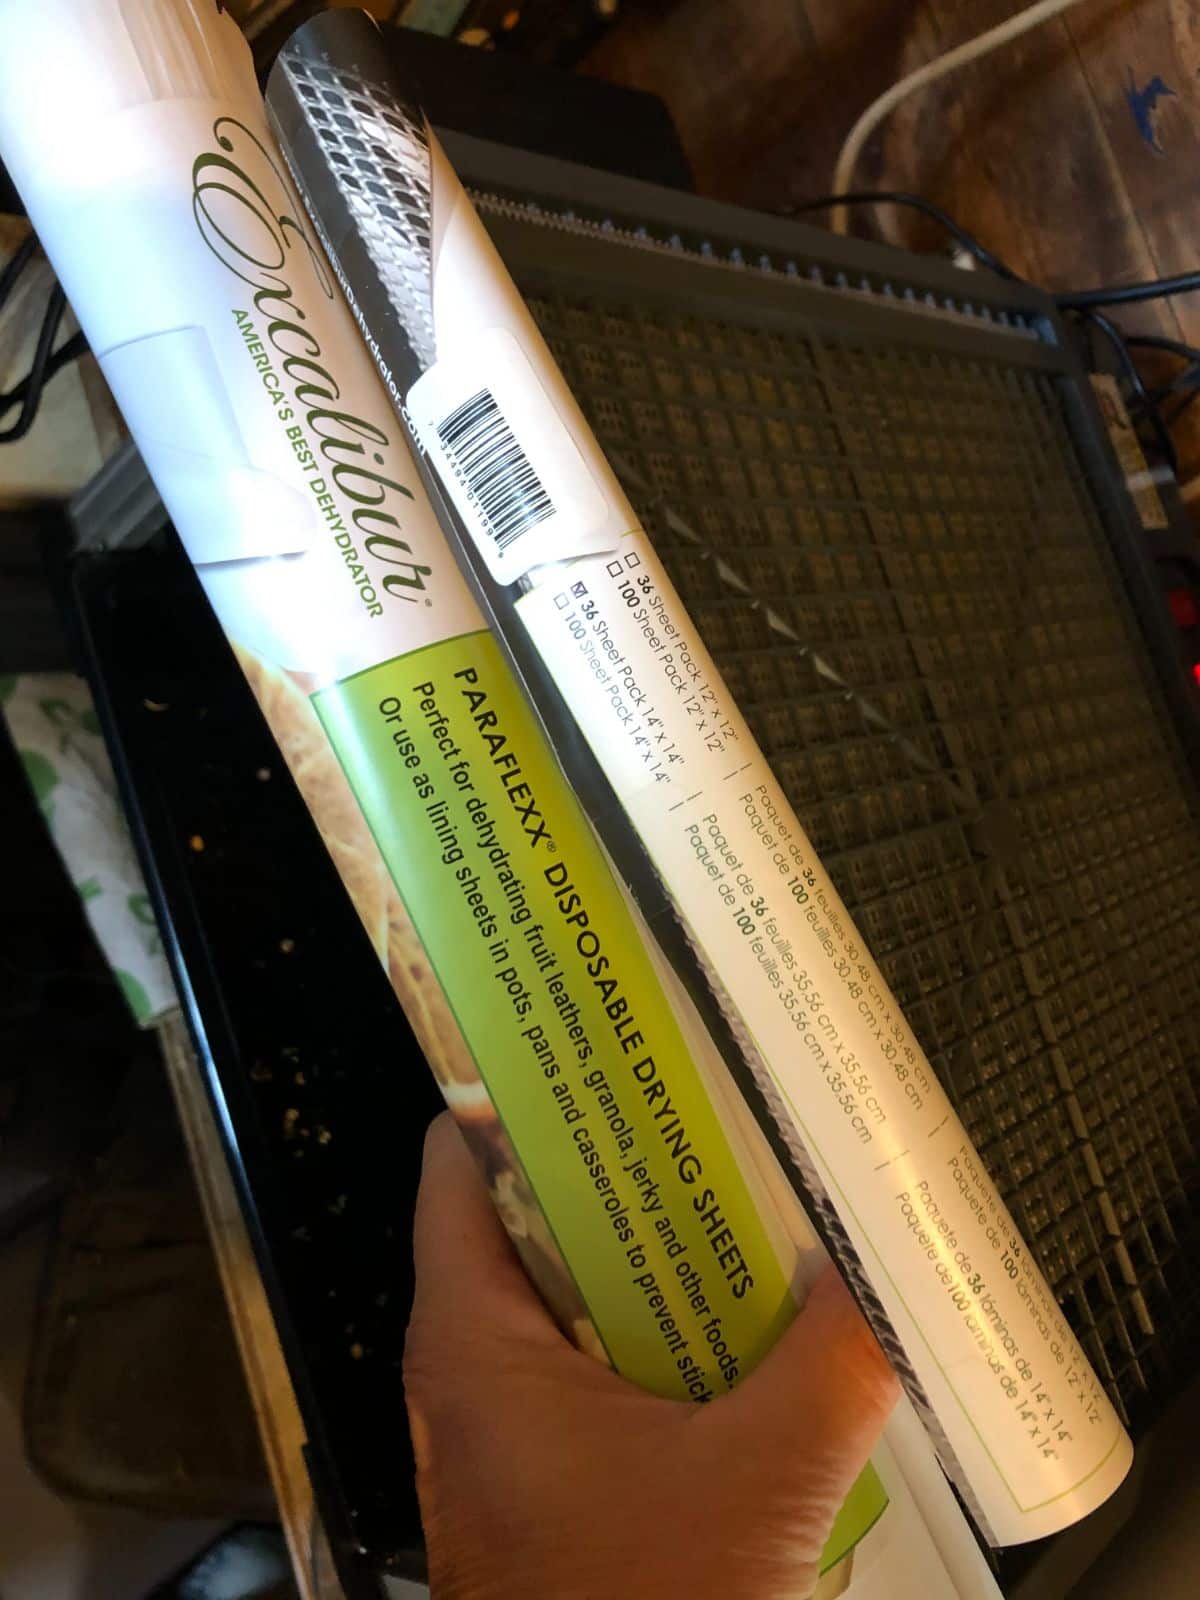
You’ll have the most flexibility in the types of products you can create if you invest in a few good accessories. The things most people want for their dehydrators are parchment or silicone sheets for drying liquidy things like purees for fruit leathers or to dry syrups for pastes and bouillon powders. You will probably want some fine mesh sheets so you can dry small items, items that shrink to small sizes, and fine herbs.
Take Note!
Before you go, here’s a final suggestion. When you dehydrate different things, take a note or two. Maybe start a journal.
Note down things like how long your product actually took to dry (which can tell you a bit about dehydrating where you live), problems or things you need to do differently next time, and foods you liked or didn’t like.
Write down your favorite recipes, mixes, and combinations. Take note of how much you preserved and whether it was enough to get you through the year.
Next year, when you’re planting and preserving, you can refer back to these notes and decide if you need to plant more or less of a certain thing. You can use them to increase or decrease how much of that vegetable or herb you dry. You can also use them to decide which method or methods of preservation your family likes best for specific types of produce and which are best for the dehydrator.
These are all things we think we’ll remember, but a year from now, it might be hard to recall if you dried 10 or 20 pounds of tomatoes. Do yourself a favor. Make a record for a reference. It will be a neat record for future generations to enjoy, too!
Dehydrating Deserves Our Preservation Attention, too!
Dehydrating really is a practical, money-saving way to make delicious foods and to preserve the produce of our gardens and hard labor. It’s one worth learning and knowing. It’s one that can save a great deal of product as we experience more power outages from increasing severe weather and high energy demands.
And it’s one that, all by itself, is more delicious and nutritious than we might think. Get on the dehydrating wagon and make the most of your harvests!

Leave a Reply