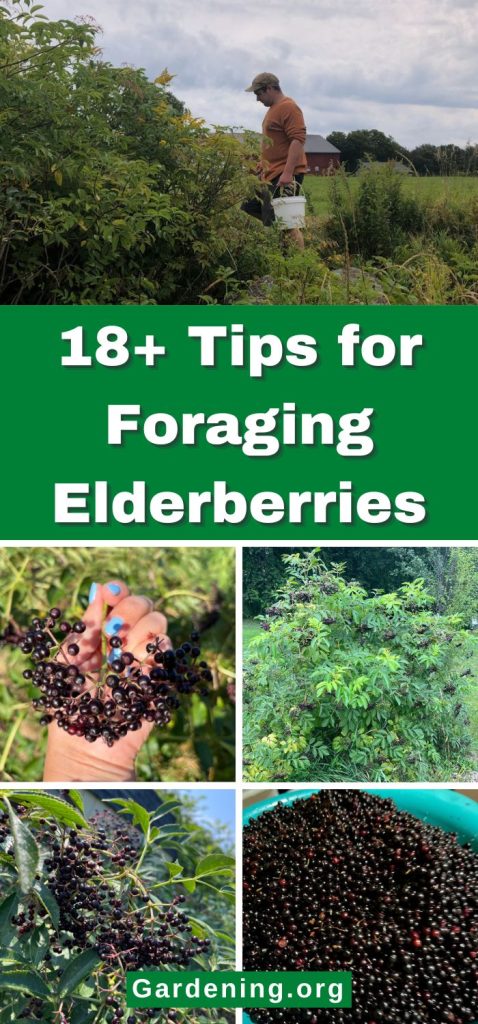
Elderberries have a wide native area, so it’s not uncommon to find them growing wild. They are an excellent food source to forage from the wild.
Elderberries grow across Europe and the UK, where the Sambucus nigra is the dominant native elderberry. In most of North America, including the majority of the U.S. and Canada, the dominant species is a relative, the Sambucus canadensis, more recently dubbed Sambucus nigra subspecies Canadensis.
There is also a species of blue elderberry (Sambucus cerulea) that grows mostly in the North American west coast and Mexico, which is more drought tolerant than nigra species and has a somewhat different growing habit.
Whichever elderberry is native and growing wild near you, it is almost certainly a good food to forage (though there is some debate over the usefulness of the less common red elderberry, Sambucus racemosa).
These tips will help you do just that.
Jump to:
- Tips for Foraging Elderberries for Big Yields and Free Superfood
- 1. Spot wild elderberries in the spring.
- 2. Note the locations of elderberry bushes.
- 3. Forage elderflowers when in bloom.
- 4. Know your plant.
- 5. Be ready when the berries are.
- 6. Watch the birds.
- 7. Take bags and buckets.
- 8. Tag good plants for propagating.
- 9. Pick at peak ripeness.
- 10. A few unripe berries are okay—but don’t overdo it.
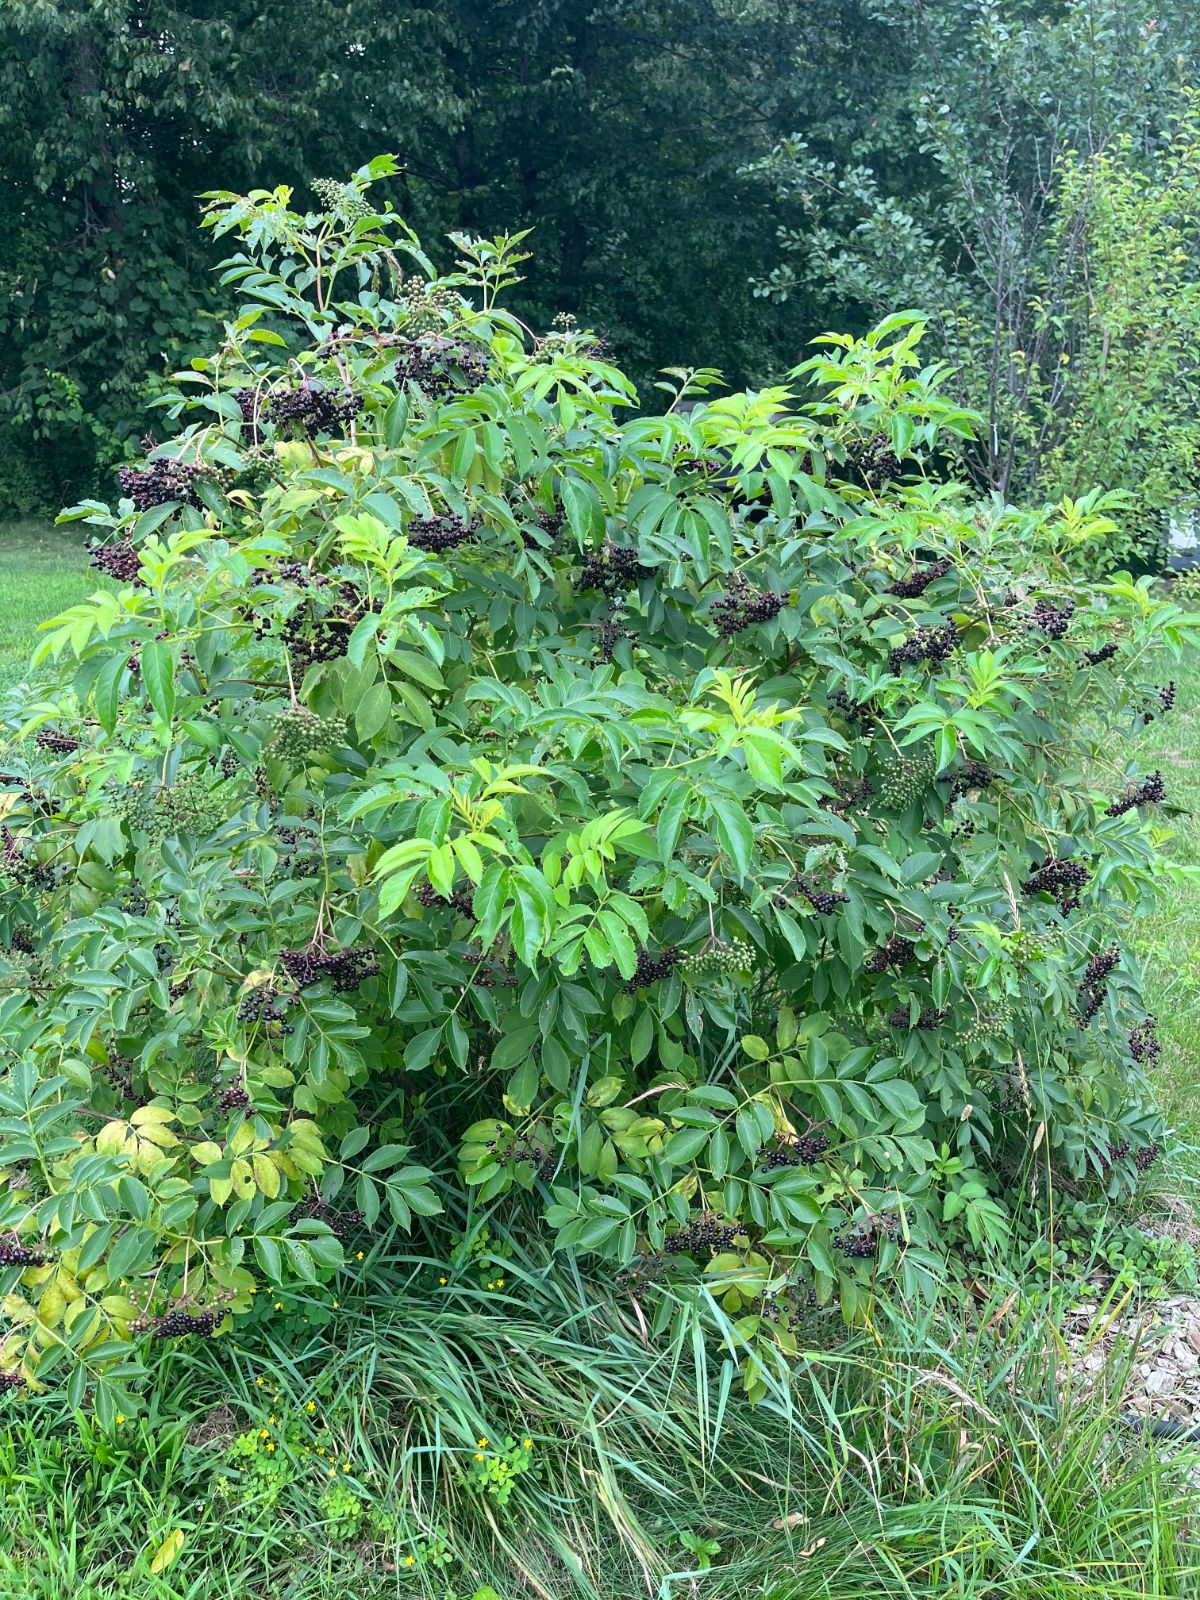
- 11. Ripe is dark and purple.
- 12. Go for heavy, plump berries that bend the stem.
- 13. Pick the whole cluster, stem and all.
- 14. Destem at home.
- 15. Cool picked berries while you work them or until you can destem them.
- 16. Pick only what you can work up in a few hours or within a day.
- 17. Don’t fret over a few stems or unripe berries—it comes out in the “wash”.
- 18. Use, preserve, dehydrate, or freeze immediately.
- Tips for Where to Find and Forage Elderberries
- Ways to Use Wild Foraged Elderberries
Tips for Foraging Elderberries for Big Yields and Free Superfood
These are the top tips to help you find, forage, and harvest wild elderberries.
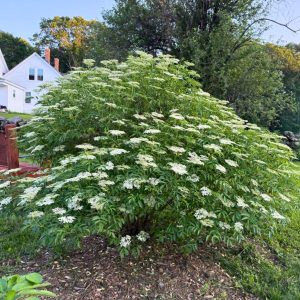
1. Spot wild elderberries in the spring.
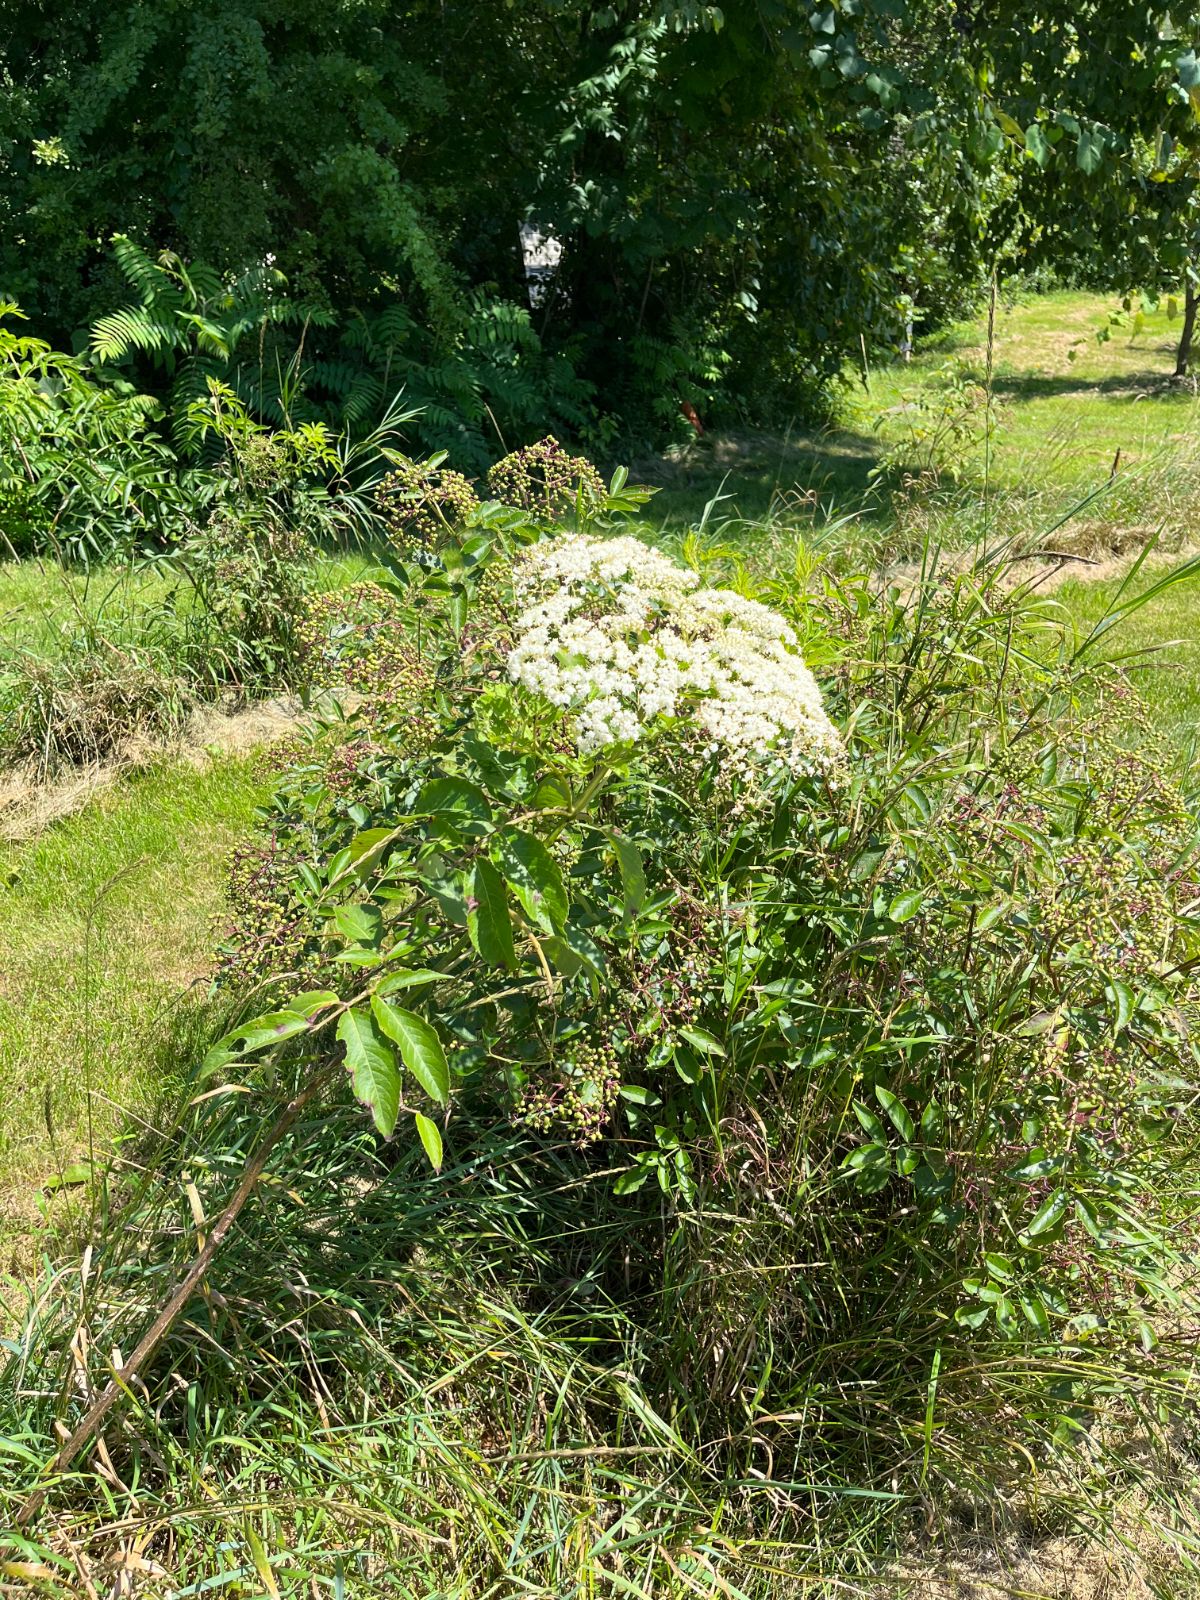
It’s easier to find elderberries when they are in bloom than at any other time of year.
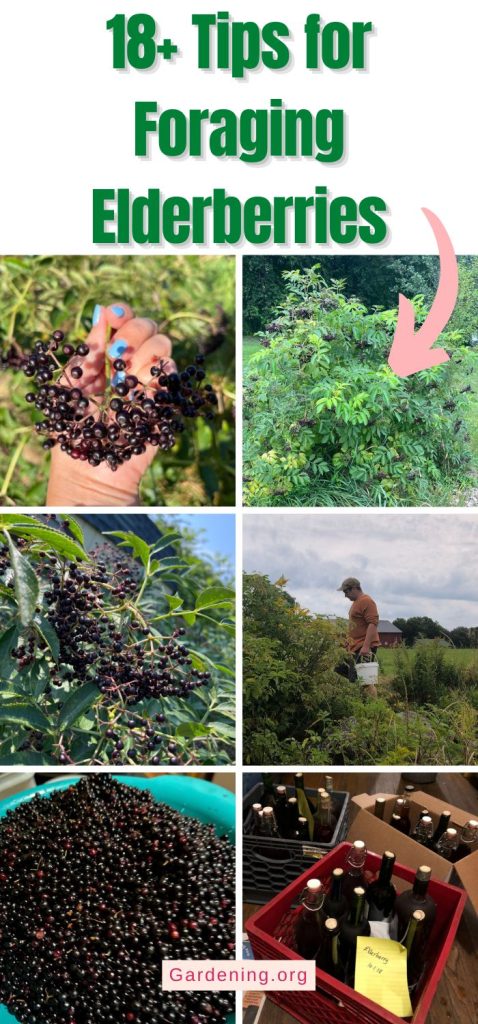
2. Note the locations of elderberry bushes.
You might find elderberries at any time of year (easier when in leaf, blossom, or berry), but the foraging and picking window is small—a couple of weeks, usually. So, when you find a bush, note its location. Some people like to use Google Maps or other apps and drop pins so they can find the bush again when ripe.
3. Forage elderflowers when in bloom.
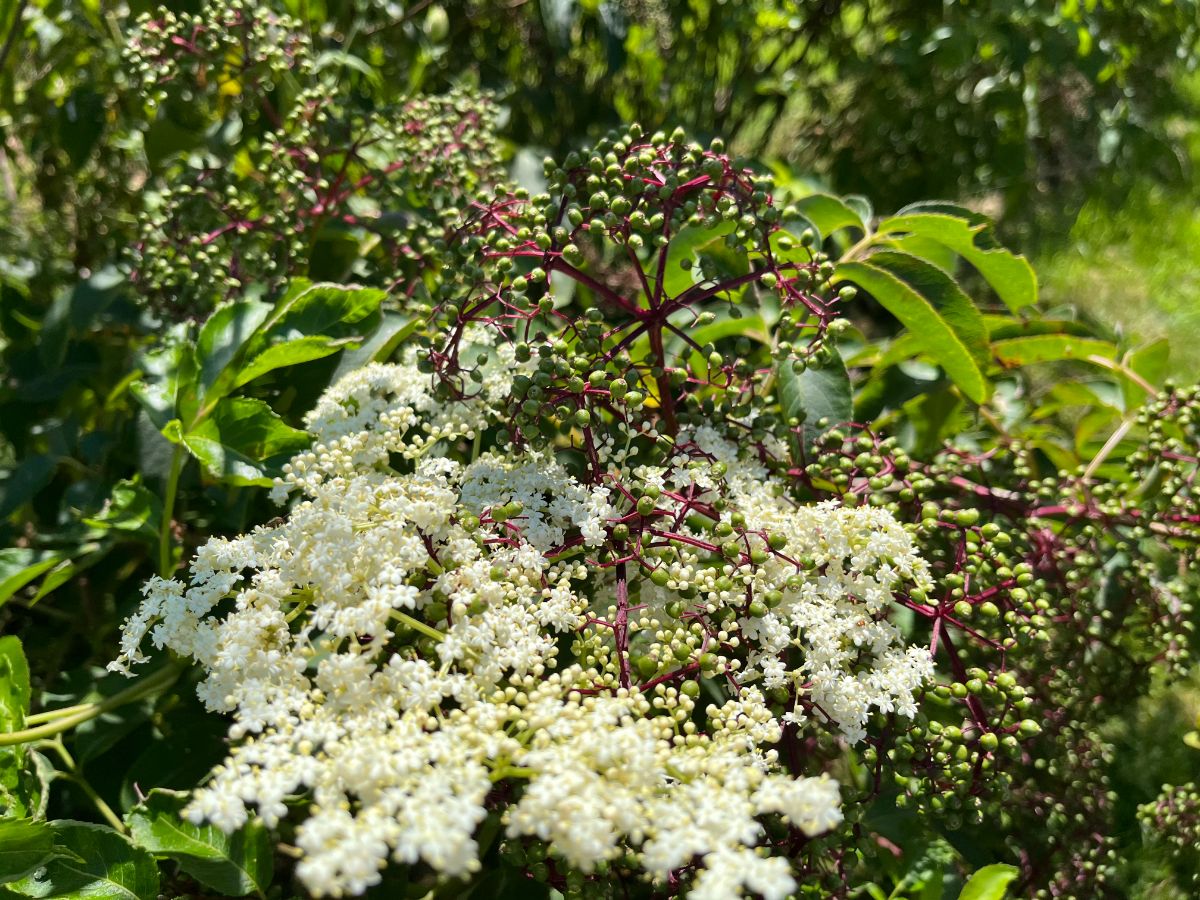
This is optional, but elderflowers are an excellent wild foraged (or cultivated home-grown) product on their own. They make lovely infusions, elderflower liqueurs, flavored simple syrups, elderflower fritters, dry tea ingredients, and much more. What’s even better is that the flowers have close to the same big nutritional and health benefits as the berries. Elderflowers are worthwhile a nutraceutical on their own.
The flowers are what turn into purple berries, so if you want berries, don’t take all the elderflowers, but experts say that you can harvest as much as 25 to 30% of a flower harvest and still get a great berry yield. You may improve the berry harvest because more energy goes into those berries, and they improve in size and flavor.
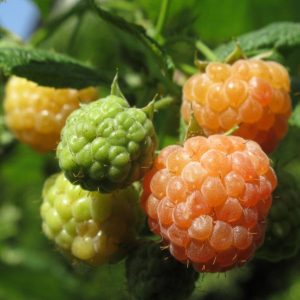
4. Know your plant.
Once you know what elderberries look like, what the plant, leaves, stems, and berries look like, it will seem pretty obvious to you. But there are a couple of plants that people sometimes mistake for elderberries. Over time, the difference will become obvious, but in the beginning, it’s critical that you know the difference between elderberry and other look-alike plants.
Some plants that are confused with elderberries might be toxic, and some might just be undesirable, but it’s important to know what to look for and only pick and use elderberries as elderberries.
5. Be ready when the berries are.
Elderberries have a short harvest window. They will stay on the stem for several days and up to a week (maybe more) when fully ripe, so there is some leeway here, but the big problem is that birds and wildlife love elderberries, too, and they’ll quickly strip a bush when its ready.
6. Watch the birds.
You can use birds to your advantage, though. Keep an eye on when the birds start going after the berries—that's an excellent indicator that the berries are ripe for the picking.
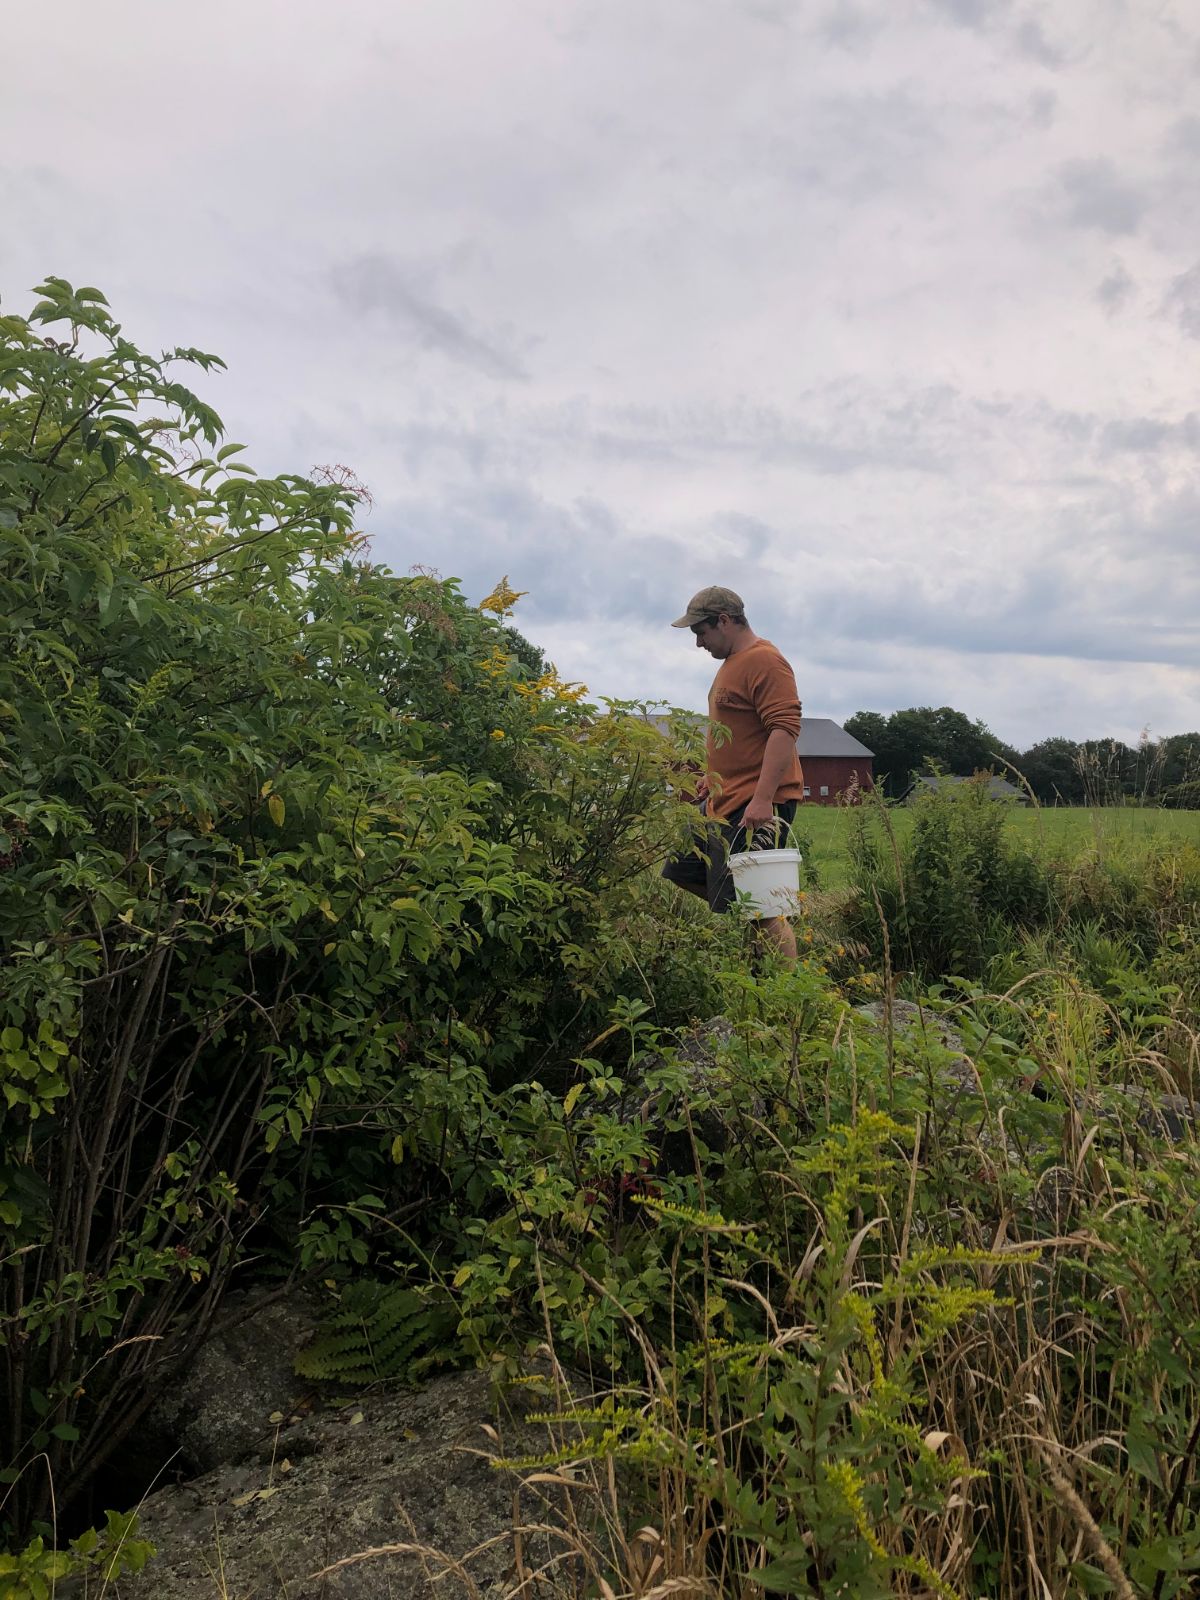
7. Take bags and buckets.
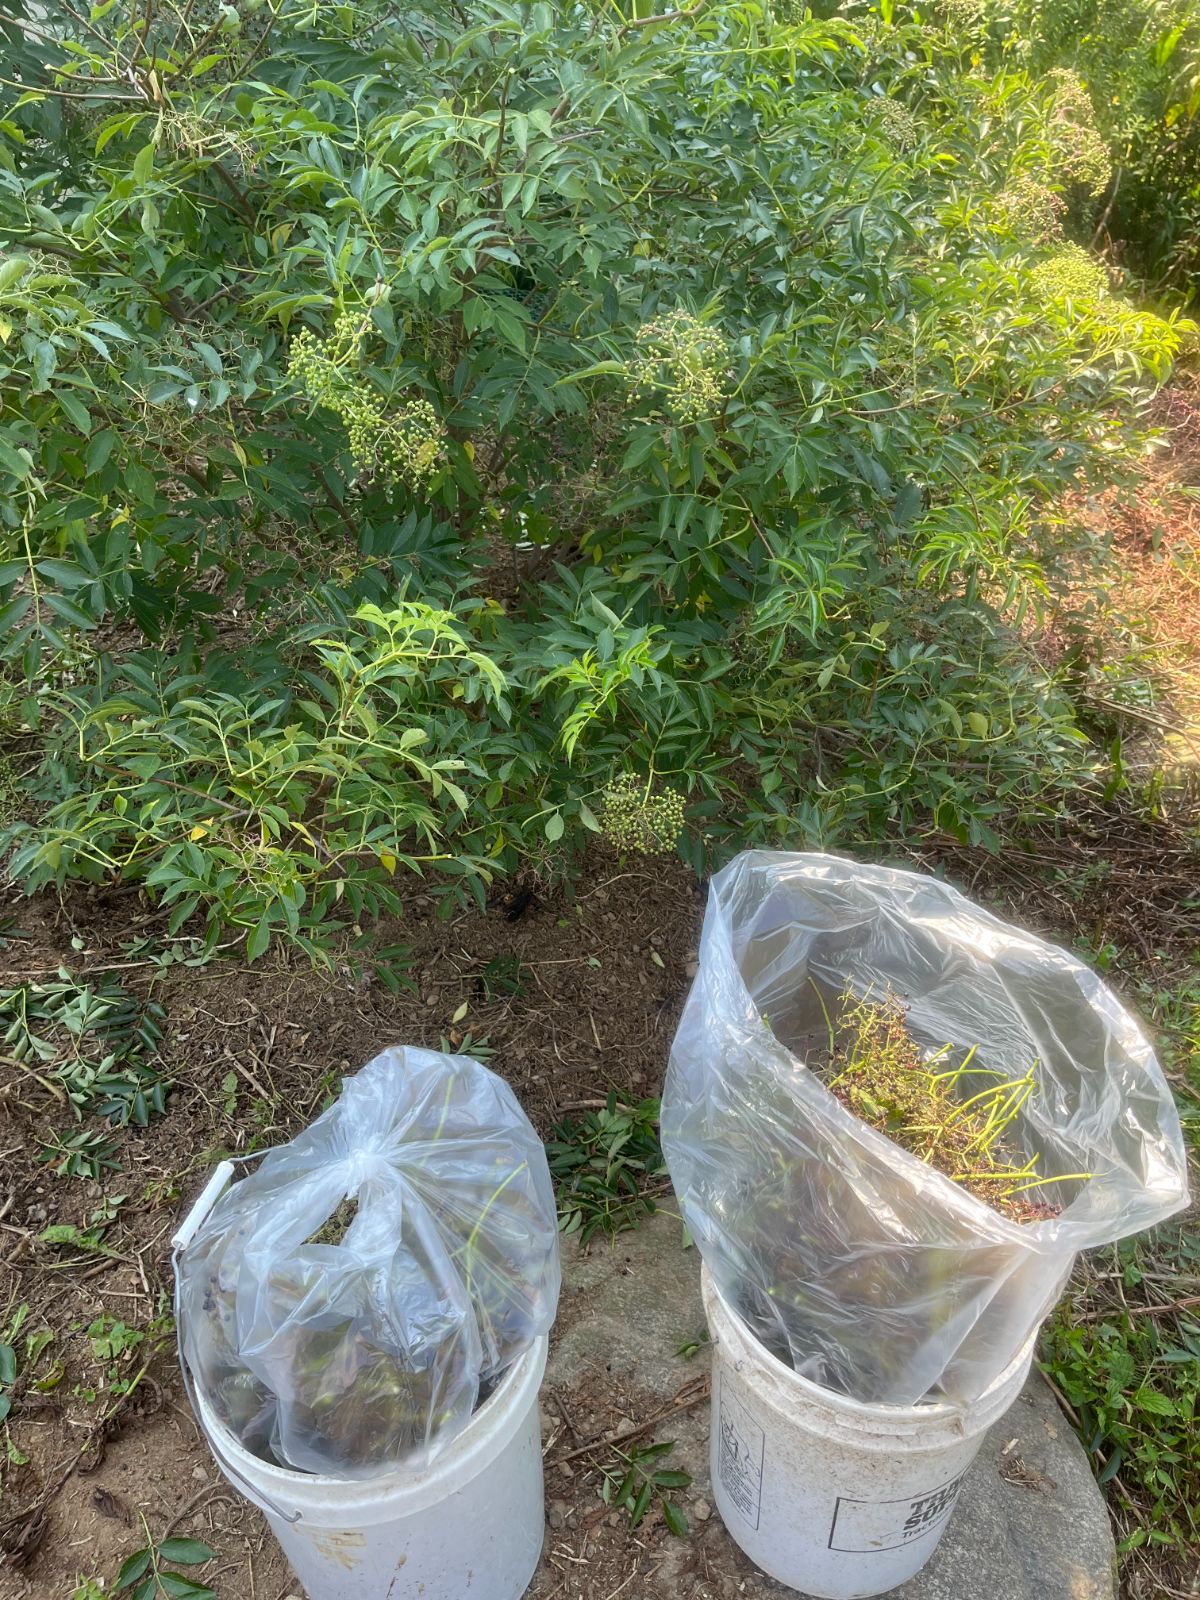
A good way to pick is to take several plastic bags in the bottom of a five-gallon pail (or two). The pail is stable, and you can line it with the bags, pick into the bag, then remove the filled bags and replace with another bag for fresh picking.
8. Tag good plants for propagating.
If you want to grow your own elderberries at home, take note of and tag the best bushes while you’re picking. You can take cuttings in harvest season, but the best time to take cuttings and plant them is when the plant is dormant.
If you have permission and you find small, rooted side shoots shooting up, dig those and plant them immediately. Keep them watered, and they’ll take right off.
9. Pick at peak ripeness.
Elderberries don’t ripen off the plant. Once you pick them, they are as ripe as they will ever be, so it is important to know what ripe is and to only pick ripe clusters of berries. You’re wasting time and berries if you pick them before they’re ripe.
10. A few unripe berries are okay—but don’t overdo it.
It’s almost impossible to pick without getting any green and underripe berries. A few won’t spoil the batch, and they’re high in pectin (but bitter), so they can help jam and jelly gel, but you don’t want too many unripe berries in your mix. Still, it’s not worth stressing over, and you can float them out or pick them out in the wash.
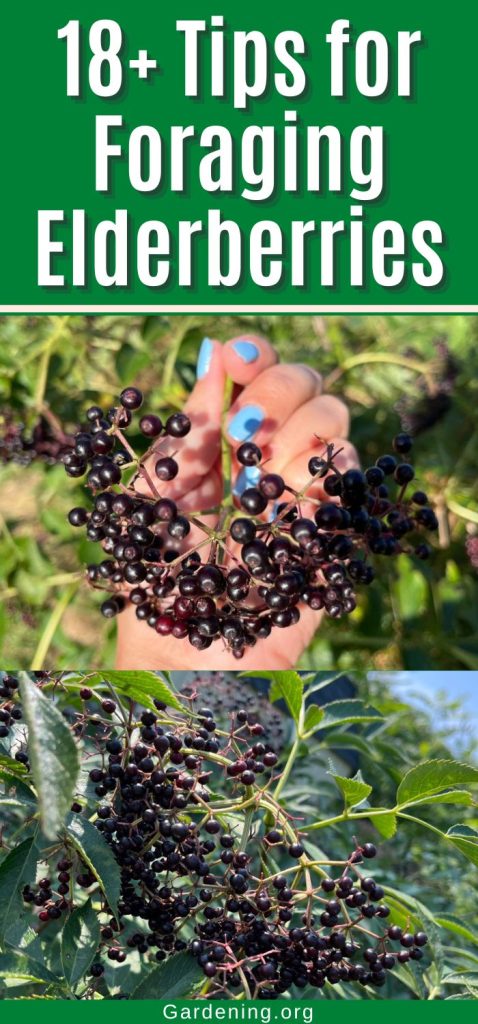
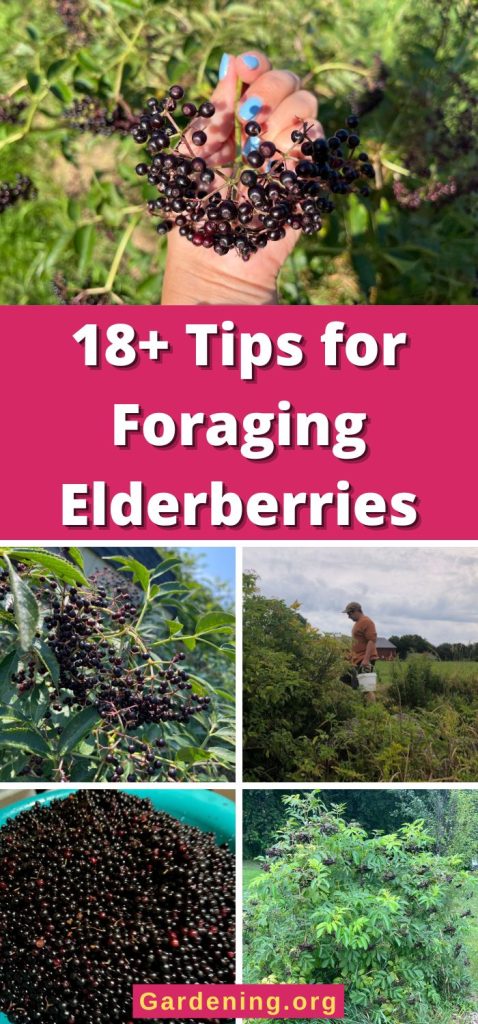
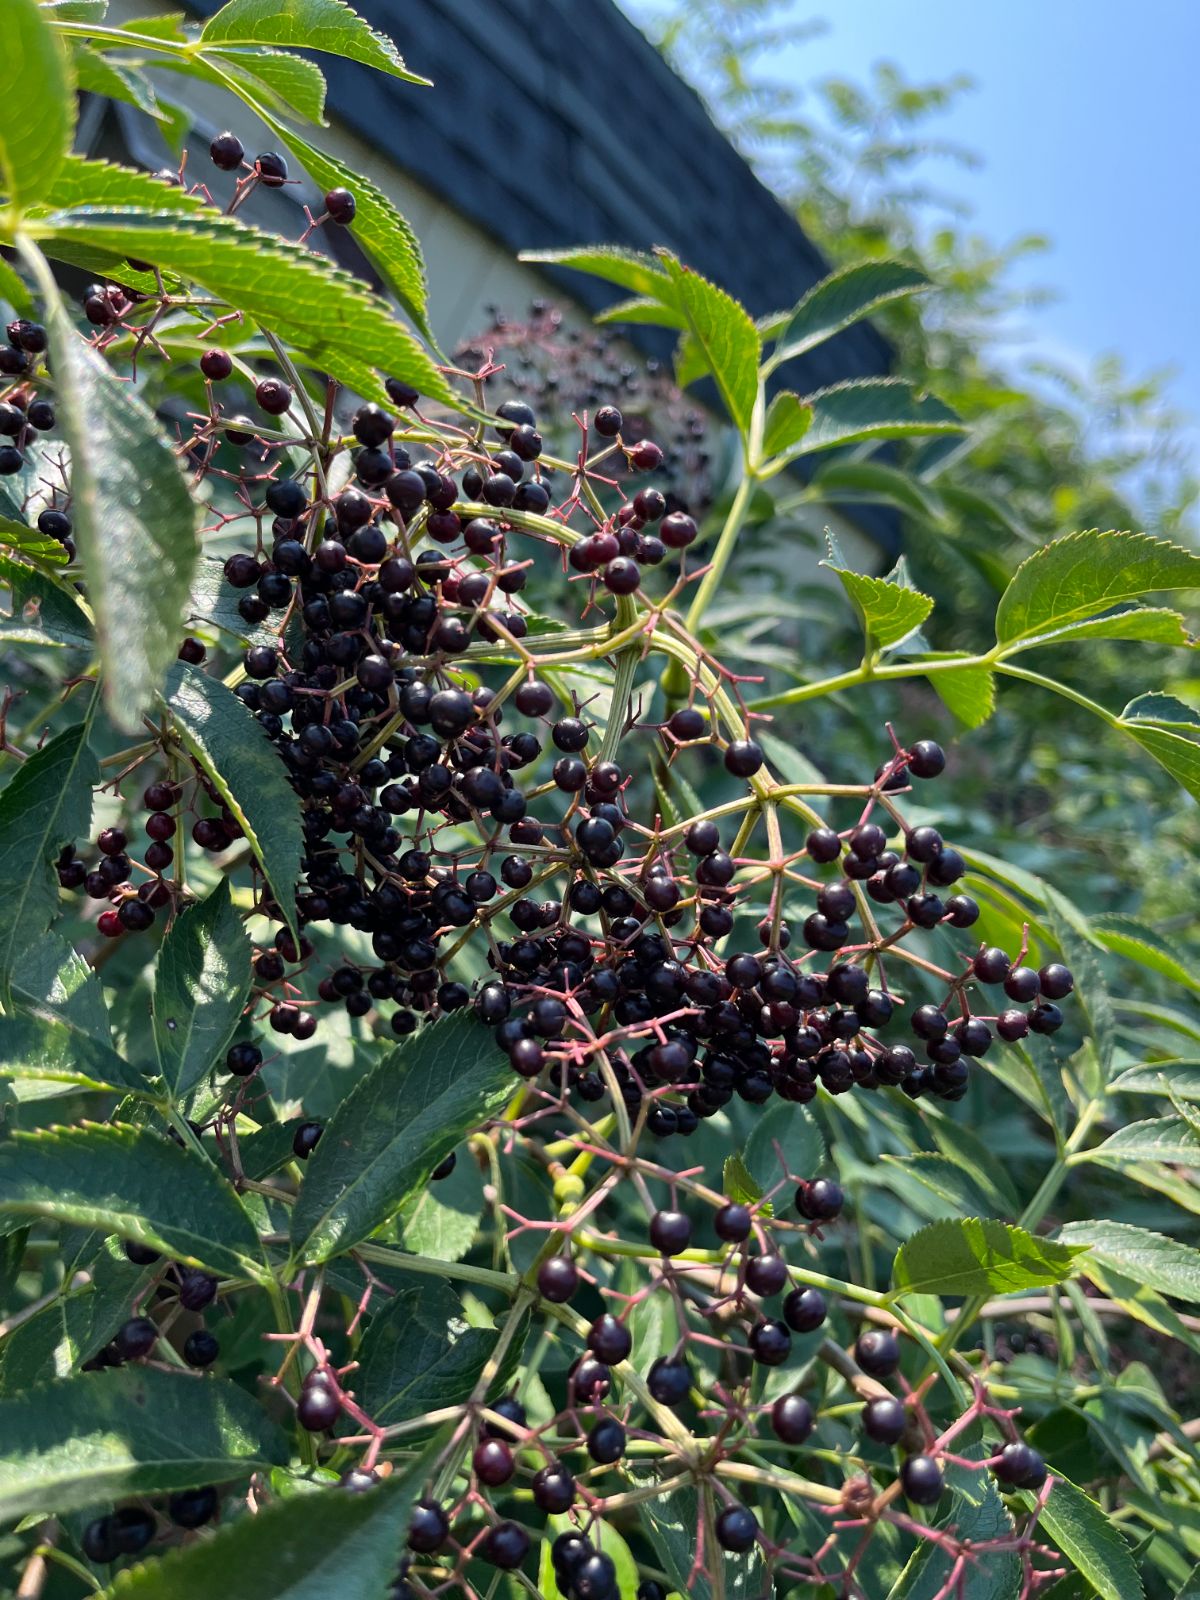
11. Ripe is dark and purple.
Red or almost purple isn’t ripe. Pick ripe, dark elderberries that look as close to purple-black as you can find them.
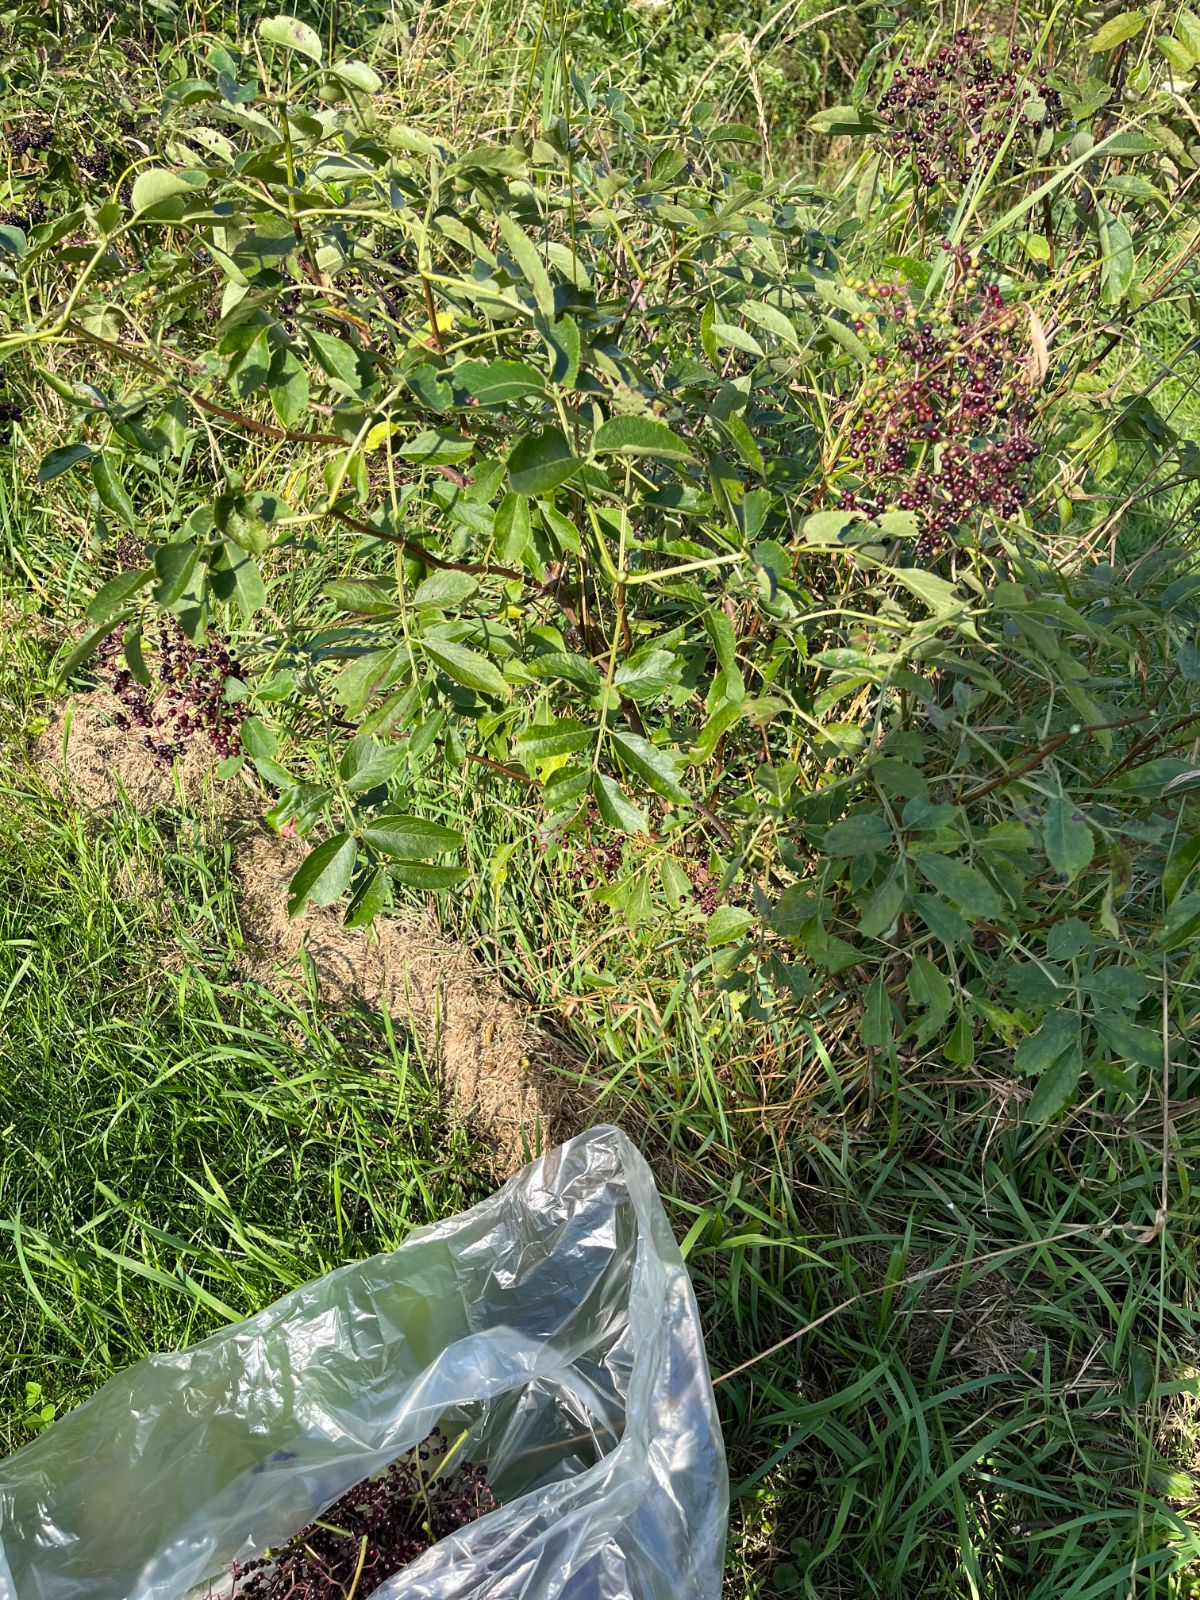
12. Go for heavy, plump berries that bend the stem.
When elderberries are ripe, they are plump and juicy. The cluster gets heavy and will usually bend over and hang almost upside down. This is a good sign they are ripe and ready.
13. Pick the whole cluster, stem and all.
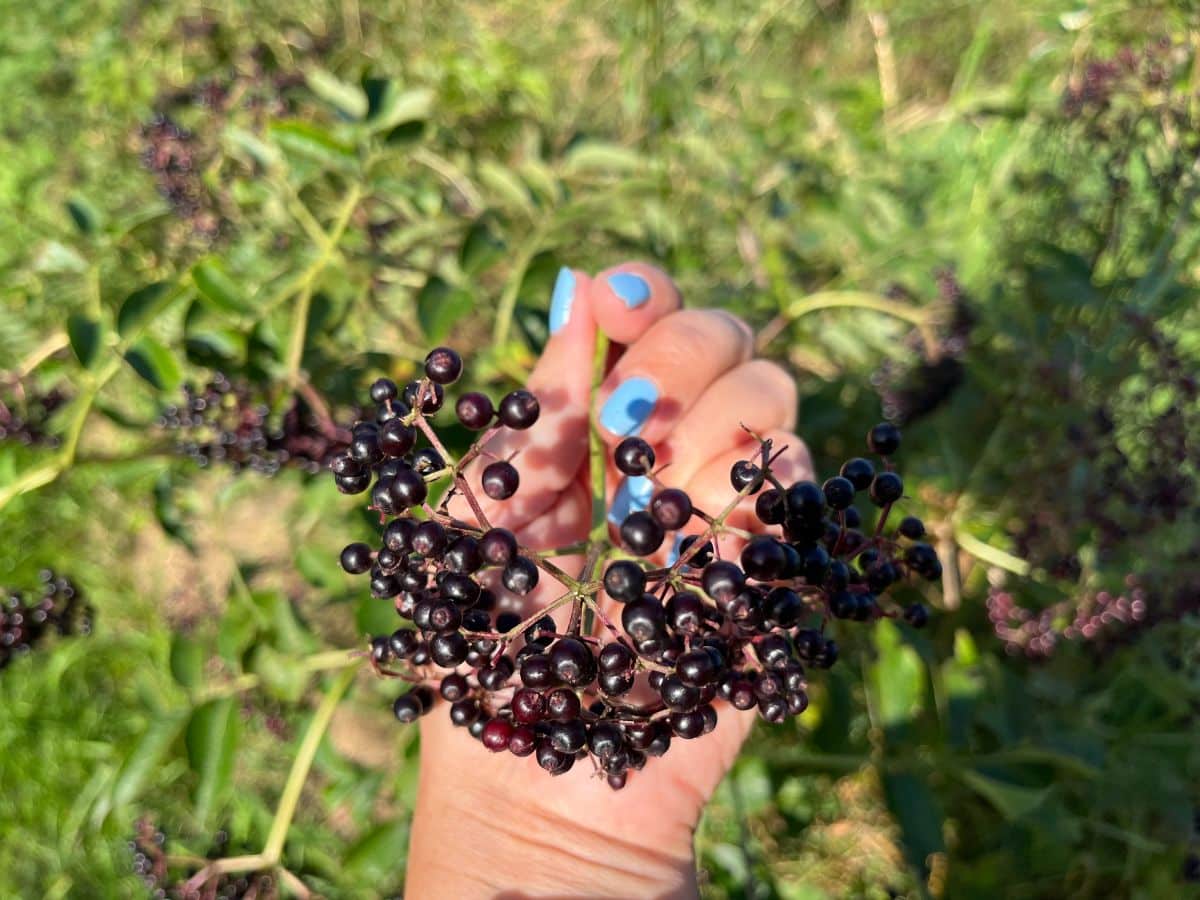
Don’t waste time trying to pick individual berries. Harvest the whole cluster back where it goes down to a single stem.
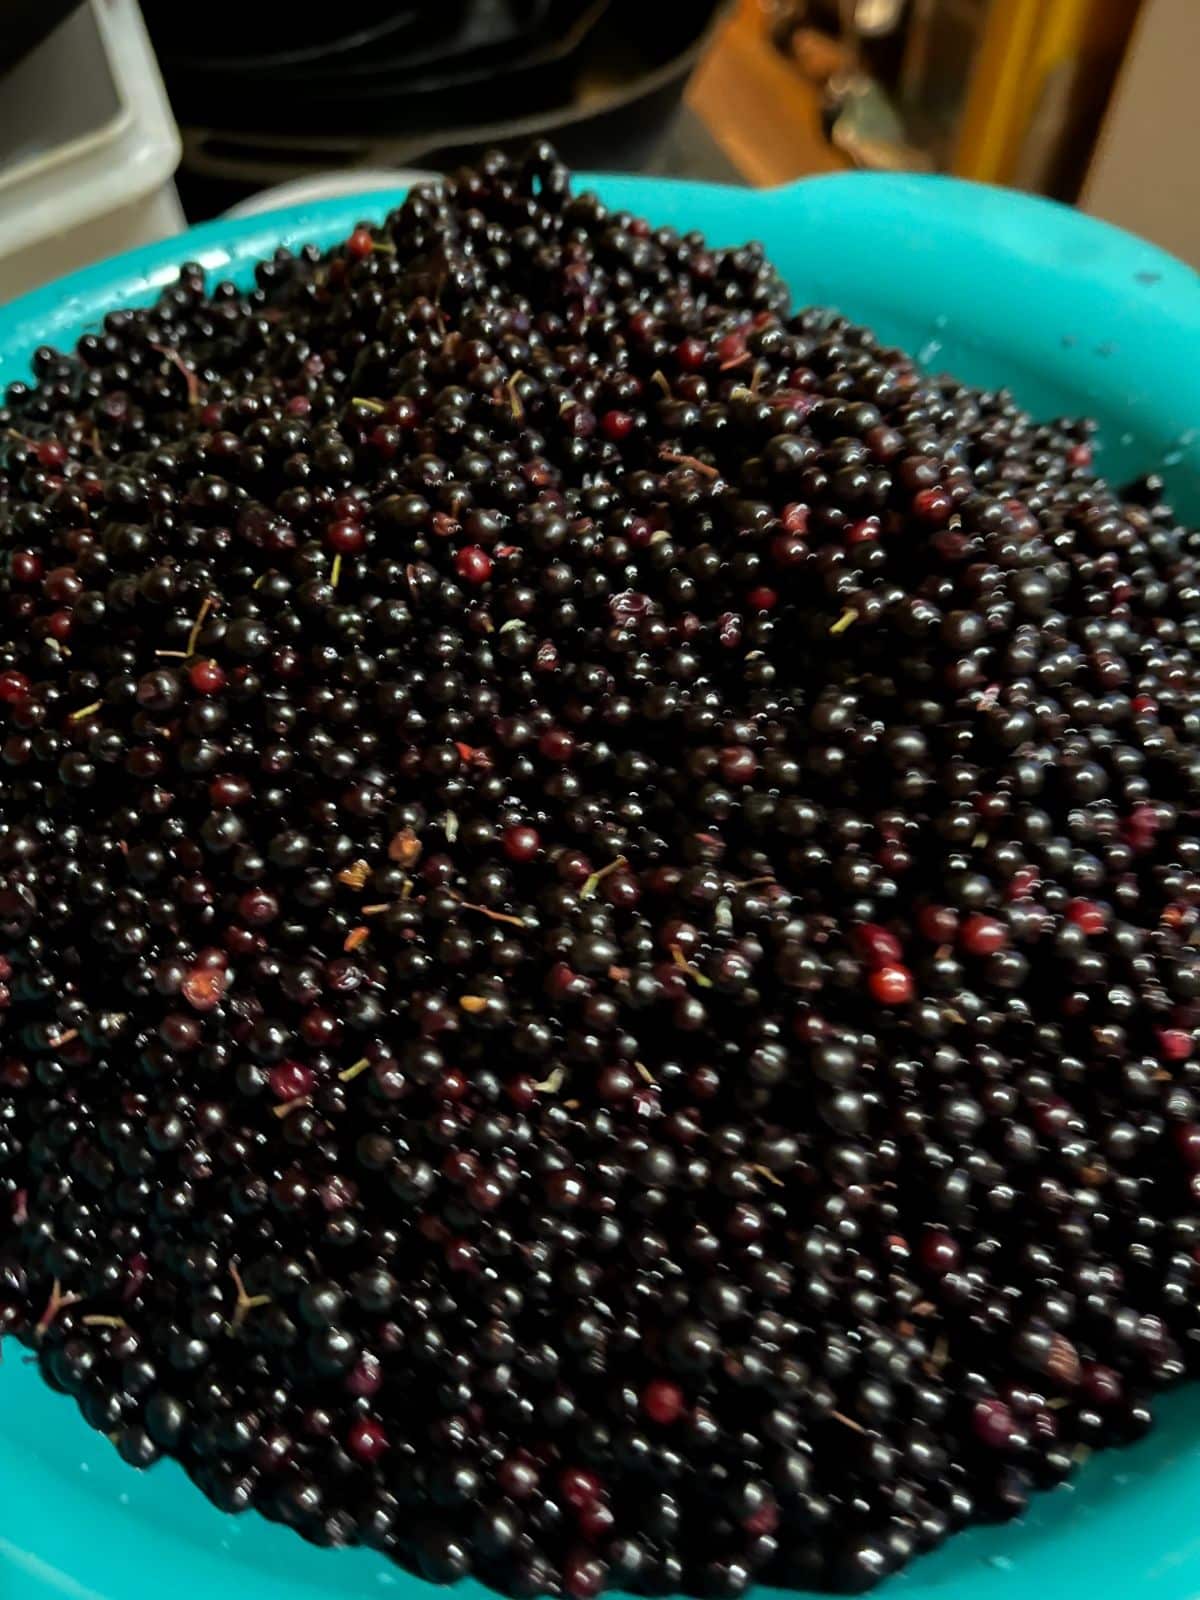
14. Destem at home.
Pick in the field, then destem later when you get the berries home.
15. Cool picked berries while you work them or until you can destem them.
Once picked, leave waiting berries in the shade, and when you get them home, get the berries into cool conditions. Refrigeration is best, but space can be limited, so if you can’t refrigerate, put them out of the sun, preferably in the cool indoors. Keep berries cold until you destem them.
16. Pick only what you can work up in a few hours or within a day.

Elderberries do not have a long, fresh shelf life at all. They begin to deteriorate quickly. The stems get fragile, too, and the longer you wait to destem, wash, and process or freeze your berries, the more stems you’ll have in them and the lower the quality will be.
So, while you need to beat the birds to them, there’s no sense in taking berries that you can’t get prepped and put away. Pick what you can get to in the next 12 to 24 hours (24 hours at most—24 hours is not ideal), then pick again the next day or the day after that.
And look at the silver lining if you do share more with the birds than you wanted to—birds spread seeds, and seeds grow more wild elderberries to forage!
17. Don’t fret over a few stems or unripe berries—it comes out in the “wash”.
There is no such thing as getting every last stem out of cleaned elderberries. You can get them close to clean, but even commercial growers end up with some small stem pieces. (Take a look at a bag of dehydrated elderberries, and you’ll see.)
Some small stem pieces will not ruin anything you make with elderberries. Any potential toxins will be neutralized when you cook or process the berries. There’s not enough of anything in this small amount to be harmful, anyway.
18. Use, preserve, dehydrate, or freeze immediately.
Elderberries may not last long when they’re fresh or even in the refrigerator (tops is a few days, even in the fridge), but they freeze and store exceptionally well once they’re processed. However, if you wait too long to freeze, dehydrate, or use them, they will deteriorate and start to ferment—even in a refrigerator.
The solution is simple. Just don’t wait to use or preserve your elderberries. If you’re not ready to use them yet, just dry them or freeze them until you are ready. Elderberries are easy to rehydrate, and in many recipes, you wouldn’t even know they were ever dried.
Tips for Where to Find and Forage Elderberries
Look for elderberries where the conditions are right for them to grow. Though elderberries can be spread by wildlife and birds and can grow in a variety of locations, you’re more likely to find them in moist or damp ground.
Some good places to look for elderberries to forage are:
- Where vines and weed pressure are not too great. Over time, elderberries do not compete well with heavy weeds and vining plants that can overtake them.
- Near water sources
- Along riverbanks and in river bottomlands
- Along sunny creeks and streams
- In wet areas, but usually wet areas that drain after they flood
- Elderberries are less likely to grow in standing or stagnant water
- Along the edges of ponds
- In good, humusy soil like forest edge soil
- Along the edges of fields
- Roadsides, especially roadsides with good soil or ditches of water
- Elderberries may grow on the outsides of forested areas, but they won’t usually be found under a tree canopy, so avoid looking in forested areas; at least avoid the interior of the forest
Elderberries will grow in partial shade, but they do better in full sun, so you’re more likely to find good bushes with lots of heavy, ripe berries in spots that get more sun. In the wild, these conditions aren’t always easy to come by, so look in sunny spots near water but also in dappled shade along the edges of fields and walls.
Ways to Use Wild Foraged Elderberries
You can use wild foraged elderberries any way you use cultivated elderberries or elderberries that you buy as dried or frozen. This means that for wild foraged elderberries, any good elderberry recipe or instruction you find is fair game to use with your wild foraged berries.
Here are some of the best ways to use your wild foraged elderberries—delicious, nutritious, and good for you!
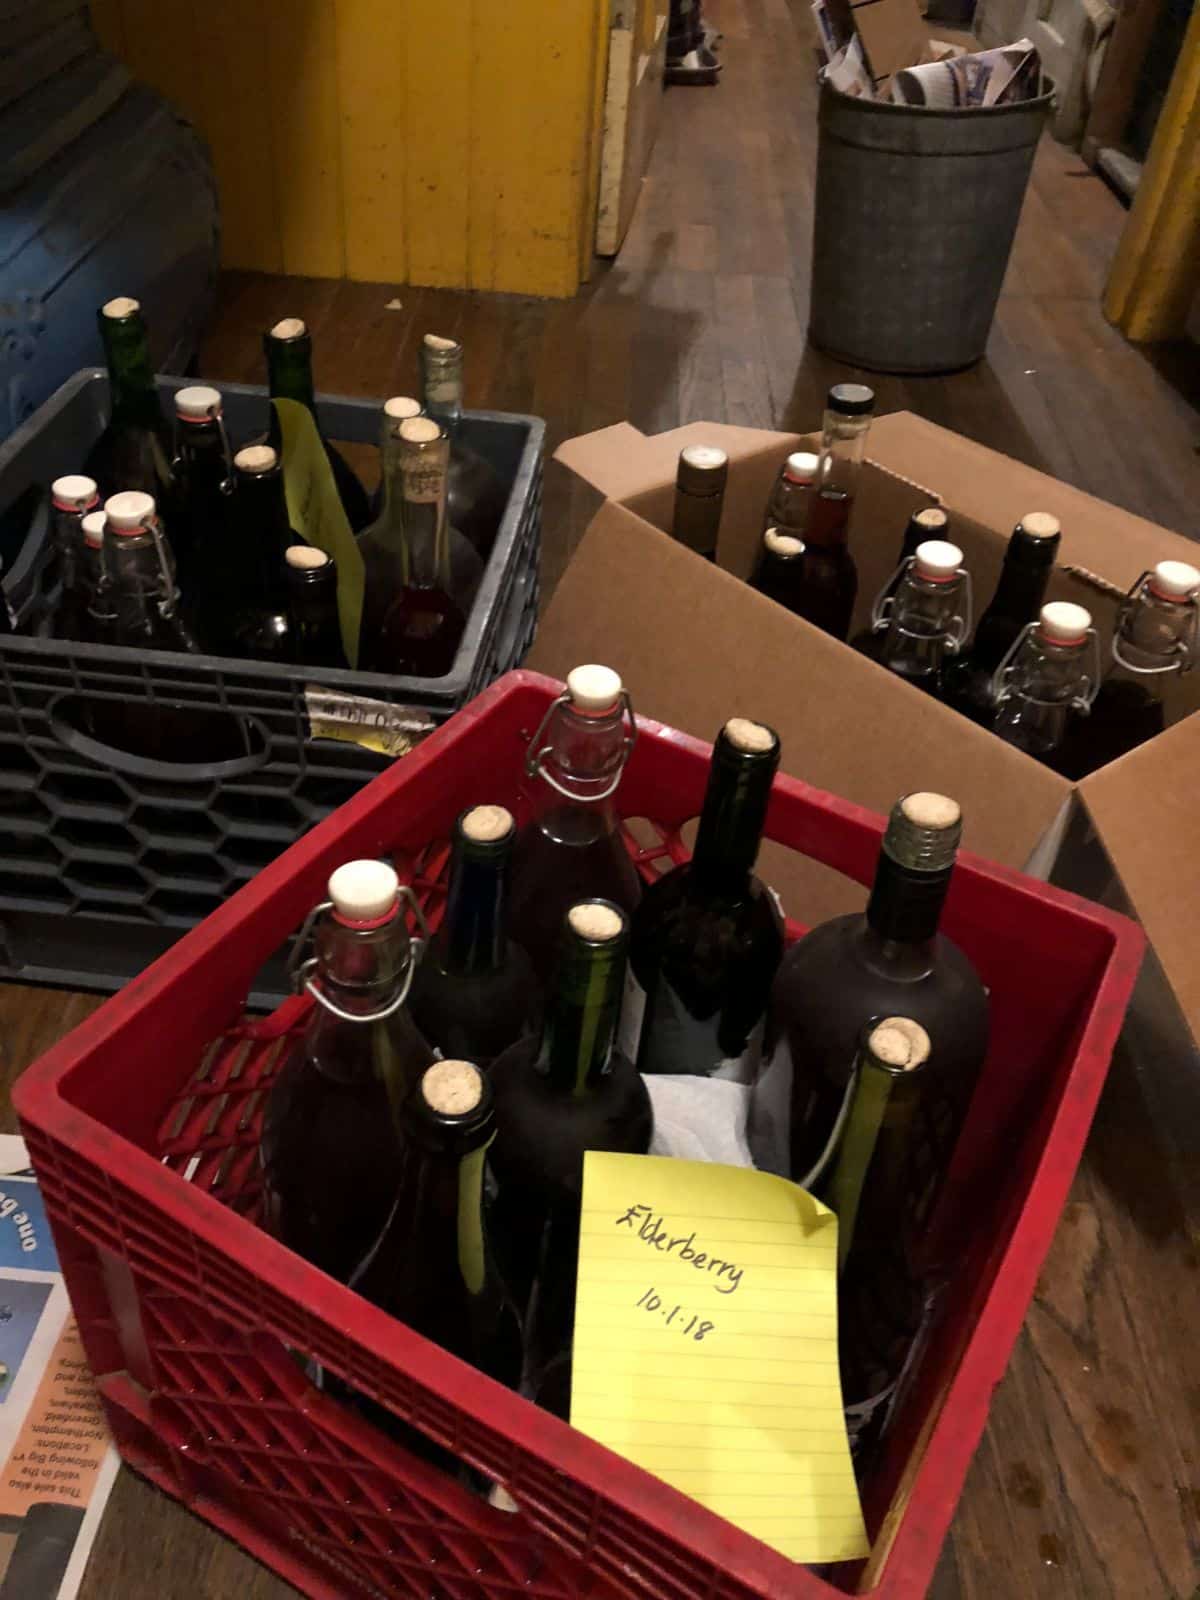
- Make elderberry wine
- Dehydrate berries and flowers – an easy way to preserve them in little space and without electricity
- Use them in baking like you would use blueberries or other berries
- Make pie
- Make infused syrups or infused alcohol tinctures
- Use syrup or jam to flavor pancakes or yogurt
- Use in salves and skin and beauty products (leaves and parts of the plant are great for skin products, too)
- Make infused vinegar or shrubs
- Make the favorite traditional jelly or elderberry jam
- Dry to make elderberry or elderflower tea
There are many ways to use elderberry. As a beneficial food, using elderberry in a lot of different ways can boost your health by boosting the amount of this superfood you eat—and having more ways to eat it makes that more likely and more enjoyable.
Dr Sandra Holmes
You should include all parts of the elderberry as poisonous, and even exposure on your hands or skin can expose you to the toxins. Wear gloves and long sleeves, and a wide brimmed hat. The berries also contain toxin so Do Not eat raw. I am horrified this article contains no safety concerns. In the future, check with the USDA or you state agricultural extension office. They have Plenty of safety information, especially if one is foraging.
Mary Ward
This information is not accurate. The most recent data is proving that the "poisonous" toxicity is much overstated. Though some people may be sensitive to the plant (as can happen with absolutely any plant) and have skin reactions, this is not the norm and it is not generally of the nature that it is being stated to be in this comment. Readers are welcomed and encouraged to contact those resources mentioned, which should point them to the most updated research and information, including this study by the 7 researchers from the University of Missouri, including leading elderberry expert and plant scientist Andrew Thomas and esteemed members of their chemistry department:
https://www.ncbi.nlm.nih.gov/pmc/articles/PMC7961730/
Readers are always encouraged to be responsible and do their due diligence, to know their own bodies, allergies, and reactions, and to act with appropriate precautions.