There are several reasons why people make refrigerator pickles instead of shelf-stable canned pickles. Several good reasons.
The first good reason, of course, is ease. Refrigerator pickles are very easy to make. If you can heat water and cut cucumbers, you can make refrigerator pickles.
The second is time. It only takes about half an hour to make a gallon of pickles.
A third reason is flavor. Refrigerator pickles give you more of a traditional fermented deli pickle flavor than canned and heat processed pickles. It’s a fresher, less “cooked” flavor.
Then there’s flexibility. Make one jar or ten. Make them when you have a bumper crop or just a few cukes to use up. There’s no hauling out a big processor so if you just want to whip up a jar or two, that’s no problem. The recipe is easily doubled or tripled if you have a lot of cucumbers to use up.
Finally, one of the other big reasons to make refrigerator pickles is crispness. Refrigerator pickles stay very crisp, unlike heat processed canned pickles that can tend to be soft and flaccid. Their consistency is most like fresh cucumbers, and you’ll get a nice crisp pickle crunch with every bite.
Without further ado, let’s get to what you came here for. The recipe.
Jump to:
The Recipe: How to Make the Easiest Dill Pickles
Makes about 2 quarts.
Ingredients:
- 4 Pounds pickling cucumbers*
- 3 Cups water
- 2 Cups vinegar
- 1 Tablespoon non-iodized salt (canning salt, kosher salt, or sea salt)
- 1 Large bunch fresh dill
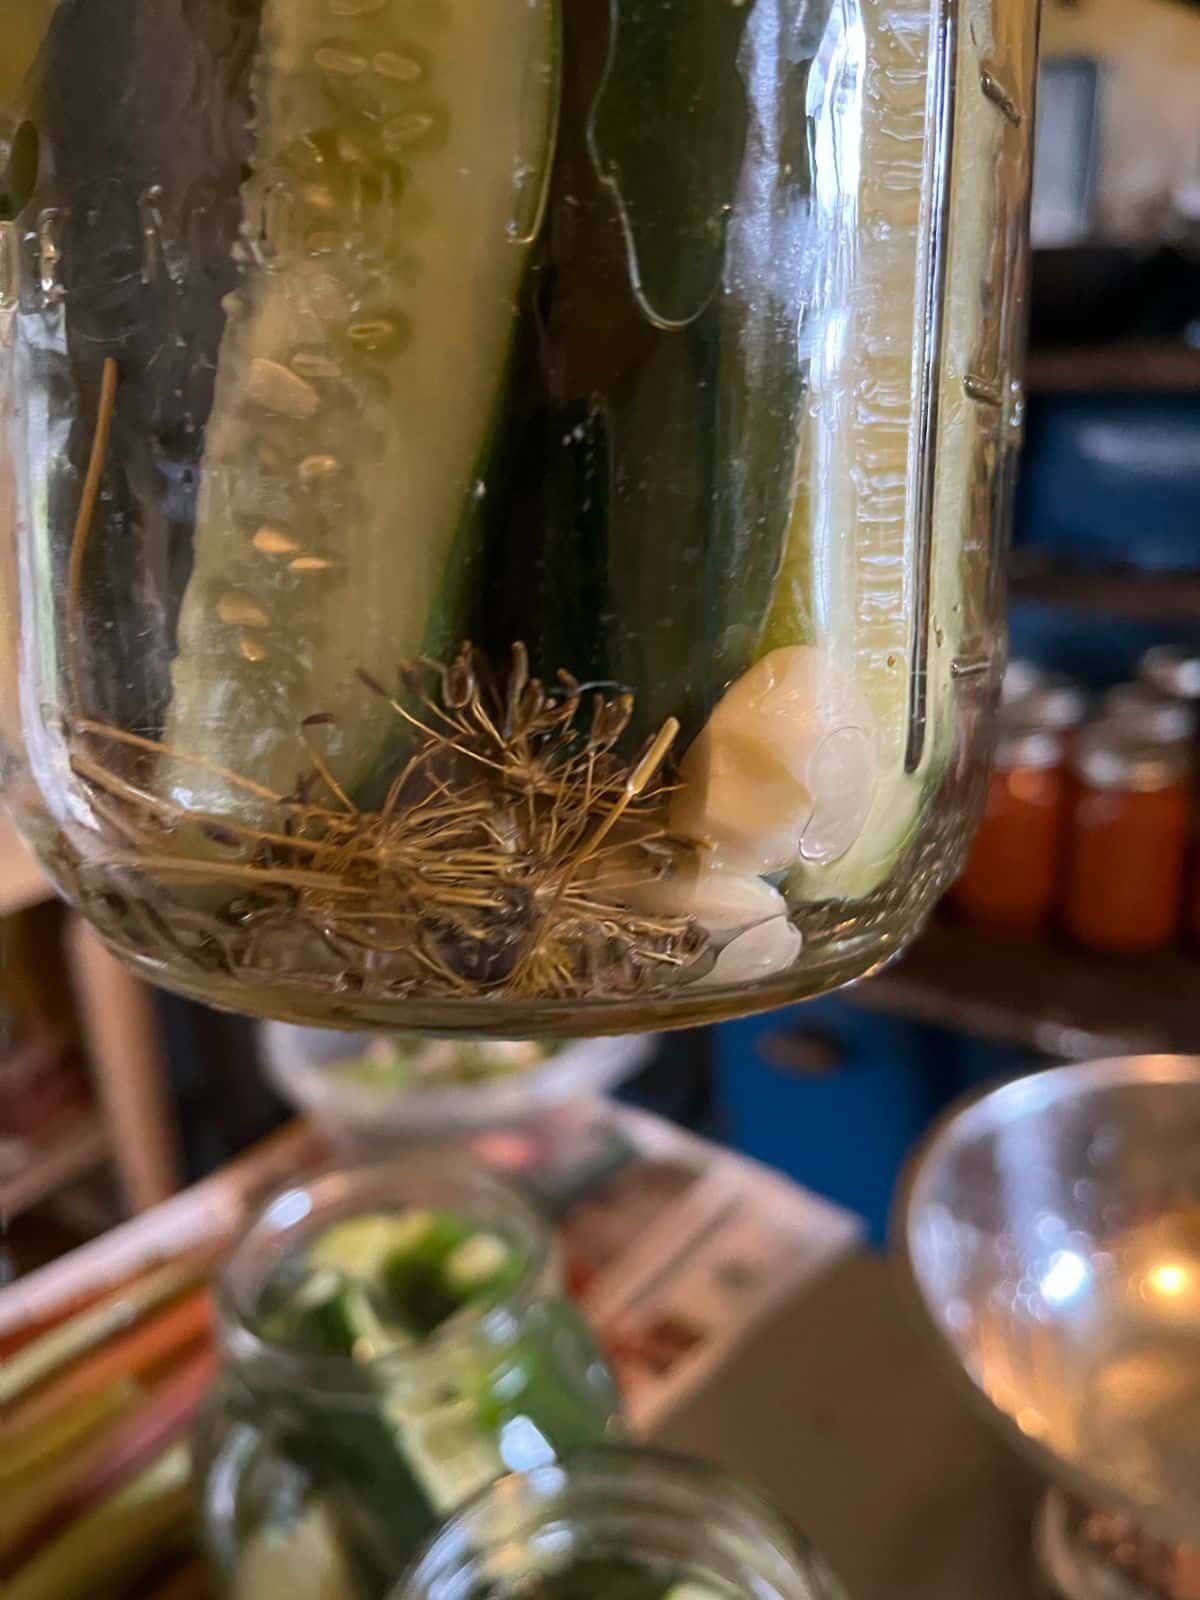
- 4 Whole cloves garlic
Instructions:
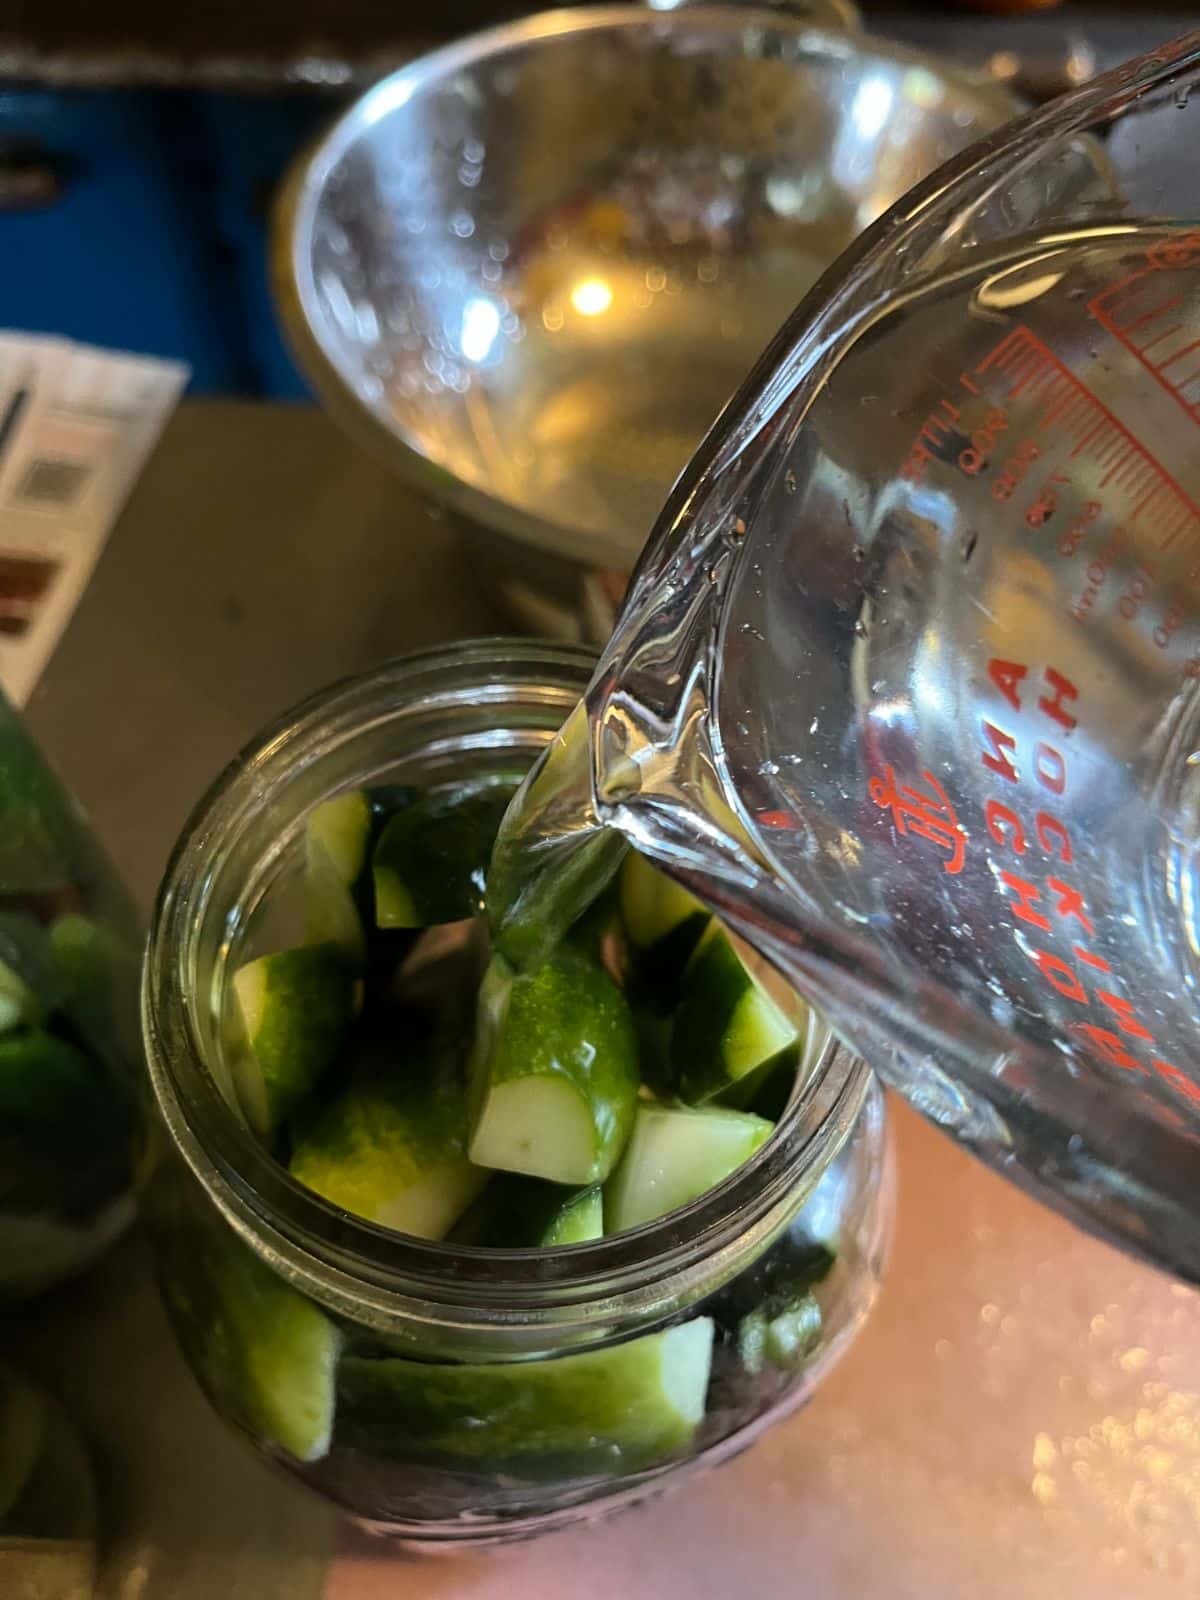
- Make the brine: in a large, non-reactive pot (such as stainless steel or coated enamel, not aluminum), combine the water, vinegar, and salt. Heat over medium-high heat until the brine comes to a low boil, the salt is dissolved, and you have a clear brine. Set aside and let cool. If you are adding sugar for sweetness, add it to the brine before heating (see below).
- While the brine cools, prep your vegetables and fill your jars.
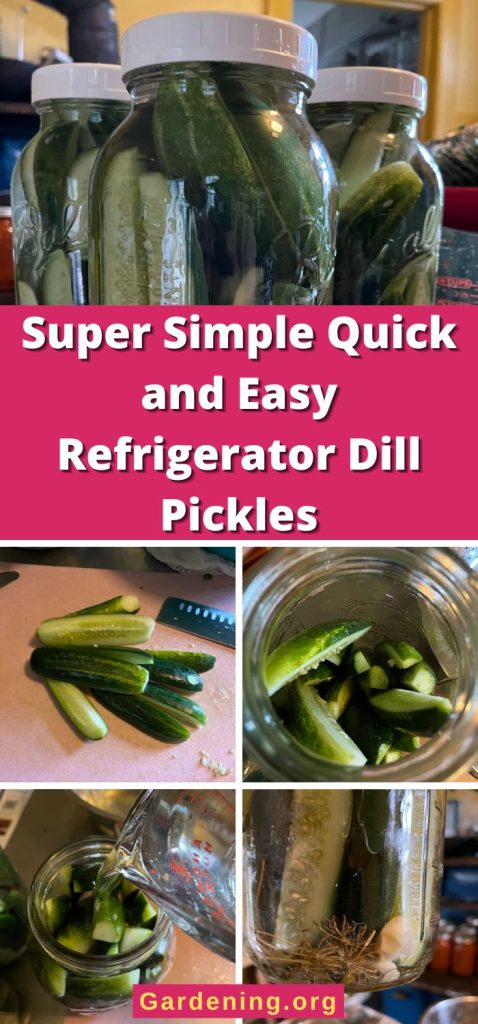
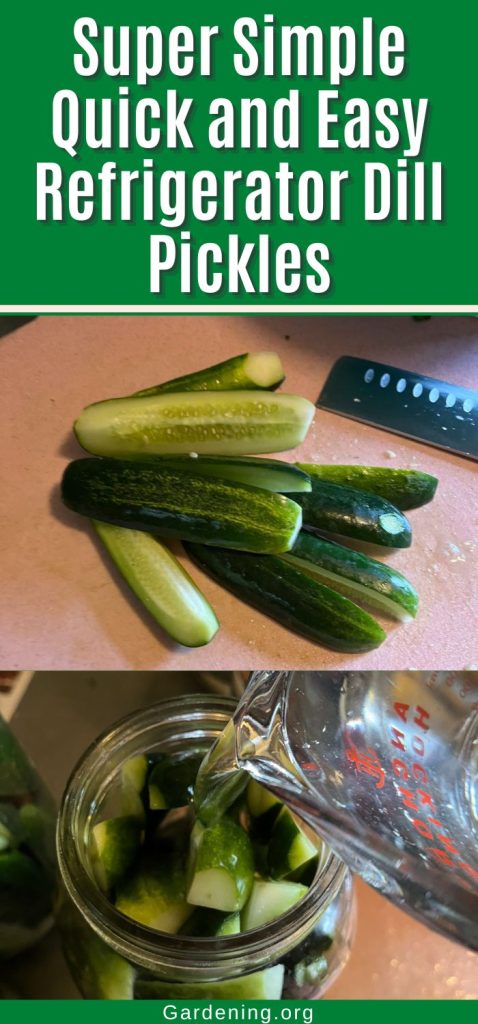
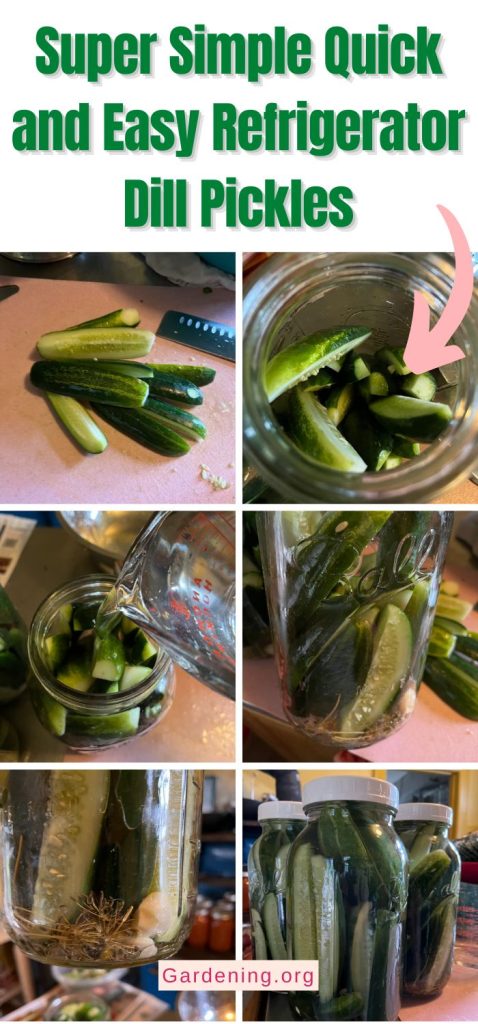
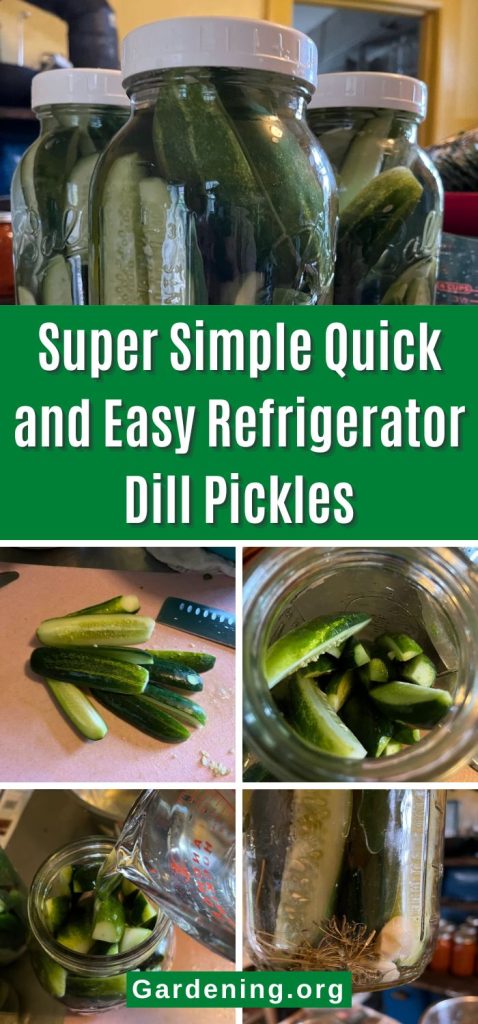
- Wash your cucumbers thoroughly.
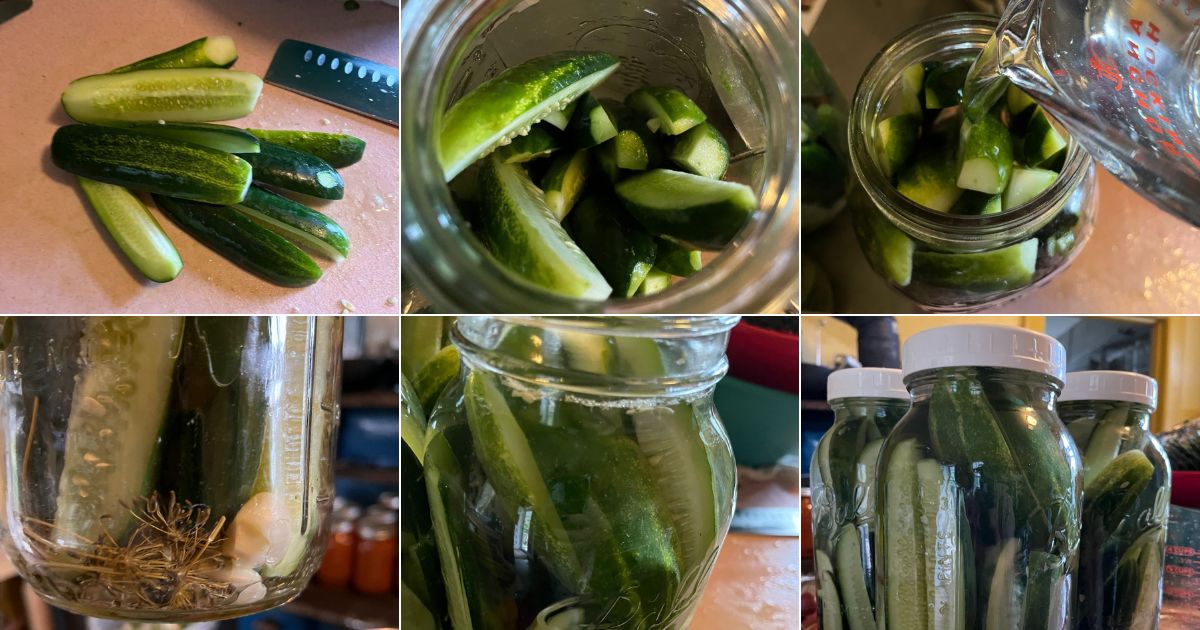
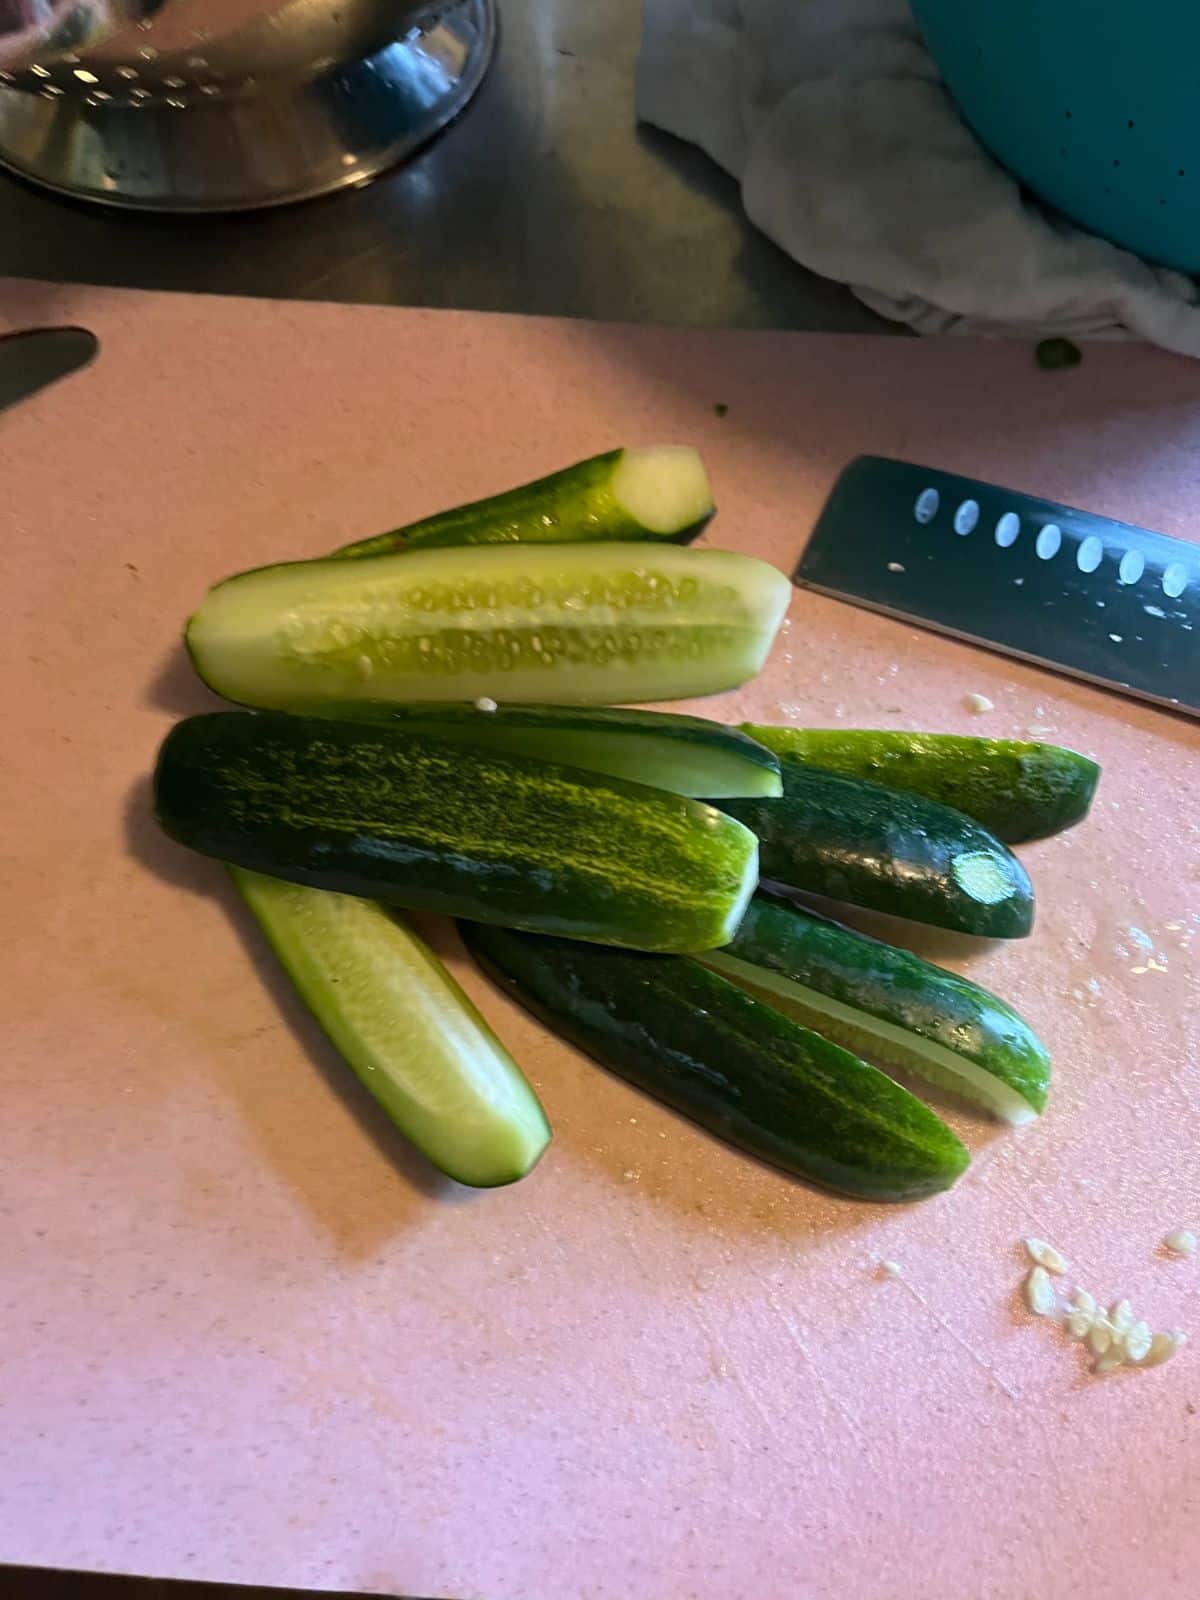
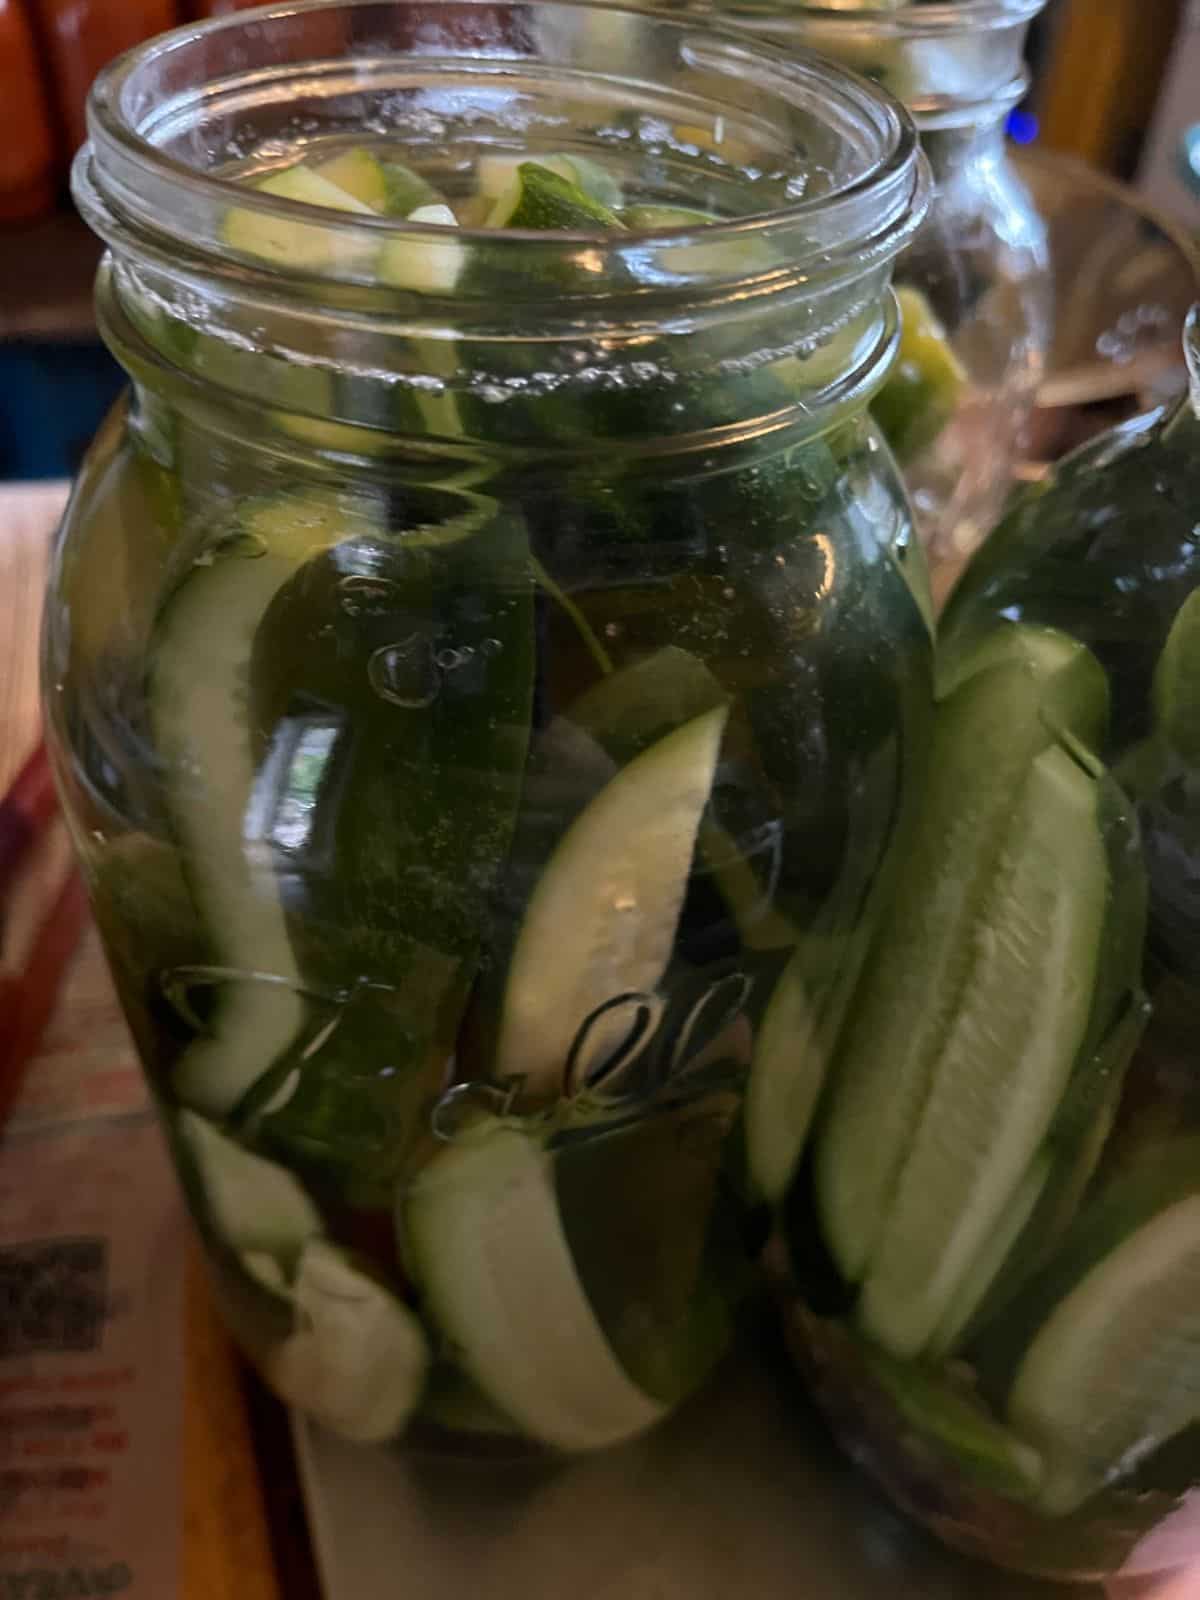
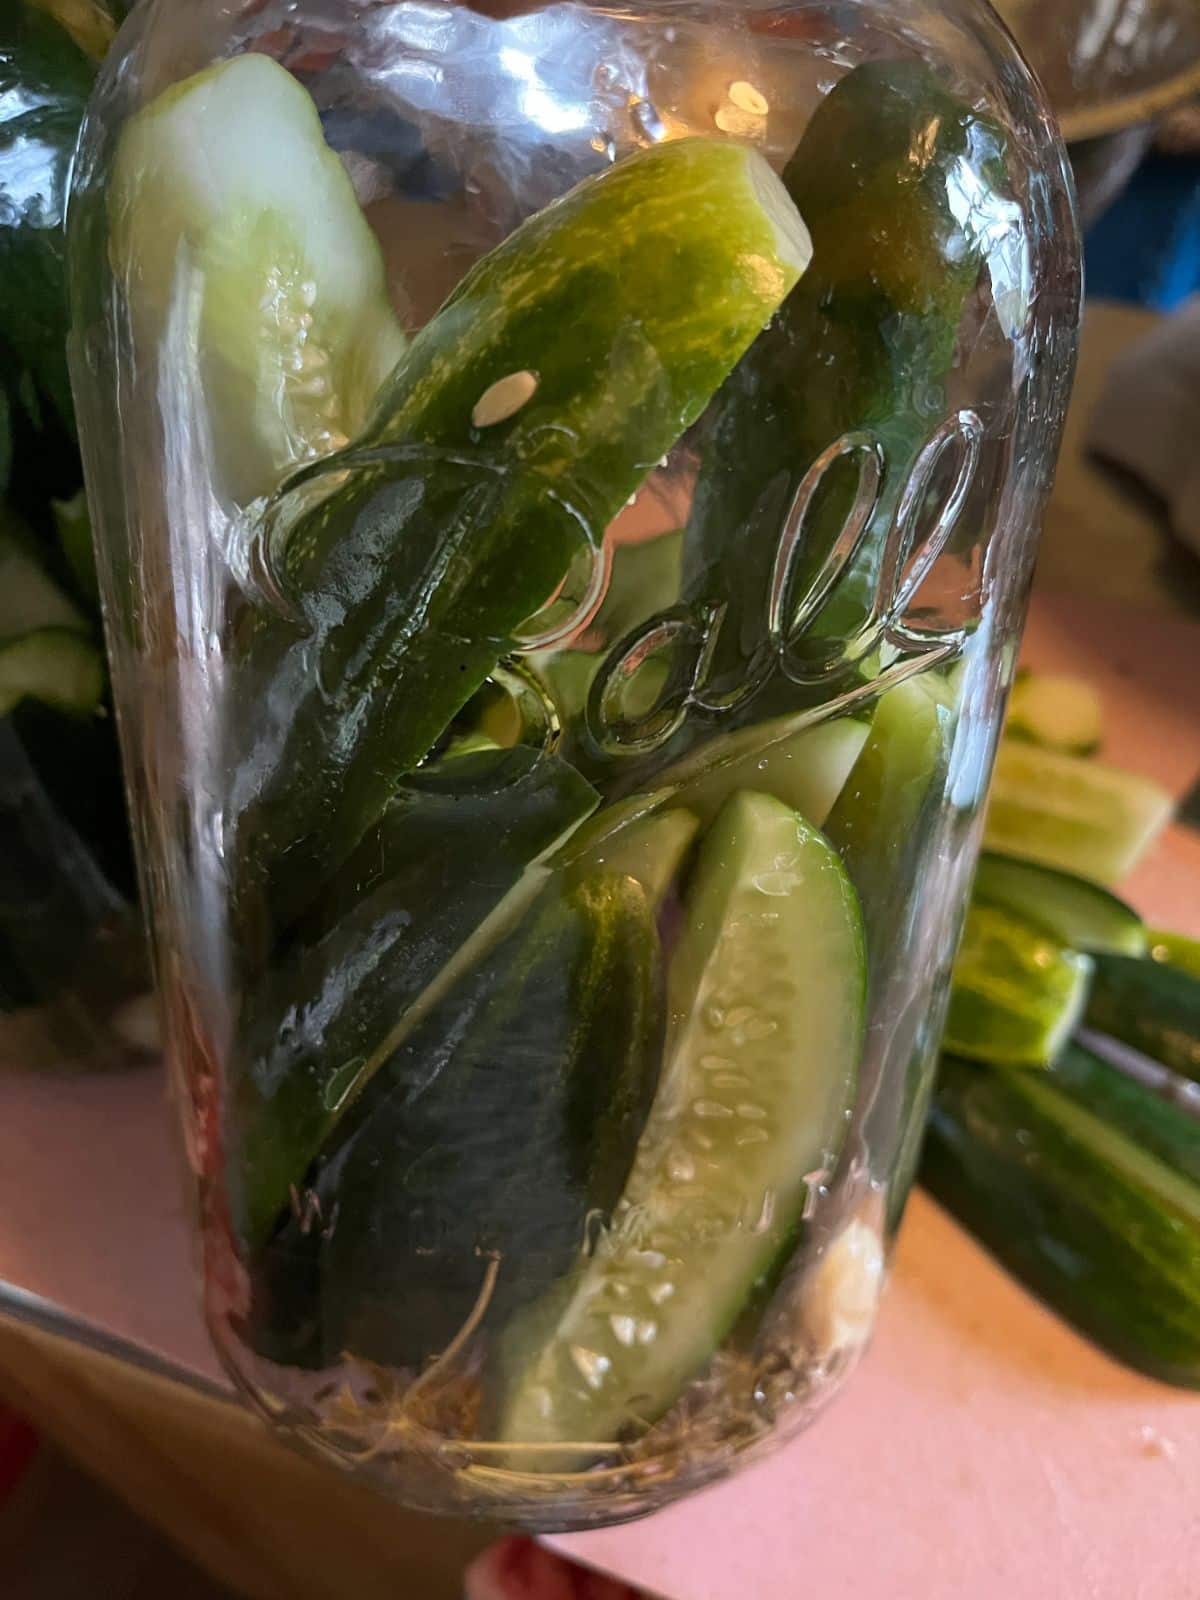
- Prep your cucumbers. Trim off the stem and blossom ends. Cut cucumbers into your desired pickle shape—either leave whole (not recommended for larger cucumbers), halves, or spear quarters. If you prefer circular chip-style pickles, go ahead and cut your cucumbers into sliced disks.
- Prep the garlic. Peel, then cut off the hardened root end.
- Prep the dill. Cut the large head into smaller heads. Each large head will have several smaller flower clusters. You’ll use one or two small clusters per quart jar. If you can’t get dill heads, it’s fine to use fresh dill weed (one sprig per jar) or dried dill weed (one teaspoon per jar).
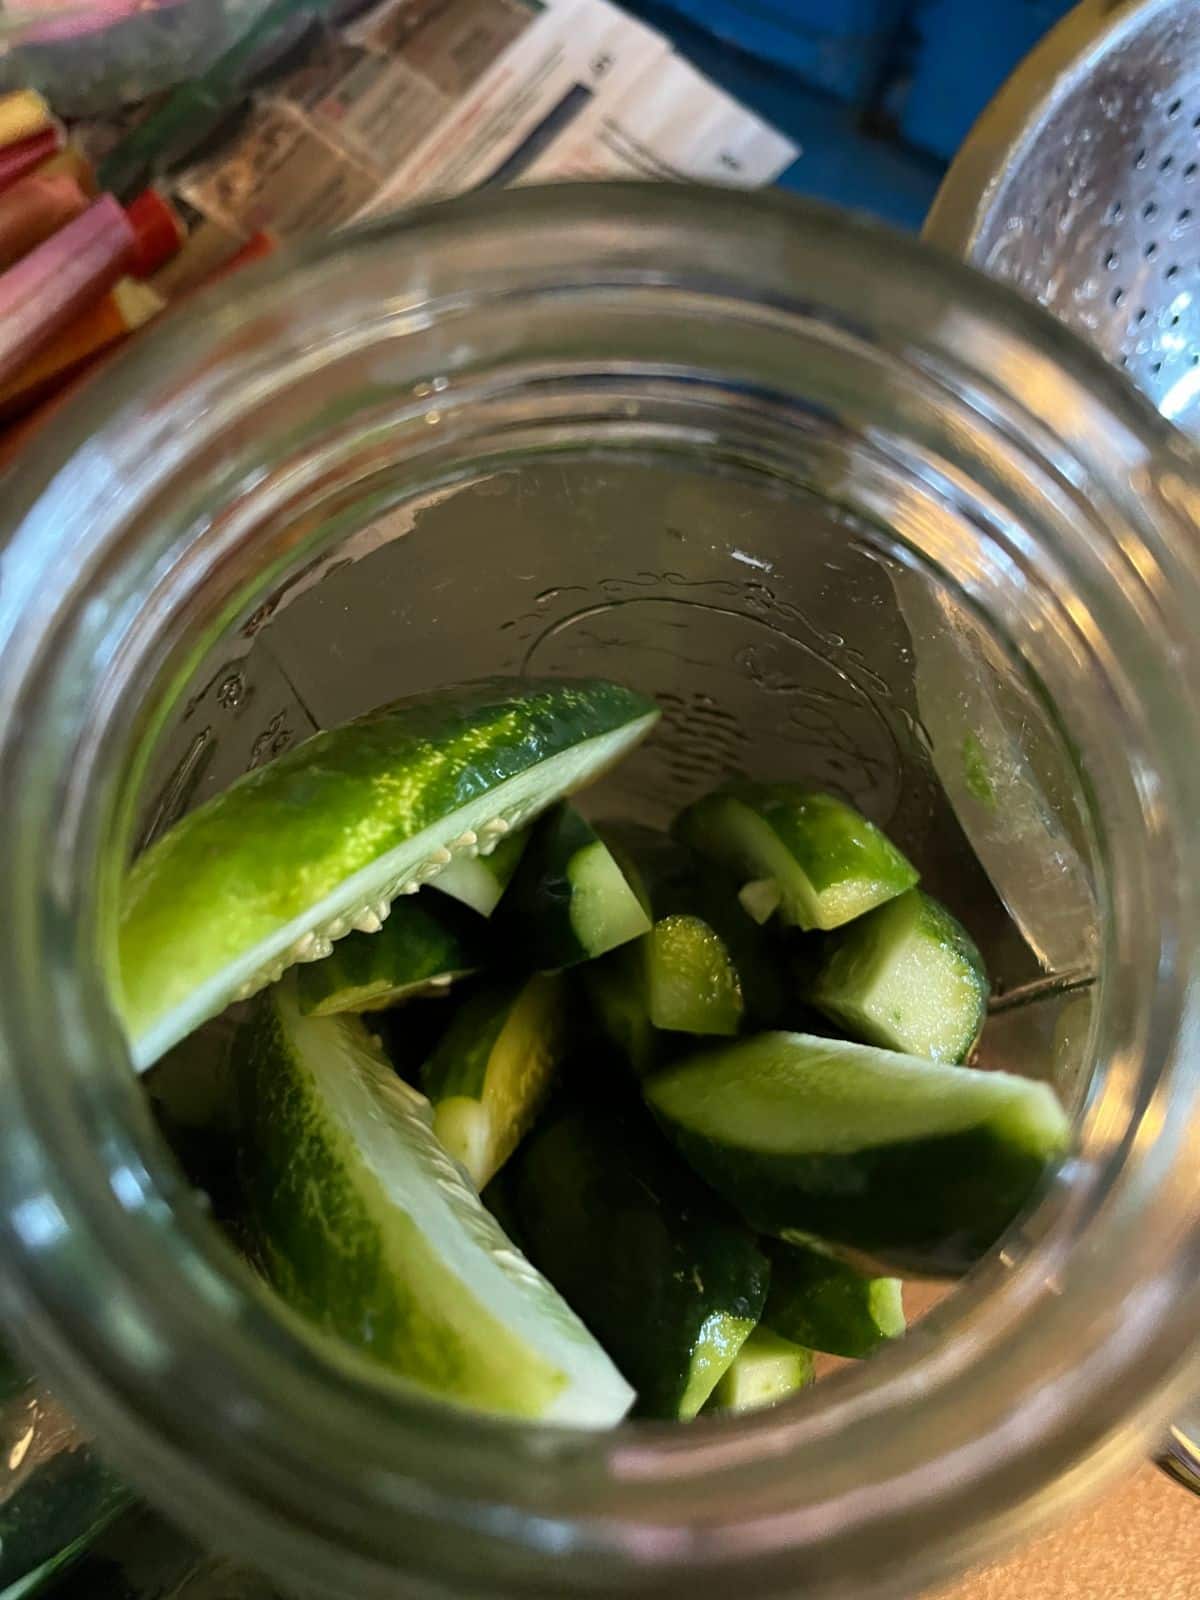
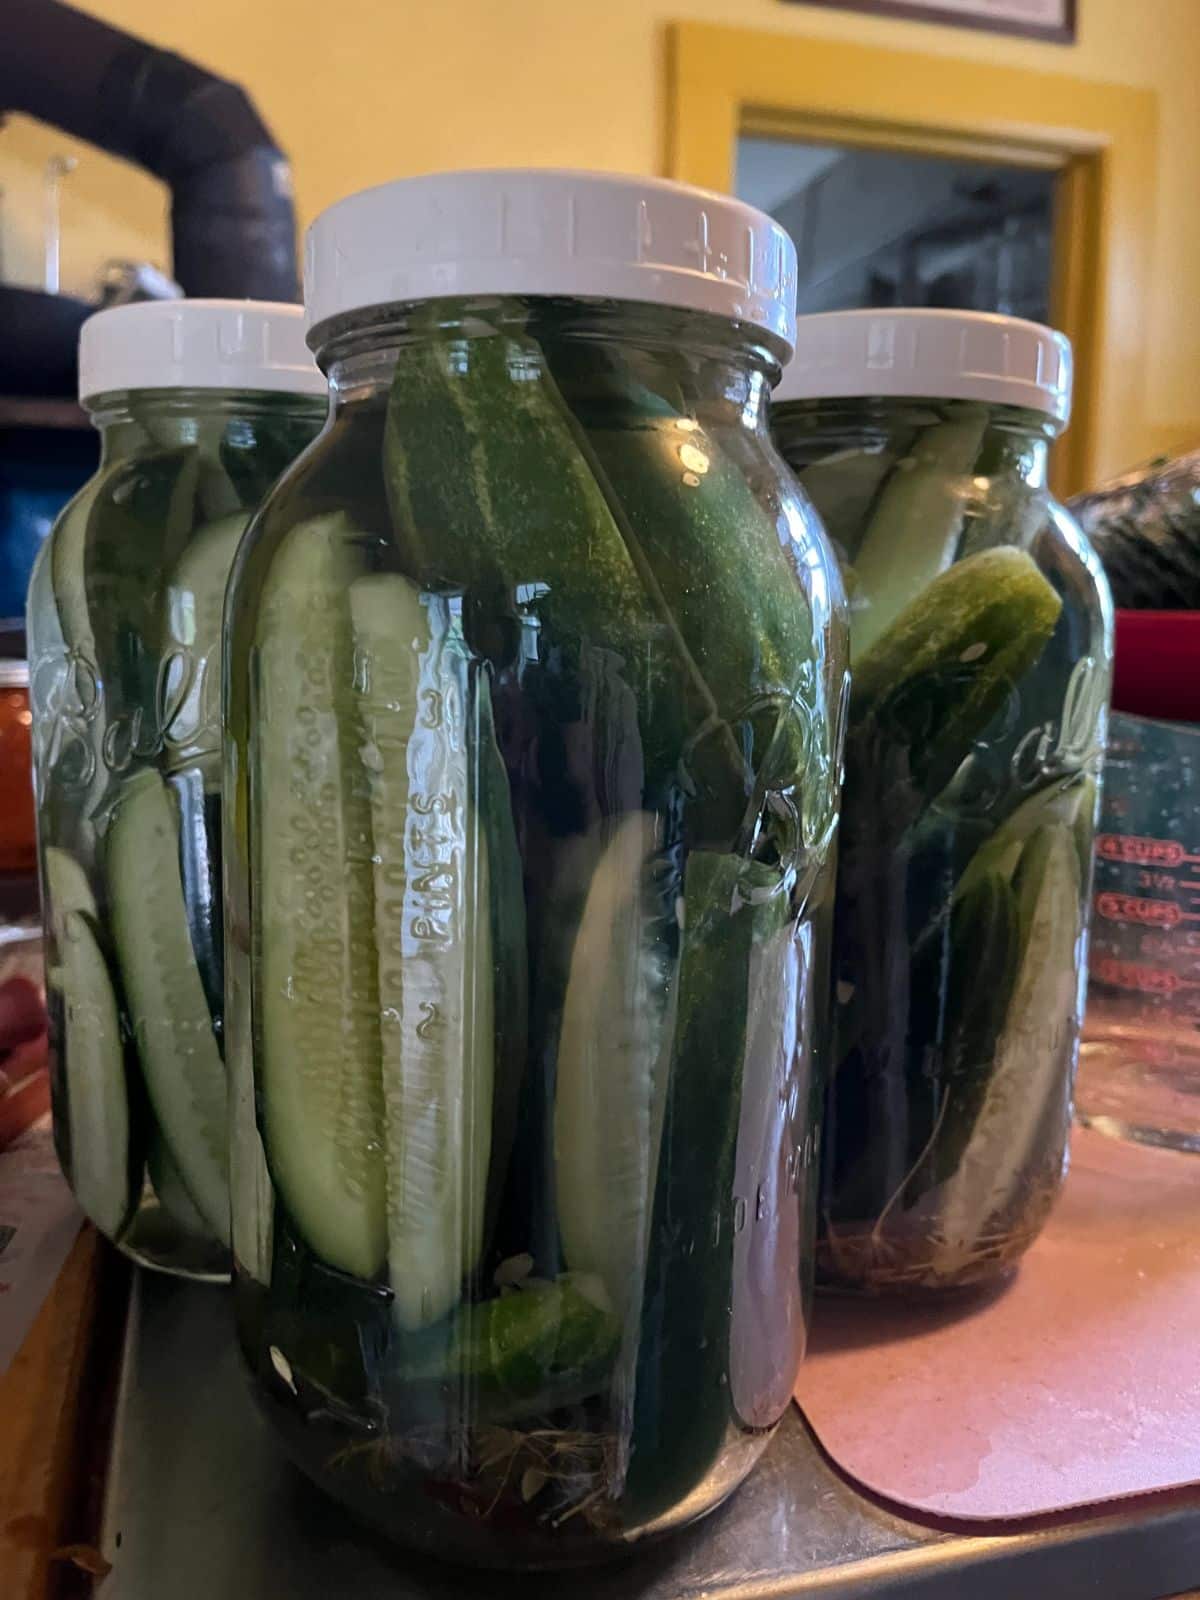
- Pack your jars. You’ll need four clean one-quart jars**. Place one or two heads of dill and two cloves of garlic in the bottom of each jar***. If you are adding any additional spices (see below), place them in the bottom of the jars with the dill and garlic.
- Next, pack the jars with your prepared cucumbers. Stack chips horizontally and stand spears vertically on their ends.
- Top the jars with brine. Using a canning funnel, pour brine over the cucumbers and fill the jar. Leave about one-quarter inch of headspace.
- Cap the jar. Plastic mason jar lids work well because they do not rust, but the two-piece lids that come with your jars are fine, too. Label and date the lids.
- Refrigerate for at least three days before eating. Technically these refrigerator pickles are fine to eat at any time, but it’s best to give them at least a few days to give the flavors and brine time to blend.
Refrigerator pickles can be stored for at least two months. The jars should always be kept in the refrigerator when not in use.
*You can make this recipe with any amount of cucumbers. Four pounds of cucumbers will yield about two quarts of finished pickles. The amount of cucumbers you have will determine how many jars of pickles you yield in the end.
**You can use any size jar for your pickles that you want. Pint- and quart-sized jars are popular, but you can go larger if you like, too. Since there is no processing involved, you’re not dictated by container size or processing times. If you like a lot of pickles, you might like to make these in a half-gallon or gallon-sized jar, which would also save you space in your refrigerator.
The instructions given here are for building quart-sized jars of pickles; for larger jars, simply do the math to double or quadruple the ingredients. Since the brine is a pour-in ingredient, the only ingredients you need to multiply will be the garlic and dill (and truthfully, those are flexible, so an exact multiplication isn’t that important).
***Because these pickles are not processed (such as in a water bath canner), this is a good time to upcycle and reuse clean jars, such as upcycled spaghetti sauce or old pickle jars.
What to Do with Leftover Pickle Brine
If you have leftover pickling brine, just put a cap on it, label your jar, and store it in the refrigerator. The next time you have cucumbers going spare, you can use it to make a new jar of pickles. Just fill your jar with cucumbers and spices, then pour the brine over the batch, cap, label, and refrigerate.
Or
Pickle something else! See the list below for ideas!
Modifications for Personalized Pickles
The beauty of refrigerator pickles is that the recipes are flexible. You don’t need to worry about adding and subtracting ingredients and risking throwing off acidity levels or making an unsafe canned pickle because the brine and the refrigeration are your “preservatives”.
The herbs and spices in this recipe can be added to or subtracted from. Here are some suggestions for personalizing your pickles:
Don’t Like Dill?
Not a problem. Just leave it out. You will have a sort of sour pickle instead. Still tasty. Still delicious.
Dill (or any other spices for that matter) is only there for flavor. It is not a preserving agent. So, it’s fine to add or subtract spices and additions. The most important ingredients are the water, vinegar, and salt that make the brine. The brine is what preserves the pickles.
In fact, if you don’t like garlic, you can leave that out, too. (Though to be honest, that’s really hard for a lot of us to imagine!)
If a Little More Spice is Nice...
If you like a little spicier pickle, or just a fuller flavor, you can add pickling spice or mustard seed to your pickles. You can add this along with the garlic and dill, or you can use it in place of them.
If you want to add pickling spice, put one tablespoon pickling spice in the bottom of each one-quart jar. If jarring your pickles in pints, add one- and one-half teaspoons pickling spice per pint. Add it to the bottom of the jar before you add the cucumbers and the brine.
If you want something in between, say, if you don’t love pickling spice but want to kick it up to a subtle, but well-rounded flavor, add some plain whole mustard seed. Add one teaspoon mustard seed to each one-quart jar. If jarring in pint jars, use one-half teaspoon for pints.
For a bit of a kick, you can add one-quarter teaspoon dry red pepper flakes or one small hot pepper per quart. For pints, use one-quarter teaspoon dry red pepper or half a hot pepper.
Got a Sweet and/or Sour Tooth?
You can change the flavor very subtly and very easily by switching your vinegar. If you like a little bit of a sweet and sour flavor, try using Apple Cider Vinegar (ACV) instead of distilled white vinegar. As long as your vinegar is a standard 5% acidity, it doesn’t matter which you use.
For an even sweeter sweet-and-sour flavor, add some sugar to the brine. Add sugar to the water, vinegar, and salt solution. Use one to two tablespoons for the whole batch of brine.
What Else Can You Refrigerator Pickle?
You can use this same simple brine and method to pickle all sorts of vegetables. Just follow the same basic method as above. Prep your brine and your veggies, pack, and pour. That’s it!
Here are some of the most popular options:
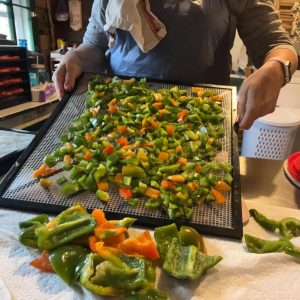
Peppers. Try mixing sweet and hots. Banana peppers are a favorite, and you can keep them whole or cut them into slices to top sandwiches and burgers. The new popular bite-size “lunchbox” sweet peppers can be easily preserved in a quick fridge pickle and served on the side just as you would serve cucumber pickles. If you are pickling whole peppers (like the mini hots and lunchbox sweet peppers), it helps to prick them a few times with a toothpick so the pickling brine can penetrate the walls of the peppers more easily.
Zucchini. If you are blessed (plagued?) with an over-abundance of zucchini or summer squash, pickle it! Many people say they don’t even know the difference. Cut into chips, spears, or chunks.
Green (or Yellow) Beans. The end result will be a crisper version of the much-loved canned Dilly Beans.
Green tomatoes. Pickle green tomatoes in slices or in quarters (just wash, trim, and cut). Use them in salads, as a side condiment, or use slices on sandwiches and burgers.
Carrots. Use as a side, in salads, in stir-fry dishes, and more.
Beets. Scald and peel the beets, slice or cut into quarters or chunks, then pack as per the above instructions. Easy pickled beets!
Cauliflower. You may recognize pickled cauliflower from mixed pickled vegetables. Make a mix of your own or serve pickled cauliflower alongside other pickled favorites on a charcuterie board or toss into a salad.
Asparagus. Simply clean and trim spears, then pack as above. Pickled asparagus spears make a nice condiment, and the asparagus does not get mushy the way heat-processed asparagus can.
Garlic cloves. Pickling is a good way to get your garlic to stay in good shape for longer periods. You can cook with them or garnish with them, but lots of people like to just eat the whole pickled garlic cloves.
Onions. You can pickle any onions that you like. Use sliced onions or small cocktail-size onions. Onions are also very good when pickled in red wine vinegar.
Eggs. Pickled eggs are a great way to use or preserve extra eggs. They make good, healthy snacks, pack well in lunches, or make good offerings for parties and game days. Pickled eggs are classic companions for beer and pub fare. Refrigerator pickled eggs can also be used to make a tangy egg salad or quartered or sliced to add to salads.
Many of the above vegetables can be mixed and matched and combined, too. For example, onion slices go well in pickled zucchini, cauliflower, beets, and carrots. Beets and/or onions go well in pickled eggs. If you’ve ever seen those red jars of pickled eggs, adding a few chunks of beets to the jar is how it’s done. All of the pickles are edible when combined, too.
Refrigerator Pickles for the Time and Harvest-Size Win
It seems like it gets harder and harder to find the time for pickling and preserving. But there’s nothing quite like a fresh-pickled homemade pickle. When time or the size of a harvest (be it large or small) make canning seem like just too much to handle, make yourself a batch of delicious homemade refrigerator pickles. Just don’t think you need that “excuse” to make them—make refrigerated pickles just because you love them, too!

Mary
I wish this was made easy to print!
Mary Ward
You can print the web page from your browser. Most printers will allow you to leave out the pictures if you prefer. We have updated newer recipes to make them easy to print, so that feature will be available going forward. Thanks for stopping in! Enjoy!
Doreena
I found it easy to write on a recipe card. 🤭
Brine is cooling now. Thanks for the simple recipe and great tips!
Donna C
Very easy, quick and delicious! Works great I find because my pickles don’t come all at once. When I need them for a party I make them 3 days before.
Mary Ward
Yes, agreed! Hard to make big batches when they trickle in but this solves the problem!