Are you tired of buying planting pots and seed trays every year and wasting money on disposable gardening supplies? If so, you may want to consider soil blocking this spring when you begin planting your indoor seedlings.
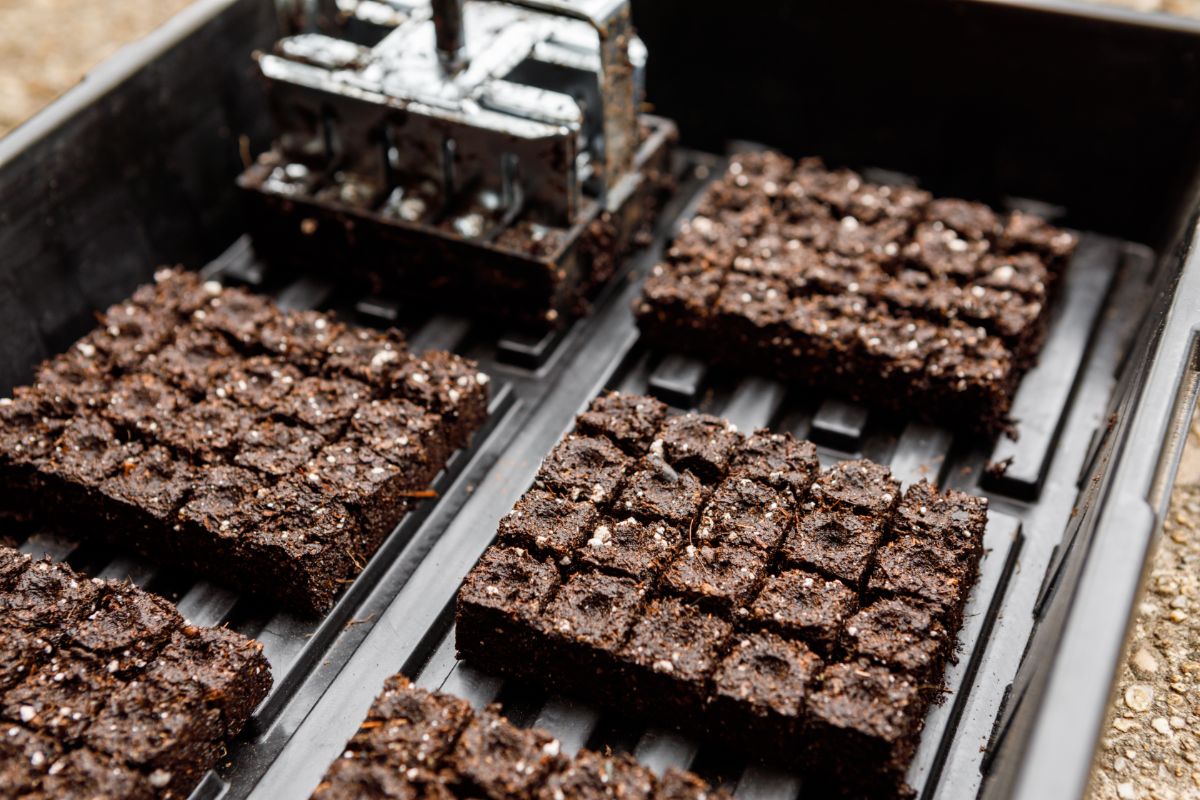
Soil blocking is an innovative gardening technique that is both budget-friendly and better for the environment than traditional plastic planting pots and seedling trays. It also creates a charming gardening aesthetic, promotes healthier seedling growth, and can be fun to do too!
If you’d like to learn more about soil blocking and how to do it, you’ve come to the right spot! In this article, we’ll introduce you to this eco-friendly gardening technique, teach you how to soil block, and provide you with a list of helpful supplies and other resources. Once you’ve started soil blocking, you’ll wish you used this method in your garden sooner!
Jump to:
- What is soil blocking
- A step-by-step guide to soil blocking
- 1. Gather your supplies
- 2. Blend your seed starting mix
- 3. Moisten your seed starting mix
- 4. Fill up your soil blockers
- 5. Make your blocks
- 6. Plant your seeds
- 7. Don’t forget to water
- 8. Pot up if needed
- What plants work best with soil blocking?
- Frequently asked questions
- Summary
What is soil blocking
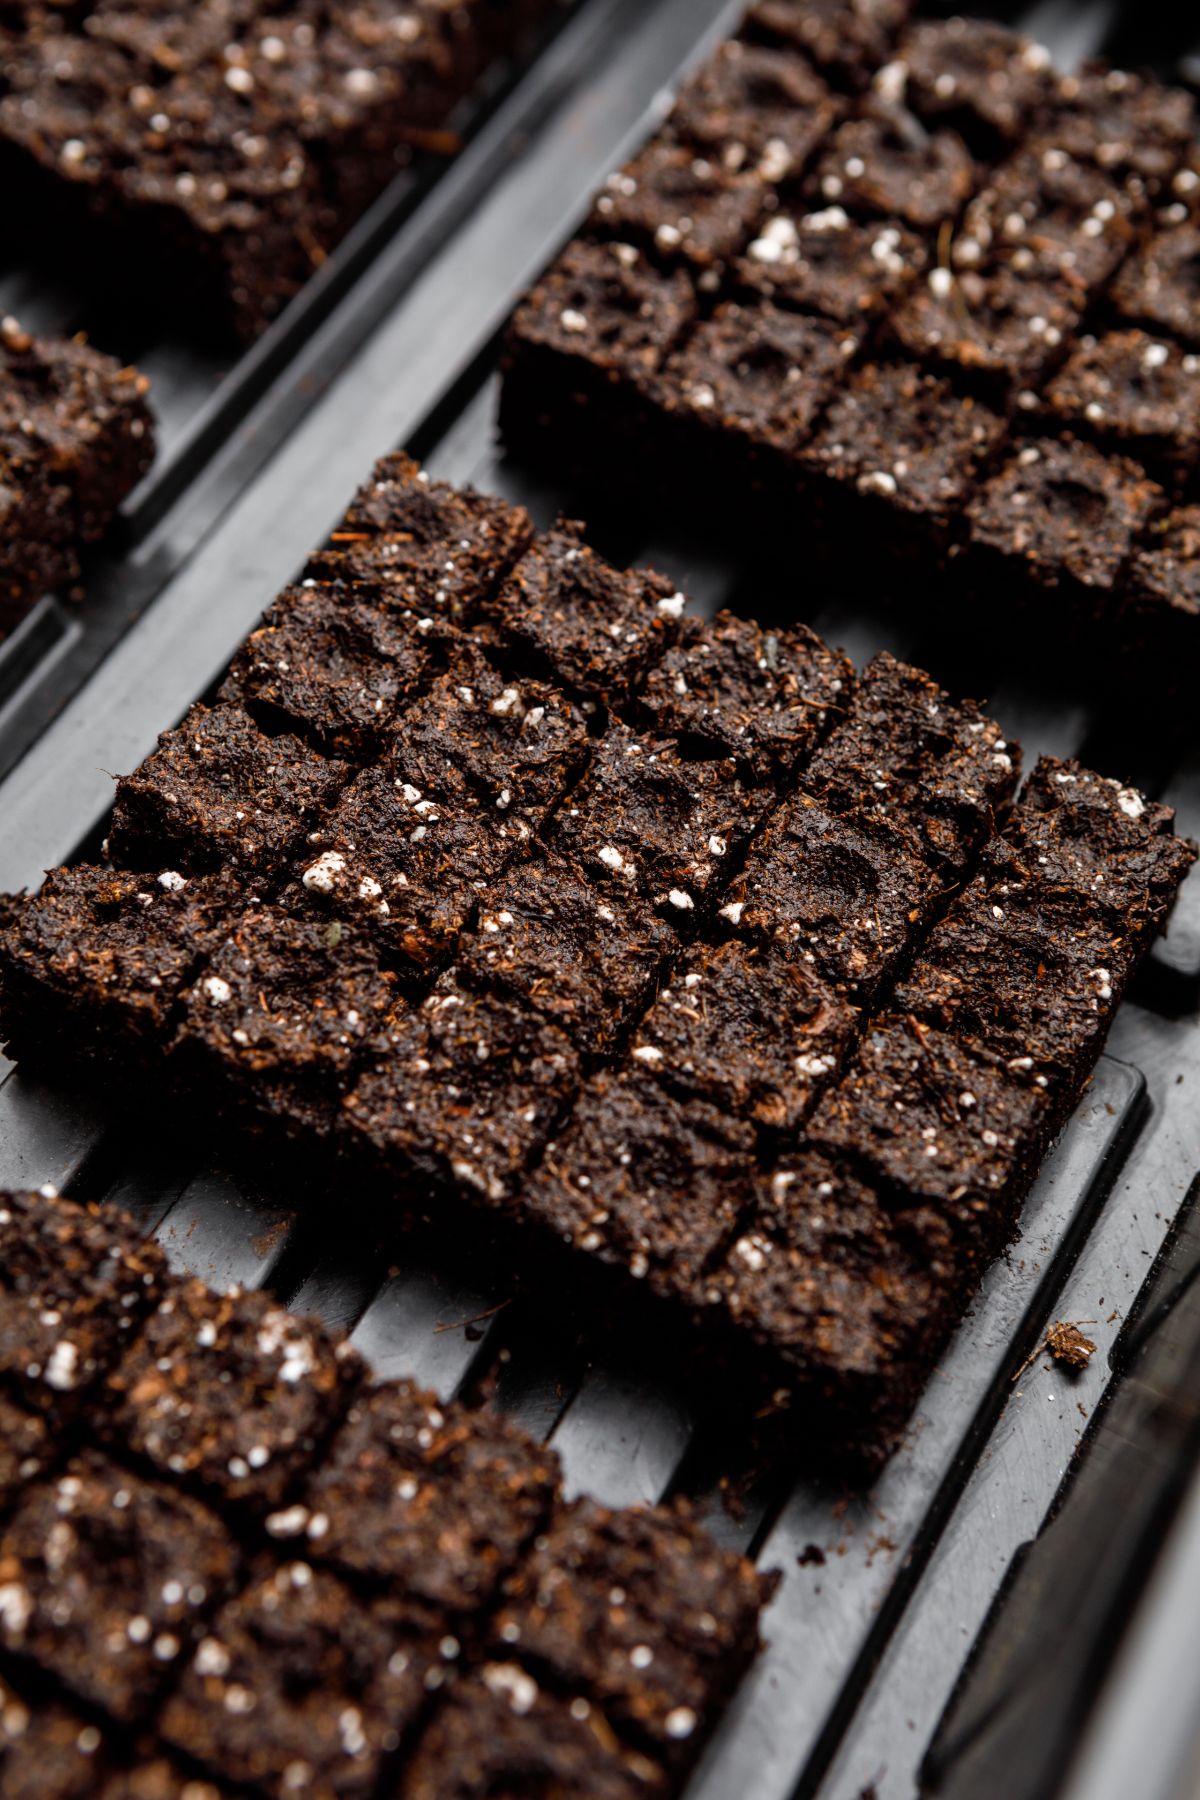
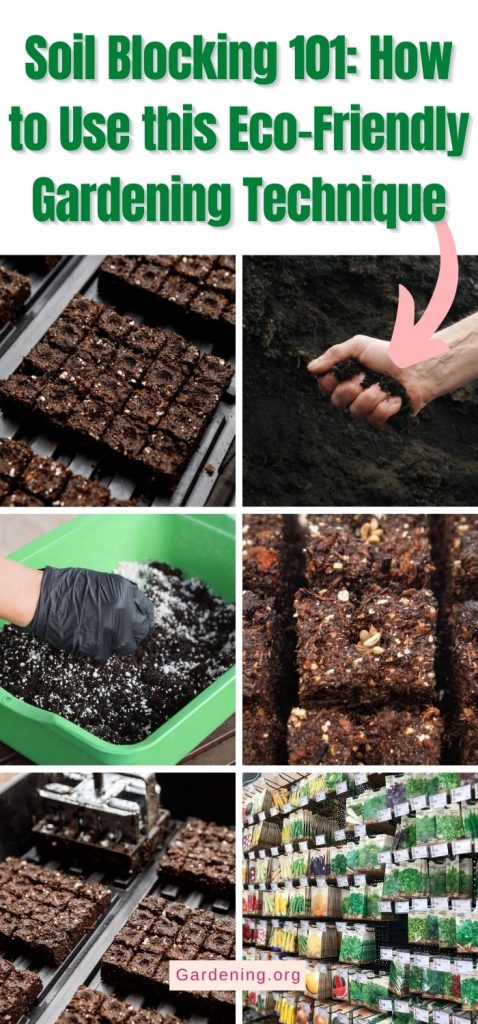
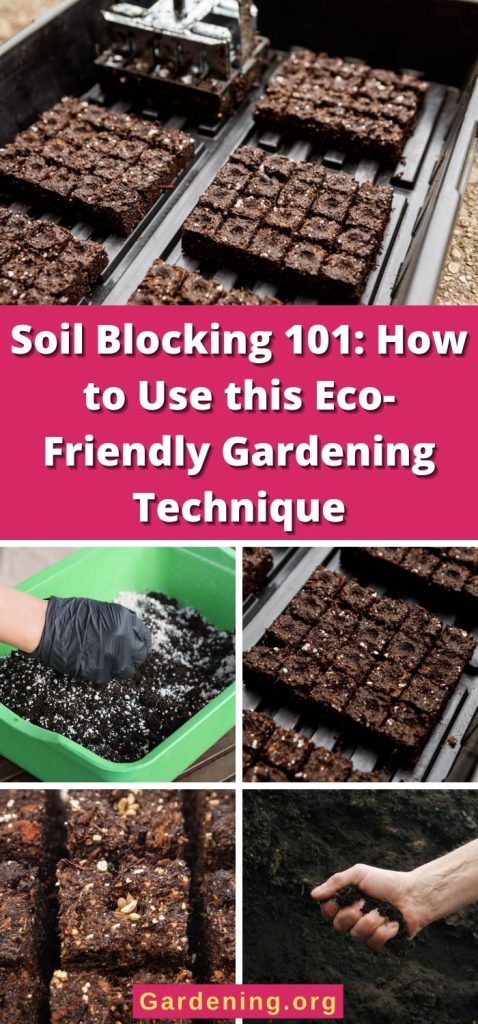
Soil blocking is an eco-friendly technique that eliminates the need for plastic pots, which can be a wasteful part of home gardening. Single-use plastic pots can create loads of plastic waste every year after the spring planting season. More than that, plastic pots can result in rootbound seedlings or promote waterlogged, soggy soil that encourages damping off, root rot, and other issues.
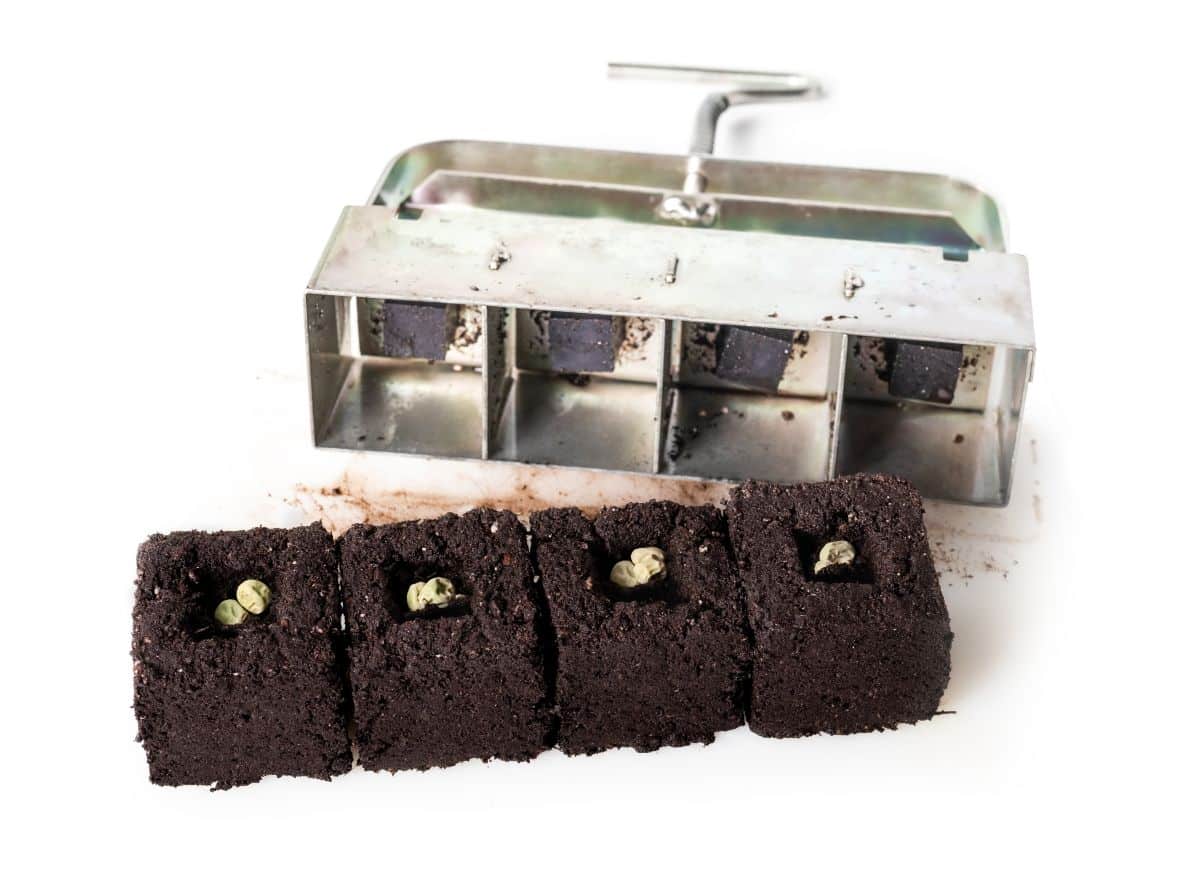
Soil blocking, on the other hand, utilizes the soil itself to create compacted blocks of soil that seeds can be planted directly into. These blocks are formed with the help of handy soil blockers, which come in different sizes. Certain blends of potting mixes and seed starting mixes are best for soil blocking, as they will clump together better and create sturdier blocks.
Soil blocking works well because plant roots naturally avoid light. When planted in a soil block, seedling roots will avoid the light and circle into the soil block itself. This means that plant roots will naturally air prune themselves and form tighter blocks, but they’ll also have a greater volume of soil to grow in and won’t become rootbound.
Because soil blockers come in different sizes, you can choose the right soil blocker for your purposes. Small blockers are perfect for small seeds, like wildflowers and herbs, while larger blockers are ideal for bigger seeds, like peppers and ground cherries. Even better, soil blocks of different sizes can be “potted” into each other with the help of mini inserts, meaning you can upgrade your plants’ soil block size without disturbing the roots at all.
Historically, there is evidence that soil blocking started thousands of years ago in Central America; however, it has been more recently popularized by the Dutch. Today, soil blocking is beginning to catch on throughout the gardening world thanks to its ease of use, sustainability, and money-saving potential.
A step-by-step guide to soil blocking
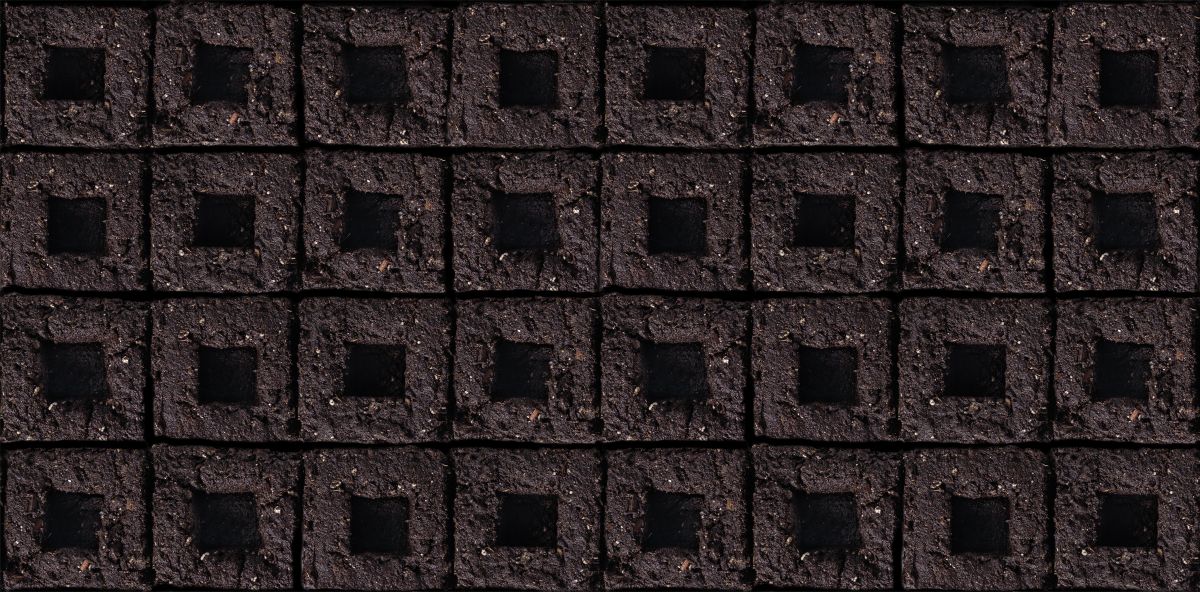
When you see stacks of soil blocks in a grow room or greenhouse, it does look impressive! However, this simple technique is easy to master and fun too! Follow along with the steps below to start making your own soil blocks.
1. Gather your supplies
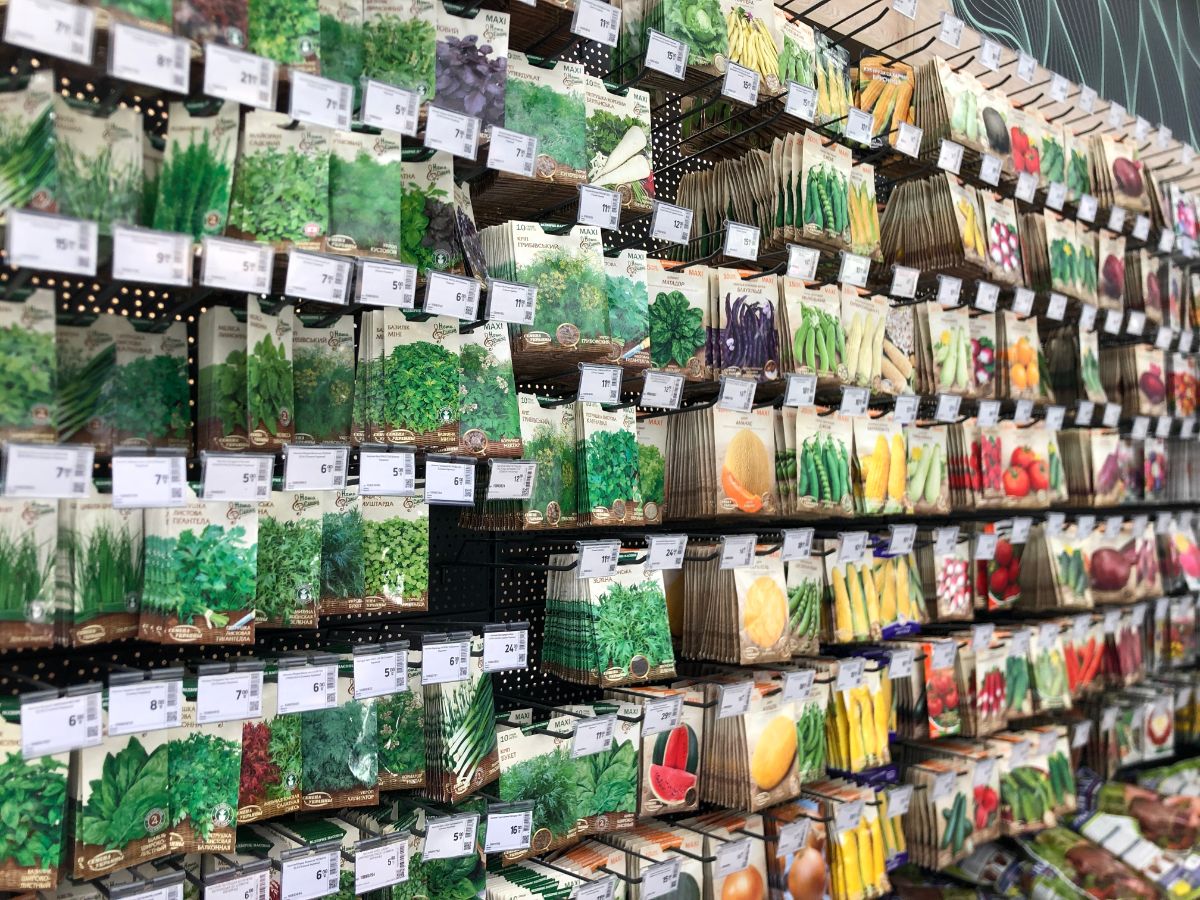
Before getting started, you’ll need to gather your supplies. You may also want to create your own seed-starting mixture that has the correct texture and composition for seed blocking; however, some store-bought seed-starting mixes will work with this technique too.
To get started, you’ll need the following:
- Soil blockers – standard and/or mini sizes, plus mini inserts if needed
- Seeds
- A tub for mixing your seed-starting mixture
- Seed starting mixture or the ingredients to make your own mix (peat or coconut coir, compost, perlite, and seed starting mix)
- Water
- Tub with water (for rinsing off your soil blocker)
- Seed starting trays or other flat, plastic trays (for holding your soil blocks)
2. Blend your seed starting mix
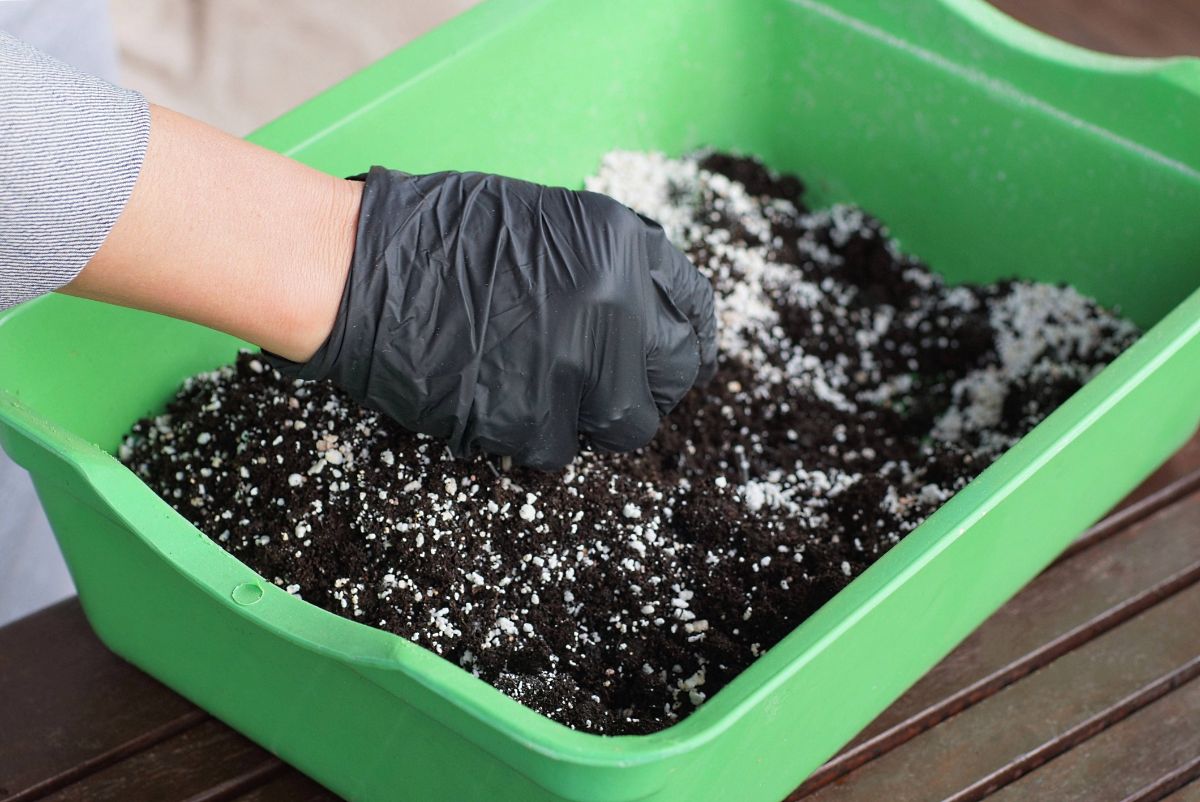
While you can use store-bought seed starting mixtures with soil blocking, they may not be ideal. Some seed starting mixes may have the wrong texture for this process, and subsequently, they may form looser blocks that are more likely to crumble. For this reason, it is usually best to make your own seed starting mix to use with soil blocking.
If you choose to make your own seed starting mix, in your large plastic tub, blend together:
- 10 quarts of compost, finely sifted
- 10 quarts of peat or coconut coir, crumbled to remove any large chunks
- 7 quarts of perlite
- 1 cup of store-bought seed starting mix
Stir your ingredients well until they are thoroughly combined.
3. Moisten your seed starting mix
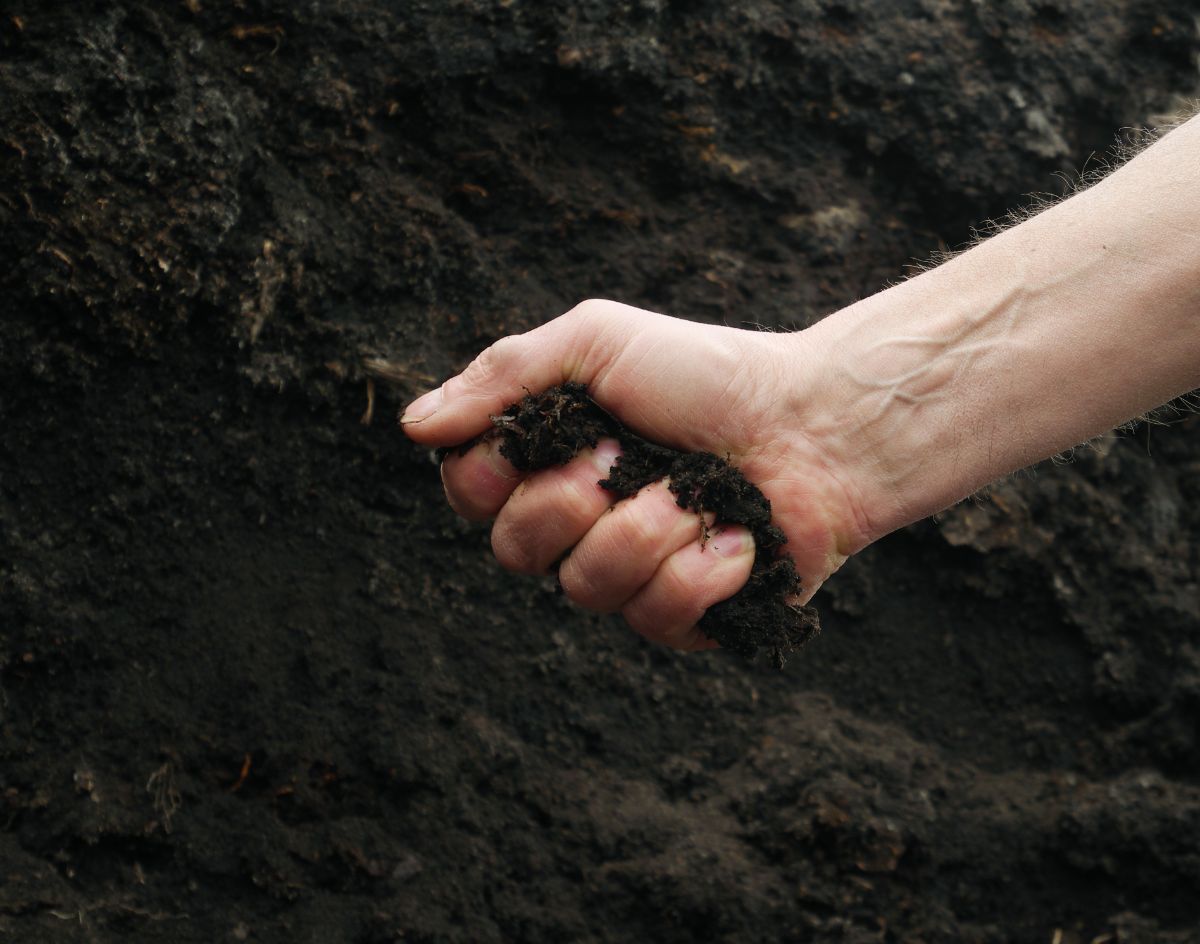
After your seed starting mix is prepped, you’ll want to moisten it well so that the mixture clumps together easily. This is essential for forming proper soil blocks for seed planting.
Slowly add water to your seed starting mix until it clumps together. Tap water is fine for this process, and to make it easier on your hands, you may want to use warm tap water.
To see if your seed starting mix has enough water, hold it in your hands and squeeze it tightly. It shouldn’t drip water, but it should almost be that moist. Your mixture should have more water in it than you would normally add to seed-starting mixes if you were planting in simple pots or seed-starting trays.
Keep some extra seed starting mix on hand just in case you overwater your mixture. You can always adjust moisture levels by stirring in a more dry mix if needed.
4. Fill up your soil blockers
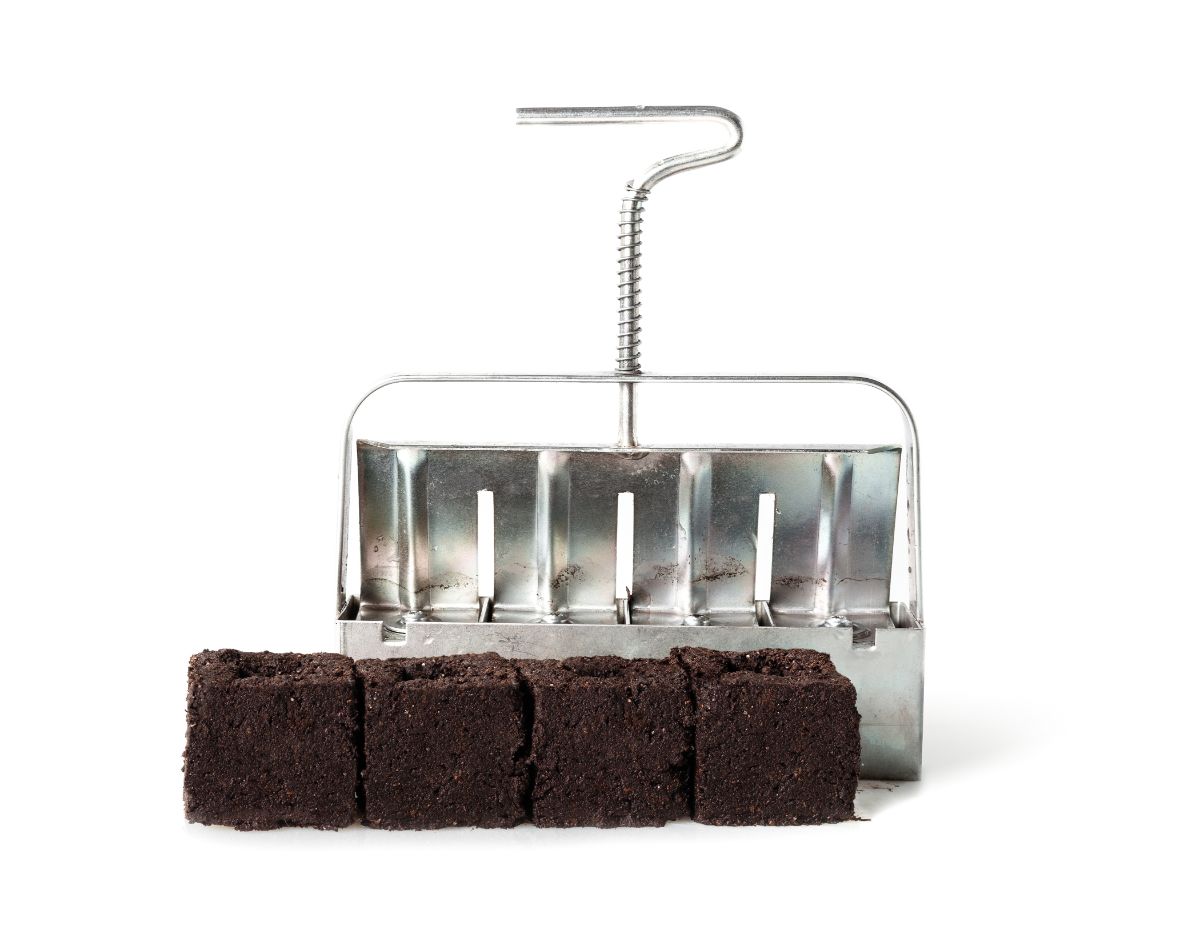
Now it’s time to fill up your soil blockers! The tighter you pack your blockers, and the more you fill them up, the sturdier your blocks will be and the less likely they are to crumble. So don’t be afraid to really pack in that soil.
Press your soil-blocking kit into your moist seed starting mix several times and wiggle it around until the blocker is full to its edges. Alternatively, you can hand pack your seed starting mixture into your soil blocker to make sure it is properly filled. Pay special attention to adding soil to the top of your soil blocker, as this area is the most likely to crumble, and remove any air pockets if you see them.
Once your soil blocker is full, scrape off the bottom of the blocker to remove any excess seed starting mixture. Try to scrape away enough material to form a flat base on your soil blocks, which will help them be more stable for planting.
5. Make your blocks
After your blocker is full, you’re ready to start making soil blocks.
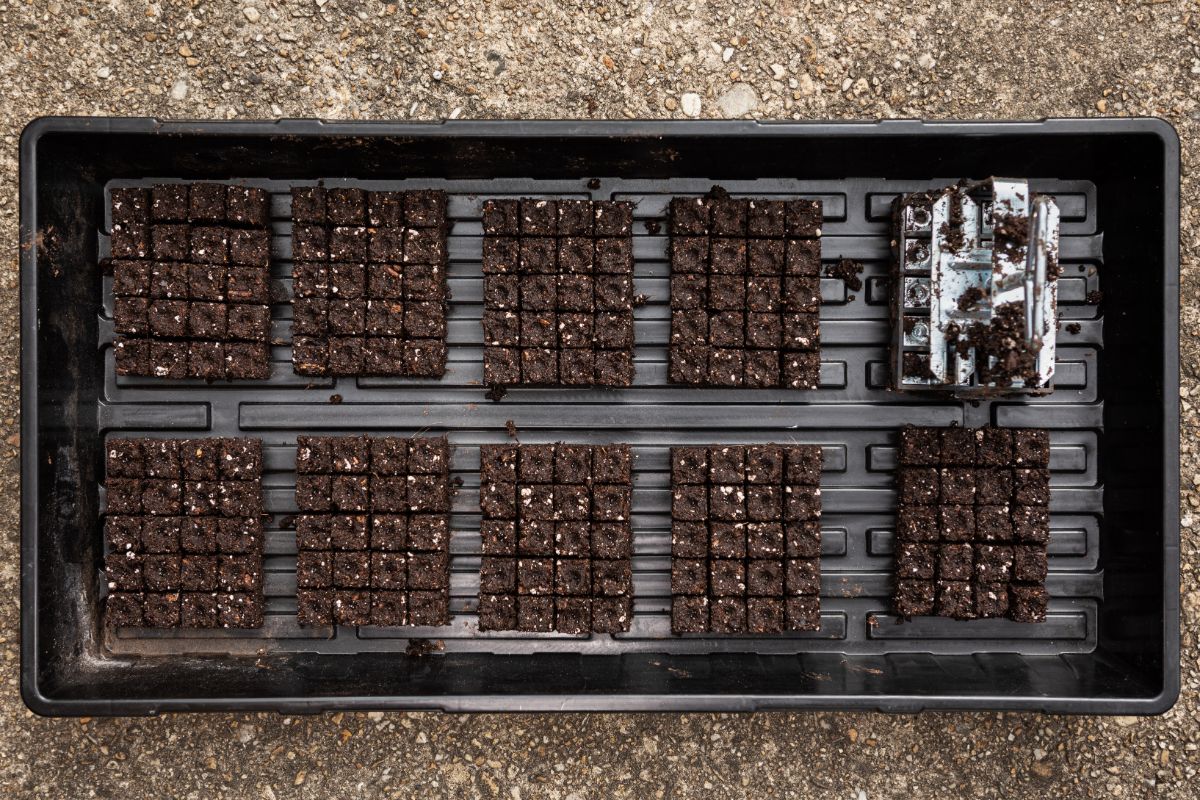
Position your soil blocker over your seed starting tray or other flat plastic tray and press the plunger down to release your soil blocks. As you do this, gently lift your soil blocker up in one fluid motion to reveal your soil blocks. They should be firmly made with crisp edges and not crumbling.
Soil blocking takes a little practice, so don’t be discouraged if your first soil blocks look a bit messy. Just gather your crumbling blocks up, return them to your tub of seed starting mix and try again. Practice makes perfect, after all.
As you get the hang of it, make more soil blocks and add them to your tray. Try to position soil blocks so that they are right next to each other. The way they are spaced when they come out of the soil blocker is perfect; there is no need to spread them out further.
Try to pack as many soil blocks onto your tray as possible. This is a great way to maximize your growing space, but also, blocks positioned together won’t dry out as rapidly.
Continue creating soil blocks until you have all the blocks you need for your planting.
Tip: Try rinsing your soil blocker off in a tub of water in between creating blocks. This will help you to form sturdier blocks with firmer margins.
6. Plant your seeds
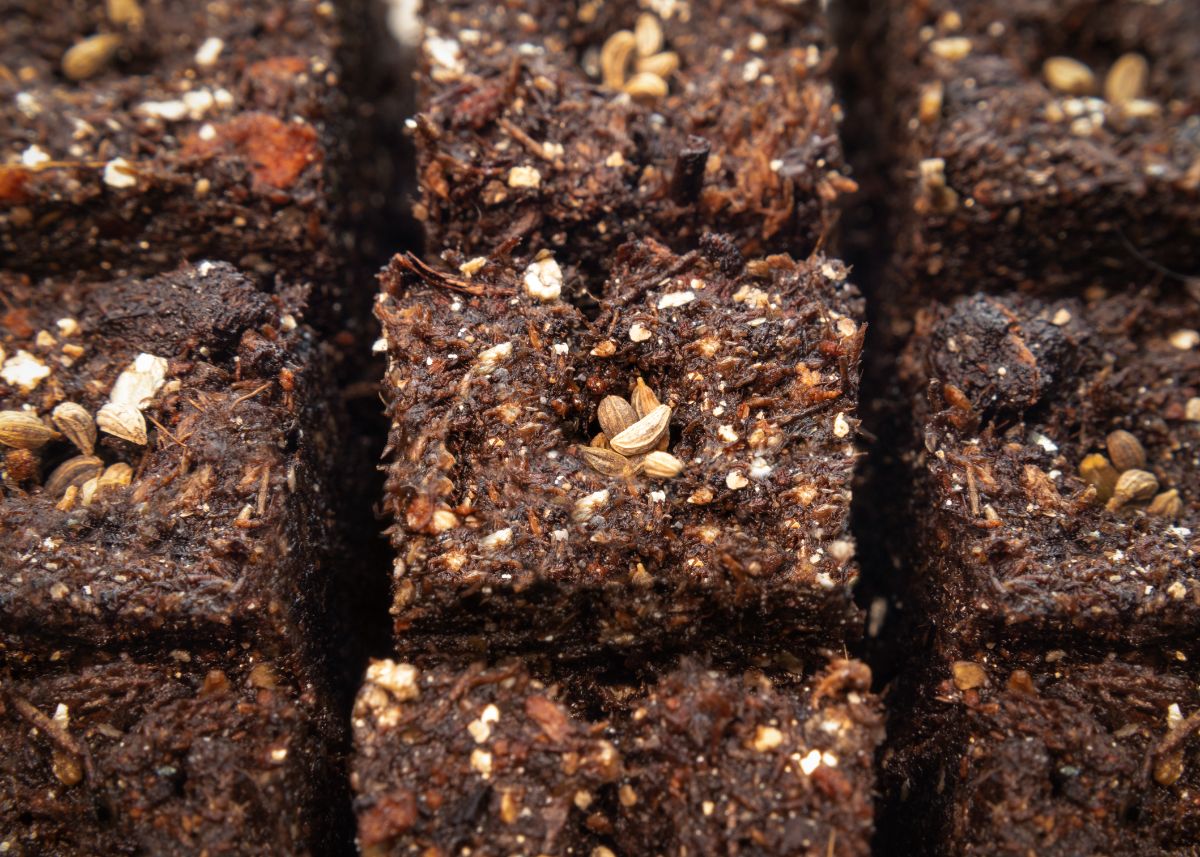
Now that you’ve made your soil blocks, you’re ready to plant. Conveniently, your soil blocks are formed with planting holes, so all you have to do is sprinkle on your seeds.
For best results, plant 1 to 3 seeds per soil block and then lightly cover them with soil (if needed) following the planting instructions on your seed packet. Be sure to read these instructions, as some seeds require light to germinate, and they won’t sprout if they are covered with too much soil.
7. Don’t forget to water
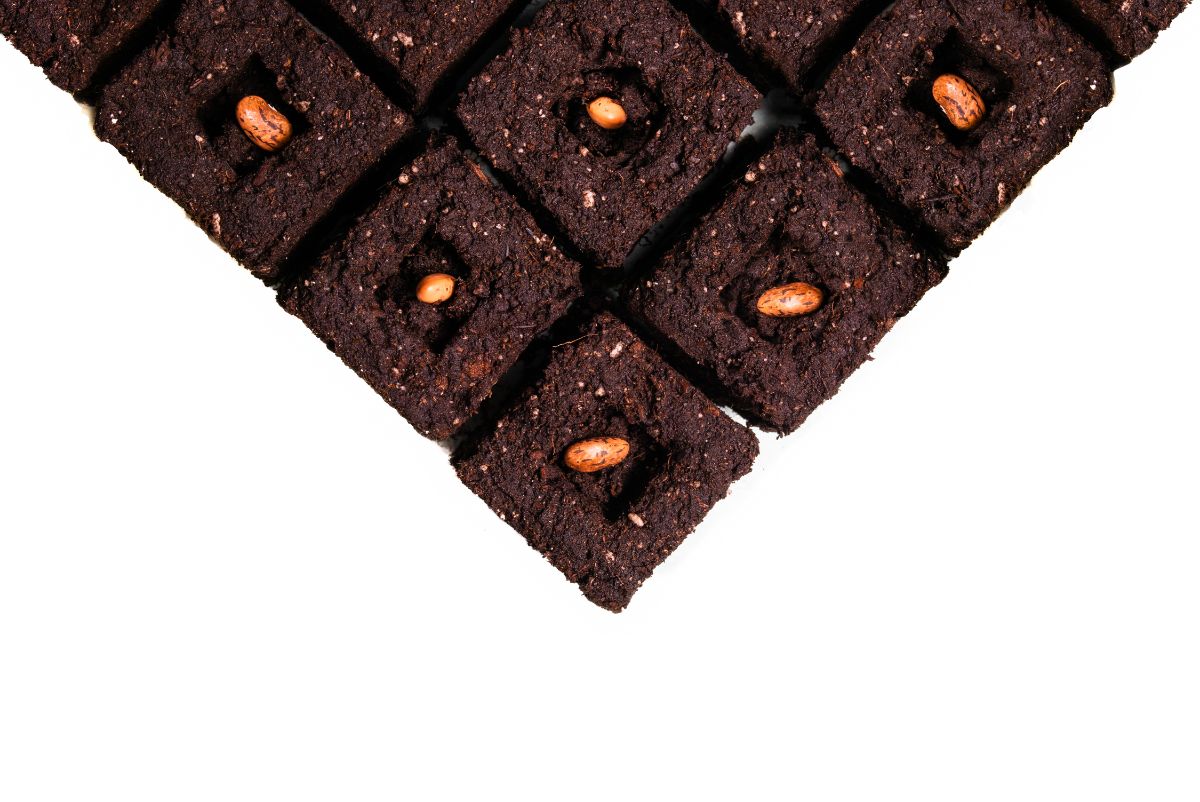
After planting your seeds, tend your seeds as you would if you were growing seeds in pots. Provide them with adequate lighting, such as a grow light, and insure that they receive proper air circulation to reduce the chances that issues like damping off will develop. Adding a small fan to your growing setup can help with this too.
When it comes to watering, water your soil blocks regularly; however, bottom watering is usually best with this planting technique as it is less likely to disturb your soil blocks and cause them to crumble.
To prevent unsightly, green algae from growing on your soil blocks, allow your blocks to dry out slightly in between watering and only water when the top 1mm of soil feels dry to the touch.
Tip: Just as with standard planting pots, soil blocks can be used with heating mats too! Moving your tray full of soil blocks on top of a heating mat can be especially useful for speeding up germination rates in plants like tomatoes and other nightshades.
8. Pot up if needed
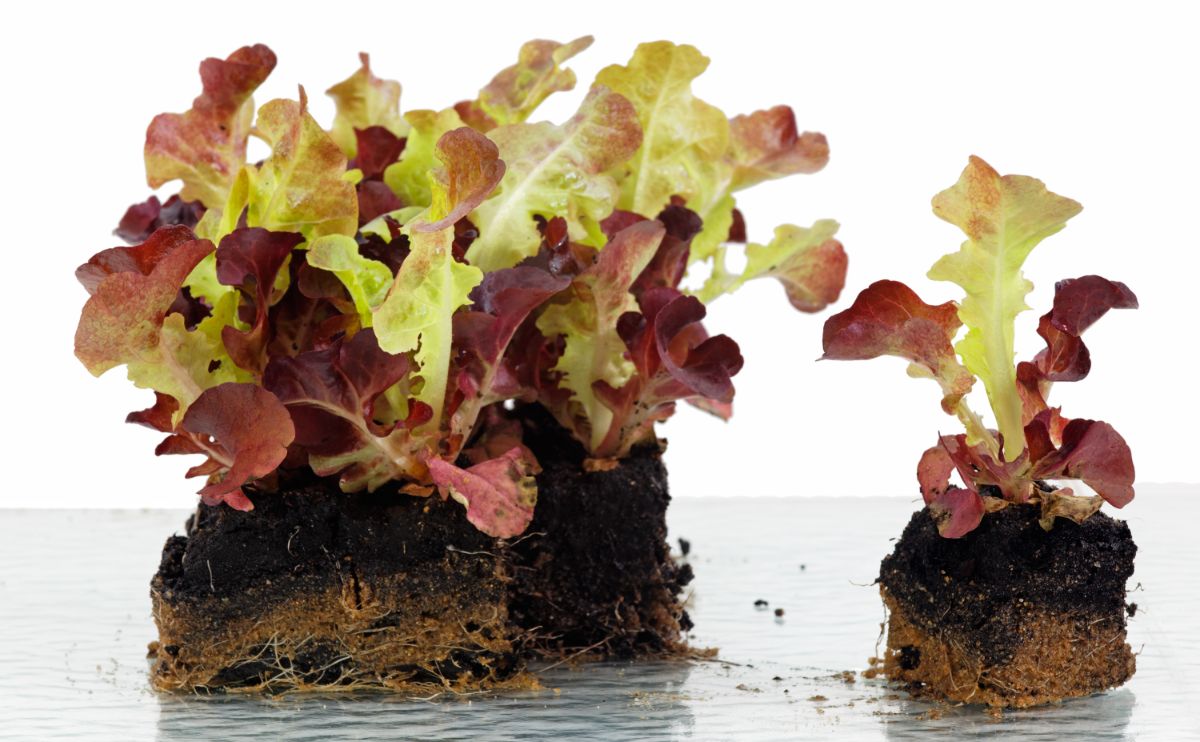
If you used mini soil blocks, these can easily be slid into standard-sized blocks as your seedlings grow. The beauty of this is you won’t need to disturb your plants’ tender roots when repotting.
Most seedlings won’t outgrow standard-sized blocks while they are kept inside; however, if your seedlings grow very vigorously and they do get too large for their blocks, large peat pots can be a good, biodegradable solution.
What plants work best with soil blocking?
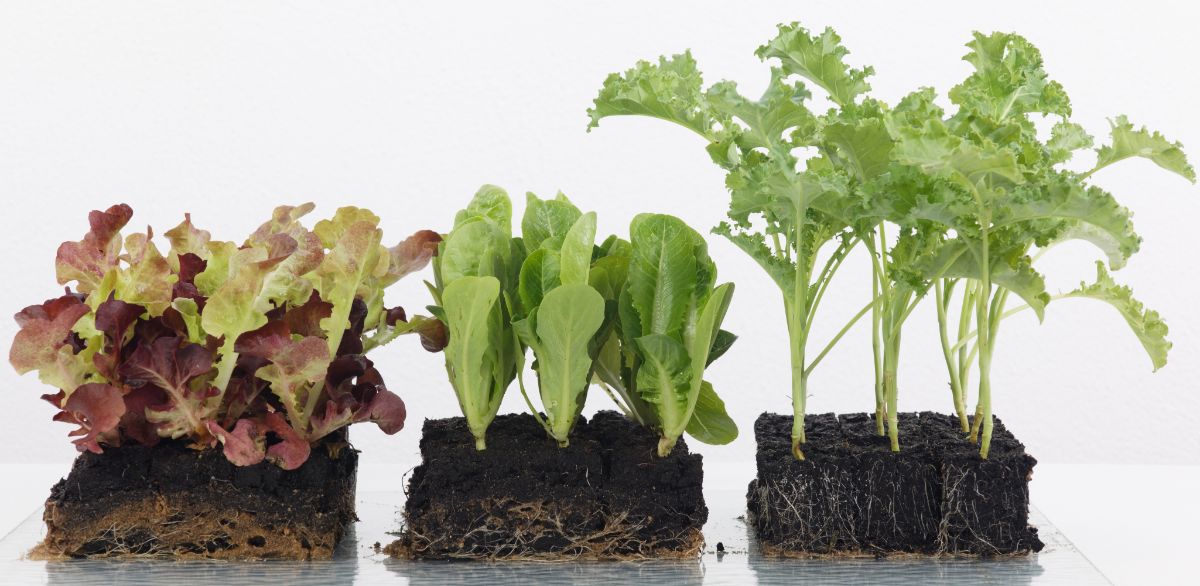
Most vegetables, herbs, and flowering plants will work very well with soil blocking. In fact, soil blocking can allow you to start more seeds indoors than other planting methods, as it is less likely to result in transplant shock or disturb delicate plants.
Some of the best plants for sowing with this technique include:
- Tomatoes
- Peppers
- Eggplants and other members of the nightshade family
- Lettuce
- Swiss chard
- Zinnias
- Native wildflowers, like milkweed
- Herbs like parsley, cilantro, and thyme
- Medicinal plants, like verbena, boneset, and hyssop
Plants that don’t work well with soil blocking include:
- Root crops, like carrots and beets. These usually grow best when directly sown in the garden due to their long tap or bulbous roots.
- Fast-growing plants such as corn
- Vining plants, like beans and peas
Frequently asked questions
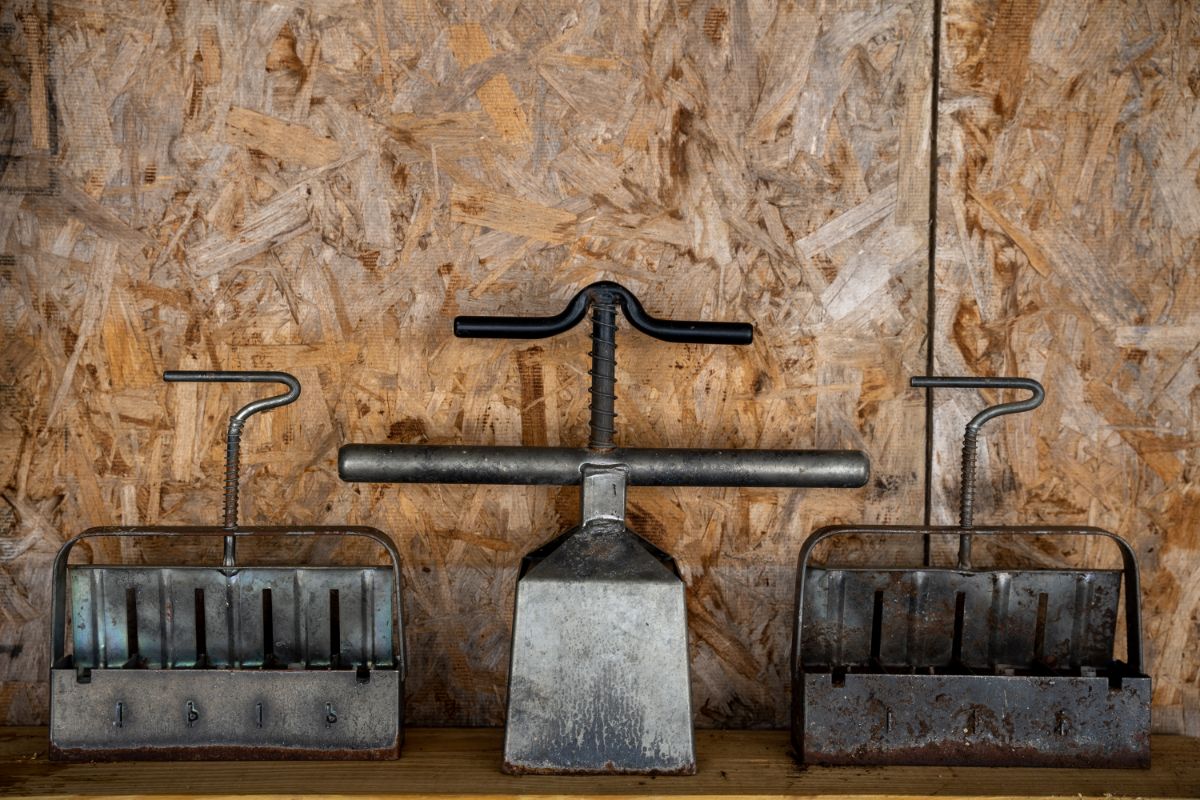
They definitely can be! Instead of wasting money buying plastic pots and seed trays that easily break when used, soil blockers can be used year after year. In fact, a well-maintained soil blocker can be used for generations!
You can use potting soil, but it may result in looser soil blocks that are more likely to crumble. For firmer soil blocks, try making your own seed starting mix using a combination of compost, peat or coconut coir, perlite, and seed starting mix.
It’s best to make soil blocks only as you need them. Fresh soil blocks will have the best moisture levels for planting seeds, and since they won’t be dry, they will be easier to work with. That said, you can make soil blocks ahead of time and keep them covered with a bit of plastic wrap or place them inside an airtight container.
Daily. Seeds planted in a soil block should be treated just like seeds potted up in seedling trays. They will need regular watering, bright light, and good air circulation to grow properly.
Carrots won’t grow well in soil blocks due to their long tap roots. Happily, carrots can handle cooler temperatures, and they are fast-growing crops. That means they usually do very well when directly sown outdoors in spring.
Loosely made soil blocks or blocks made out of the wrong seed starting mixtures are more likely to crumble. Watering issues – either too much or too little water – can also result in crumbling blocks.
Summary
Soil blocking may be a new technique for some gardeners, but it’s definitely one worth investigating. This easy method is eco-friendly, eliminates plastic waste, and reduces the need to purchase new planting pots annually. Additionally, plants grown in soil blocks develop larger root systems and are less likely to experience transplant shock, get rootbound, or develop root rot.
Simple enough to do with the whole family, soil blocking can be fun too and is a sure way to grow healthier seedling starts for your vegetable, herb, and flower beds. So why not try it out this year? Once you’ve given soil blocking a chance, you may never want to buy plastic plant pots again!
If you want to learn more about growing plants from seed, check out our guide on growing plants for self-sufficiency and seed saving here.

Sue Devinney
I tried these last year for the first time. Amazing results! I mixed equal parts peat moss and potting soil. Grew all my vegetables, and carnations, passion flowers, etc. Love it! I'll be starting mine soon using small indoor greenhouses and LED strip lights. Once NJ begins to warm all will be moved to my little 6x8' greenhouse.
danny
where can I get 20 section blovk machine?
Mary Ward
Follow the links in the article and you should find some different options.