Have you ever seen a bare-root rose? When you first pull one out of its cool mulch bedding, all you have in your hand are a couple of thorny sticks and some odd black roots – if those are the roots.
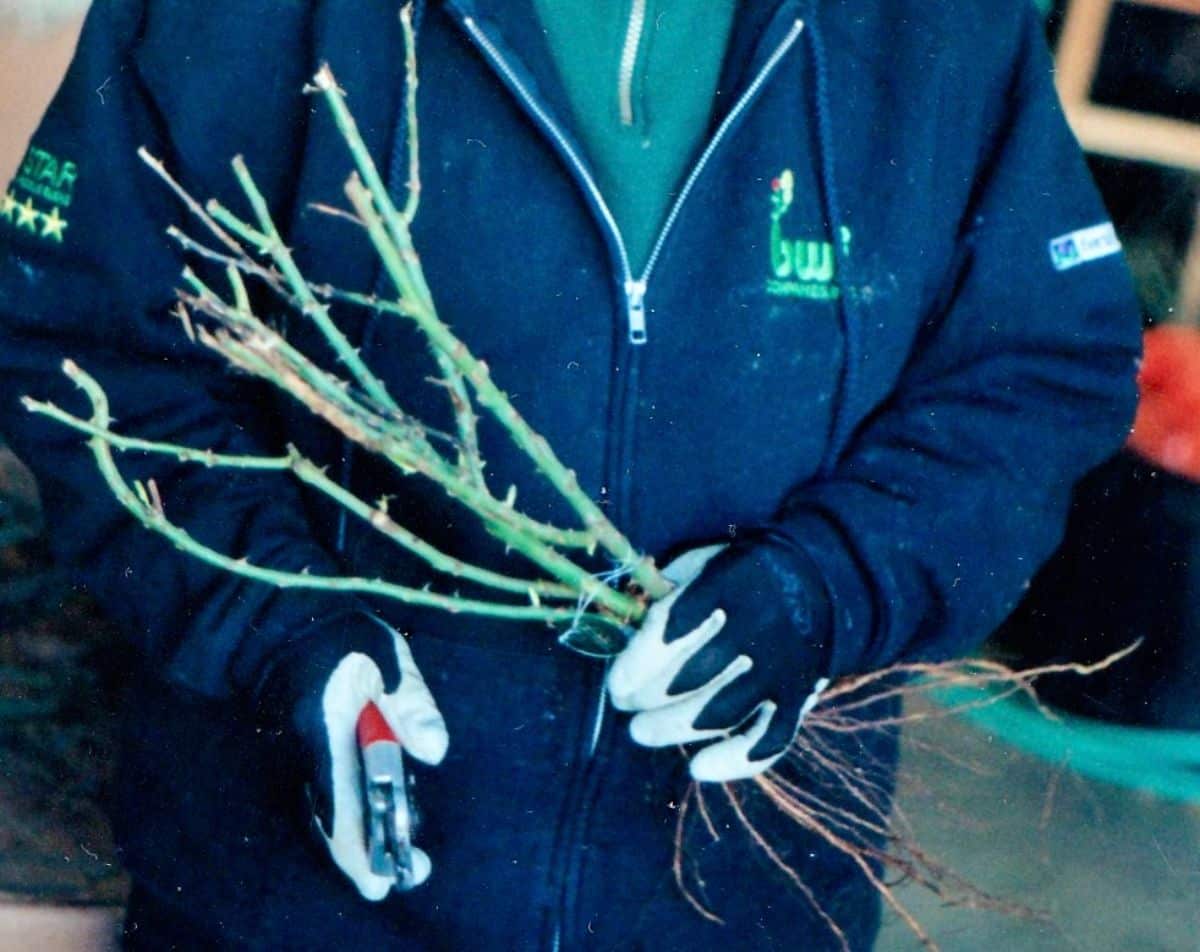
At first glance it might have you feeling like you've overpaid. However, a well-chosen bare-root rose is worth every cent. Read on to explore the benefits of bare-root roses, how to select the best ones, and the proper techniques for planting and caring for them.
Jump to:
Why Choose Bare-Root Roses?
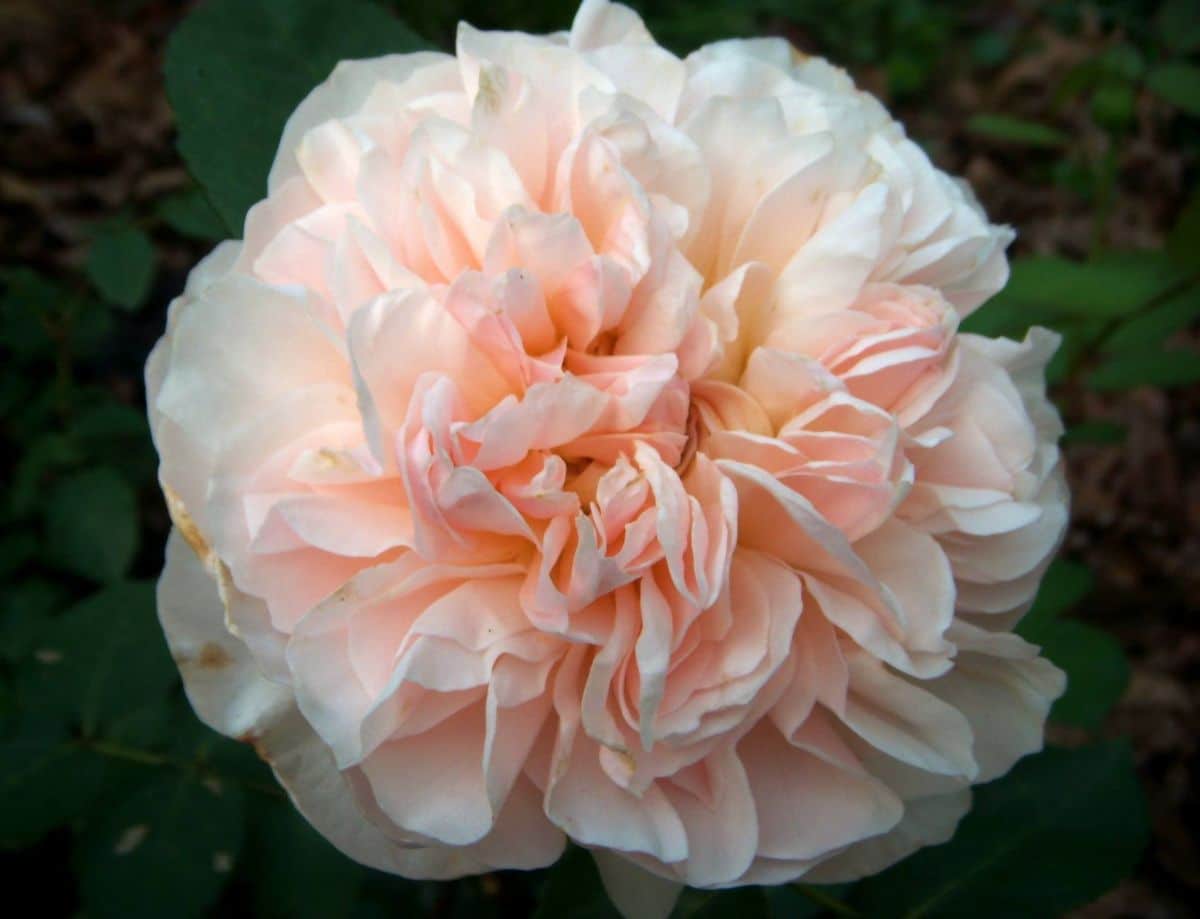
Bare-root roses have several advantages over potted roses.
- They can be shipped at a lower cost than potted varieties.
- The selection of bare-root roses is more extensive in wintertime compared to potted roses available later in the season.
- Bare-root roses can be planted as soon as you can work the ground, even in late winter, because the roses are dormant.
- And because they’re dormant, they won’t experience transplant shock like potted roses.
- You can get your roses planted well before spring even starts, so you have one big spring chore out of the way.
However, while bare-root roses are excellent for early-season planting, they are still vulnerable to heat, sunlight, and drying winds. For best results, plant them as early in the season as possible. If you're forced to plant them later, you can take measures to protect them, such as covering them in mulch and spraying them with Wilt-Pruf. But more on that in a moment.
Picking the Best Bare-Root Roses
Before you buy your roses, take some time to prepare their permanent home!
Find a location with fertile soil that receives at least six hours of daily sunlight. Avoid windy areas that can pull moisture out of the plants. Grow the roses away from trees because roses are heavy feeders, and trees will steal essential nutrients from them.
Bare-root roses are typically categorized into three grades: Grade 1, Grade 1.5, and Grade 2.
- Grade 1 roses are the highest quality, featuring at least three robust canes, branched no higher than 3 inches above the bud graft, and each cane measures at least 5/16 inches in diameter. Grade 1 roses are known for their strength and vigor.
- Grade 1.5 roses have two canes.
- Grade 2 roses have one 5/16-inch cane and at least one that is ¼ inch wide.
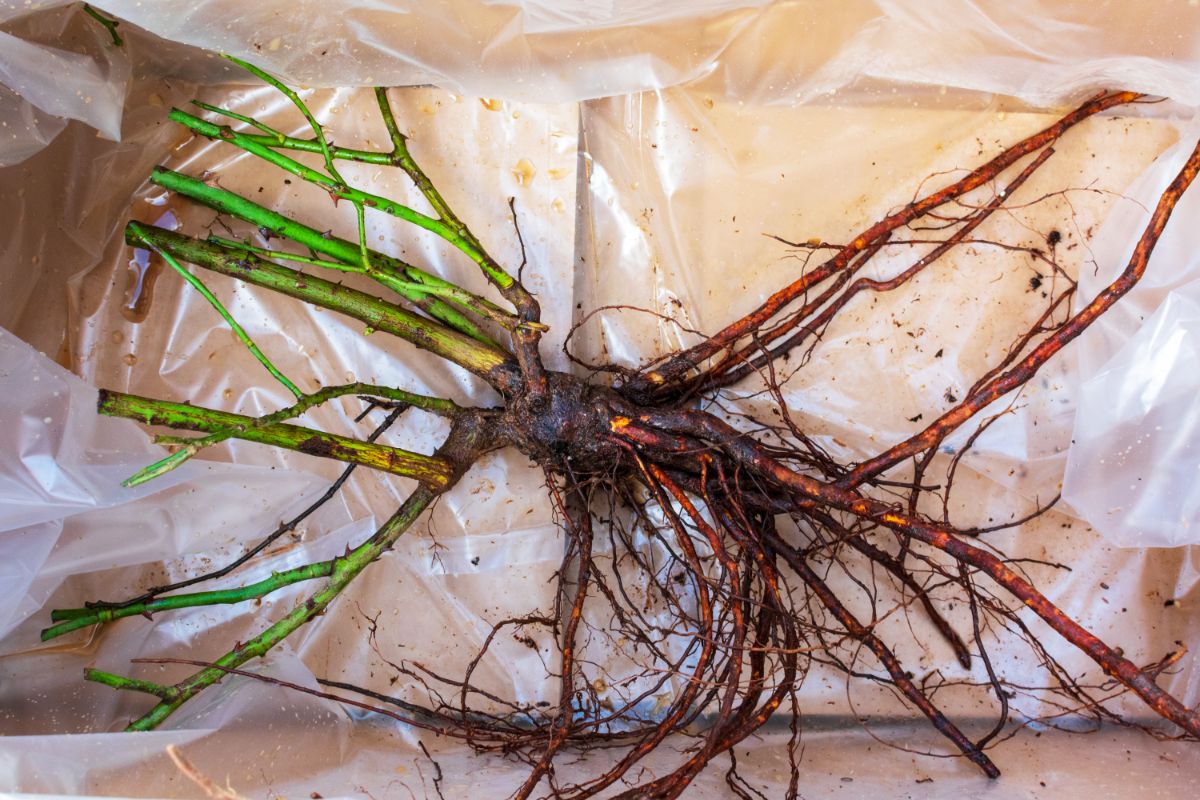
When inspecting a bare-root rose, look for large and tightly closed leaf buds. It should be completely dormant, with no sprouts. Make sure the rose has three or more large canes. Most bare-root roses will have green skin, but some may appear brown. To check to see if the rose is alive, scratch away a bit of the skin with your fingernail. If the cambium layer underneath is green, the rose is alive.
Avoid purchasing roses that have already started growing.
Own-Root Roses vs. Grafted Roses
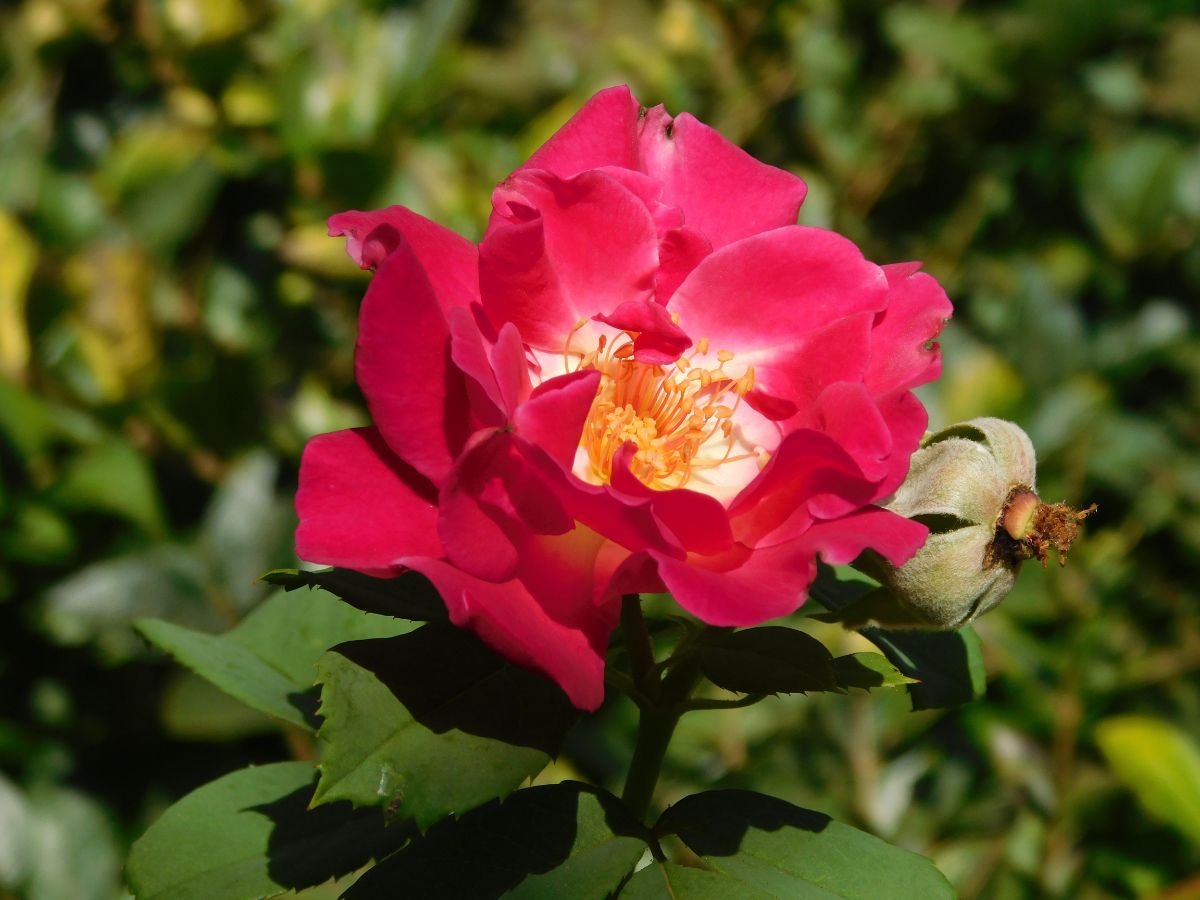
Roses come in two main types: own-root roses and grafted roses.
Grafted roses feature rose canes grafted onto the hardy rootstock, often ‘Dr. Huey’ or multiflora rose. This graft union, or bud union, is a swollen area on the neck of the rose. Some roses, like hybrid teas, require grafting onto rootstocks for optimal growth because the vigorous, disease-resistant traits of the rootstock are transferred into the grafted rose.
Own-root roses, on the other hand, have been bred to be hardier, healthier, and more disease-resistant – so they don’t need the additional assistance of a rootstock. If possible, consider selecting own-root roses.
Ordering Bare-Root Roses

Your bare-root roses will be arriving.
As soon as the notification pops up in your inbox to say your roses are on their way, prepare a couple of five-gallon buckets.
When the roses arrive, take them out of the box and inspect them. The canes should be somewhat green, strong, and sturdy.
Rub away any white mold, trim the roots by about a half-inch, and cut off any broken stems and roots. (If you buy your bare-root roses at a local nursery, they might clean up the rose for you.)
Sometimes, your roses will arrive with little buds and shoots growing out of them, which is not recommended. These roses have broken dormancy. Call the company and tell them. If those roses fail in the garden and die, you should be eligible for replacements.
Assemble Your Bare-Root Rose Planting Supplies!
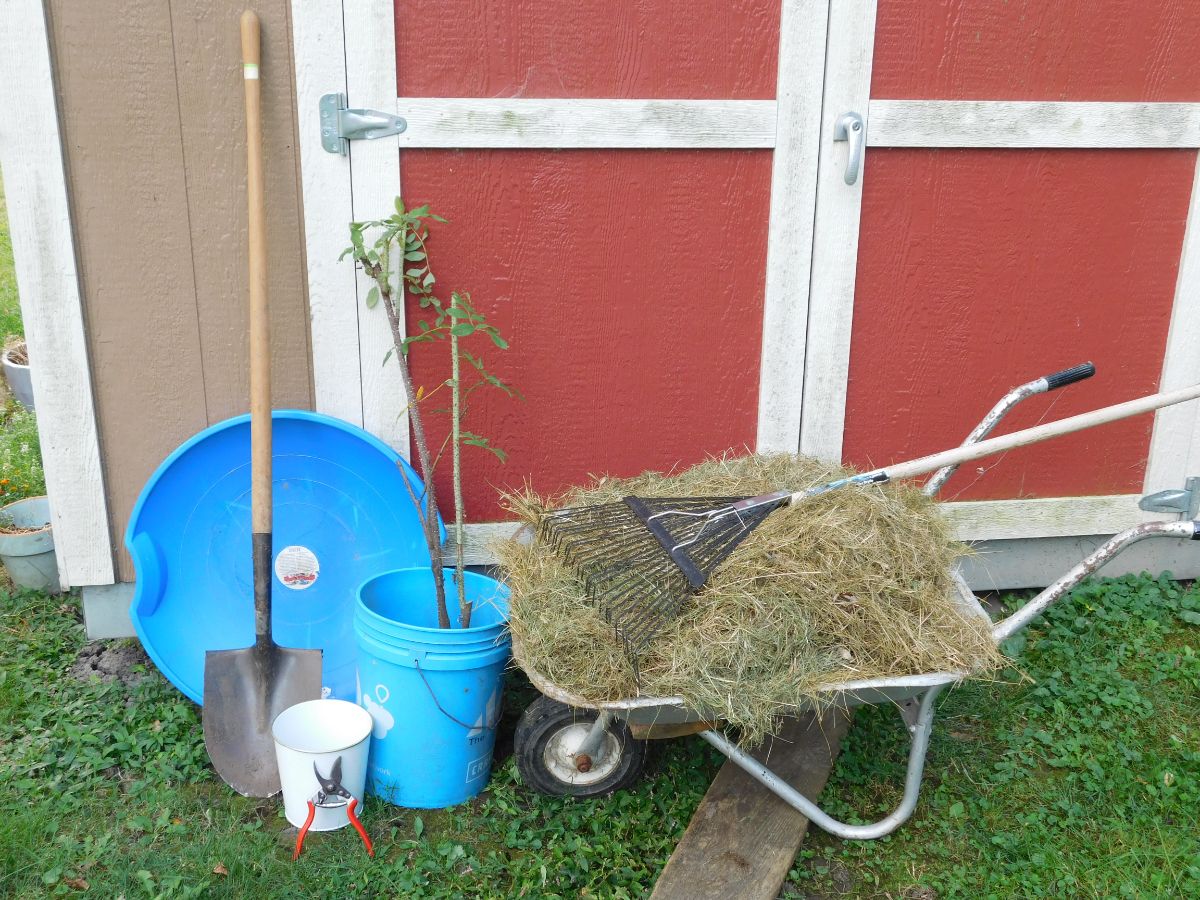
- Mulch!
- A shovel
- Pruners
- Bare-root rose (in a bucket)
- Soil amendments
- A tarp (I still cannot find my tarp, so I’m still using a saucer sled)
Rehydrate Your Bare-Root Roses
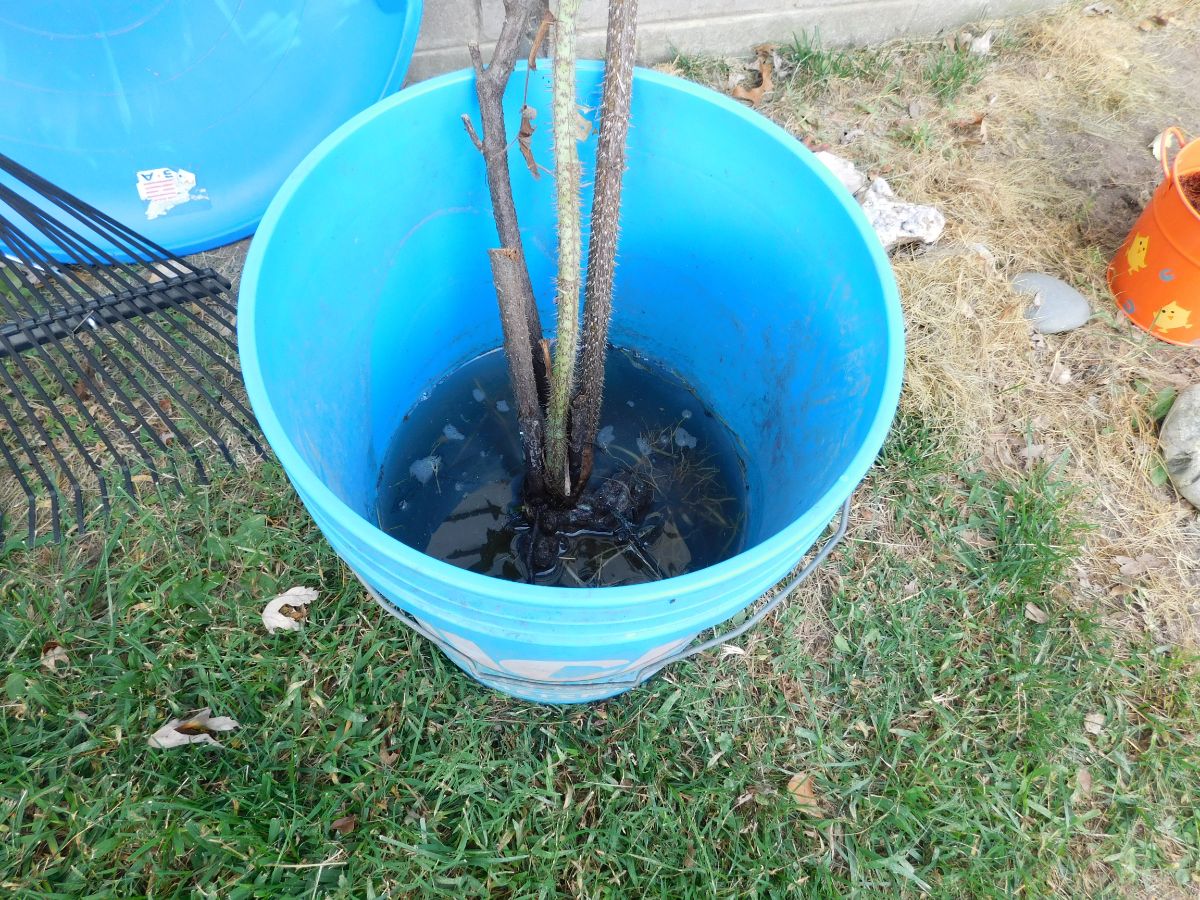
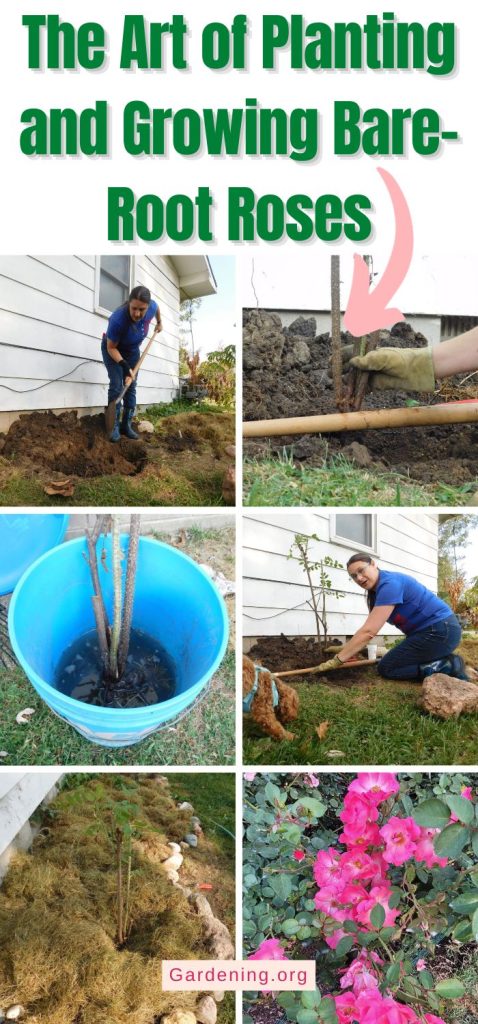
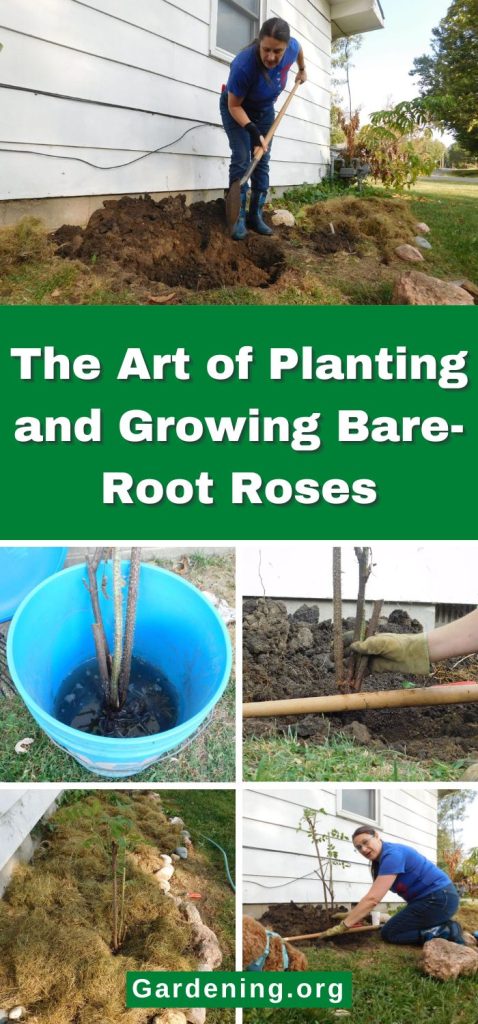
Fill a five-gallon bucket with enough water to cover the roses’ roots. Add a little dash of bleach to kill off germs and a cup of root conditioner to wake up the roots.
Dormant roses are sleeping roses. And now, like Sleeping Beauty, you're going to give them the kiss – i.e. pop them into a bucket of water – upon which they will start to wake up, and they'll be beautiful.
Put the rose roots in the water and let them soak between 24 and 48 hours before you plant them. But no longer than that. If something comes up and you can’t plant them, take them out of the water and heel them in, using moist coconut coir, peat moss, or potting soil. Cover up the roots. You might just cover the canes with a piece of plastic so they retain moisture.
Make a New Home for Your Rose
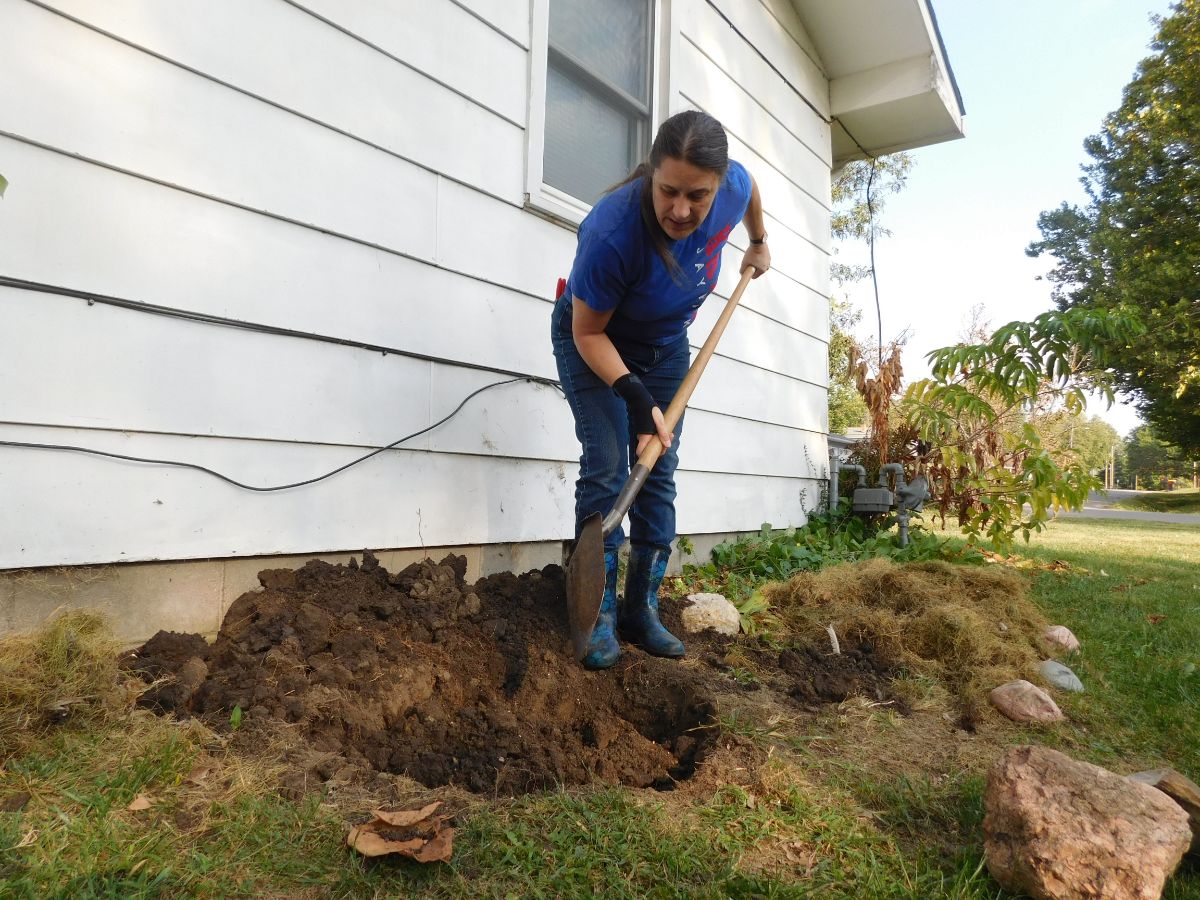
While the roses are soaking, dig their holes for them so they can come right out of the bucket into their new homes.
You’re going to dig a hole for your rose that’s two feet wide and 18 inches deep, so they have plenty of room to spread out their roots and grow.
Lay a tarp next to where you’re going to plant your rose, and lay your dirt on it as you dig. Separate the bad soil (i.e., heavy clay, hardpan) from the good top soil. Take out any rocks.
Once the hole is dug, add in some compost some soil amendments like kelp meal or fish meal, and mix it with the good soil you took out of the hole.
Have all of your mulch nearby and ready to go, as well as the water hose.
Once all the holes are dug, bring all your roses over and start planting them.
Proper Planting Technique
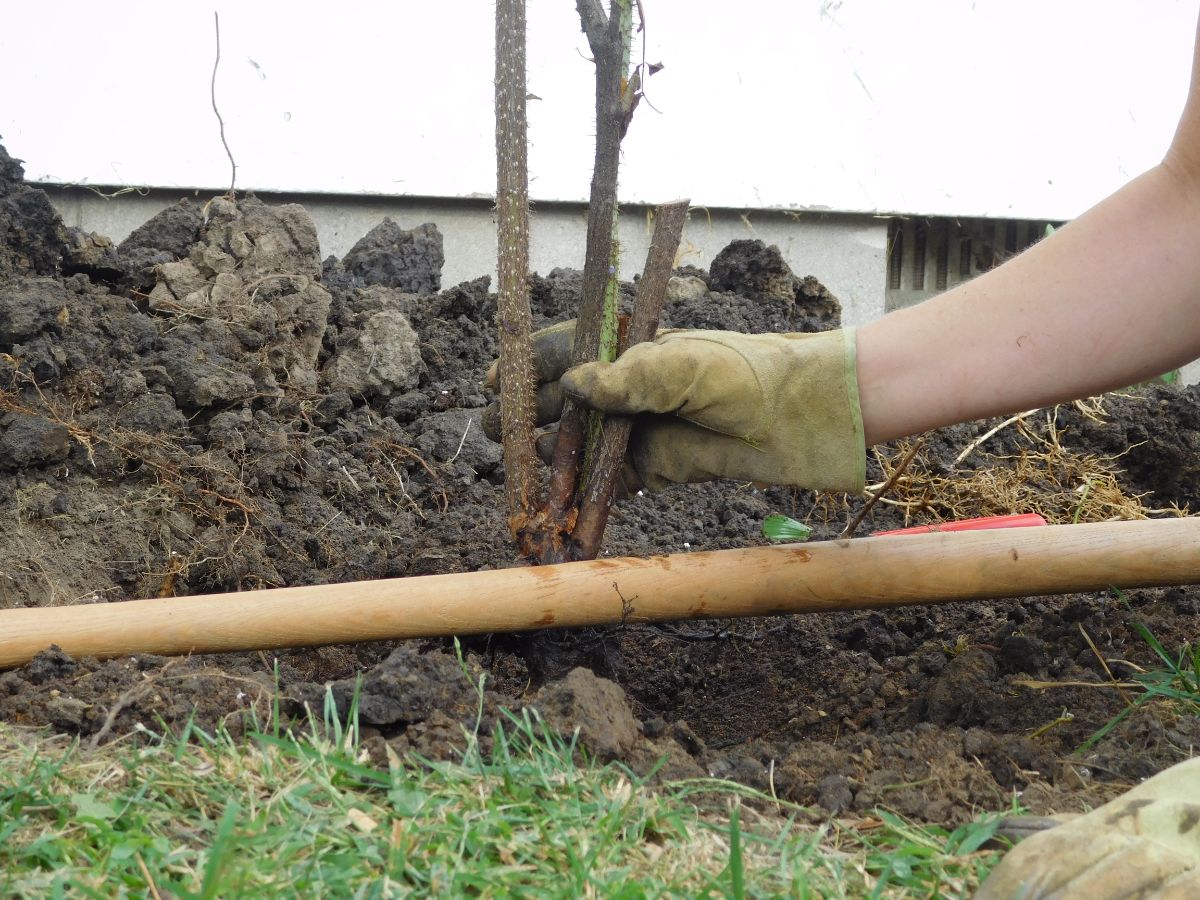
Be sure to plant your roses at the correct depth. Lay your shovel on the ground next to the hole, and set the rose into the hole next to the handle.
The shovel shows you where the level of the ground is so you can set your rose at the correct depth.
If the rose has a swollen knot where the stem meets the roots, this is the bud union, and you have a grafted rose – that is, a less-hardy rose grafted onto a hardy rootstock.
If you live where winters get under -20 degrees F, plant the bud union below the soil’s surface.
If you live where winters don’t get under 0, put the bud union above soil level.
(These are general guidelines, to be honest because there is a great deal of contention about where to place a bud union. Some rosarians will duel at midnight over details like this. This is also why I prefer to plant own-root roses because you can just plant the roots under the ground, and they’re FINE.)
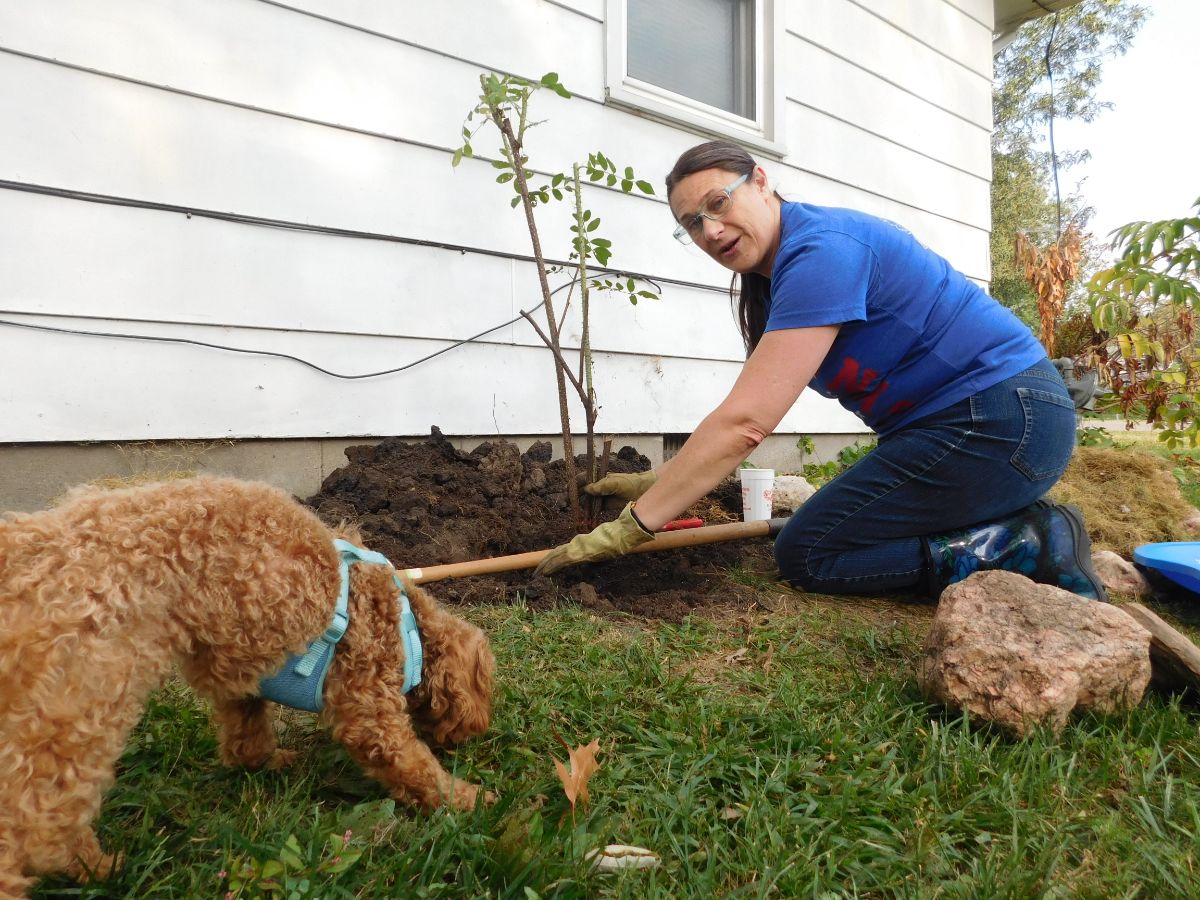
So line your bud union up with the shovel handle, according to whether it’s above or below soil level. Once you have your rose at the correct depth to promote healthy growth, put in some of the soil. Lift out the rose, make a little cone of dirt where the rose is going to go, and lay its roots over this cone. Tuck in more soil under the roots so there aren’t any large air pockets there.
Then, put the good soil into the hole around the rose, followed by the lousy soil on top of the ground. (This discourages weeds.)
Pour the water into the bucket around the rose, then follow with a water hose to settle the soil. Add the rest of the soil, then build a saucer with the remaining soil to hold the water around the rose.
Add Mulch for Best Results
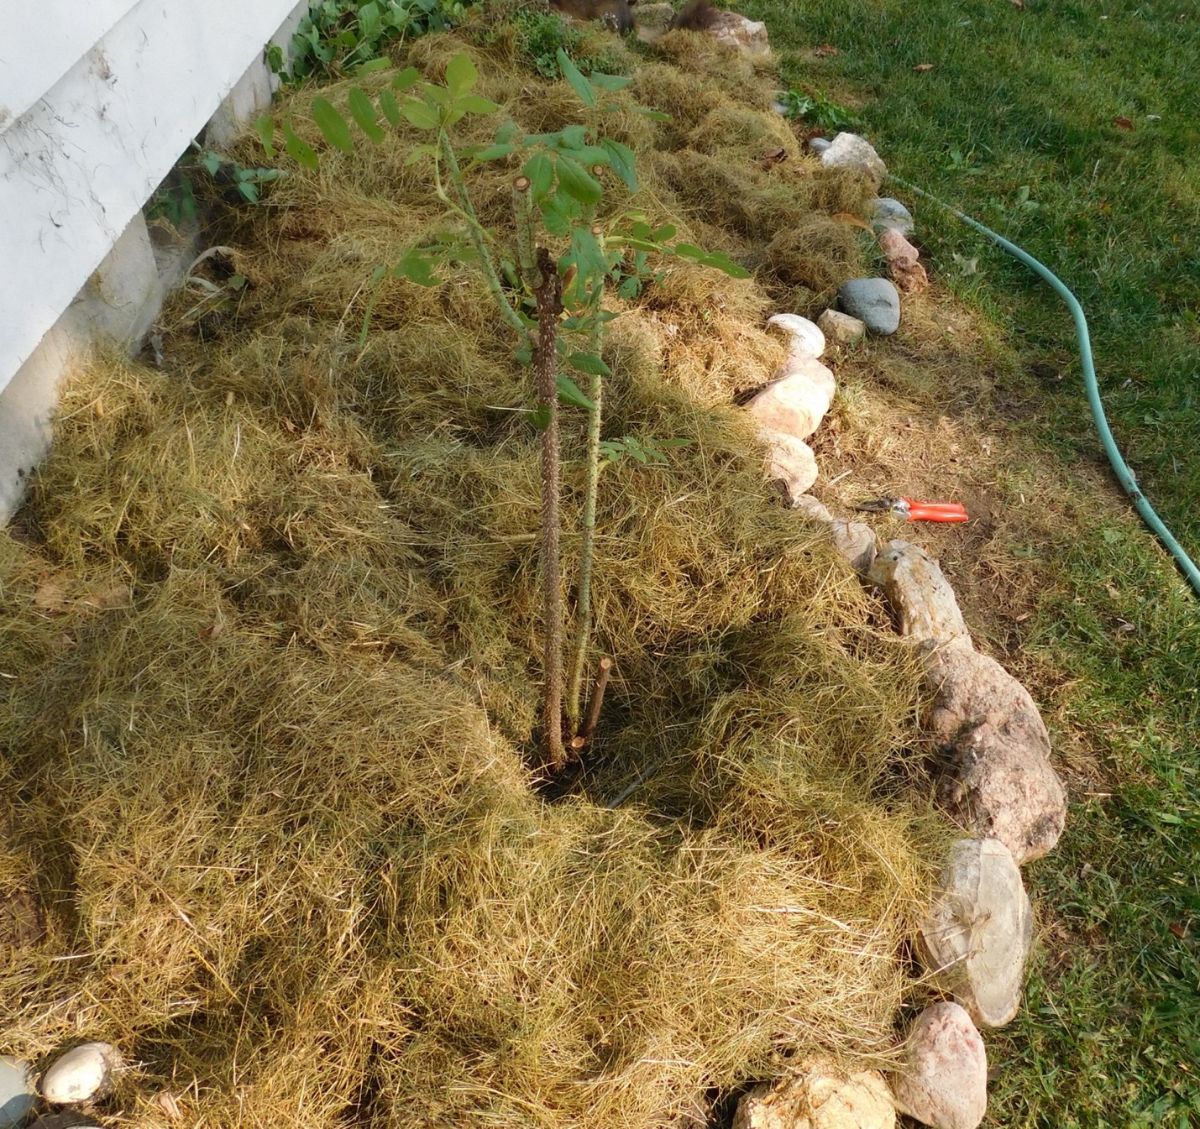
Pile a three-inch layer of mulch around the rose to protect the roots and hold in water. Then, gently heap the mulch over the canes. This will protect them from the winter winds, which will dehydrate the rose canes until they turn black and die off.
Wilt-Stop can be sprayed on the rose canes before you add the mulch. It’s an anti-desiccant and will help to hold the water inside the rose.
Post-Planting Care
As the weather warms to spring and your roses begin to sprout, gradually remove the mulch. Leave a thick mulch in place around the rose at all times to shade the tender roots and reduce water loss during hot summers.
Fertilize your roses monthly and water them weekly, especially when the new shoots are unfurling. Fish emulsion is an excellent fertilizer, although it will attract flies and possibly a few cats. Consider supplementing with Epsom salts if your soil is low in magnesium.
Maintain a minimum of two inches of mulch throughout the rose bed to inhibit weed growth, keep the ground cool, and encourage earthworm activity. Worm castings are a valuable source of nutrients for plants.
Alfalfa meal is a fantastic addition for roses, releasing growth stimulants and trace minerals slowly. Also, use compost, an all-natural option, which can help promote abundant growth and gorgeous blossoms.

Planting and caring for bare-root roses definitely sounds like a complex process, but once you finish the job, you’ll love the results. As your roses flourish, remember to provide them with the proper care and attention they need throughout the year, and they will reward you with an abundance of colorful, fragrant blossoms.




Leave a Reply