If you enjoy hanging around in forests … and you enjoy messing around with fruit trees, berry shrubs, mushrooms, and more … then you should consider creating the best of both worlds in your own backyard by growing a food forest.
Jump to:
- What Is a Food Forest/Forest Garden, Anyway?
- What Advantages Do Forests Have Over Gardens?
- Why Should You Grow a Backyard Food Forest?
- How to Get Started With a Food Forest
- Look for Food Plants in Your Local Forests
- Do Your Plant Homework!
- Find Out What’s Growing in Your Area
- Learn About Food Forest Guilds
- Edible Plants
- Prepare the Food Forest with Cardboard Mulch
- Choose Your Planting Site
- Designing the Backyard Food Forest
- It’s Planting Day!
- How to Plant a Tree (and Other Plants)
What Is a Food Forest/Forest Garden, Anyway?
In its simplest terms, a food forest is a type of garden where you can grow a wide variety of foods – nuts, berries, fruits, vegetables, herbs, and even mushrooms.
Trees are a big part of this, but you also have the other components of a forest, such as shrubs, ground covers, plants, and vines. eventually will produce a lot of food with very little effort. Well, there is effort at the beginning, of course.
But this isn’t just a bunch of shade plants you throw together. A food forest mimics nature. A wild or even semi-wild space might look like outright anarchy to most folks who prefer to set their plants in neat rows where each plant never touches another one. But this natural setup creates an ecosystem that supports the plants, keeps them in good health – and gives you food.
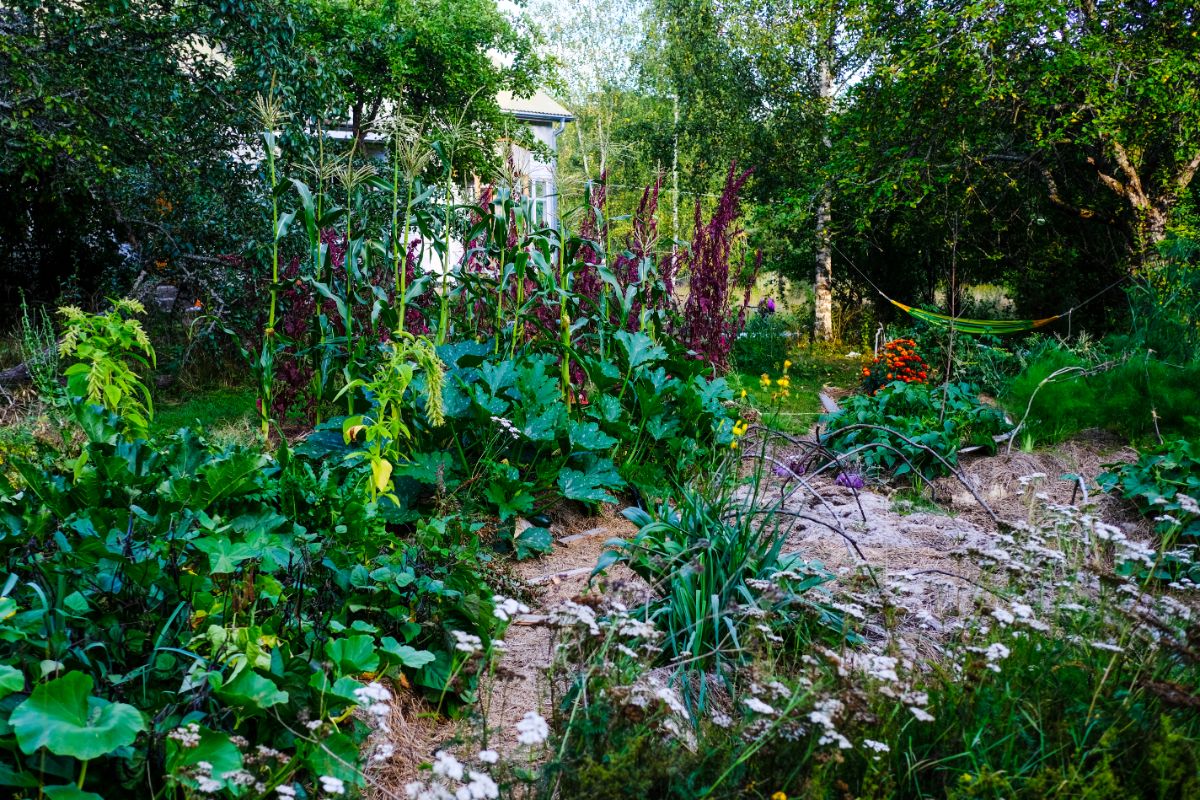
The nice thing is you don't need a whole lot of space to do this. You can grow a tidy little food forest in your backyard. Grow a six-foot-wide strip along the side of your yard. Make a circle ten feet wide with three small trees near the edges.
You won't need as much water to grow a food forest because the ground will be shaded. You'll be putting mulch down to mimic the natural leaf mold that accumulates and breaks down on the forest floor. This will keep plants watered and will give them that rich soil that everybody loves, with lots of organic matter and humus.
You’ve likely walked in a forest or wild area and noticed that the trees look splendid and magnificent, while the plants in our gardens will get covered with spots and Japanese beetles.
What Advantages Do Forests Have Over Gardens?
First, forests are generally (though not always) the end point of ecological succession – that is, the food chains and mature trees, after decades of working it out, become stable. In older forests, pests and beneficial insects finally balance each other out, and the diversity of species is much higher.
The older forest has more niches for all these disparate species, and they've had more time to populate the area, especially if resources are plentiful.
This stability gives old-growth forests that settled, timeless feeling.
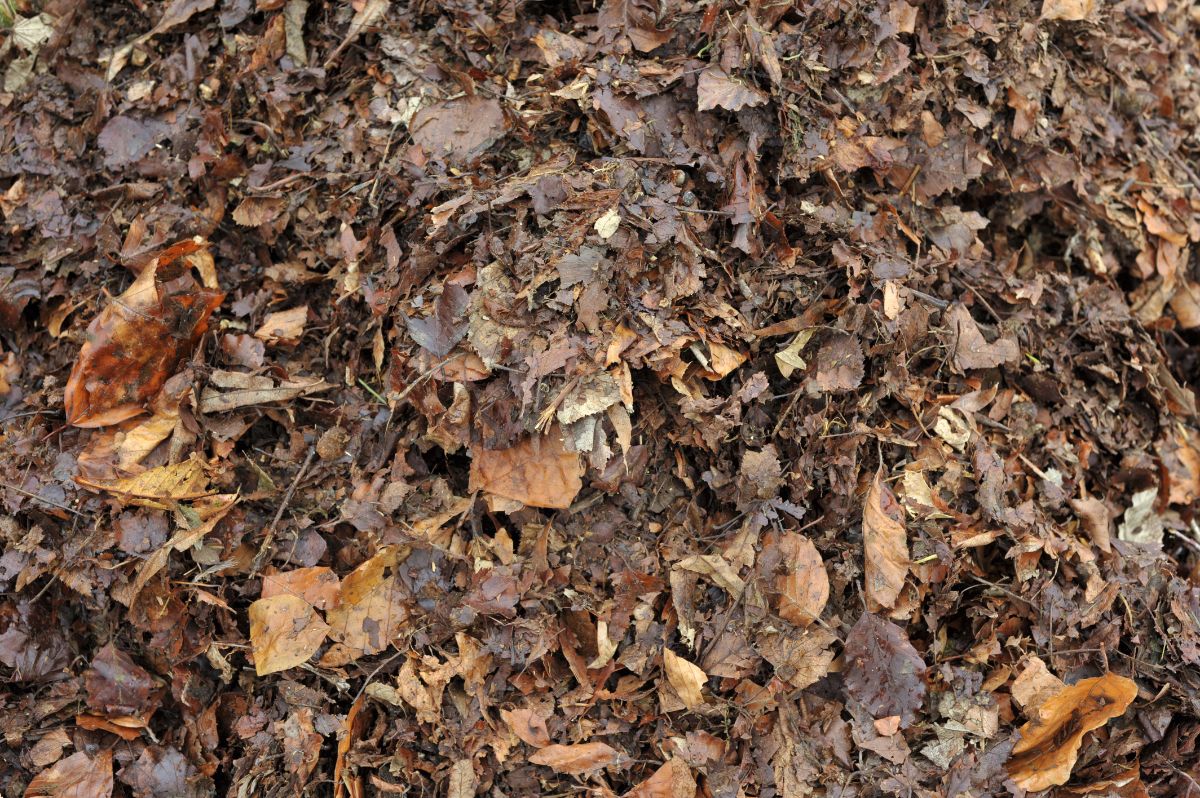
Second, forests and prairies have rich soil because, year after year, fallen leaves and grasses break down and nourish the earth the way nature intended. Nobody’s raking up the leaves and sending them to the landfill. They enrich the soil where they fall.
If you look out in your yard right now, are grasses or leaves coating your lawn with beautiful mulch that’s breaking down into valuable soil? Alas, probably not.
Third, forests must have a wide range of biodiversity. nature hates a monoculture. When you have a large area of one single crop, diseases, and pest insects spread like wildfire because ALL the plants in this area are susceptible to the same diseases and the same pests.
However, in a diverse garden (such as what you might find in a forest), if one plant gets a disease, the rest of the garden remains unaffected.
Remember that planting a tree – much less a food forest – doesn’t mean you’ll simply put a seedling in the ground, and then you’re done. To do this right, you need biodiversity, to plant a variety of trees and other plants so you have a resilient ecosystem.
A food forest is a highly diverse system where the trees and plants can fertilize themselves.
Why Should You Grow a Backyard Food Forest?
Your reasons can be wide and varied.
- Do you want to be more self-reliant?
- Do you enjoy just hanging out in a forest and being surrounded by trees and birds?
- Do you just want to plan a bunch of stuff and see what happens?
- Do you want to eventually grow fruits and forest crops to sell?
- Are you looking for ways to prepare for the oncoming apocalypse?
Knowing what you want gives you a definite direction to travel in.
How to Get Started With a Food Forest
If you definitely know that you want to grow a food forest, but you’re not sure why, don’t overthink it. You can figure it out along the way.
Here are a few things you can do before you start – these next things are completely optional, but they will save you time and trouble in the long run.
Look for Food Plants in Your Local Forests
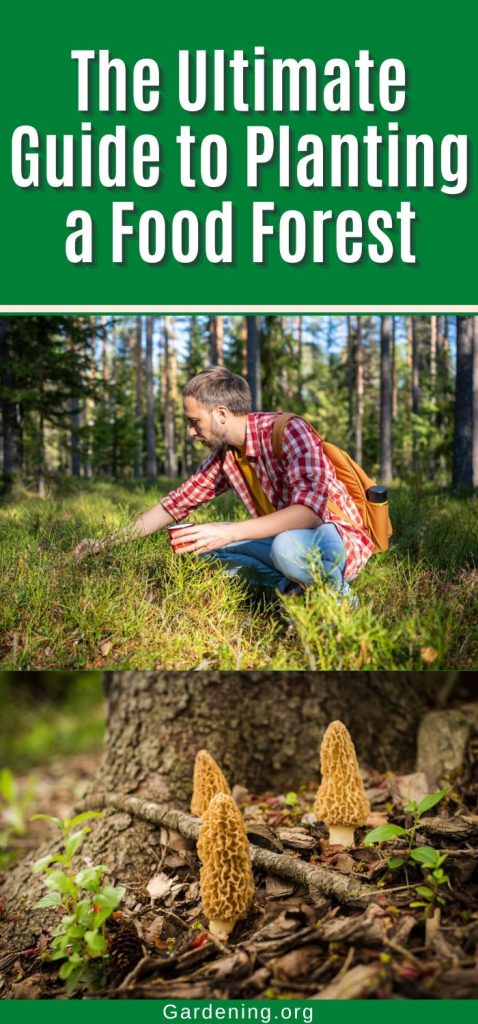
Now, if you enjoy spending time in a forest and you're already familiar with what's growing wild in your area, you've got a good head start.
But you can always learn more. Start looking for food plants in the forest – where they grow, what kind of habitat they like, and what they need to thrive.
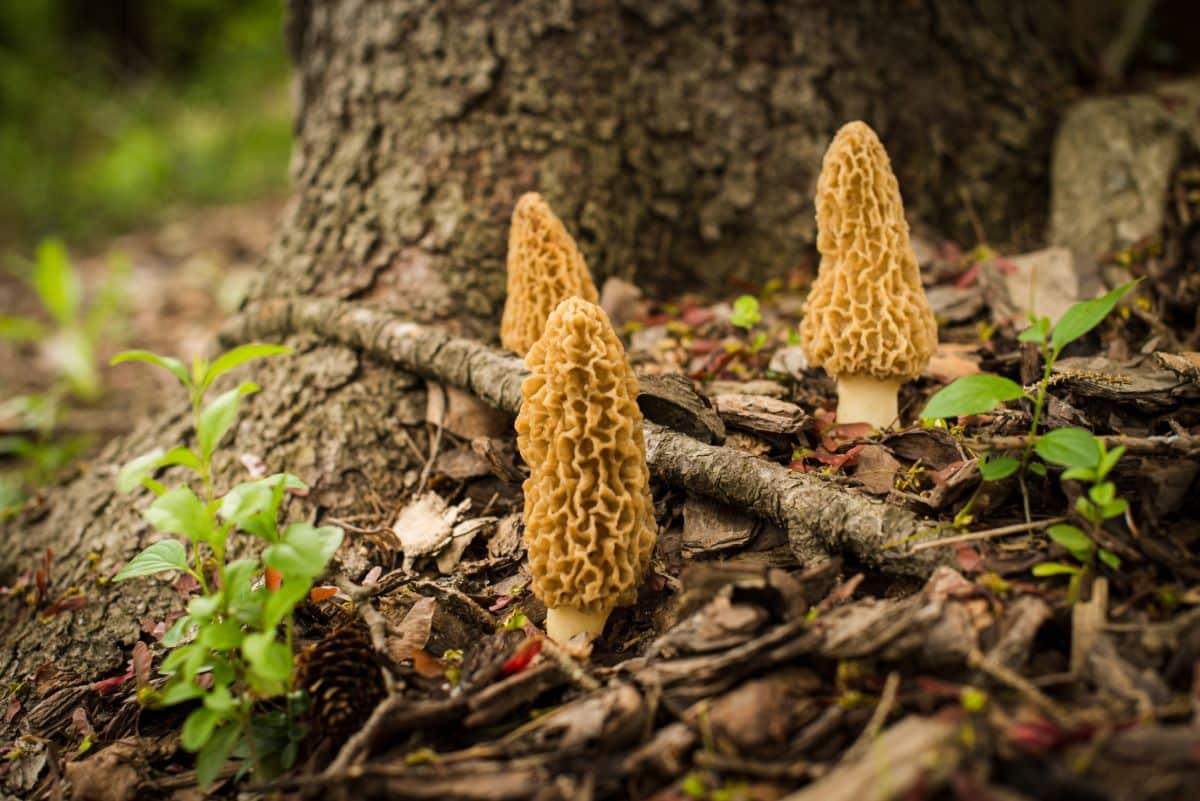
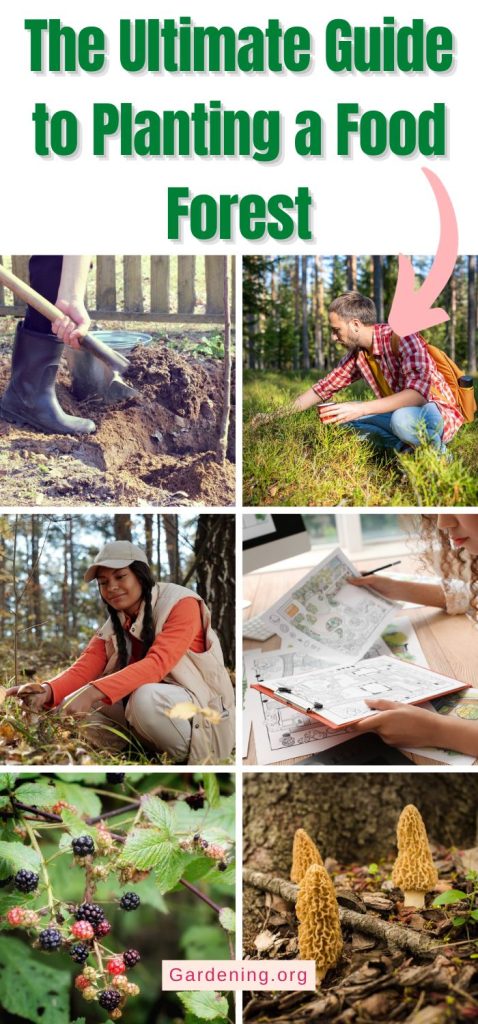
In spring, you can find early greens, edible blossoms such as redbuds and violets, and morel mushrooms. Wild stands of asparagus will grow in waste areas where some birds dropped a seed years ago.
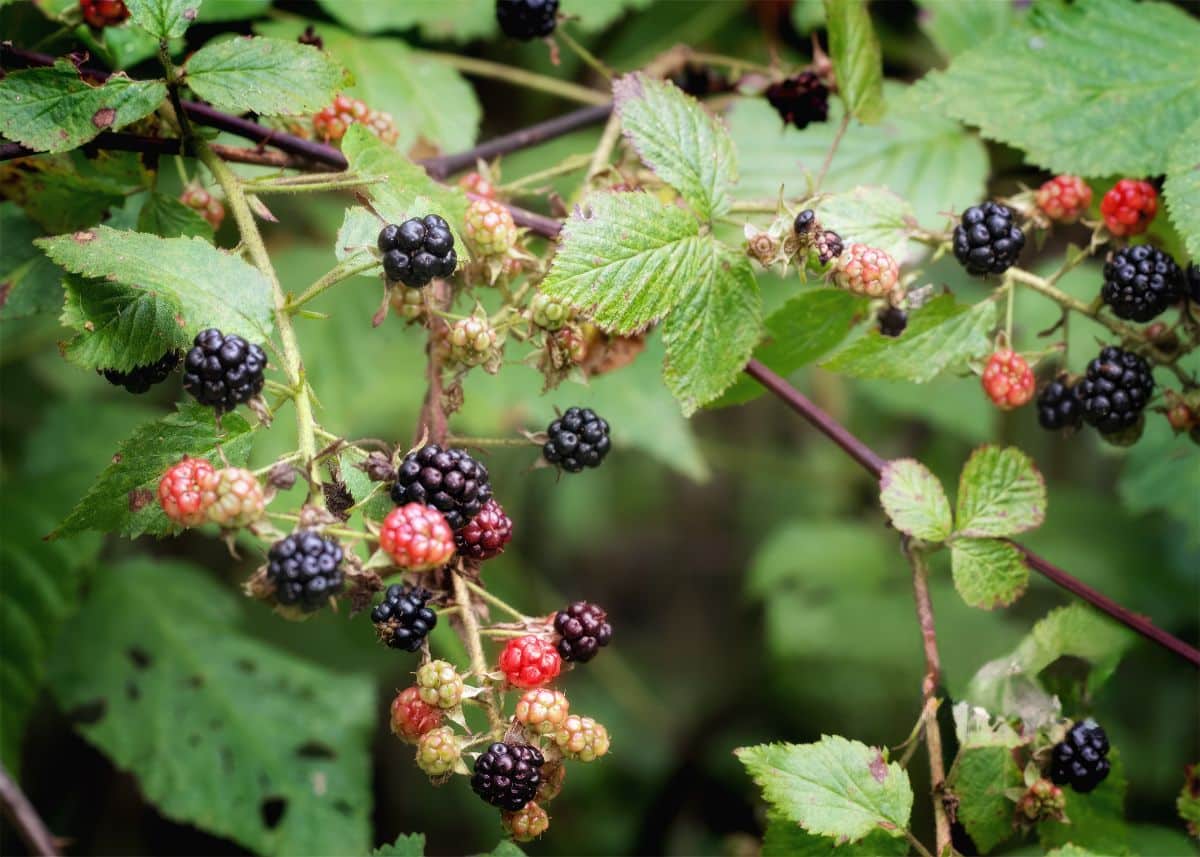
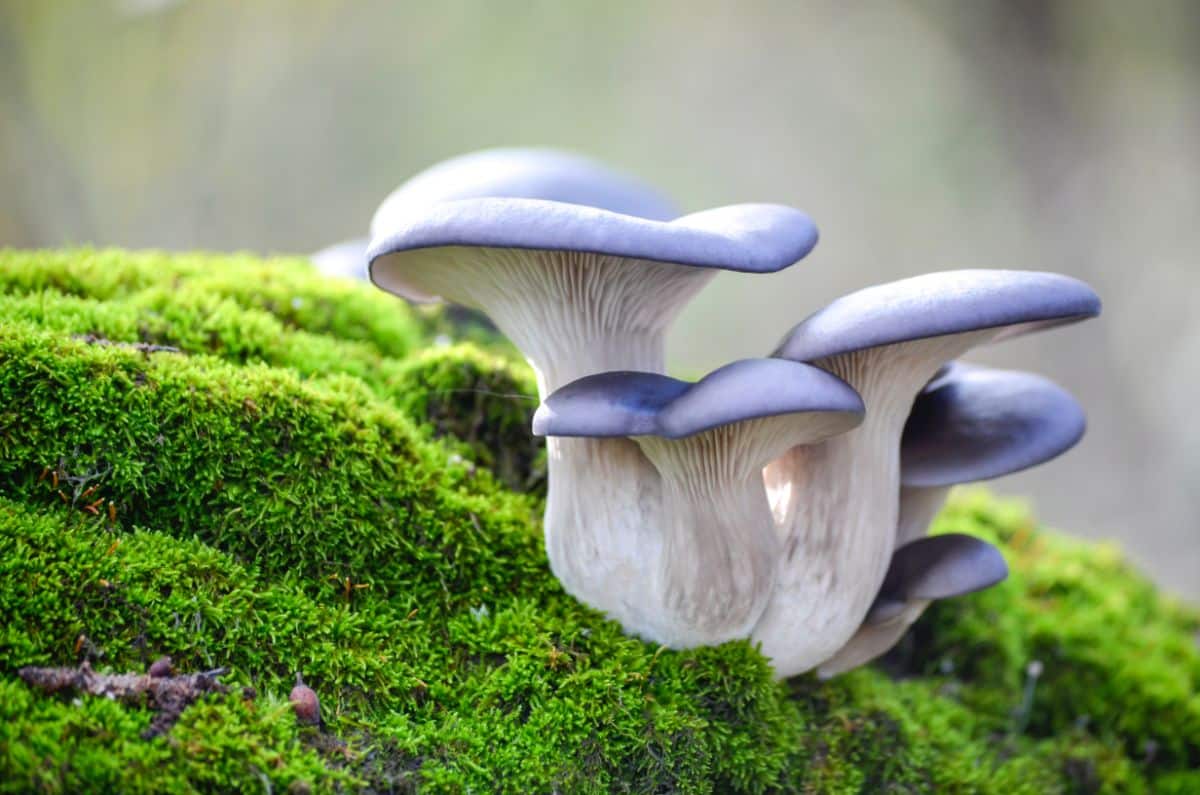
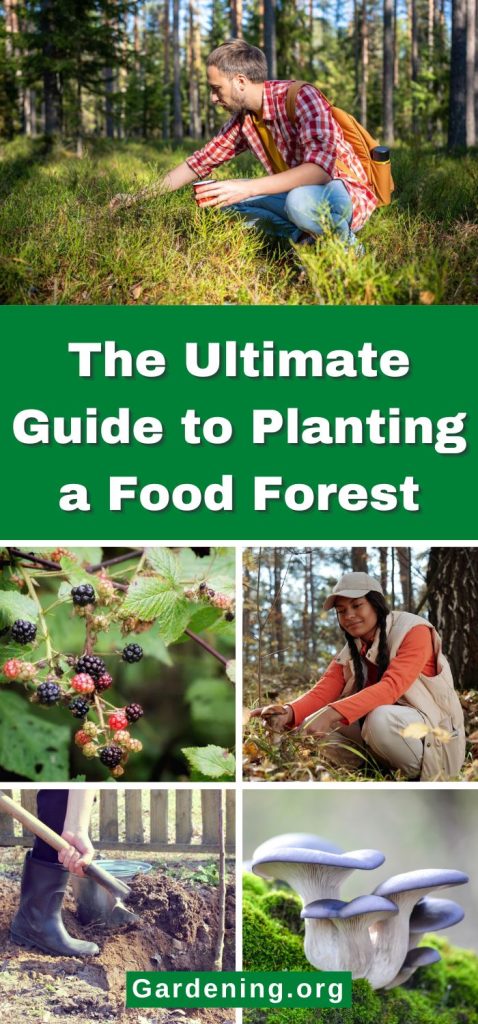
In summer, you can pick blackberries, raspberries, and the low-growing dewberries. In fall, you have pawpaw trees, oyster mushrooms, hickory, and walnuts.
Choosing plants that thrive with neglect will save you much time in maintenance.
Note how much shade and sun these plants are getting and how differences in the canopy lead to different groups of plants underneath.
Take a close look at the rich leaf mold on the ground and how it stays cool and moist and doesn’t dry out. Look at the rich soil under all of it. Note that nature always keeps the ground covered with leaves and dead grasses. Be sure to replicate this in your forest garden.
The trees keep everything under them cool, even in summer. In winter, cold winds do less damage to the plants on the ground, and frosts take longer to reach the forest floor.
Do Your Plant Homework!
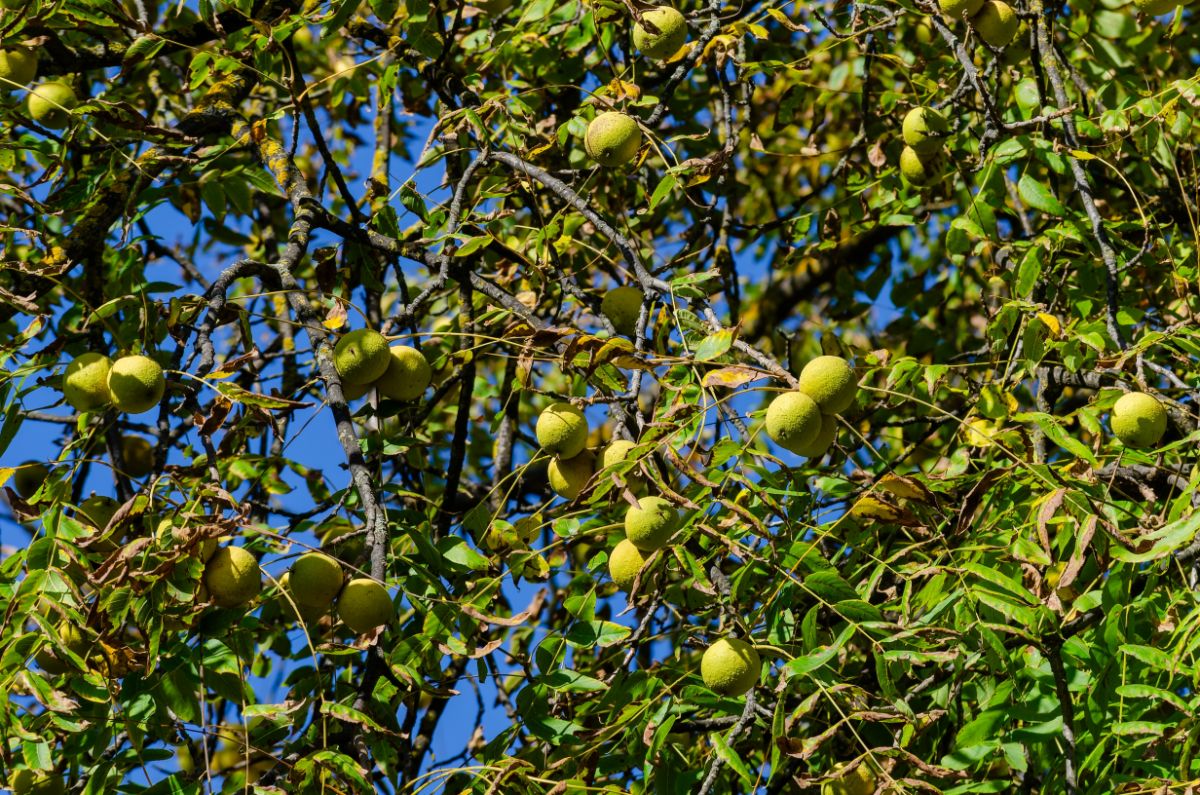
Research the plants that interest you and make sure that they’ll work in your garden. Sometimes, a plant that looks great doesn’t do well in your region, while some don’t get along with other plants. For example, black walnut trees and their relatives exude a chemical called juglone that stunts plants growing under its branches.
Find Out What’s Growing in Your Area
Visit a local botanical garden or public garden to see what's growing. Take notes of what you spy in the woods or in yards around town. Visit local orchards, see what trees are growing there, and talk to the orchard managers about good varieties and recommendations.
Stop by your local nursery for great recommendations.
If you live in the United States, your local University Extension agents have an amazing array of resources for your area, as far as plants, trees, and shrubs. You could even take your tree list to your university extension agent and talk to them.
Learn About Food Forest Guilds
In permaculture, guilds resemble the guilds in Dungeons and Dragons – a group of ragtag sojourners who team up to protect their own interests, but they end up growing together and helping each other out, for the most part. Guilds are a mutual-support network.
Technically, each plant can hold more than one function in a food forest. So you’ll have, say, an edible plant that is also great at accumulating nutrients. Or you might have a bunch of pretty red clovers around the edges of your food forest that will attract pollinators while its roots are fixing nitrogen into the soil.
Your goal in creating a food forest landscape is to have, in each plant group, one or more plants that serve one of these four functions.
Edible Plants
Naturally, these are the trees, shrubs, vines, plants, and ground covers you’re planting for food (apple trees, strawberries).
Nitrogen-Fixing Plants
These are plants, usually from the Pea family, that capture nitrogen from the air and release it in the soil for other plants to use (alfalfa, redbuds, beans).
Nutrient Accumulators
These deep-rooted plants will bring up nutrients and elements from the subsoil. When they die at the end of the year, those hard-to-reach nutrients are released into the soil so other plants can access them (comfrey, dandelions).
Pollinator Attractors
These plants draw in pollinators and other beneficial insects such as bees, lacewings, and so forth (lindens, sweet alyssum).
Prepare the Food Forest with Cardboard Mulch
When it comes to clearing a garden space, I’ve found a neat trick that allows me to set up a garden area without herbicides in a way that will knock down large weeds with very little effort while creating rich garden soil at the same time.
First, mark the area where the food forest is going to go. Use a garden hose to mark the boundaries of your garden and adjust it until it looks right.
If your soil is poor, spread a layer of compost over the area, about an inch thick. If you don’t have compost, don’t worry – you’ll be adding a lot of organic mulch that will do the job for you.
Next, cut large cardboard boxes along one side to open them up, then lay them on the ground until the area where you want the garden is completely covered.
If you also have a lot of newspapers you need to get rid of, lay them, 10 pages thick, over the cardboard. Set rocks in strategic places to keep them from blowing around in the wind. You can even use the colored advertising pages. These days, newspaper printers are using non-toxic soy-based inks.
There’s no need to pull up weeds, not even the big ones – just lay the cardboard on top of them. If the cardboard won’t lie flat, walk over it a few times until the big weeds give up.
Once the garden area is completely covered, lay three or more inches of organic mulch (shredded leaves, wood chips, grass clippings, etc.) on top of that. This smothers weeds and gives you an instantly clean landscape.
If your soil is especially poor, then prepare the garden in the fall and put off planting until spring. For the rest of the year and all through winter, keep adding mulch.
Next spring, when you move aside the mulch to plant, you’ll see rich soil and maybe a nice crop of worms to mix your new topsoil into the ground.
Feeding the soil isn’t a one-time operation – it’s a process. Keep adding mulch all through the year – just as Mother Nature does in the forest.
Choose Your Planting Site
Choose a site that gets at least six hours of sunlight per day. Even though you’re growing a forest, trees are in a highly competitive race. Whoever grows to be the tallest and gets the most light is the winner. There should also be enough sun to filter through your trees’ branches to reach the plants and shrubs.
Find a site that’s not boggy that’s suitable for the plants you want to grow.
Designing the Backyard Food Forest

So, once you've chosen your preliminary plant list, start playing with a loose plan.
(Remember that your plant list and your plans can be amended at any time if you think of a plant or arrangement that works better for you.)
If you’re part of the DIY crowd, but you haven’t done much garden design, there is free landscape design software and apps available for your computer or phone. Do an internet search for “best free landscape design programs,” then look through a few online articles to see what’s available. The right software program can make this process much more enjoyable.
If you prefer, you can also use old-fashioned paper, pencils, a protractor, and patience.
- Start with a rough sketch: Measure your yard. Then, using graph paper, draw a rough sketch of your site. Go on Google Earth and zoom in on your address until you get an aerial view of your house – this will help you if you have trouble measuring the area. Indicate the location of existing structures, such as your house, garage, or shed.
- Determine how much garden you can actually handle: Consider the size of your site and the amount of time and resources you have available. It's better to start small and expand over time than to overwhelm yourself – especially when summer arrives and everything needs weeding.
- Work on the largest aspects first: Draw in the big trees and shrubs first, then fit the smaller parts in around these.
- Add supporting elements: Remember to leave a spot for your compost bins, rainwater harvesting systems, and paths to make your food forest garden more productive and manageable.
- Plan your plantings: Select a mix of crops that are appropriate for your climate and soil. Consider planting groups of plants that work together to create a self-sustaining ecosystem (aka guilds).
- Choose your planting locations: Group together plants that require similar conditions. Put all water-loving plants in the boggy part of the yard; set all heat-loving plants next to that south-facing brick wall, and so forth.
- Give everything space: Make your paths and access points wide enough to run a wheelbarrow through. Give your plants a little extra space, too. There have been many times when I thought, “This little plant is not going to get THAT big.” Ha! I was wrong.
- Let the sunlight in: Just because it's a forest doesn't mean everything is in a deep, dark shade. There are glades with open light, edges, and growing areas that aren't yet shaded. Clearings allow for sun-loving plants.
- Make sure to create guilds: In each 10-foot area, make sure you have several food plants, some blossoming plants to attract pollinators, some nitrogen-fixing plants,
It’s Planting Day!
You’ve picked up all the plants, you’ve got the extra mulch standing by, you’ve got some all-purpose soil amendments and some mycorrhiza to add to the ground, and your cardboard mulch has been sitting around long enough to kill off most of the weeds. You’ve submerged the roots of your bare-root plants overnight in a bucket of water, you have your finished garden plan in hand, and the shovel is sharpened and ready to go.
It’s time to plant your forest garden!
The first thing I always do is set the plants where they’re supposed to go. If you have a bunch of bare-root plants, use flags to mark their places. This allows me to make sure that everything fits into the garden area and that there’s enough space between all my plants so they don’t get into slap fights and try to grow over each other.
Again, take care of the big stuff first. Plant your trees, followed by the shrubs, and so on. If you have big gaps in the landscape around the trees, fill them in with plants like tender herbs and annual flowers that will die off when frost comes.
How to Plant a Tree (and Other Plants)
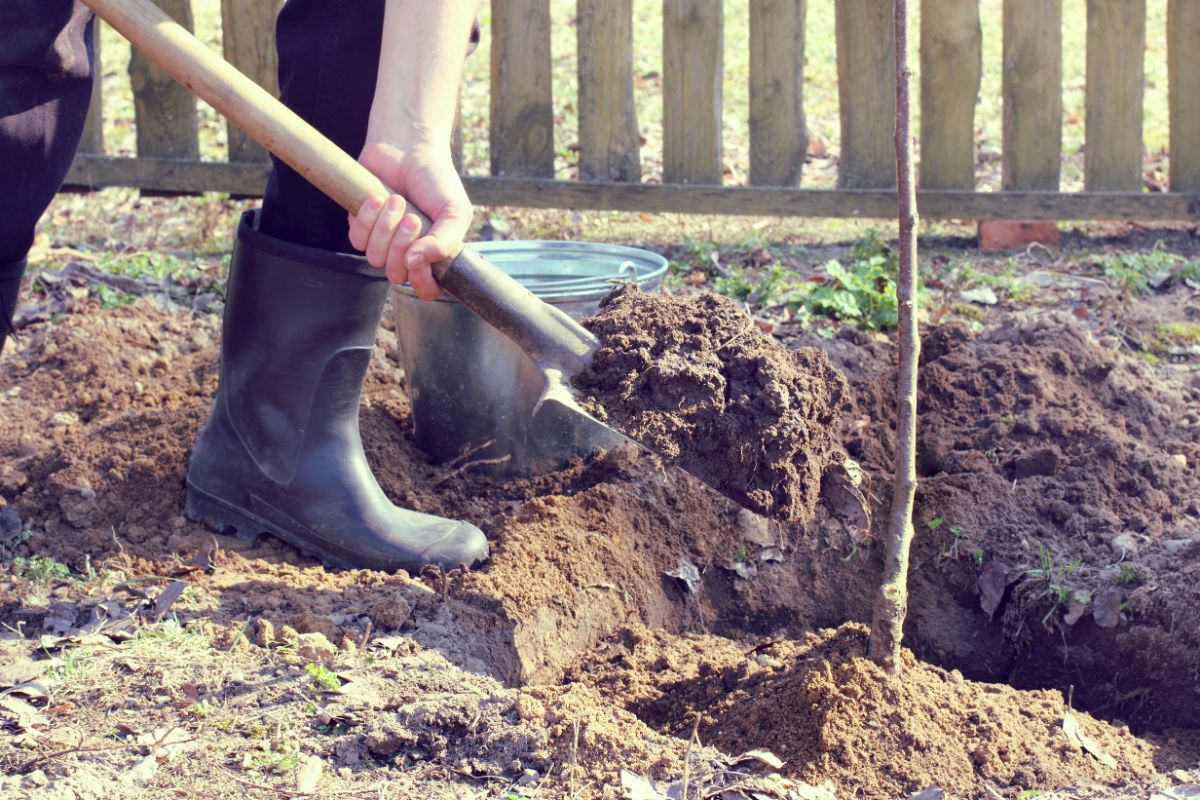
First, dig a hole that’s twice as wide as your tree’s root ball and just slightly deeper than the root ball so the base of the root ball is sitting on solid earth.
Add some compost and a cup of soil amendments to the dirt, and spray in some mycorrhiza to establish a biocommunity underground.
Once the hole is ready, set the tree in. Lay your shovel across the top of the hole, next to the trunk, so you can see if you’ve dug the hole deep enough. The rootball should sit under the shovel handle.
However, if the soil consists of heavy clay or bedrock, plant the tree with the root ball slightly above the ground. If you’re planting a grafted tree (many fruit trees are grafted onto the hardy rootstock), then the bud union should sit above the shovel handle.
Push the soil into the hole, press it down, water it deeply to help settle the soil, and add in more soil when the ground sinks.
Use the remainder of the soil to build a little dam around your filled-in hole to keep water in. Cover it all with two to four inches of mulch to protect the roots and soil.
The same regimen goes for smaller plants as well but put in a half-cup of soil amendment. You won’t need to use the shovel handle with these guys, just make sure the rootball is covered with soil.
Then water everything well, and water the planting every week for about a month, after which you should be able to water only if it hasn’t rained for a while.
And that’s it! Now, you’ve started a food forest community in your yard that you can enjoy (and add on to) for years to come.

Leave a Reply