Sauerkraut is one of the most famous lacto-fermented foods in the world. Made with cabbage and a few spices, sauerkraut owes its savory yet sour flavor to lacto-fermentation. Whether you eat sauerkraut alone as a side dish or you use it to top off Reuben sandwiches, hot dogs, bratwurst, and other dishes, sauerkraut has a taste like no other!
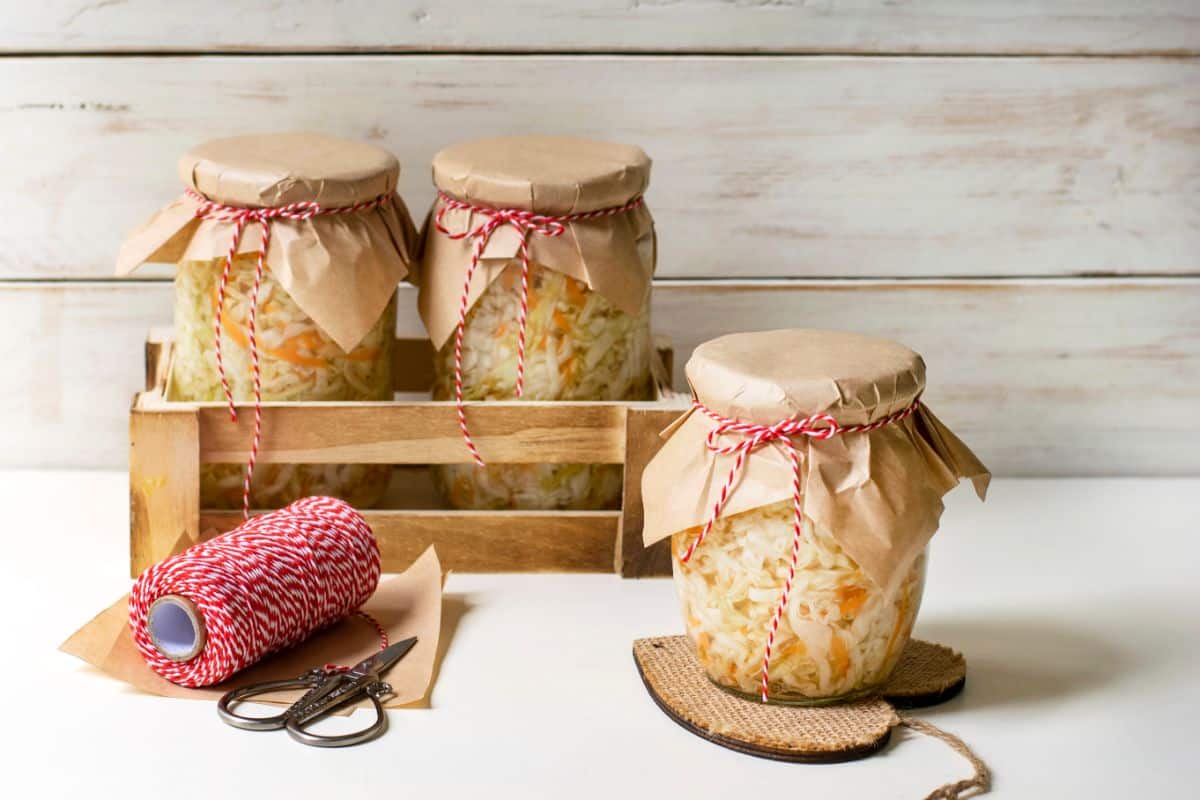
While store-bought sauerkraut has its charm, most of the sauerkraut you’ll find at the grocery store has been canned with heat, which kills off the beneficial bacteria in the jar. However, if you make your own sauerkraut with homegrown cabbage, you’ll have the freshest ferment with all the gut-healthy probiotics you could want. Not to mention, making your own sauerkraut also gives you the chance to play with flavors, preserve your harvest and add unique spice blends to create a sauerkraut that’s truly one of a kind!
Jump to:
- Why make your own sauerkraut?
- What are the best cabbage varieties for sauerkraut?
- What else can you use to make sauerkraut?
- How to make your own batch of traditional sauerkraut
- The process
- How long does homemade sauerkraut last?
- Troubleshooting
- Frequently asked questions
- Summary
- Homemade Lacto-Fermented Sauerkraut Recipe
Why make your own sauerkraut?
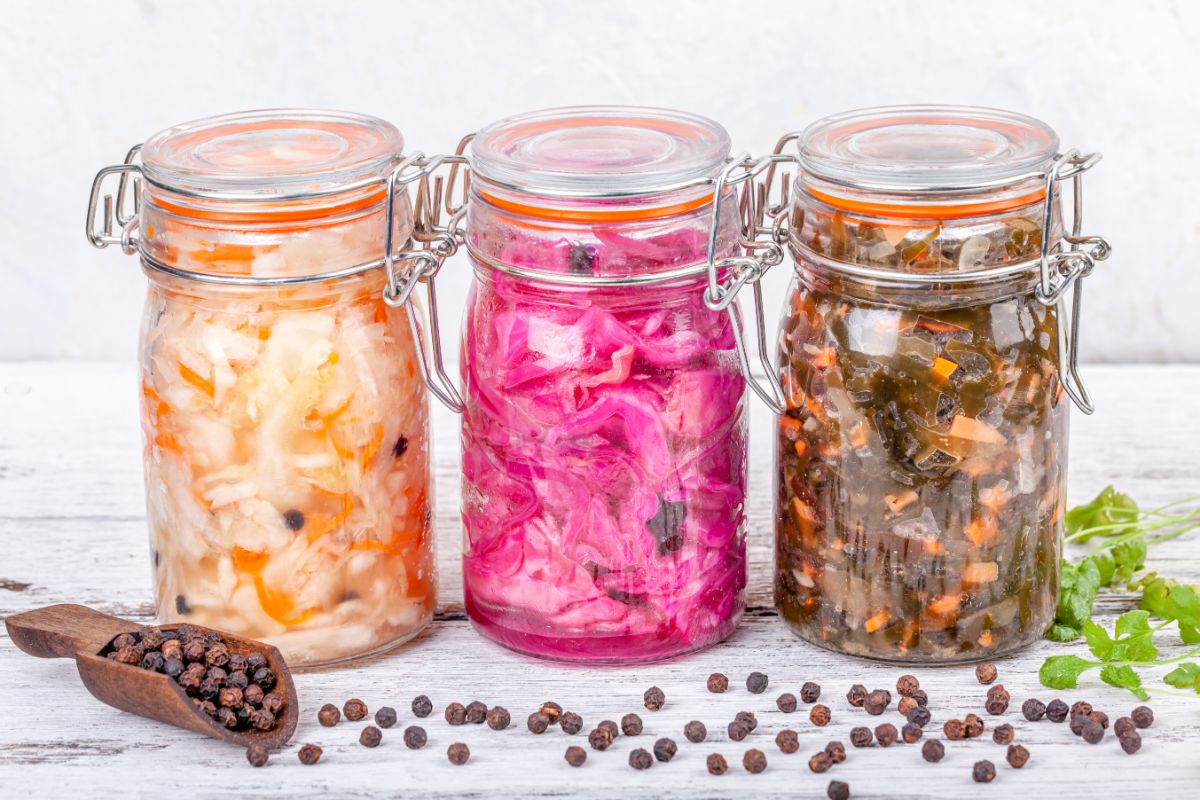
Being able to tell your dinner guests that you made your own sauerkraut out of homegrown cabbage is definitely a feat worth celebrating. However, if you’re looking for more tangible reasons why you should try your hand at fermenting your own sauerkraut, you may just want to trust your gut. Because, after all, homemade sauerkraut is rich in gut-healthy probiotics!
Storebought sauerkraut may be more convenient, but if you’re buying non-refrigerated sauerkraut, it won’t have the probiotics you may expect in this fermented food. That’s because canned sauerkraut is processed with heat, which kills off all the beneficial bacteria in the jar.
Another reason to make your own sauerkraut is variety. While store-bought sauerkraut rarely comes in more than one flavor, you can experiment with your homemade sauerkraut and mix in different spices, herbs, and seasonings. For instance, have you ever seen ginger and turmeric sauerkraut at the store or sauerkraut with fiery jalapenos blended into the mix?
Making your own sauerkraut is also a learning experience, and it can help you feel more empowered with the knowledge that you can make your own homemade ferments! Plus, fermenting prevents your cabbage harvest from going to waste, which is particularly good news if you had a bumper crop of cabbage!
What are the best cabbage varieties for sauerkraut?
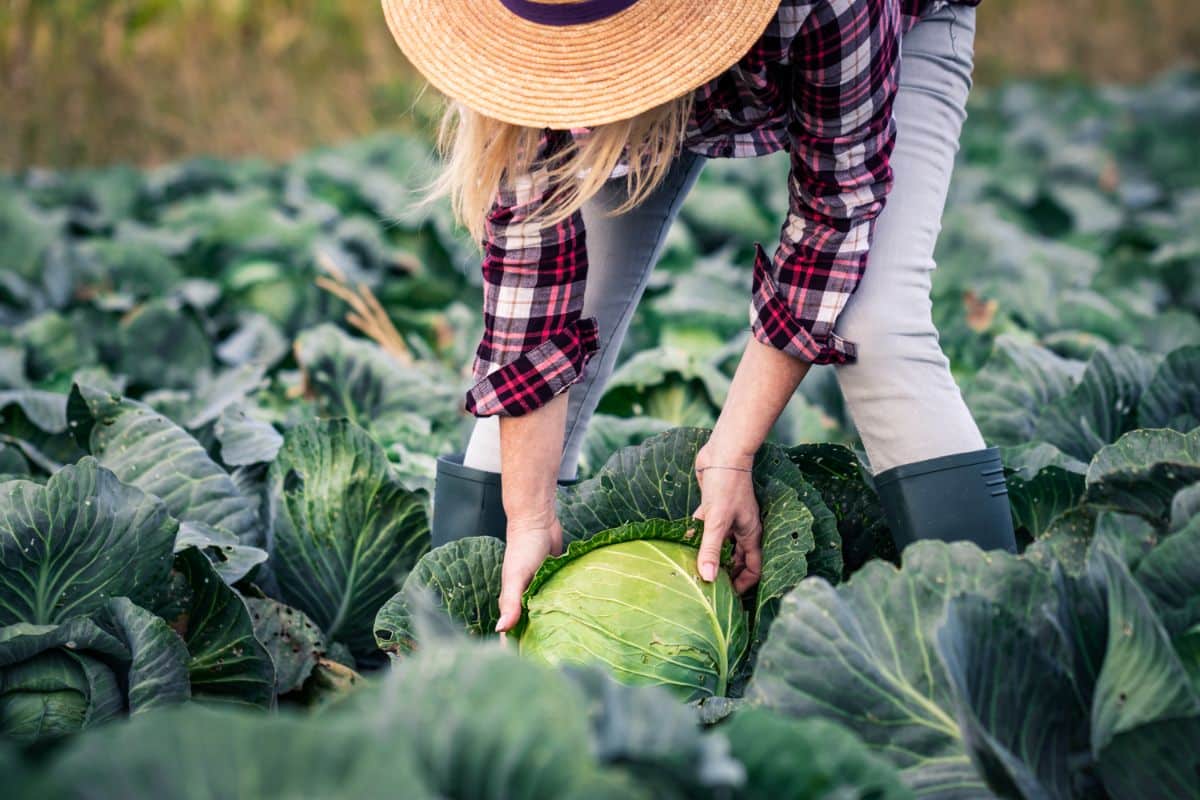
Any variety of cabbage can be used to make sauerkraut; however, cabbages with firm and crunchy leaves are usually the best choice for fermenting as they will retain their texture better. Winter cabbages generally have a higher moisture content, which is particularly useful for making sauerkraut. Both red and green cabbage varieties can be fermented, too, allowing you to make sauerkraut batches in a variety of colors!
Traditionally, some of the best cabbage varieties for making sauerkraut are heading cabbages like:
- Krautman
- Danish Ballhead
- Golden Acre
- Premium Late Dutch
- Brunswick
- Quintal d’Alsace
- Red Acre
- Late Flat Head
Napa cabbages and summer cabbages can also be used for sauerkraut making; however, these cabbages have different moisture contents, and they may create a limper and softer finished product.
What else can you use to make sauerkraut?
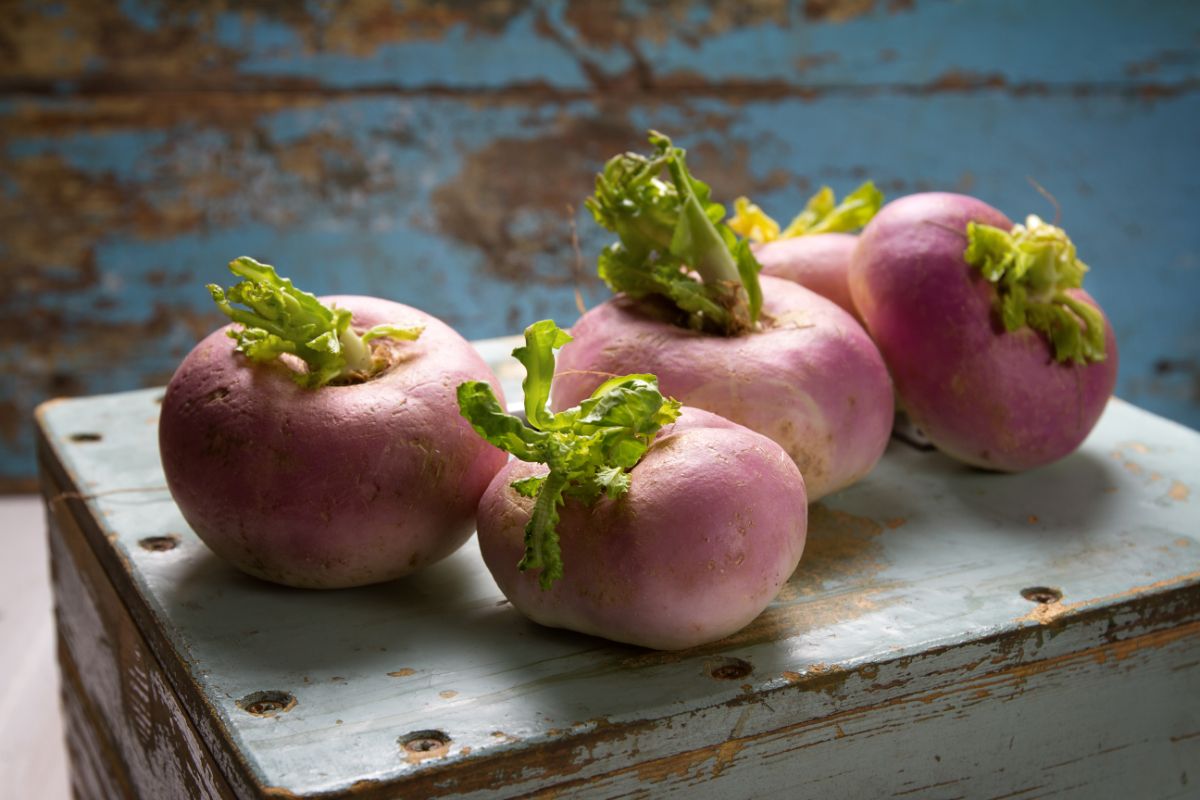
Pretty much any leafy green can be made into sauerkraut, including kale, beet greens, turnip greens, mustard greens, and collard greens. But, if you want to go this route, be prepared for different textures, as some of these greens will produce a very soft sauerkraut.
Beets are also blended with cabbages to make a boldly colored purple sauerkraut that’s truly one of a kind. Sauerkraut can also contain other garden veggies, like carrots, winter radishes, onions, rutabagas, apples, and parsnips. If you like the idea of making your own sauerkraut, why not experiment with a few different veggie add-ins to see what you can come up with!
How to make your own batch of traditional sauerkraut
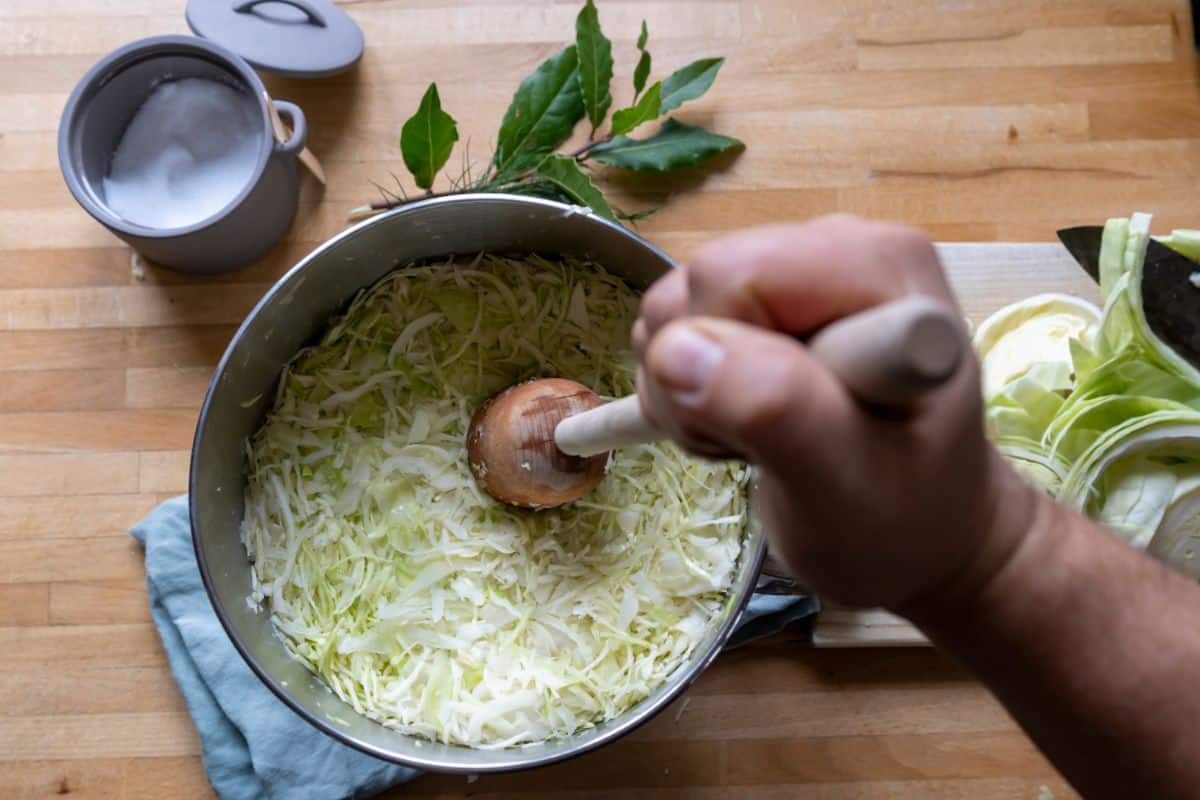
Making your own sauerkraut may feel a bit intimidating at first, but if you have an extra cabbage or two at hand, you can make a scrumptious batch of sauerkraut right at home. But first, you’ll need to gather your supplies!
What you’ll need:
- 2 pounds of washed cabbage, either red or green, will do. Cabbages range in size, but one large cabbage should weigh about 2 pounds.
- 1 teaspoon of dried mustard seeds
- 1 teaspoon of dried caraway seeds
- 10 dried juniper berries
- 3 teaspoons of non-iodized salt, like Himalayan salt or sea salt
- 1 cup of non-chlorinated water*
- Large fermentation crock or ½ gallon Mason jar
- Fermentation weights
- Cutting board
- Knife
- Large, non-metallic mixing bowl
- Non-metallic spoon
*Some tap water contains high levels of chlorine, which can interfere with the fermentation process. To avoid this, consider using bottled water for your ferment. Alternatively, boil tap water for 15 minutes to remove chlorine and allow it to cool fully before use.
The process
- Shred your cabbage.
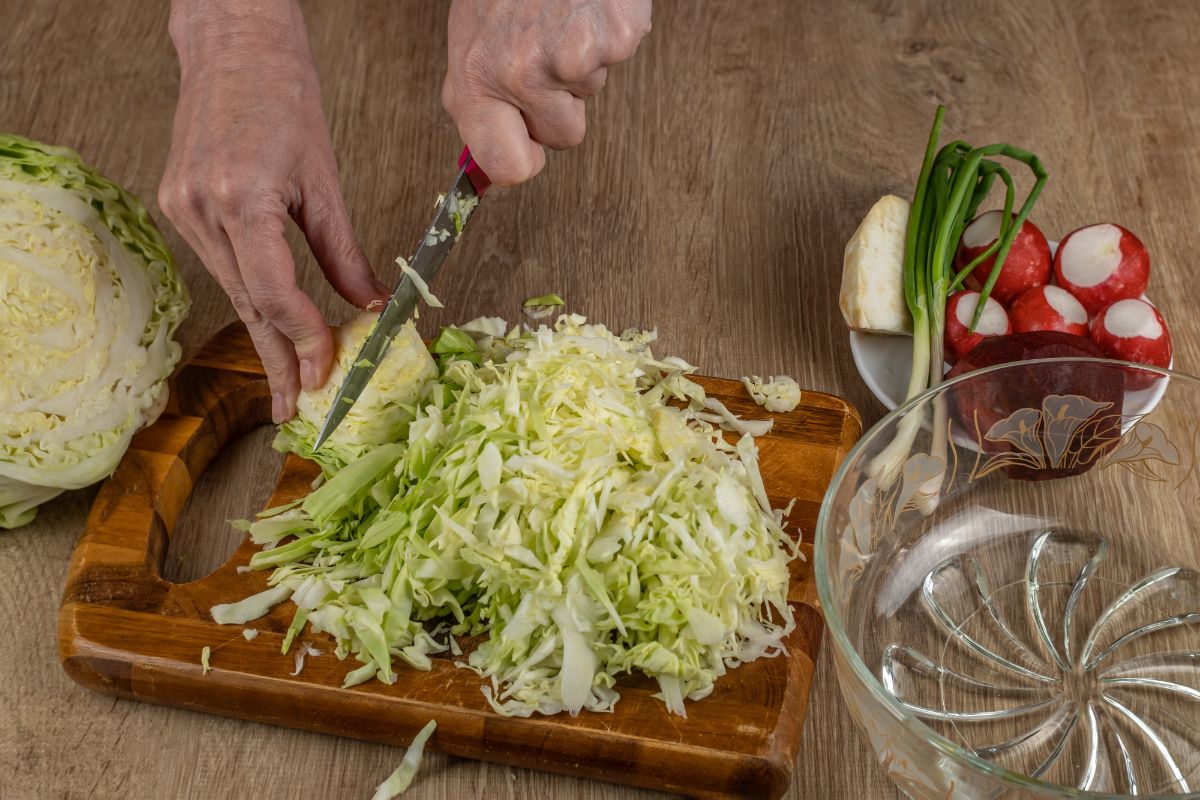
The first step to making your delicious homemade sauerkraut is, of course, to cut your cabbage. Use a knife and slice your cabbage as thin as you can. You can also use a mandolin or a food processor, which can be particularly helpful if you’re making a large batch of sauerkraut and need to process a lot of cabbage quickly. There is a more traditional tool that looks similar to a mandolin slicer that's designed for this job called a cabbage shredder.
Tip: Before shredding your cabbage, remove the outer 1 to 2 leaves from the exterior of your cabbage and save these leaves. They will come in handy soon!
- Add your ingredients.
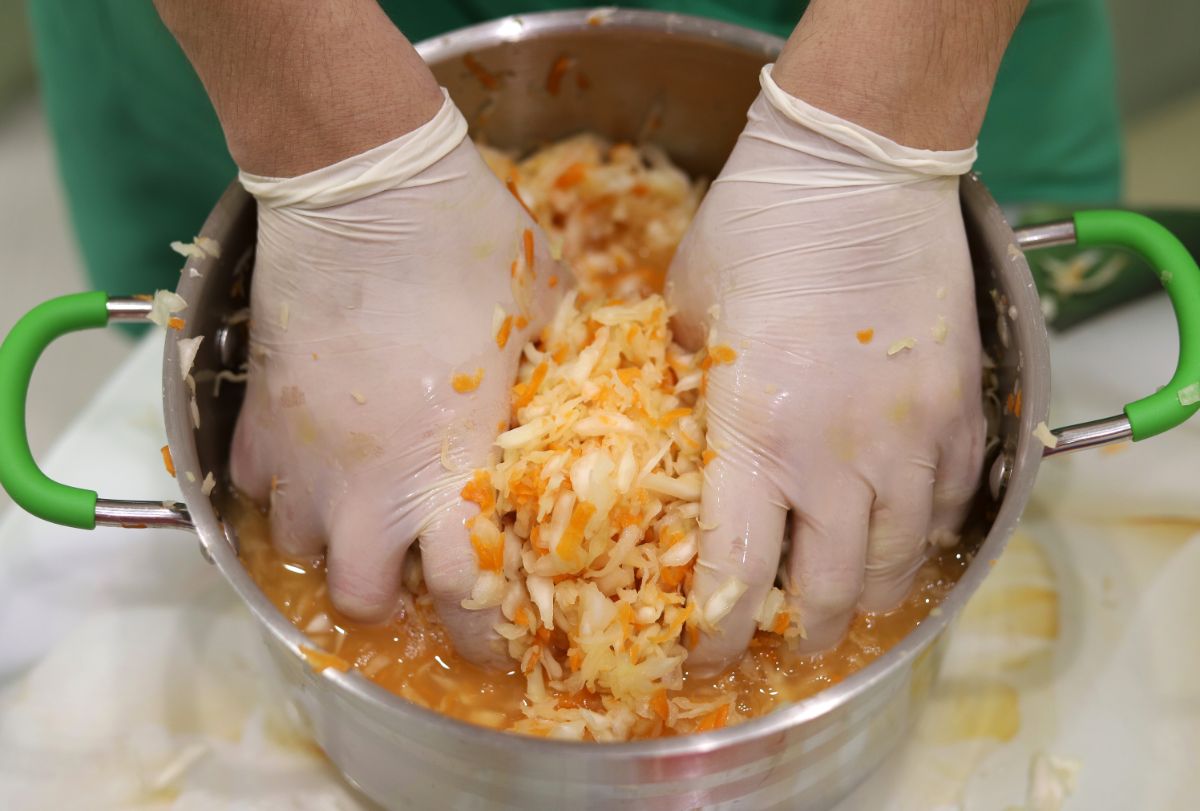
Place your cabbage in a large, non-metallic mixing bowl and add in your spices and 2 teaspoons of salt.
Tip: For a slight variation and more color, you can swap out some of your shredded cabbage for shredded carrots.
- Stir.
Mix the ingredients together well, either with your hands or a wooden spoon. Avoid using a metal spoon, as it can react with your sauerkraut brine. If you want, you can use a sauerkraut pounder to soften the cabbage a bit and help it to release more of its juices.
- Let everything marinate.
Allow the mixture to rest for at least 10 minutes, and then stir the mixture again. This will allow the cabbage to release more moisture and create softer sauerkraut. For even better results, you may want to leave your cabbage to marinate for about 2 hours before proceeding with the next step.
- Pack your fermentation crock.
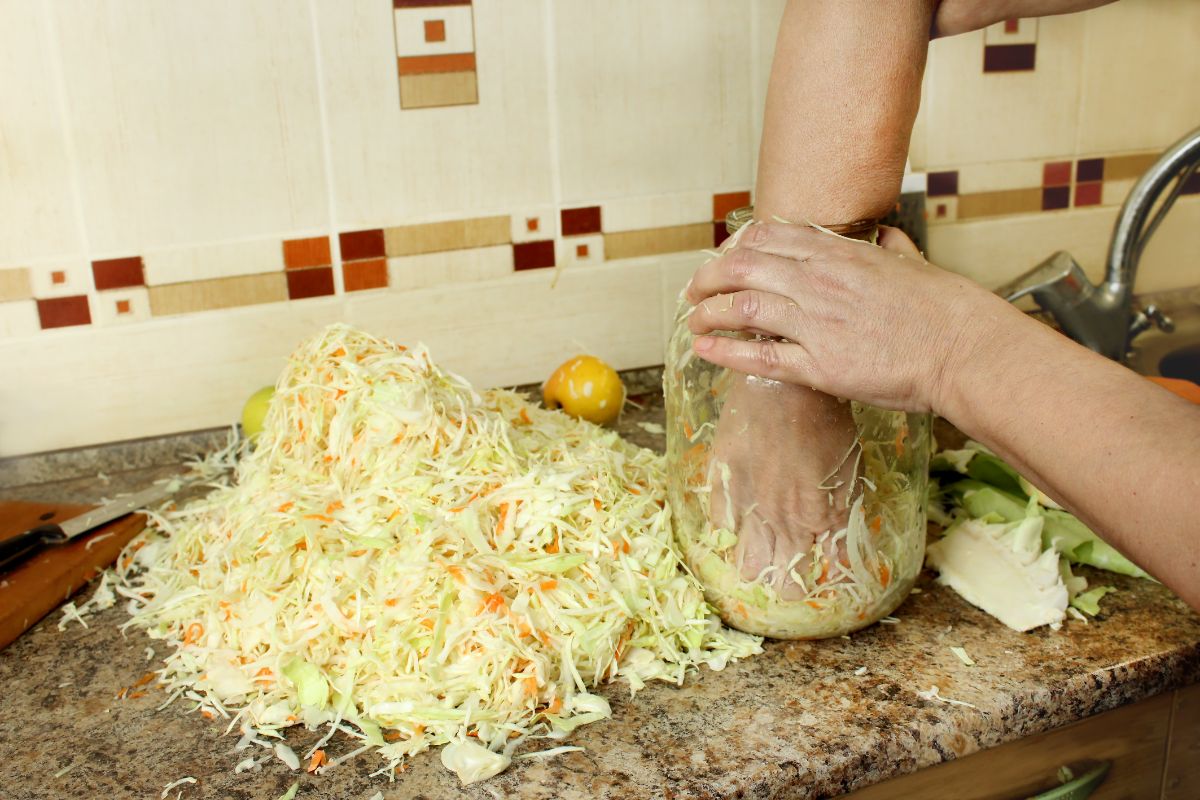
Next, pack your sauerkraut and spices into a sterilized crock or canning jar. Use your wooden spoon to really press the cabbage in tightly and remove any air bubbles. If the sauerkraut released any liquid while marinating, pour this liquid into the canning jar or crock too!
- Pour in your brine.
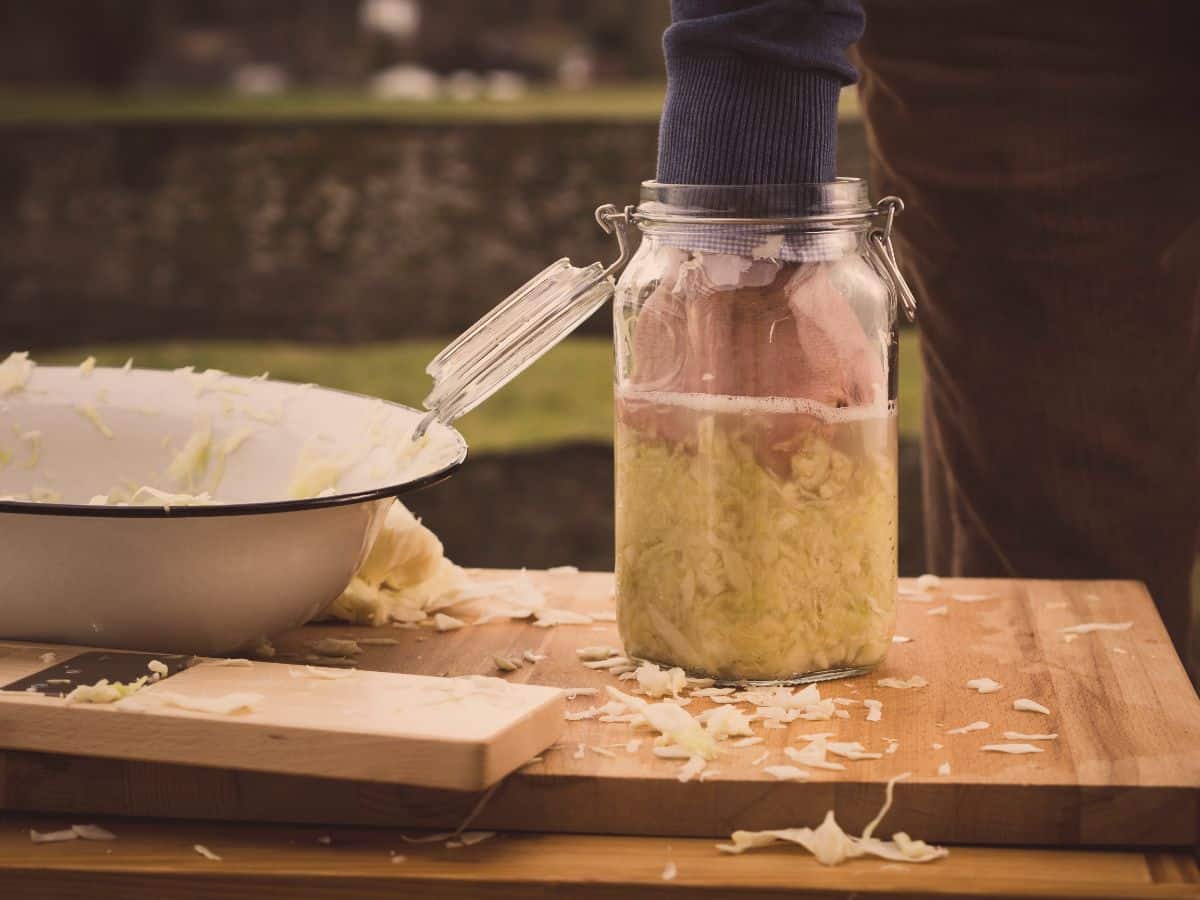
Mix the remaining teaspoon of salt into a cup of non-chlorinated and stir until the salt is fully combined. Either cool or room-temperature water will work but don’t use boiling water for this step. After the salt and water are fully combined, pour it over your sauerkraut mixture.
Ideally, your sauerkraut should now be completely covered with brine. However, if you need more brine to fill up your jar, blend more salt in water at a ratio of 1 teaspoon of salt for every 1 cup of water.
- Place your weighs.
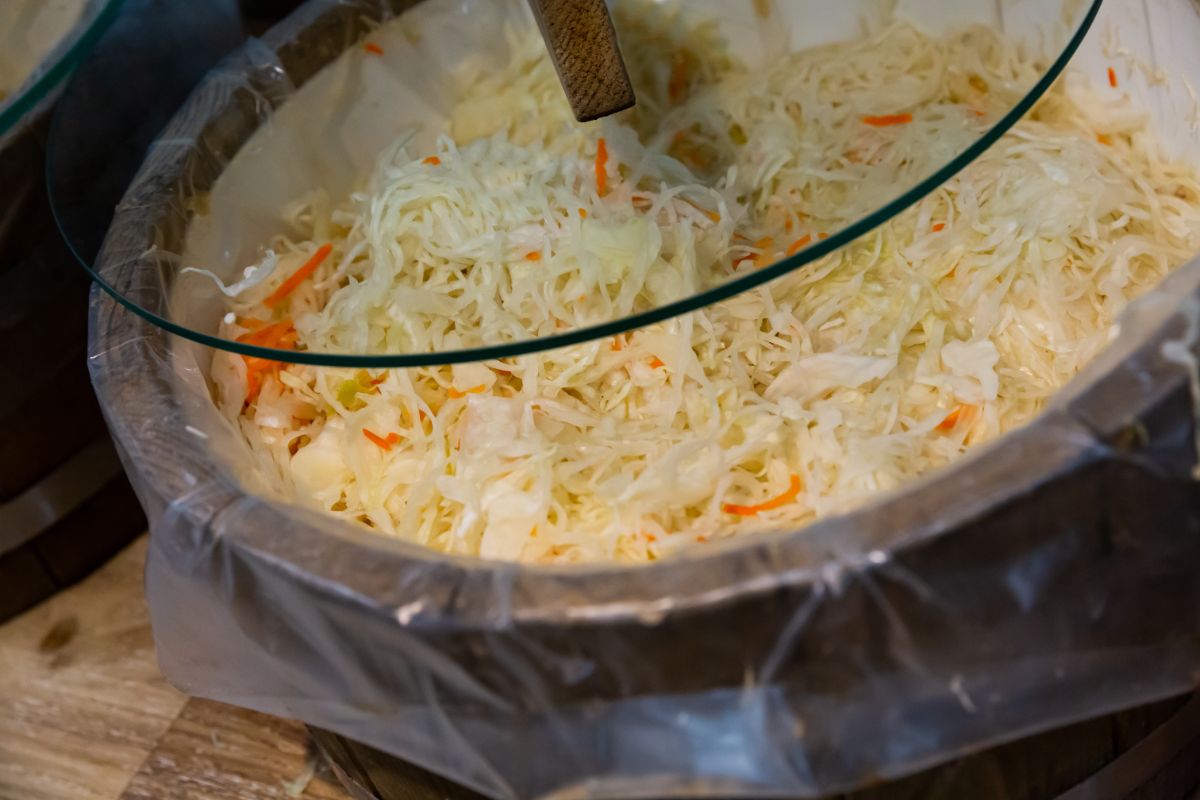
Air can spoil a ferment, and any cabbage pieces that rise above the brine during the fermentation process may develop mold. To avoid this, it’s always a good idea to weigh fermented foods down with fermentation weights or another heavy, food-safe item (like a smaller Mason jar filled with water). Use enough weights to keep all of your cabbage completely beneath the salted brine.
Tip: Before you add your weights, gather up those outer cabbage leaves you put aside before chopping up your sauerkraut. If you lay these leaves over the top of your shredded cabbage and then weigh down the leaves with your weights, it will be even easier to keep your shredded cabbage submerged during fermentation!
- Cover your cabbage.

Now it’s time to add the lid to your canning jar or crock. But before you do, remember that the fermentation process releases gases, which can cause a tightly sealed jar to explode! To avoid this, never firmly screw on jar lids.
If you’d like to keep things really simple, you can also cover your ferment up with cheesecloth or a kitchen towel and fix it in place with a rubber band.
- Ferment.
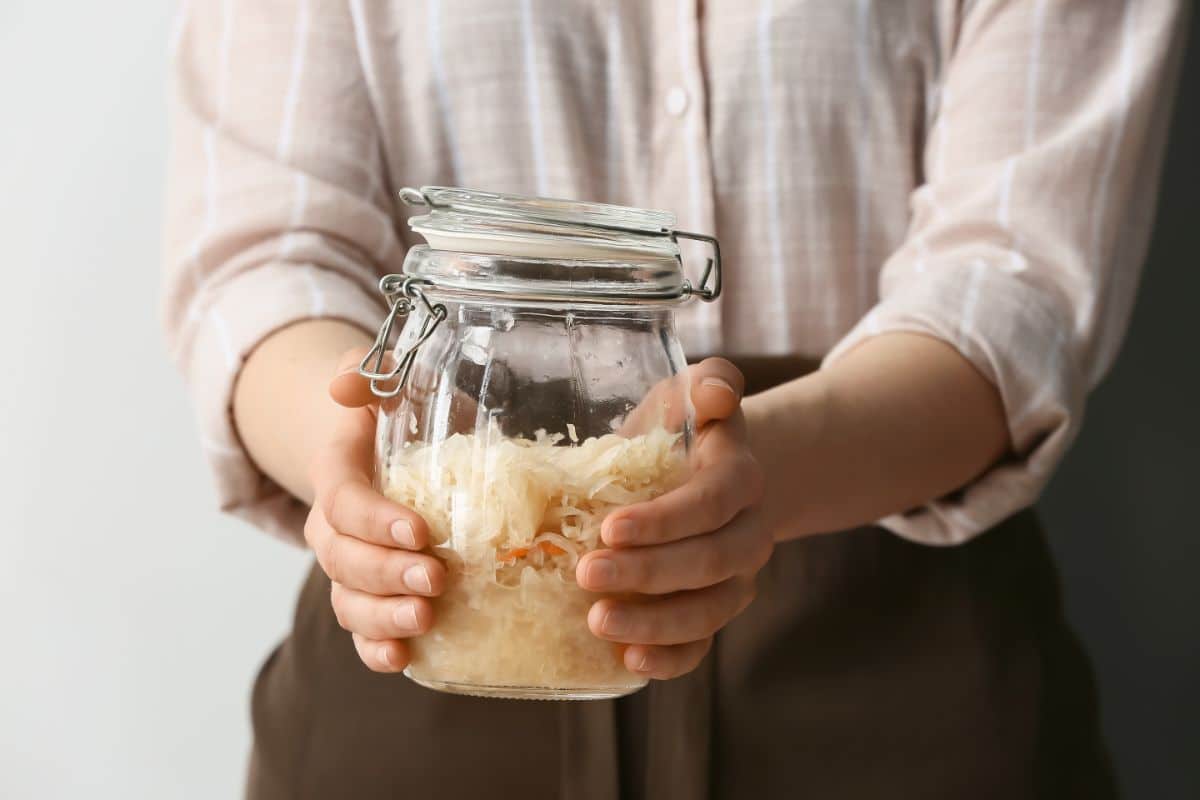
Once your lid is in place, you’re ready to start fermenting. Place your canning jar or crock on top of a baking sheet or shallow dish to catch any brine that might overflow during the fermentation process, and then store the fermentation jar and tray at room temperature and out of direct sunlight. Temperatures between 65 and 72F are usually just right for fermentation, while sauerkraut will ferment quicker at warmer temperatures.
Under your kitchen cabinet or in your pantry are two good places to store your fermentation jar. You’ll just want to make sure your jar is in a location that you will remember to check regularly.
Allow your sauerkraut to ferment for 1 to 3 weeks. During this time, check your ferment every few days for signs of progress. If your sauerkraut brine begins to evaporate, top off your jar with more brine so that the cabbage is always submerged under the brine.
After about a week, begin to taste-test your sauerkraut. Use a clean fork every time you test your sauerkraut, and check the taste of your ferment every few days. When the sauerkraut is as tart as you like, your ferment is finished!
- Store your finished sauerkraut properly.
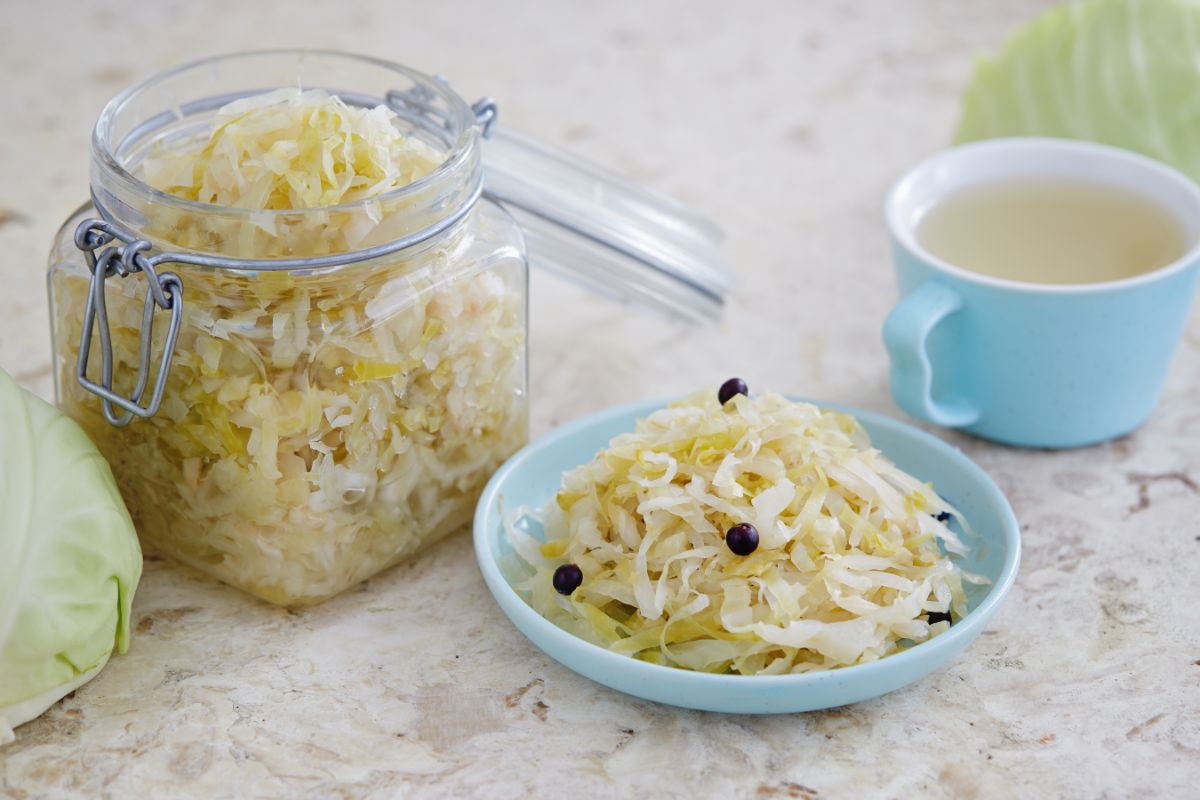
When your sauerkraut tastes just the way you like it, place your sauerkraut in your refrigerator. This will slow the fermentation process down and help keep your sauerkraut fresh. Once it’s finished fermenting, try out your homemade sauerkraut on pork chops, hot dogs, and your other favorite dishes!
How long does homemade sauerkraut last?
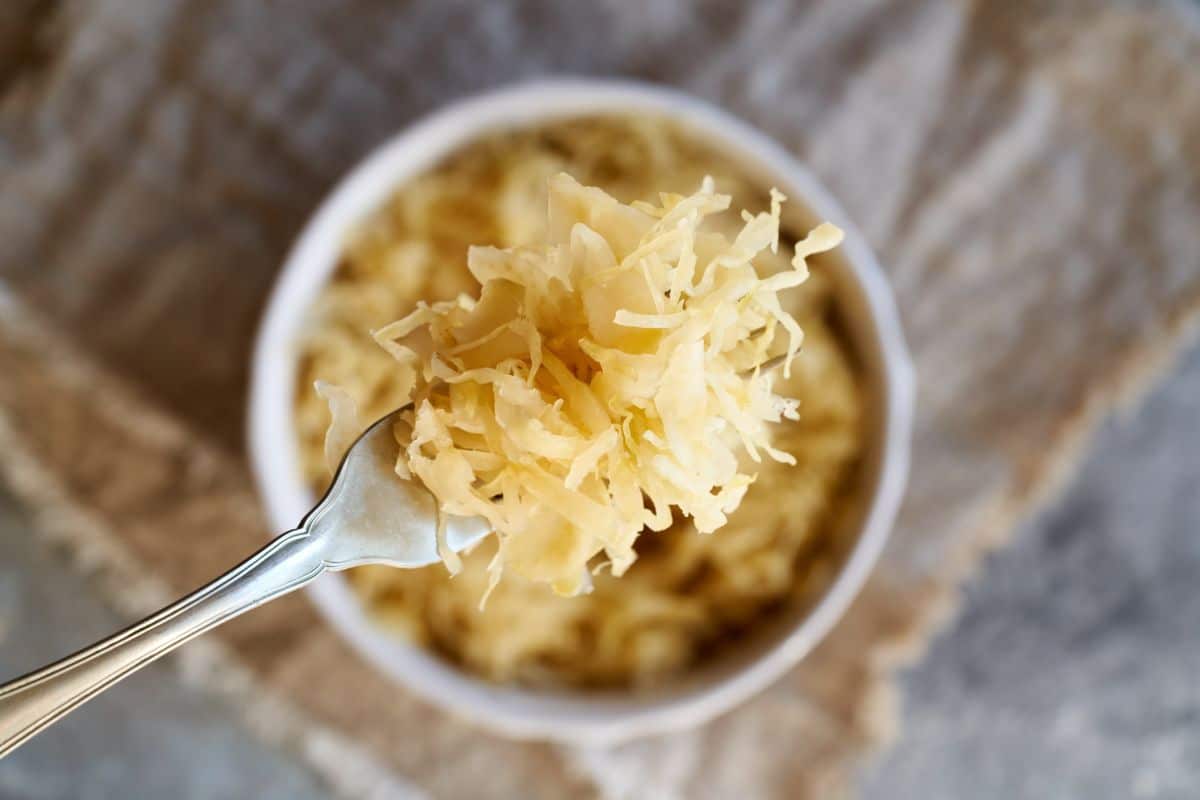
Homemade sauerkraut should last for about 4 to 6 months in the fridge. You can preserve the health of your ferment better by always keeping the lid on your jar or crock and using a clean spoon or fork to scoop out your cabbage.
While sauerkraut has a pretty long shelf life, if you happen to make more sauerkraut than you can feasibly use within 6 months, you can extend the life of your ferment with canning. However, if you can your sauerkraut with heat, it will kill the beneficial probiotics in your jars, although the taste of your ferment should stay about the same.
If you do decide to can your sauerkraut, only use water bath canning methods. While pressure canning has its uses, preserving high-acid foods with pressure usually results in an overcooked and mushy product that isn’t pleasant to eat. After canning, sauerkraut can be stored at room temperature on a pantry shelf for a year or more.
Troubleshooting
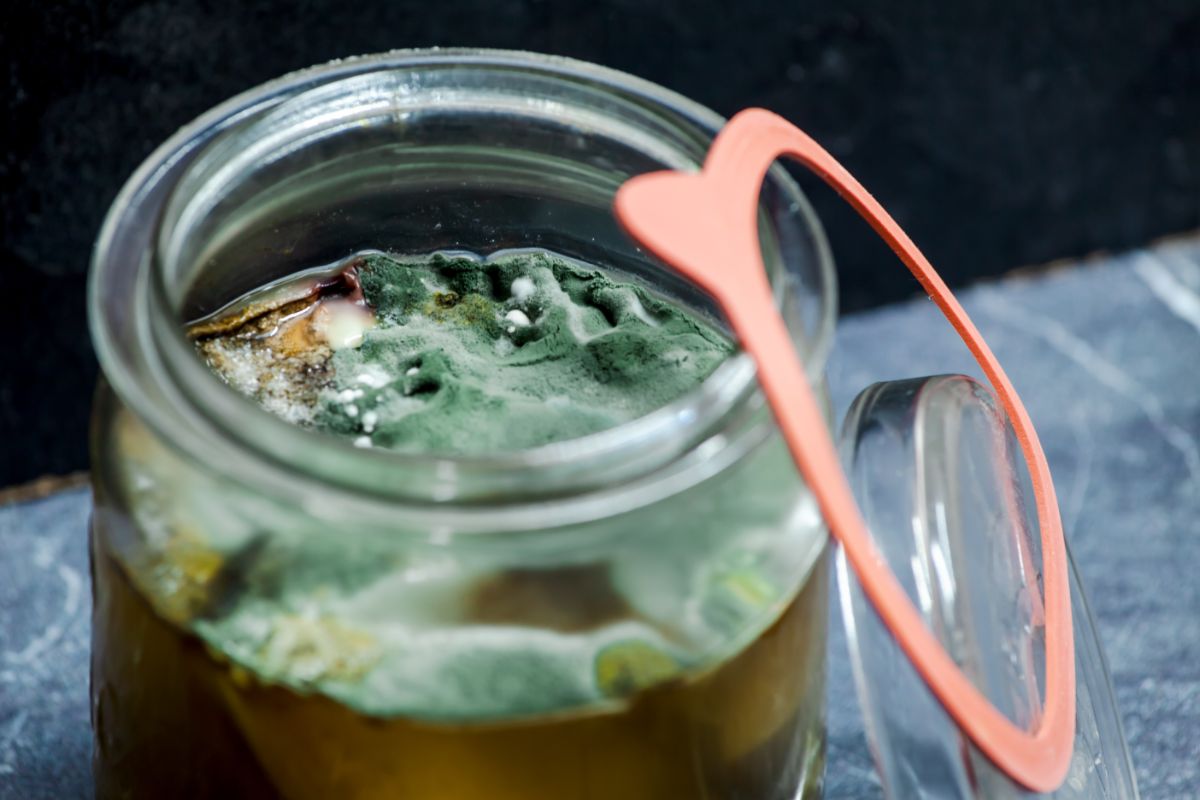
Making sauerkraut is a relatively easy process, but there are some problems that can occur. Some of these issues are entirely fixable, while other issues may mean your sauerkraut has gone bad, and you’ll need to start over. Some of the most common challenges you may encounter when making sauerkraut include:
- Overflow.
During fermentation, it’s very common for brine to bubble out of your crock or jar. While this is totally normal, it can be messy! Avoid spills by keeping your canning crock on top of a shallow dish or tray while it’s fermenting.
- Disappearing brine.
Brine can evaporate or spill out of your crock during fermentation, which is a problem because cabbage exposed to air is more likely to discolor or develop mold. Checking your jar often and refilling it with extra brine will keep your cabbage submerged and fermenting properly!
- Kahm yeast.
If you notice a thin, whiteish film (sometimes with bubbles) on top of your sauerkraut brine, this is totally normal too! This film is actually a natural byproduct of the fermentation process known as kahm yeast. Simply scoop the yeast off the surface of your ferment before eating.
- Mold.
While kahm yeast is a normal part of fermentation, mold is not. Mold can occur due to contaminants in your jar or cabbage, or it can result when pieces of shredded cabbage rise above the brine and are exposed to air. If mold of any color (white, red, gray, green, blue, or black) develops in your ferment, toss your sauerkraut out and start over.
Frequently asked questions

Sauerkraut usually takes about 1 to 3 weeks to ferment; however, a lot depends on the surrounding temperatures. Sauerkraut will ferment faster in hot weather and slower when the temperatures are chilly. Additionally, different people prefer different levels of tartness in their sauerkraut, so it’s always a good idea to taste your ferment often to help you decide when it’s done.
Loosely fitted lids or cloth can be placed on sauerkraut jars or crocks during the fermentation process, but you should never tightly fasten a lid while your sauerkraut is processing. During fermentation, gases are released, which can build up in tightly sealed jars and cause a messy explosion!
Sauerkraut is ready when it’s as sour as you like it! Sample your sauerkraut often during the fermentation process and place it in your fridge as soon as it tastes just right. Bubbles in your sauerkraut is another good sign that fermentation is occurring!
No. Unless your sauerkraut is very salty and you want to lower the salt content, there is no need to rinse the sauerkraut off before eating.
Yes. Longer fermentation times will produce softer sauerkraut with a tangier taste. If you prefer crunchier veggies, only ferment your sauerkraut for about one week.
Mildly flavored sauerkraut usually hasn’t fermented long enough. If your sauerkraut isn’t as sour as you like it, allow it to ferment for a few more days or weeks.
Summary
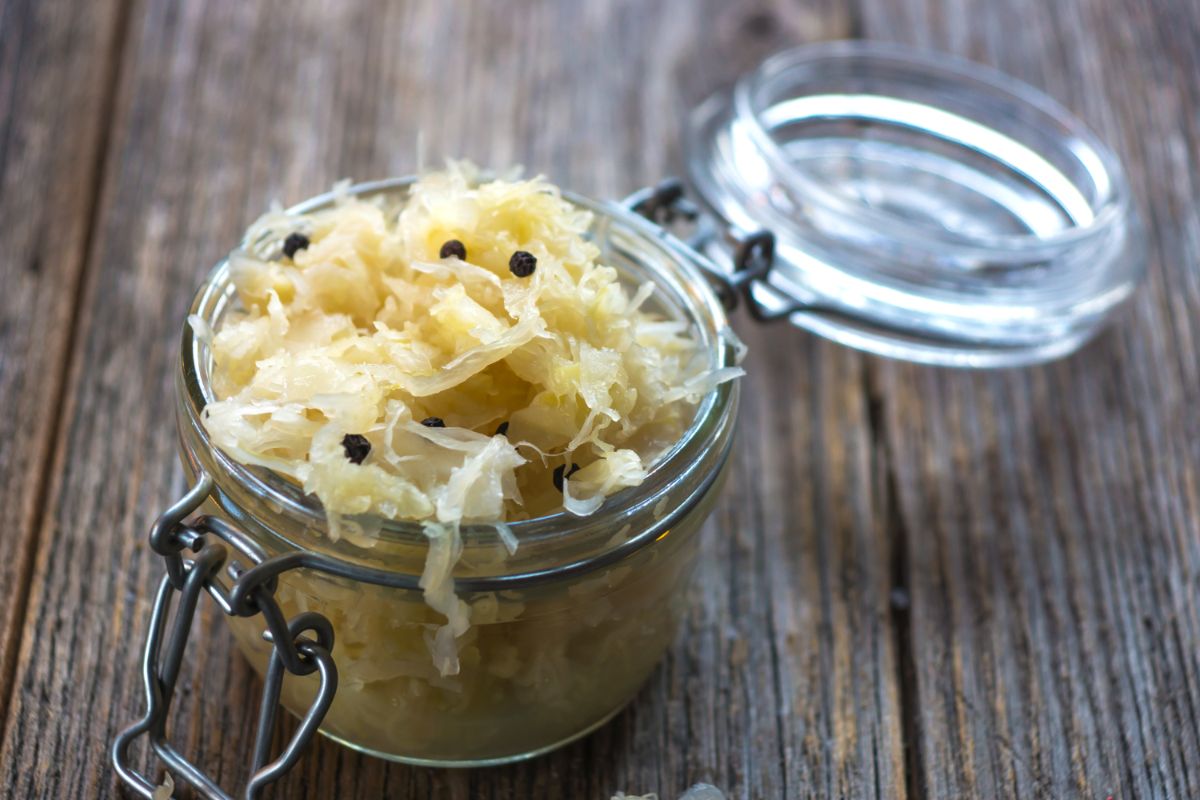
Homemade sauerkraut is so much tastier than the jarred sauerkraut you can buy at the grocery store, and it’s chocked full of healthy probiotics too. Not to mention, making your own sauerkraut can be a fun learning experience for the whole family, and it’s a great way to ensure that none of your garden produce goes to waste!
Compared to canning, lacto-fermentation is a very accessible preservation option, and it’s so easy that even beginning preservers can master it in a single harvest season. Even better, if you try your hand at sauerkraut making, you can apply the skills you learn to other lacto-fermented foods and make your own fermented pickles, hot sauces, and so much more!
We hope you enjoyed this glimpse into lacto-fermentation, but if you’d like to learn more about preserving your harvest at home, we have plenty of other guides to explore. To get you started, make sure you check out posts on different canning methods or plan out your herbal pantry with these best herbs to grow for dried herbal teas.
Homemade Lacto-Fermented Sauerkraut Recipe
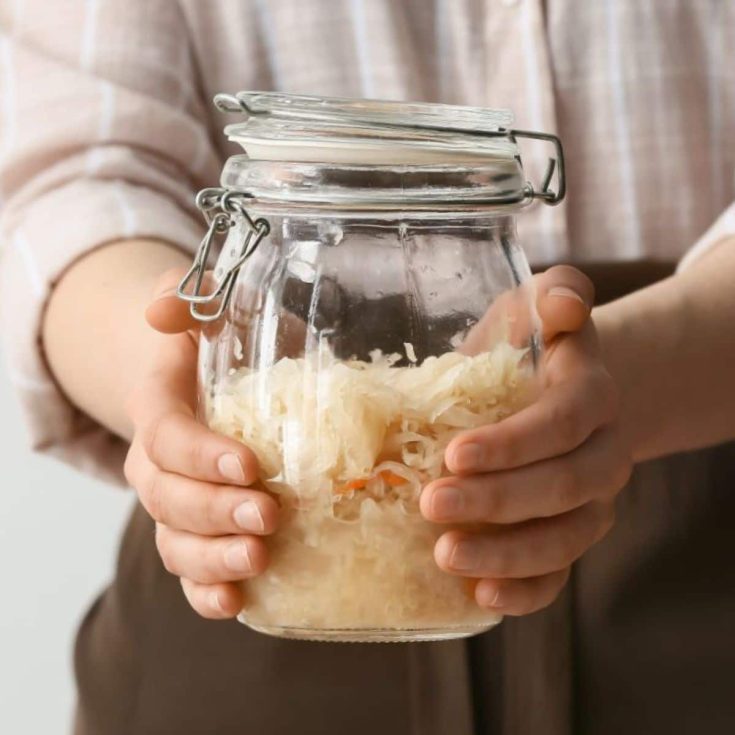
Discover the art of lacto-fermentation with this step-by-step sauerkraut recipe. Create probiotic-rich homemade sauerkraut in no time!
Ingredients
- 2 pounds of washed cabbage, either red or green, will do. Cabbages range in size, but one large cabbage should weigh about 2 pounds.
- 1 teaspoon of dried mustard seeds
- 1 teaspoon of dried caraway seeds
- 10 dried juniper berries
- 3 teaspoons of non-iodized salt, like Himalayan salt or sea salt
- 1 cup of non-chlorinated water
Instructions
- Shred your cabbage.
- Add your ingredients.
- Stir.
- Let everything marinate.
- Pack your fermentation crock.
- Pour in your brine.
- Place your weighs.
- Cover your cabbage.
- Ferment.
- Store your finished sauerkraut properly.
Notes
- Some tap water contains high levels of chlorine, which can interfere with the fermentation process. To avoid this, consider using bottled water for your ferment. Alternatively, boil tap water for 15 minutes to remove chlorine and allow it to cool fully before use.
- For a slight variation and more color, you can swap out some of your shredded cabbage for shredded carrots.
- Before you add your weights, gather up those outer cabbage leaves you put aside before chopping up your sauerkraut. If you lay these leaves over the top of your shredded cabbage and then weigh down the leaves with your weights, it will be even easier to keep your shredded cabbage submerged during fermentation!
- Before shredding your cabbage, remove the outer 1 to 2 leaves from the exterior of your cabbage and save these leaves. They will come in handy soon!
Nutrition Information:
Yield:
3Serving Size:
1Amount Per Serving: Calories: 114Total Fat: 1gSaturated Fat: 0gTrans Fat: 0gUnsaturated Fat: 1gCholesterol: 0mgSodium: 1066mgCarbohydrates: 27gFiber: 10gSugar: 11gProtein: 6g






Ruth
I have made sauerkraut a lot, even in my crock cookie jar, I sliced it really thin with a sharp knife and pressed it down in the cookie jar, laid a small heavy bowl on top and added a little bit of water to hold it down, put a little bit of water in it to just barely cover the cabbage and added a lot of salt, bar towel over the opening and put the lid on upside down and I’d skim back the foam ever so often and take the bowl out , get myself some of the cabbage to test taste it, and when it was to my liking I just would eat it out of the cookie jar.
Alma Bayomi
I’m so surprise how people turn their nose up to Sour Kraut. It’s worth trying in several different ways. It’s really healthy for you! My grandson hates onions with all his heart but I have found a ways to disguise the taste and rid the smell. He can’t brag enough on my cooking and I can’t quit secretly laughing! He’s going to get some Sour Kraut this year! I am delivering him from fast foods to good foods.
Mary Ward
It can be an acquired taste, but I agree with you. I do think, like you said, one of the keys is to find different ways to use it and different food combinations where it shines.