If you are looking for a beautiful and reliable spring perennial that will bring delicate beauty to any garden landscape, consider planting irises.
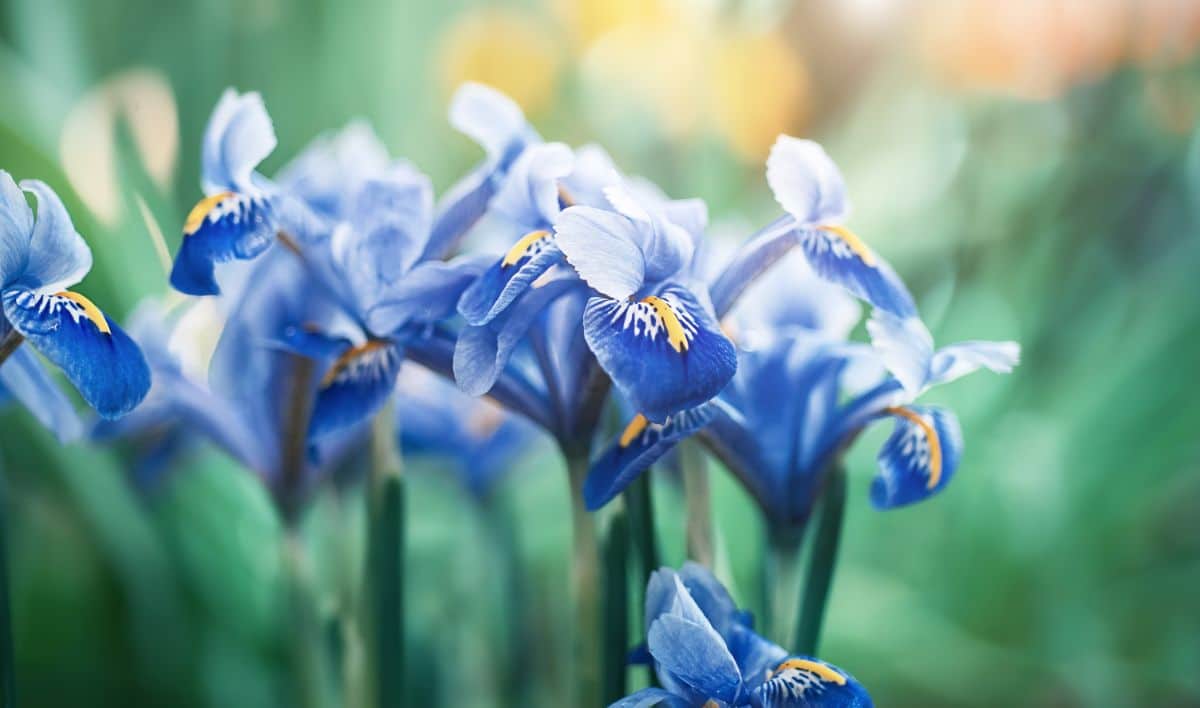
These bulb- and rhizome-grown flowers are perennial classics with a distinctive appearance that is unlike any other blooms.
In this guide, we will tell you what you need to know to get started growing your own irises.
Jump to the section you want in the table of contents below, or read on for the full guide.
Jump to:
- What Are Irises?
- Iris Basics
- Where Do Irises Grow?
- Why Grow Irises?
- Iris Landscaping Ideas
- Recommended Iris Varieties
- Where to Buy Irises
- When Do Irises Bloom?
- How Long Do Irises Bloom?
- When to Plant Irises
- How to Plant Irises
- How to Care for Irises
- How to Prune Irises
- How to Divide and Transplant Irises
- Are Irises Vulnerable to Diseases or Pests?
- Recommended Planting Combinations for Iris
- Frequently Asked Questions About Growing Irises
What Are Irises?
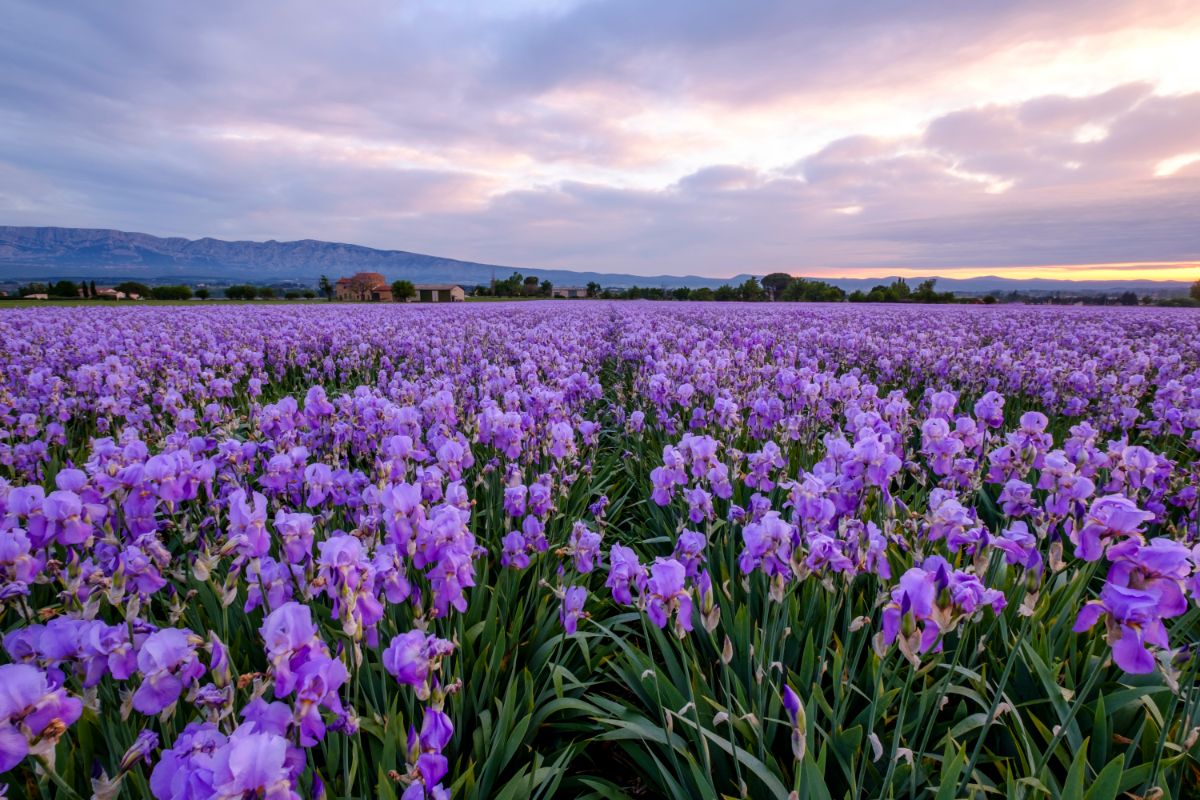
“Iris” is the name of a genus containing somewhere in the range of 260 to 300 species. The flowers irises produce cannot be easily mistaken for others. Each has six lobes, with some petals standing upright (“standards”) while others droop downward (“falls”).
The downward-facing fall petals may sometimes show off prominent veins, and may contain more than one hue. Each delicate petal adds to the graceful, elegant look that makes irises beloved garden favorites.
At your local garden store, you will probably find a few iris bulbs or rhizomes for sale, depending on the season.
But if you are passionate about discovering the full spectacular range of irises, you will want to visit specialty shops online to browse thousands of cultivars.
Iris Basics
| Zones: | 3-9 |
| Blooming season: | Spring through summer |
| Expected height: | Up to 3 feet |
| Soil: | Well-draining, fertile soil |
| Sun: | Full to partial (full is best) |
Where Do Irises Grow?
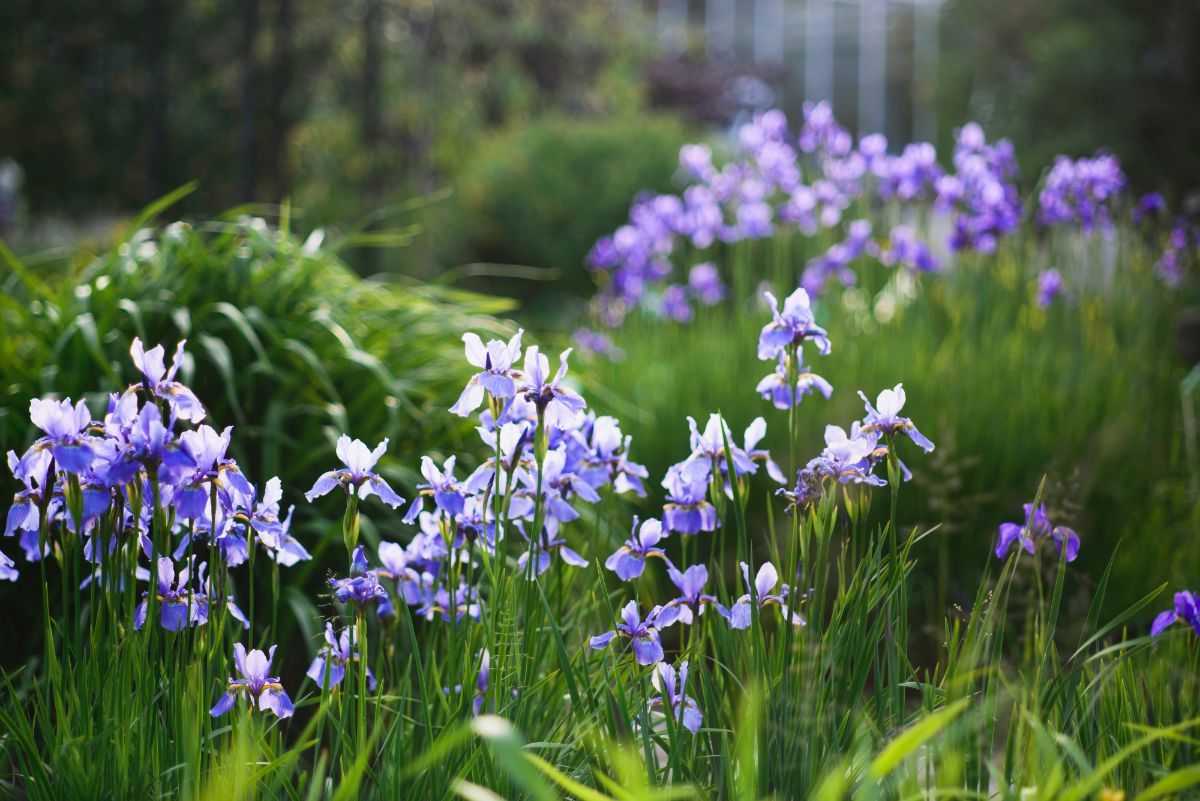
Most species of irises are native to Asia or Europe. This flower has become quite popular around the globe, however, and can be grown in a wide climate range successfully.
Why Grow Irises?
- Irises come in a wider array of colors than you might imagine. While the classic bluish purplish hue is most recognizable, you can also find irises with petals in white, yellow, pink, red and bronze.
- Irises are easy to plant and maintain. They rarely need water and only require mulch in the winter (if there is frost).
- You need not overwinter irises. You cannot say this for every bulb plant.
- Propagating irises is simple and straightforward. Growing them from seed is much easier than it is for many other plants.
- Irises add classic beauty to your garden. No other flower looks like an iris!
Iris Landscaping Ideas
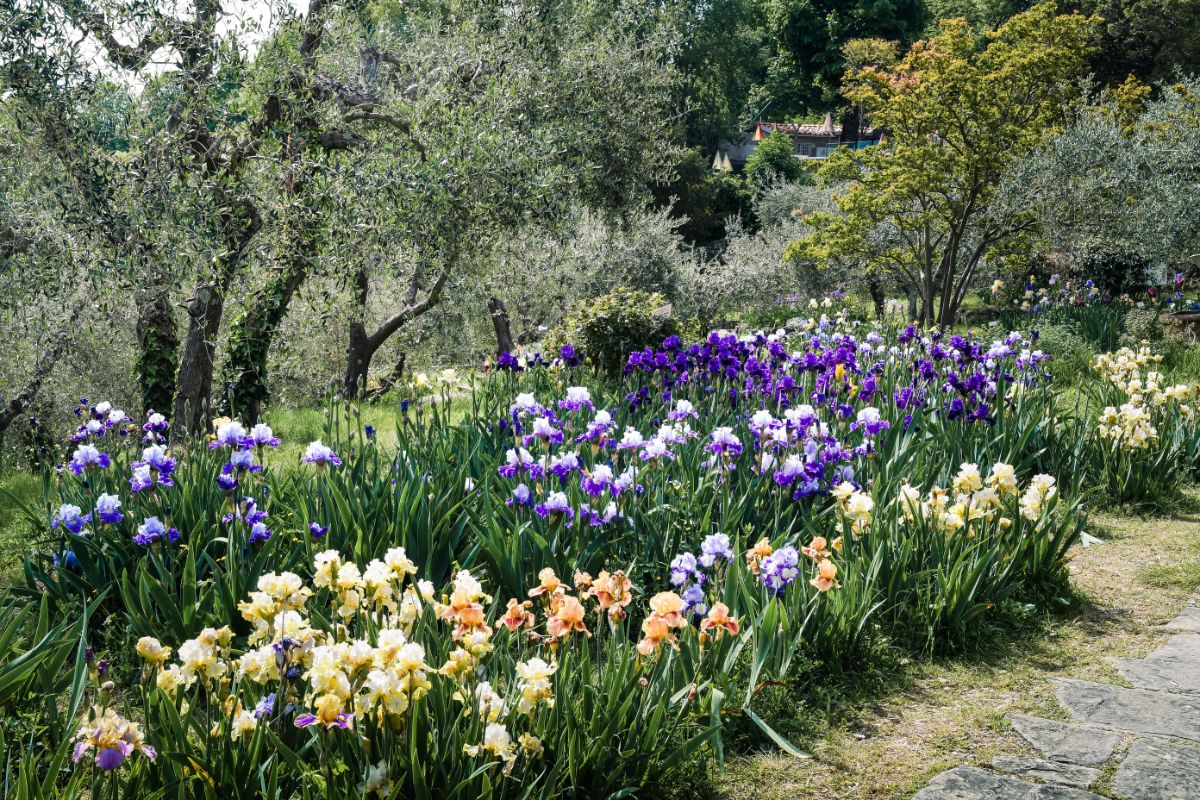
Here are a couple of ways to use irises in your garden:
- Iris bed: Many gardeners recommend that you grow irises in their own bed. A cluster of them planted together look beautiful, and they are often happiest growing by themselves.
- Along a fence: Irises are just the right height to look lovely planted alongside a fence. If the fence is unsightly, the irises may help you obscure it—or if the fence looks nice, it will frame the irises well at the top.
- Rock garden: Irises can actually thrive in rock gardens, bringing some unexpected color and texture to help define these spaces.
Recommended Iris Varieties
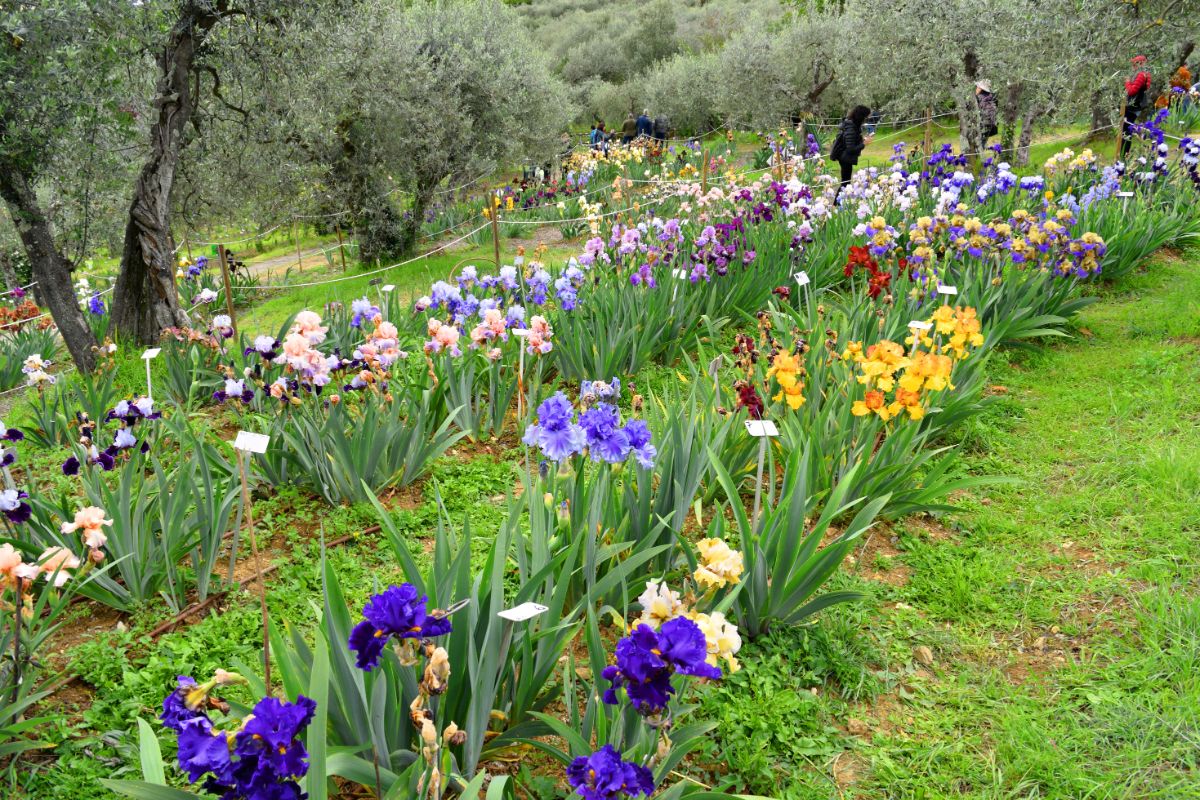
Here are some stunning varieties of these beautiful flowers to plant in your garden.
- Best Bet: For distinctive bluish purple flowers, consider this cultivar. The lower petals are deep purple and the upper petals are a light lavender.
- Gala Madrid: These elegant flowers sport the colors of sunrise or sunset: yellow on top and purple with a reddish hue on the bottom. The cultivar is the winner of the 1971 American Iris Society Award of Merit.
- Gull’s Wings: If you want white flowers, consider this cultivar of Siberian irises. Large petals and disease resistance make them a popular choice.
- Obsidian: The flower color of this cultivar of iris is so deep purple it is almost black. Imagine how great they would look in contrast with “Gull’s Wings!”
- Ocelot: The lower petals of this type of iris are deep, dark maroon, while the upper petals are a contrasting light each.
- Sorbonne: These gorgeous flowers are quite unusual. The upper petals are a deep, blackish maroon, while the lower petals sport vivid yellow with a veined appearance.
- Gulfport: The enchanting flowers of the “Gulfport” cultivar feature white falls with purple edges and bright orangey-reddish beards. The top petals are fluffy, ruffled and white.
- Eleanor Roosevelt: The falls of this iris cultivar are deep, royal purple, while the upper petals are medium purple. You’ll get to enjoy them twice a season since they are re-blooming! What is really cool is that the two bloom times are far apart: spring and autumn. So, just as you are starting to really miss your irises late in the season, there they will be to delight you anew!
- Sunfisher: These beautiful blooms look like they have successfully caught the sunlight and trapped it in their vibrant yellow petals—no wonder they are called “Sunfisher” irises.
- Bighorn: This colorful cultivar features deep maroon petals rimmed with clearly-defined, narrow white edges. The beards are orangey and bright.
- Bear’s Ears: If you like peachy hues, then consider planting “Bear’s Ears.” The petals are apricot colored with dark purplish veins running through them. The beards are a deeper shade of orange.
- Baby Charger: One unusual type of iris is this one with yellow petals and striking blue beards.
- Muscle Shoals: The elegance of this cultivar cannot be overstated. White, ruffled petals on top with a creamy hue contrast with deep magenta falls below.
- Niagara Mist: This stunning cultivar is a veritable fountain of ruffled petals with a soft, cool lavender hue. They are slightly darker toward the centers and lighter around the edges, giving them an ethereal appearance.
- Paradise Valley: If you want a contrast that is gentle but eye-catching, the soft white top petals and peachy fall petals of “Paradise Valley” are sure to enchant you.
- Glamazon: For an iris that brings almost tropical hues to your garden, plant “Glamazon.” The ruffled falls are pinkish, the signals are a bluish hue, and the standards are peachy.
- Dame de Coeur: The petals of this cultivar of iris have a reddish hue. In some parts of the flower, the reddish color has a warmer, orangey tone, while in others, it is cooler and more purplish.
- Concertina: This delightful bearded iris will captivate you with pale pink standards and creamy falls which are very close to each other in color. Close to the center of the flower, you can see some reddish veins. But what really stands out are the vivid purple beards.
- City Lights: Deep bluish purple blossoms with white patches in the middle will remind you of the glow of city lights against a nocturnal sky.
- Sharp Dressed Boy: This dwarf cultivar of iris features purple petals which darken toward the middles of the falls. This deep backdrop wonderfully sets off the glow of the bright orangey beards.
As you can appreciate, the range of colors for irises is spectacular! And this is just a small sampling of the massive selection of cultivars out there.
Where to Buy Irises
- PACKAGE CONTAINS: 5 RHIZOMES. Each package contains information about these rhizomes printed on them including planting depth, plant spacing, mature height and more.
If you are ready to bring the graceful perennial beauty of irises to your garden, you can order many types of iris flowers online. Click below to shop iris cultivars.
When Do Irises Bloom?
Irises bloom during spring and summer.
How Long Do Irises Bloom?
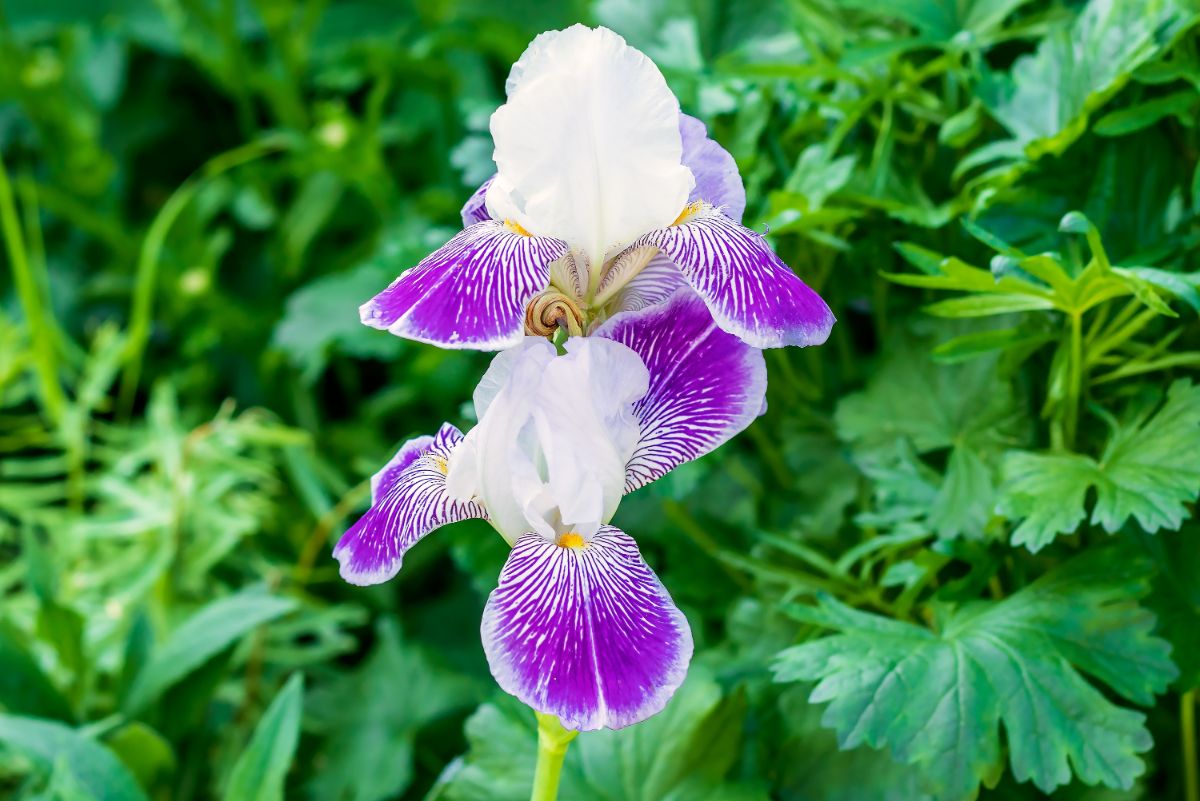
With any particular iris you plant in your yard, you can expect a couple of weeks of bloom time each year.
As you cannot get a second flower by deadheading a wilting iris bloom (except for re-blooming cultivars), the only way that you can extend the bloom season is to plant more than one cultivar. If you choose a combination of early and late blooming irises, then you can enjoy them in your garden for the longest period of time.
When to Plant Irises
It is best to plant irises when the temperatures at night in your location have dropped to 40-50 degrees Fahrenheit. In all likelihood, this will be around August-September.
If you wait too long to plant irises, they will not be able to establish sufficiently before the cold sets in.
If you missed your chance to plant iris rhizomes in fall, you can try for spring or summer.
Ideal Growing Conditions for Irises
The trick to growing irises successfully is to plant them in conditions where they can flourish. Below, we go over the soil, water and sun requirements for these beautiful perennial blooms.
How Much Sun Do Irises Need?
You should plant irises in a sunny location. If need be, they can grow in partial shade, but they prefer direct sunlight. With plenty of sunlight, they can produce more impressive blooms.
What Type of Soil is Right for Irises?
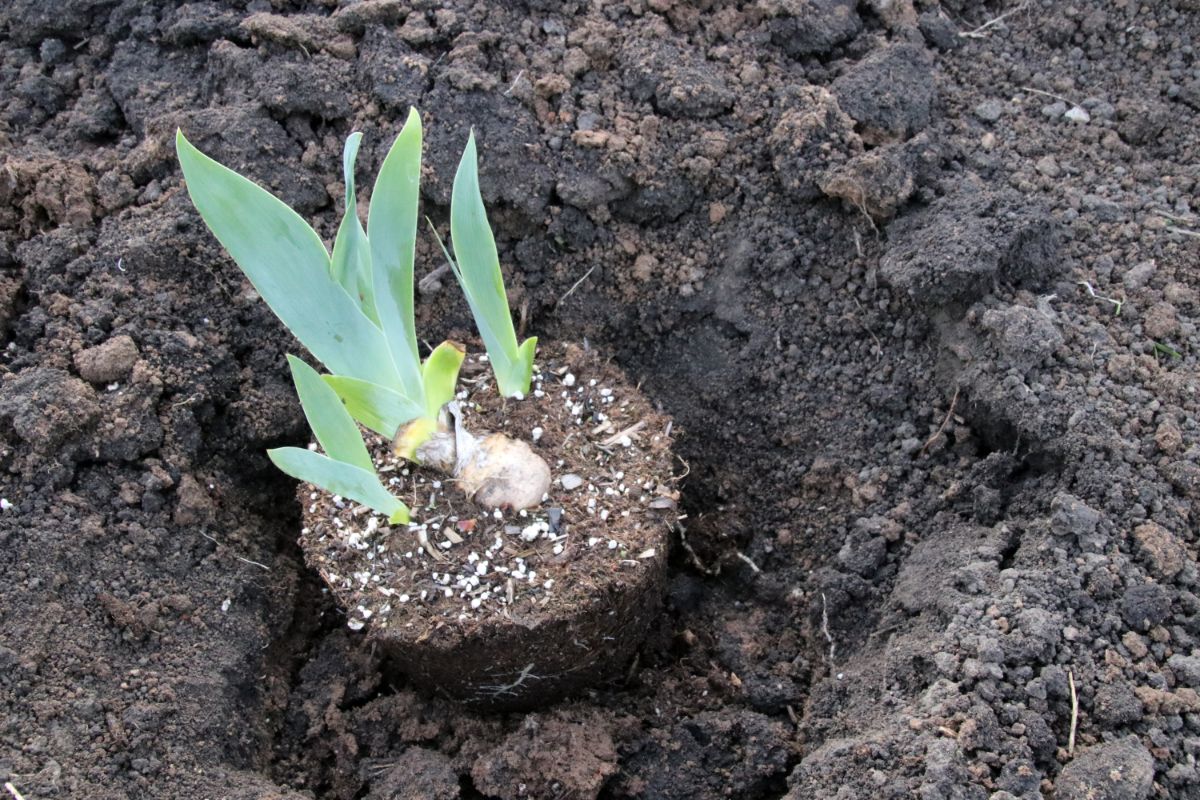
Moist, well-draining soil is what irises need to flourish. What if your soil type is heavy? You will need to increase its drainage by mixing in hummus or sand or compost.
If this still is not adequate to improve your clay-heavy soil, you might need to consider using raised garden beds instead which you can fill with a more suitable type of soil.
As for the pH of the soil, it should be neutral or slightly acidic if possible. Try to aim for around 6.8.
How Much Water Do Irises Need?
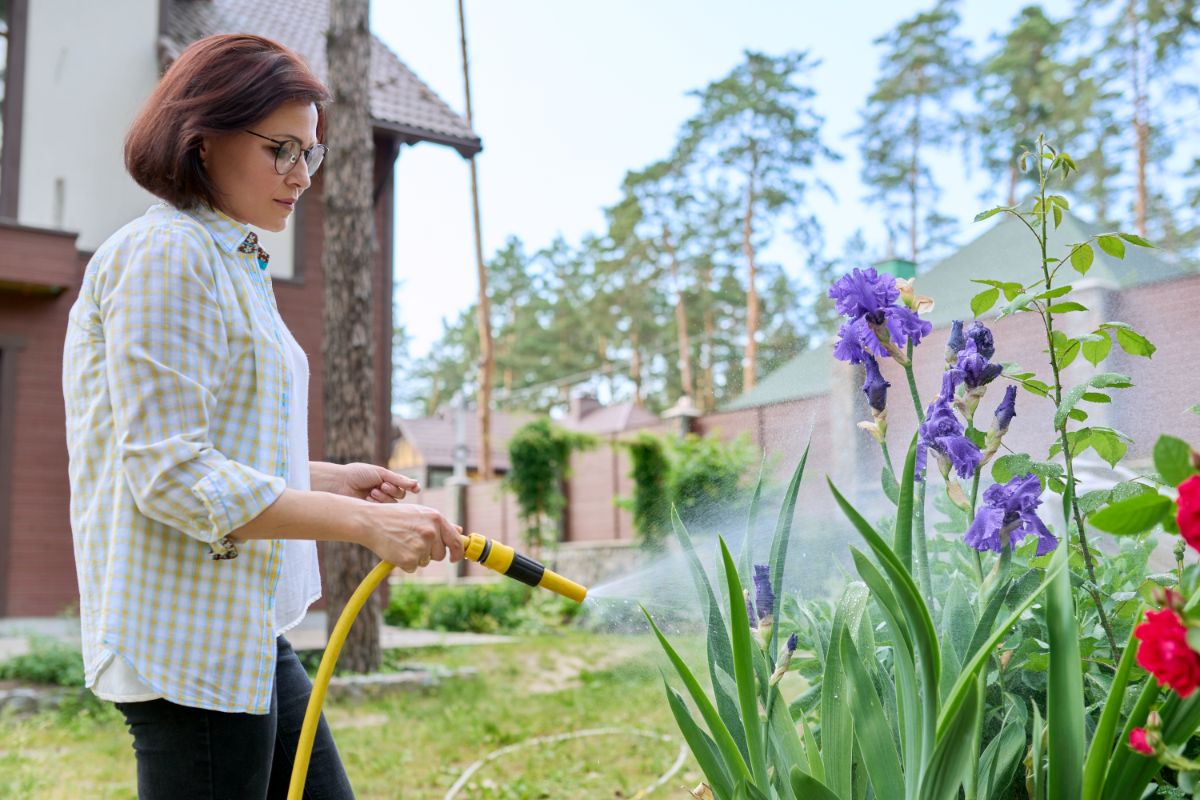
We have seen the recommendation that if the iris is in a container, it needs around an inch of water weekly.
For general watering advice, here is what specialty shop Schreiner's Iris Gardens has to say: “Newly set Iris plants need moisture to help their root systems become established. Specific watering information depends on your climate and your soil, but keep in mind that deep watering at long intervals is better than more frequent shallow waterings. Once established, Iris normally don't need to be watered except in arid areas. Over-watering is a common error.”
Nola’s Iris Garden says, “During dry spells (over three or four weeks long) you will need to give them a good deep watering every 3 to 4 weeks depending on the temperature.”
The same resource also says that irises need extra water early in spring as well as during fall and winter. But these are the seasons when there naturally is more precipitation, so you usually do not need to provide more water yourself unless it is unusually dry at those times of the year.
The bottom line is that you do not need to do much work to water your irises.
How to Plant Irises
Now that you know how much sun and water irises need and in what type of soil they flourish, you are ready to plant them.
It is possible to start irises from seeds, but you probably will grow them from rhizomes or bulbs. We will start by giving you instructions for planting the bulbs or rhizomes in containers or your garden beds. Then, we will talk a bit about starting iris flowers from seeds.
Container Planting
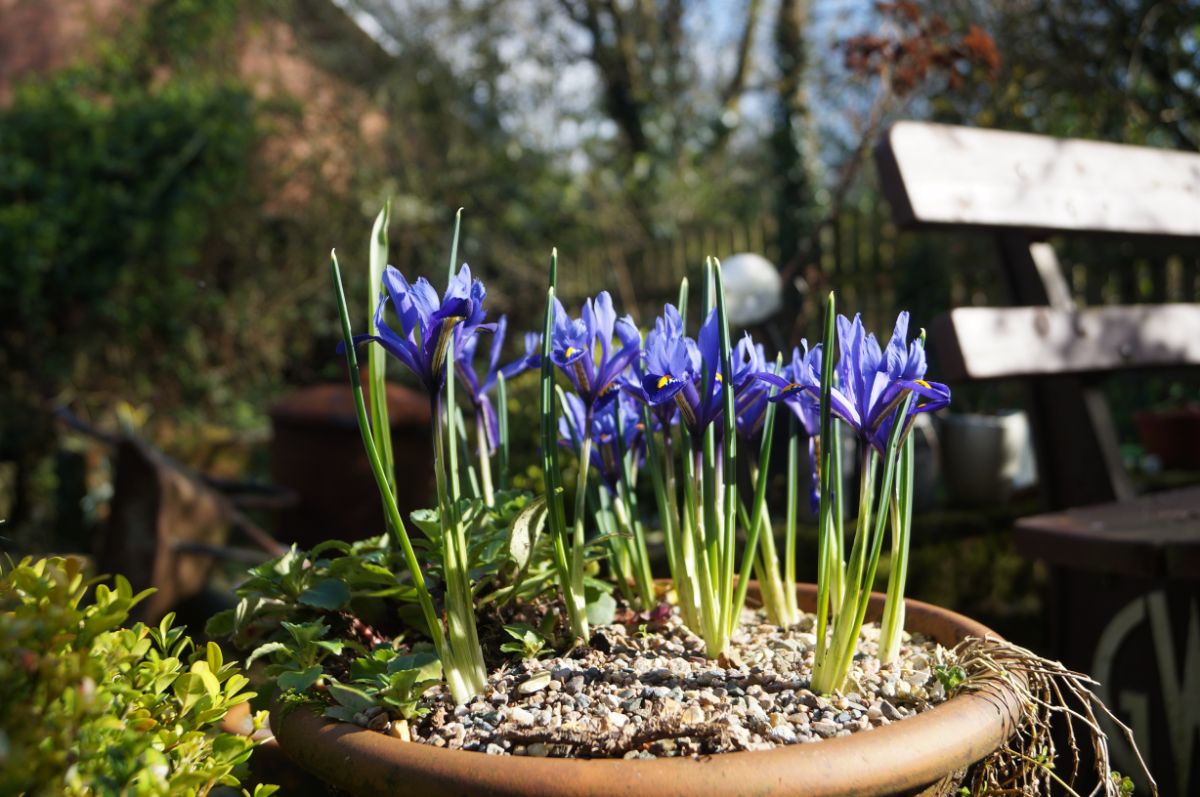
- To begin, select a suitable pot. The size of the pot needs to be depends on the type of iris you are planting. If, for example, you are planting a dwarf iris, the container needs to be between around six and eight inches. But if you are planting a larger iris like a tall bearded iris, then you will need a container that measures at least a foot.
As always, make sure that the container you are going to use has drainage holes.
- Next, add potting soil to your iris container. The specialty shop Schreiner's Iris Gardens suggests 45% fir bark, 20% pumice, and 35% peat moss.
- Make a hole for the iris bulb or rhizome, and plant it. The top of the rhizome should not be fully covered with soil.
- Water the iris well after you plant it.
Continue to provide your plant with extra water as it establishes. Then reduce your watering.
When you water the potted iris going forward, you should so from the bottom. Also, despite the fact that potted soil dries out faster than soil in your garden bed, it is easy to overwater irises. You potted irises in your container garden should not require more than an inch of water per week. The only ones that might need a little more are those in pots made out of terracotta, which is a porous material.
The best way to know if potted irises are thirsty is to check the top 2-3 inches of soil. Are they dry? Then you can water. If they are not, wait until they are.
What you do with the potted irises next depends on why you planted them in containers to begin with.
If you are keeping them permanently in containers, find a suitable spot for them. Dig them up and divide them when necessary so they do not get too big for their pots.
But another common reason to plant irises in pots is simply to start them in containers.
Expert iris grower and hybridizer Walter Moores explains, “Potting irises has unexpected rewards. While it is so hot at planting time, winter weather and rhizome heaving seem remote. But that extra step of potting back in July and August to protect rhizomes from heat will eliminate rhizome heaving when the ground goes through the freeze/thaw cycles of winter.”
He adds, “Many people would consider potting irises to be double trouble. It really isn’t when one considers the growth and bloom potential of the potted irises over the traditionally planted irises. Losses are almost nonexistent.”
So, what do you do next with your potted irises if you do indeed plan to move them to your garden beds?
Moores says, “Plants may be left in the pots until October to be planted where they are to bloom. In the meantime, preparations should be made for the iris beds or rows that will accommodate the new plants when it is time to unpot, one tap with a trowel will loosen the soil and root ball. That same trowel should have been used to dig a hole about four inches deep. For an extra boost, alfalfa pellets or a balanced fertilizer might be added to the planting hole. Firm the soil around the plant and water.”
Moores also makes note that iris roots can sometimes stretch down through the drainage holes in containers. When this happens, they can sometimes grab onto the surface below them (i.e. if the container is sitting on top of soil in your garden). So, watch out for this. Picking up the containers and setting them back down can prevent the problem.
On the whole, it is probably better to use containers to start irises than as their permanent homes.
Dutch Grown explains, “Irises grown in pots are likely planted more densely and are under more stress than they would be if planted in the garden and this is why they are less likely to bloom again the following season. It’s best to discard them after blooming and choose fresh bulbs to plant in the fall.”
Ground Planting
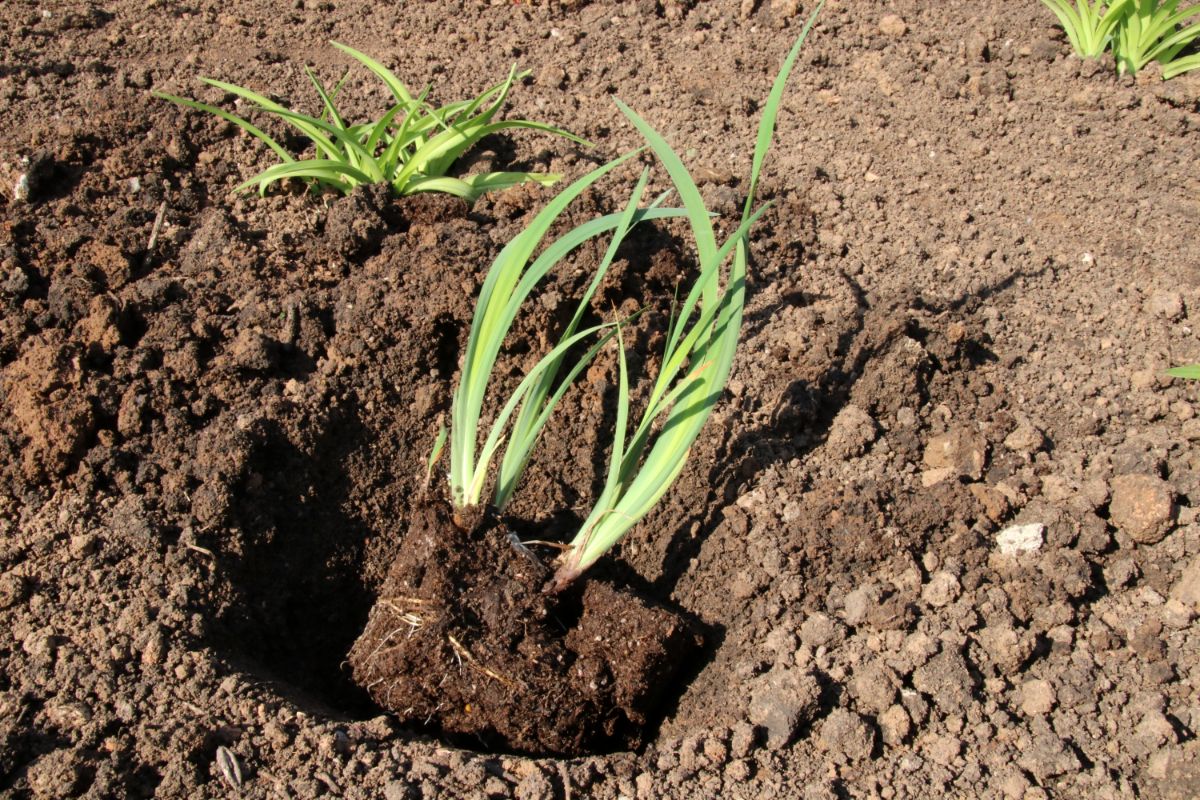
If you are skipping containers and just planting your rhizomes right in your garden beds, you can follow these steps.
- Pick a sunny spot for your irises.
- Get the soil ready. If it is on the alkaline side, you may want to add some dolomite or lime to make it more acidic.
If there is a need to improve the drainage of the soil, you can try mixing in some compost. The irises also should benefit from the enhanced nutrition of the composted soil.
You might be wondering whether you should add bone meal-based fertilizer at this time. The answer is no, because pests are drawn to it, and as a result, more likely to discover the rhizomes and try to eat them.
- Plant rhizomes.
Dig holes for the iris rhizomes and plant them. Each hole needs to be about 10 inches wide and 4 inches deep. Space them around 3 inches apart if they are dwarf cultivars. If they are larger cultivars, each iris may need two feet around it.
That might seem like a lot of space, but it is necessary. You will be surprised by how rapidly irises can grow.
If you plant them closer together, they may start choking each other off sooner than you expect. That would require you to dig them up and divide and transplant them sooner than you might want.
As you are planting the rhizomes, try and distribute the roots. Then, backfill the soil and tamp it down. Leave the top of the rhizome exposed.
- Water well after planting.
While your irises are establishing, they will need extra water. After that you can drop down to a regular watering schedule.
Starting Irises from Seed
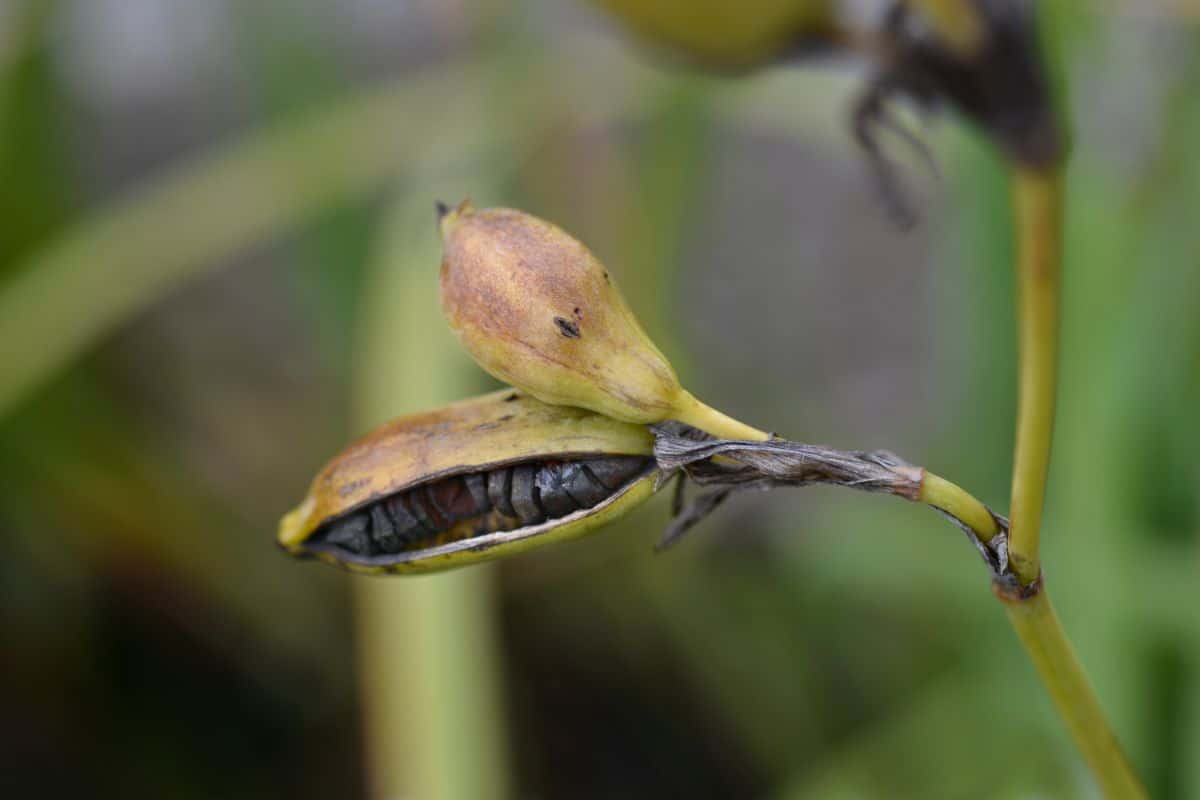
If you want to propagate more irises in your garden and save money along the way, starting some of them from seed can be a way to do it. You can harvest the seeds from your existing irises.
What is great about starting irises this way is that it is quite easy compared to starting a lot of other plants from seed. You can do it directly outdoors.
- Dry out the seeds after you harvest them. This can take a few months.
- The ideal time to plant iris seeds is in October. Cover them at a depth of ¾ inches. Give each one several inches of space from its neighboring seeds.
It is very important to post labels where you plant your iris seeds. If you forget they are there, you may confuse them with grass when they begin growing.
- Wait for the seeds to germinate. They will sprout in spring.
- Continue waiting as the sprouts keep growing. Wait until they are several inches tall. After that, you should remove them and transplant them to where you want them permanently growing.
- Provide extra water if necessary while the irises are establishing. Rain could take care of this for you, depending on the weather.
You may notice that not every seed you planted ended up sprouting. Instead of digging up the seeds that you think failed, leave them alone. Sometimes, they will surprise you and sprout the following spring.
There are two important things you should know about irises you grow from seeds. The first is that you should not expect them to bloom the first year.
The second is that when they do blossom, they may do so in unexpected hues. The reason it is hard to get predictable colors when you grow irises from seeds is because the majority of cultivars are hybrids. But that can be part of the fun!
How to Care for Irises
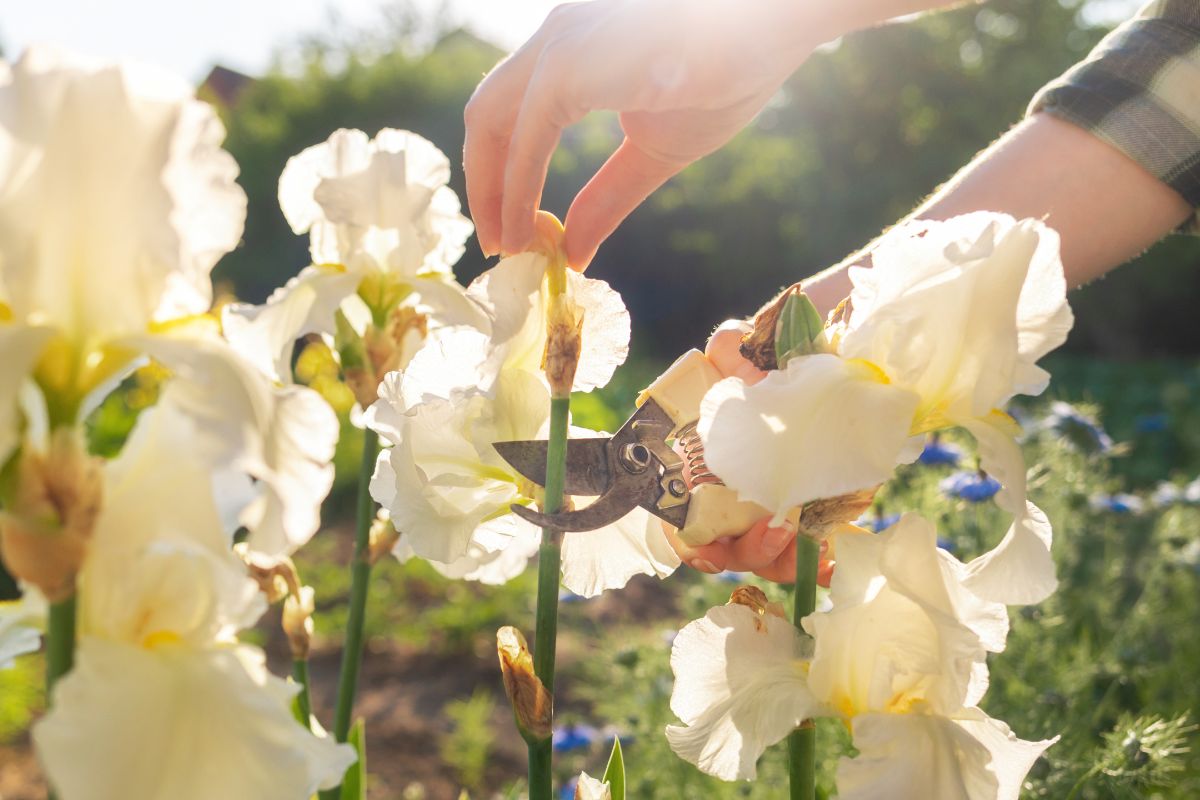
Irises are easy to plant, but are they easy to maintain? Let’s find out what you need to know about fertilizing, mulching, pruning in more.
How to Fertilize Irises
We mentioned in our planting instructions that compost, but not bone meal, may be ideal for adding richness to the soil at that time.
Irises do like bone meal, however. Nola’s Iris Garden says, “Irises should be fertilized in early spring about 6 to 8 weeks before bloom, and again after the blooms are gone. Because phosphate is important, we recommend bone meal or super-phosphate and a light balanced fertilizer such as 10-10-10 or 6-10-10 depending on the amount of nitrogen in your soil. The most important part is to not use anything high in nitrogen as nitrogen promotes rot problems.”
Whether or not you should use bone meal depends on pest issues in your area. If you are not too concerned, then go ahead. Otherwise, you might consider using phosphate instead.
How to Mulch Irises
Great news—with irises, summer mulching is one chore you do not even need to worry about. In fact, putting mulch around an iris can actually be harmful.
If you do not promote adequate air circulation, rot can set in easily with these bulb and rhizome flowers. Mulch tends to disrupt airflow too much.
That being said, do you get frost over the winter? If so, you may need to mulch for the winter specifically to protect your irises from frost. But you will need to remove the mulch after the last frost.
How to Stake Irises
If your irises have a tendency to flop over, the first thing to do is to check the depth of the rhizome.
If more than half of the rhizome is above the soil, you should add some more soil around it so less of it is exposed. Sometimes, that is sufficient to solve the flopping problem.
If that is still not sufficient, you can use twine to attach your irises to bamboo stakes.
Be careful as you are pushing the stakes down into the soil. You do not want to damage the rhizomes.
If it has been awhile since you have divided and transplanted your irises and they have started to flop, that could also be a signal that it is time to do just that.
One more possible issue is sun and shade. Irises are happiest in a sunny position. If they are in a partially shaded location in your garden and there is sunlight nearby, they may stretch toward it.
If you can move them to a spot where they will receive more direct sunlight, they may be more amenable to growing upright.
How to Prune Irises
Pruning irises is easy, and involves deadheading and trimming.
How to Deadhead Irises
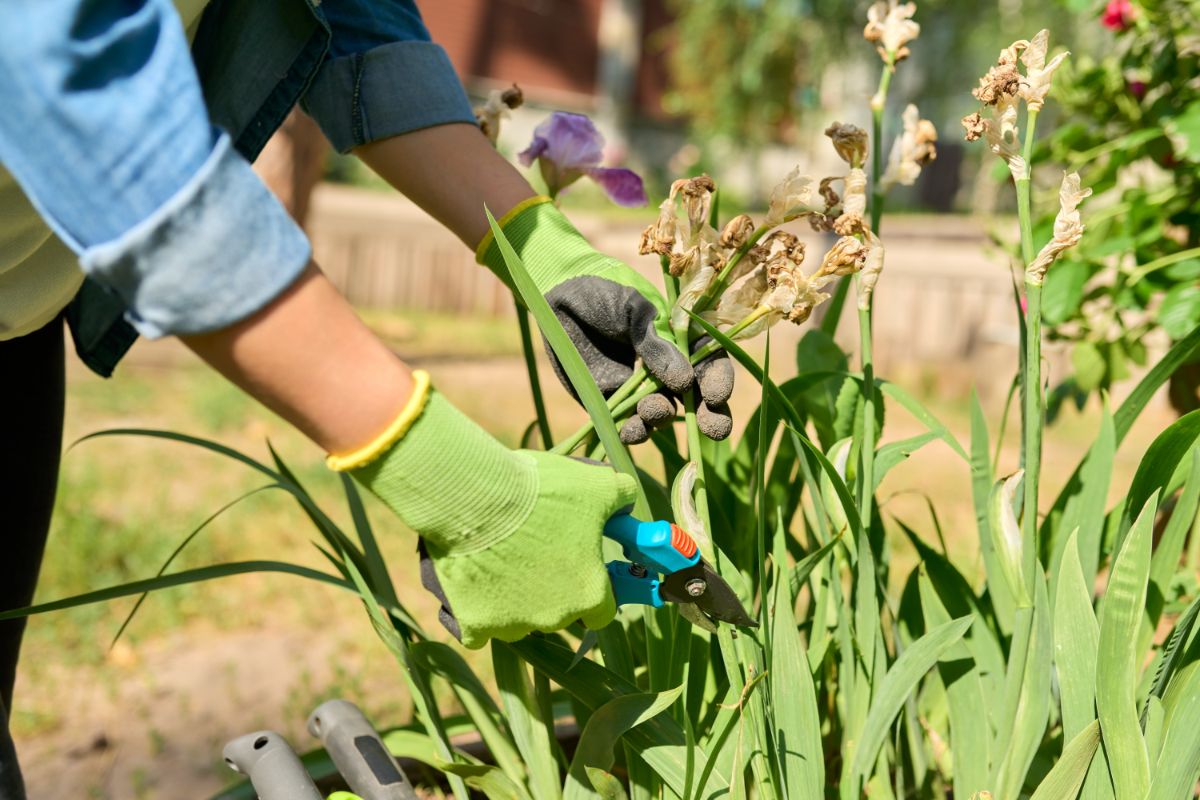
Many types of irises do not require deadheading. They will only bloom once. You can, however, deadhead them anyway to stop them from going to seed or to make their appearance neater. You can remove the wilted blossoms with shears.
If you have a re-blooming cultivar of iris, deadheading the plant will allow it to produce another bloom before this season is over.
When to Cut Back Irises
You can cut back your irises in late summer or fall. Leave several inches above the soil.
Note that if you deadhead or trim back your iris to prevent it going to seed, this can help the plant prepare for the next bloom season. It will not waste its energy on making seeds.
How to Divide and Transplant Irises
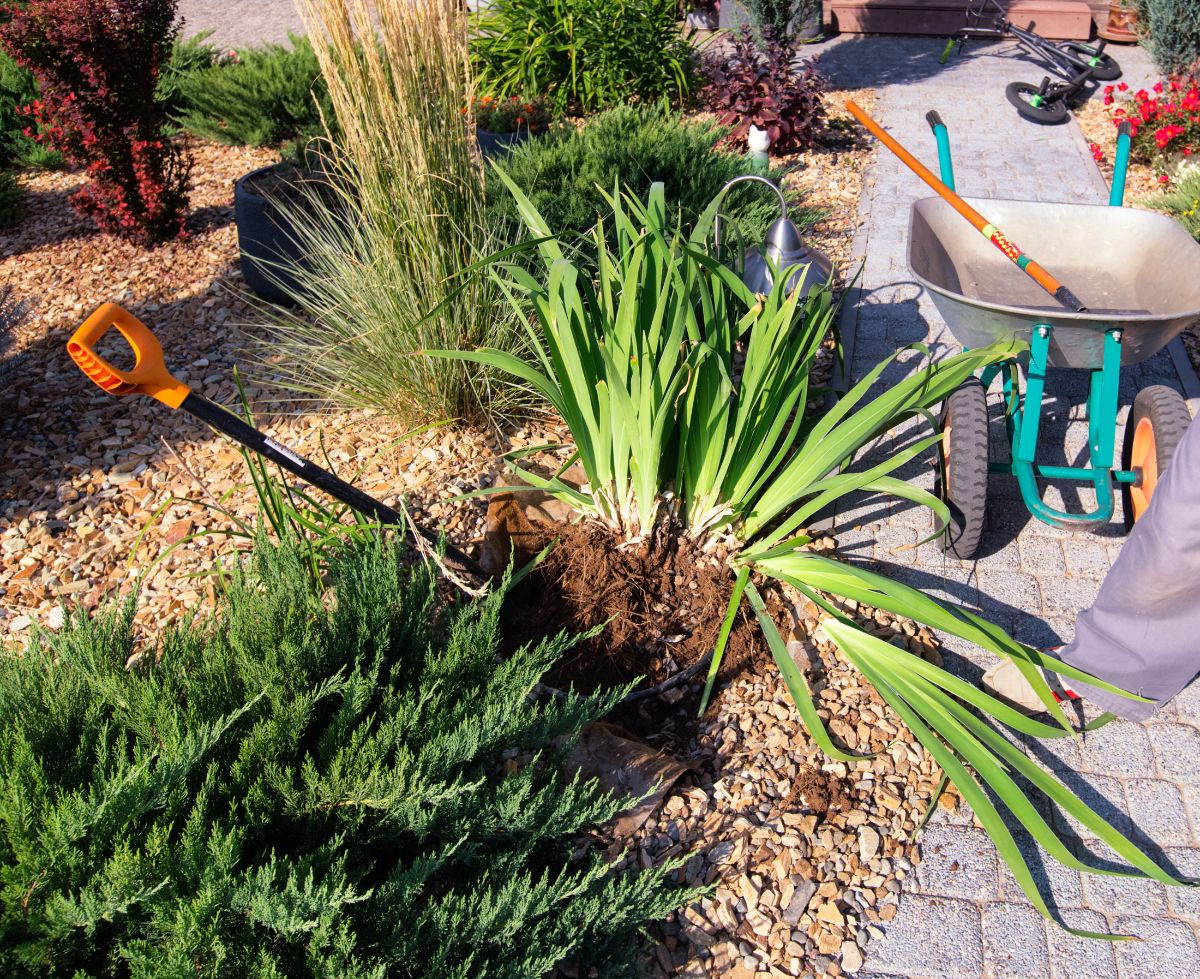
When irises start to get too large, they can flop and have an untidy appearance. Dividing and transplanting them can help.
The exact directions for dividing your irises depends on the type you have. Below is how to divide and transplant bearded irises.
- Late in summer, trim your irises back by around two thirds.
- Dig down in a circle around the iris using a spade. Avoid harming the roots.
- Once you are able to get under the plant with the spade, lift it up out of the ground.
- Brush loose dirt off, then carefully separate the rhizomes. You probably can do this by hand, but you can use a knife if necessary. Just make sure you disinfect it each time you make a cut.
- There may be some rhizomes that are no longer viable. They might be too old, compromised by iris borers, or rotted. Get rid of these.
- Make holes and plant the healthy rhizomes in their new locations.
- Water your transplanted irises well.
Continue to provide extra water as needed to your transplanted irises while they are establishing in their new spots.
How often do you need to divide irises? Usually, it will be every three to five years.
Are Irises Vulnerable to Diseases or Pests?
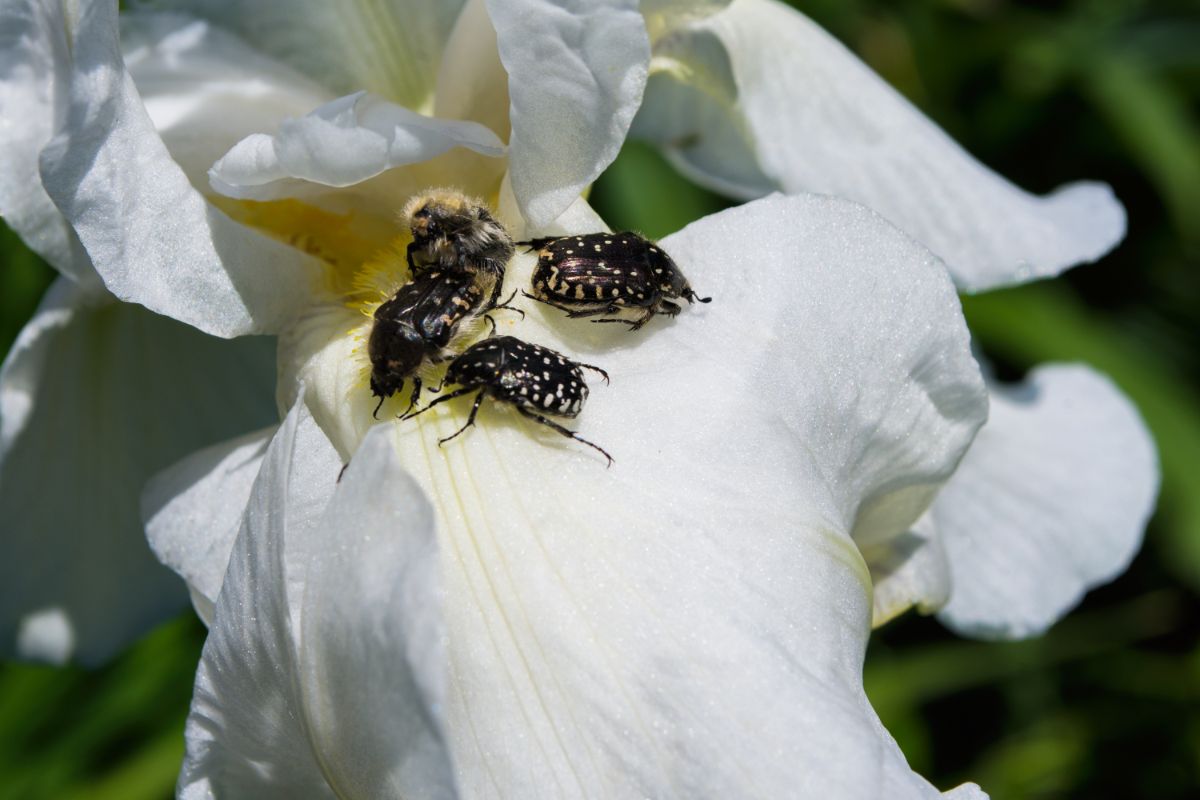
One more aspect of flower care that is important to discuss with respect to irises is protecting them from pests and diseases.
These graceful perennials can be susceptible to a number of different diseases. Some of these include bacterial leaf plight, botrytis rhizome rot, crown rot, leaf spot, ink spot, soft rot, and viruses.
You can find a list of symptoms for each of these diseases as well as instructions for treatment on this page at PennState Extension.
While a number of pests can infest irises, the most problematic is no doubt the iris borer caterpillar.
These pests invade irises through their leaves. They then create tunnels, progressing through the plant until they reached the rhizome. Sometimes, this infestation can lead to soft rot as a complication.
University of Minnesota Extension provides detailed instructions on how you can identify iris borers when inspecting your plants in spring and summer.
During spring, you can trim away any leaves that have been infested, and kill any iris borers you see. Sometimes, this is enough to save a plant.
If you find affected plants in summer, you may need to check the rhizomes. Any that have been infested need to be thrown away.
To some extent, you can prevent future issues with iris borers through proper trimming and cleaning around your iris plants in autumn.
You also may try applying acephate or spinosad insecticides. If you do not want to use a chemical insecticide, you can try using a combination of nine parts water to one part Murphy’s Oil Soap.
How successful you will be with insecticides and iris borers depends on your timing. Ideally, you should make the applications right around hatching time.
Although iris borers are the main problem you need to worry about, there are a few other pests that also can infest irises. These include aphids, whiteflies and thrips. Snails and slugs can also be problematic.
As far as mammals are concerned, rodents sometimes may try to dig up your iris bulbs and rhizomes. But otherwise, you will be pleased to learn that irises are deer- and rabbit-resistant.
Recommended Planting Combinations for Iris
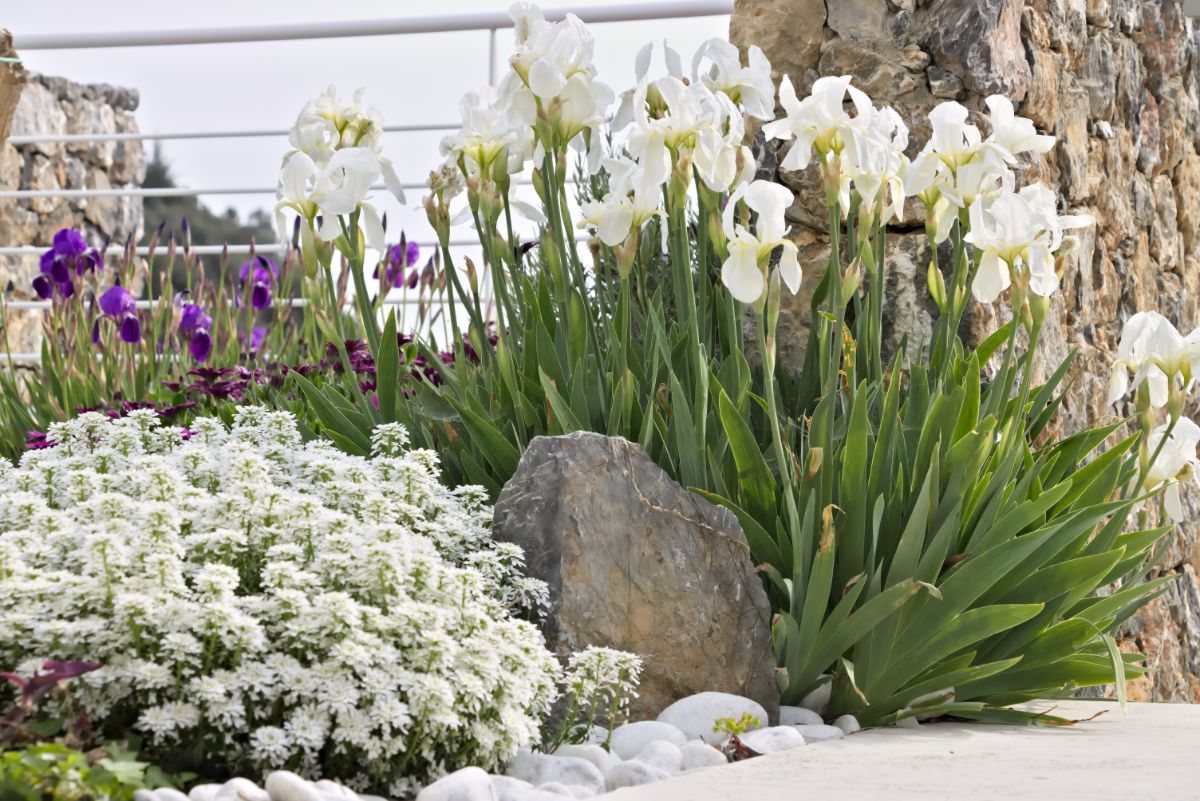
What should you plant alongside your irises? Here are some ideas:
- Lobelia: These spring and summer bloomers look gorgeous next to irises. Keep in mind that irises cannot tolerate as much soil moisture as lobelias can, however. Take a look at our Lobelias Full Growing Guide.
- Baptisia: Baptisia, also called “wild indigo,” is a favorite flower to plant next to irises. While both types of flowers come in multiple hues, the classic blue color we usually associate with each makes for a lovely complement.
- Hollyhock: Have a cottage garden? Irises can look nice in a cottage garden with other cottage style classics such as hollyhocks.
Frequently Asked Questions About Growing Irises
Usually, the culprit that is eating your irises will be iris borers. But it could also be slugs, snails, or other insects.
Irises are elaborate-looking flowers, and a large set of terminology has been developed to help describe these blooms. If you are looking for a handy glossary of iris terminology, see this page. You will soon know a haft from a horn and a spathe from a spoon.
The variety of colors irises are available in is remarkable, but Graeme Grosvenor states in the 1997 book Iris: Flower of the Rainbow, “Red in the sense that we think of it as pillar box or fire engine red is a colour that is not, as yet, found in iris. There are quite a lot of iris which are loosely described as red but it is a class which, in general, has lacked vigour, been difficult to increase and carry over and particularly difficult to grow in milder climates.”
So, “red” irises are often rather more orangey or purplish than a “true” red would be. That being said, there are some startlingly red cultivars out there. They may not be “fire engine red,” but they sure look red to us!
Both! National Garden Bureau explains, “Irises come in three forms, rhizome, bulb or root. The rhizome type iris produce larger flowers and include bearded and beardless type flowers, while the bulb type iris produce smaller flowers are often used in rock gardens or in front row of borders to provide early color in the year. Floral designers use Dutch Iris most often for spring flower designs. Siberian, Louisiana and Japanese iris come in a root form.”
Yes. While it is common to have to overwinter some other bulb flowers, your irises can stay in the ground year-round.
Most of us have a rough idea at least what a plant bulb is. But you may or may not be familiar with rhizomes. What exactly is a rhizome, and how does it compare to a bulb?
On this page, PennState Extension says that rhizomes are actually a category of bulbs, just like tubers and corms. But the university does differentiate between rhizomes and true bulbs.
Here is the definition PennState provides:
Rhizomes (irises) are bulb-like power packs that grow along the soil surface. Growth buds form on a rhizome for next year’s leaves and flowers. The original rhizome will not reflower and in time will need to be dug out.
The site defines true bulbs as “complete plants within a tiny package. They produce stems from the base of the bulb and survive from year to year. As the plant grows, bulblets form at the base of the mother plant.”
Yes, irises do multiply in a couple ways. For one thing, under the soil, the rhizomes generate new rhizomes. This makes division and transplanting necessary every several years.
For another thing, if your irises go to seed, the seeds may sprout. If you want to prevent that, you can deadhead. Otherwise, leave them alone.
No. Sometimes you might suspect this has happened, but it is an illusion. You can find several possible explanations for what might cause this illusion here.
They shouldn’t. If your iris stinks, it might have a disease like soft rot.
An iris in a bouquet may stand for wisdom, faith, hope, or bravery. Include it in an arrangement for someone who is struggling with a difficult situation and needs encouragement and reassurance.
Irises are perennials, meaning they bloom year after year. There are some gardeners who grow them as annuals, but this is unnecessary. There is no reason you cannot continue to enjoy the bulbs or rhizomes you planted for years on end.



Kitty
Thank you I have irises in the southwest US . I love them . Yes easy to take care of and grow. Never knew I needed to trim back . . I have thin them out but they need more . How do I tell which should go and which one stay?
Mary Ward
Look for the biggest and hardiest plants and bulbs. Let "the strong survive". Those you thin out can be moved and planted elsewhere, potted for future planting, or given to neighbors, friends, and family.
Steve
Are there any tall iris varieties less prone to flopping than other varieties?
Mary Ward
The taller varieties are more prone to falling, so look for shorter varieties of iris. However, falling is often a sign that the irises need to be divided. Which is not a bad thing--more irises to love! You can also try staking with bamboo sticks, or laying a length of plastic square fencing horizontally a foot or two above the patch, suspended from stakes--the flowers grow up through the holes and are supported. This also works well for peonies and dahlias.