Grocery store herbs are incredibly pricey, and they don’t last very long. But you can keep store-bought herbs going for years just by propagating them in a bit of water!
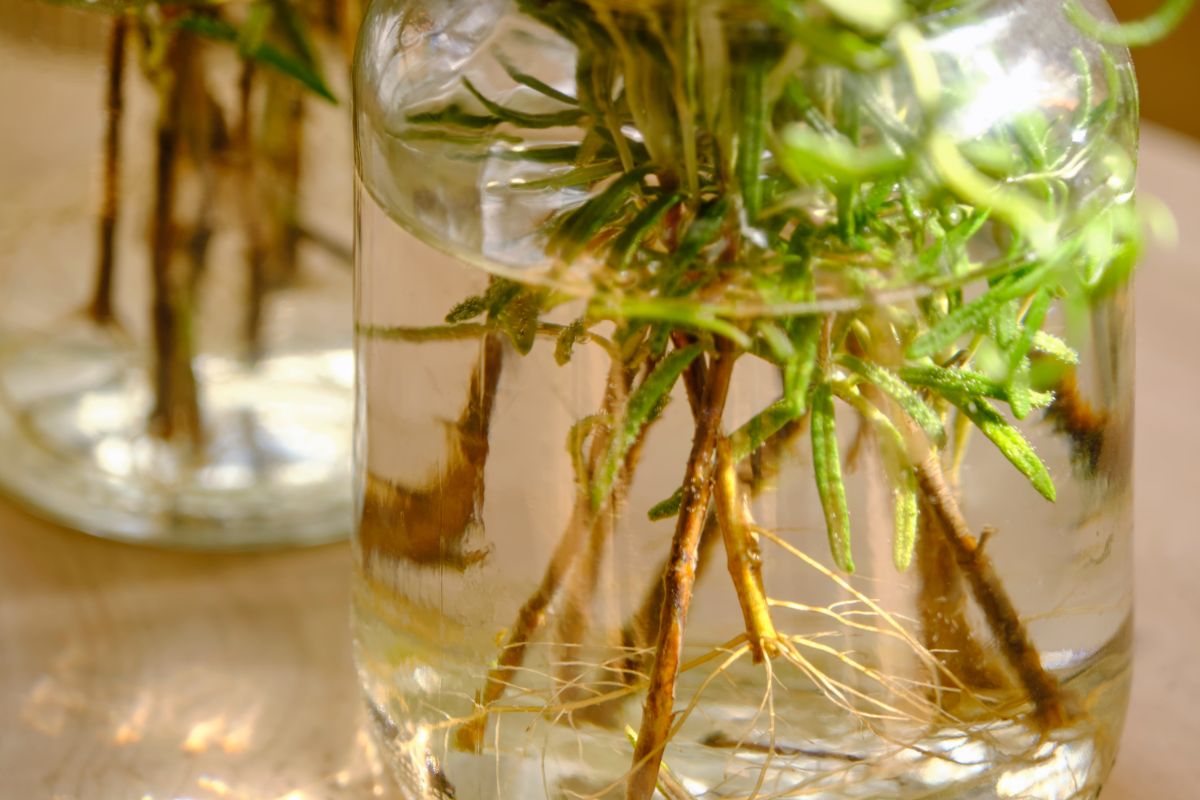
Most culinary herbs can be propagated in either soil or water, and they can then be potted up in planters or moved to an outdoor herb garden. However, water propagation is often faster than soil propagation, and it doesn’t require messy soil or rooting hormone either. If you’d like to learn how to propagate grocery herbs or herb cuttings from your garden, read on and learn the ins and outs of propagating herbs in water!
Jump to:
- Propagating in soil vs. water
- How to propagate herbs in water
- 1. Take your cuttings.
- 2. Remove the lower leaves.
- 3. Place your cuttings in water.
- 4. Add light.
- 5. Refresh the water.
- 6. Watch for roots.
- 7. Transplant your new herbs!
- What herbs should be propagated in water?
- 1. Basil.
- 2. Mint.
- 3. Lemon balm.
- 4. Lemon verbena.
- 5. Stevia.
- 6. Lemon grass.
- 7. Tarragon.
- What containers to use with water propagation
- Frequently asked questions
- Summary
Propagating in soil vs. water
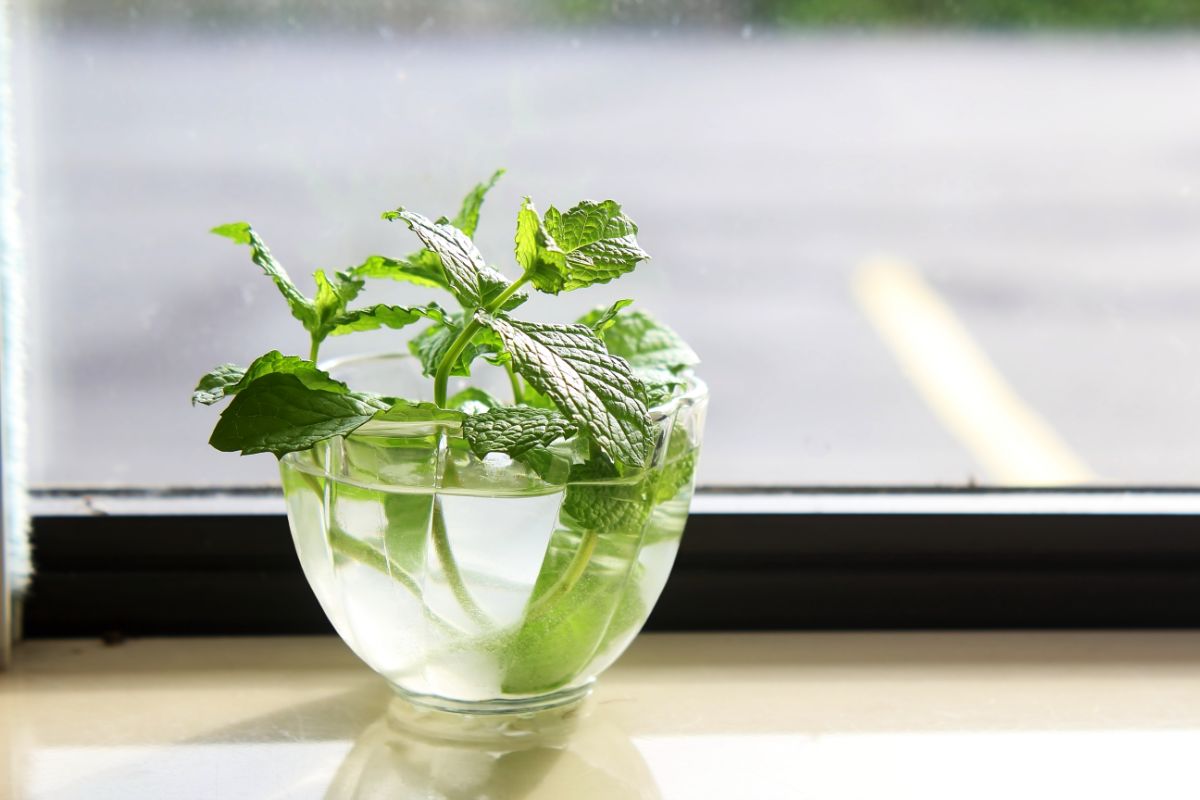
Soil and water propagation are both very useful methods to get more free herbs for your garden. However, soil propagation often takes a bit longer, and since it requires soil, there’s a higher chance that cuttings may rot due to the bacteria present in non-sterilized potting mixes. Water propagation, on the other hand, requires just a bit of water and a growing container, and it can often produce rooted herb cuttings in just a week or two.
Woody-stemmed herbs, like rosemary and lavender, take a while to grow, so they are best suited for soil propagation methods. But tender stemmed herbs grow vigorously, and these herb types can be rooted in either soil or water. Considering that water propagation is typically faster, you may want to skip the soil and root tender-stemmed herbs in water instead!
Sometimes herbs started in water can exhibit transplant shock when they’re transferred to a pot with soil. But this is less likely to occur if you transplant water-propagated herbs into the soil when their newly sprouted roots are just an inch or two in length. Since water propagation is generally performed in clear containers, you can easily assess the growth rate of your herb roots and transplant your cuttings into the soil when the roots reach the appropriate size.
How to propagate herbs in water
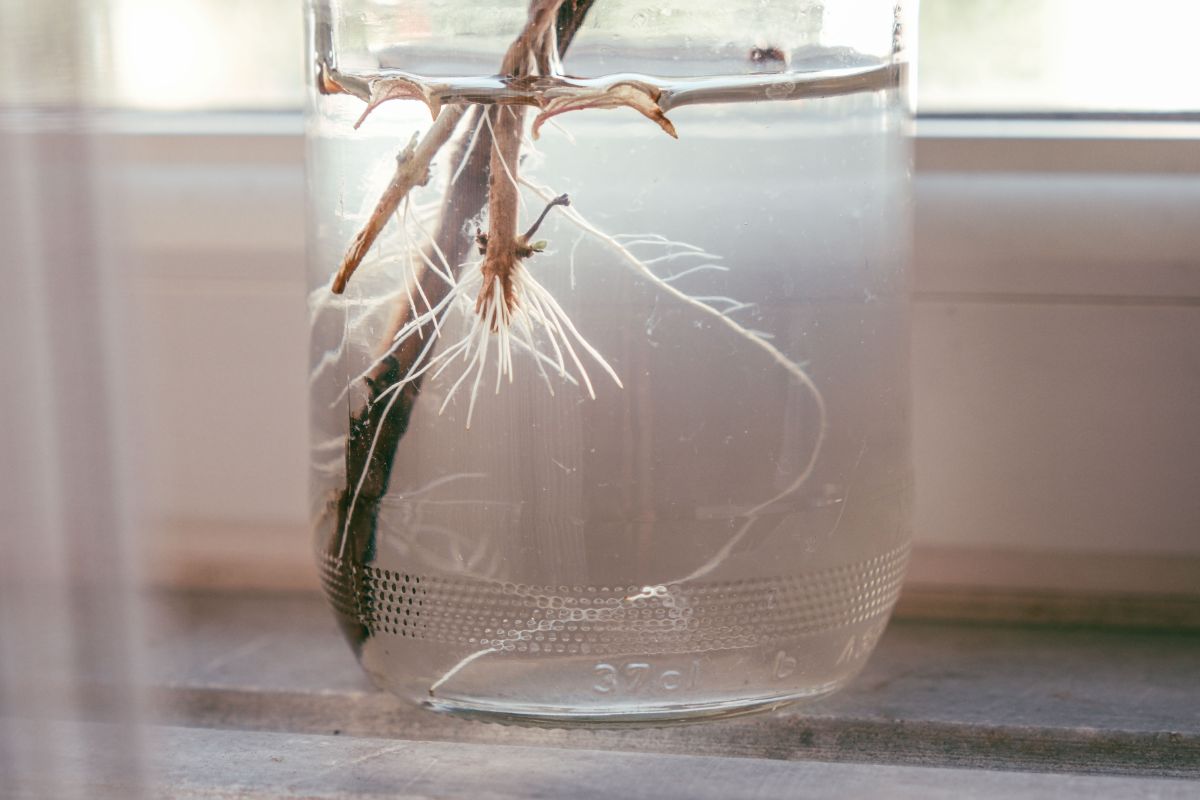
The best time to take herb cuttings is in spring or summer when herbs are actively growing. But if you’re growing tender, annual herbs that won’t survive the winter, you may also want to take cuttings from plants in late summer to early fall before frost arrives. For best results, herb cuttings should be taken from healthy stems that aren’t actively flowering, and it’s usually best to take cuttings early in the morning when temperatures are cooler.
When you’re ready to start propagating your herbs, follow the simple steps below to get new herb plants for your container garden or herb beds in as little as 1 to 2 weeks!
1. Take your cuttings.
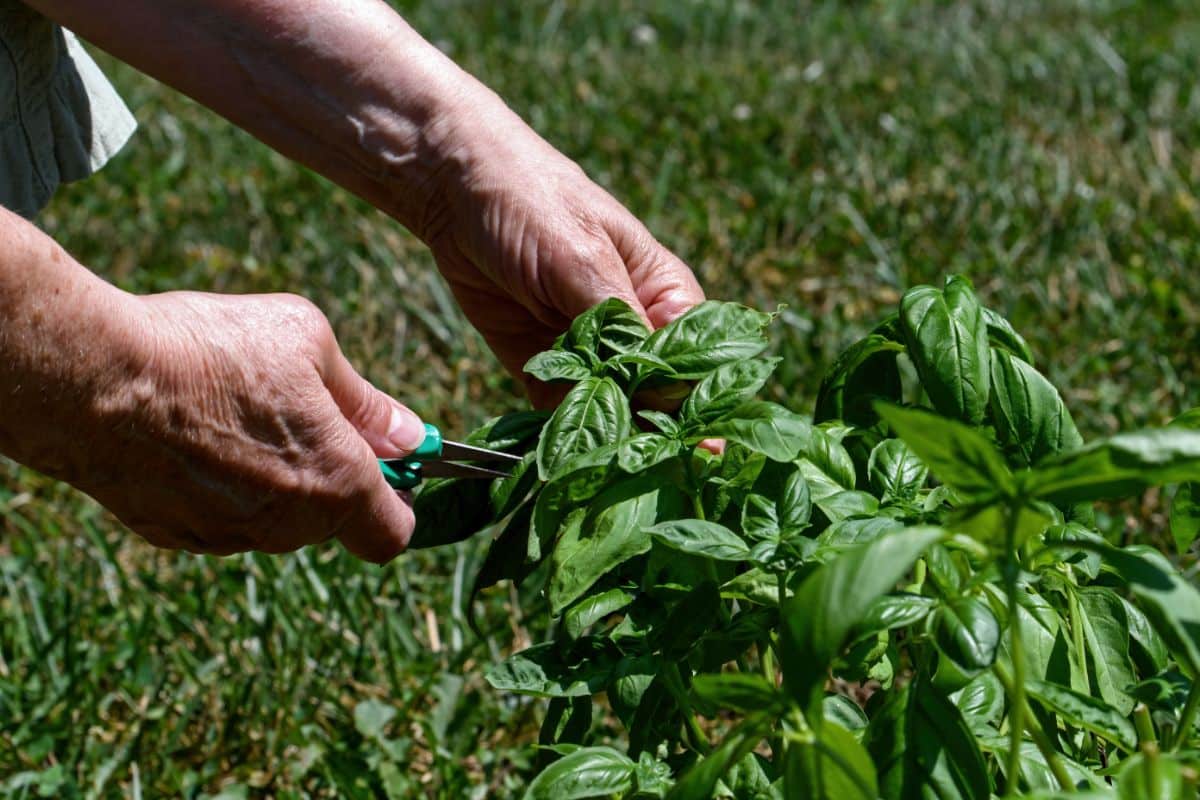
To propagate herbs, you’ll first need to take cuttings from healthy herb plants. Cuttings should be at least 3 to 4” long, but you can take cuttings that are 6 to 10” long if you want to make larger herb plants.
Before cutting your herbs, sterilize your garden pruners or kitchen shears with rubbing alcohol or a 10% bleach solution. This will ensure that no bacteria or other nasties will get transferred into your cut plant tissue. Then, cut your herb stems at a 45-degree angle directly below a leaf node.
2. Remove the lower leaves.
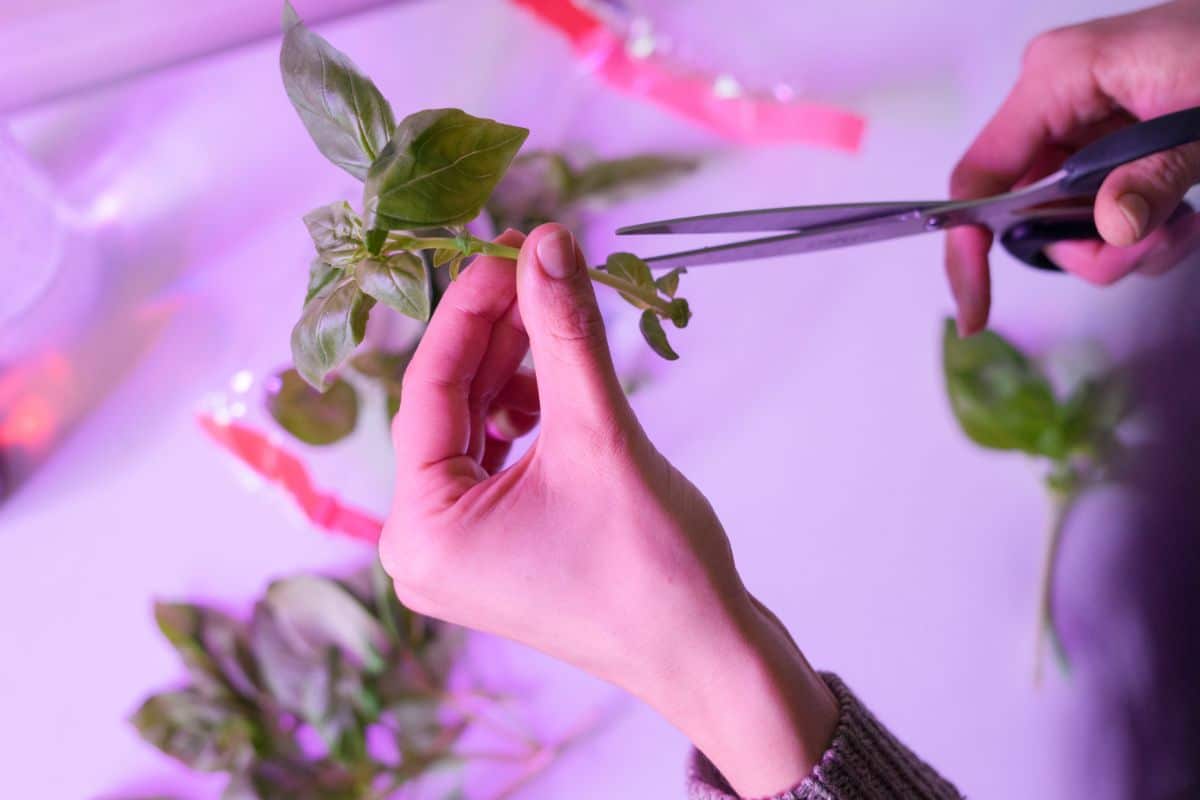
After taking your herb cuttings, clip away the lower leaves on the bottom of the cutting stem, but be sure to leave at least a few sets of leaves on the top of each of your cuttings.
Removing the lower leaves on cutting stems will make it easier to slip cuttings into your propagation containers, but it will also prevent leaves from rotting while your herbs are rooting. Any herb leaves that are submerged in water during the propagation period will become breeding grounds for bacteria, and they can spoil entire batches of herb cuttings before they set root!
3. Place your cuttings in water.
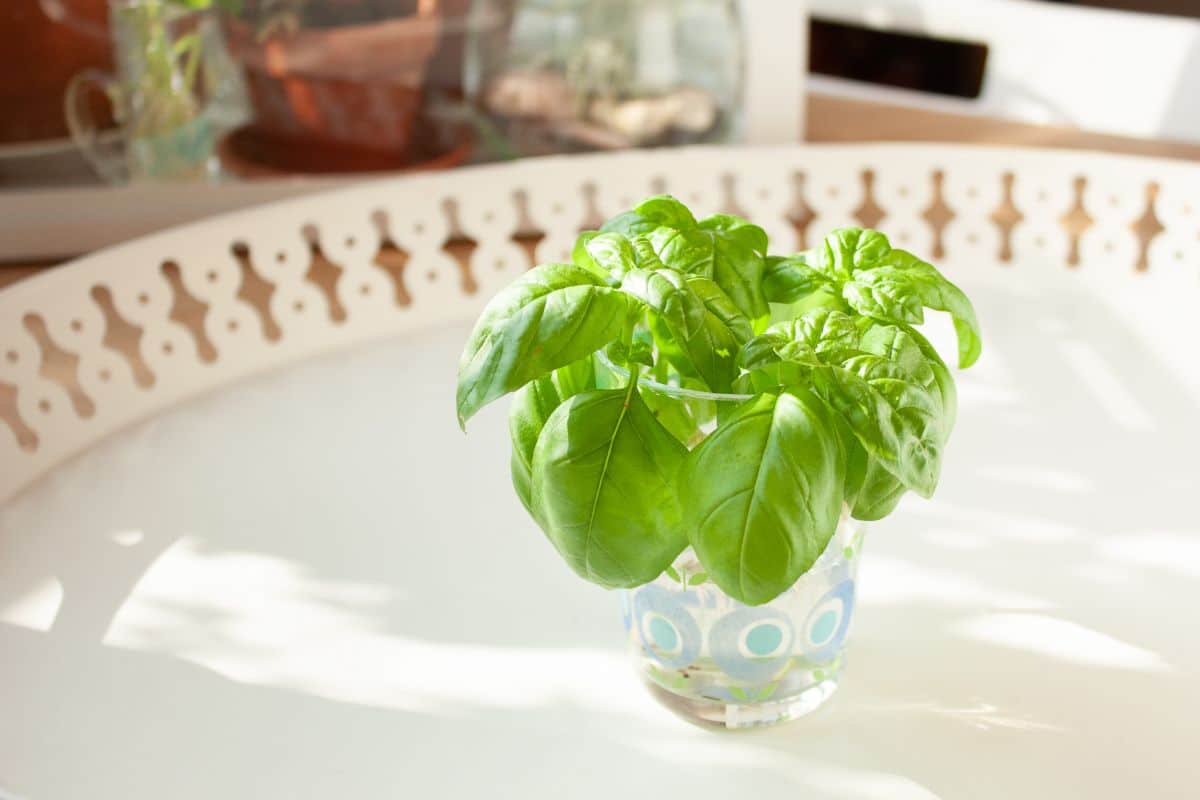
Once you’ve taken your herb cuttings, place them in a propagation container with a bit of room-temperature water. Make sure that the cut end of your cuttings is fully submerged in the water, but all herb leaves should be well above the water line.
While you can keep multiple herb cuttings together in a single jar, this can increase the chances of bacteria growth… especially if one of your cuttings starts to spoil. If you want to shield your herb cuttings against potential rot, consider giving each herb cutting its own propagation container.
4. Add light.
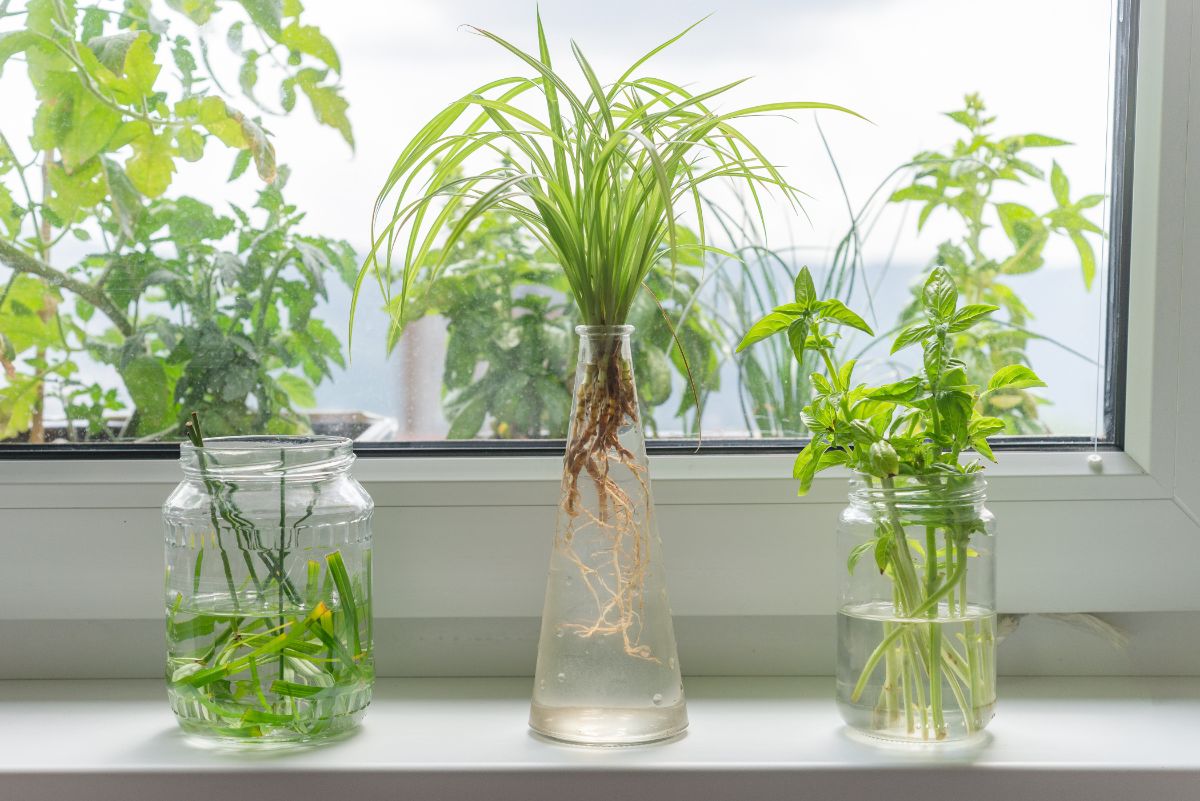
When your herb cuttings are all nestled into their propagation containers, move the containers into a spot in your home that receives bright, indirect light. Full sun can be too intense for rooting herbs, so if you only have brightly lit windows, place your cuttings a few feet away from your windows or use sheer curtains to give your herbs a bit of extra protection.
If you don’t have enough natural light in your home to support your herbs, you can also keep your cuttings under a grow light and turn the light on for about 6 to 8 hours a day.
5. Refresh the water.
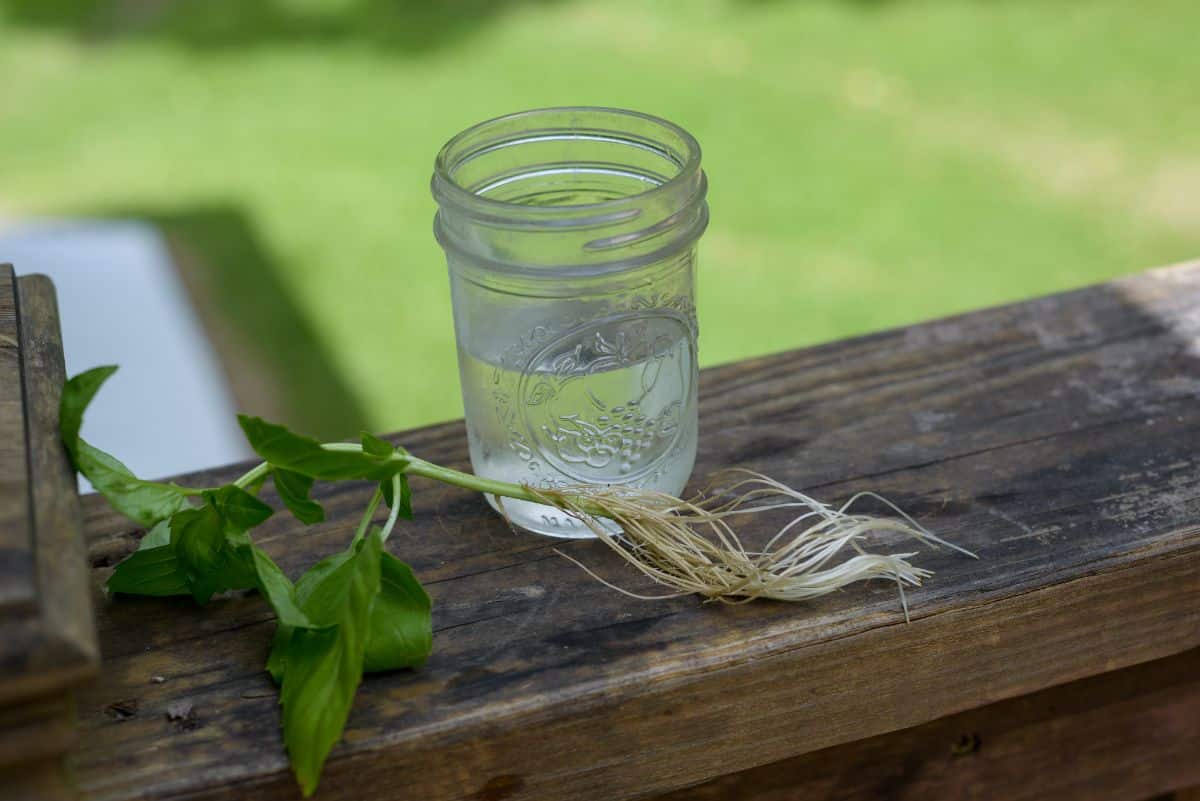
Now it’s time to wait for your herb cuttings to root; however, your work isn’t done just yet! While your herbs are rooting, remember to refresh the water in your propagation containers every few days and make sure the water never gets cloudy. This will prevent bacteria from spreading and spoiling your herb cuttings!
6. Watch for roots.
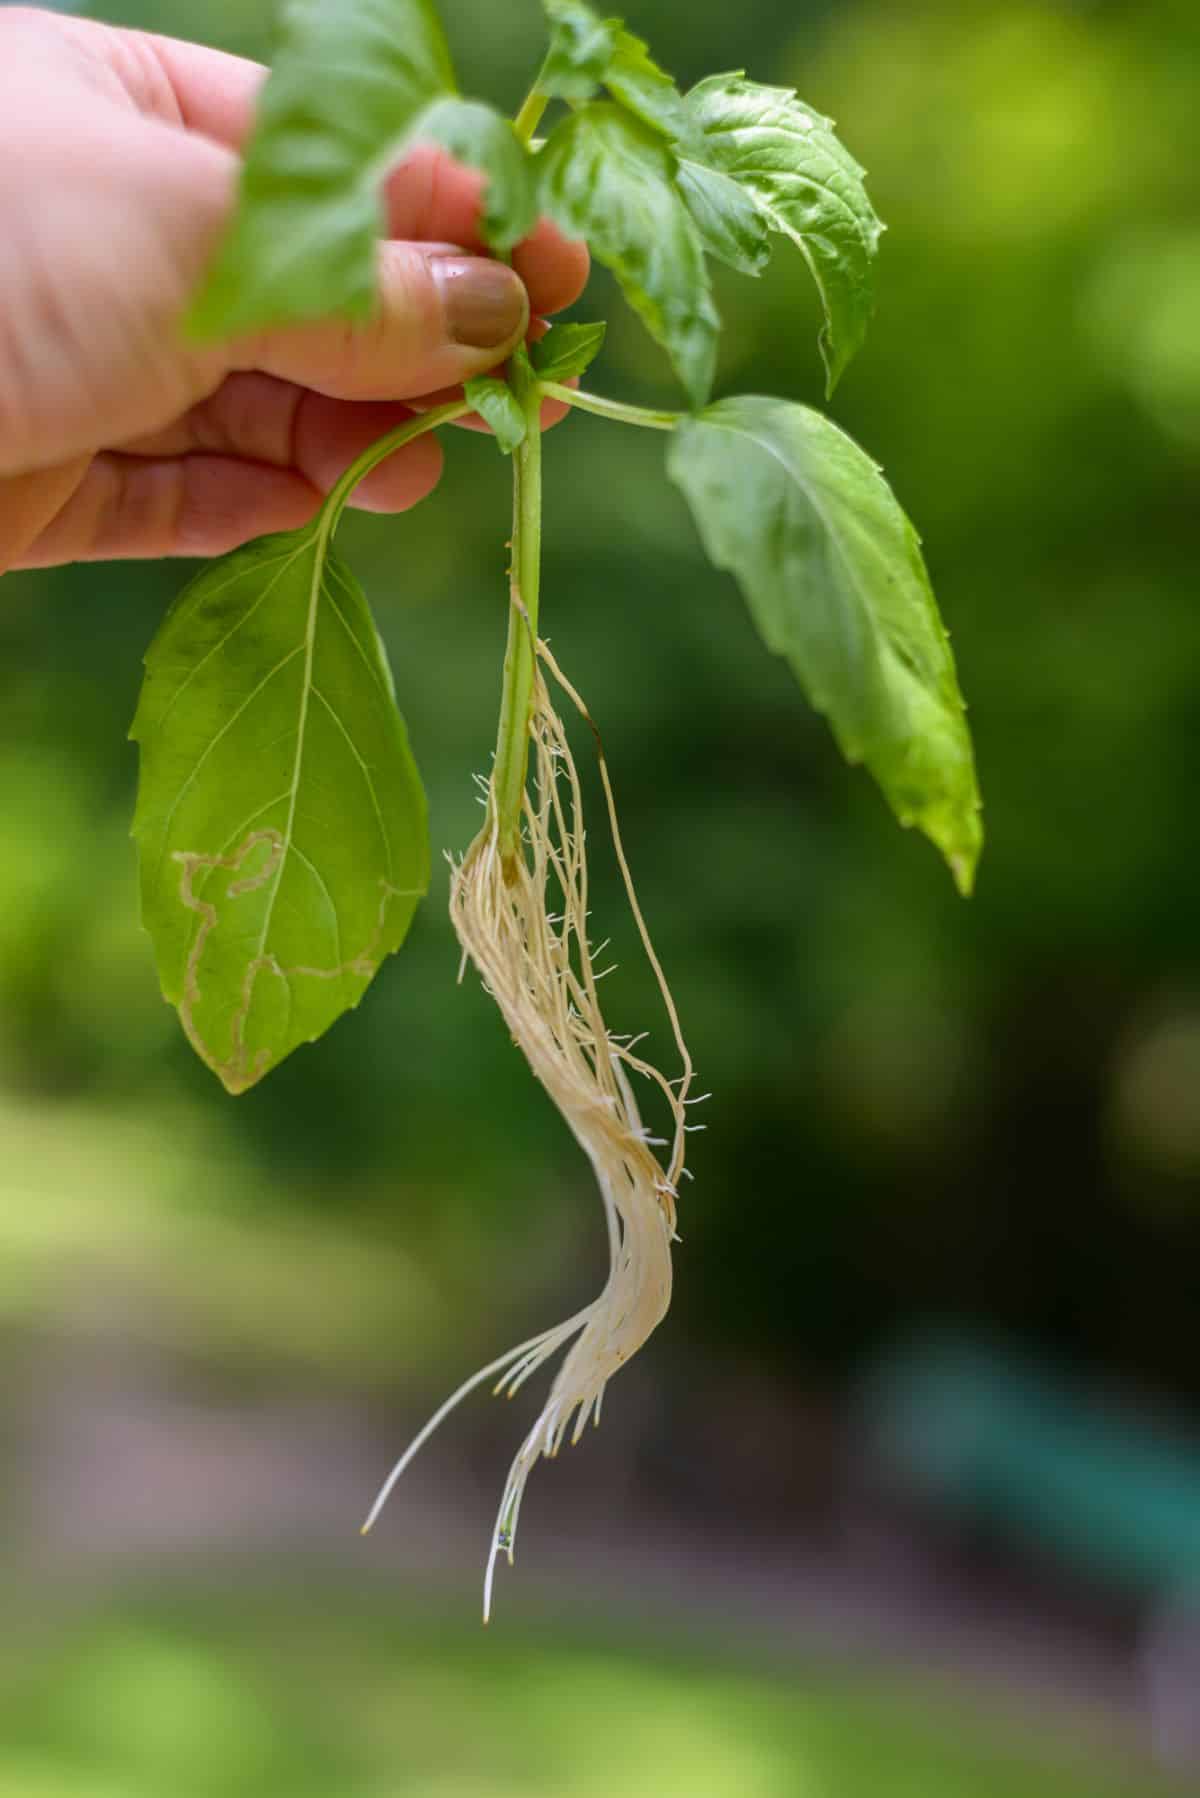
Different herbs root at different rates, but many tender-stemmed herbs can start to develop roots in water in just 1 to 2 weeks!
7. Transplant your new herbs!
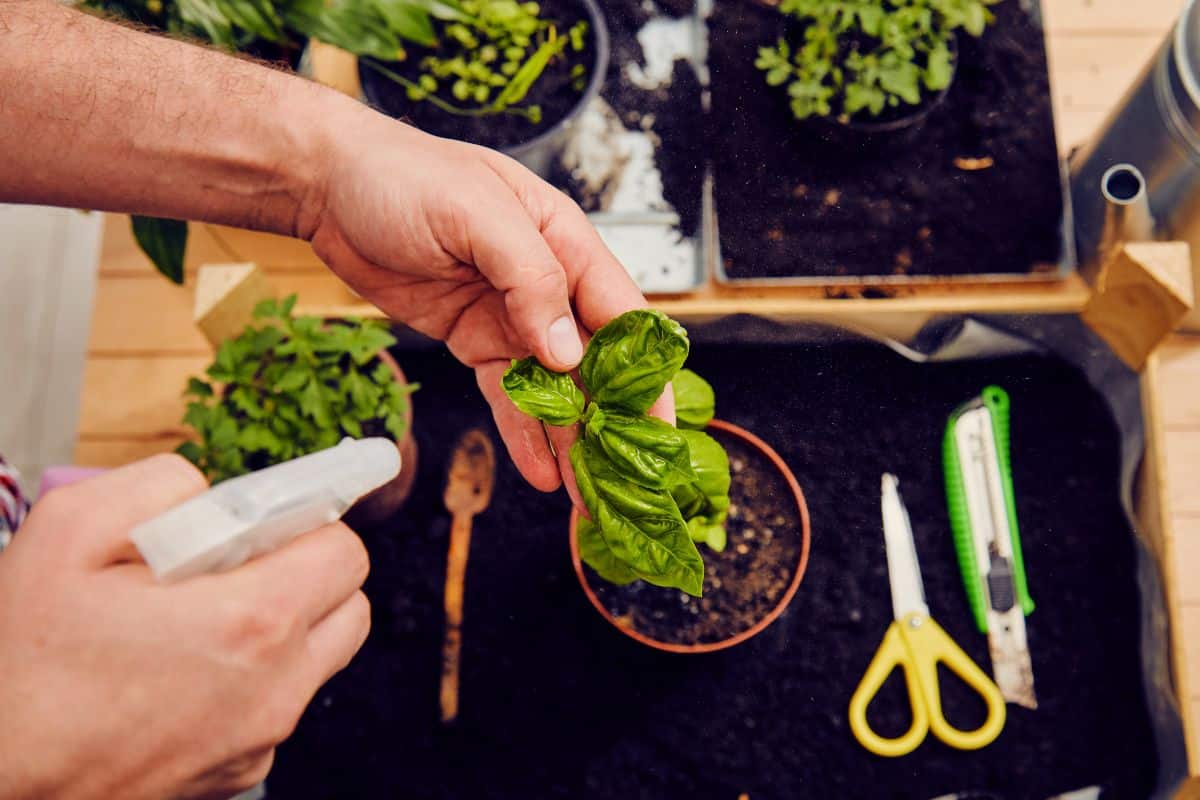
When you spot new roots developing on your herb cuttings, it’s always exciting… but don’t repot your herbs as soon as you see those first root nubs! Instead, wait until your cuttings develop roots that are about 1 to 2” long to start repotting. Take care not to let those roots get too long, though, as herbs with very long roots may not transplant well.
Once your herb cuttings have a well-developed root system, transplant your cuttings into pots with a rich potting mix and water them in well. When your herbs are all potted up, place them in bright, indirect light and then gradually transition sun-loving herbs to full light (if needed) over the course of several days to weeks. And don’t forget to water your new herb plants regularly so that their soil is consistently moist but not soggy!
What herbs should be propagated in water?
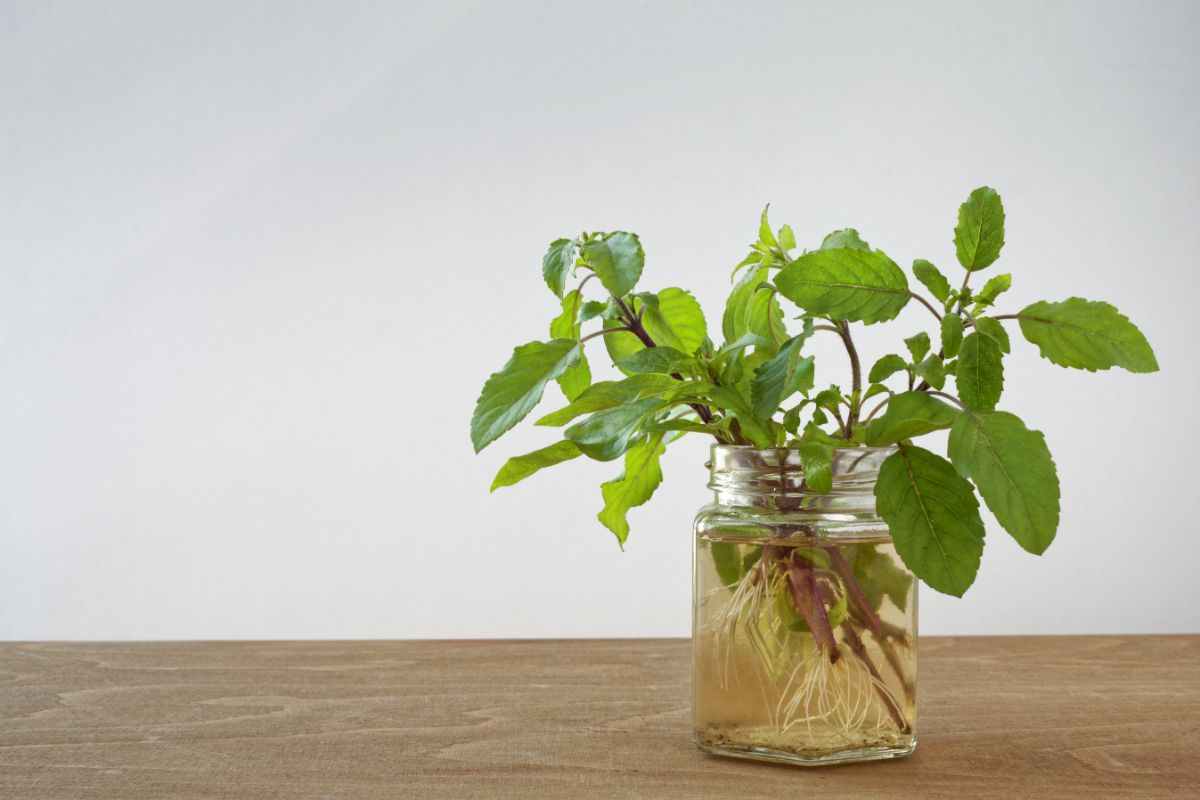
Most herbs can be propagated in water, but water propagation doesn’t work as well for woody-stemmed herbs since these herbs take a while to grow roots. But water propagation is ideal for fast-growing plants, and most tender stemmed herbs fit that bill.
While you can experiment with propagating different herbs in water, some of the herbs that consistently root well with this propagation method include:
1. Basil.
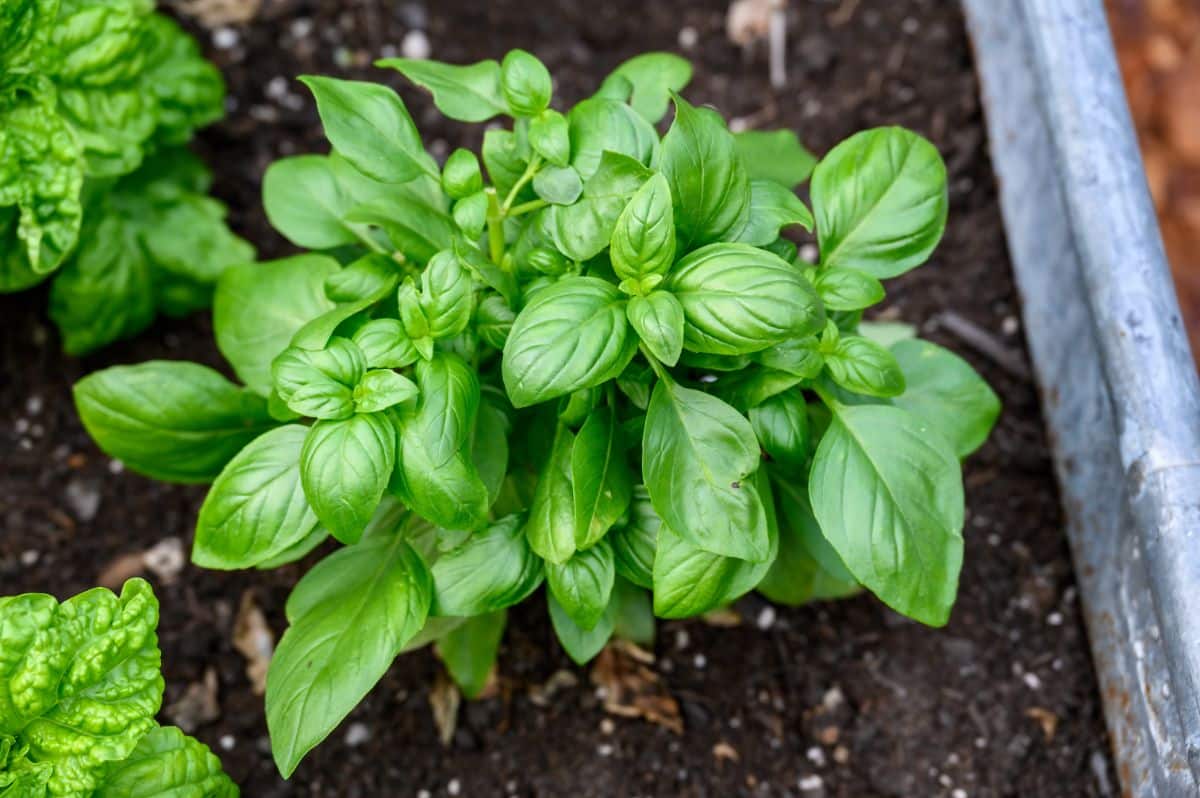
Basil is one of the most popular culinary herbs to grow, and it’s a must-have plant if you love making homemade pesto and caprese salads. However, basil is a true annual plant that doesn’t live longer than a year, even under the best conditions, and basil won’t survive outdoors in areas with cold winters. But you can take cuttings from basil plants and overwinter them indoors in your own indoor herb and have fresh basil year-round if you want to!
While basil is easy to propagate in water, this herb does grow quickly from seed, too, so it’s up to you if you want to grow basil from stem cuttings or not. If you do decide to propagate basil, take your cuttings below a leaf node and remove the lower leaves on your cutting so they won’t sit below the water line in your propagation jar. When properly maintained, basil cuttings will start to root in about 2 weeks.
2. Mint.
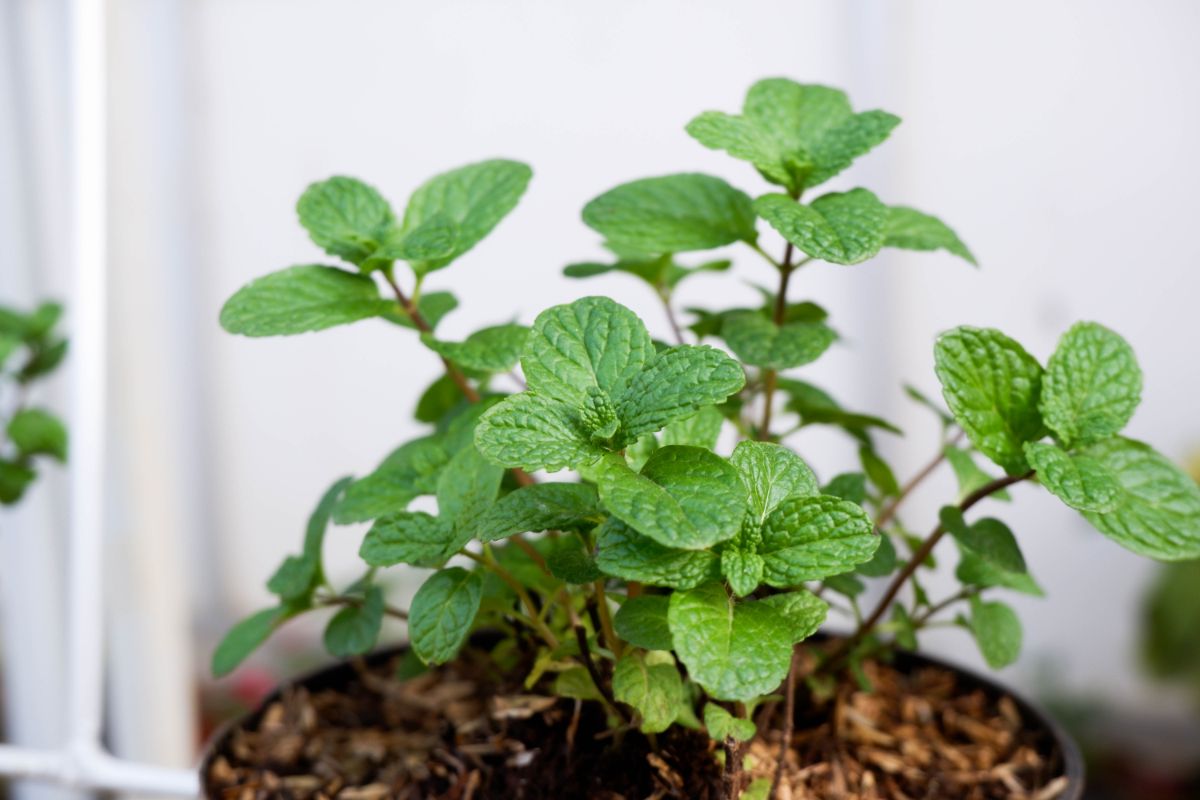
Unlike basil, mint takes a while to grow from seed, so most growers either cultivate mint plants from stem cuttings or root division. Root division is very easy with mint plants since these vigorous growers send out long runners in garden beds and lawns. But growing mint from stem cuttings can be a good solution if you want more mint, but you don’t want to dig up your existing plants.
While mint is a notoriously aggressive grower in outdoor gardens, mint’s growth rate actually comes in handy at propagation time! When started in water, mint plant cuttings usually root in just one week. This applies to the most common types of mint, including peppermint, spearmint, chocolate mint, and mountain mint.
3. Lemon balm.
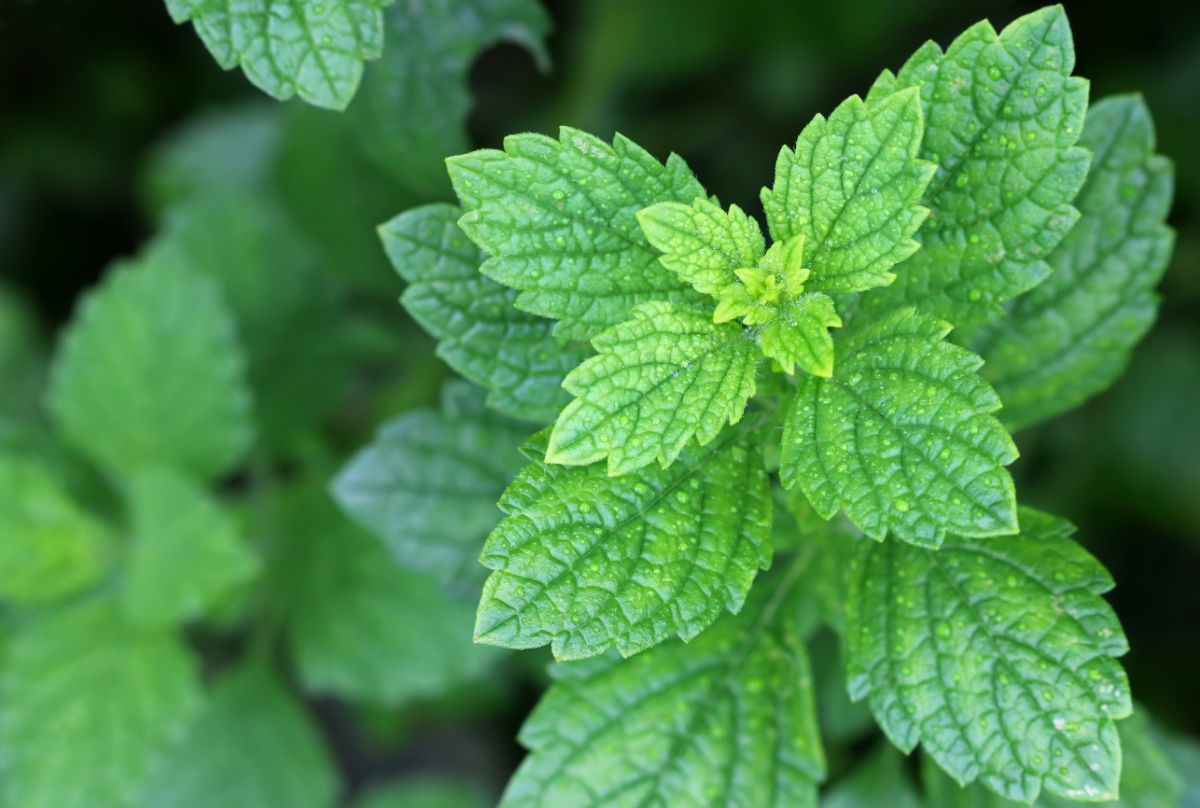
Lemon balm is technically a type of mint, so you know this plant will root well in water too! However, lemon balm generally doesn’t grow quite as aggressively as some other mint plants, so it can take up to 1 to 2 months for lemon balm cuttings to root in water. Lemon balm can also be rooted in soil, but soil propagation methods increase the chances that cuttings will rot before they root.
If you want to encourage your lemon balm cuttings to develop roots quickly, take cuttings that have tender stems and steer clear of cuttings that feel a bit woody. Woody cuttings will take longer to root, regardless of whether you propagate them in soil or water. Also, don’t take cuttings from lemon balm plants that are actively flowering, as these plants will have less energy to direct towards root development.
4. Lemon verbena.
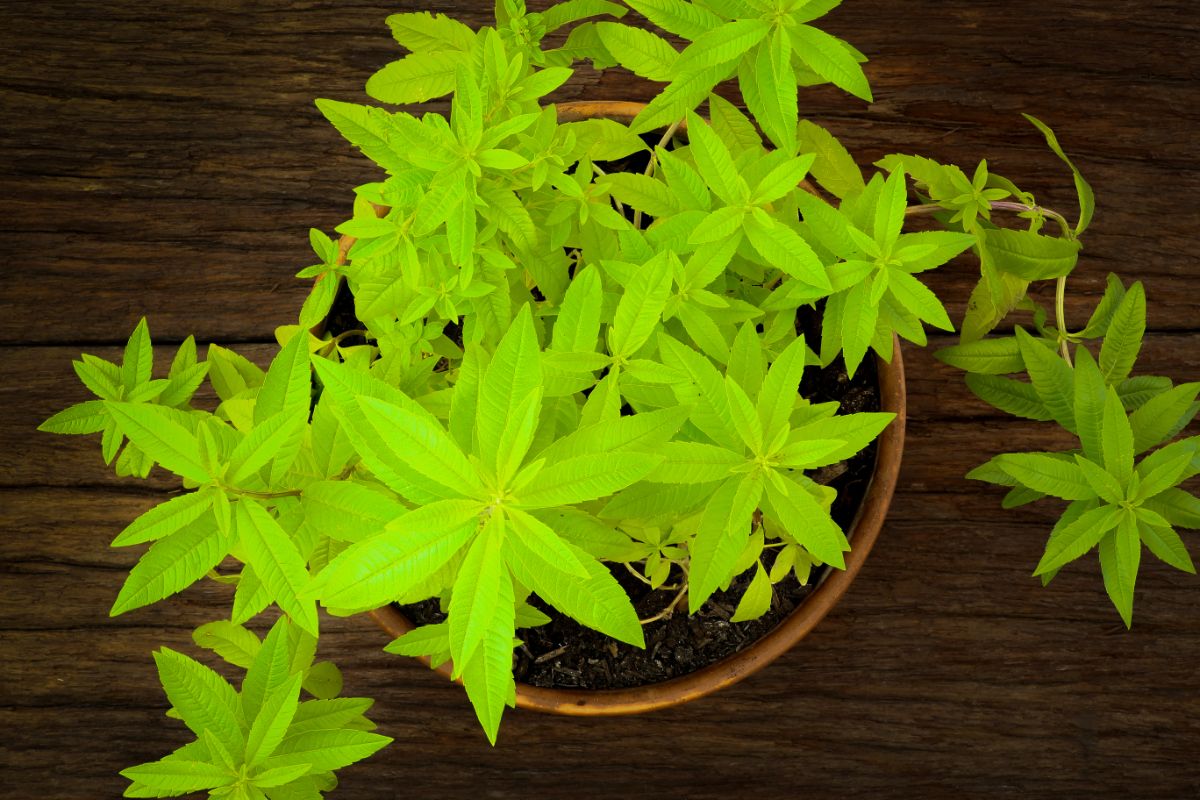
Lemon verbena is a less commonly grown culinary herb, but it makes a tasty herbal tea, and it can be used in desserts and other sweet treats too. But one of the difficult things about growing lemon verbena is that these plants are not cold hardy, and they can only be overwintered in USDA growing zones 9 and 10. In colder areas, lemon verbena is generally grown as an annual, but plants can also be overwintered indoors with extra care.
Although whole lemon verbena plants can be brought indoors, mature plants sometimes have a hard time acclimating to indoor life. To avoid this, it’s sometimes better to take lemon verbena cuttings in autumn and overwinter the cuttings indoors instead of the parent plant. Cuttings often acclimate much more easily to indoor environments, and lemon verbena cuttings should root in just a few weeks with the water propagation method.
5. Stevia.
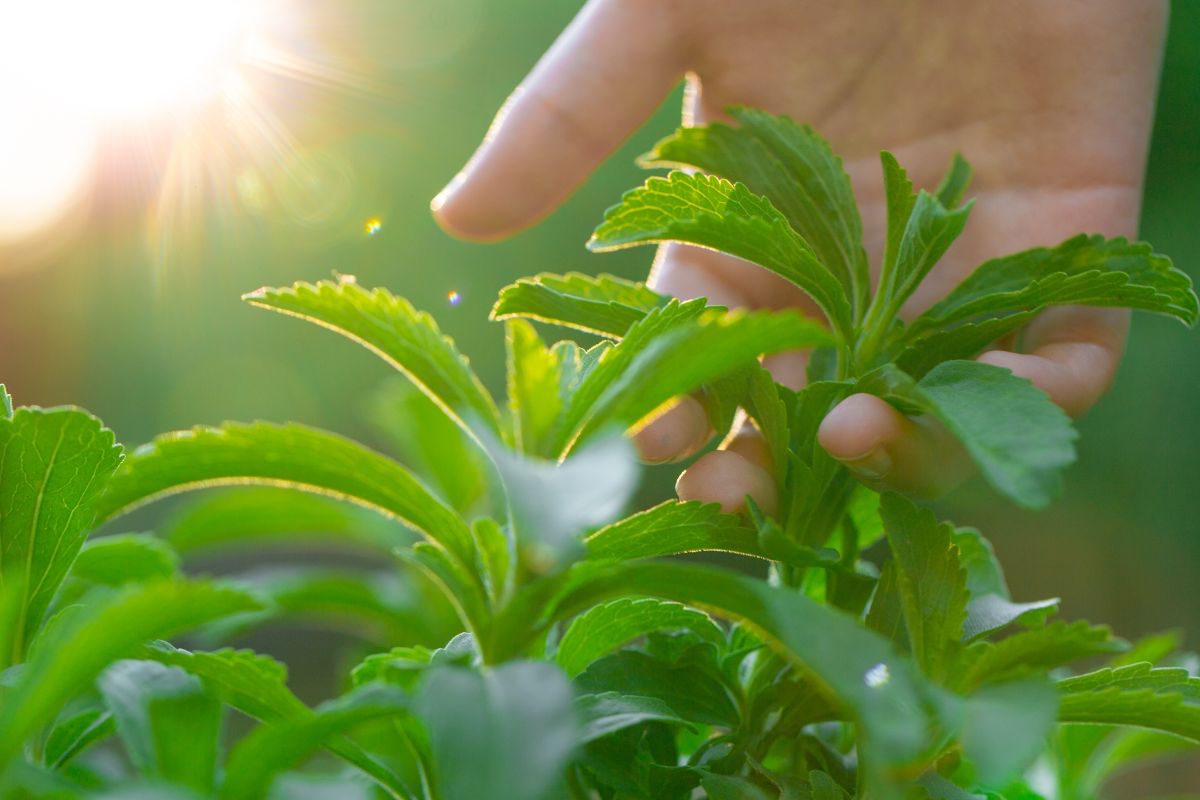
Stevia is another culinary herb that isn’t as commonly kept in home gardens, but if you love working with edible herbs, you may have a stevia plant or two growing in your beds. These plants are mostly known for their sweet flavor, which is often used as a sugar substitute. But stevia plants can also be used to flavor herbal teas, jellies, baked goods, herbal extracts, and smoothies.
Stevia plants are usually grown from seeds, which need to be started indoors in spring in most areas. In warm regions, stevia can grow as a perennial, but these plants are annuals in growing zones 8 and below. Taking cuttings of your stevia plants in the fall and rooting them over the winter will ensure you have plenty of stevia for next year’s garden without you needing to plant a single seed!
6. Lemon grass.
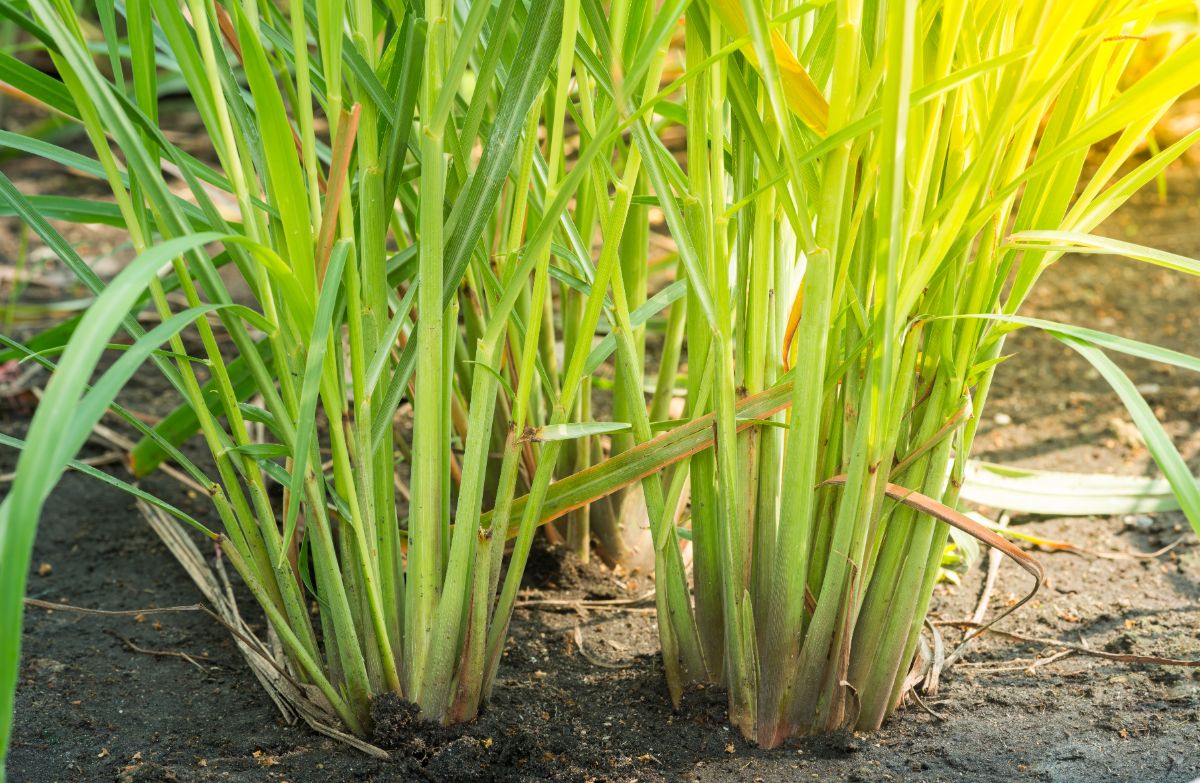
Lemon grass is another heat-loving plant that only grows perennially in growing zones 9 and 10. In colder spots, lemon grass plants will die away when temperatures drop in fall, but you can keep your plants going throughout the winter with water propagation. Even better, you can also propagate grocery store lemon grass in water and save on your grocery bill!
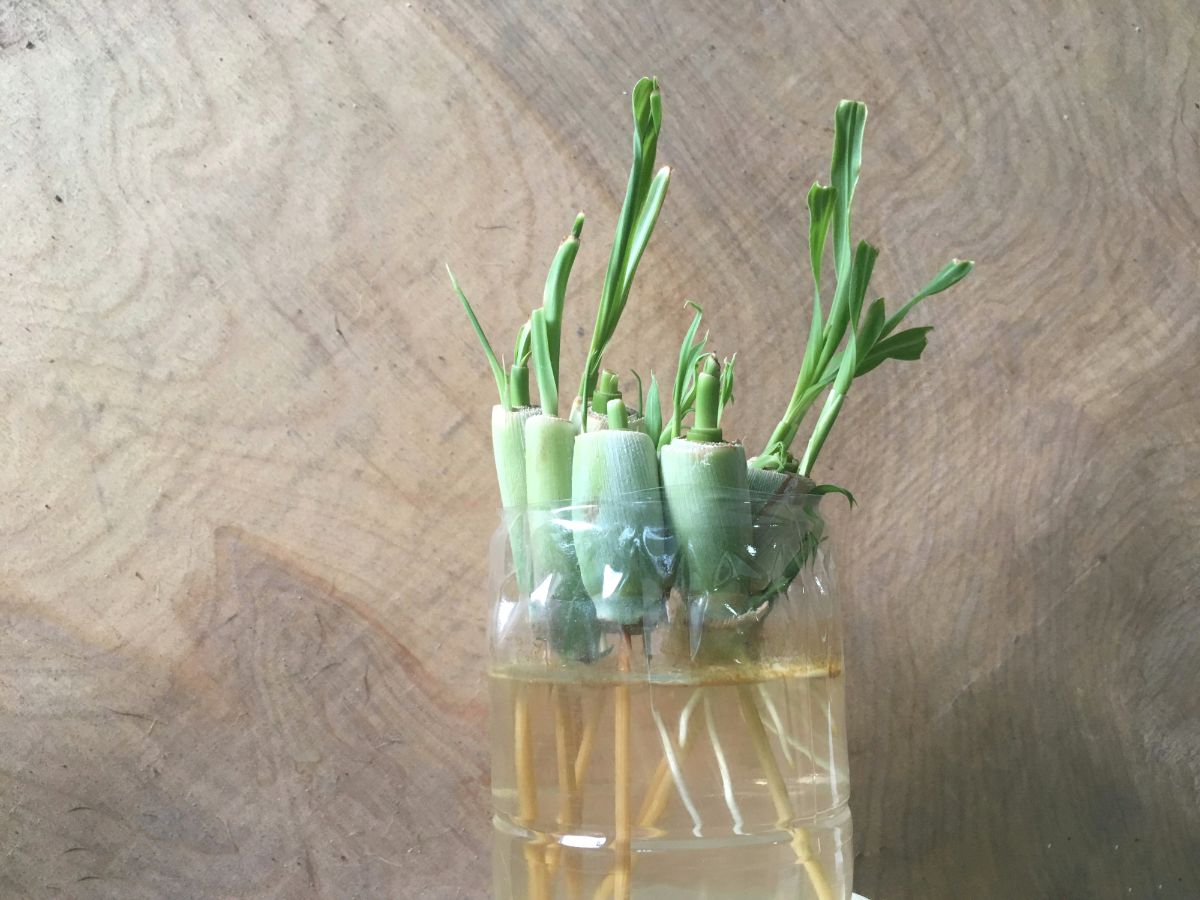
To propagate lemon grass in water, start off with intact lemon grass stems and then trim away some of their upper leaves so that your cuttings can focus on root development. After that, simply submerge the lemon grass stalks in a bit of water and wait. Lemon grass happens to be one of the easiest plants to propagate in water, and cuttings can start to root in just a few days!
7. Tarragon.
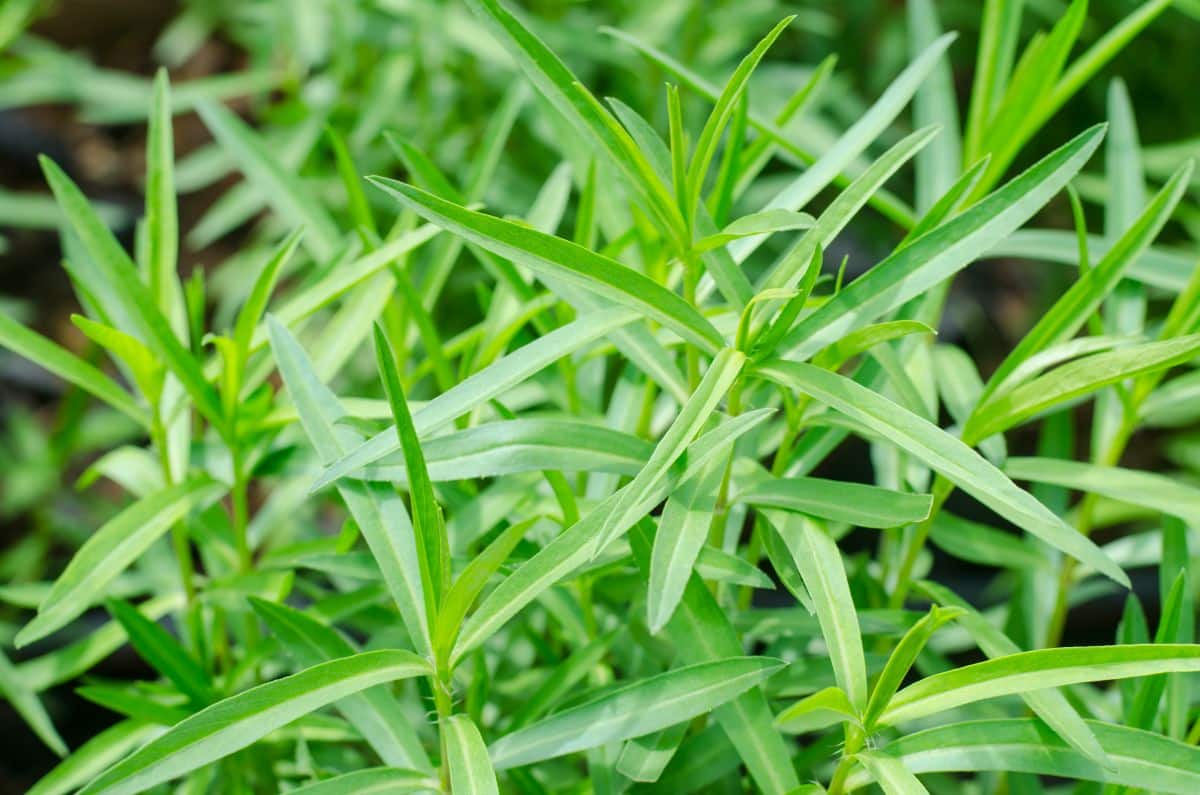
Commonly used in French cuisine and seafood dishes, tarragon is well known for its anise-like flavor and pretty, golden-yellow flowers. Unlike basil, lemon grass, and other plants on this list, tarragon generally overwinters well outdoors, even in colder locations. But you may still want to propagate your tarragon plants to get more fresh herbs for your garden!
Tarragon plants can technically be grown from seed, but this can take a while, and seeds may not always germinate. However, you can get new tarragon plants quickly with water propagation methods. Tarragon usually roots in about 3 to 4 weeks, and then started plants can be transferred to a quality potting mix, or they can be transplanted into your garden.
Beyond these plants, other herbs, like dill, cilantro, and parsley, can also be propagated in water. However, with these plants, you’ll need to ask yourself if propagating stem cuttings is actually worth it. Dill, parsley, and cilantro all grow quickly from seed, so you may not see any real-time savings by rooting these plants in water.
What containers to use with water propagation
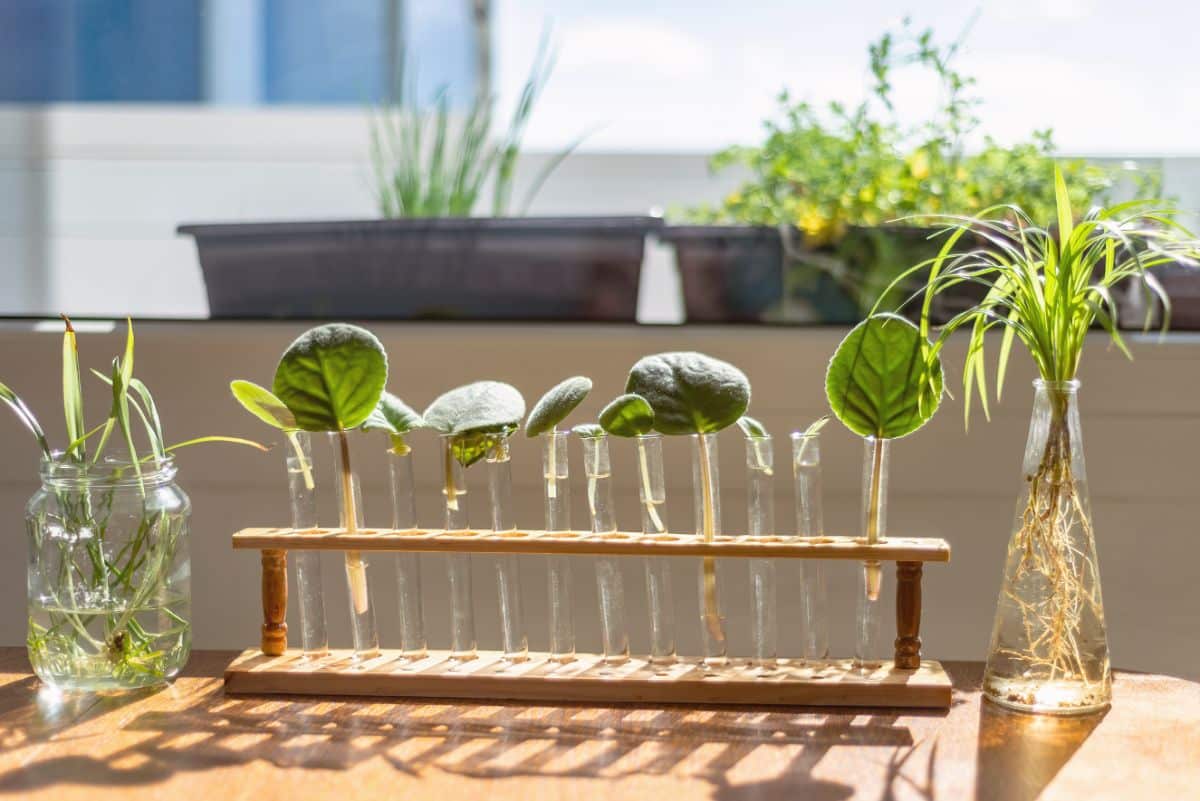
Many gardeners propagate herbs in water in simple glass Mason jars, which usually works quite well. But one of the great things about water propagation is that it allows you to propagate herbs in all sorts of adorable and aesthetic vessels, like propagation stations and sleek test tube stands!
If you love the simplicity of propagating herbs in Mason jars, by all means, stick to the classics. However, if you’d prefer to propagate your herbs in a photo-worthy propagation station, some fun container options include:
- The hanging test tube propagation station by Mkono. This charming herb propagation station blends wood, twine, and chic glass test tubes into a sleek, wall-mounted design. Able to fit 15 herb cuttings at once, this handy setup won’t take up any countertop space, and it has tons of charm too!
- The Ivolador glass bulb plant terrarium is another attractive option that features a sturdy wooden stand and 5 glass bulbs to store herb cuttings in. While this propagation station has fewer individual holders for plants, the glass bulbs it includes are large enough to hold a few herb cuttings each. Combining rustic charm and sophistication, this station would look right at home on a cozy kitchen counter or dining room table!
- If you have a small kitchen space or you just don’t like clutter on your countertops and tables, the window propagation station by OmniElite may be for you. This uber-compact setup consists of 4 test tubes mounted on sticky suction cups. Just hang them up in your kitchen window or in another sunny space and wait for your herb cuttings to root!
- The plant propagation station by THYGIFTREE would make an excellent hostess gift, but if you want to propagate herbs in water, it will work for that, too. This tidy setup features 5 glass jars in a compact, wood and metal stand with easy-carry handles. The beauty of this system is that you can easily move your herb cuttings around whenever needed!
- Mkono produced another winning plant propagation station with their hanging glass terrariums. These wall-mounted glass plant holders come in packs of 2, 4, or 6, allowing you to propagate as many herb cuttings as needed. Just be sure to mount this setup on a sunny wall so your herbs get enough light to grow properly.
Frequently asked questions
It depends. In general, herbs with woody stems are easiest to propagate with soil, and tender-stemmed herbs root most readily in water, but most herbs can be propagated with either method. What propagation technique you choose is totally up to you though, so feel free to experiment!
Yes, you can! One of the great things about propagating herbs from stem cuttings is that you can take cuttings from your garden… or from storebought, fresh herbs! To increase the chances of propagation success, just be sure to trim the cut ends of storebought herbs before placing them in your propagation jars so that the cuttings can more readily absorb water.
Technically, yes, but you’ll have better luck propagating cuttings from healthy plants. That said, if you have herb plants that are struggling or damaged, you may be able to salvage them by propagating them from stem cuttings.
While you can propagate in many different containers, clear glass containers work particularly well because they’re easy to clean. On top of that, clear containers allow you to easily assess the health of your herb cuttings and refresh water as soon as it gets a little cloudy.
Cuttings sometimes don’t root, which is a gamble all gardeners take when propagating plants from stem cuttings. While this can occur due to a number of different reasons, one of the main reasons why cuttings rot is dirty water. To avoid this, make sure you refresh the water in your propagation jars often and clip away the lower leaves on your cuttings so they aren’t sitting below the water line.
No. Unless you’re using hydroponic growing methods, herb cuttings will need to be transplanted into the soil after they root. Herbs grown only in water won’t have the nutrients they need to grow properly, and they will become weak and die away over time.
Summary
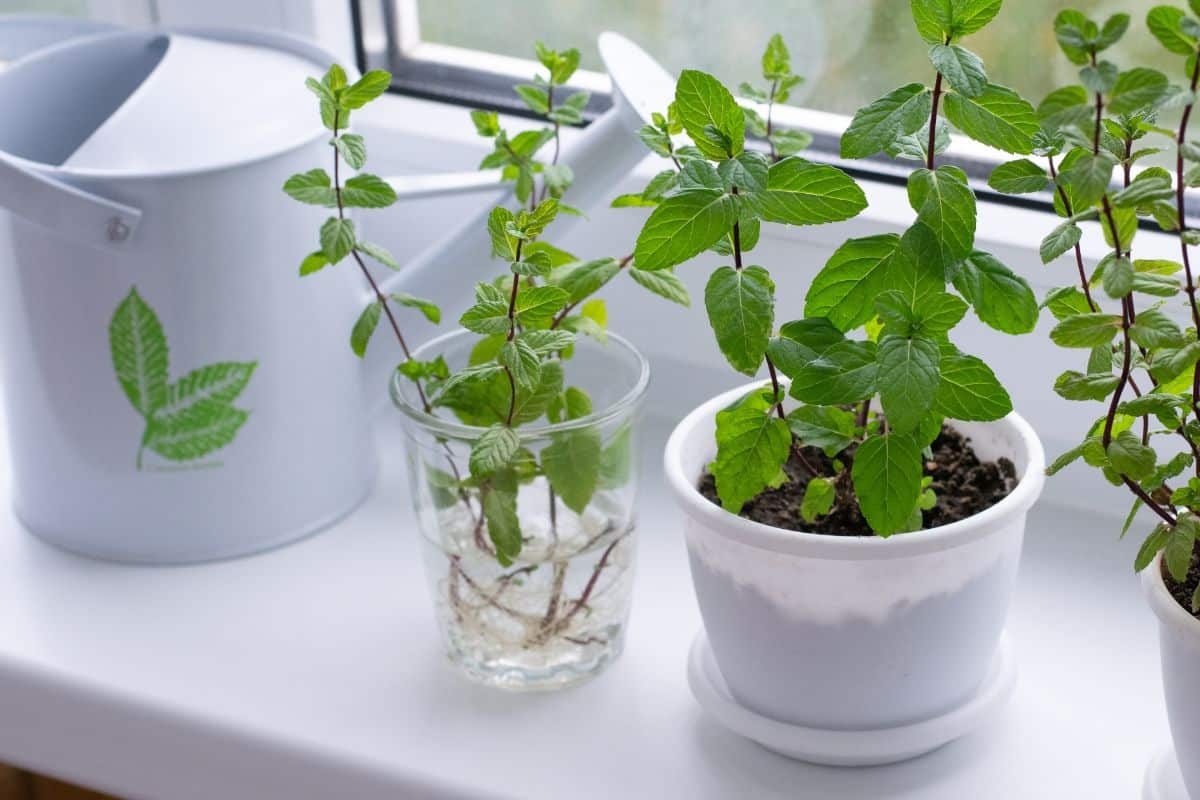
Propagating herbs in water is one of the easiest ways to get new herb plants for your garden without spending a cent. While you can propagate herbs from your own garden, you can also ask friends and family if you can take cuttings from their herb gardens, or you can propagate herbs you purchase at the grocery store. After rooting your herbs in water, pot them up individually, or add them to your herb garden and enjoy the tasty rewards in all of your favorite recipes!
If you’re propagating tender annual herbs in autumn and plan on overwintering your new plants indoors until spring, you may find our guide on growing herbs indoors interesting too!


Leave a Reply