Pumpkins (Cucurbita pepo) are one of the oldest domesticated plants and have been intentionally grown by humans for at least 5,000 years. Native to North America, pumpkins are members of the Cucurbit family, which also includes squash, zucchini, and cucumbers. Often grown for their edible flesh, pumpkins are also cultivated for their sturdy shells, which can be used as edible bowls for soup or decorated for holiday displays.
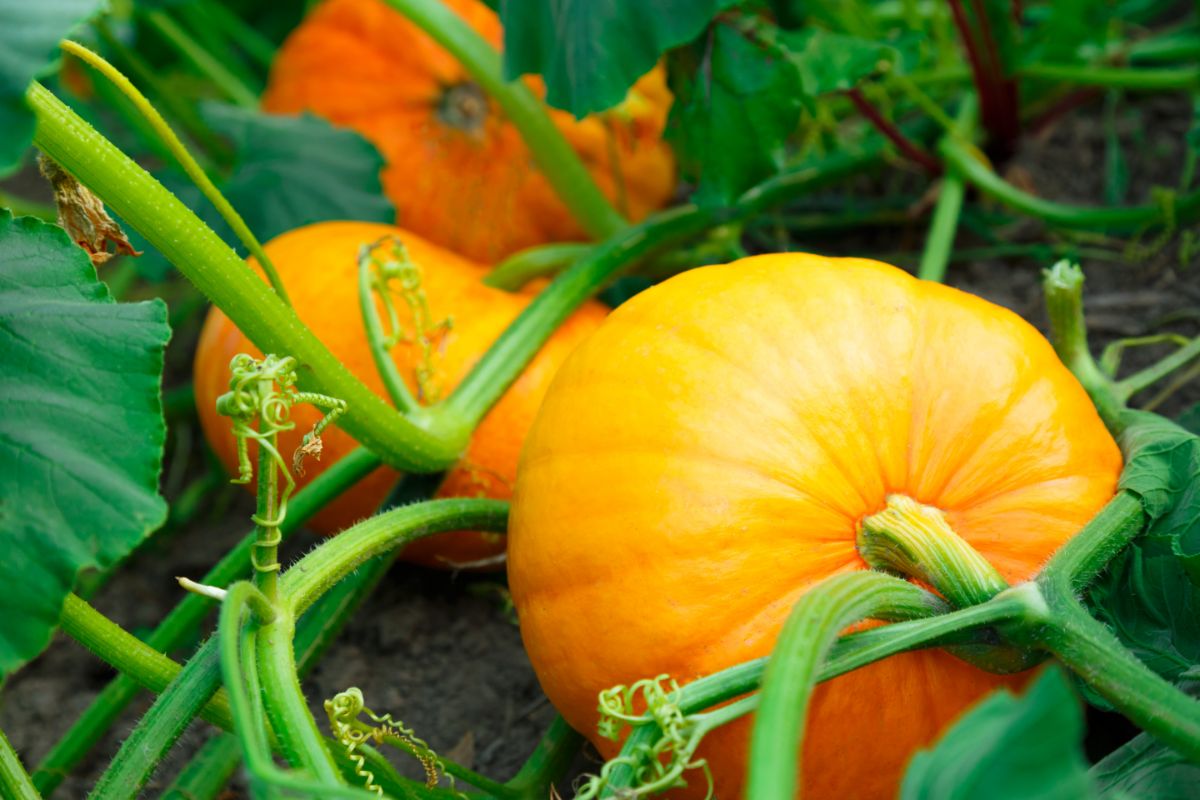
From rich and creamy pie pumpkins to larger field pumpkins for carving, there are a wide range of pumpkins that the home gardener can keep in their yard. Easy enough to grow for first-time gardeners, pumpkin keeping isn’t a tricky task, although gardeners will want to make sure they have plenty of gardening space if they want to grow these sprawling plants.
In this guide, we’ll walk you through all the steps you need to grow delicious and decorative pumpkins at home. From seed planting to storing your harvest, you’ll find all the best pumpkin-growing tips right here!
Jump to:
Where to plant pumpkins
| Scientific name: | Cucurbita pepo |
| Other names: | Squash, gourd, jack ’o’ lantern |
| Growing season: | Summer, Fall |
| Direct sow or transplant? | Direct sow recommended |
| Size: | 20 to 30’ long |
| Days to maturity: | 90 to 110 days |
| Light requirements: | Full sun |
| Water requirements: | Moderate, 1 to 2” of water per week |
| Soil pH: | 6.0 to 6.8 |
| Recommended fertilizers: | Compost, aged manure, nitrogen-rich fertilizer, low-nitrogen fertilizer |
| Colors: | Orange, white, yellow, multi-colored |
| Common pests: | Squash bugs, squash vine borers, flea beetles, cucumber beetles, powdery mildew |
Pumpkins are large and sprawling plants that produce vigorous vines that can push over nearby crops and choke out smaller vegetation. For this reason, one of the most important considerations when planting pumpkins is space.
Ideally, a single pumpkin plant will grow happiest when it’s provided with about 1000 square feet of growing room. This is a lot of space, and most home gardeners don’t have this much garden area to work with. The good news is that pumpkin vines can be grown in smaller spaces with a bit of know-how.
At a bare minimum, strive to provide each pumpkin plant with at least 10 square feet of growing space. During the growing season, your pumpkin vines will spread, but if you have a small garden, you can train pumpkin vines to grow into your yard or across walkways to give you a bit more space to work with. Gardeners with very limited space may also be able to keep pumpkin plants in 10-gallon buckets, but it’s best to look for miniature pumpkin varieties if you intend to keep your plants in containers.
Beyond space considerations, it’s also important to ensure that pumpkins have lots of bright suns and plenty of nutrient-rich soil to grow in. Because these plants are heavy feeders, it’s a good idea to amend your garden soil with compost or aged manure prior to planting your pumpkins. You can also create a “melon pit” with your kitchen scraps and use this easy source of organic compost to feed your growing pumpkins.
Tip: If you are working with a small garden space but still want to grow pumpkins, think vertically! Many pumpkins, particularly smaller pumpkin varieties, can be trained to grow up cattle panels or other trellising. Large fruit can be supported with small hammocks made from old onion bags or nylon stockings.
How to plant pumpkins
Pumpkins are warm weather-loving plants, and they don’t tolerate the cold well. It’s important to wait until temperatures warm up in spring before you sow your pumpkin seeds.
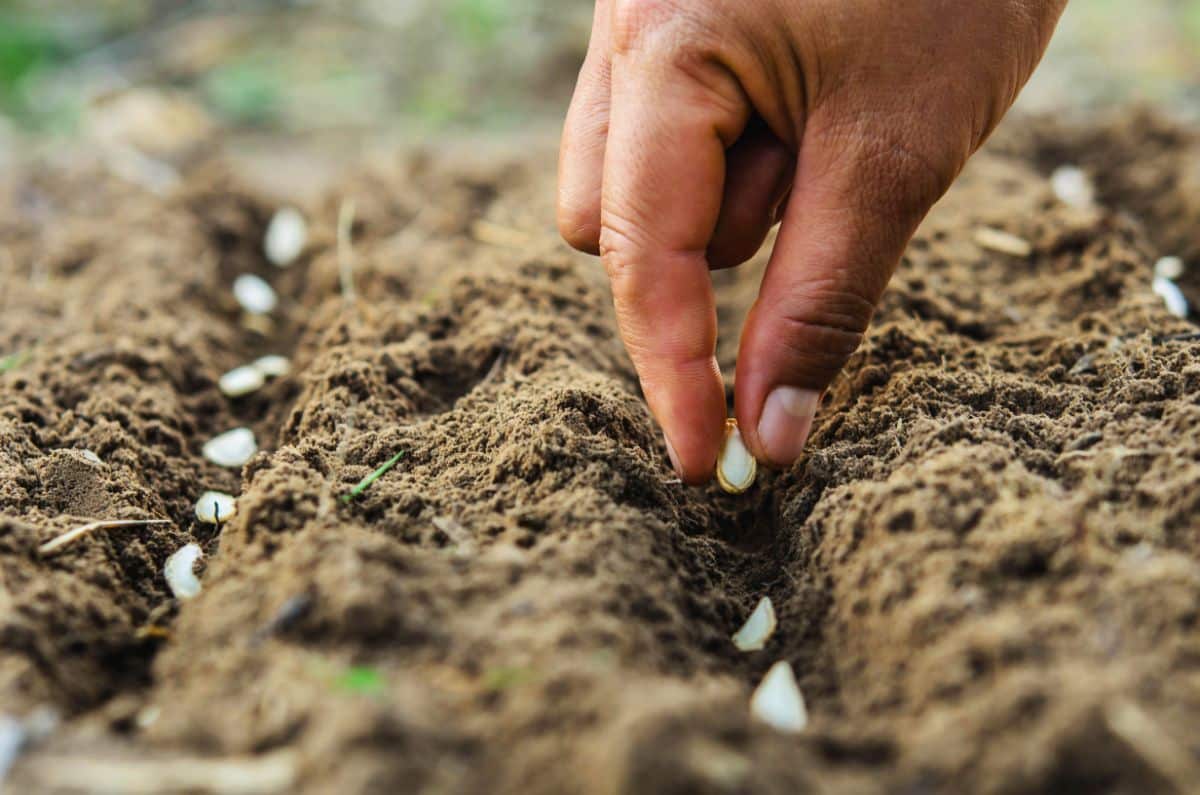
Pumpkin seeds can be directly sown outdoors about 2 to 3 weeks after your last frost date in spring. For best results, soil temperatures should be at least 65° F. If the weather is warm enough, seedlings should emerge about 5 to 10 days after planting.
If you live in a cooler region, you may opt to sow your pumpkin seeds indoors about 2 to 4 weeks before your last frost date. Because pumpkins generally don’t transplant well, sow your seeds in biodegradable peat pots, which can be planted along with your pumpkin plants, so you won’t need to disturb their delicate roots.
When direct sowing your pumpkins outdoors, plant your seeds 6 to 12” apart in rows spaced 6 to 10’ from each other. Sow 2 to 3 seeds per hole and cover them with 1” of soil. When your pumpkin seedlings have their true leaves and are about 2 to 3” tall, thin out your seedlings so that they are planted 18 to 36” apart.
Alternatively, you can plant 4 to 5 pumpkin seeds in hills spaced 4 to 8’ from each other. Hills should be amended with compost or aged manure prior to planting, and then seedlings should be thinned out after your pumpkin seeds germinate, leaving 2 to 3 plants per hill.
Because they are raised, hills drain better and will warm up quicker in spring. This will speed up germination rates, which can be particularly beneficial for northern growers with short growing seasons.
If you decided to start your seeds indoors, follow the above spacing recommendations when transplanting seedlings. And, of course, be sure to properly harden off your pumpkin plants prior to transplanting to avoid issues like transplant shock.
Finally, pumpkin seeds can be very attractive to birds and other wildlife, which may gobble up your newly planted seeds. To avoid this, consider adding floating row covers over your garden beds until your seedlings germinate. Or cover up your pumpkin seeds with a bit of moistened paper towel until they sprout.
Note: Growers trying to cultivate pumpkins for Halloween carving should select pumpkin varieties with shorter growing seasons to make sure they ripen in time for fall. To determine if a pumpkin type will work for you, check the seed packet for the “days to harvest” information and then calculate whether you have enough time between spring planting and Halloween to grow a ripe pumpkin.
Growing pumpkins in your garden
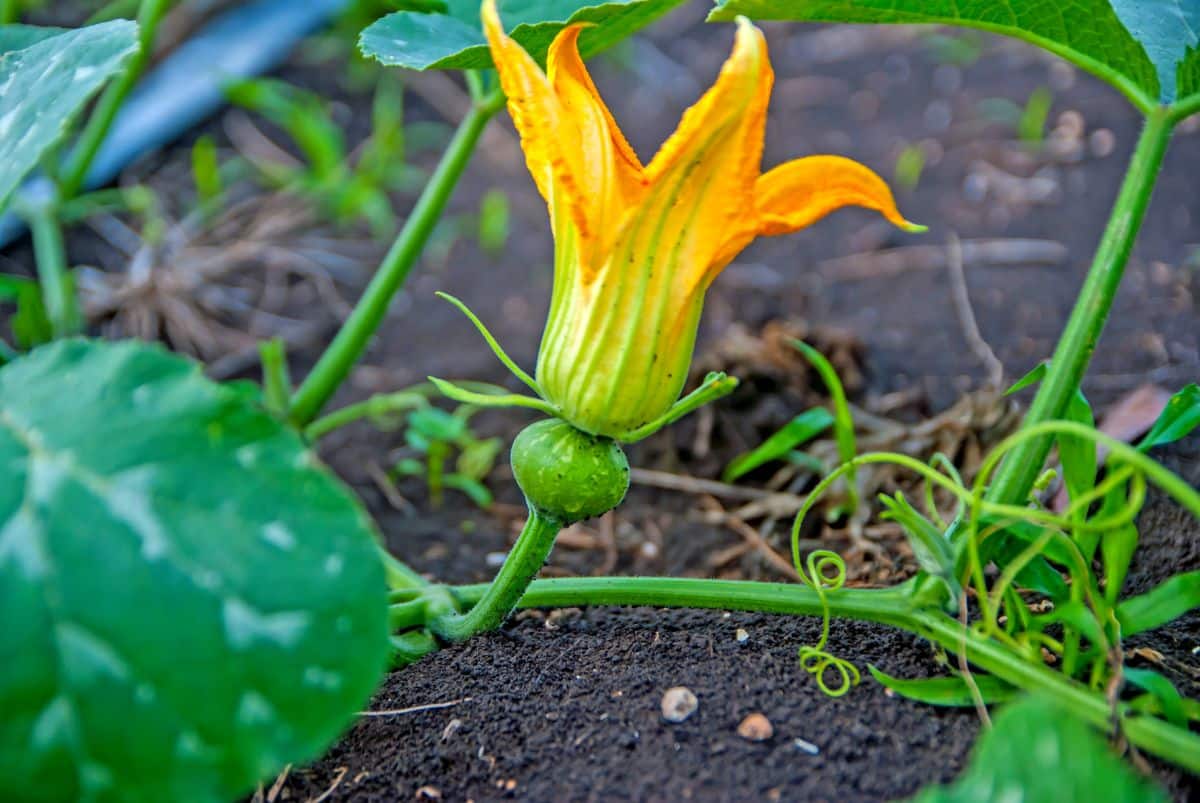
The best way to grow a successful crop of pumpkins is to understand this plant’s unique growing needs. It’s also important to know which pests may occur in your pumpkin patch so you can address these issues quickly and effectively.
Light
Like most other vegetables, pumpkins need lots of bright light to grow properly. Be sure to locate your pumpkins in an area of your garden that receives at least 8 hours of full sun daily.
Soil
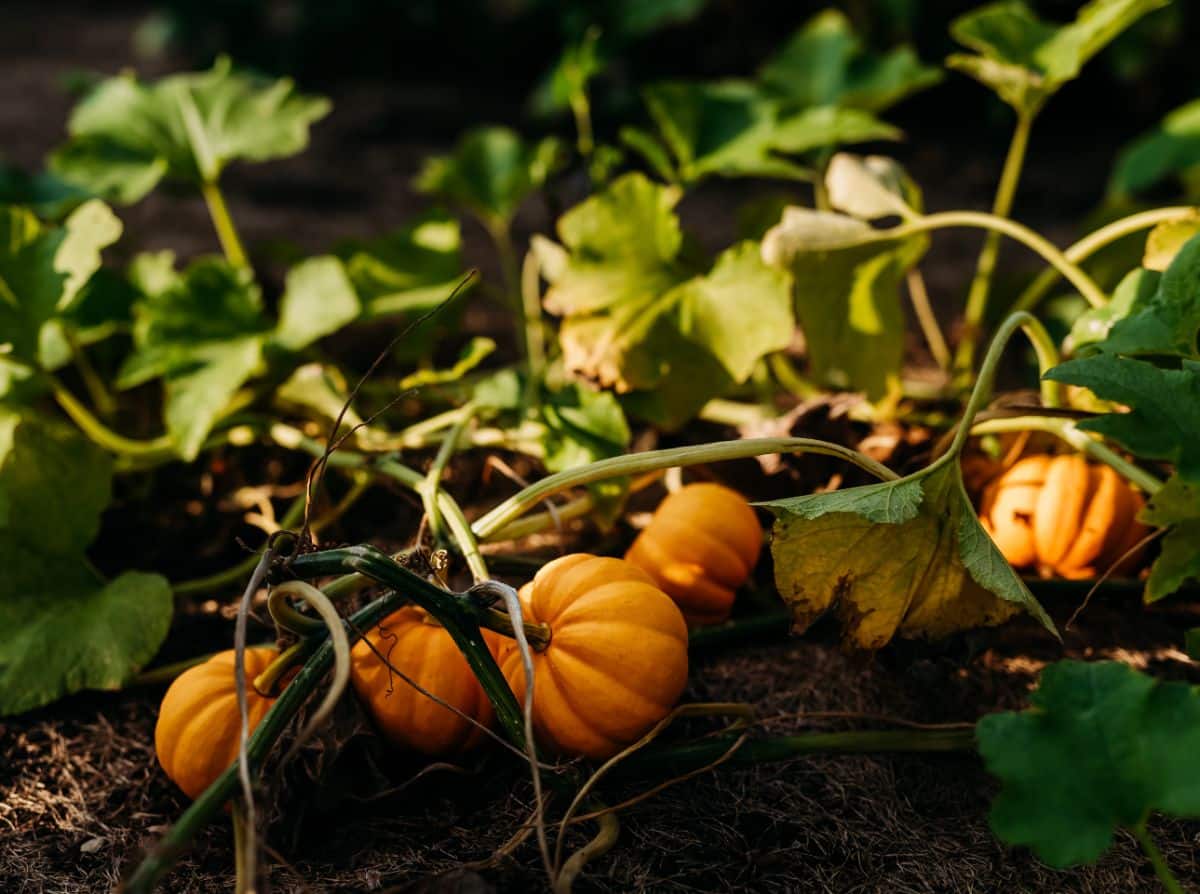
Pumpkins are heavy feeders, and they need rich, well-draining, loamy soil to grow properly. To give your pumpkins an advantage, be sure to amend your soil with compost or aged manure prior to planting. You can also amend your soil with fresh manure in autumn and allow it to age naturally in your garden over the winter so it will be ready for planting in spring.
Ideally, the soil should be slightly acidic with a pH of between 6.0 and 6.8.
If you’re unsure about your soil quality, a soil test can help you determine if your garden beds need any particular soil amendments.
Water
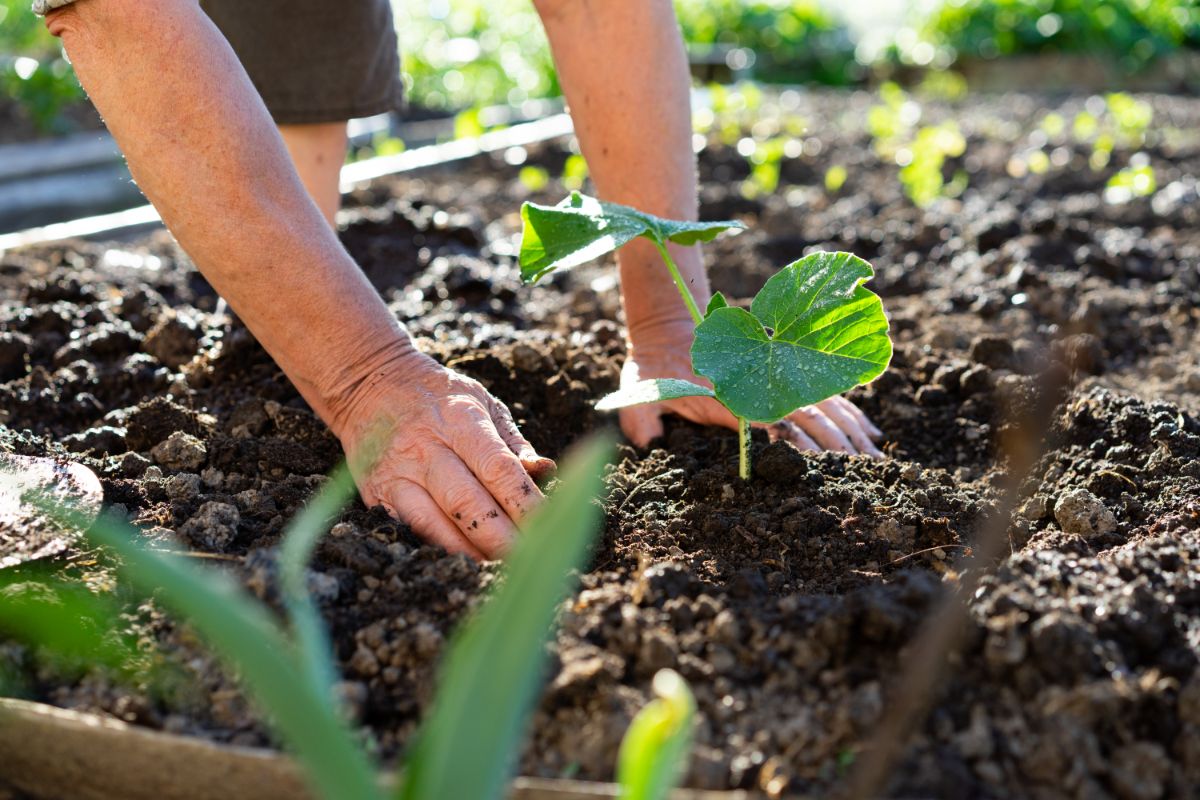
Pumpkin plants should be watered consistently; about 1 to 2” of water per week should do. While you should water your pumpkins throughout the growing season, regular watering is particularly important after your pumpkin vines set flowers and fruit.
Adding a layer of organic mulch, like weed-free straw or mulched autumn leaves, around your pumpkin plants can help suppress weeds and prevent your soil from drying out too quickly.
Because pumpkins and other Cucurbit plants can be prone to powdery and downy mildew, it’s very important that you water along the base of your plants and try to keep your plant’s leaves as dry as possible. Adding a drip irrigation system to your garden can help direct water straight to your plant’s roots, and if you add a timer, this system can be fully automated to cut down on your gardening chores.
Watering in the morning, rather than in the evening, is also recommended, as this will give your plant’s leaves plenty of time to dry before temperatures drop at night.
Fertilizer
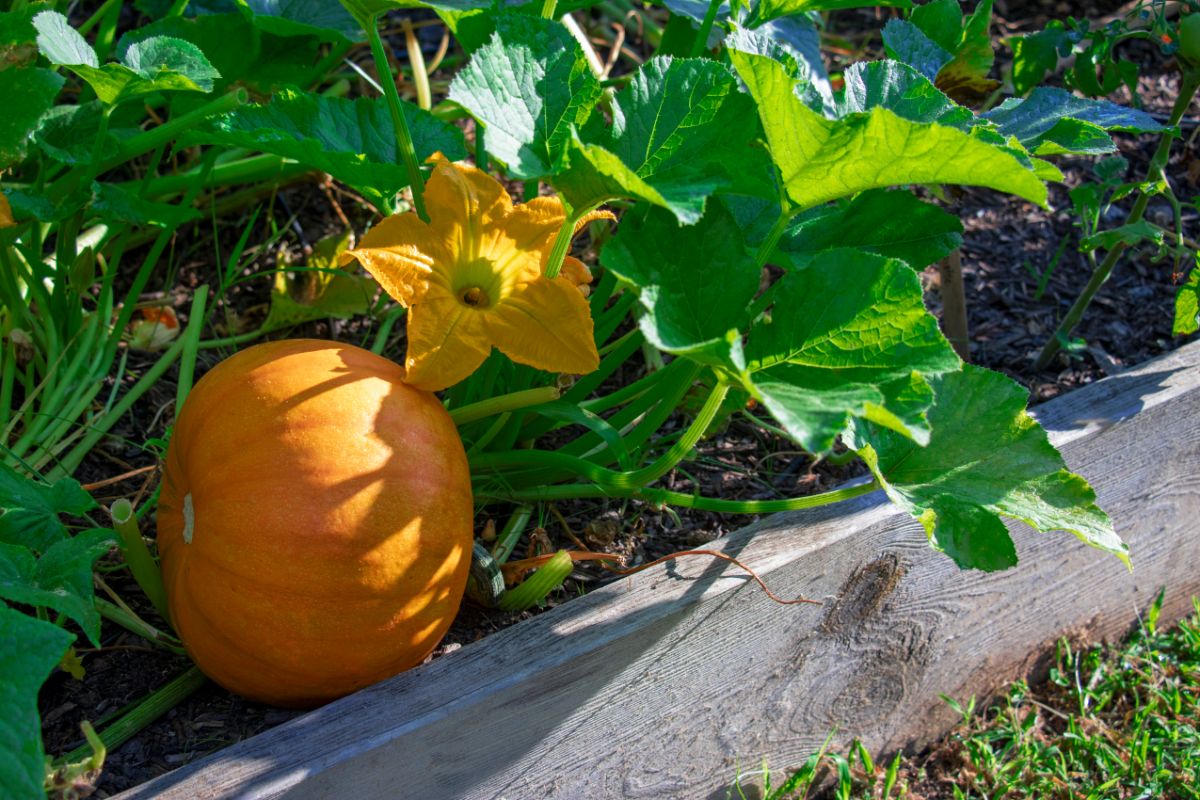
As heavy feeders, pumpkins will need to be fertilized regularly throughout the growing season to ensure they develop an abundance of large pumpkins for harvest.
Pumpkin plants can be side dressed with aged manure or compost throughout the growing season. While fertilizers should be applied every 2 weeks or so.
When your pumpkin plants are about 1’ tall and are just about to start developing vines, fertilize them with a high-nitrogen fertilizer, which will support their vine and leaf development. When your plants are about to flower in mid-summer, transition them to a fertilizer that is low in nitrogen but high in potassium and phosphorous. This type of fertilizer will help your plants to develop larger pumpkins.
Harvesting
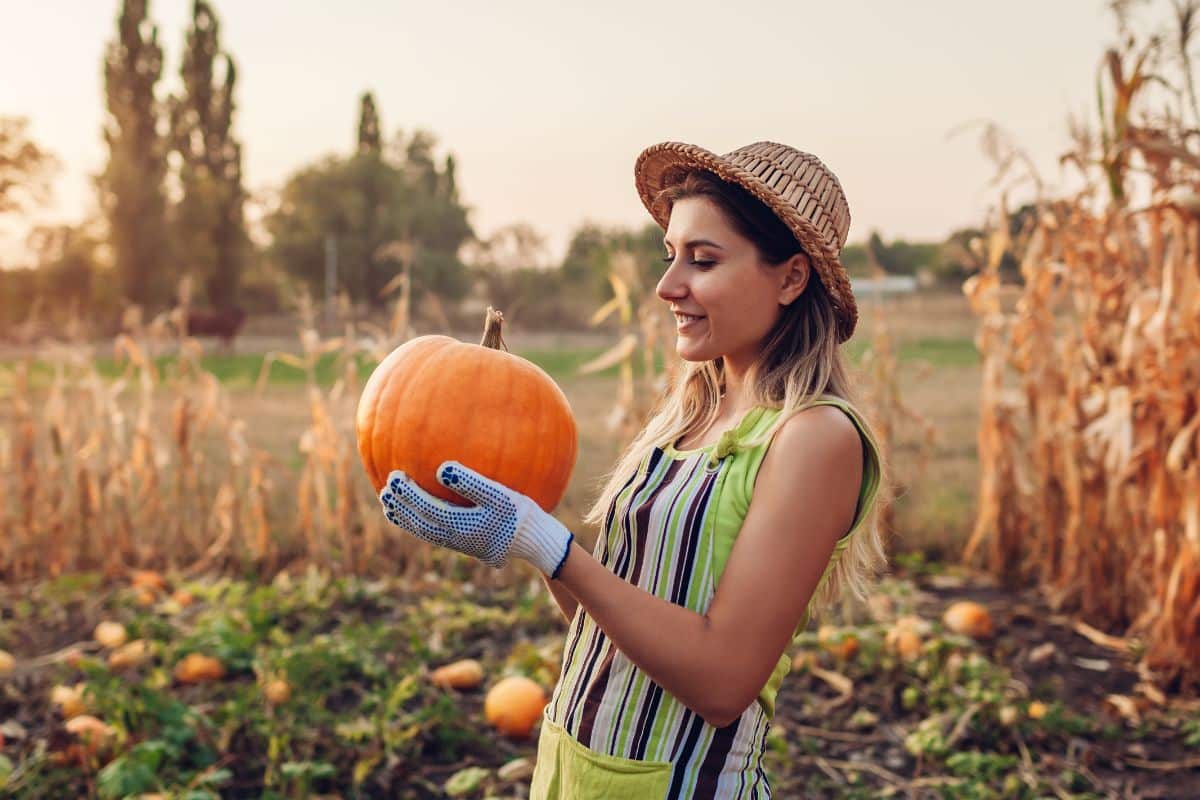
Most pumpkin varieties take between 90 to 110 days to reach full maturity. It’s important to allow your pumpkins to ripen on the vine for as long as possible, as pumpkins that are harvested too early won’t taste as flavorful, and they won’t last as long in storage. Don’t harvest pumpkins just because they’ve reached a desirable size – if you want smaller pumpkins, grow a pumpkin variety that stays smaller.
Pumpkin vines can withstand a light frost in fall, but pumpkins should be harvested before a hard frost because this will damage your developing fruit.
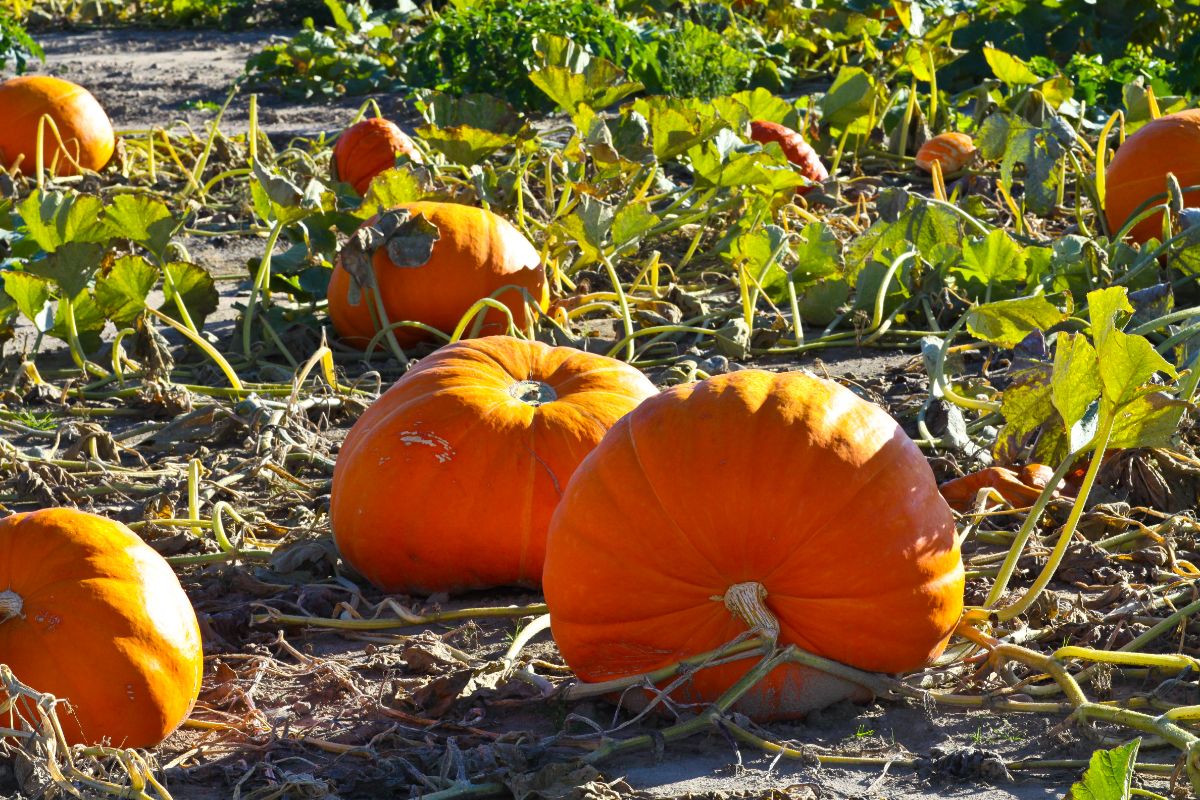
Pumpkins are ready to harvest when their skin develops into a deep, uniform color (orange for most pumpkin types). Pumpkin skin should be firm and should be difficult to puncture if you press against it with your fingernail. When you tap a ripe pumpkin with your knuckles, it should sound hollow.
Another good sign that it’s time to harvest your pumpkins is that the plant’s vine will begin to die back, and the tendrils closest to your pumpkin should turn brown. This is the best time to pick your ripe pumpkins.
Use pruners or sharp gardening shears when harvesting your pumpkins to avoid damaging the plant’s vines. Cut off your pumpkin from the vine, leaving about 2 to 4” of the stem. This section of the stem will help your pumpkin cure better for storage, and it shouldn’t be used as a handle.
Tip: Placing your developing pumpkins on a brick or piece of cardboard while they mature can help to protect your plants from pest damage and rot.
Storing pumpkins
Curing your pumpkins before storage can help them last longer at room temperature. To do this, place your ripe pumpkins in a warm, dry, and sunny area between 80 and 85° F, making sure your pumpkins are spread out enough, so they aren’t touching each other. Allow your pumpkins to cure for about 10 days before moving them into your root cellar or other cool, dark, and dry location.
After curing, your pumpkins should last for about 2 to 3 months when kept in a root cellar or similar location. The ideal temperature for storing pumpkins in this manner is between 50º to 55ºF.
For longer-term storage, pumpkins can also be frozen or canned; however, as pumpkin is a low-acid food, pressure canning methods should be used for home preservation. If you’d like to preserve your pumpkin harvest via canning or freezing, you can process your pumpkins into chunks for storage, or you can turn them into finished ingredients such as pumpkin puree or premade soups. That way, when you’re ready to use your pumpkin, you’ve already done a lot of the meal prep ahead of time!
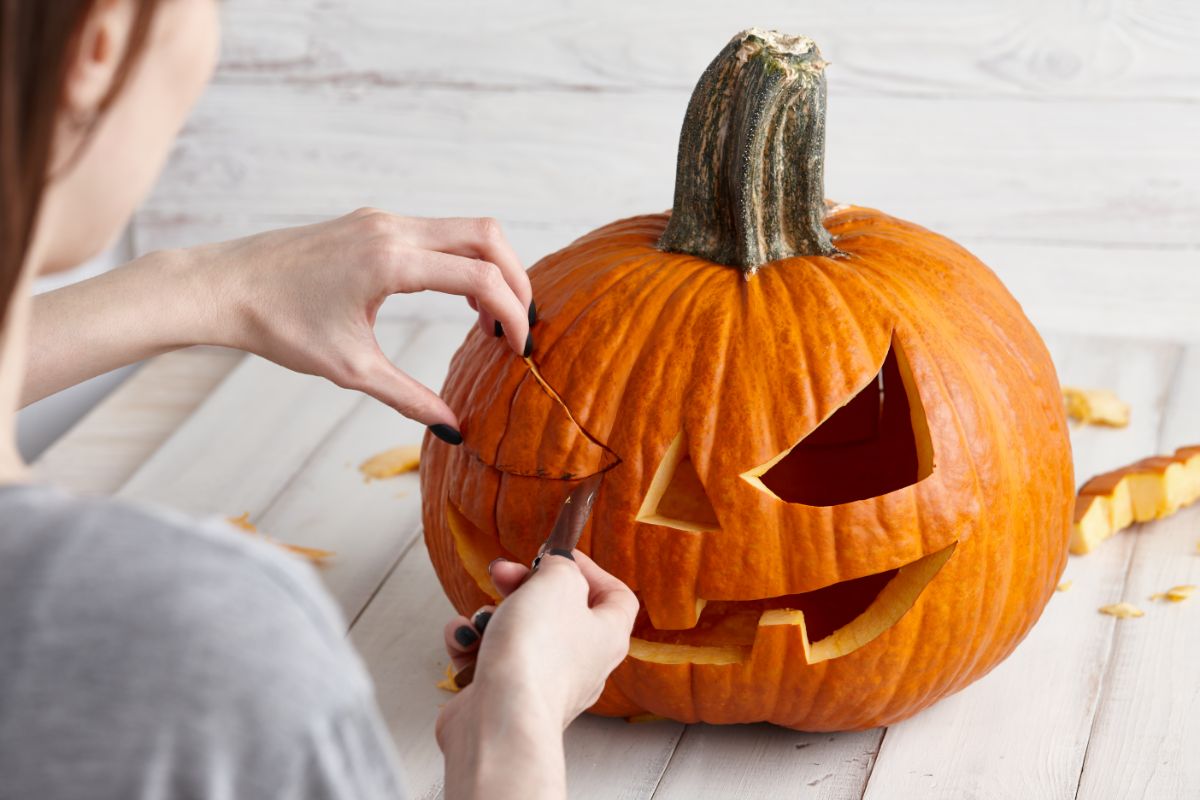
Tip: If you want to carve your pumpkins for Halloween, wait about 3 days before the holiday to start decorating. This will make sure that your pumpkins are in tip-top shape for Halloween.
Pumpkin companion plants
Growing the right companion plants for pumpkins can keep your pumpkin patch pest free naturally and boost your harvest yield. While there are different pumpkin companions to try, here are 3 of our favorites.
Herbs
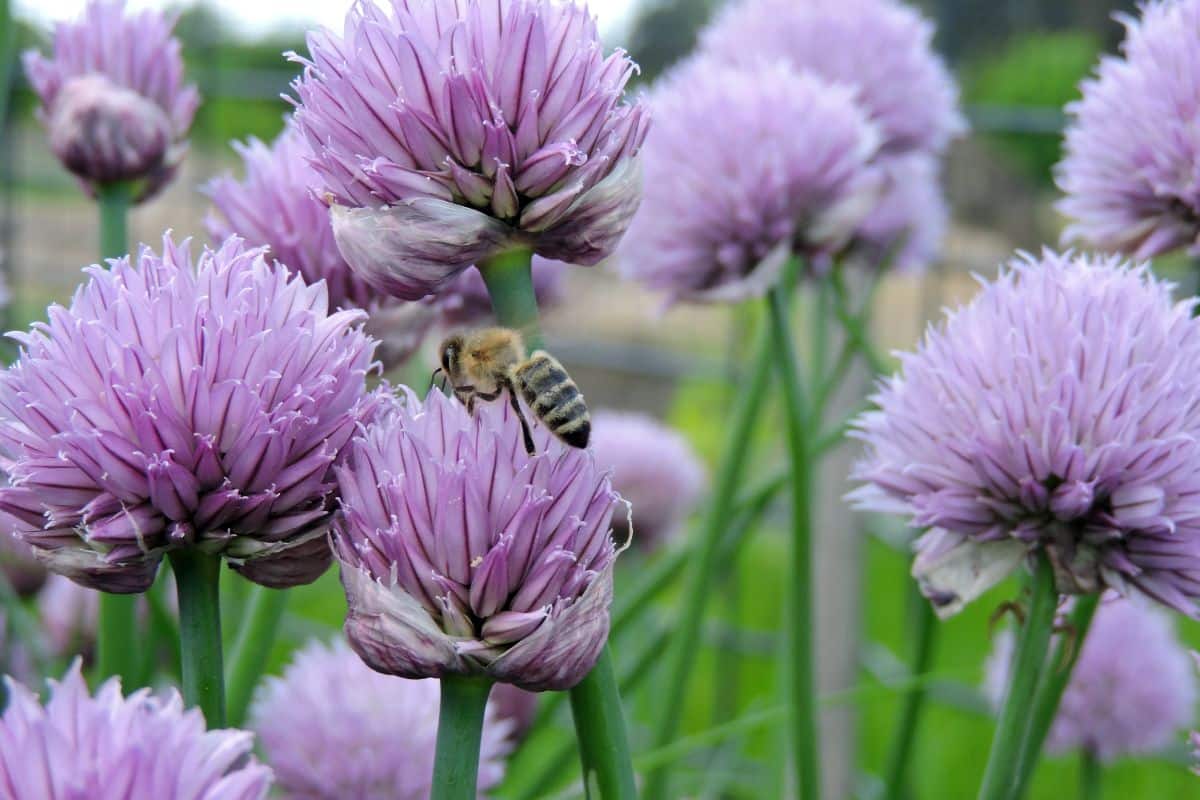
Scented herbs like chives, oregano, tansy, chamomile, and dill are some of the best plants to sow with your pumpkins for pest control purposes. These plants can attract beneficial insects, like parasitic wasps, that naturally feed on common pumpkin pests. When in flower, herbs will also lure pollinators to your garden and boost pollination rates too!
Beans and peas
Beans, peas, and other legumes naturally add nitrogen to the soil, which will give your pumpkins a much-needed nutrient boost. Pole beans and squash plants are also part of the classic “Three Sisters” gardening method, first developed by Native Americans.
Radishes
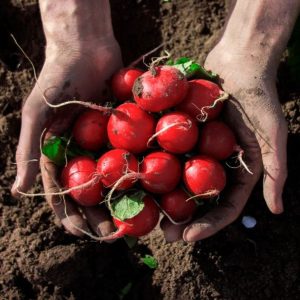
Flea beetles can be a nuisance in pumpkin patches, but these insects can be controlled if you interplant radishes among your pumpkin vines. Radishes will act as trap crops for flea beetles, luring pests away from your pumpkins and helping to keep your pumpkins looking their best.
Common pests
Pumpkins can be prone to a number of different garden pests, so many gardeners opt to grow them under floating row covers. Although this will help to keep your plants pest-free, pumpkin plants do need to be pollinated by insects to set fruit. For this reason, if you’re growing your pumpkins undercover, it’s important to pull back your fabric covering during the day to allow pollinators to do their work.
Additionally, because bees and other pollinators are so important for pumpkin development, it’s a good idea to keep your pumpkin patch as organic as possible by avoiding harsh pesticides. Interplanting your pumpkin patch with flowering herbs (like chives) or scented blooms (like marigolds) can help to keep your pumpkins naturally pest free while working to boost pollination rates.
Keep these tips in mind if you happen to encounter some of these common pumpkin pests.
Squash bugs
Squash bugs are large, shield-shaped insects that congregate on leaves and stems while feeding on plant sap. While these insects may look like beneficial assassin bugs, unlike assassin bugs, squash bugs are usually spotted in groups, while assassin bugs are solitary. Over time, squash bugs can cause significant damage, such as yellowing or wilting leaves and plant death.
Squash bugs can be difficult to eradicate, but hand-picking adults into a bucket of soapy water is usually quite effective. As you work, remember to check the underside of plant leaves for eggs and destroy any that you find.
Squash vine borer
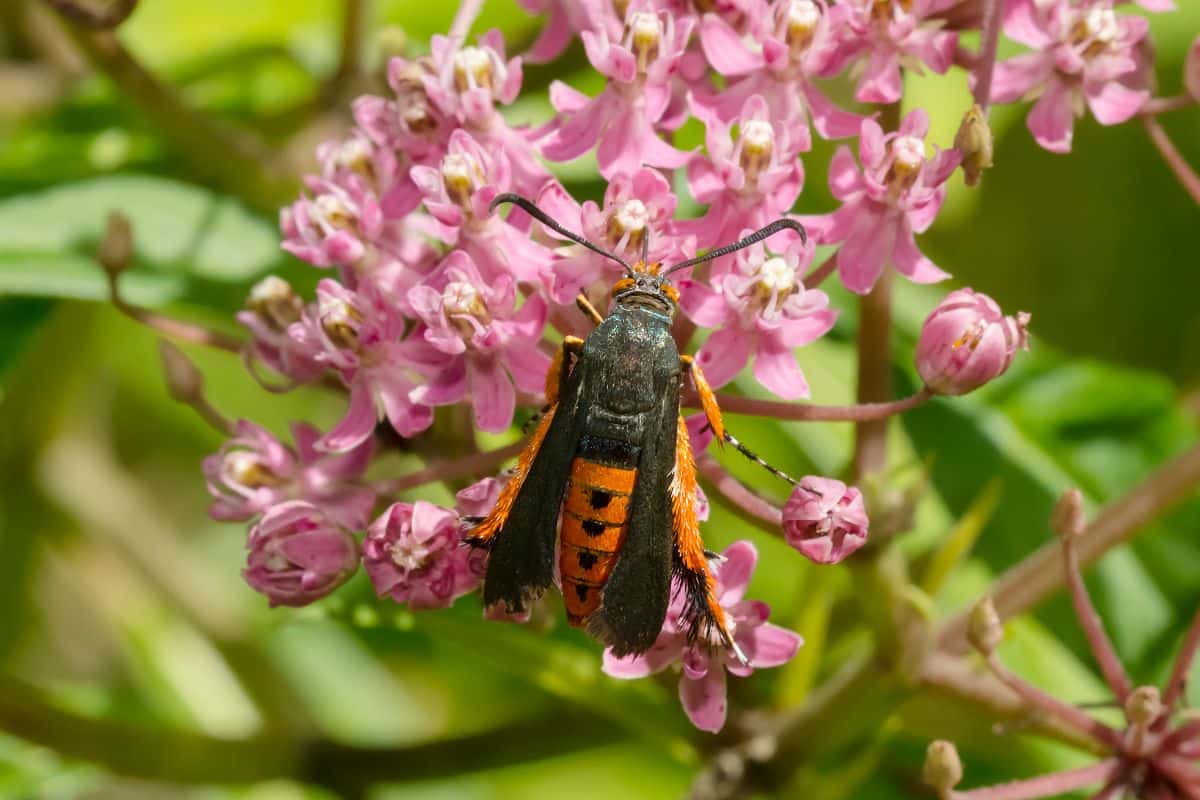
Squash vine borers are a type of moth that lays its eggs on the stems of Cucurbit plants. When those eggs hatch, the larva bores into plant stems, eating them from the inside out. This causes plants to rapidly and dramatically wilt and die.
To prevent squash vine borers, be sure to rotate your crops and consider adding floating row covers to your garden. If you had trouble with borers in the past, solarizing your soil can help.
Cucumber beetles
Cucumber beetles will feed on any member of the Cucurbit family, including pumpkins. These destructive insects can have either striped or spotted shells, and they fly when disturbed.
To treat cucumber beetles, try knocking the beetles into a bucket of soapy water. Adding floating row covers to your pumpkin patch or planting borage or other flowering plants can also help deter cucumber beetles.
Powdery mildew
Powdery mildew is a very common pumpkin problem and is caused by poor air circulation and wet leaves. Plants suffering from powdery mildew will develop a fine, white powder on affected leaves and will weaken and become less productive.
Some varieties of pumpkins are naturally resistant to powdery mildew, and growing those varieties can keep your pumpkin patch mildew free. Following proper spacing guidelines and only watering your plants along the soil line will also help prevent mildew issues.
Pumpkin varieties to try
One of the toughest things about growing pumpkins is deciding which type to plant! There are so many edible and decorative pumpkins to choose from it can be hard to know which ones will grow best in your garden. To help you out, here are a few of our favorites.
‘Winter Luxury’
One of the best pumpkin varieties for pie making, ‘Winter Luxury’ has that classic pumpkin flavor and an excellent texture to match. When mature, pumpkins will develop to about 7 to 8 pounds in size and have warm, golden-yellow skin with delicate netting.
‘Connecticut Field’
A traditional, heirloom pumpkin variety, ‘Connecticut Field’ pumpkins have been cultivated since at least the 1700s. These large pumpkins grow to about 15 to 25 pounds in size and are perfect for carving.
‘Lumina’
For something a bit different, try out ‘Lumina.’ This striking, decorative pumpkin has ivory-toned skin that is ideal for carving or painting. It is also able to handle cold better than some other varieties and is less likely to be damaged by light frosts.
Frequently asked questions
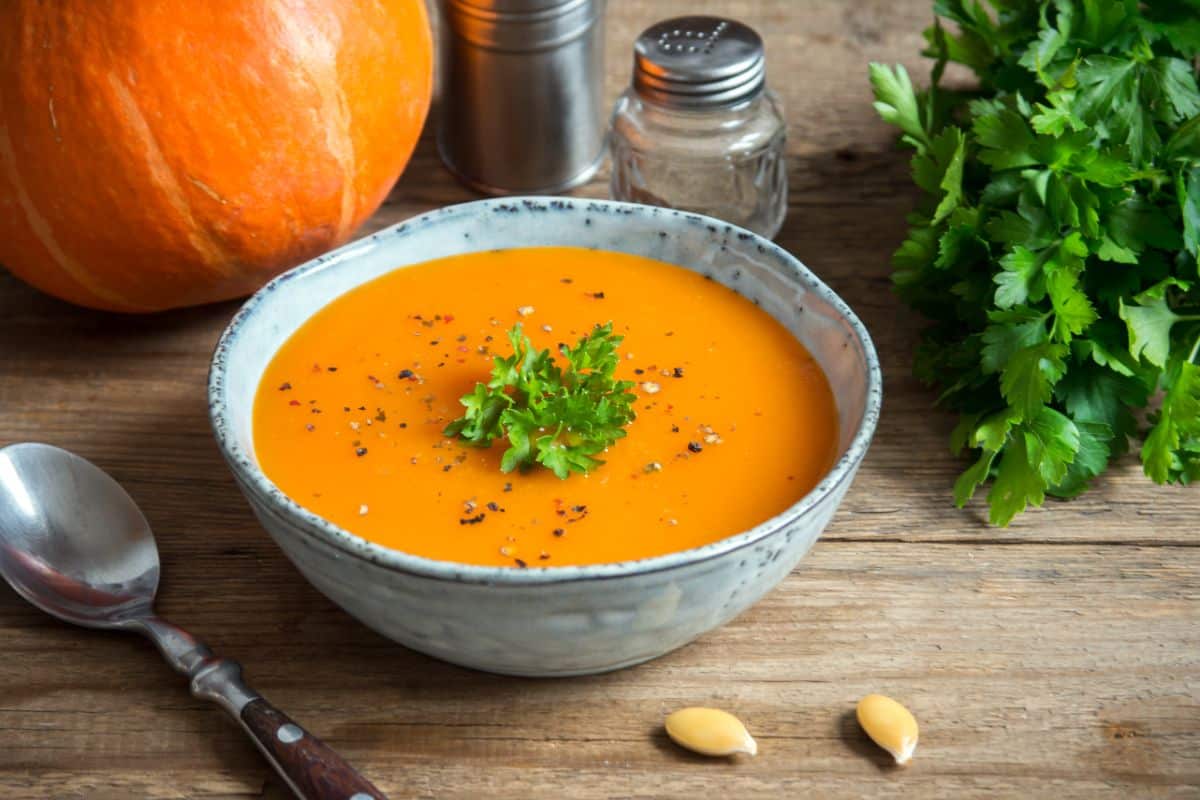
Turning your pumpkins as they grow will help them to develop a more uniform appearance. It will also prevent flat spots on the underside of your pumpkins.
Placing your pumpkins on bricks, cardboard, or another flat, raised surface as they ripen will help to prevent pest damage and rot.
Pumpkins don’t grow well near brassica plants (like cauliflower, broccoli, and Brussels sprouts) as these plants are both heavy feeders and will compete with each other for nutrients and space.
Old pumpkins can be composted in your home composting system. Alternatively, if you live near a farm or zoo, consider donating your pumpkins. Many wild animals love eating pumpkins!
Pumpkins ripen better on the vine; however, if a hard frost is expected, you can harvest your pumpkins prematurely and allow them to ripen indoors.
Most standard-sized pumpkin vines will produce about 2 to 5 pumpkins. Miniature pumpkin varieties may produce up to 12 pumpkins per vine.
Summary
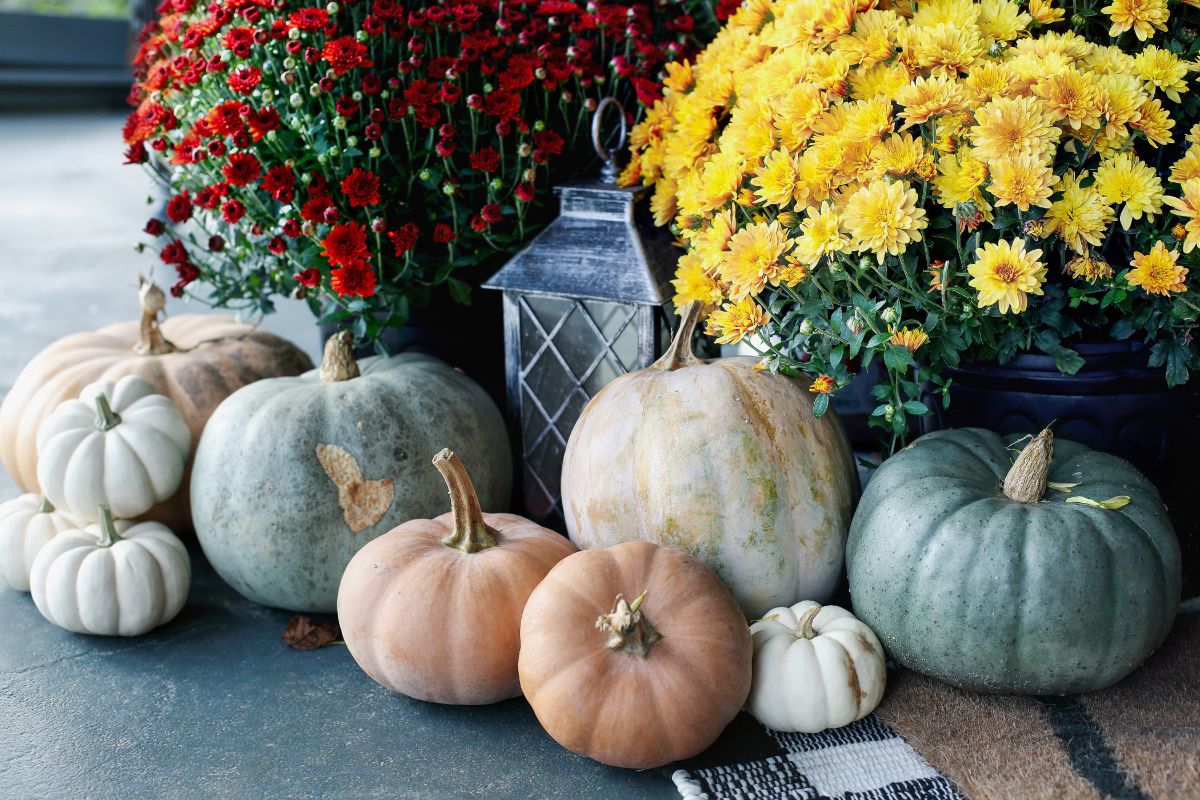
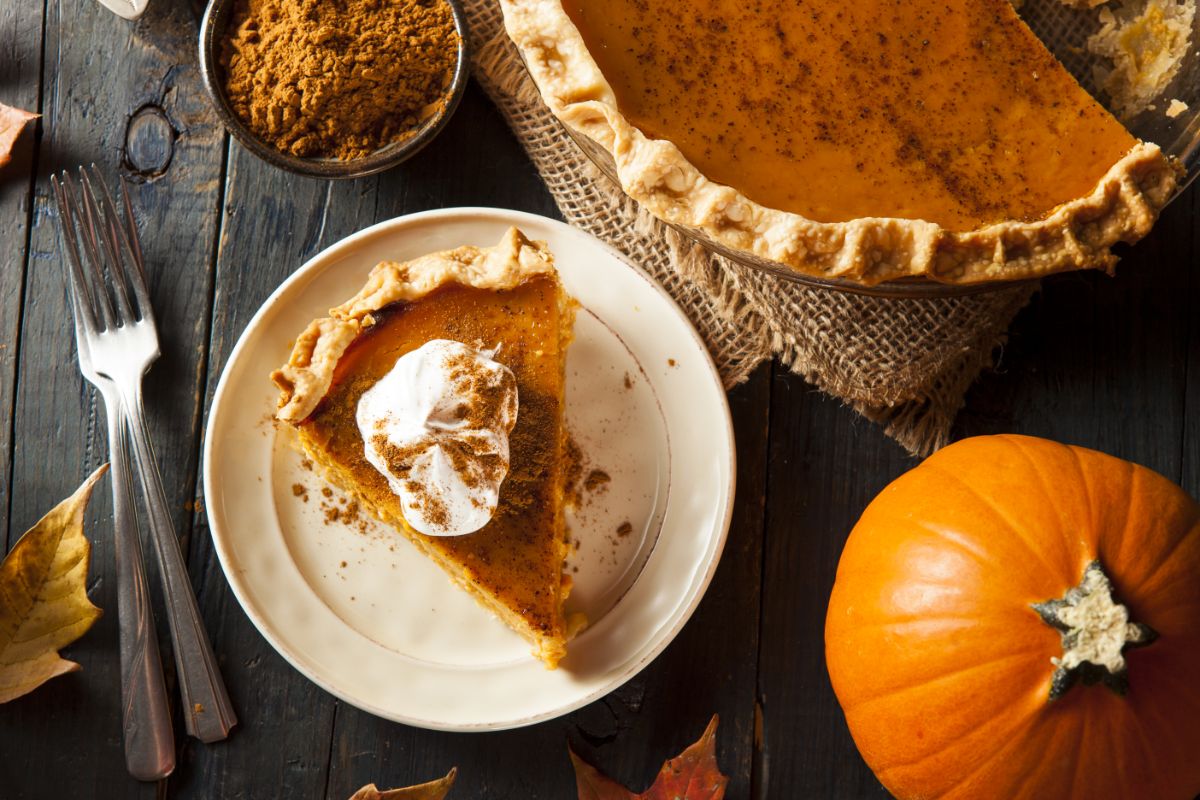
Pumpkins are a classic autumn treat, favored in dishes like pumpkin pie, pumpkin soup, and pumpkin bread. These versatile gourds can also be used as all-natural decorations for Halloween and other holidays and are just right for carving, painting, and other crafts.
If you’ve ever dreamed of growing and harvesting your own pumpkins, you can grow a pumpkin vine or two in even a small space garden. So try out some of the tips in this guide and reap the benefits next autumn when you have a garden bed full of golden-orange pumpkins ripe for the picking.
For more pumpkin storage tips, check out our guide here.

Christina Conte
Fabulous information on all things "pumpkin"! Thank you!