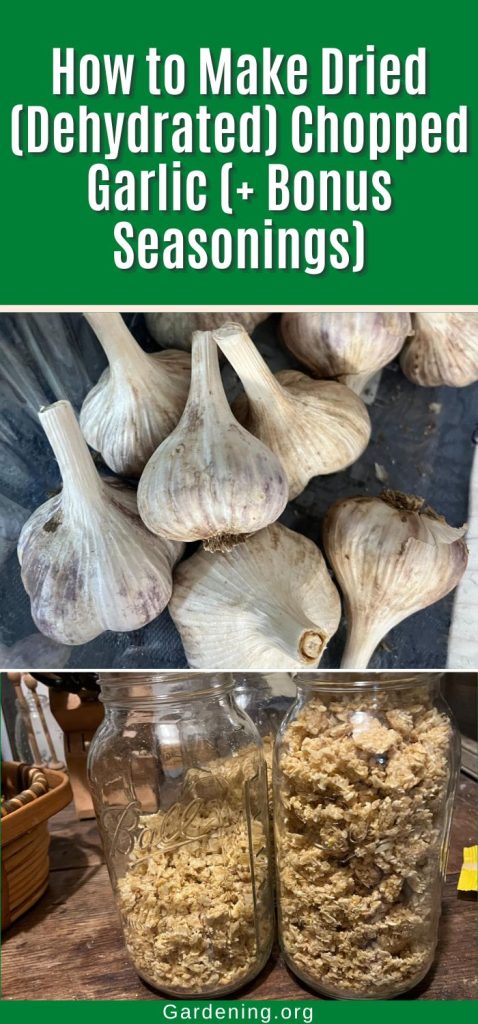
Garlic. There’s never enough of it. Growing your own garlic is the most affordable way to have anywhere close to enough garlic around.
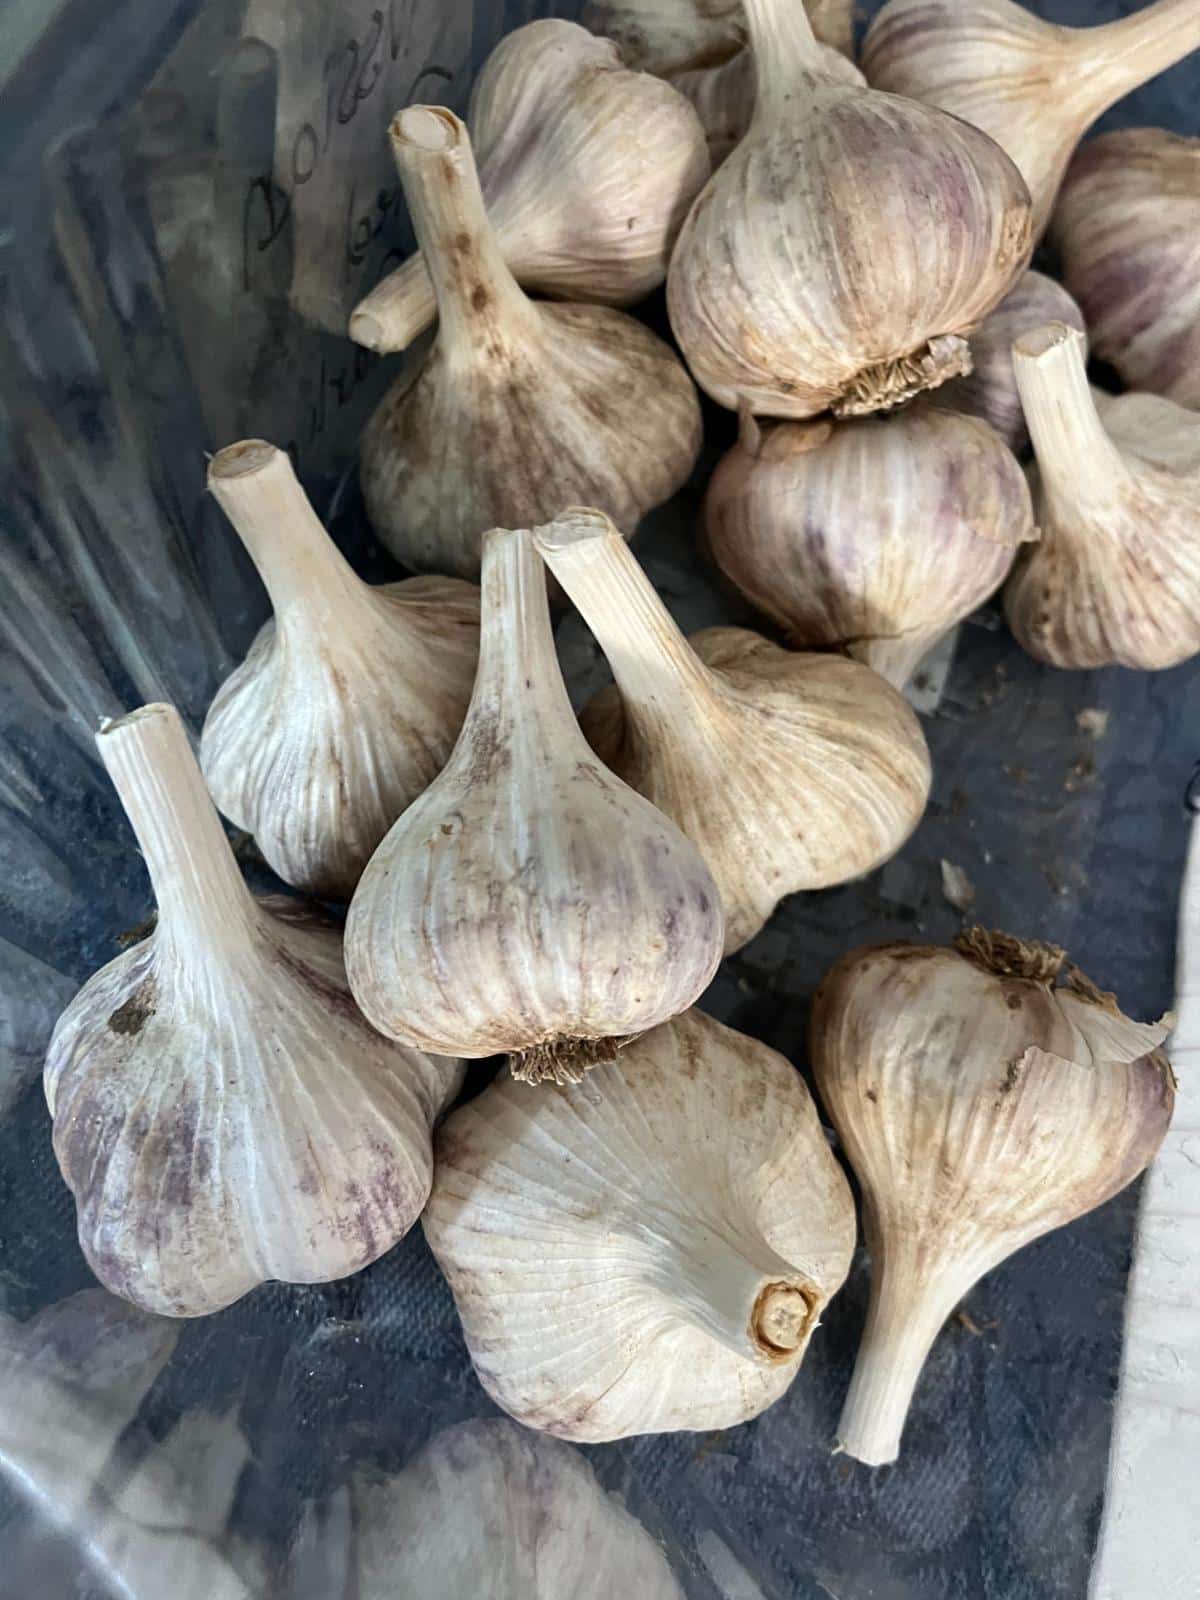
Homegrown garlic is beyond compare, especially when you’re comparing it to the old, dried up garlic you can buy in the grocery store.
Even the longest storing garlic has a shelf life, though. Garlic will store well in cool storage if it’s properly cured, but to maximize your garlic harvest -- and to turn it into something that’s quick and easy to use daily -- dry it!
Jump to:
- Start with Dried Minced Garlic
- When to Dry Your Garlic
- How to Make Dried Minced/Chopped Garlic
- Prep and Peel the garlic
- Chop the Garlic Down to Size
- Dehydrate the Chopped Garlic
- To Make Dried Garlic Into Garlic Powder:
- Using Dried Garlic in Seasoning Salts and Herb Blends
- The Best Dried Garlic You’ve Ever Eaten
Start with Dried Minced Garlic
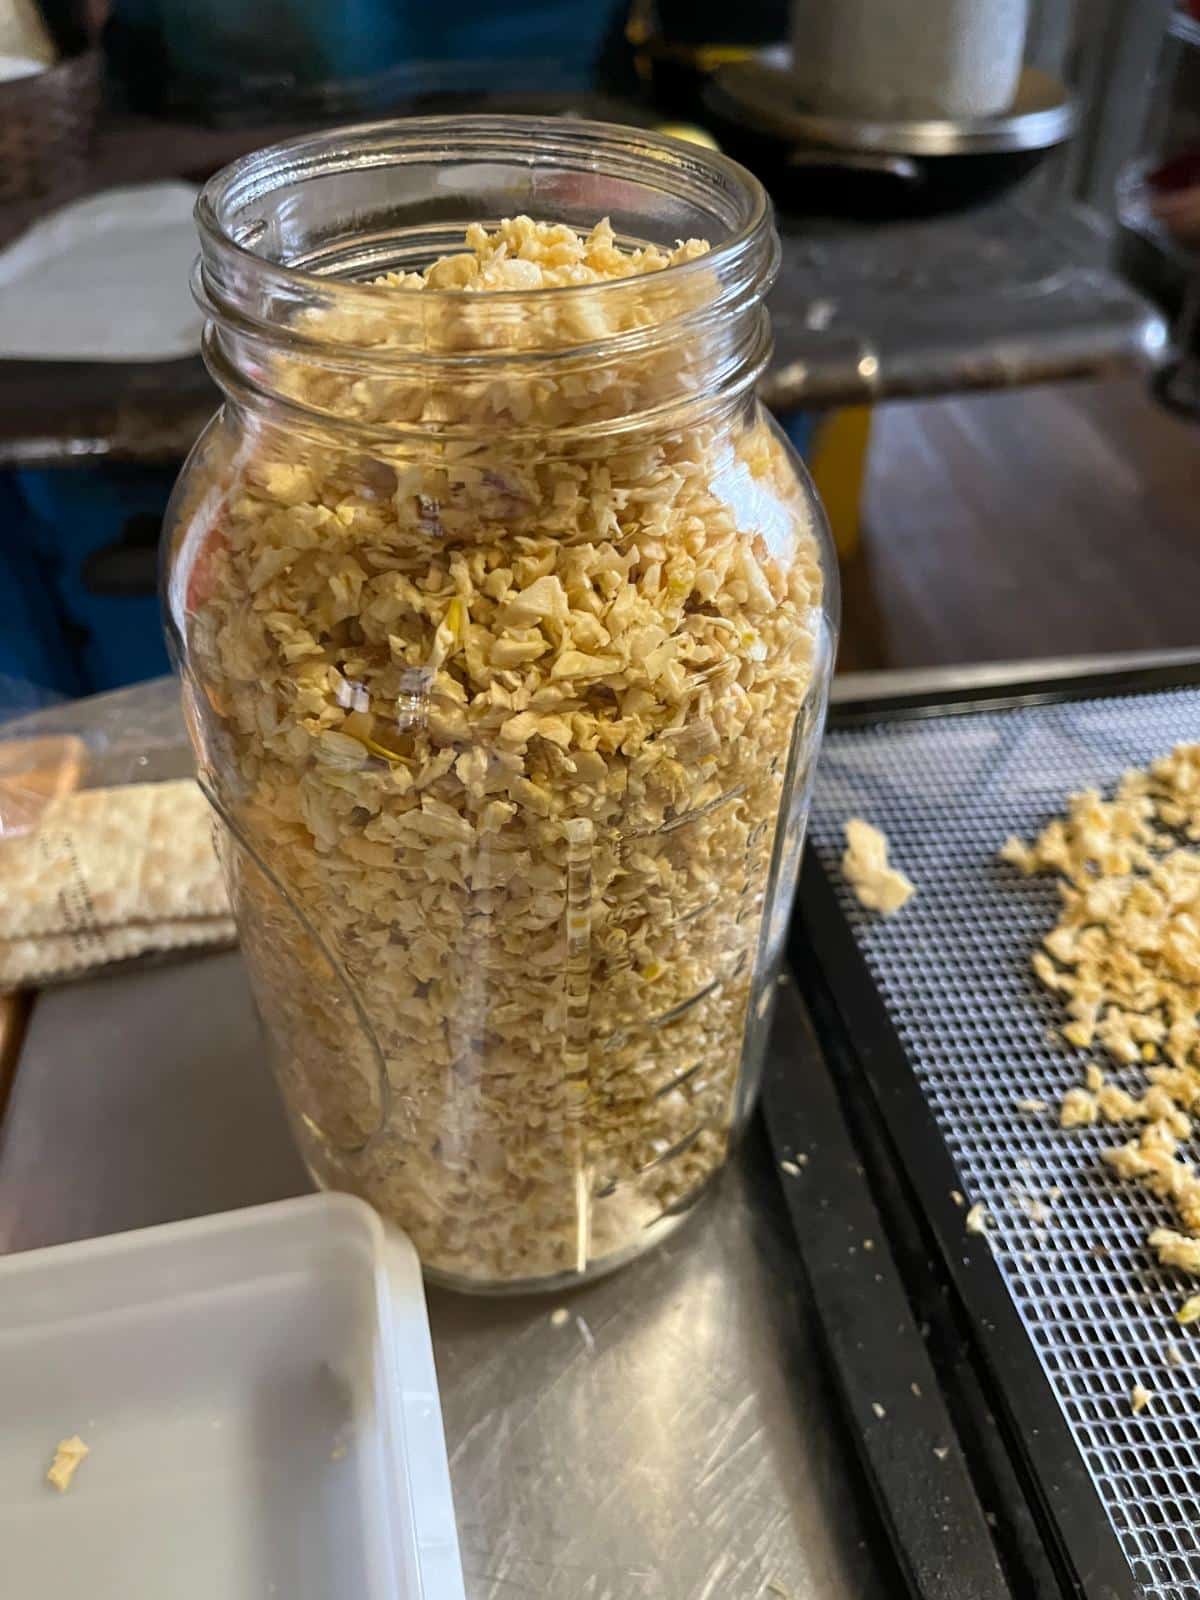
There are different dried garlic products you can make. Some fan favorites are
- Dried minced or chopped garlic
- Garlic powder
- Garlic salt
- Garlic seasonings
- Garlic herb mixes
All of these have one thing in common: they all start by making dried minced (or chopped) garlic.
Even garlic powder needs to be dried as chopped garlic first (chopped and minced dried garlic are the same things).
So, for starters, focus on putting up any garlic that you don’t plan to use, fresh as chopped dried garlic (aka minced dried garlic).
After that, you can decide if you want to use it as is or go on and make powdered garlic or use your dried garlic in another product.
When to Dry Your Garlic
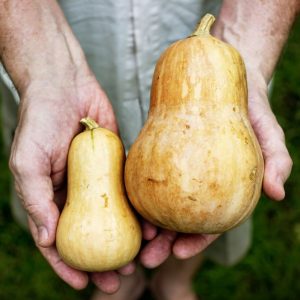
Different types of garlic have different storage windows.
- Softneck garlic varieties will usually store well for between 8 and 12 months
- Hardneck garlic has a shorter storage shelf life and stores for between 4 and 6 months
You do want to cure your garlic before you dry it, even if you plan to dry it all. Curing garlic lets the bulbs harden for storage but it also develops the flavor profile. The flavor of cured garlic will be stronger than freshly pulled garlic.
After curing, you can dry your garlic at any time while it is still in prime shape. This is good news because the storage window gives you some flexibility. You’ll have a window of at least two to four months before you need to dry your garlic (longer for softneck varieties).
That said, if you know you want to make dried garlic, the earlier in its storage life, the better. Garlic will still be good to use over several months, but it will dry down more, begin to lose flavor, and it can begin to rot or sprout.
You’ll want to dry your garlic before this happens.
The best plan for drying your garlic?
- Prep and dry garlic as soon as possible after it is cured
- If you have broken or damaged cloves, set those aside and do them right away -- don’t put them into storage where they can cause rot and damage to other bulbs
- Store what you plan to use for fresh garlic in a cold storage area with humidity levels of 40 to 60 percent humidity
- If you still have garlic left and it is nearing its maximum storage life, consider drying it -- garlic stores for at least one to two years after drying!
All garlic should be stored below 55 degrees fahrenheit after it is cured (you can push this up to 60 F, but the cooler, the better). Do keep the garlic above freezing and store above 35 degrees Fahrenheit.
How to Make Dried Minced/Chopped Garlic
Prep and Peel the garlic
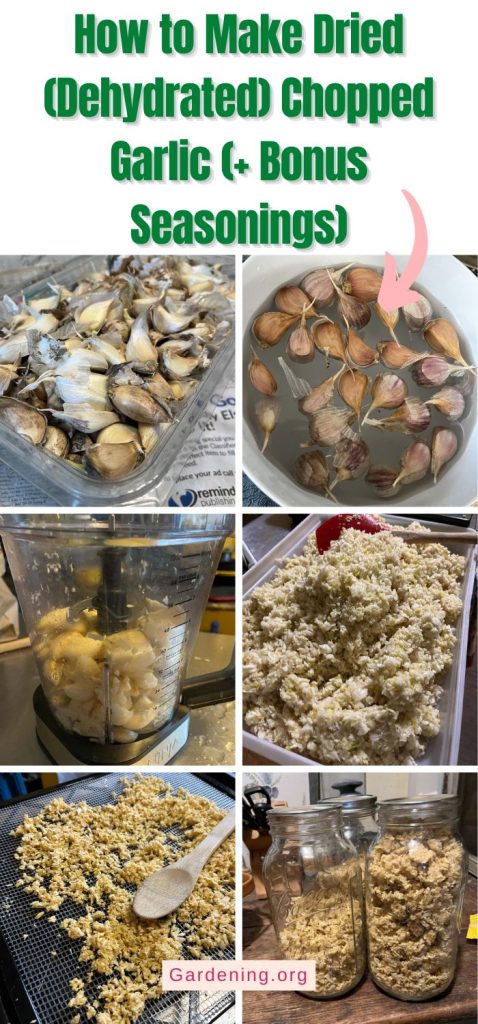
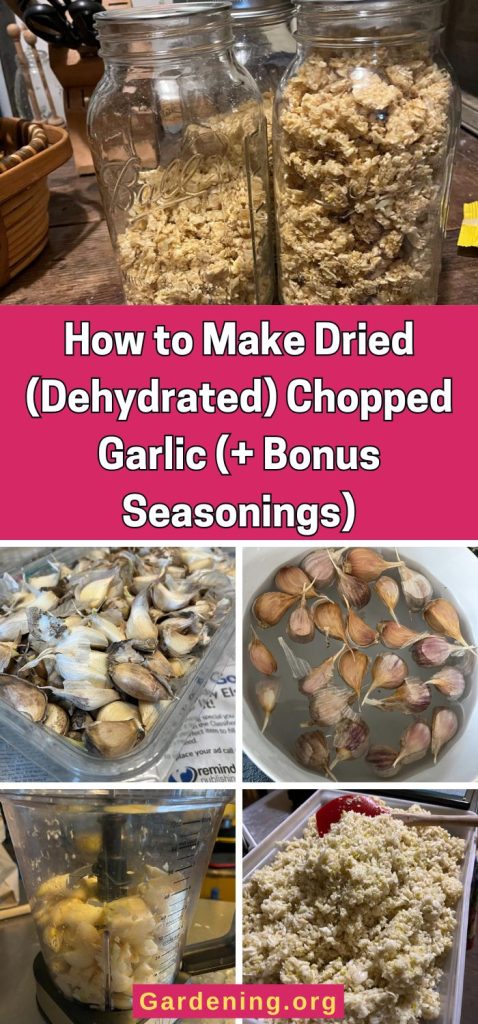
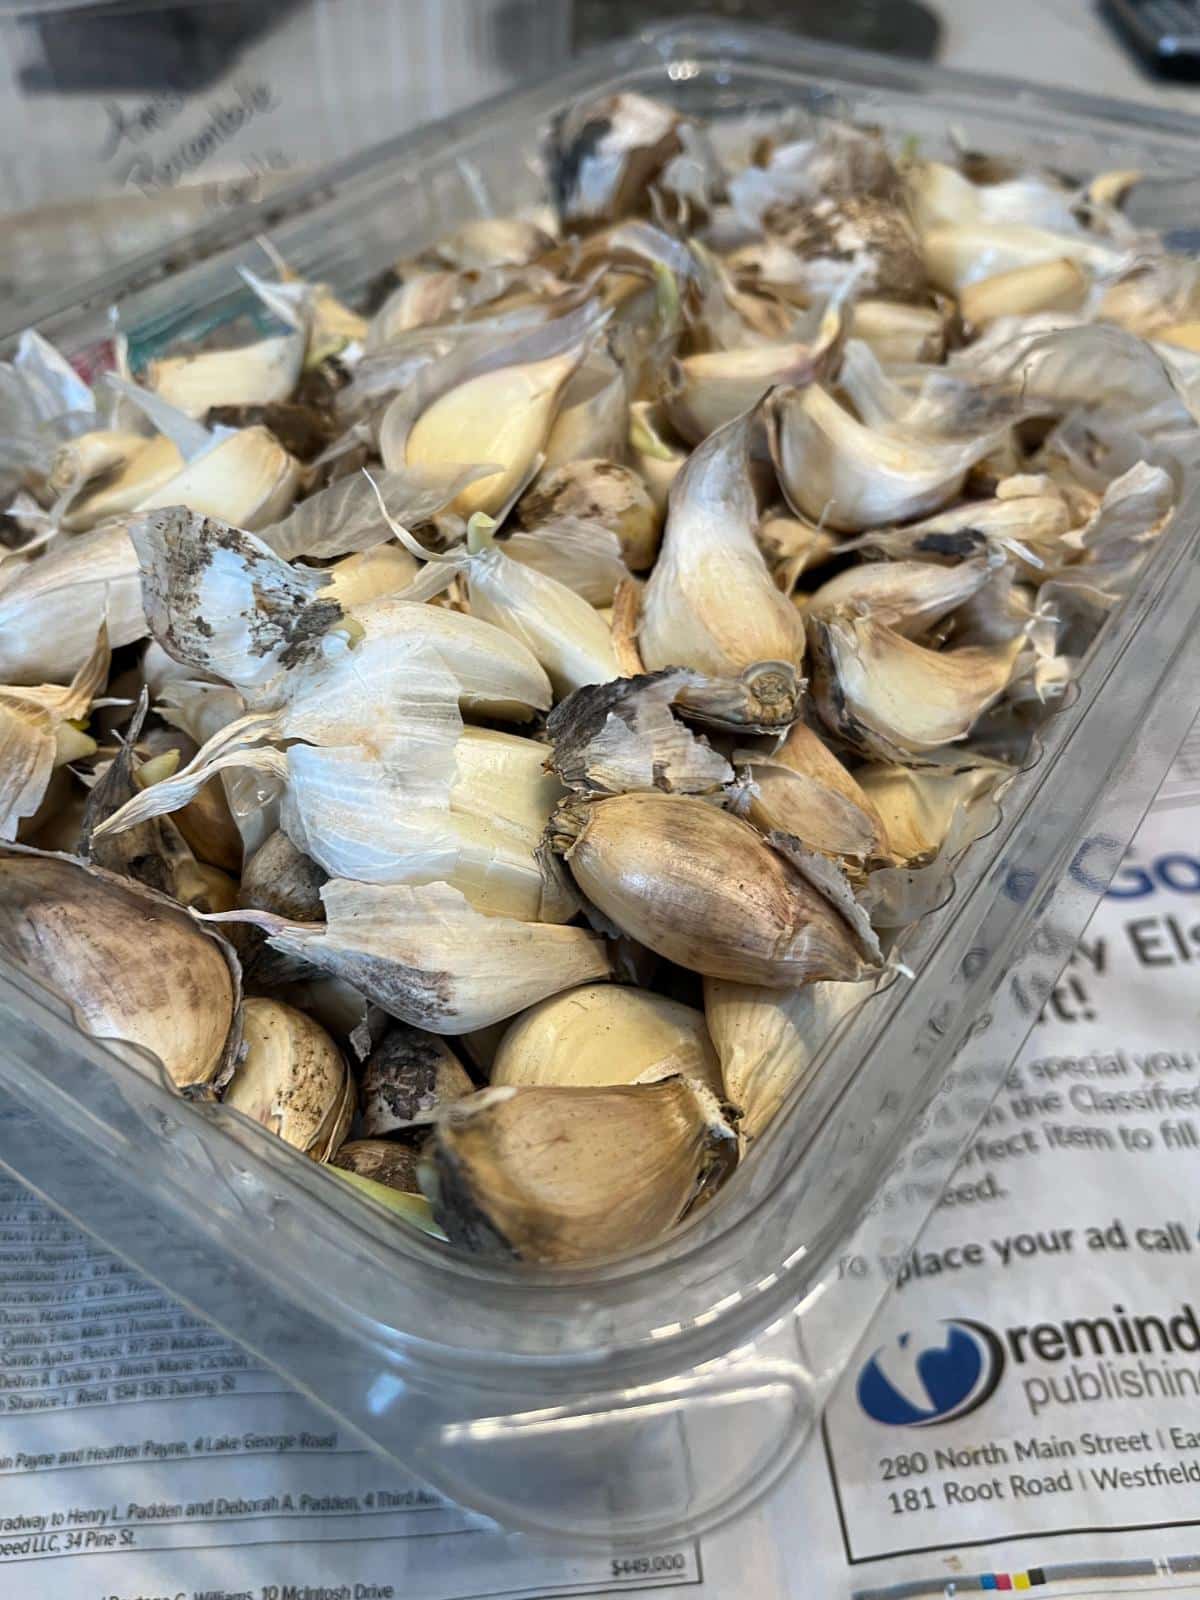
To start, you’ll need to prep and peel your garlic:
- Remove the papery skins from the garlic.
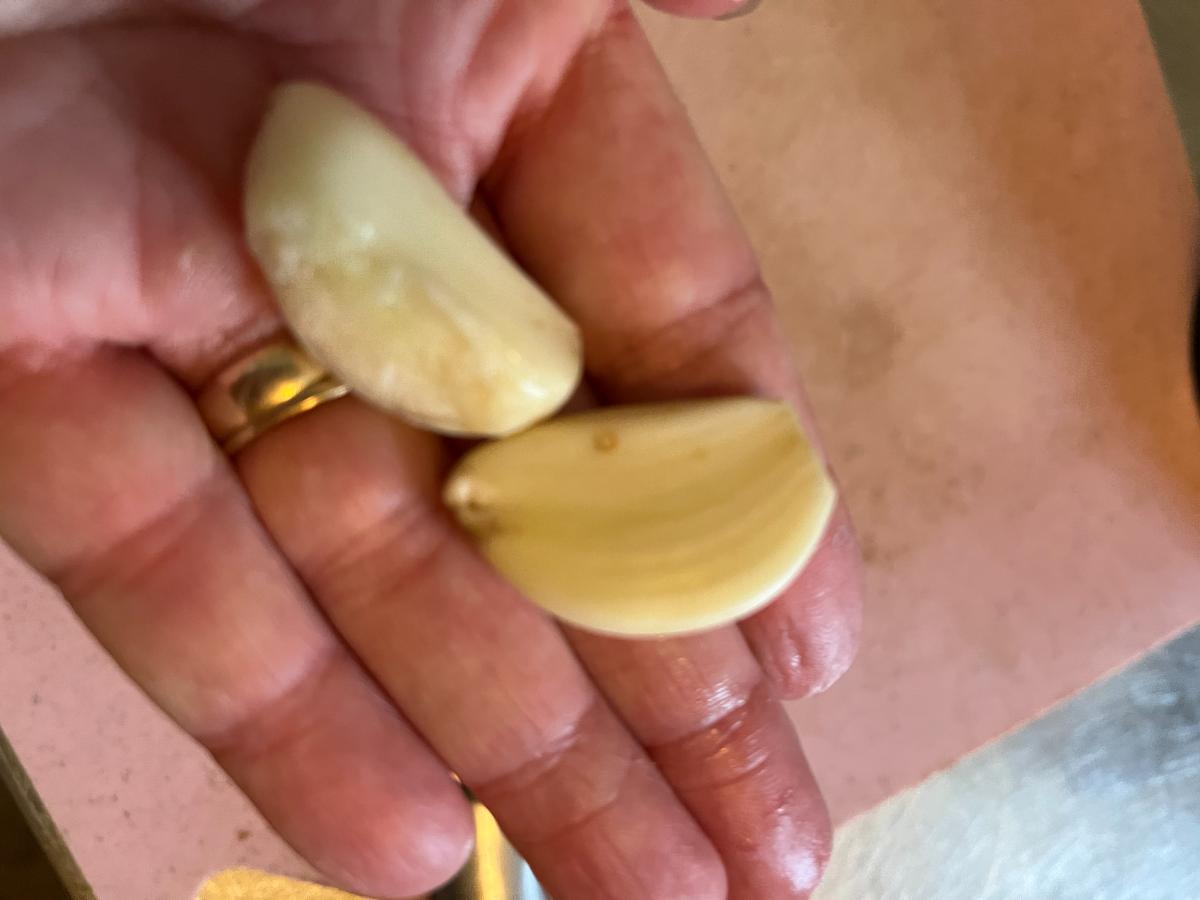
- You can leave the root end on or trim it off -- that part is up to you, but it will often “disappear” in the chopping and won’t be noticed in the final product (especially if you move on to powder).
- Don’t worry about crushing or breaking the cloves when you’re peeling -- it’s all getting chopped anyway.
There are different ways to peel garlic. The best method for you will often depend on the variety and type of garlic you grew (hardneck or softneck). You may need to experiment to find what works best for you.
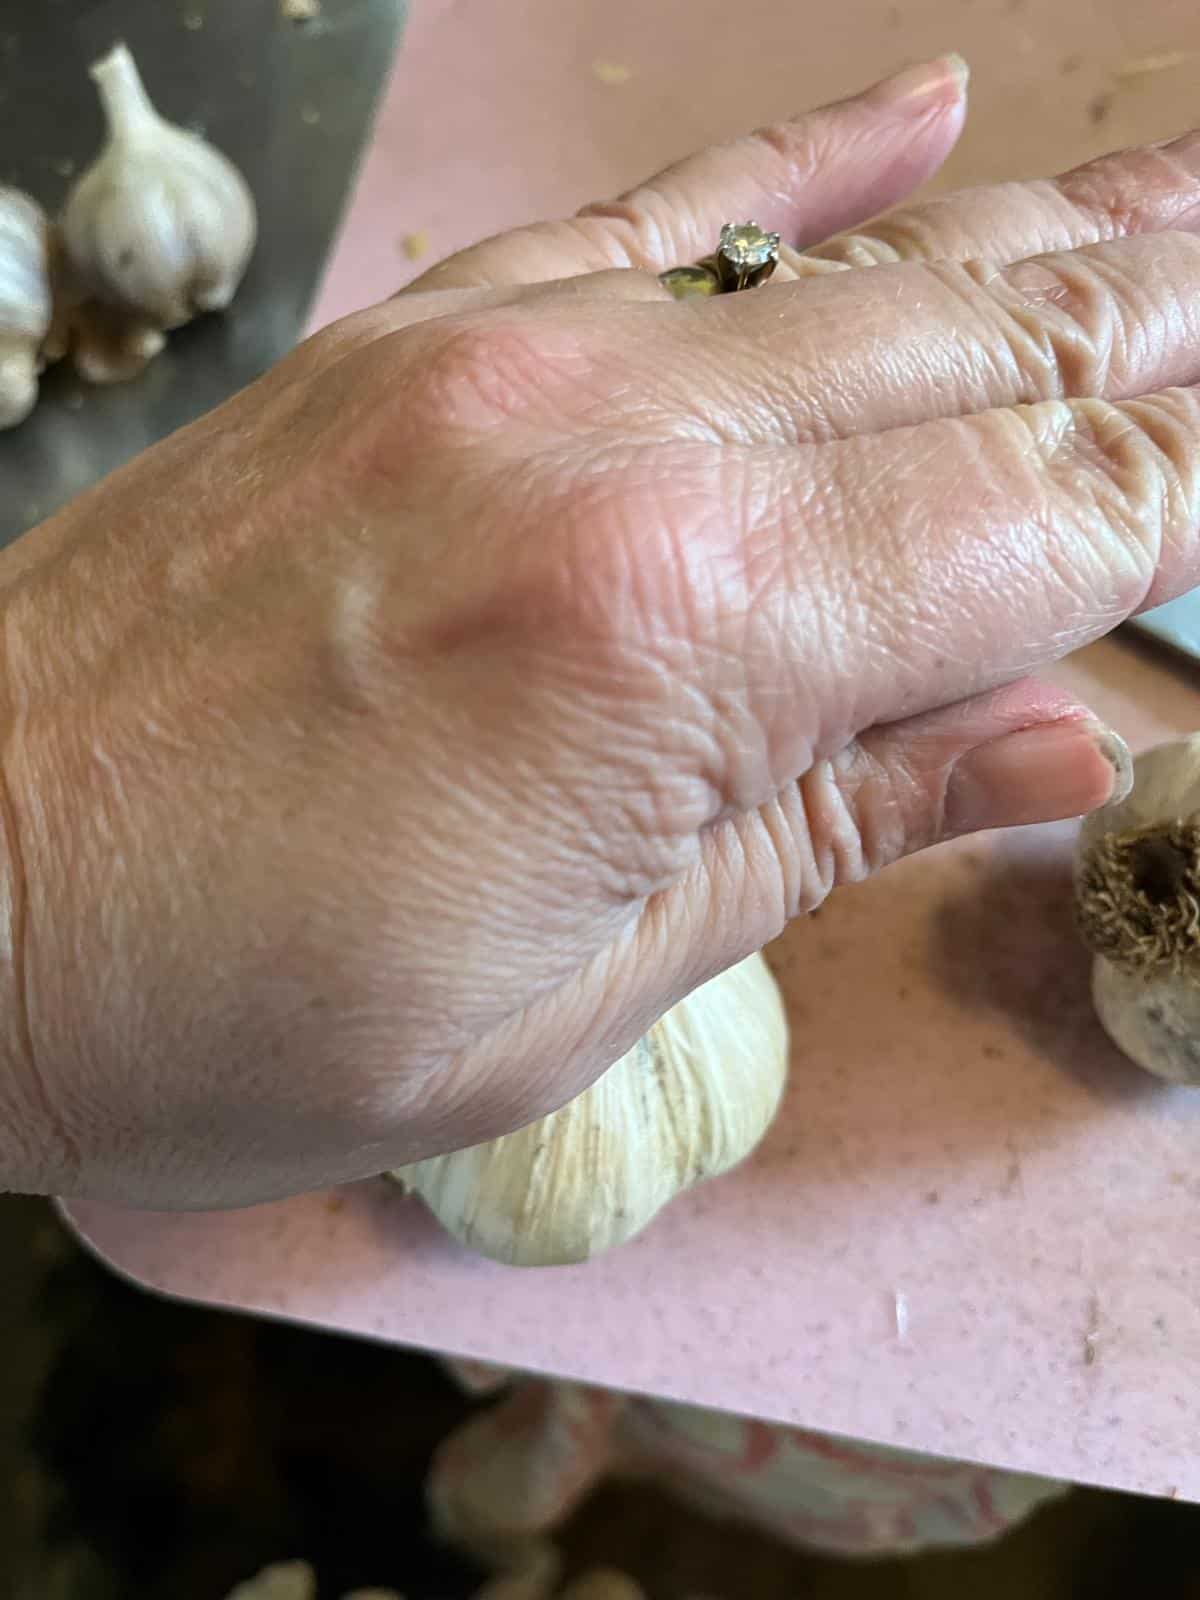
Some popular methods of peeling garlic include:
- Place several separated cloves of garlic in a glass canning jar or metal bowl with a cover, and then shake vigorously (reports say results vary, and you may still need to do some removal by hand).
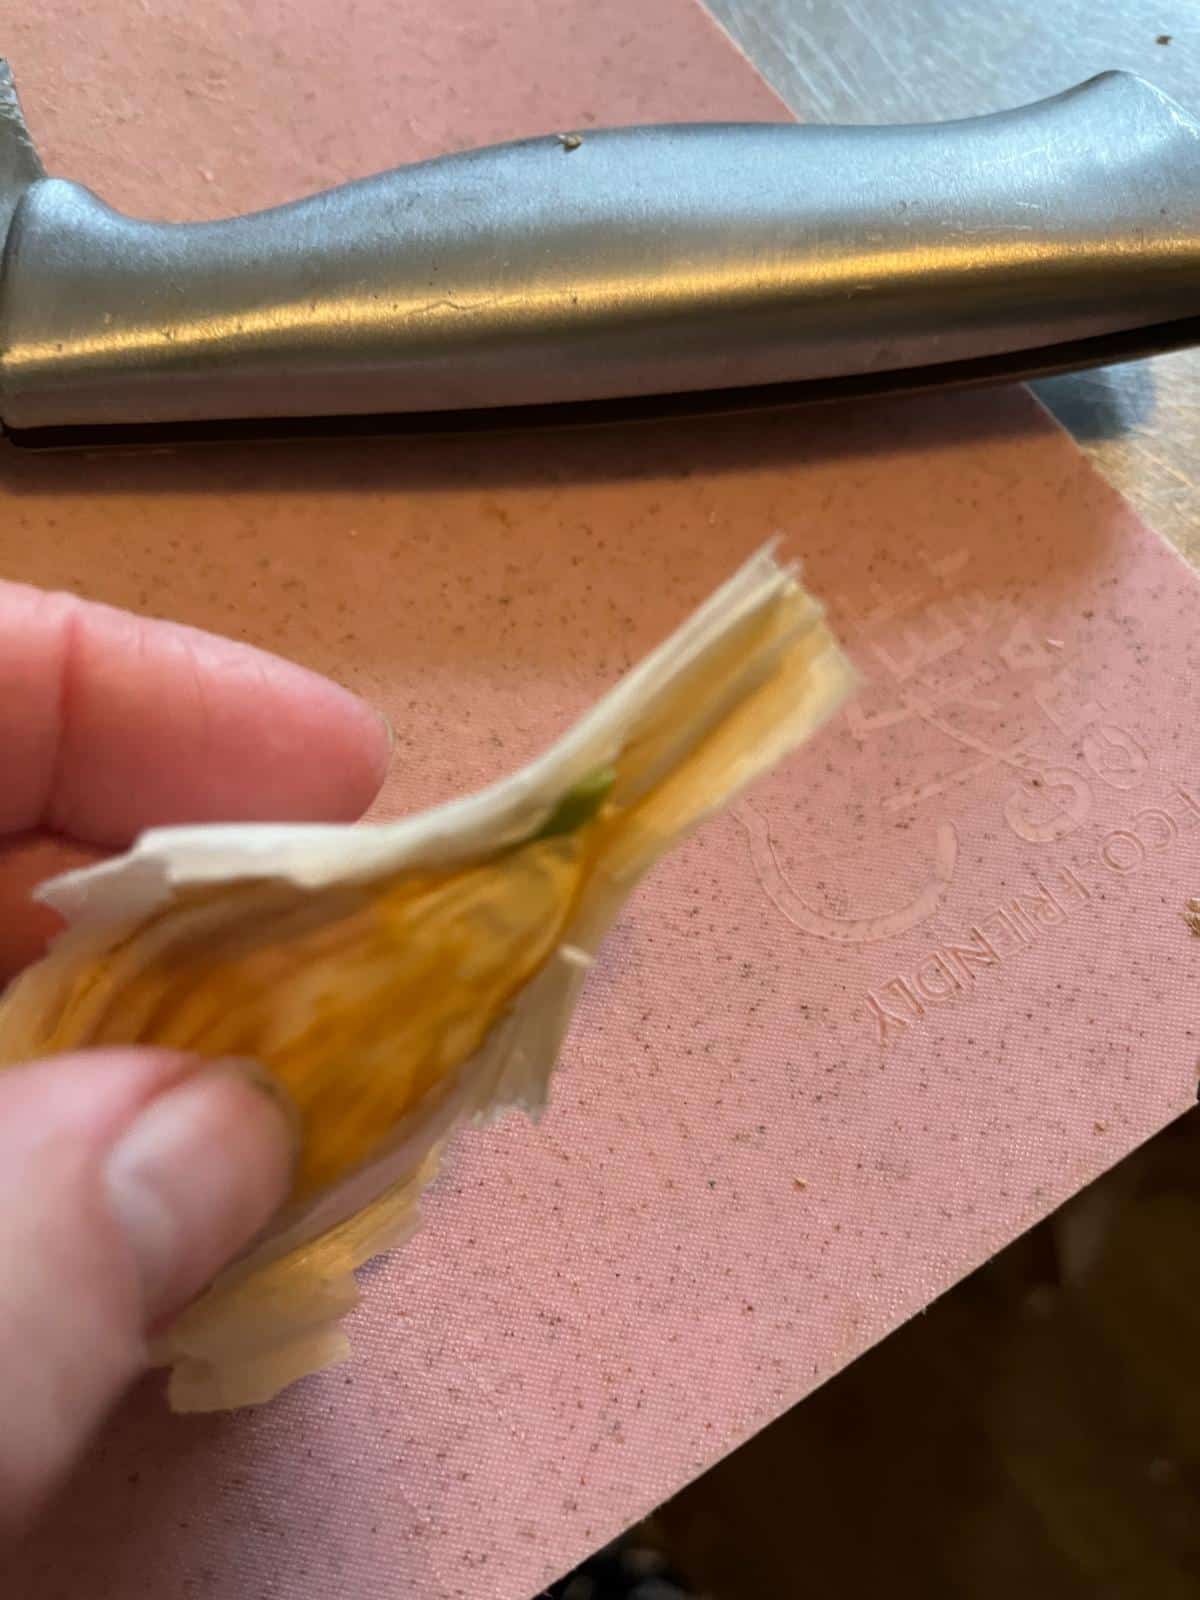
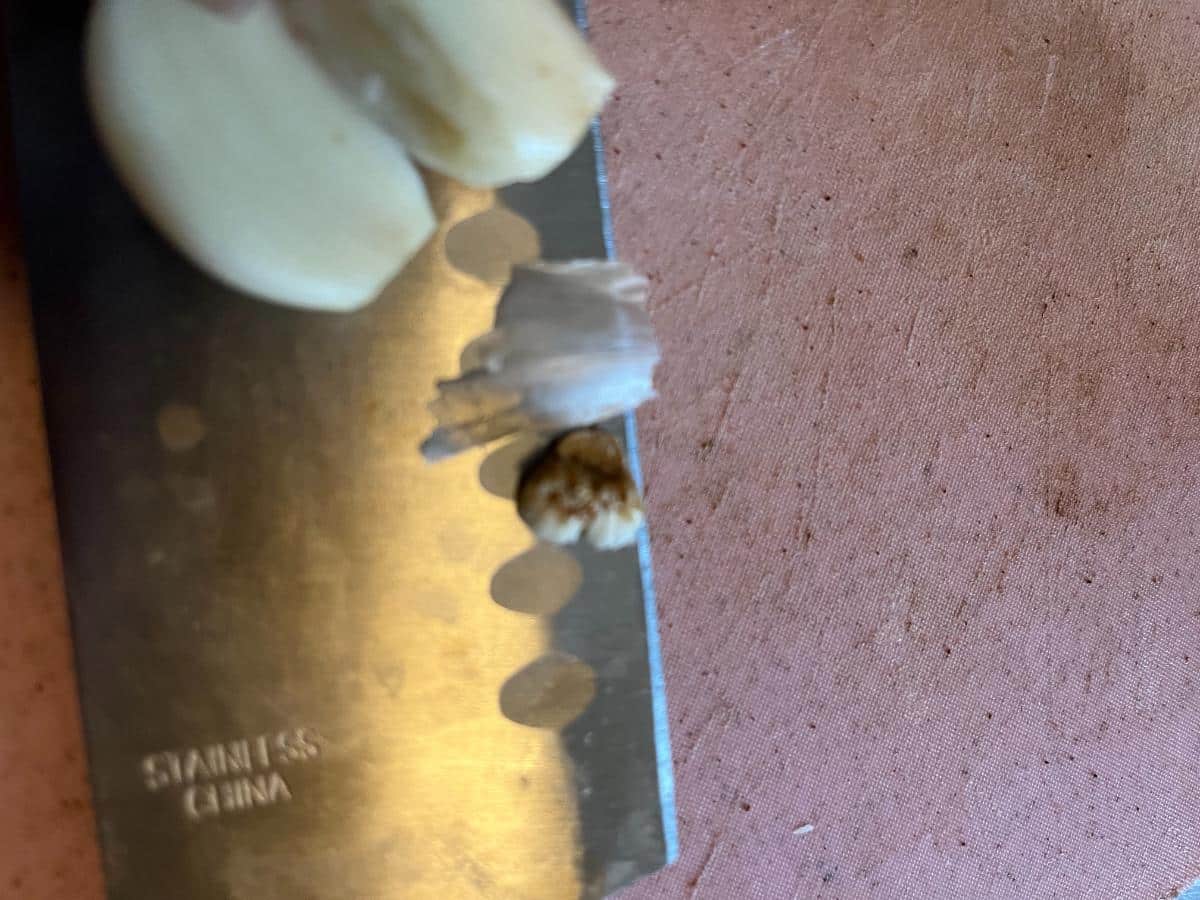
- Crush the separated cloves with the flat side of a kitchen knife and peel off the skins.
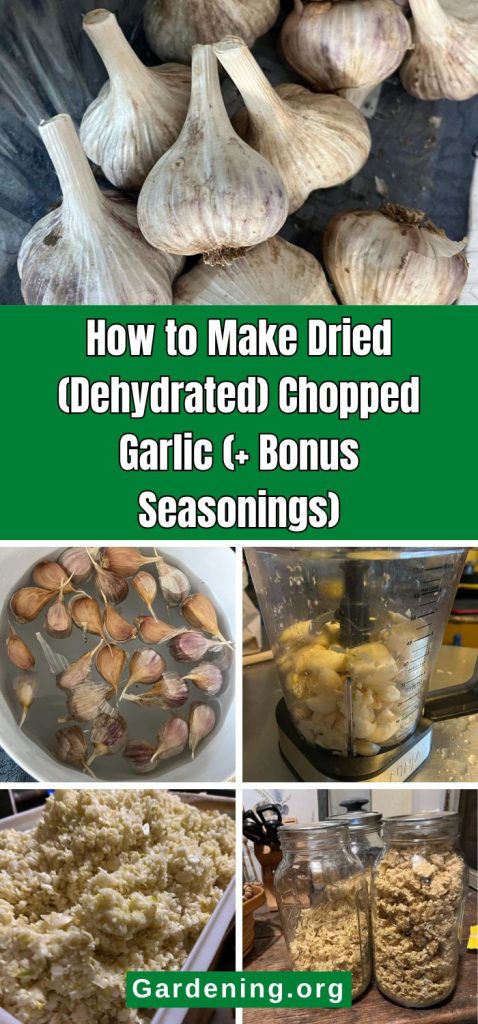
- Soak the cloves in a bowl of warm water, then peel away the skins (before or after crushing, or without crushing at all).
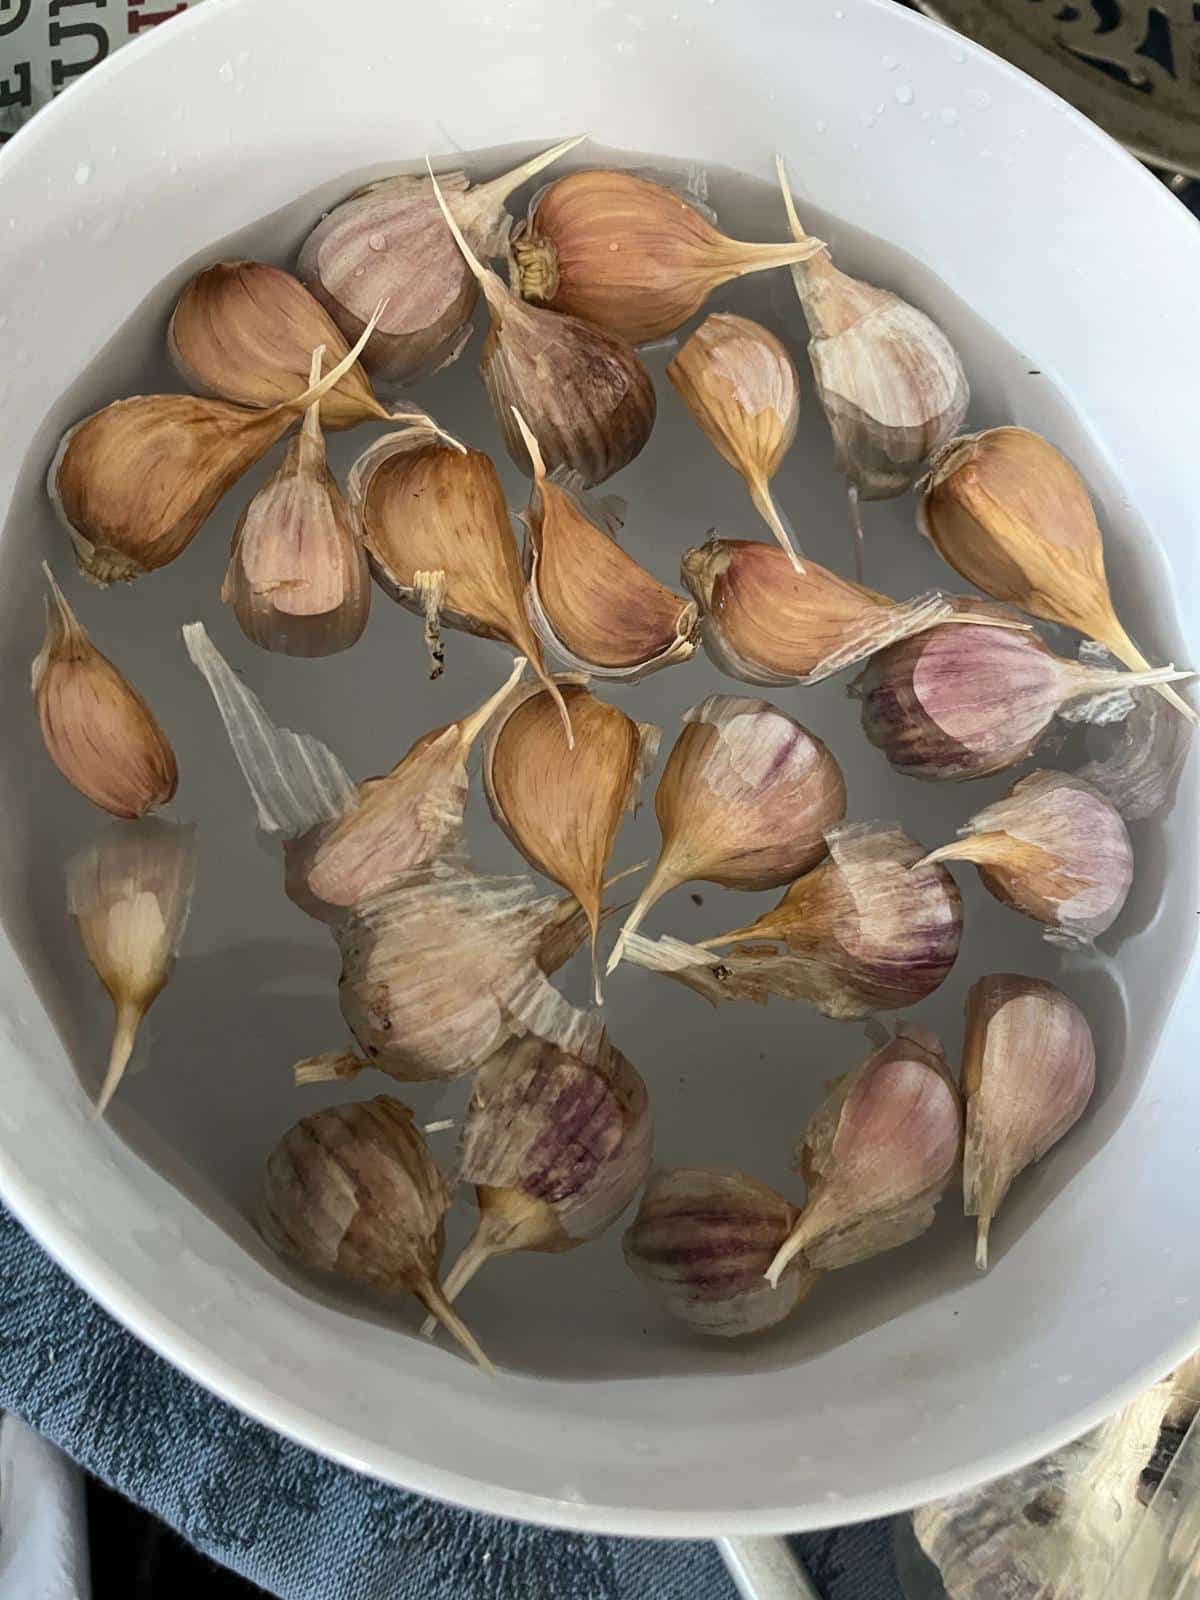
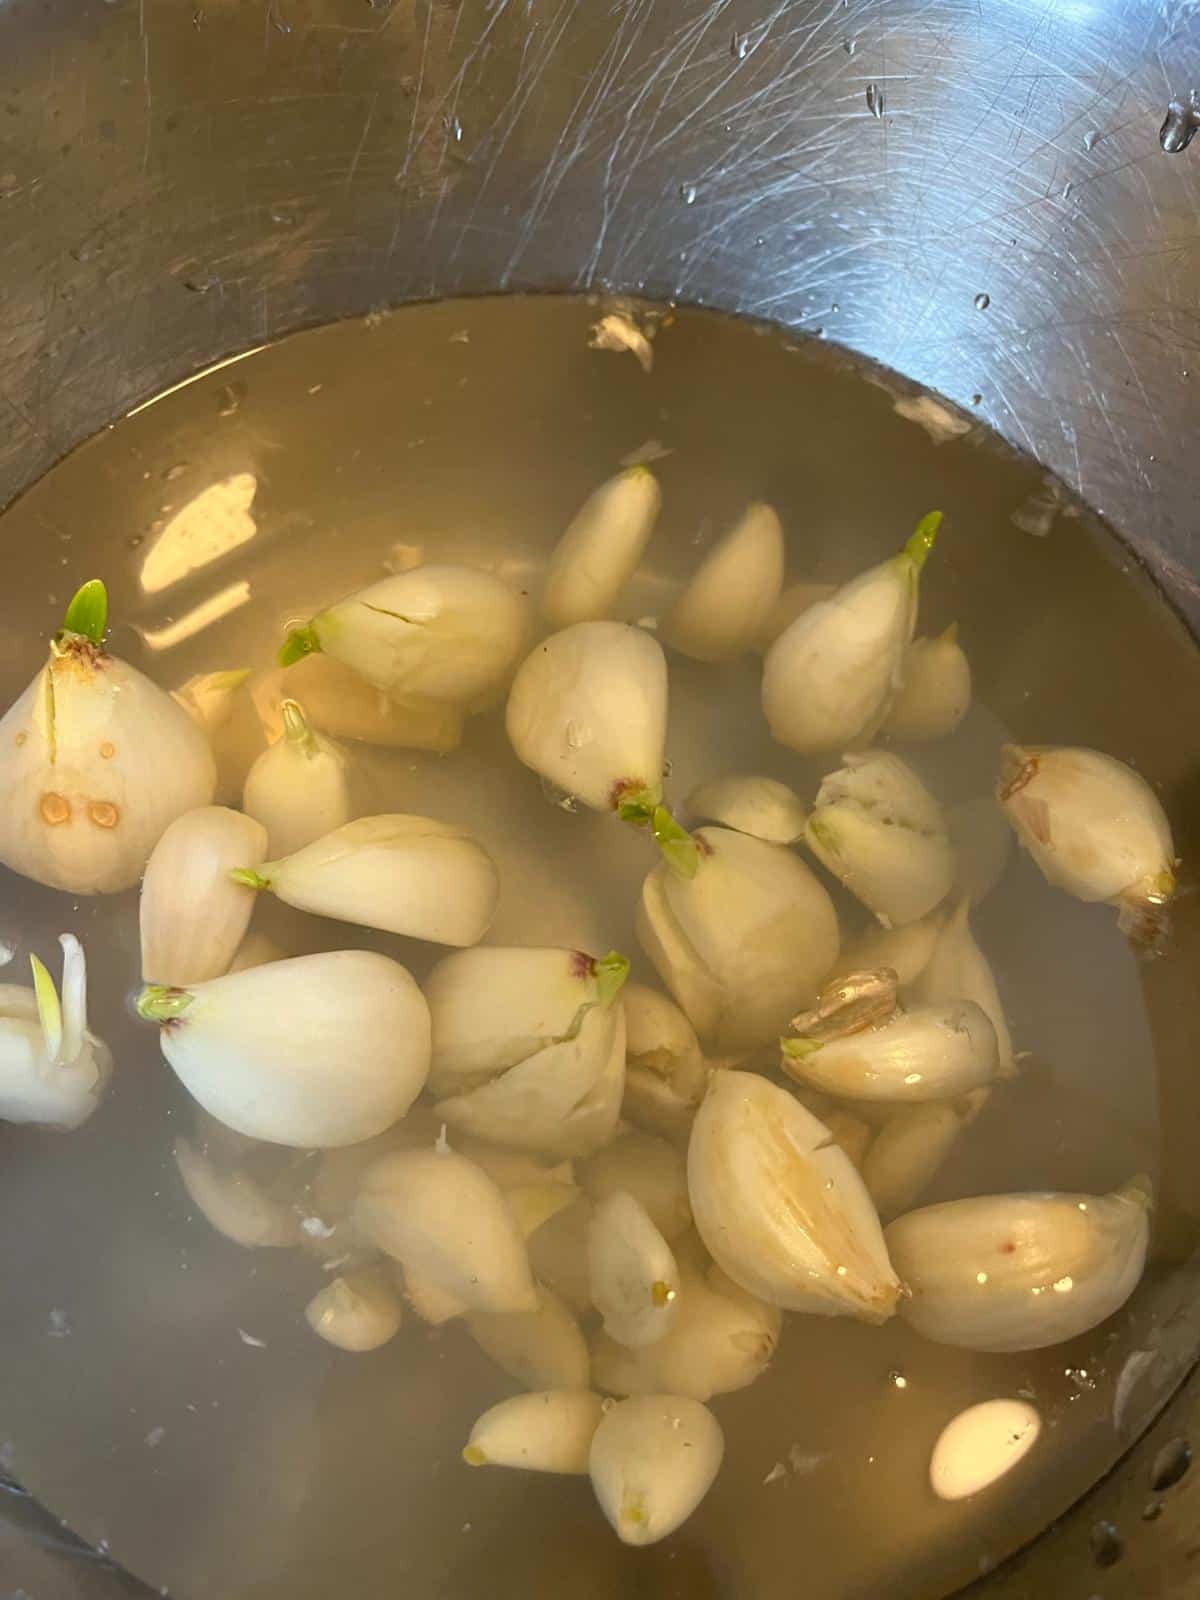
The method we’ve found works the best is to crush the cloves, place them in a soaking bowl, and then peel the softened skins away by hand without worrying over the small bit where the roots were.
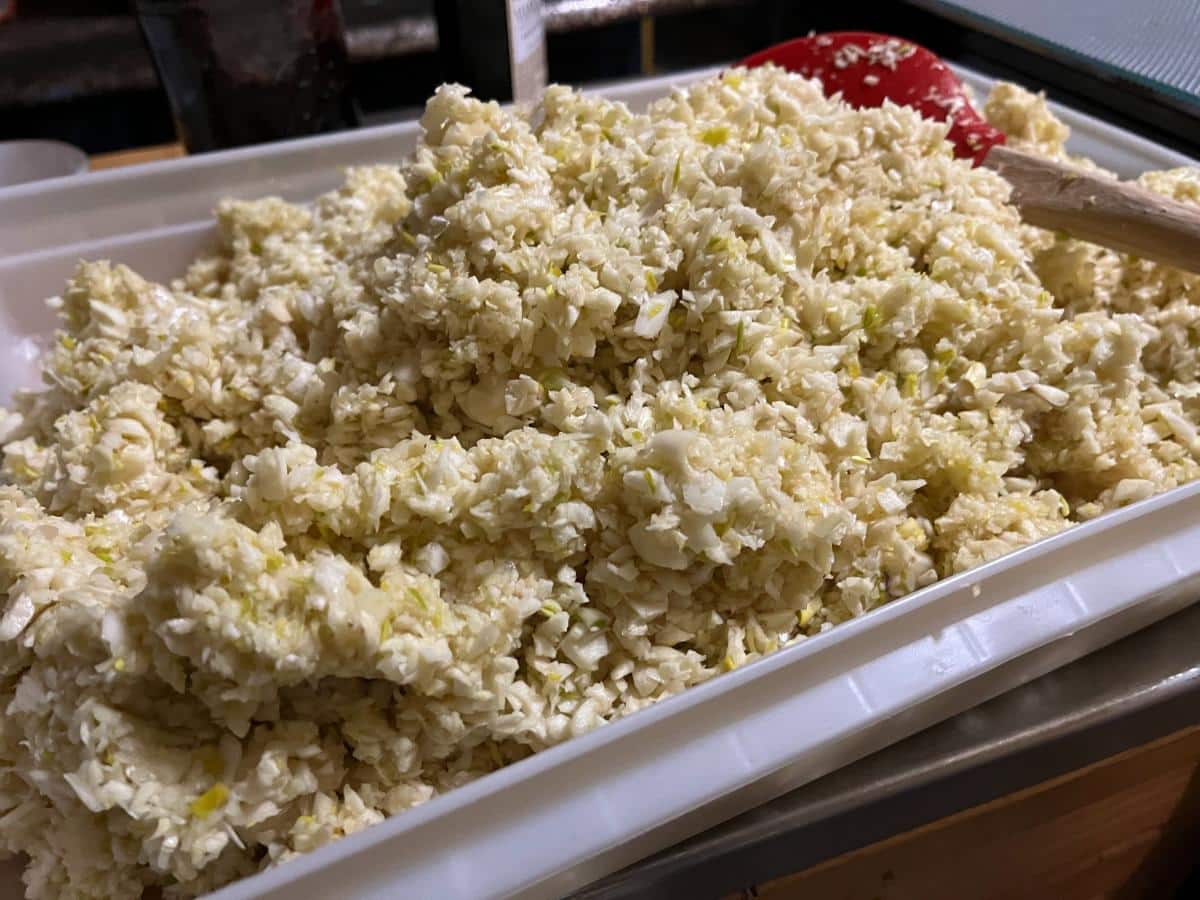
Chop the Garlic Down to Size
After peeling, you will need to chop the garlic. Chop this down to a small, rough chop.
You can chop by hand, but often, when we are dehydrating garlic, we are processing a large amount; hand chopping can be time-consuming and hard on the hands.
The best option is to use a food processor or blender (preferably a double-bladed blender, like a Ninja):
- Put the cloves of garlic into the processor or blender
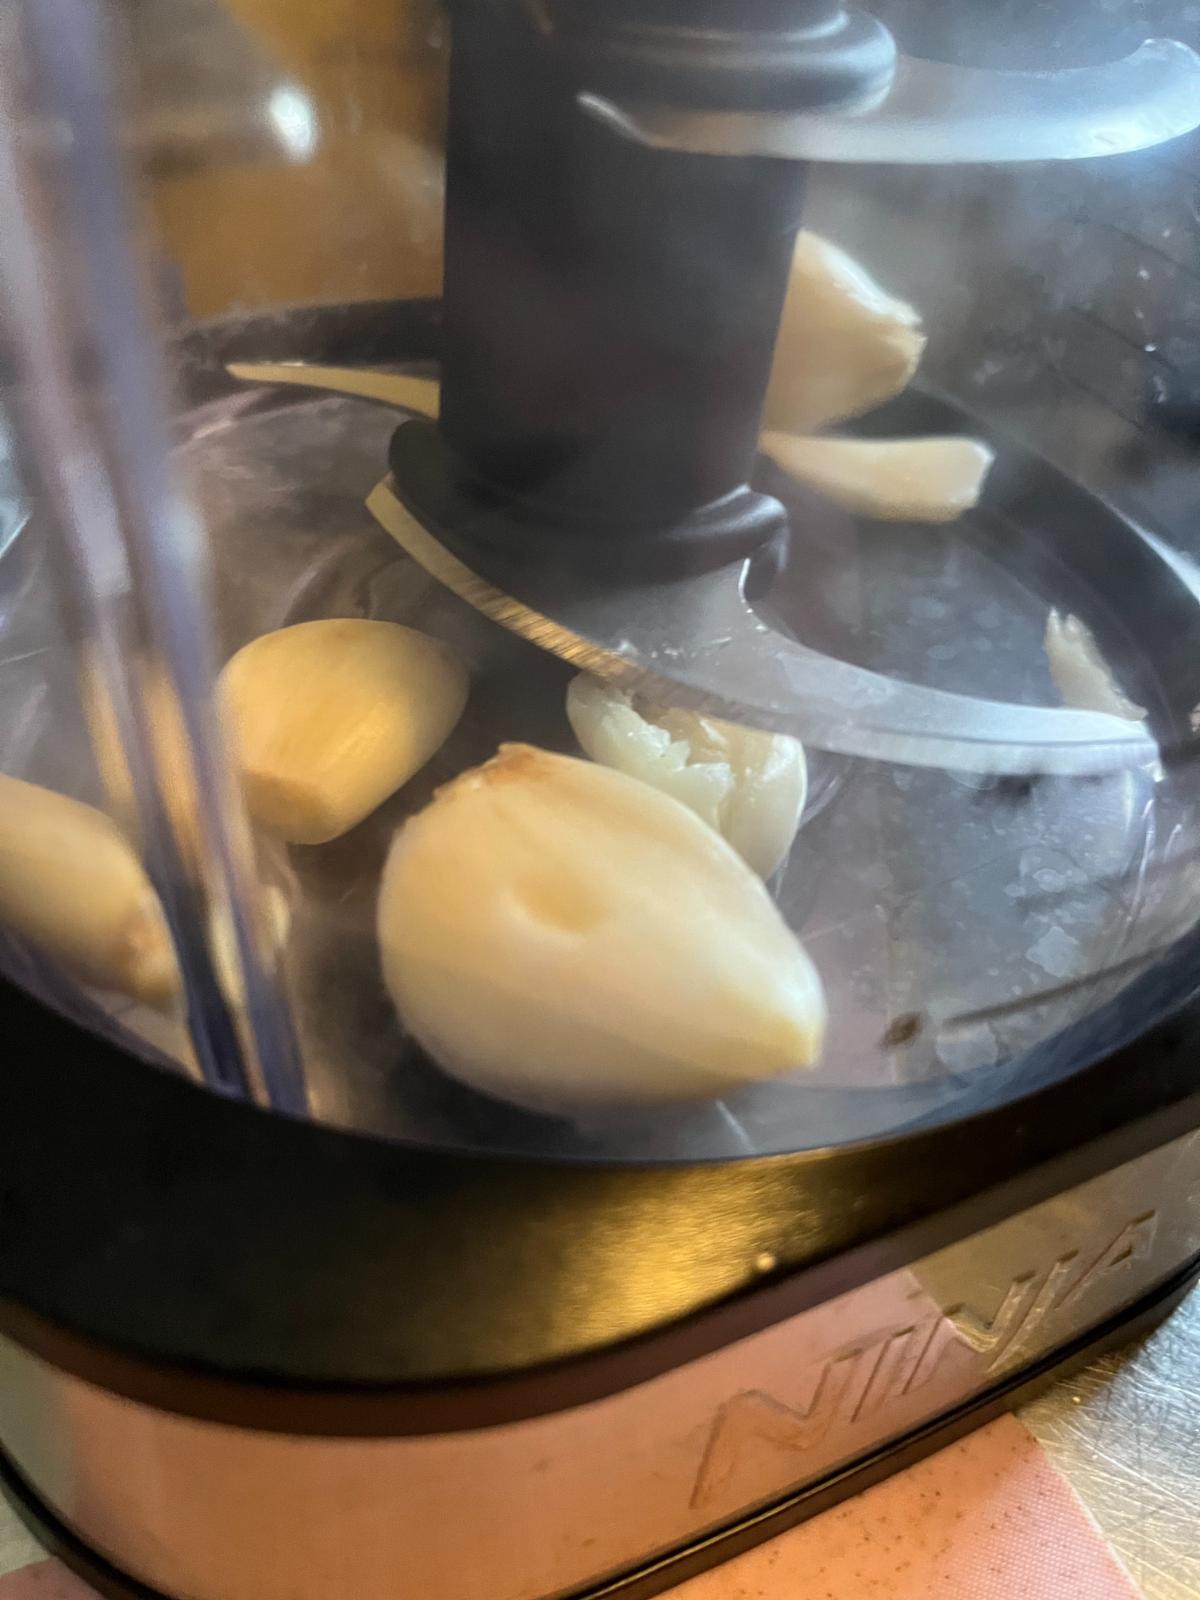
- Don’t overfill the unit
- Leave enough room so that the cloves can move around
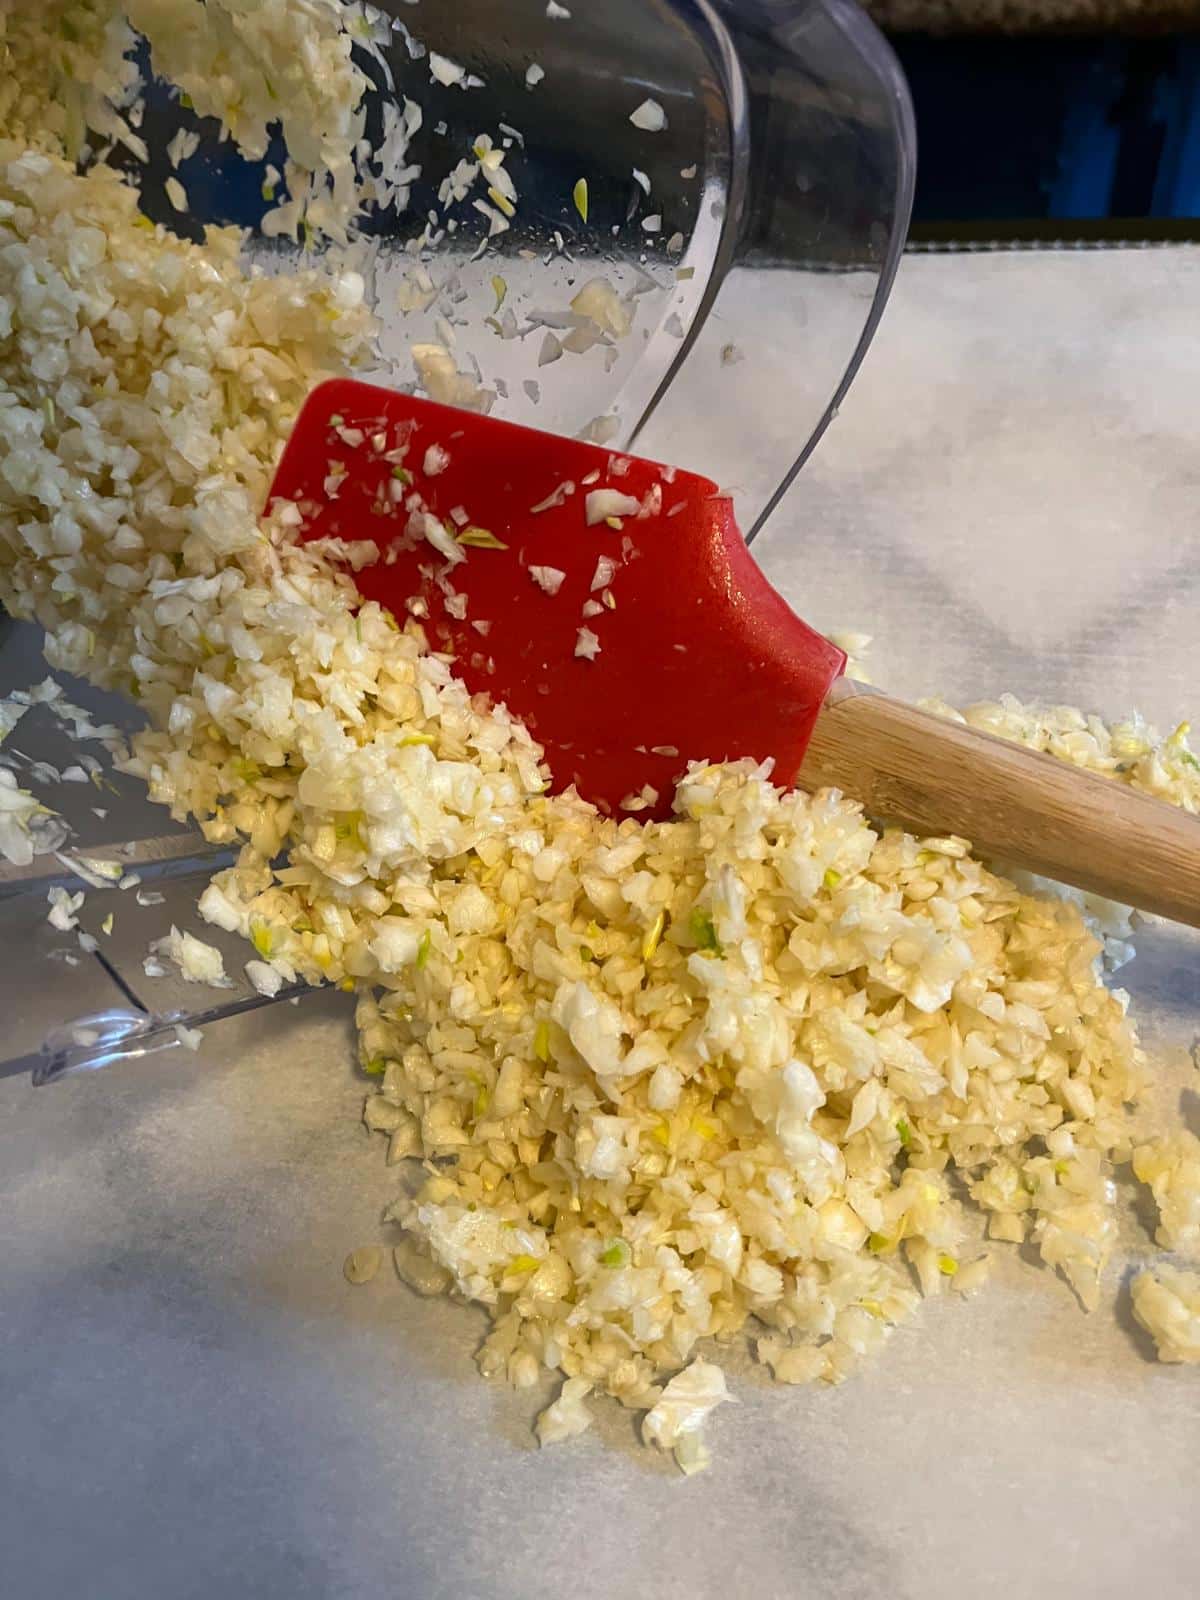
- Pulse several times on the “pulse” or “chop” setting, running until the garlic is chopped into roughly the size you want for your finished garlic
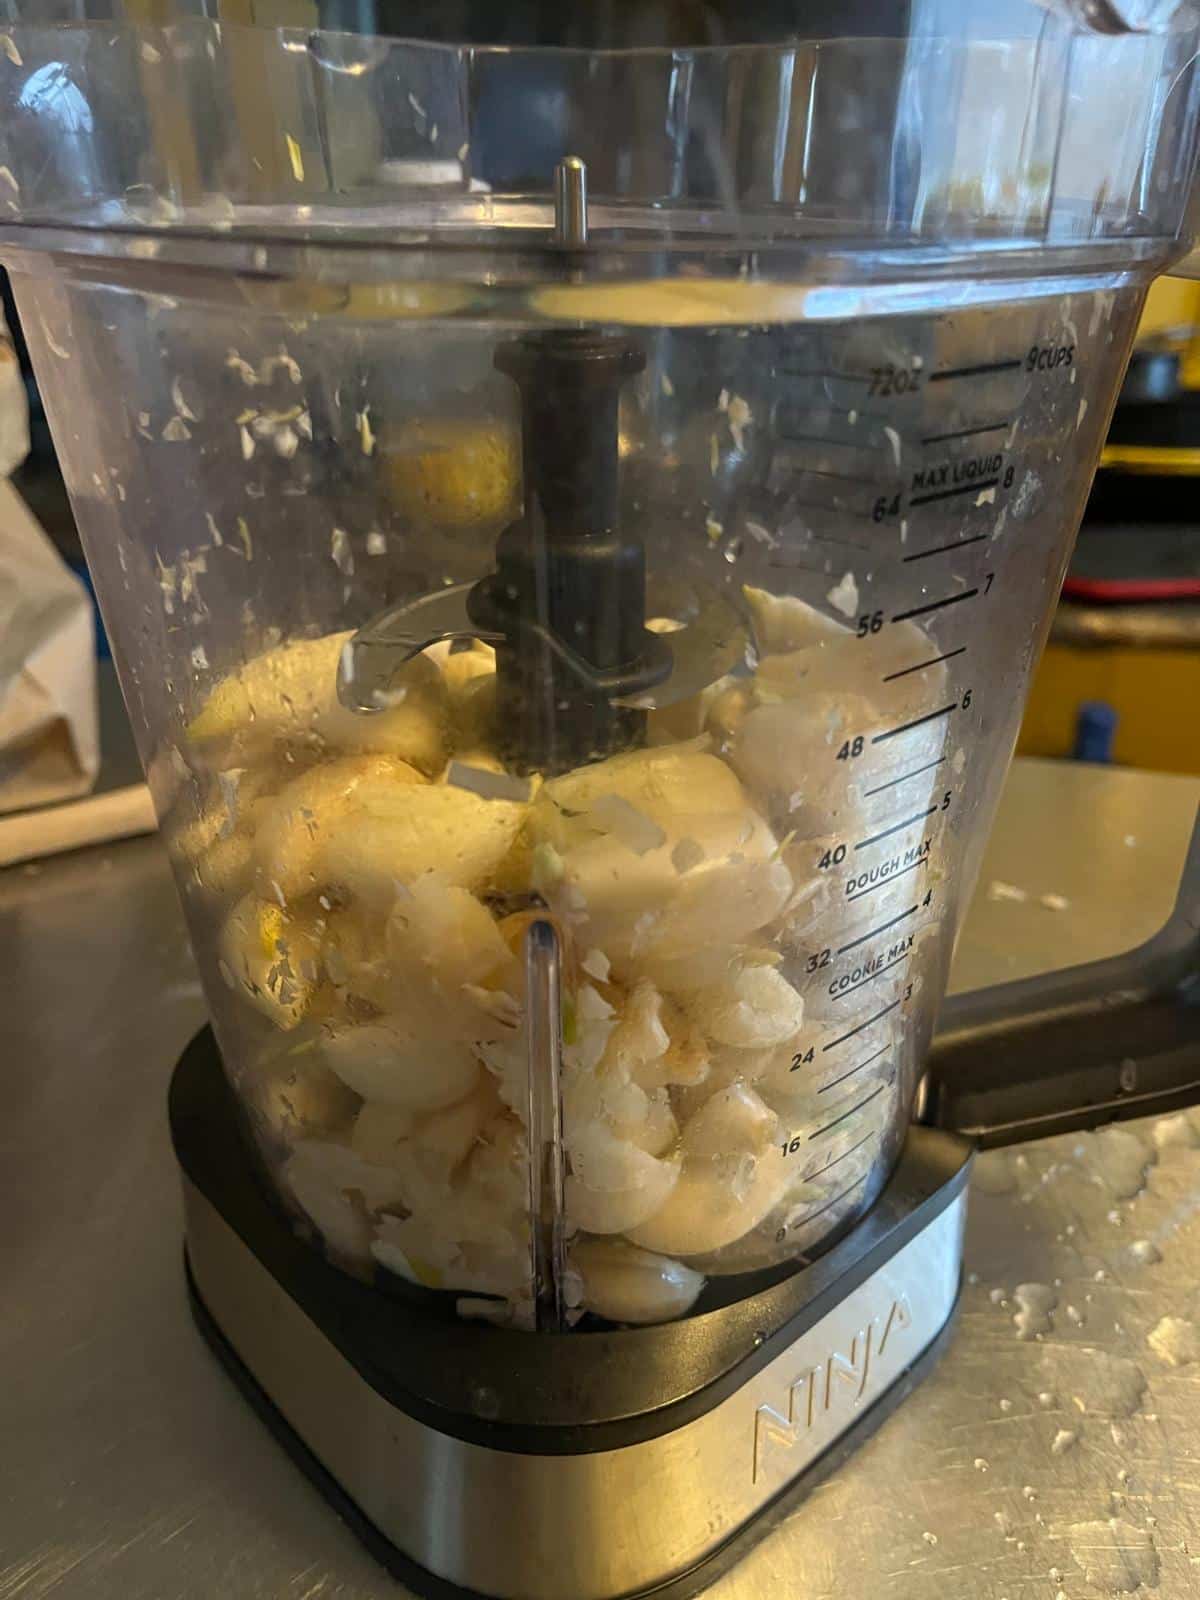
- Garlic will shrink when drying, but it is low in moisture so you will only lose about ⅓ to ½ of its size
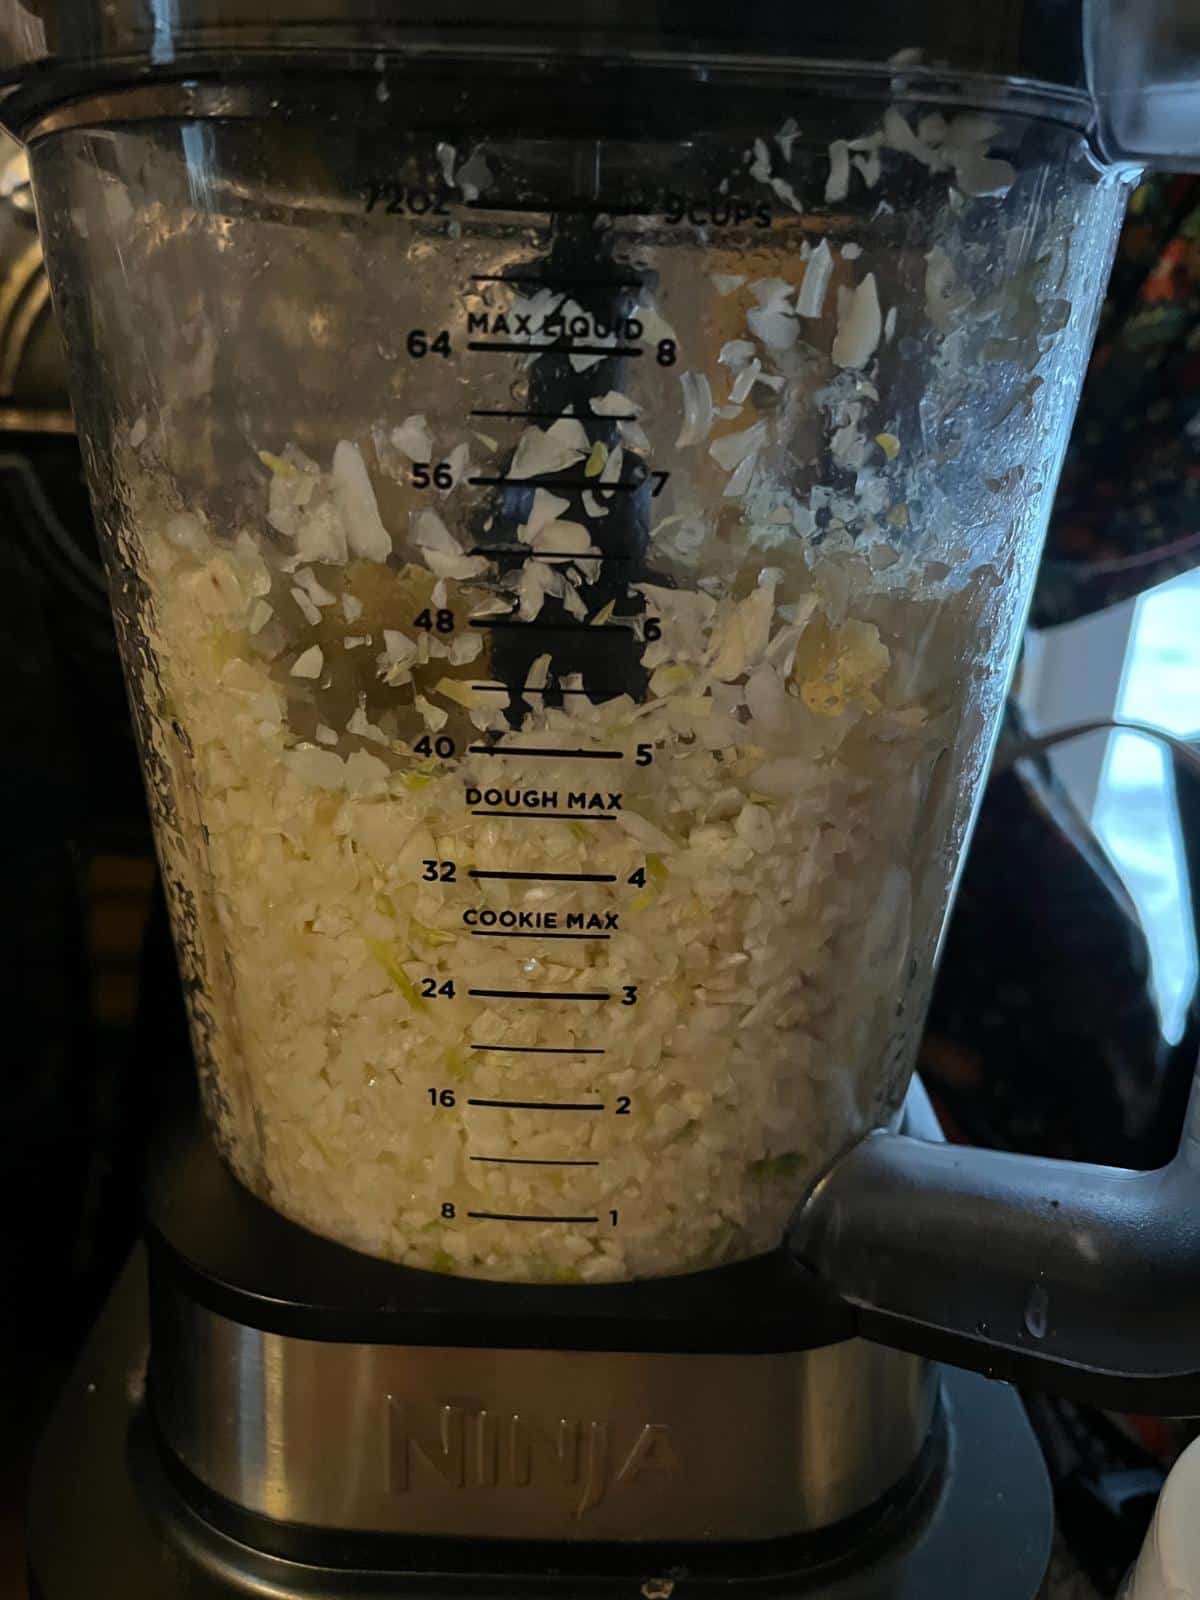
- Don’t overprocess the garlic, or it will become mushy and juicy
- If in doubt, keep in mind that the garlic can always be chopped or processed more after drying
- The larger you leave your garlic, the longer it will take to dehydrate. This is harmless but may extend your drying time.
Dehydrate the Chopped Garlic
Dehydrating in a dehydrator is best, and is the most reliable without overdoing it or cooking or burning the garlic. If you don’t have a dehydrator you can also dehydrate chopped garlic in your oven.
Dehydrating with a dehydrator:
- You will need to line your dehydrator trays, or the chopped garlic will fall through small openings when it dries and shrinks; even a fine mesh screen will cause loss and make a mess.
- Line dehydrator trays with paper or parchment drying sheets, solid silicone sheets, or use solid tray liners.
- Spread the chopped garlic out over the surface of the tray
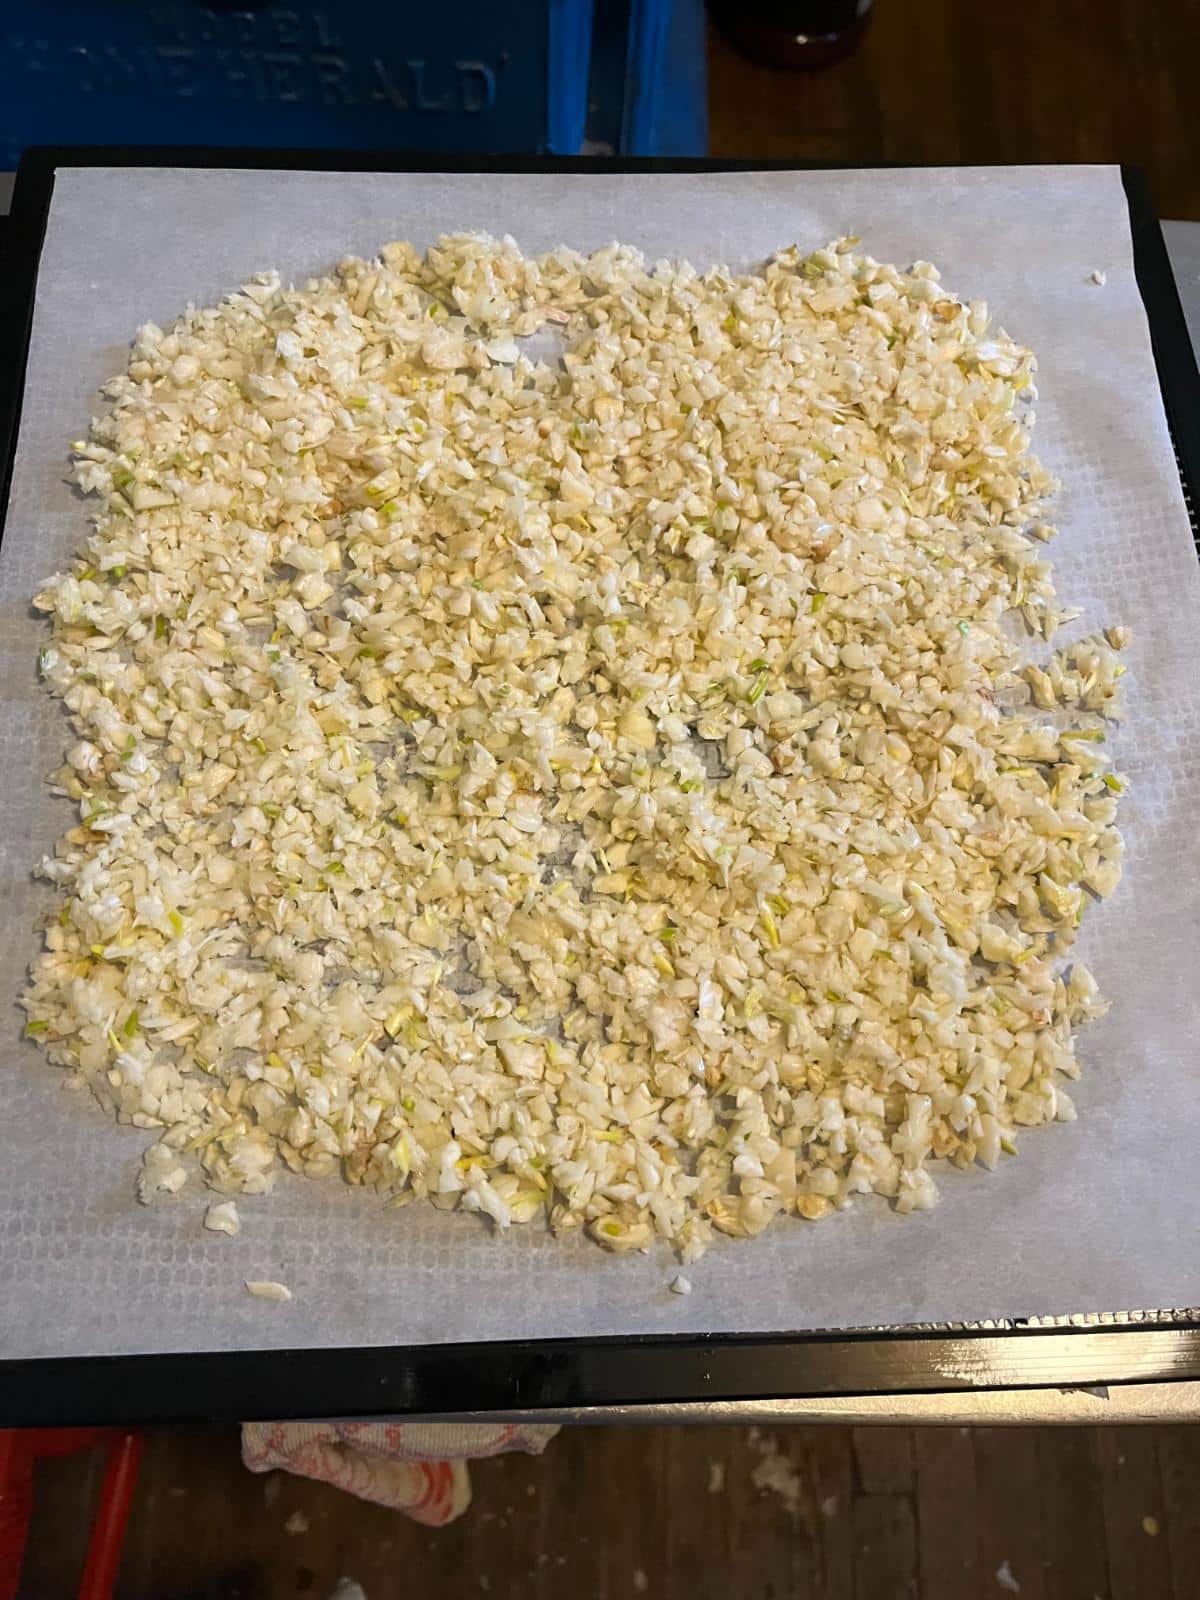
- Keep the garlic in a single layer, ideally with some space in the chop (though obviously, you won’t be able to spread it out without anything touching). Just don’t overfill the trays.
- Fill as many trays as you can to process as much of your garlic in one batch as you can, but without overfilling the trays.
- Load the dehydrator with the trays, then dehydrate at a temperature of 100 to 110 degrees Fahrenheit (37.78 to 43.33℃)
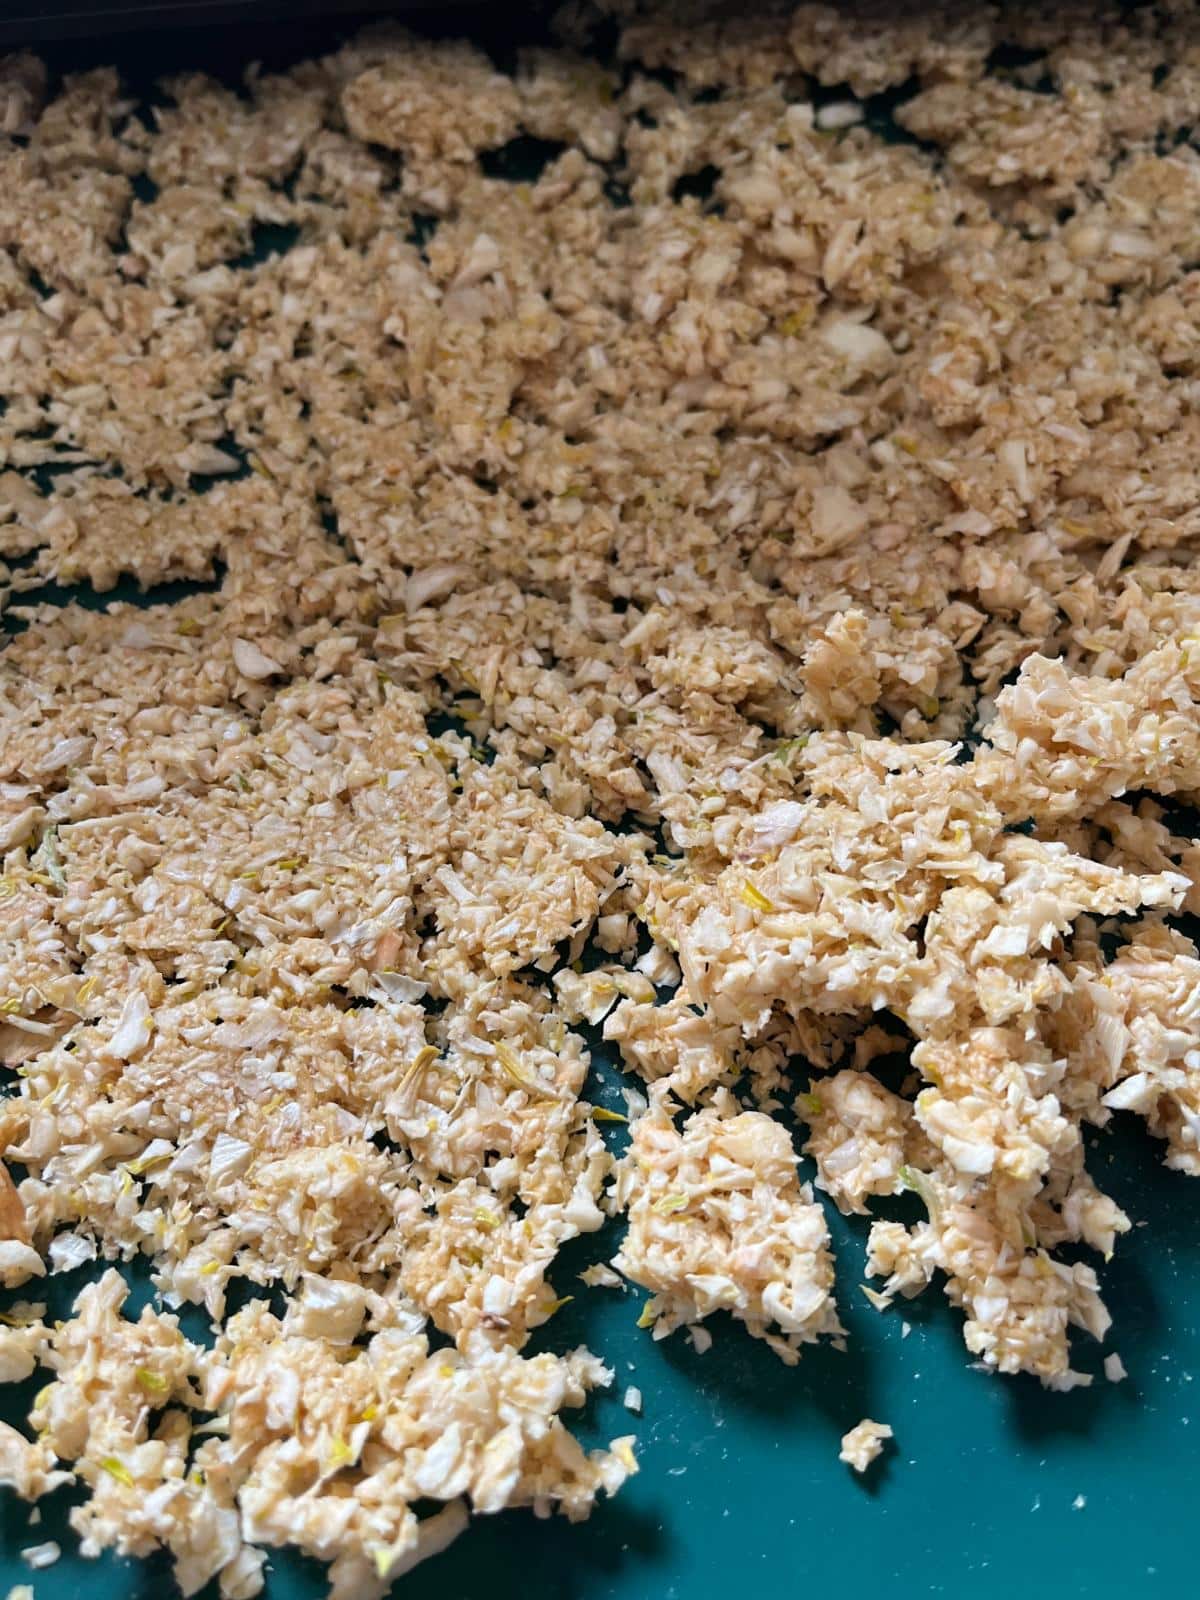
- Dry for several hours until the garlic is crisp and very dry
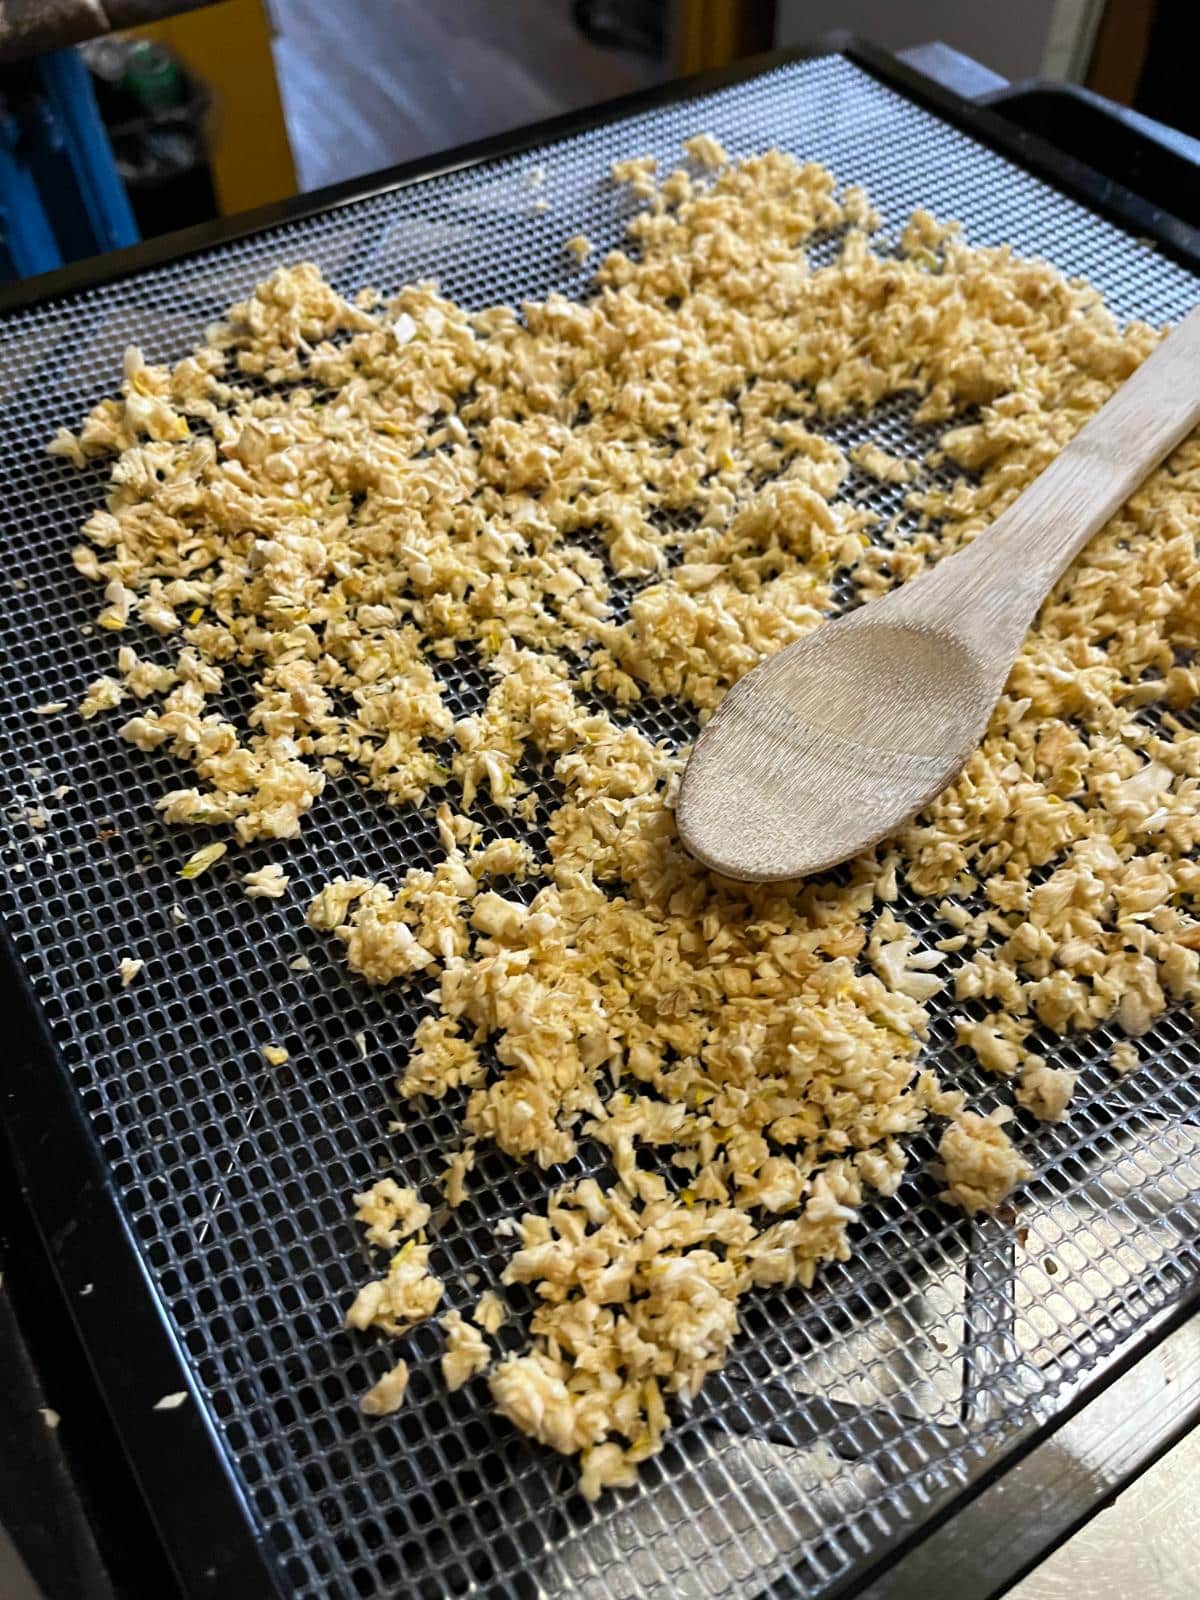
- Stir the garlic occasionally during drying -- at least every two hours
- Turn the trays halfway through so the trays dry evenly
- Garlic will usually dry in four to six hours at this temperature, but if it needs longer than that, dehydrate for longer; moisture causes spoilage.
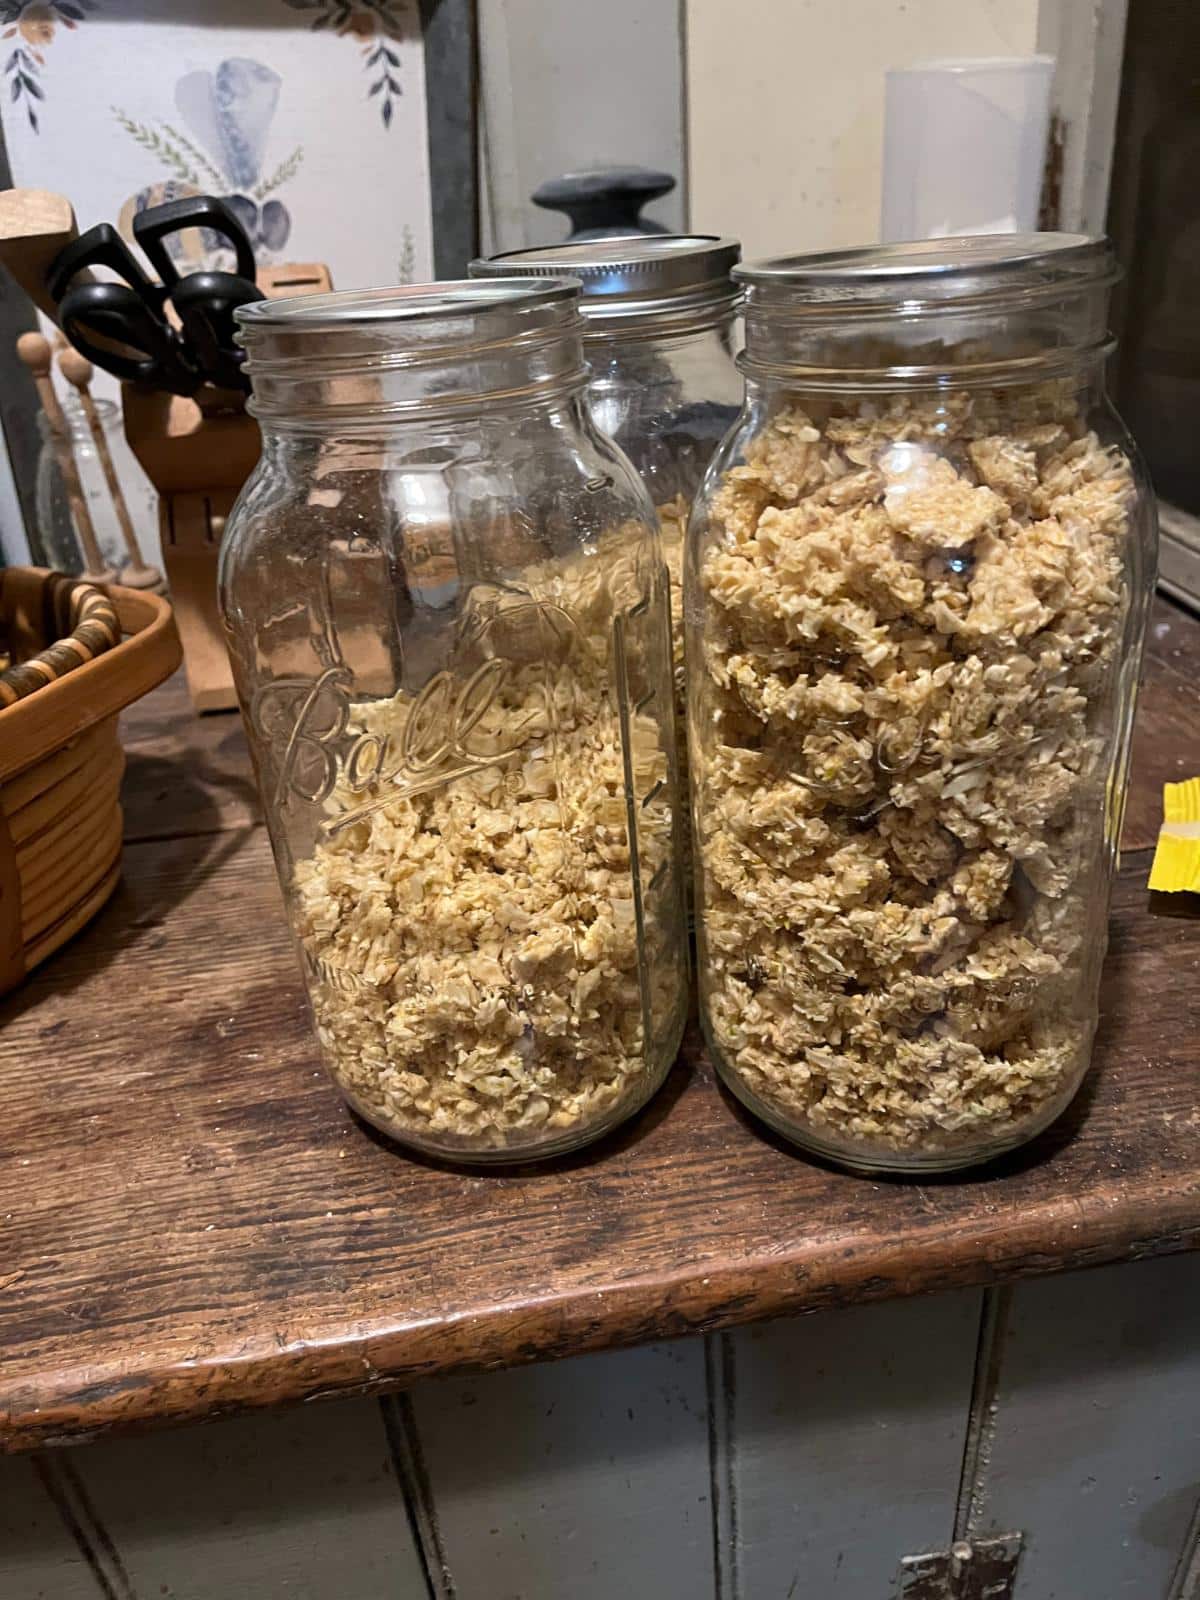
- When done, let the garlic cool before packaging or processing further (for example, before processing into powder or mixes).
- If the garlic is warm when it is put into containers, it will condense and create moisture, which results in molding and spoilage.
Tip: If it’s an option for you, consider running your dehydrator on a porch or in a mudroom, or at least in a less-occupied area of your home. The smell will be strong when you dry your garlic (especially in the beginning of the process). It will also take several hours for the garlic to dry.
Dehydrating in an oven:
Drying in the oven is a little trickier because most home ovens don’t go as low as is ideal for dehydrating. Garlic likes a nice, low temperature so it can dry without cooking, which is harder to achieve in an oven.
It can be done, but you'll need to watch things closely.
Here are some instructions and tips for drying chopped garlic in a home oven:
- Line a baking sheet with parchment paper
- Spread the chopped garlic out on the sheet in a single thin layer
- Turn on your oven to its lowest possible temperature
- Your goal is to get down to 110 to 120℉, but most home ovens will not go below 150 or 175℉ unless they have a dehydrator setting (which some convection ovens do have)
- Put the trays of garlic in the oven
- Garlic will dry best if the oven door is propped open to its first stop, but only do this if it is safe to do so (especially if there are children or pets in the home)
- Dry for one to two hours, turning the trays every hour
- Stir the garlic hourly when you turn the trays
- It can take up to five hours for the garlic to dry, though in an oven in heats 150℉ or higher, it will probably not take that long
- Be careful not to let the garlic cook or burn
- If you think the garlic is baking and not drying, turn the oven off, close the door, and let the heat continue to dry without actually running the oven.
- You may need to turn the oven on and off a few times to warm it up and continue the drying process
- Garlic is done drying when it is completely dry and crisp
- Make sure you cool the garlic out completely before packaging and storing or before proceeding with other processing
To Make Dried Garlic Into Garlic Powder:
Once the chopped garlic is dried and completely cool, you can then turn it into garlic powder if you like.
You can also make some into powder and keep some as chopped dried garlic.
To make garlic powder:
- Partially fill your blender, food processor, or an herb or coffee grinder with chopped dry garlic
- Run and pulverize the chopped garlic until it is a powdery consistency
- You can make the powder as coarse or as fine as you like
- The more you grind, the finer the powder will be
Using Dried Garlic in Seasoning Salts and Herb Blends
You can use either dry chopped garlic or garlic powder in other mixes and seasonings.
To do this, you would simply combine and mix the garlic with your preferred ratio of ingredients.
Then label, store, and use.
Some favorite garlic seasoning blends include:
- Garlic salt: 3 parts garlic to one part salt (large flake salt like Kosher salt or sea salt preferred)
- Garlic pepper: 8 parts garlic to one part pepper
- Garlic salt and pepper dry rub: 1 part coarse black pepper, 2 parts coarse salt, 2 parts garlic; for example, use ¼ cup black pepper, ½ cup coarse salt, and ½ cup garlic (coarse salt and coarse pepper such as butcher’s blend pepper are best; this rub is typically used as a dry rub for roasts and meat cuts)
- Garlic herb seasoning: equal parts garlic, parsley, oregano or marjoram, and basil
- Savory garlic herb seasoning: equal parts garlic, thyme, sage, and rosemary (you can use ½ part rosemary if you find it overpowering)
- Garlic rosemary sage salt: 2 parts garlic, 1 part sea salt, ½ part sage, ¼ part rosemary, optional ⅛ part cracked black peppercorns
- Garlic lemon pepper: 4 parts dried lemon peel, 1 part garlic, 1 part coarse black pepper
For all of these mixes, use dried garlic and herbs. Dried homegrown is best and freshest, of course, but it’s also fine to use good quality ingredients that you buy if you don’t have your own.
Feel free to adjust any ingredients to taste (especially the pepper, which can be quite strong, depending on your palate). The ratios are for taste only, so they don’t affect preservation or shelf stability. That means that it’s perfectly fine to adjust them!
The Best Dried Garlic You’ve Ever Eaten
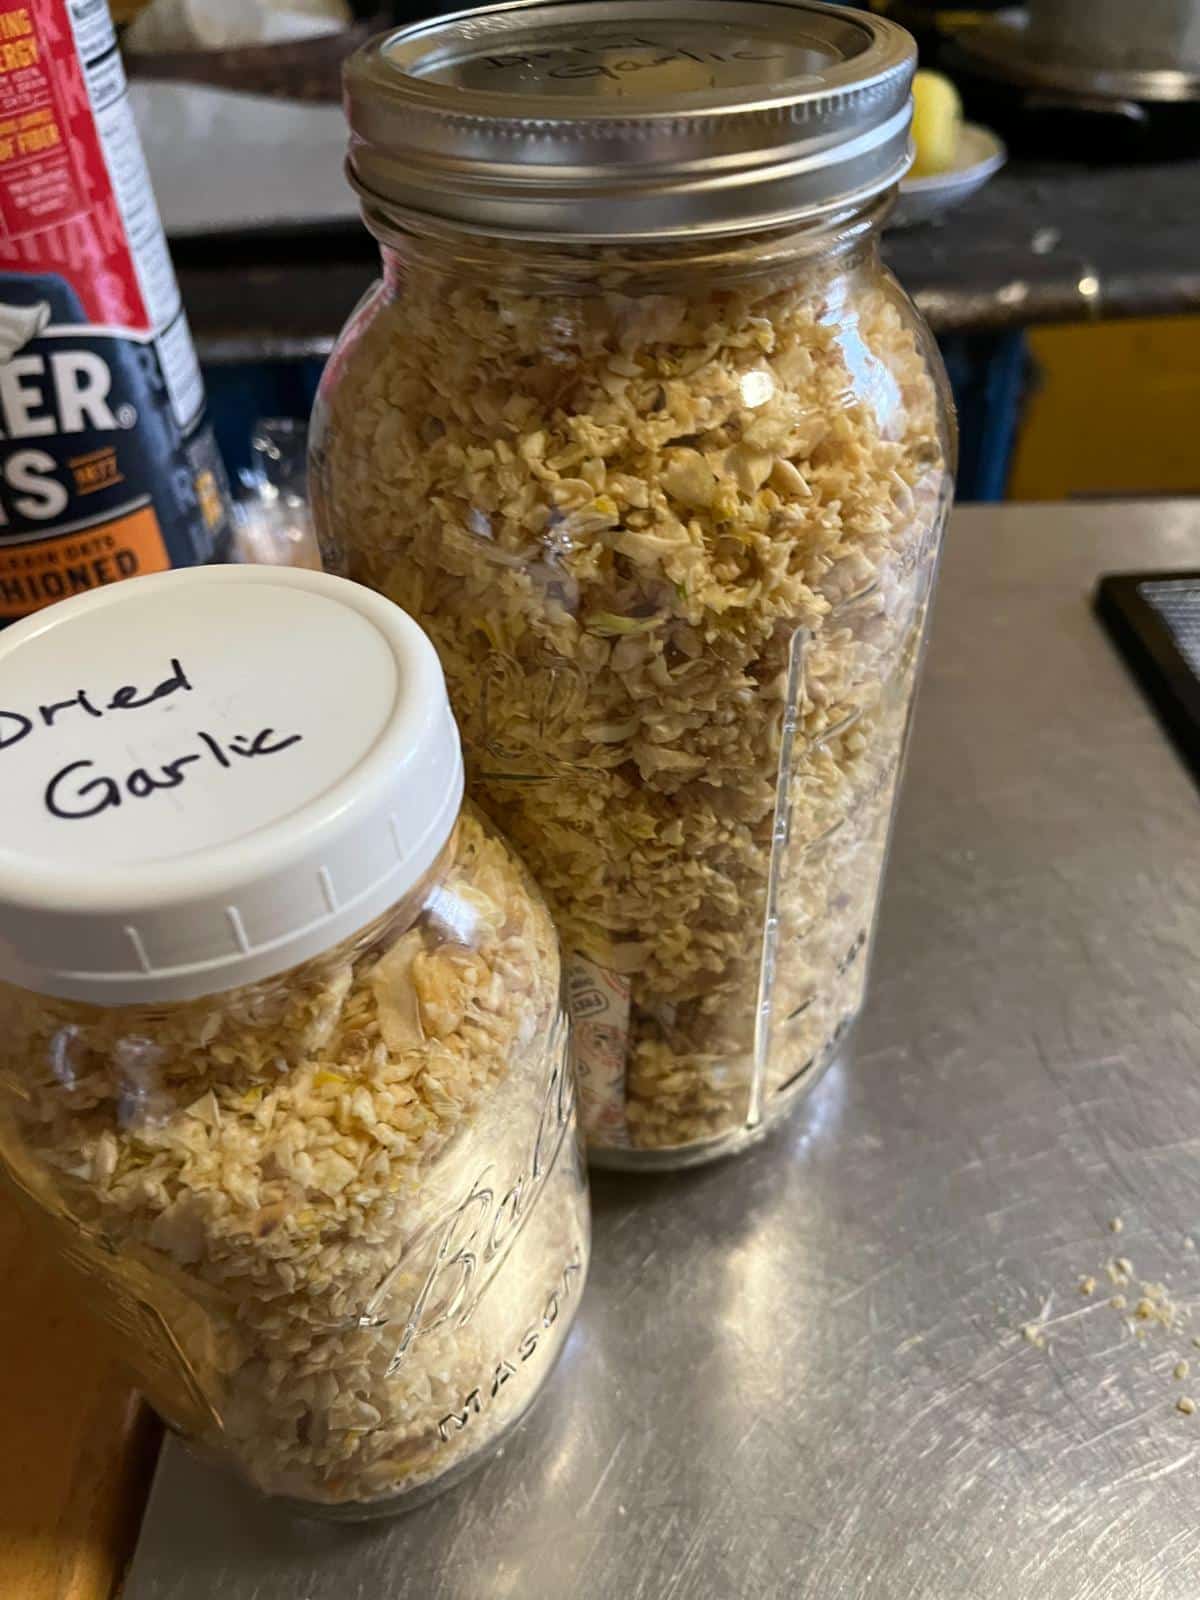
Once you’ve made your own homemade dried garlic, you’ll never want to go back.
By capturing the essence of the garlic while the garlic is still fresh and young, you get a depth of flavor that you just won’t find in any grocery store dried garlic or garlic powder.
Plus, you have the (huge!) added bonus of knowing exactly what went into it and how your garlic was grown. No fillers, no weird extra anti-caking ingredients, just pure garlic goodness! Enjoy!
Leave a Reply