Acorns scattered across your lawn is a common sight in autumn. But did you know acorns are edible?
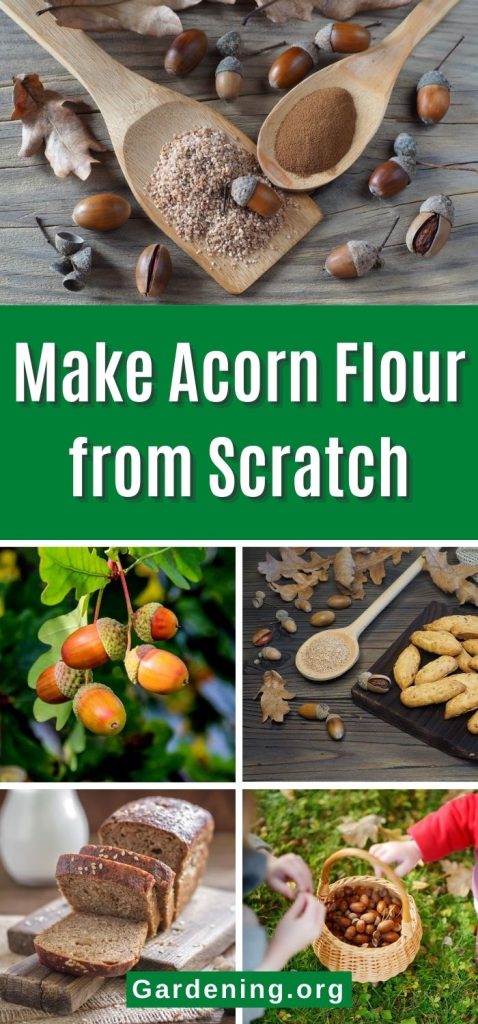
Not only are acorns edible, but they’re an abundant food for autumn foraging and they’re absolutely free! Full of protein, healthy fats and other nutrients, acorns are a powerhouse food. And, while they can be eaten plain (after being properly processed), acorns can also be ground into a rich and tasty, gluten-free flour substitute for homemade breads and other baked goods.
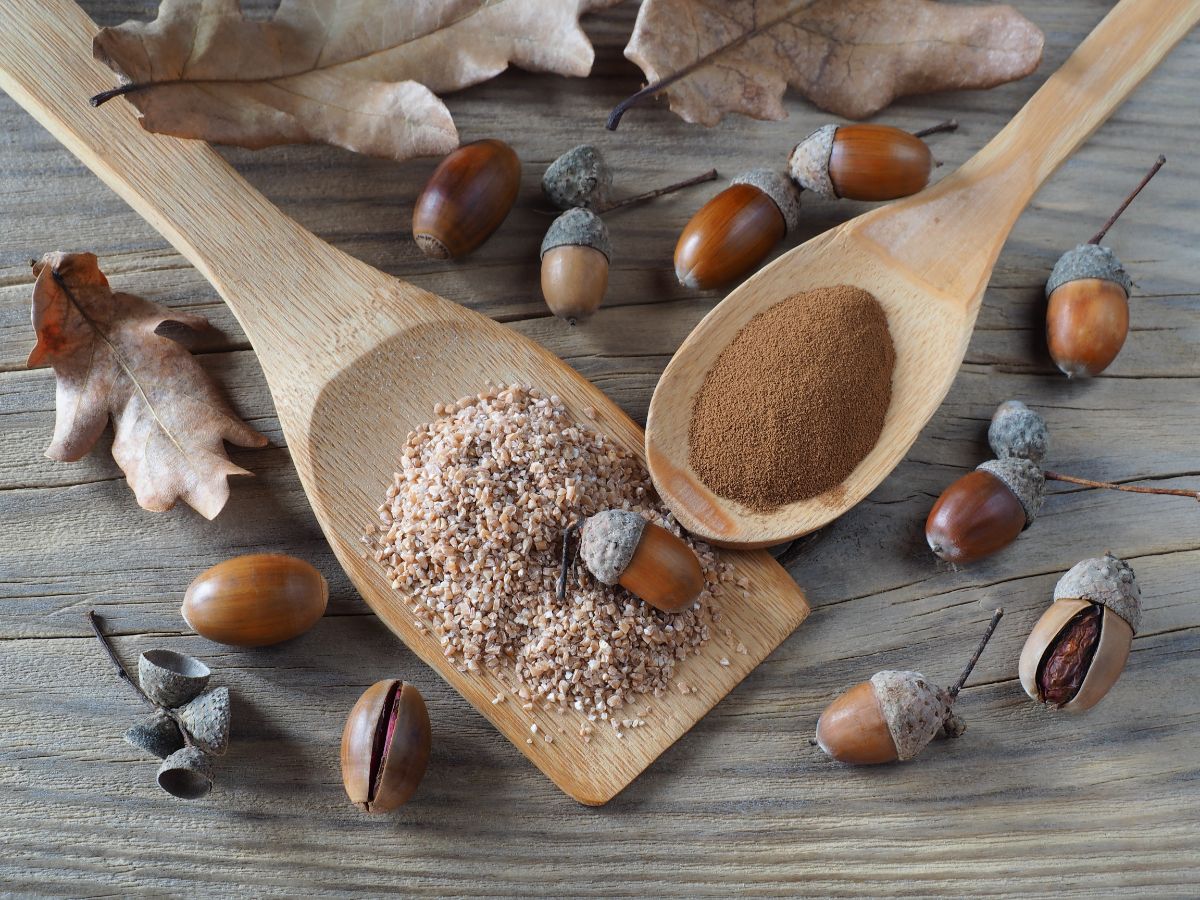
From freshly harvested acorns to nutritious acorn flour, this guide has everything you need to make mouth-watering acorn treats at home. So read along to learn how to turn this autumn staple into delicious DIY acorn flour.
Jump to:
How to make acorn flour
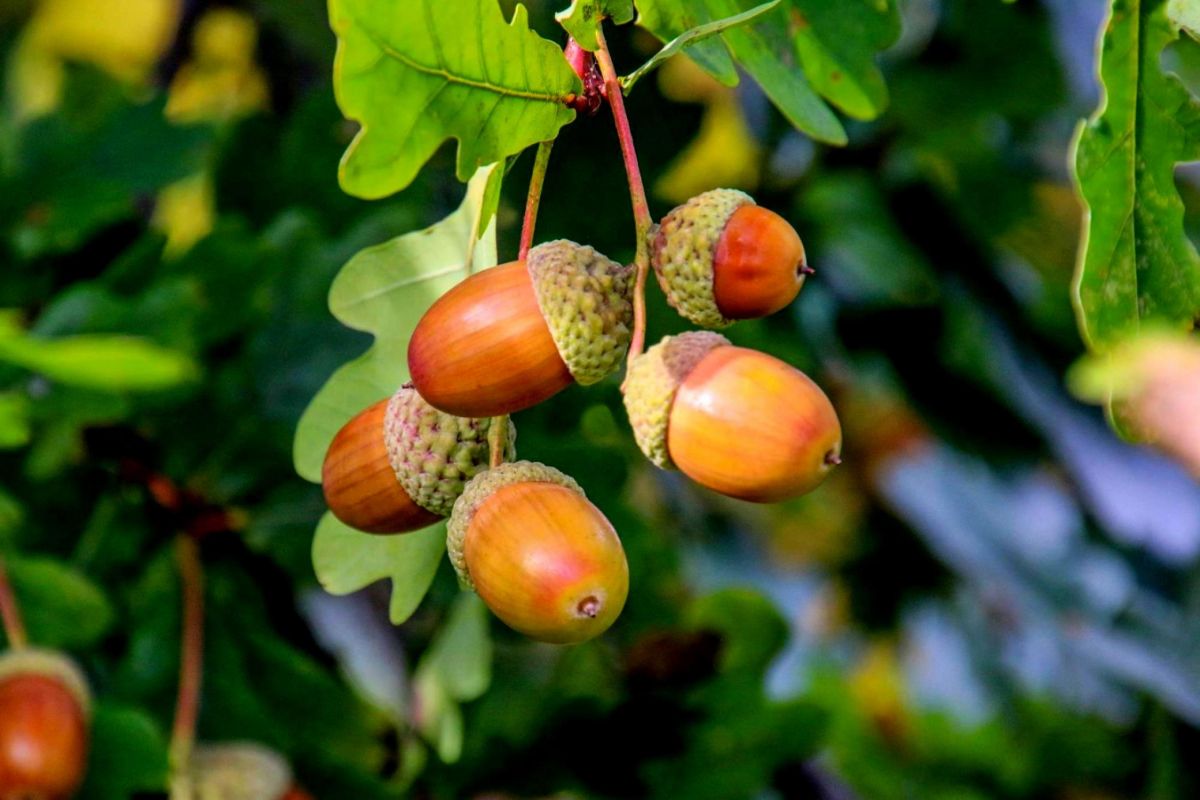
While you may be tempted to make acorn flour by just pounding up some acorns. Hold that thought!
Although acorns are nutritious and tasty once properly prepared, they do contain high levels of tannins, which can be toxic when consumed in large quantities. In order to reduce the amount of tannins acorns contain, you’ll need to prepare your acorns prior to use with a technique known as “leaching.”
In the steps below, we’ll cover the process of how to leach your acorns and everything else you need to know to make homemade acorn flour.
What you’ll need
- Acorns
- Large mixing bowl
- Colander
- Sheet pan
- Nutcracker, meat tenderizer, hammer or other “acorn smashing” device
- Silicon baking mat or parchment paper (optional)
- Food processor
- Paper towels
- Water
The process
Step 1: Gather acorns
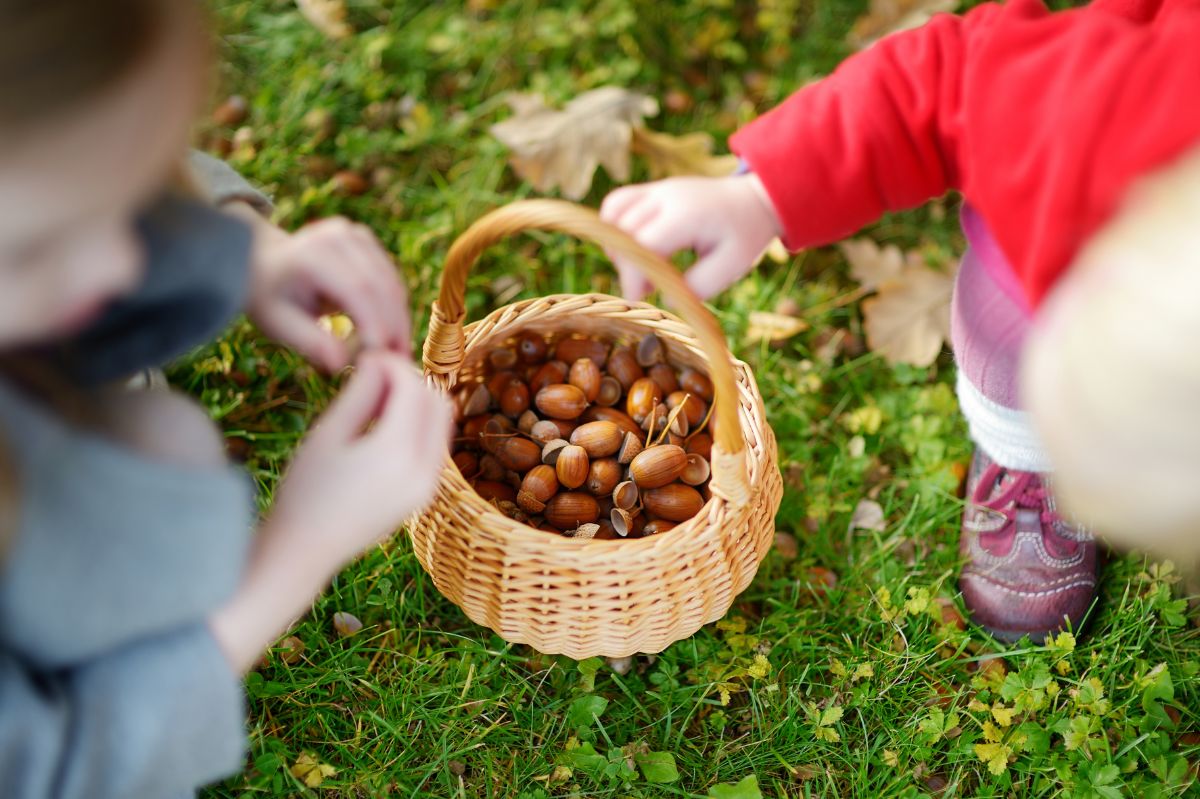
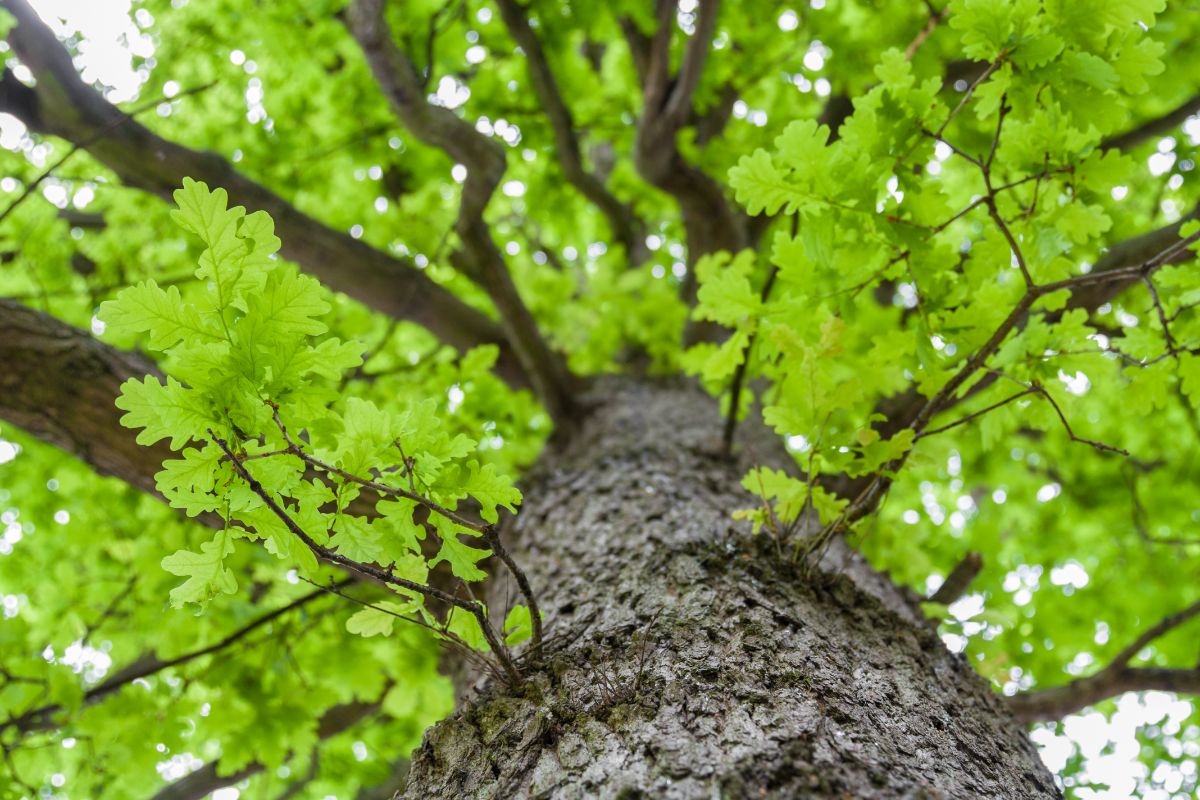
To get started, first, you’ll need to gather up your acorns. Acorns ripen in autumn, usually from late September to October, and naturally fall to the ground. So, you’ll want to wait until the appropriate time of the year to begin your harvest. All oak trees produce edible acorns; however, acorns from white oaks are considered to be some of the tastiest. If you happen to have an oak tree in your yard, you can simply harvest those. Or you can go on a foraging expedition in nature, but be sure to only collect acorns from trusted areas where you know they haven’t been sprayed with toxic pesticides or herbicides or otherwise contaminated.
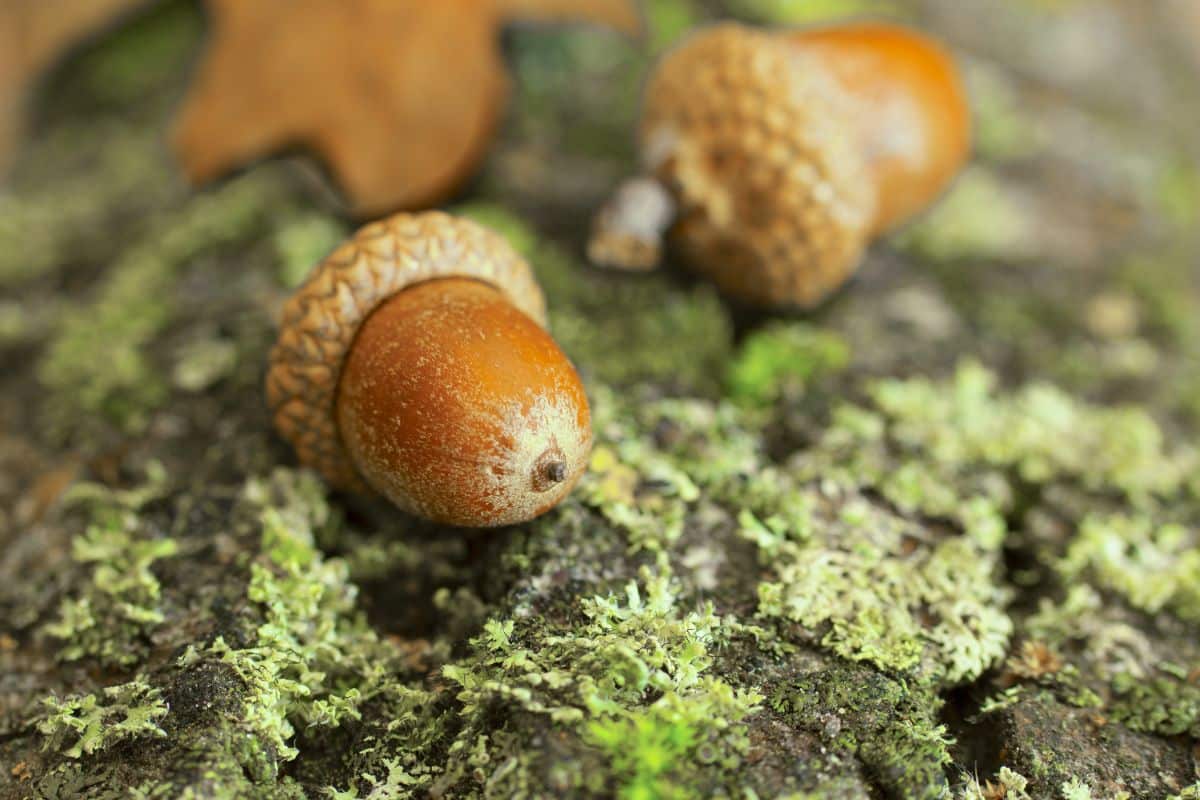
While gathering, look for acorns with sturdy, hard shells and no visible insect damage. You can go ahead and remove the acorn caps as you harvest, as you won’t be using those.
Step 2: Clean up acorns
Since you gathered your acorns from the ground, they may be a bit dirty. So, once you get your acorns home, you’ll want to clean them up.
Check your acorns carefully for any obvious signs of damage, like cracked shells, holes, or mushy spots. Give your acorns a little shake, too; if the interior feels hollow or wiggly, toss those acorns out because they’re no good.
After checking your acorns over, put them in a large mixing bowl and fill the bowl with water. Allow the acorns to soak for about 10 to 15 minutes, swish your hand around to help clean the acorns, and then pour out the water. You may want to repeat this process if your acorns are particularly yucky.
Discard any acorns that float when placed in water, as those acorns will not be usable.
Step 3: Dry acorns
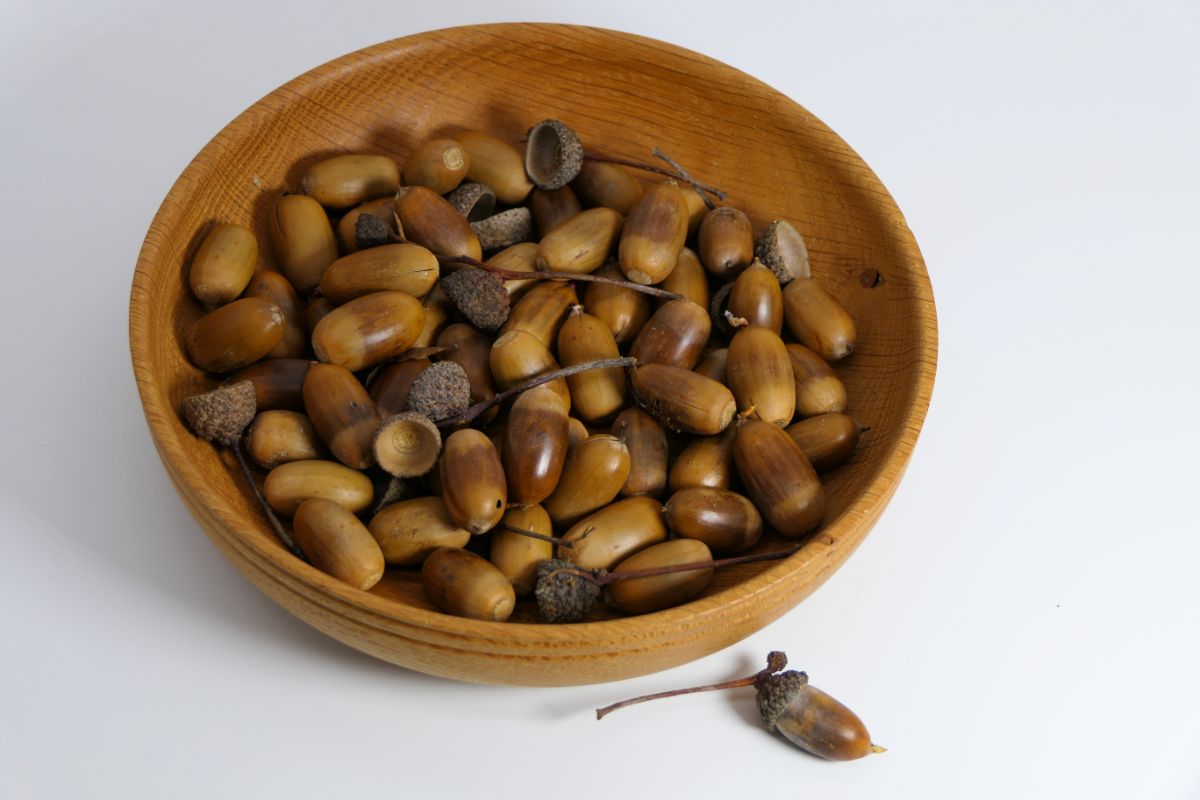
Pour out your acorns into a colander and allow them to drain. Then, transfer your acorns onto a baking sheet and spread them out into a single layer. Pat them dry with some paper towels.
Move your baking sheet outdoors on a sunny day and allow your acorns to dry for a few hours or all afternoon. This is especially important to do with very fresh acorns, as it will make them easier to shell later on.
Step 4: Shelling acorns
You can use whatever you have on hand for shelling your acorns, but a nutcracker, meat tenderizer or hammer work well.
Give your acorns a good smash to remove the shell. It doesn’t matter if you damage the acorn meat itself, as you’ll be grinding it up into flour anyway. If the acorn shells sticks, try picking the meat-free with a pairing knife or nut pick.
Try to remove as much of the papery skin from the acorns as possible as you clean them as this skin contains a lot of tannins.
Shelling your acorns can take a while, so you may want to set yourself up in a cozy spot and turn on a favorite movie while you work. This is also a great project to involve the kids in!
Step 5: Leaching process.
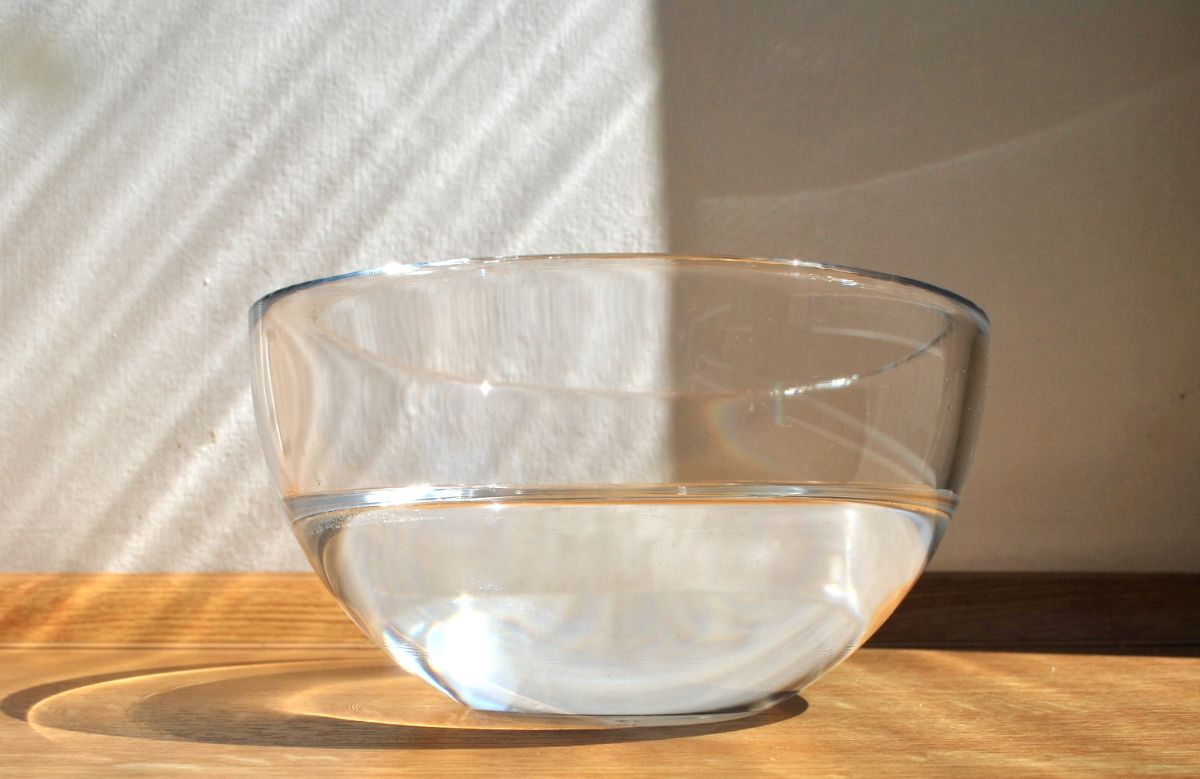
Acorns naturally contain high levels of tannins which give them a bitter flavor. Large volumes of tannins can also be toxic when consumed, so you’ll want to remove as much of the tannins as you can by leaching them. Tannins can be removed by boiling too, but for making acorn flour, cold leaching is the recommended process.
To leach your acorns, place your shelled nuts into a bowl full of cool water. Then move the bowl into your fridge and allow it to steep overnight.
In the morning, remove the bowl and pour off the liquid. The liquid may be rather dark, which is a good sign! This means the tannins are being removed.
Refill the bowl with fresh water and then put the bowl back in your fridge until evening. In the evening, drain out the water again and refill the bowl with fresh water.
Repeat this process, morning and evening, for about 5 to 7 days until all bitterness is removed from your acorns. To test if your acorns are ready, take a little nibble of a piece of acorn meat. If the meat tastes bland, you’re good to go. If it’s bitter, it needs further leaching.
Your acorns may darken some during this process, but don’t worry. That’s perfectly normal.
Step 6: Dry the acorns.
This will help them store longer and prevent issues like mold.
If you’re using a silicon mat or parchment paper, place it on a baking sheet and then spread your acorn meat across it in a single layer.
Place your baking sheet in your oven and turn the temperature on low. If your oven has a “warm” feature, that should work. Otherwise, a temperature range of around 175 to 180°F is perfect.
Crack your oven door open slightly. If it doesn’t want to stay open on its own, place a wooden cooking soon in the door to prop it open. This will help to reduce humidity levels inside your oven and guarantees your acorns will dry properly.
Bake your acorns for about 45 minutes. Remove the tray, give your acorns a stir, and then place them back in the oven for another 45 minutes. Repeat this process until your acorns are completely dry.
At this point, your acorns are ready to eat. If you want to sample them as a snack, just sprinkle them with a bit of salt to taste them and then give them a try. But, if your goal is to make acorn flour, there are just a few more steps.
Step 7: Making acorn flour
Allow your acorns to cool, and then transfer them into a food processor. Blend your dried acorns for about 30 seconds to 1 minute. Using the pulse feature can help make sure you get a good, fine grind.
Aim for a powdery consistency that resembles storebought flour. The color will be a bit darker, but you don’t want any chunks.
Once you’ve ground your acorn flour, you can use it right away or store it for later.
If you’re storing your flour, place it in an airtight container, like Tupperware or a Mason jar with a lid. Then store your flour in a cool, dark place. Placing it in the back of your fridge can help prevent mold and further extend shelf life.
How to use acorn flour
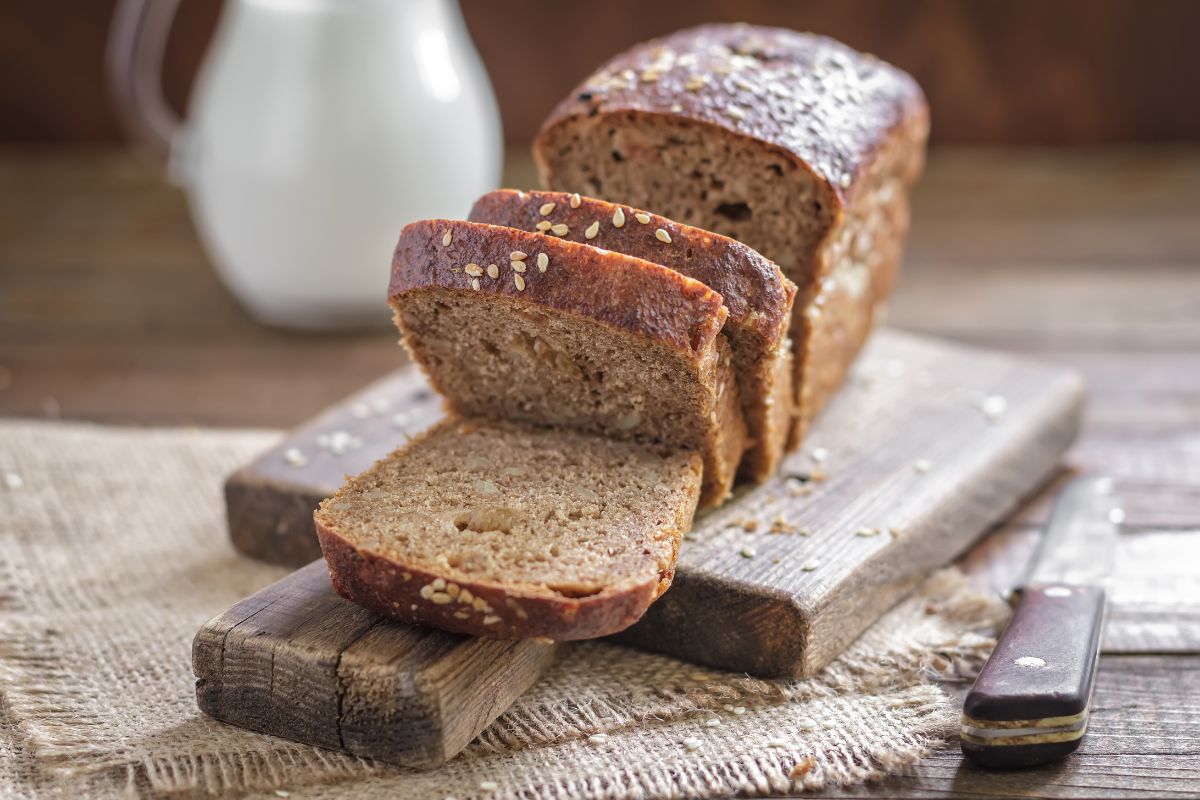
Acorn flour doesn’t have gluten in it, so it won’t act quite like all-purpose flour in recipes. But it is still a super versatile ingredient.
You can substitute acorn flour for up to half the amount of all-purpose flour in recipes. And it will add a depth of flavor and an interesting twist to baked goods like bread, muffins, and cakes. It’s perfect for breakfast pancakes and adds a protein-packed punch to homemade cookies too.
Acorn flour can be used as a thickener in soups and stews, and it can help bind ingredients together in homemade veggie burgers, falafels, and other recipes.
So go ahead and get a little creative with your DIY acorn flour. You’ll be surprised at how many ways you can use this ingredient!
Acorn harvesting tips
- Acorn harvest occurs in the fall, usually from late September to October. Checking for acorns after a blustery day or a period of heavy rain is usually a good idea, as strong weather encourages acorn drops.
- Acorns from an oak tree can be used to make flour, but acorns from white oaks are considered to be the tastiest. Other good options include red oaks and live oaks.
- Acorns from different types of oaks may look different. That’s okay!
- Bringing acorns indoors immediately after harvesting can reduce the chances of mold. Try to process your acorns as soon after harvesting as possible to ensure you get a good crop. If you can’t process them right away, spread them out on a baking sheet in a single layer and place them in a dry area of your home.
- Healthy acorn meat should be light-colored, white, light brown, or even slightly pinkish. Slightly sprouted acorns are good too. Just avoid dark or green-colored acorn meat.
- Acorn cap size can be used to indicate tannin level. Acorns with smaller caps have lower tannins, so choose those!
- Don’t bother harvesting green acorns. They are not ripe, and they likely fell because they have a pest inside.
Frequently asked questions
Acorn flour can be used as a substitute for all-purpose flour in tons of recipes. Try it out in homemade bread, muffins, cookies, pancakes, and other baked goods. Use it to make roux, stir it into soups and stews or create veggie burgers or falafels with acorn flour too!
Unprocessed acorns are bitter due to their high tannin content. However, once processed and used in baked goods, acorn flour imparts a rich, nutty flavor to recipes that’s totally unique!
It takes about 1 pound of acorns to create 1 cup of acorn flour.
Acorn flour contains about half the calories of all-purpose flour and it’s gluten-free too. Acorns are rich in protein, healthy fats, fiber and antioxidants (like vitamins A and E).
Acorns are naturally gluten-free and high in fiber, so they’re a great choice if you’re gluten sensitive. Any bread you make with acorns will, likewise, be gluten-free unless you add other ingredients that contain gluten.
Once processed and leached of their tannins, acorns can be eaten whole as a snack or used to garnish salads and dishes like casseroles. Acorn flour can be ground up and used as a flour substitute for baked goods or acorns can be added to homemade candies and acorn brittles.
Summary
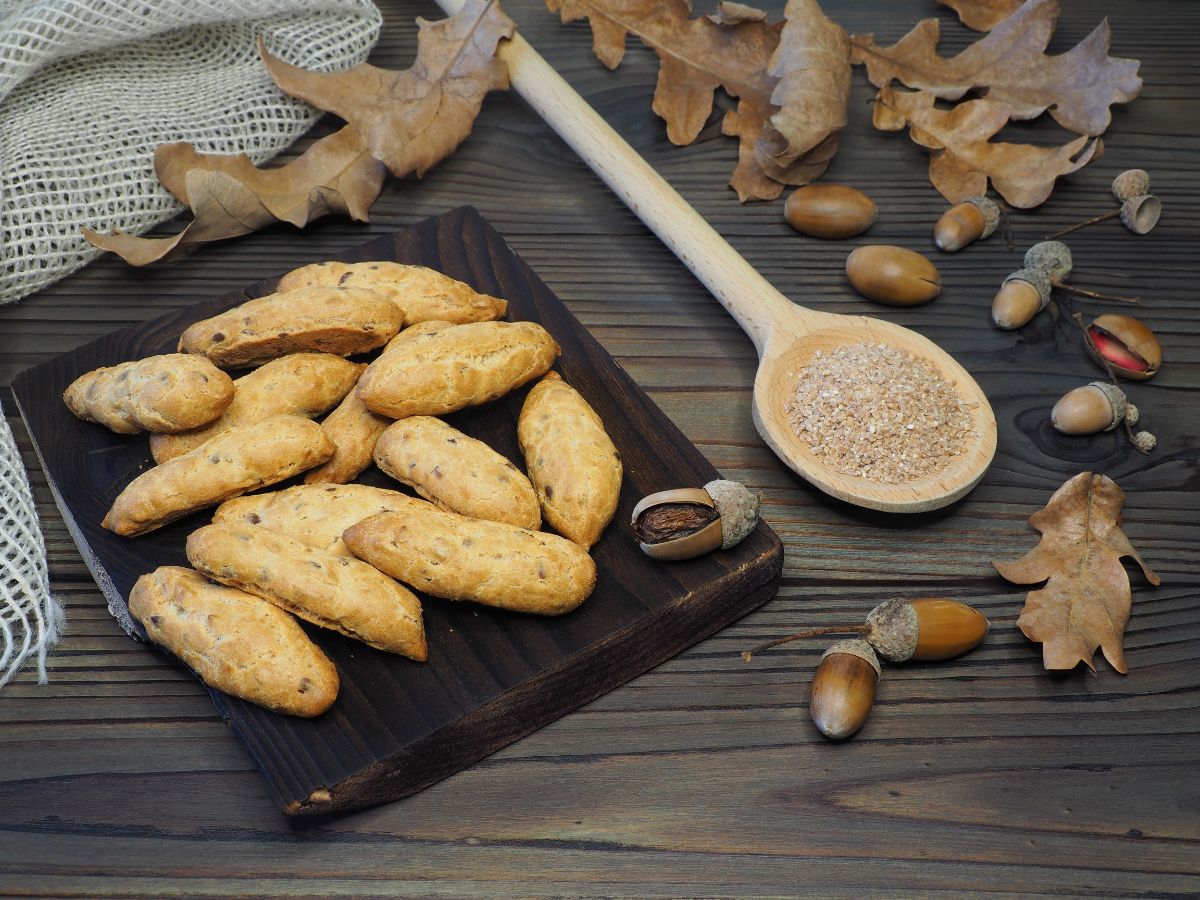
Acorns are a perfect fall foraging treat. They’re free, abundant, and packed full of nutrients, protein, and fiber.
After processing, acorns can be used in place of flour, or they can be eaten whole in cooked dishes, baked goods, and candies. This highly versatile ingredient is a perfect choice if you’re sensitive to gluten or you want to add an interesting, nutty flavor to your recipes. For anyone who loves home cooking and working with unusual ingredients, acorns are a must-try food this autumn!
If you liked this DIY article, check out our other how-tos here.



Leave a Reply