Overwatering houseplants is very common and is the most likely reason houseplants die. While plants definitely need water, it can be very easy to “overlove” your plant by watering it too much or too frequently. This can cause waterlogged soil and devasting root rot, which can be very difficult to treat.
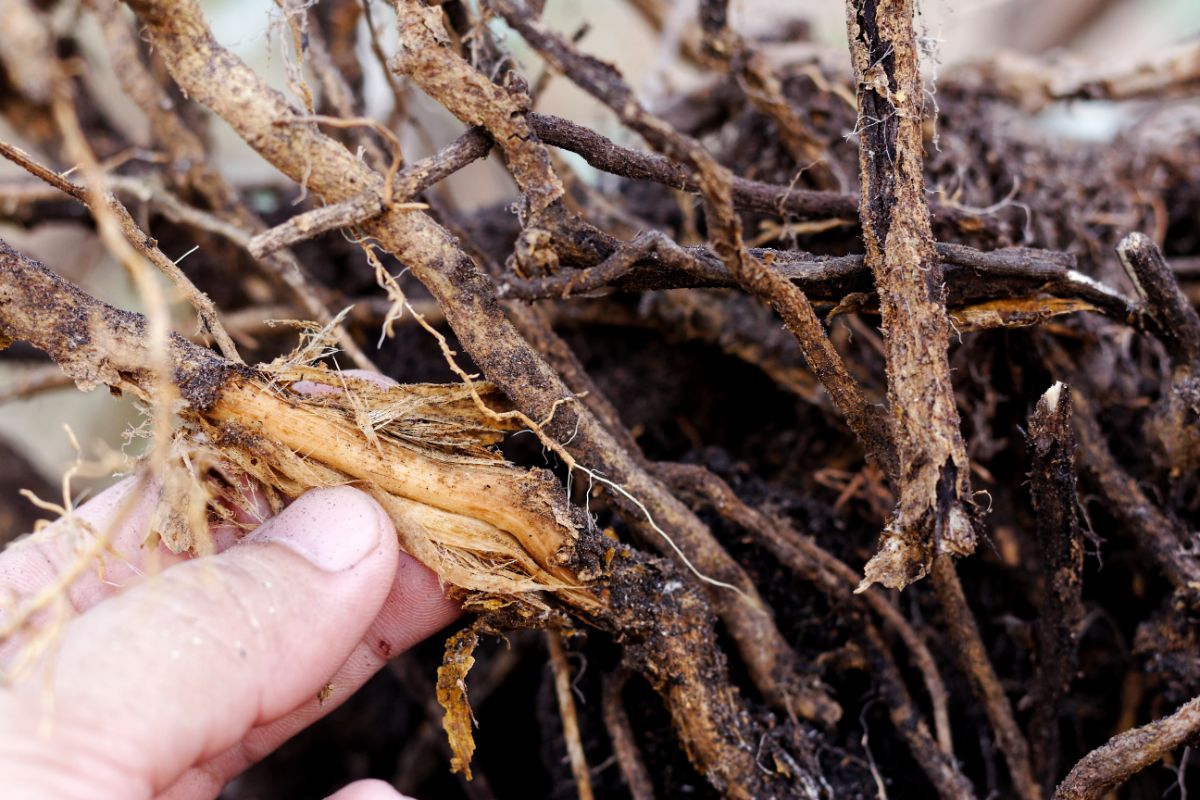
Root rot can be caused by fungi or bacteria, which thrive in overly moist conditions and poorly draining pots. Attacking houseplants’ delicate root systems, root rot can cause roots to become mushy and dark and develop an unpleasant smell. Once infected with rot, plant roots will fail to absorb water and nutrients properly.
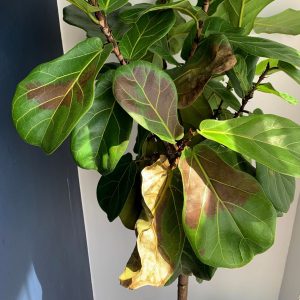
Signs that your plant may be experiencing root rot include wilted leaves, yellowing or other discoloration to plant leaves, and plant death. Plant soil may also remain very wet long after you’ve watered your plant, which occurs because rotted plant roots aren’t able to absorb moisture properly. Plants may also grow slowly or look stunted.
Devastating as these symptoms are, they can be attributed to other potential houseplant pests and diseases. However, the clearest sign that you’re dealing with root rot is only exposed when you unpot your plant and discover mushy roots.
If you think your plant is suffering from root rot, you’ll want to act fast, as root rot can rapidly kill your plant. To help, we’ve written this guide on how to treat infected plants and how to prevent root rot from developing in the first place. With proper treatment, you may be able to save your plant and make sure you never have to deal with nasty root rot ever again.
Jump to:
- How to fix root rot on your houseplants
- Identify the problem.
- Unpot your plant.
- Clip away damaged roots.
- Prune your plant’s leaves.
- Disinfect your plant’s pot.
- Apply hydrogen peroxide.
- Repot your plant.
- Monitor your plant.
- Take some cuttings.
- How to prevent root rot on your houseplants
- Make sure your plant is receiving enough light.
- Follow proper watering instructions.
- Check humidity levels.
- Consider the seasons.
- Don’t overfertilize your plant.
- Use the right pot.
- Frequently asked questions
- Summary
How to fix root rot on your houseplants
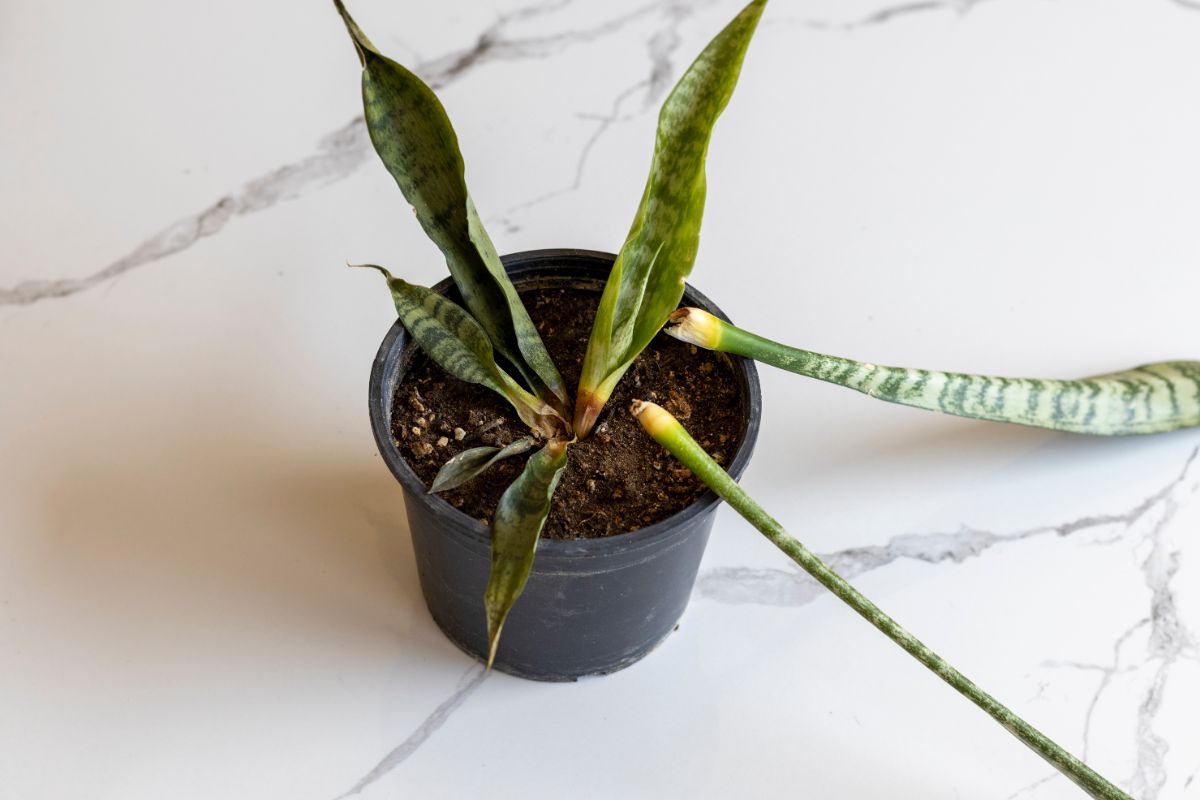
Root rot can kill plants quickly, so you’ll need to act fast if root rot is suspected. The good news is that treatment can be effective if you catch root rot early on, and your plant will have a good chance of recovery. Follow the steps below to fix your houseplant and start regrowing healthy roots.
Identify the problem.
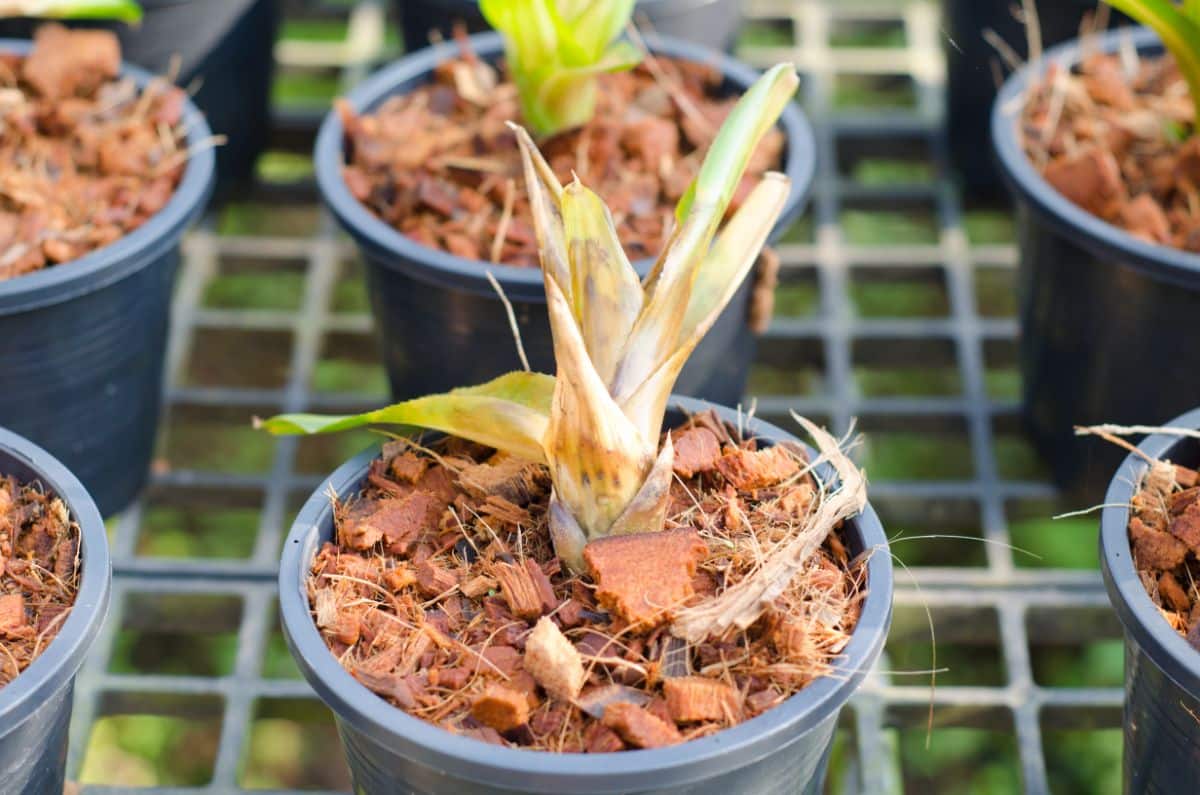
The first step to addressing root rot is to make sure you definitely are dealing with rot and not some other issue. Many plant diseases and pests can produce similar symptoms to root rot, which can make diagnosing your plant a bit trickier.
Plants with root rot often develop yellowing and wilted leaves. However, these symptoms can also be attributed to overfertilization, underwatering, lighting issues, and more. Similarly, plants with root rot may grow more slowly, but this can also occur in fall and winter as plants naturally grow slower during this part of the year.
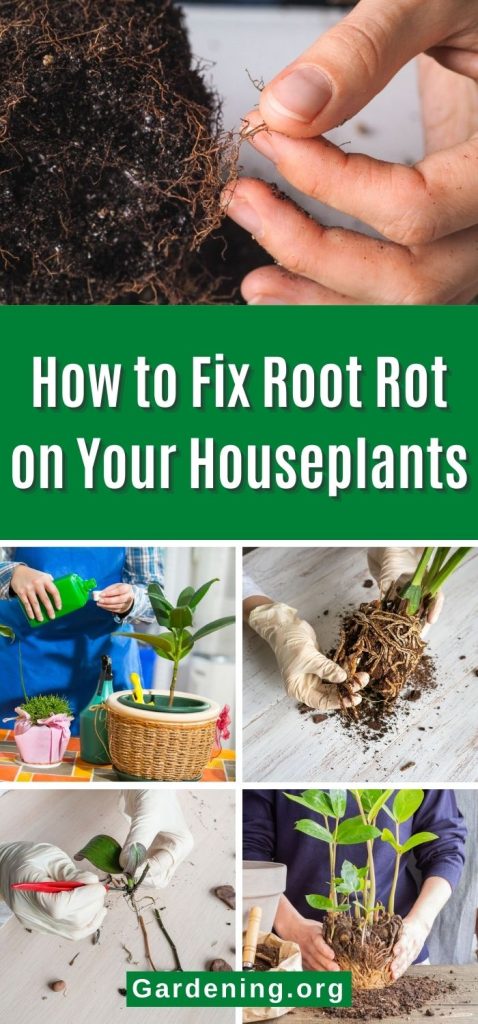
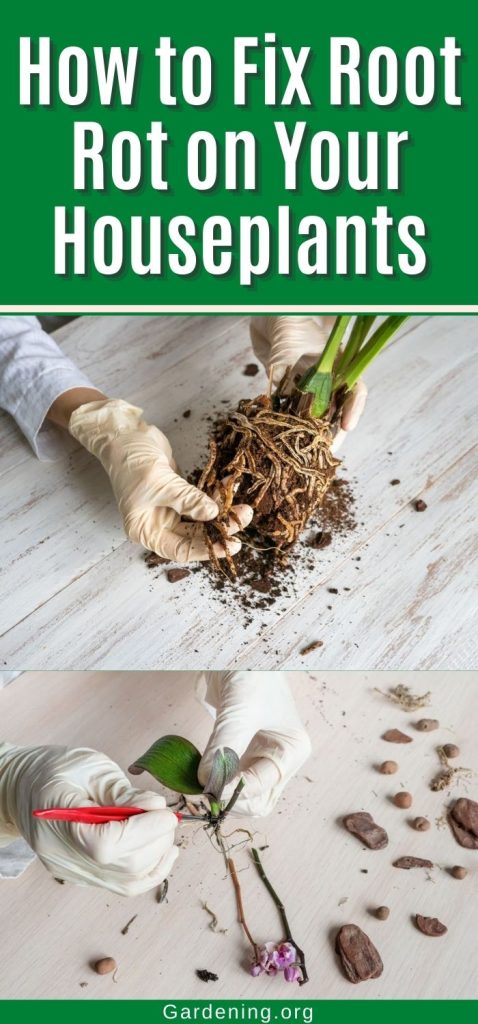
The clearest way to positively identify root rot is to unpot your plant and carefully inspect your plant’s roots. Plants with root rot will display mushy, dark roots that often have an unpleasant smell.
Keep in mind that some plant varieties naturally have darker roots than others, so color alone can’t be used to diagnose root rot. That said, healthy plant roots should be firm and plump and should not easily disintegrate in your hands.
Unpot your plant.
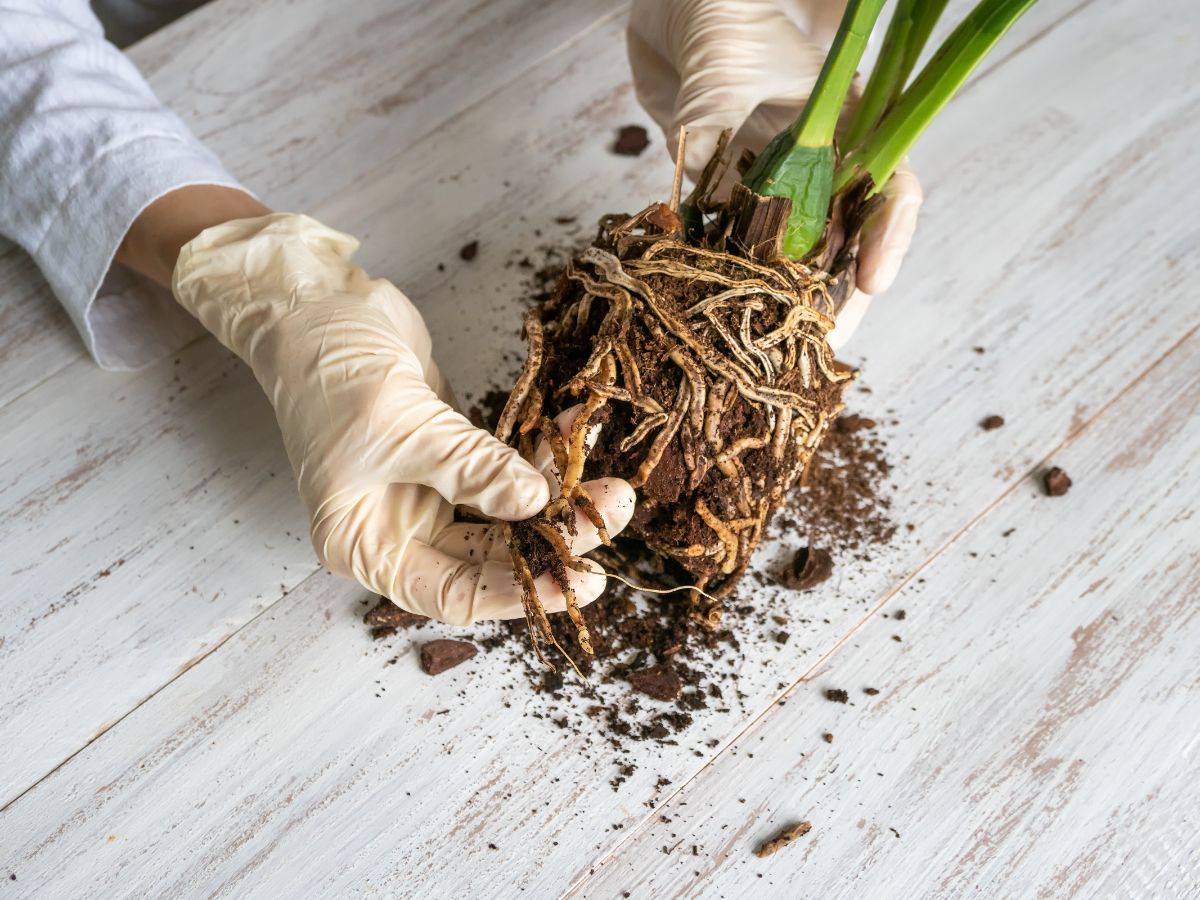
Once you’ve determined that your plant definitely has root rot, you’ll want to remove your plant from its moist environment as quickly as possible. The longer your plant sits in soggy soil, the more roots will rot, and the less likely it is that your plant will make a full recovery.
To get started, remove your plant from its pot and carefully break away as much of the old soil as possible and throw it away. Old soil may contain fungal spores that can infect healthy plant roots, so you will always want to discard any soil from plants with root rot.
After removing as much soil as you can, rinse your plants’ roots under running water to clean them up.
Clip away damaged roots.
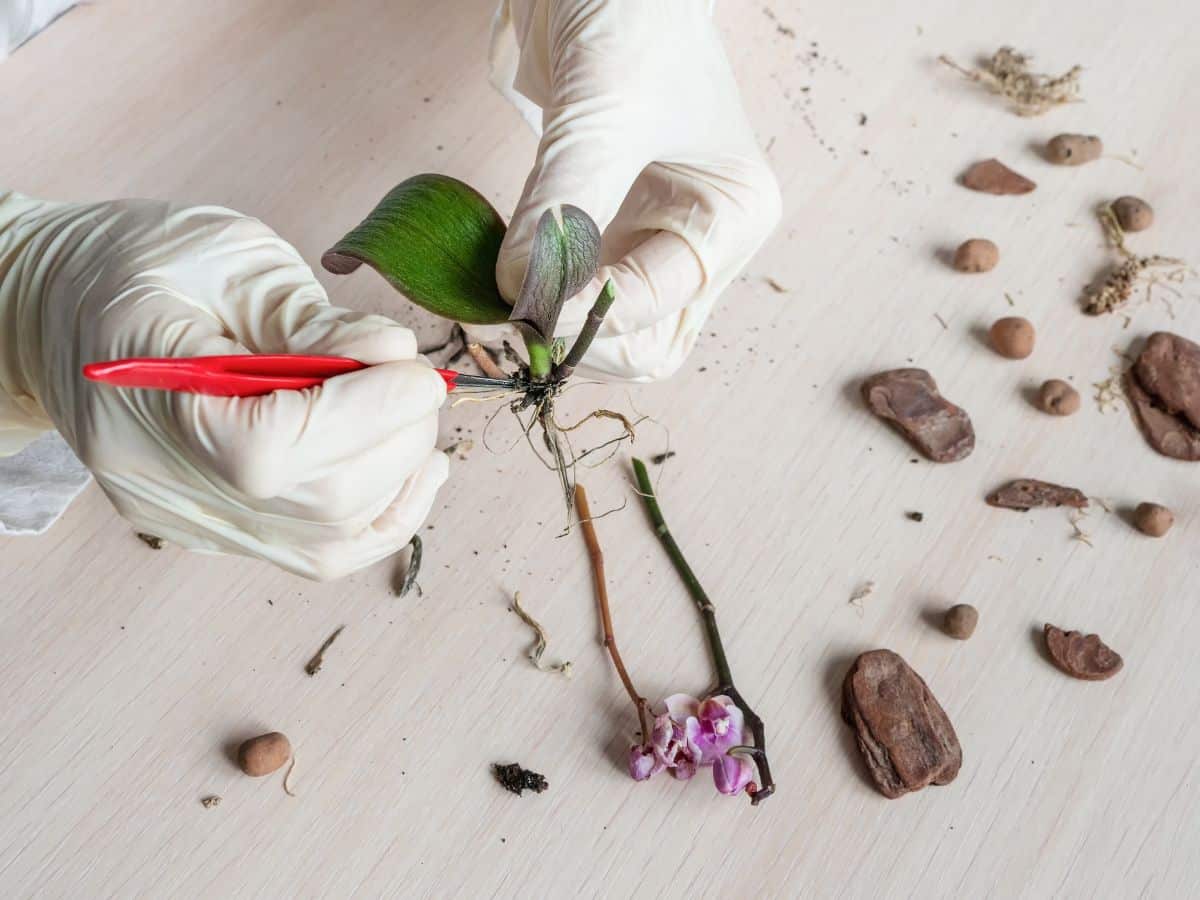
Next, using scissors or pruners, snip away as many damaged roots as you can. Look for mushy roots or roots that easily disintegrate when touched. You’ll want to be aggressive with this, as root rot can spread to healthy roots from infected plant tissue, so be sure to remove any roots that have signs of damage.
To keep your plant as healthy as possible, you’ll want to sterilize your scissors or pruners with rubbing alcohol or a mixture of 1 part bleach to 9 parts water before starting.
Prune your plant’s leaves.
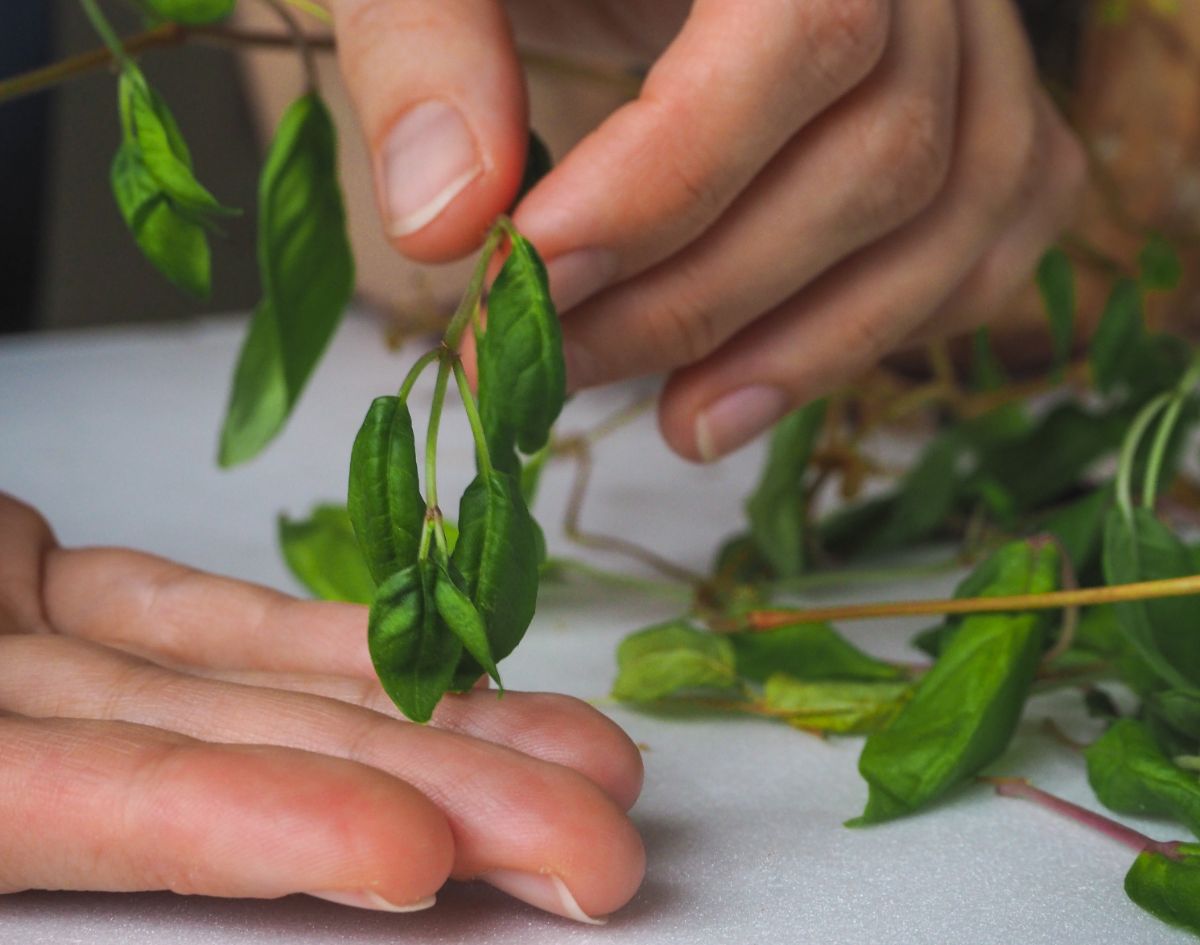
This can be a difficult step to take, but it is necessary. If a plant has lost a lot of roots to rot, it will have a reduced ability to maintain its leafy growth above ground. For this reason, you’ll need to prune your plant’s leaves back some so that the smaller root ball can support the remaining growth.
A good rule of thumb is to prune away damaged roots and leaves at the same rate. For example, if you needed to remove ¼ of your plant’s damaged roots, you’ll also want to prune away about ¼ of the plant’s leaves. Target damaged or older leaves towards the bottom of your plant for best results.
Disinfect your plant’s pot.
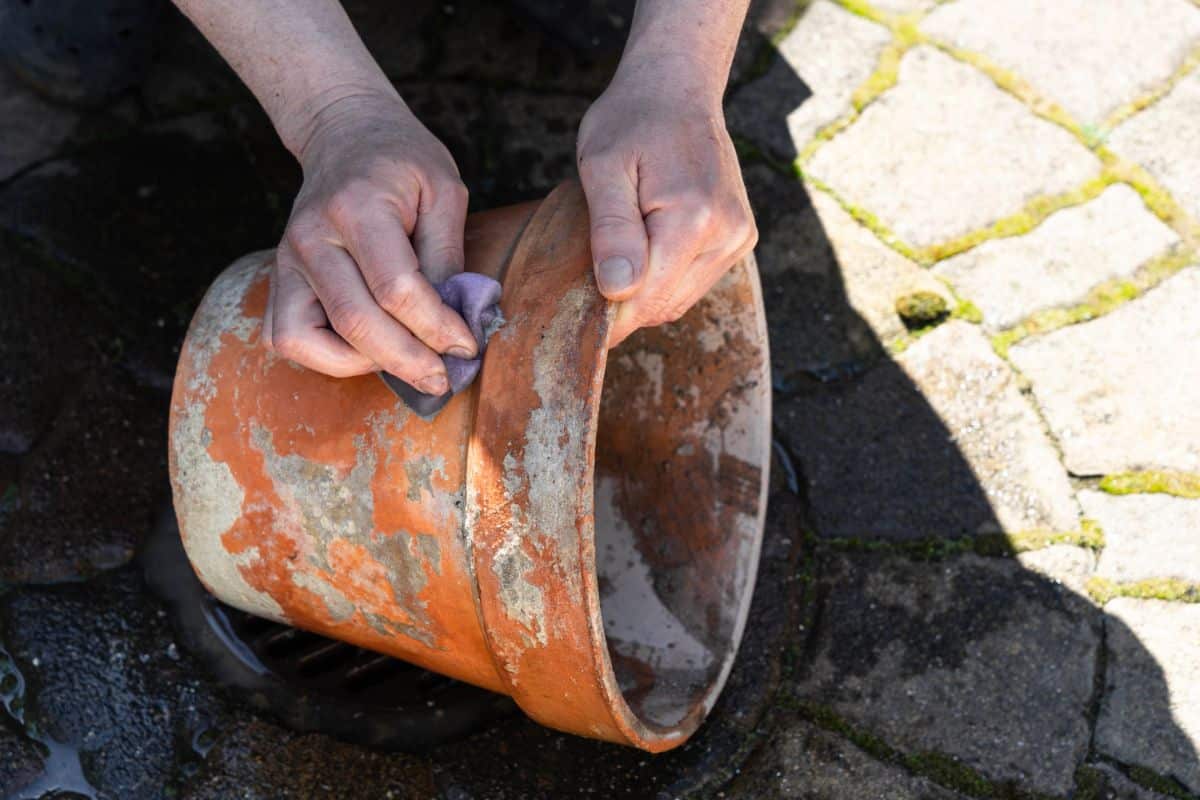
Just as root rot spores can survive in old plant soil, they can also linger in planters. That means that before repotting your plant, you’ll want to disinfect your pot as best as you can.
To do this, scrub out your planter with soap and water and then spray your pot with rubbing alcohol or a mixture of 9 parts water to 1 part bleach.
If your plant doesn’t have any drainage holes, you’ll probably want to use a different pot. Plants without drainage holes are one of the leading causes of root rot as they promote waterlogged conditions.
Additionally, while many indoor gardeners place pebbles, gravel, or broken pieces of terracotta pots at the bottom of plant pots to “increase drainage,” this doesn’t actually work. Placing items like gravel at the bottom of your pot can actually reduce water flow in your pot or block off drainage holes, so remove any material of this sort before repotting.
Apply hydrogen peroxide.
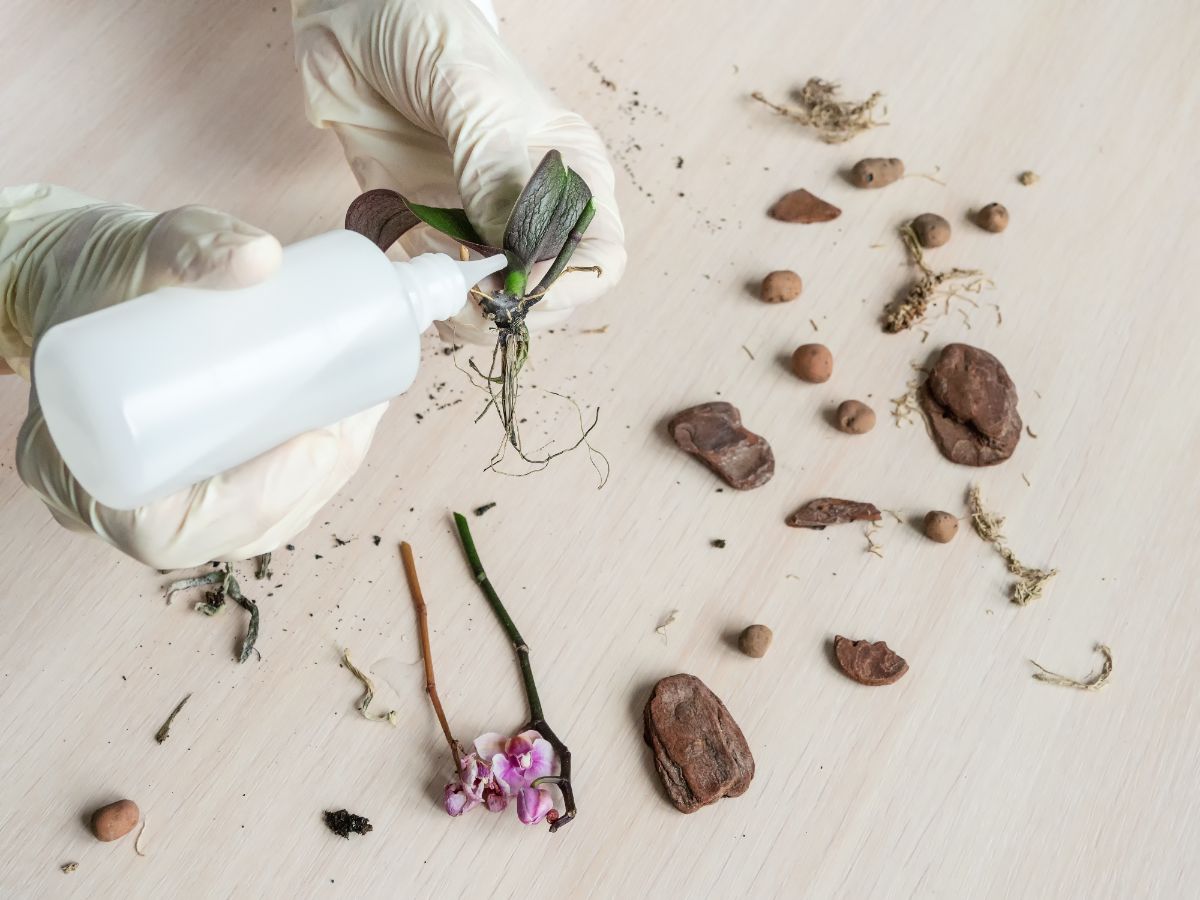
This is optional, but it can help kill off fungal spores and bacteria that may still be remaining on your plant’s root ball. If you’d like to use this method, simply mix 1 part 3% hydrogen peroxide with 2 parts water and spray your plants’ roots thoroughly.
For safety, never use hydrogen peroxide with bleach, as these two ingredients can react together.
Repot your plant.
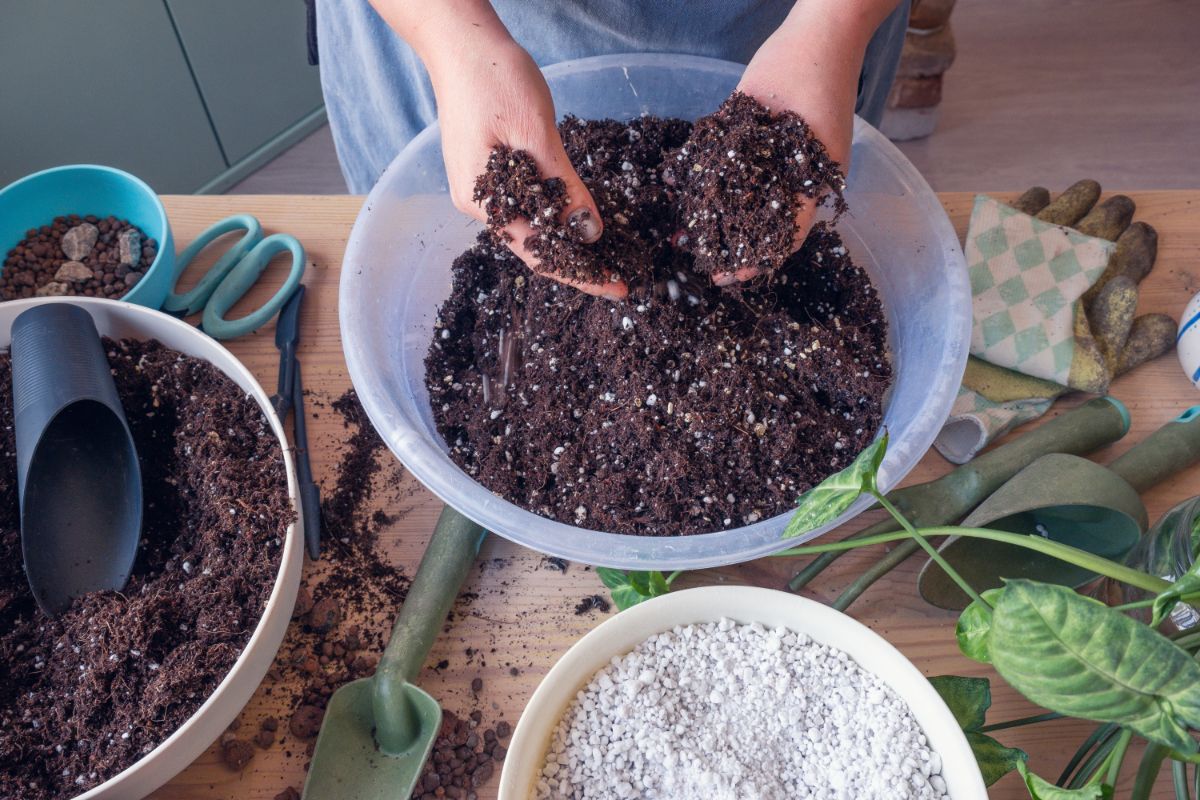
After you’ve cleaned up your plant, it’s time to repot!
Select a quality potting mix that is appropriate for indoor plants. While it can be tempting to use the soil you dig up in your backyard, this soil is usually a lot more dense than potting mix and won’t drain as well. Instead, opt for a potting mix with ingredients like perlite and vermiculite, which improve drainage rates.
Pot up your plant with plenty of potting mix and press it firmly into your pot. Just be certain that you don’t overly compress your houseplant soil, as this can reduce water drainage. Root rot thrives in low oxygen, waterlogged conditions where it basically drowns plant roots, so anything you can do to increase airflow in your planter can help.
To this end, be sure that your planter has adequate drainage holes. You may also want to opt for a planter made out of natural materials (like terracotta) rather than plastic, as these pots breathe better. Self-watering planters can also cause overly moist conditions at times and are not the best choice for plants that already experienced root rot.
Sleek terracotta pots like this one have excellent drainage holes and will be less likely to result in soggy soil. Fabric grow bags also drain well and increase airflow around plant roots; however, when used indoors, they will need to be combined with some sort of saucer or plastic liner to keep them from leaking.
Monitor your plant.
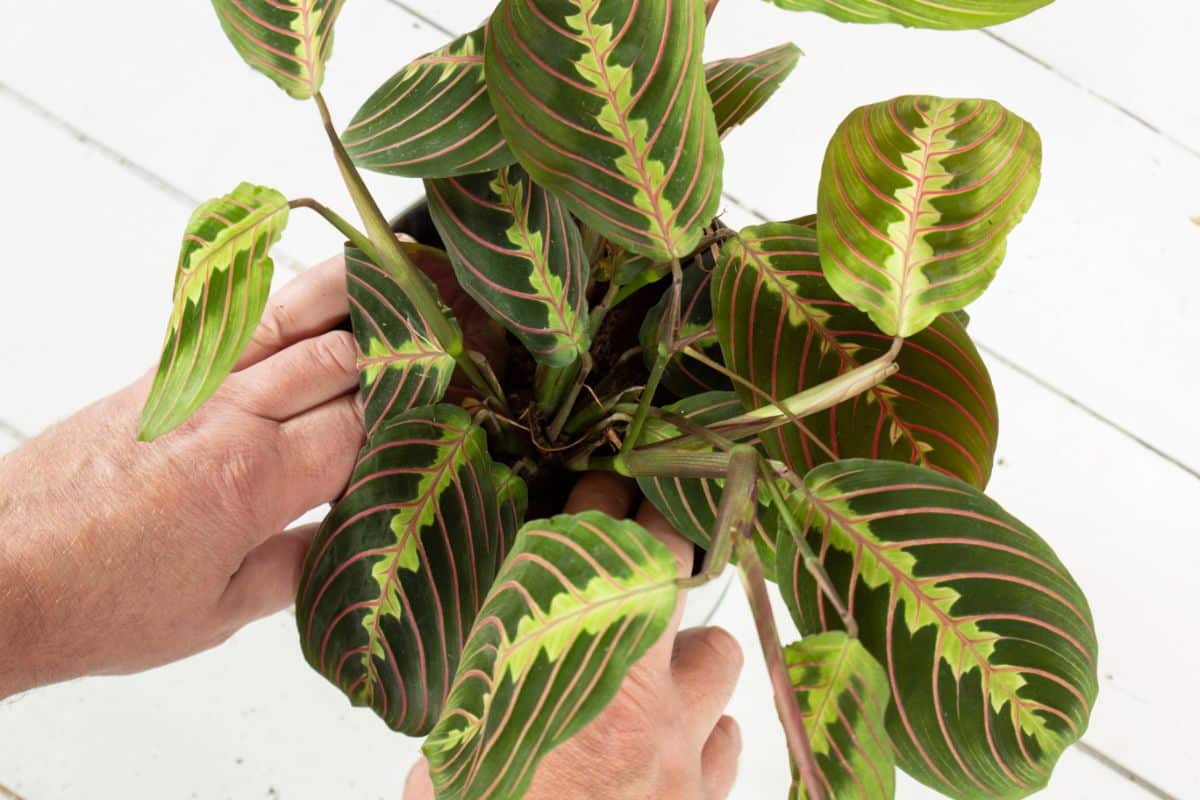
After repotting, keep a close eye on your plant for signs of recovery or distress. While many plants will recover from root rot after treatment, some plants may have sustained too much damage to bounce back. In these instances, there may be no saving the plant; however, you can take cuttings and try to regrow your plant from them.
Take some cuttings.
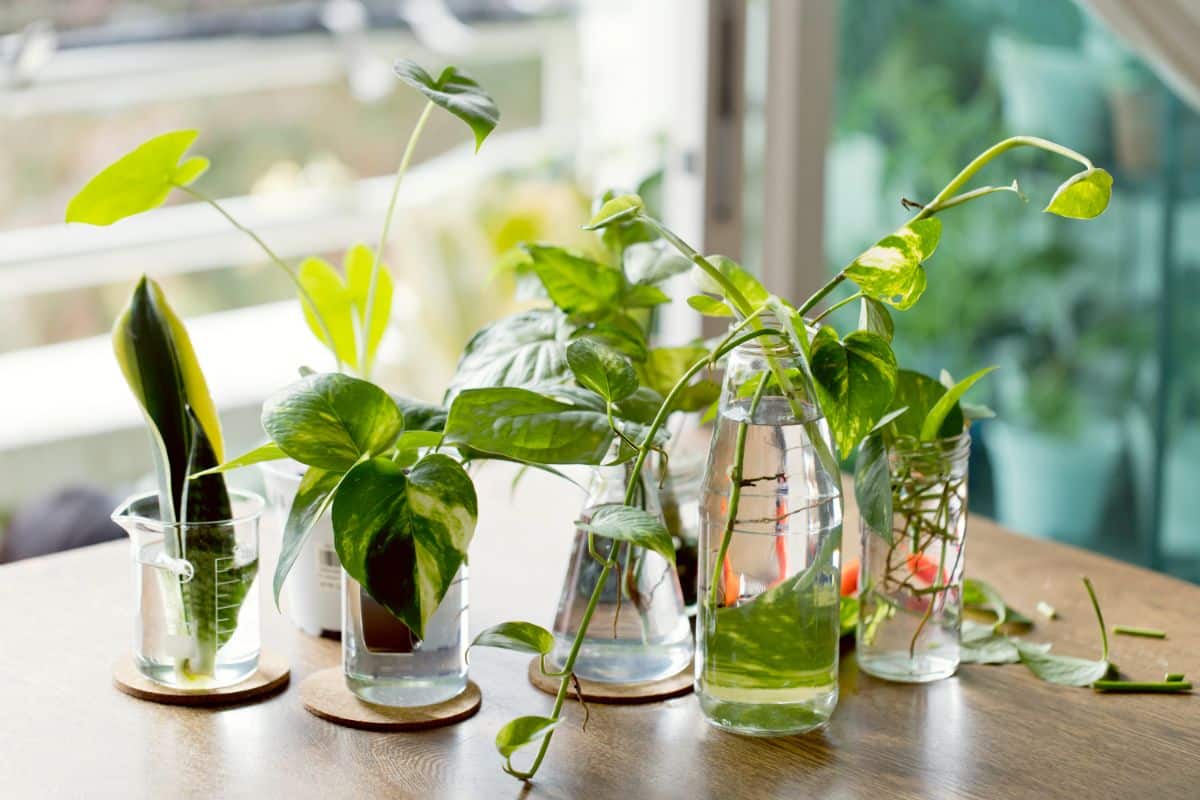
Many houseplants can be grown from stem or leaf cuttings, so if your plant suffered from severe root rot and doesn’t seem to be recovering, you may be able to regrow it. How cuttings should be rooted can vary from plant species to species, so you’ll want to do a bit of research on your particular plant type to see how best to regrow cuttings.
For example, some houseplants will grow from both stem and leaf cuttings, while others may only grow from leaf cuttings. What’s more, some plants are easier to root in water or soil.
Pro tip: Adding a bit of rooting hormone to the base of cuttings can increase the likelihood that they’ll root successfully.
Even if your houseplant only has minor root damage from rot, you may still want to take some cuttings as an insurance policy. If your plant doesn’t regrow, at least you’ll have those new cuttings to work with!
How to prevent root rot on your houseplants
While you may be able to treat root rot, it’s always better to prevent problems if you can. Below are the top tips to follow to ensure that your plants never develop root rot, to begin with.
Make sure your plant is receiving enough light.
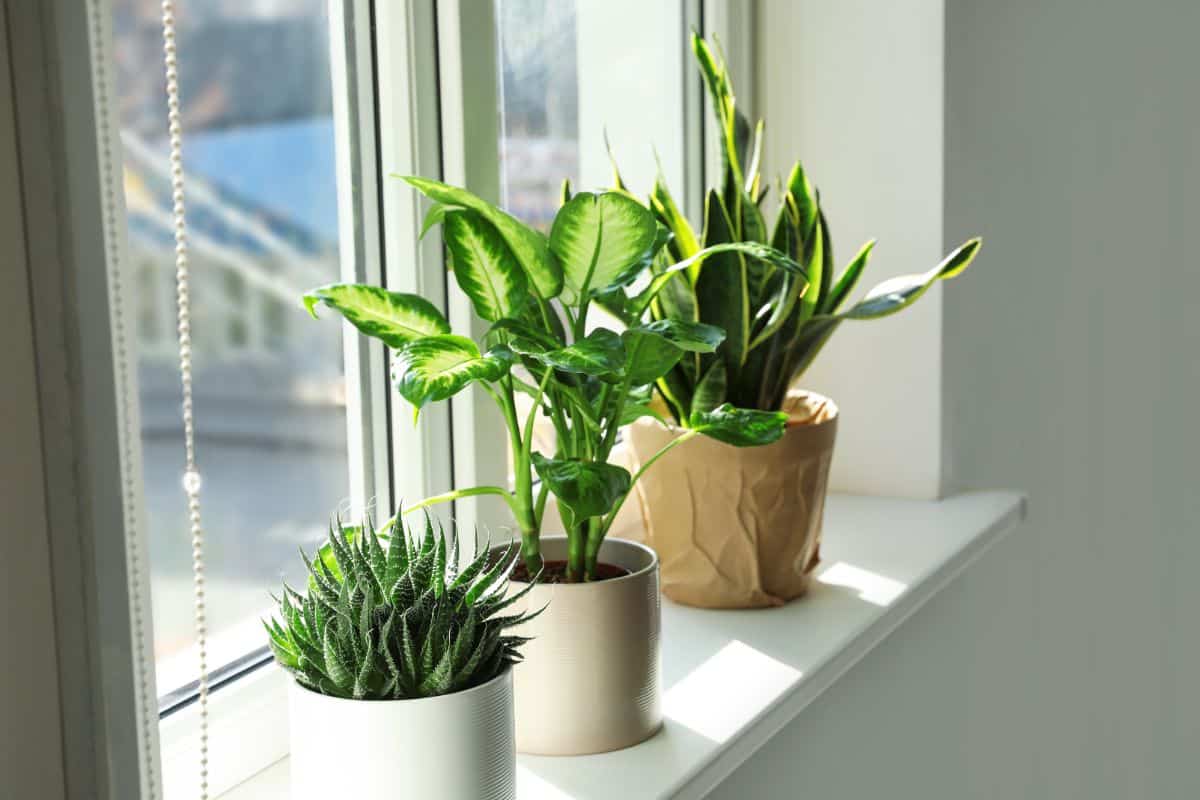
You may not think of it, but inadequate lighting can contribute significantly to root rot. That’s because plants use up water as they photosynthesize; however, in poor lighting, photosynthesis slows down, and plants require less water. If you continue to water your plants at the same rate in low light conditions, they may become waterlogged as they won’t be able to use up water as quickly as needed.
It’s important to do your research when purchasing new plants, as different plants require different levels of light to grow properly. Providing your plants with adequate lighting will ensure your plants photosynthesize efficiently and use up water too.
Follow proper watering instructions.
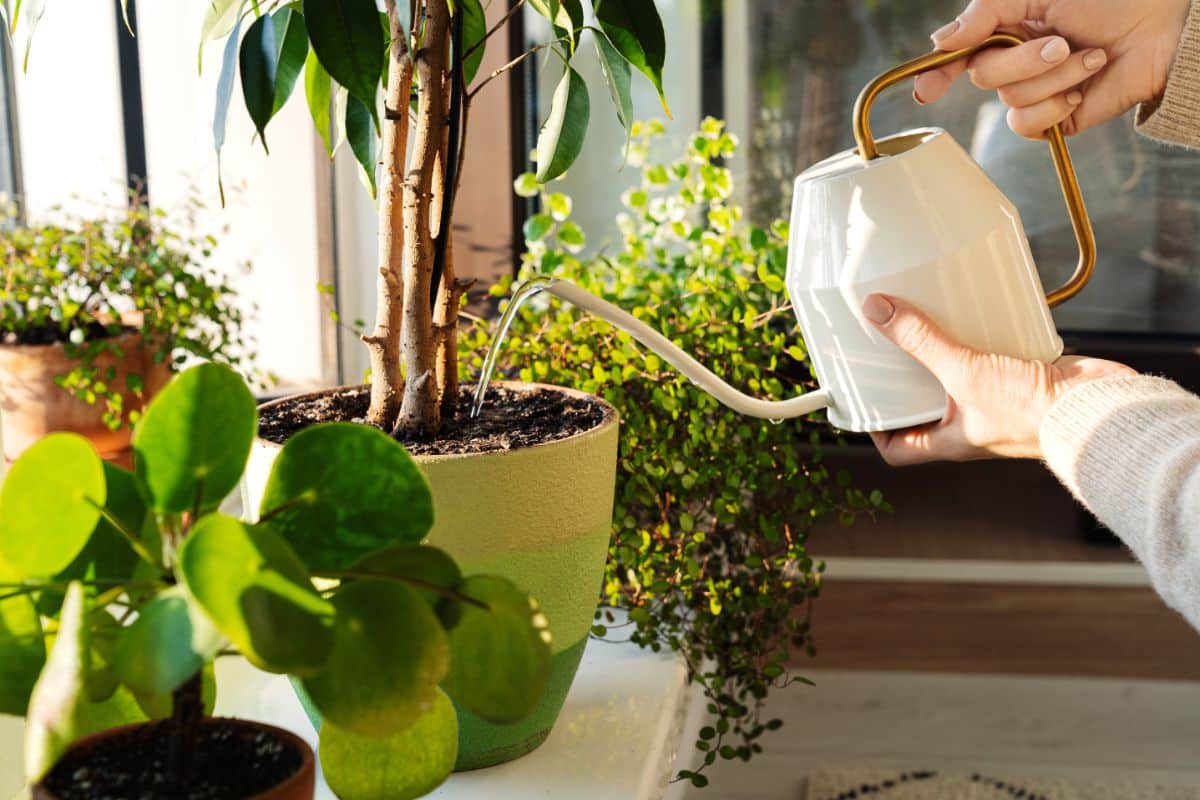
Just as you need to research plants’ lighting needs, you’ll also want to read up on how much to water specific plant types. Plants like snake plants, for instance, are classified as “succulents,” and if you water them as much as tropical plants, you’re definitely going to end up with a plant with root rot. Similarly, some tropical plants want to be watered every few days, while others only need to be watered every week or two.
While it’s still important to research your plant’s needs, a good rule of thumb is to water most tropical plant species only when the top 1 to 2” of soil feels dry to the touch. When you water, water your plant thoroughly and deeply and allow the water to pour out of the bottom of the pot through the drainage holes. If water accumulates in your plant’s saucer, pour that out after watering so your plant’s roots don’t end up sitting in water.
Check humidity levels.
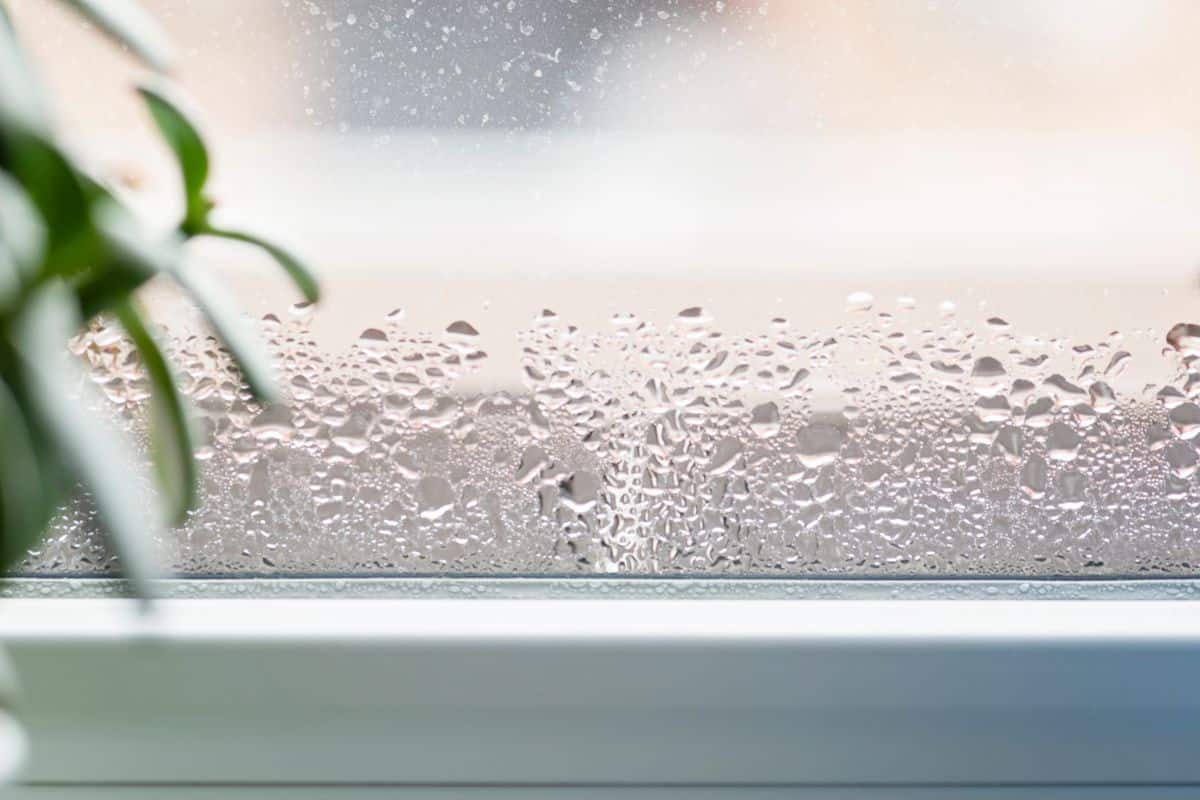
High humidity levels can slow down the rate at which your plants use up water. If you live in a very humid area or you are keeping your houseplants in a steamy room like a bathroom, you’ll often need to water your plants less. For this reason, you’ll want to keep humidity rates in mind when determining how much and how frequently you need to water your plants.
Consider the seasons.
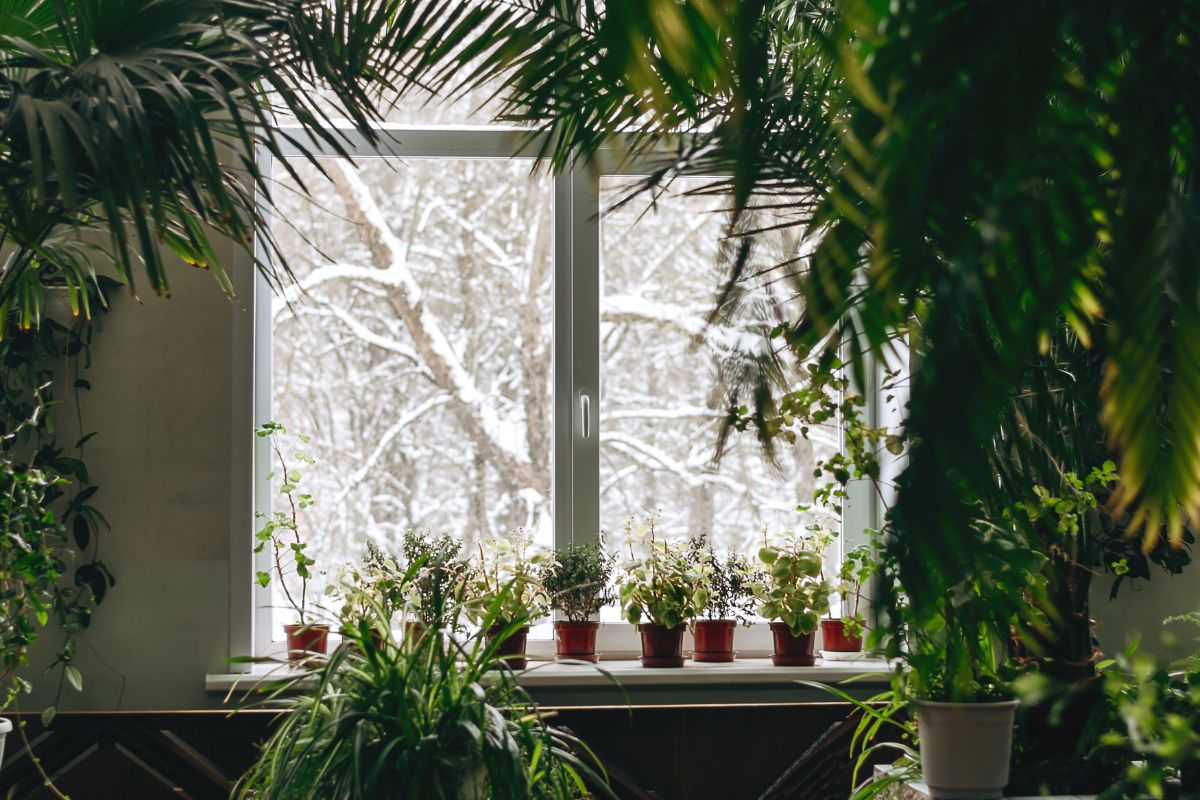
As days grow shorter and temperatures drop, many plants stop actively growing in fall and winter, or their growth rates slow significantly. When this occurs, plants usually need less water. If you continue watering your plants as much as you did during the summer, they may become waterlogged.
To be safe, always check your soil prior to watering, and don’t water again if your soil feels very moist.
Don’t overfertilize your plant.
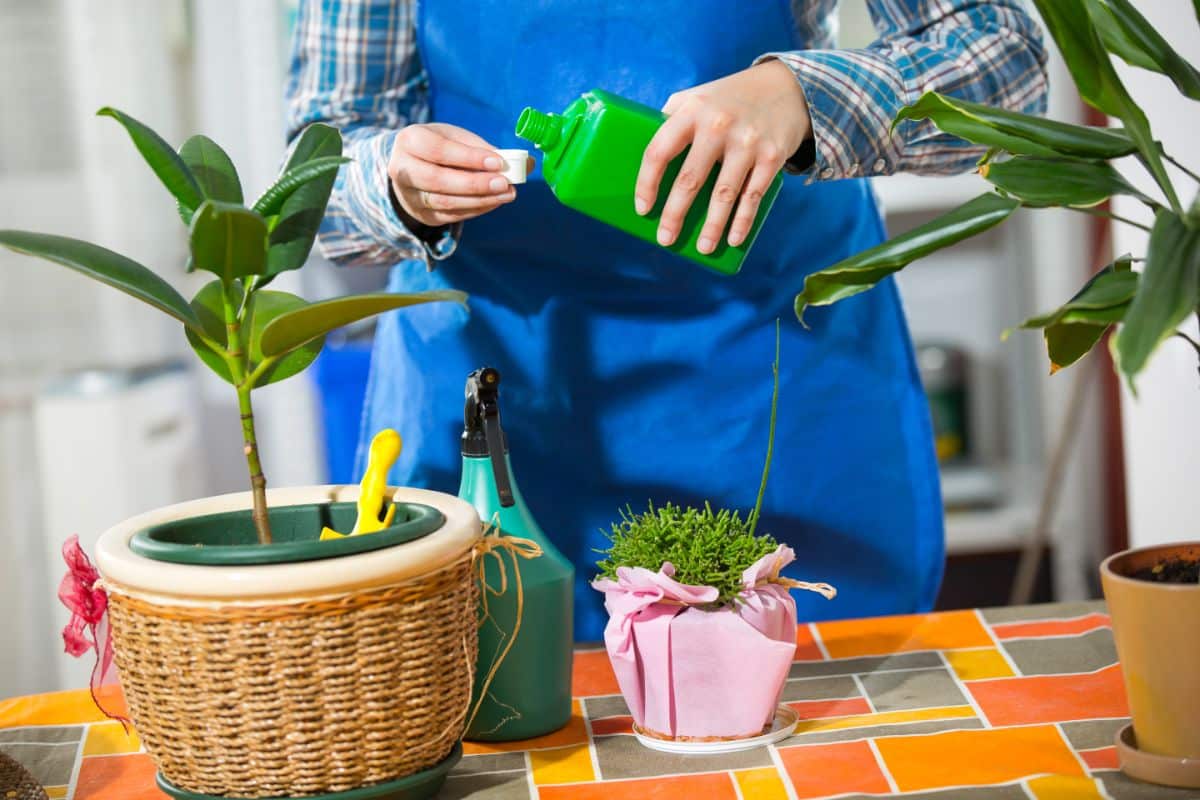
Too much fertilizer can raise salt levels in your plant’s soil and impact how your plant grows. This, in turn, can cause your plant to require less water or make your plant less able to use what water it has, thus promoting the conditions where root rot may arise.
To avoid this, opt for organic fertilizers rather than synthetic ones, as these are usually better tolerated by houseplants. Opting for natural products like compost, worm castings, coffee grounds, and eggshells will also reduce the chances that your plants will get too much fertilizer.
It’s also important to follow the manufacturer’s instructions when applying fertilizer and to research the specific needs of your plants. If you suspect you’ve overfertilized a houseplant, repot your plant in fresh soil or try flushing out the excess fertilizer by running water through the soil.
Use the right pot.
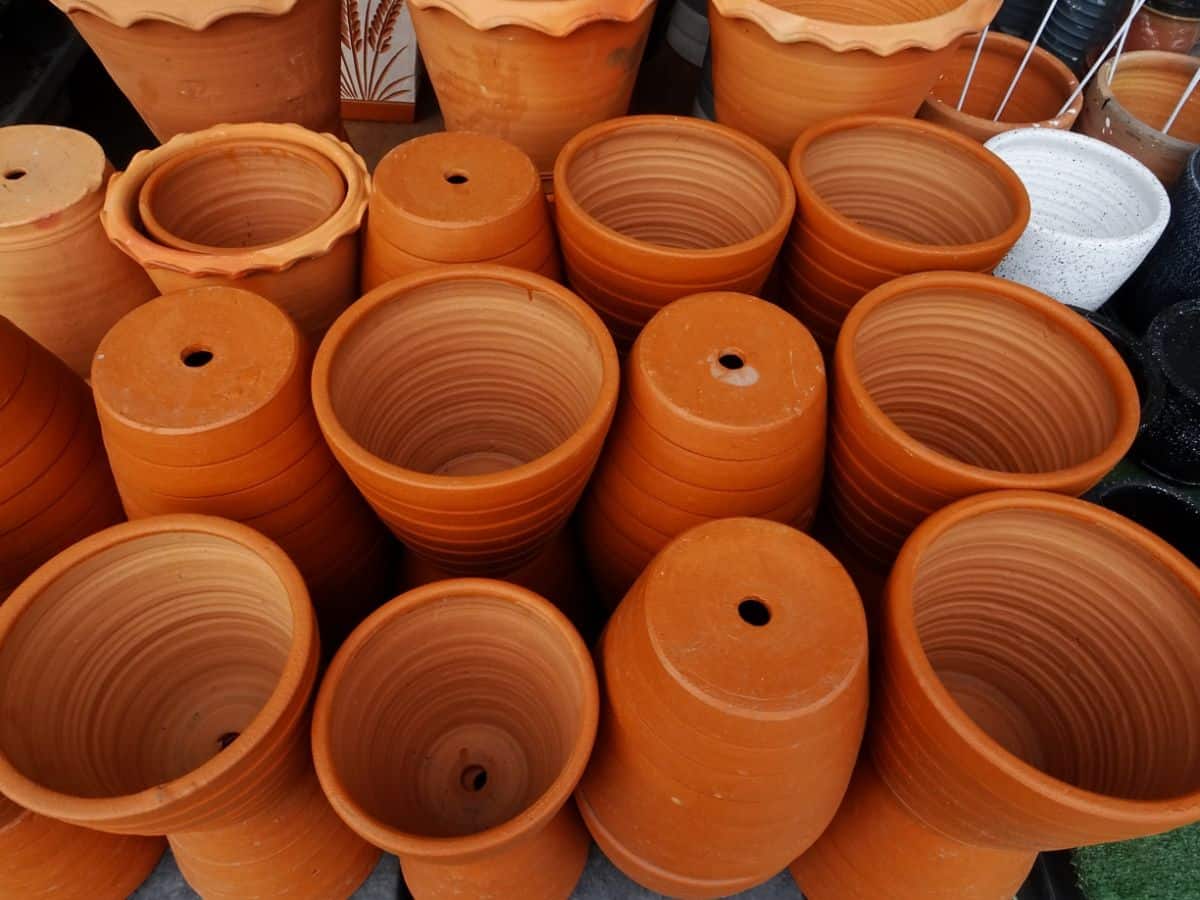
Planters that are poorly draining are one of the leading causes of root rot. This means that, whenever possible, you’ll want to look for pots with drainage holes. If you fall in love with a planter without drainage holes, you can also try drilling your own holes with a drill or masonry bit, which will work on stone, glass, terracotta, or ceramic planters.
Opting for planters made from natural materials like terracotta is also recommended. Natural materials breathe better than plastic pots and are less likely to cause soggy soil.
Frequently asked questions
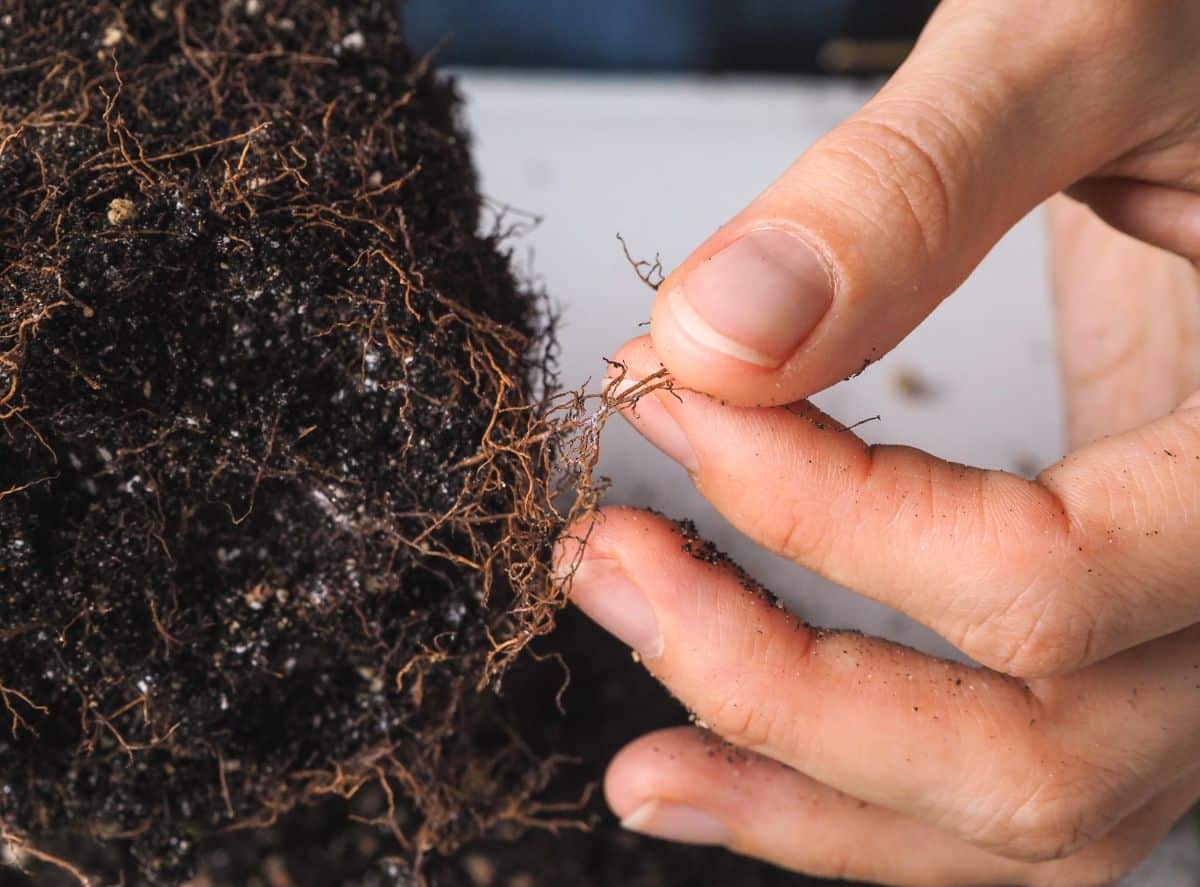
Yes, if you catch root rot early on, houseplants can usually recover. To help your plant bounce back from root rot, remove as many of the rotted roots as you can and repot your plant in fresh soil. Be sure to adjust your watering schedule, too, so that root rot doesn’t reoccur.
Signs that your plant is suffering from root rot include yellowing and wilting leaves, stunted growth, and plant death. If you inspect your plant’s roots, affected plants will also have dark and mushy roots that often have an unpleasant smell.
If you catch root rot early and treat your plant accordingly, houseplants should be able to recover in about 7 to 14 days. More severe infections may take longer, but you should notice new growth and healthier leaves quite quickly.
No. If your plant is suffering from root rot, you’ll want to refrain from watering your plant for about 1 week after repotting.
No. Fungal spores and bacteria can remain in old plant soil and may infect other plants with root rot if you reuse it. Instead, repot your plants in new, fresh soil to avoid disease spread.
Yes, hydrogen peroxide can help plants recover from root rot. To use hydrogen peroxide in this way, mix 1 part 3% hydrogen peroxide with 2 parts water and spray your plant’s roots well.
Summary
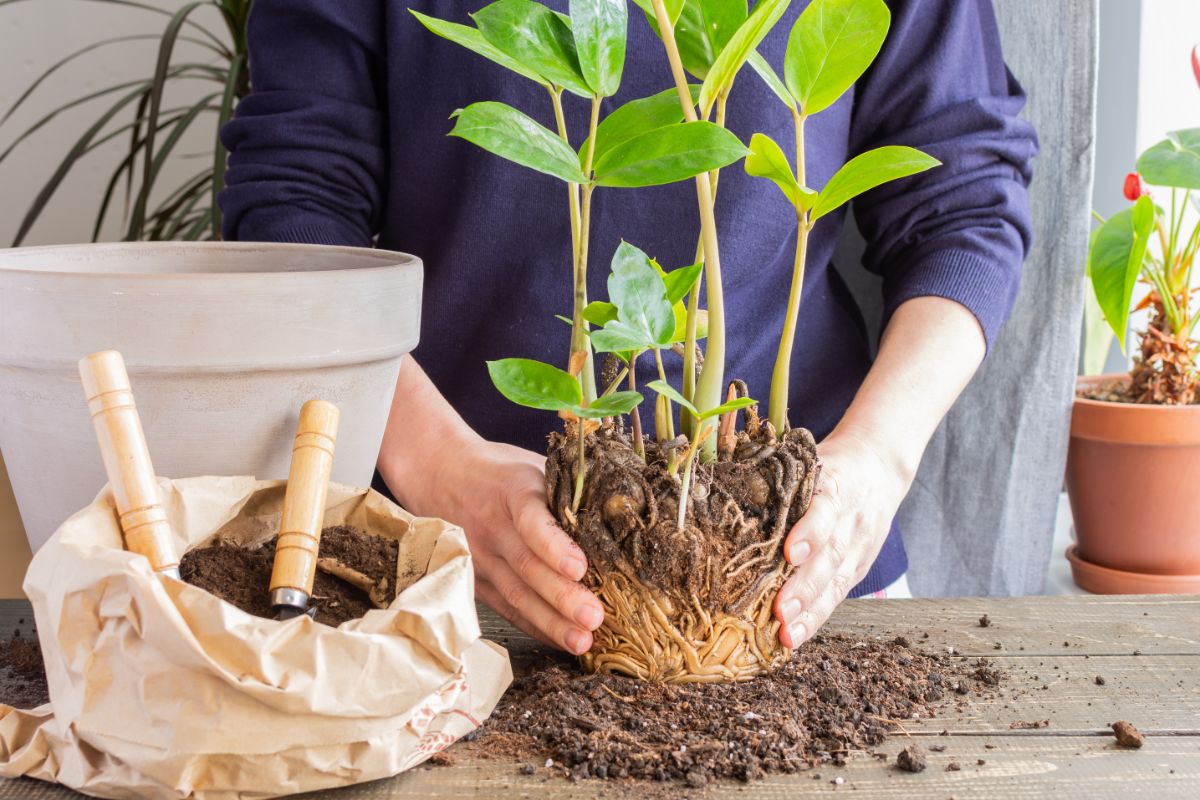
Root rot can definitely be a headache for plant keepers, but if your plant shows signs of this disease, it may still be able to recover. While root rot is a serious problem, with proper care and fast action, your plants can start regrowing in as little as 7 days after treatment.
After treating your houseplant for root rot, it’s always important to reassess your watering regime so that your plants aren’t overwatered in the future. While it may be tempting to water your plants at the first sign of dry soil, many houseplants prefer soil to dry out slightly in between waterings. Always be sure to research your plant’s watering needs and opt for pots with adequate drainage holes to avoid waterlogged soil in the future as well.
By following these steps and keeping a watchful eye on your plants, you can definitely cure root rot. But understanding your plant’s needs is key to making certain that you never need to deal with root rot again!
We hope you liked this article! If you love growing plants indoors and want more houseplant inspiration, check out our other related articles here.


Rox Field
Thank you for the information on root rot. Also following some of the natural fertilizers such as egg shells, which I do use, will help to provide my plants a balanced soil to thrive in.