
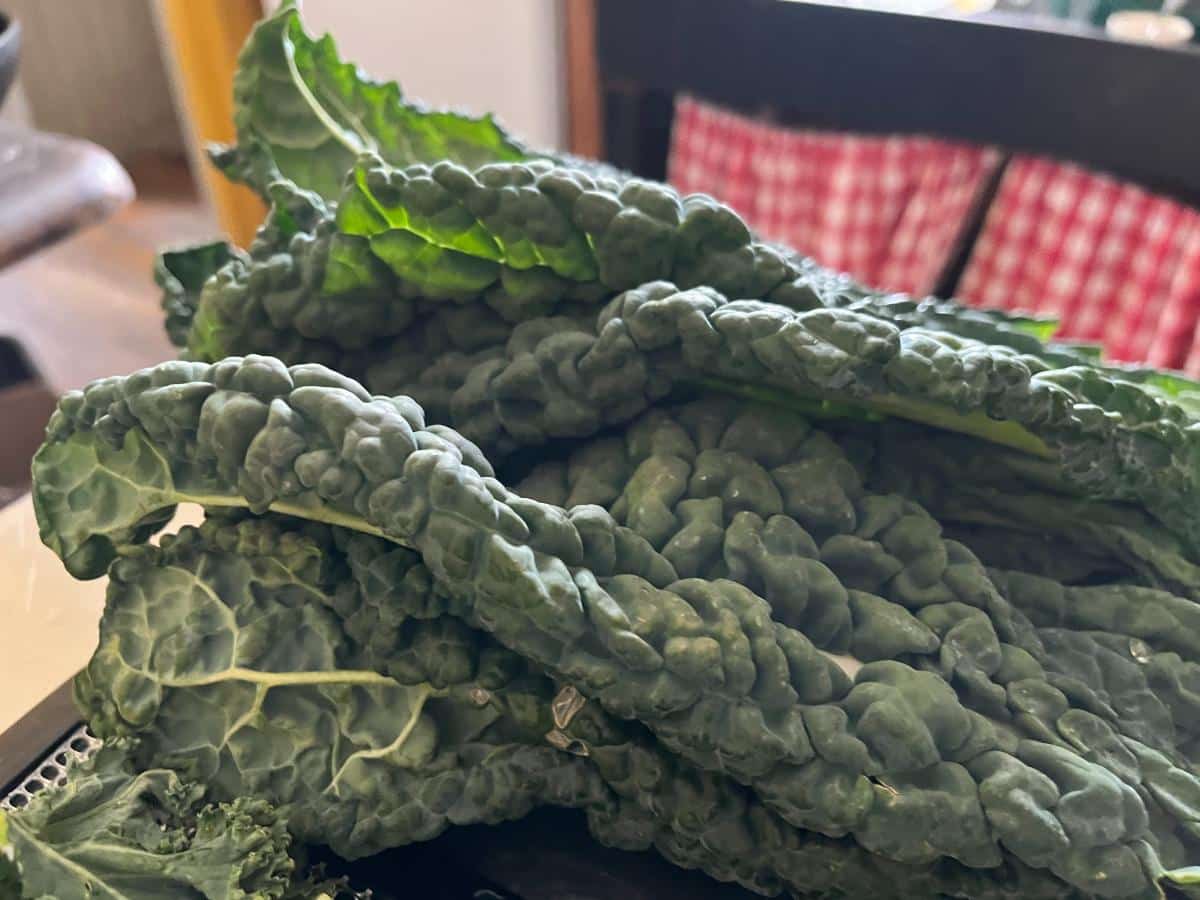
Kale is an easy-to-grow, abundantly producing plant. It had a very long season; as a cole crop, it is frost hardy, can be planted early, and can grow later into the fall and even into, perhaps through, the winter.
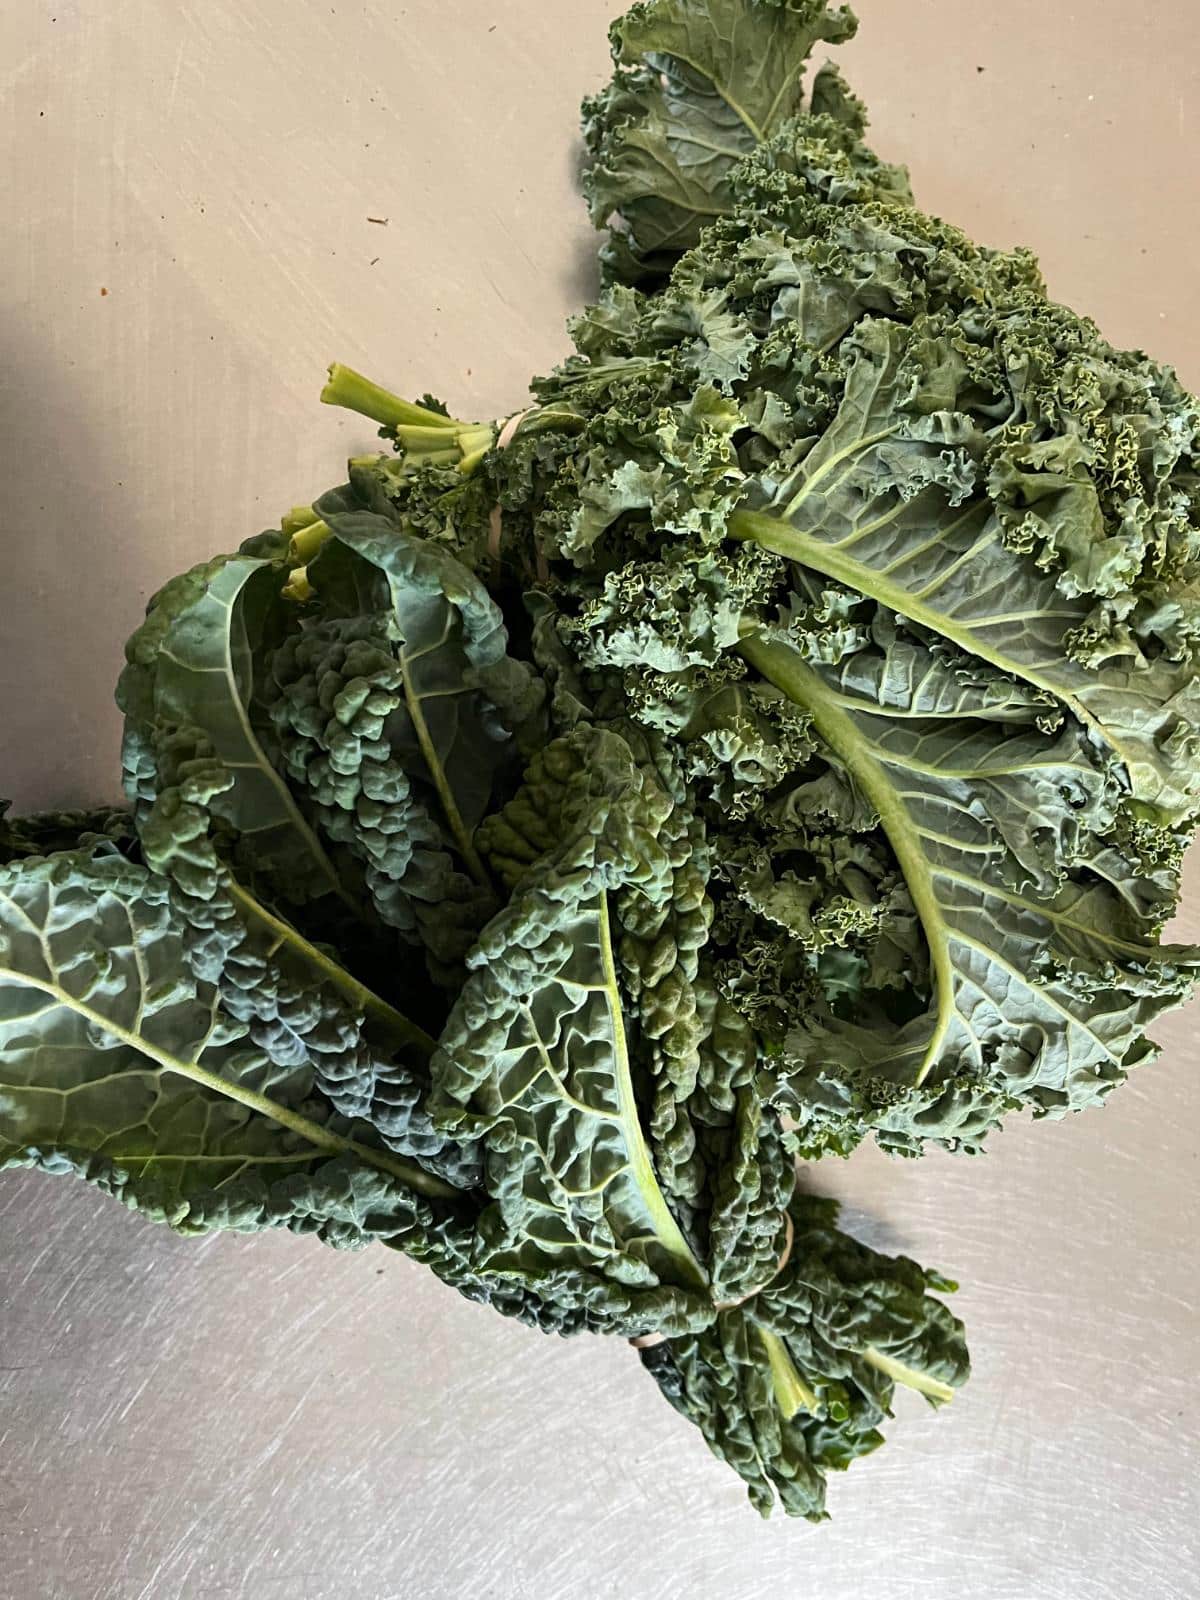
This means that if you grow kale, you can easily be overrun by it, even if you only grow a single plant or two.
But there is really only so much fresh kale a person can eat. Having other ways to use and preserve kale gives you options to eat your harvest all year long and to find other ways to use it.
*Note -- this isn’t just something to do during the growing season. You can dry leftover kale and greens all year long to make the most of what you buy, too!
Jump to:
- Drying (Dehydrating) Kale -- an Excellent Long-Term Storage Solution for Abundant, Extra, or Leftover Kale
- Two Ways to Dry Kale and Leafy Greens
- Air drying not recommended
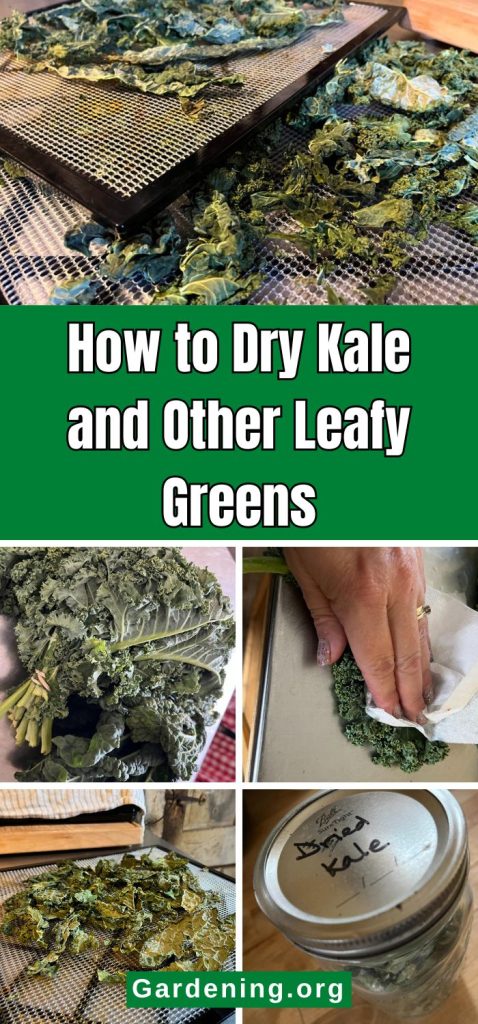
- Best Kale Drying Method* -- In a dehydrator
- Oven drying method for Kale and Leafy Greens
- Other home appliances that might do the job
- How to Use Dried Kale and Dried Leafy Greens
Drying (Dehydrating) Kale -- an Excellent Long-Term Storage Solution for Abundant, Extra, or Leftover Kale
Kale can be easily stored in the freezer, but an energy-free, shelf-stable option is to dry or dehydrate it. This makes it ready to store on a pantry shelf. From there, it can be used in a variety of ways (see the end).
Many people prefer drying or dehydrating kale and leafy greens* over freezing because they don’t overcook quite so quickly when they are used, and they don’t end up quite so mushy.
Another advantage that drying kale and leafy greens have over freezing -- in fact this is an advantage of any shelf-stable dried food -- is that you don’t have to worry about losing your stored product if you experience a power outage or a freezer failure.
You can use this process to save an abundant crop of garden kale for the off-season, or you can use it for small amounts of kale or leafy greens to stop them from going to waste and save them before they spoil to use another day.
*We’ve included other leafy greens here because the process for drying similar leafy greens (that is to say, greens that are similar to kale) is basically the same.
Other greens you might want to dry include
- Spinach
- Rainbow or Swiss chard
- Beet greens
- Carrot tops
- Turnip greens
- Collards
- Cabbage
- Napa cabbage
- Leaves from Brussels sprouts plant
- Broccoli leaves
- Cauliflower leaves
Two Ways to Dry Kale and Leafy Greens
There are two basic options for the home preserver for drying kale. The two methods are drying in an oven or drying in a home dehydrator.
Freeze drying would be an excellent option and is the method with the highest nutritional preservation (even better than freezing), but the units are cost-prohibitive for most home preservers.
Still, dehydrating is an excellent method that allows the kale to retain its quality and nutrition, almost as well as freeze drying does, and better than canning or freezing.
Air drying not recommended
One thing you should not do is air dry your kale or leafy greens. We often hang herbs in upside-down bundles to dry, but this is not advised for kale.
The problem is that kale and other leafy greens take too long to dry out in the air. They are actually quite sturdy and store well in cool environments, which is part of what stops them from being able to be air dried.
Kale and greens will turn yellow, lose nutrition, and rot before they dry through air drying.
Best Kale Drying Method* -- In a dehydrator
The preferred and most affordable method for drying kale and leafy greens is to use a home dehydrator. The units are not too costly and are an investment that will save you a lot of money over time if you use it to preserve a variety of types of vegetables and/or foods that would otherwise go to waste.
A home dehydrator can be used for a variety of home tasks, such as preserving and other uses, including things like proofing bread and craft applications.
Drying kale or leafy greens in a dehydrator will dry them slowly and evenly but in a short enough time that the quality and nutrition are well preserved, as well as the color. That makes for a better, higher quality product that will rehydrate close to “fresh” for use in cooked dishes. It also makes a product that can be used in dry powders and more and one that looks good in them.
Here’s how to do it:
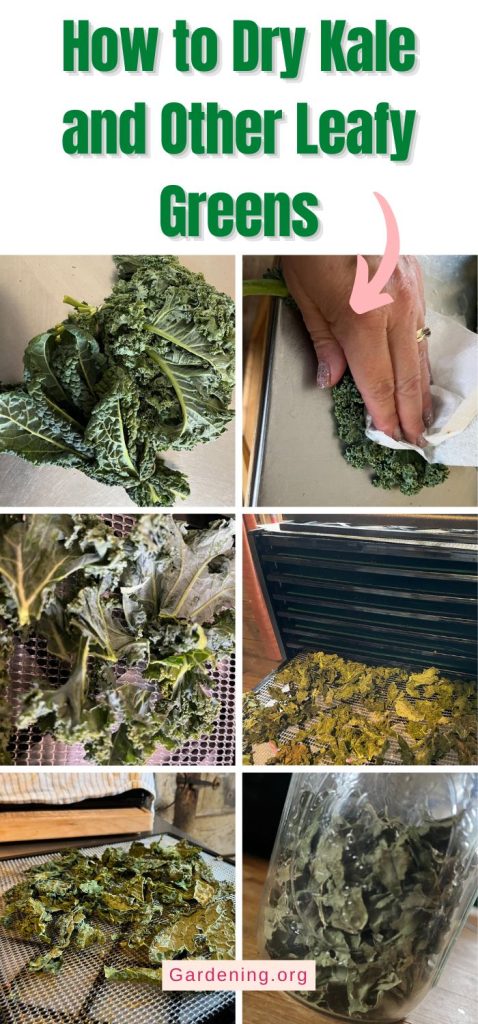
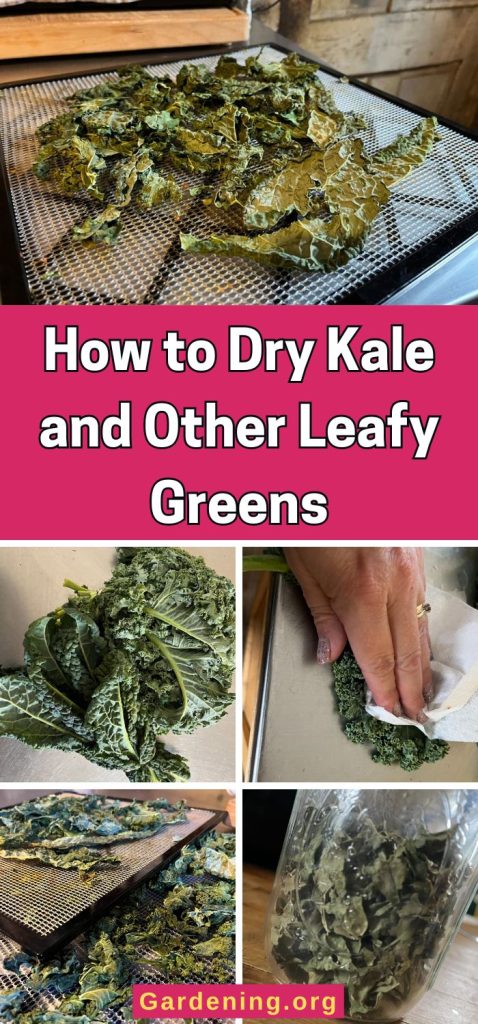
- Wash and dry your kale.
- To dry, you can leave the kale spread over a baking rack for an hour or two, pat it dry with towels, or spin it in a salad spinner.
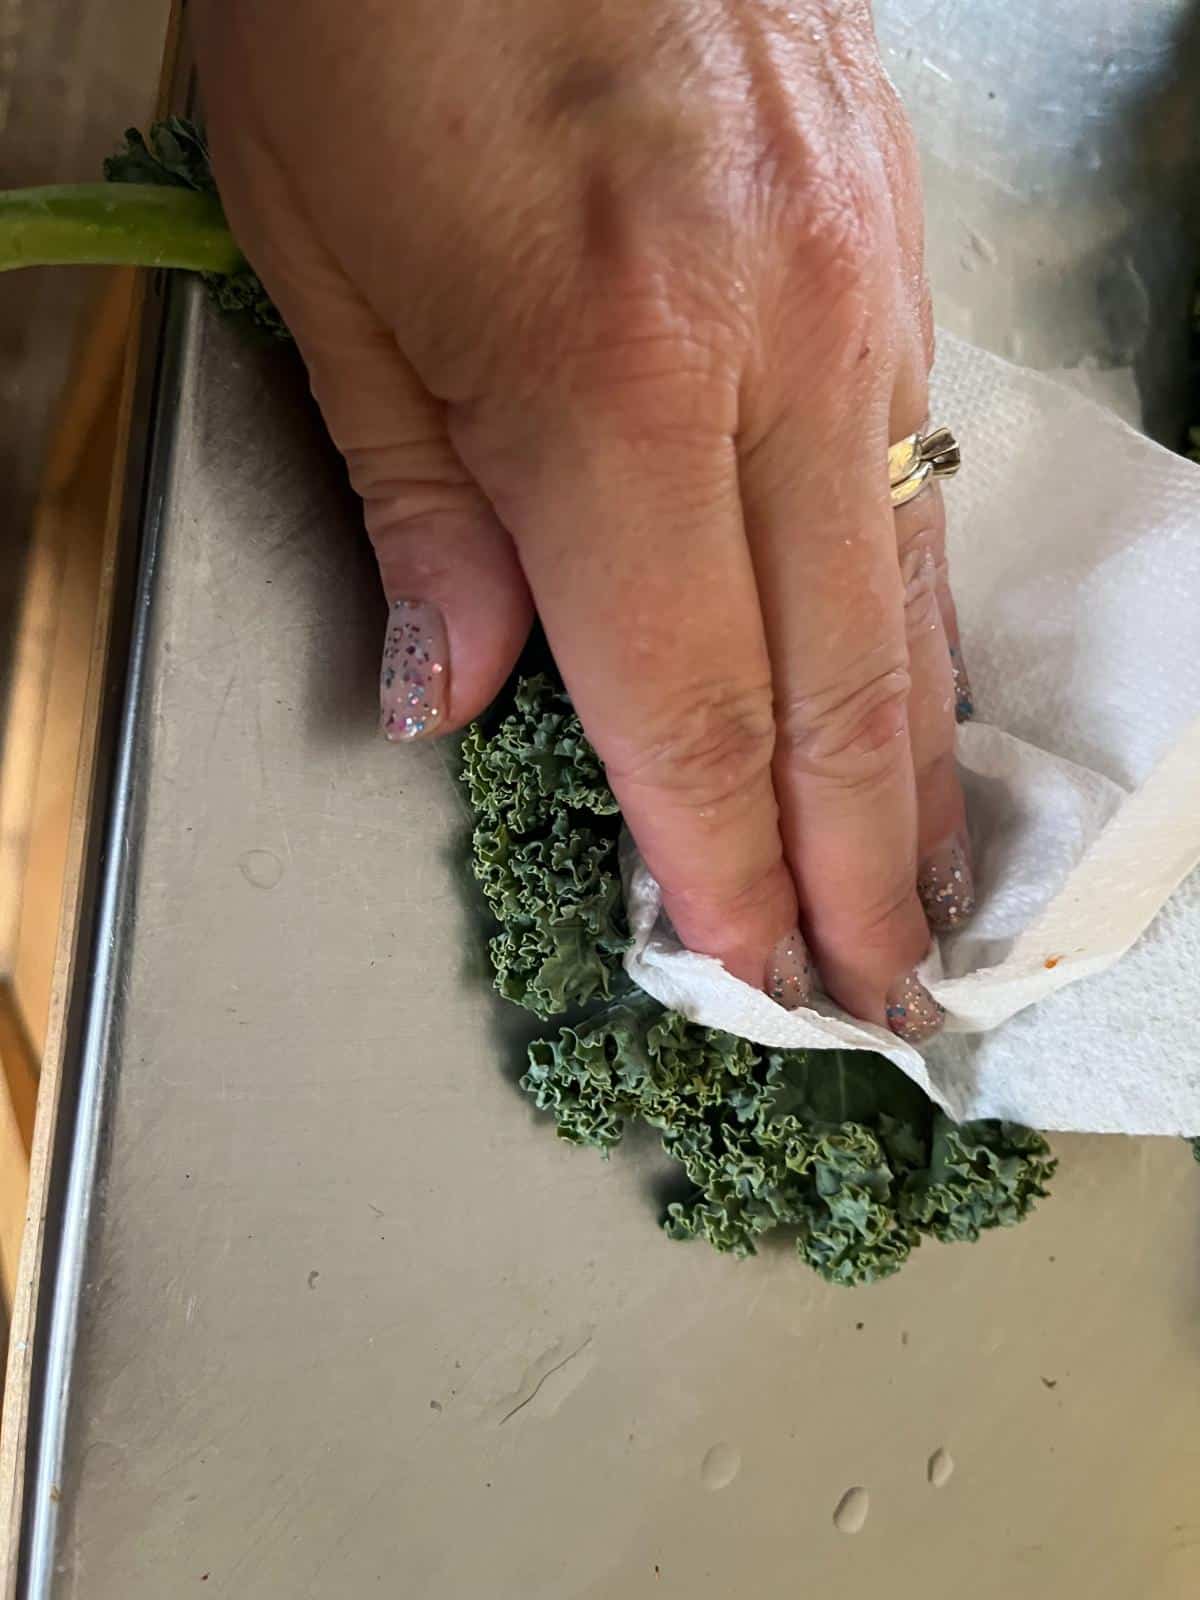
- The kale doesn’t have to be perfectly dry but do get most of the standing water and droplets off. (Excess water just makes drying take longer, which means running your dehydrator for longer.)
- Tear the kale off from the thick center stems.

- Tear the kale down into small pieces if you plan to use it for something like a soup. You can dehydrate whole pieces, too, and it will be possible to crumble or break them later, but it’s easiest to have them in basically bite-sized portions.
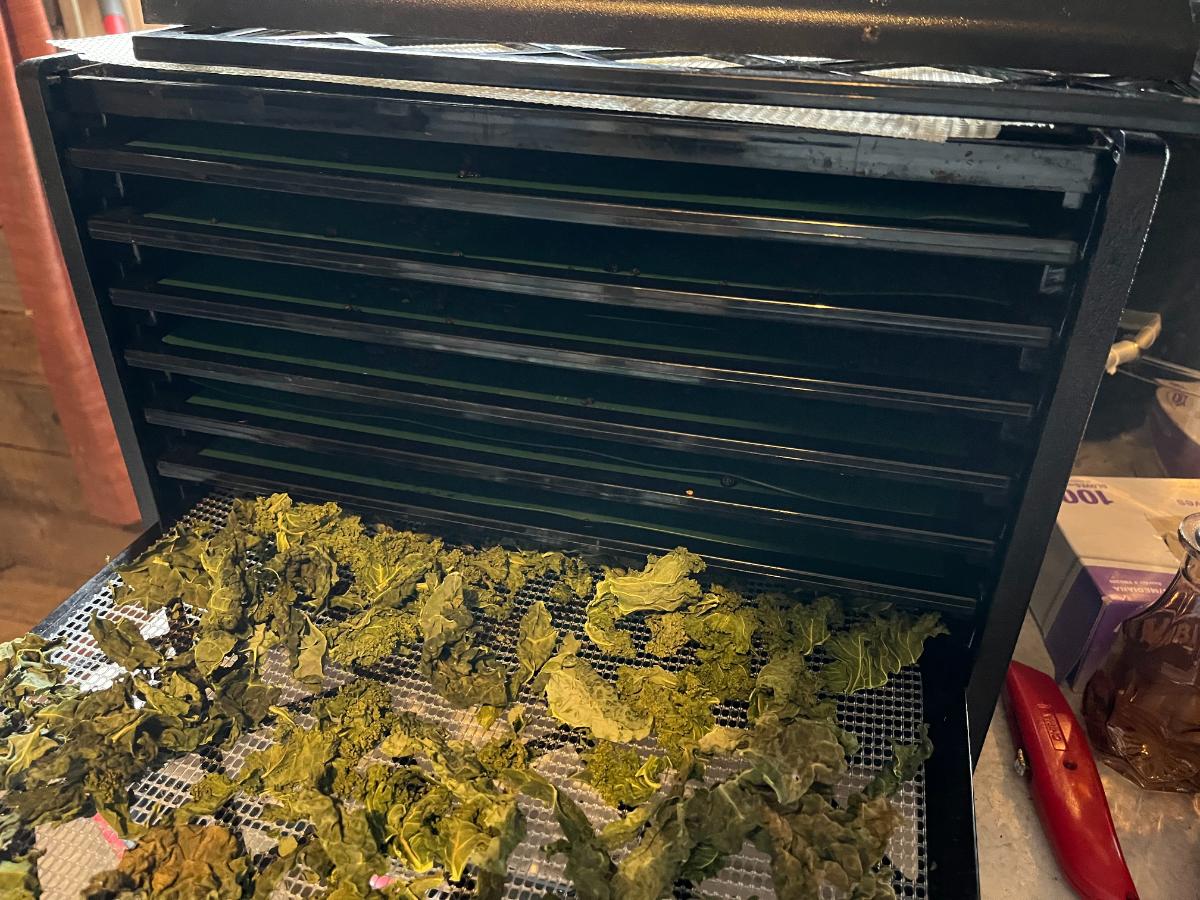
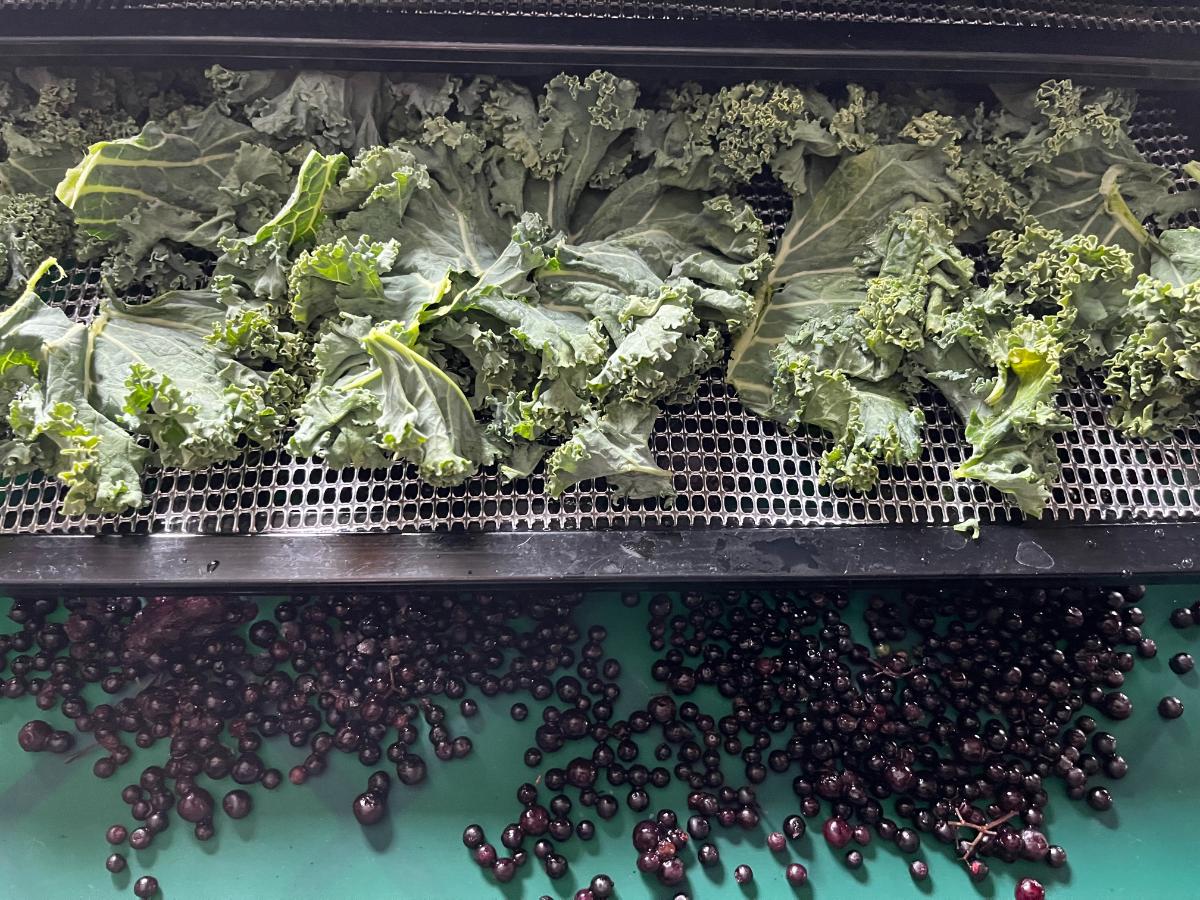
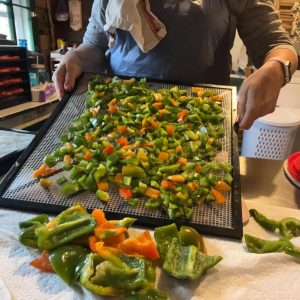
- Use a fine mesh screen over your dehydrator trays. Kale and greens shrink a lot when they dry out, so this will help keep them on the trays without falling through as they dry.
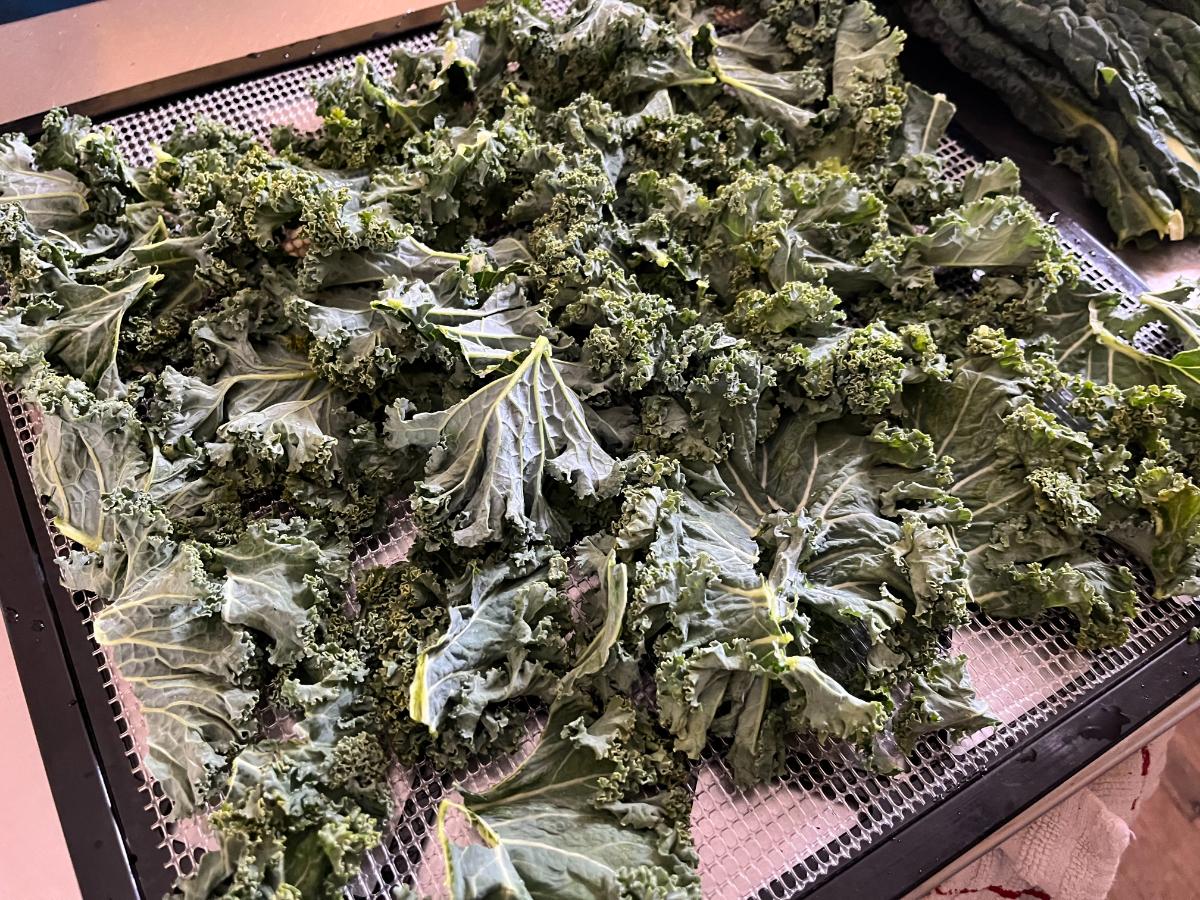
- Spread the kale (or greens) in a single layer over the whole tray.
- It is okay for the kale to touch a bit, but try not to overlap it.
- Dry kale in a dehydrator set to 125℉ (52℃)
- Dehydrate for 3 to 5 hours. Rotate trays halfway through for more even drying.
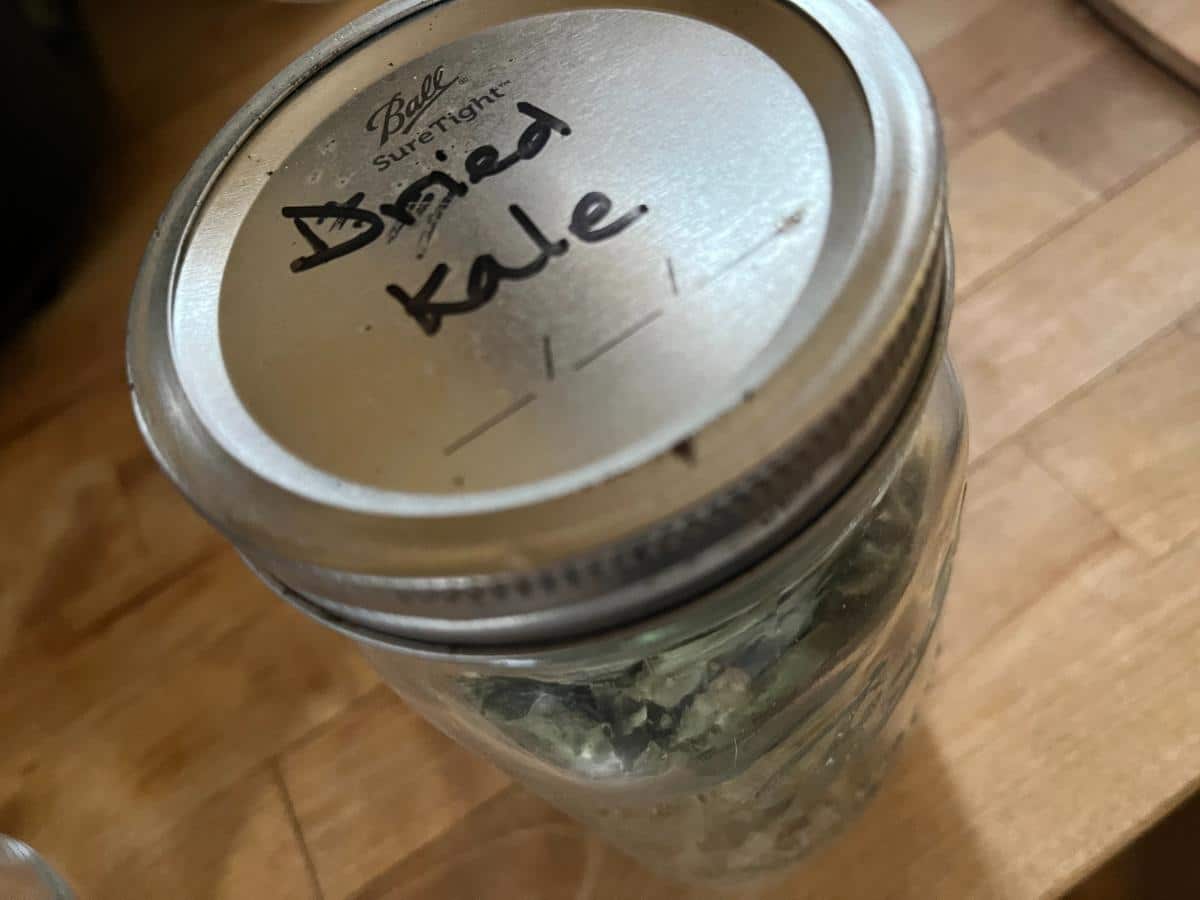
- Cool completely before packaging and storing.
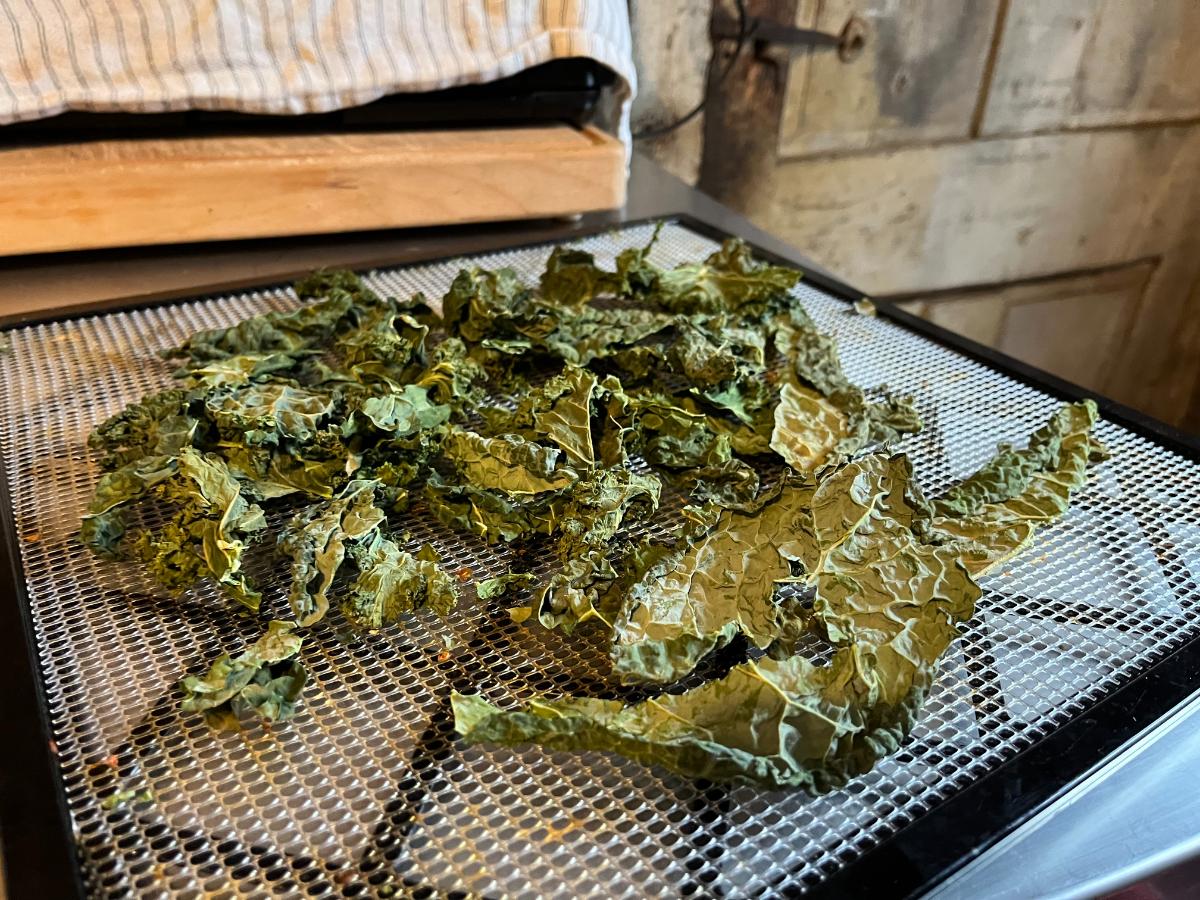
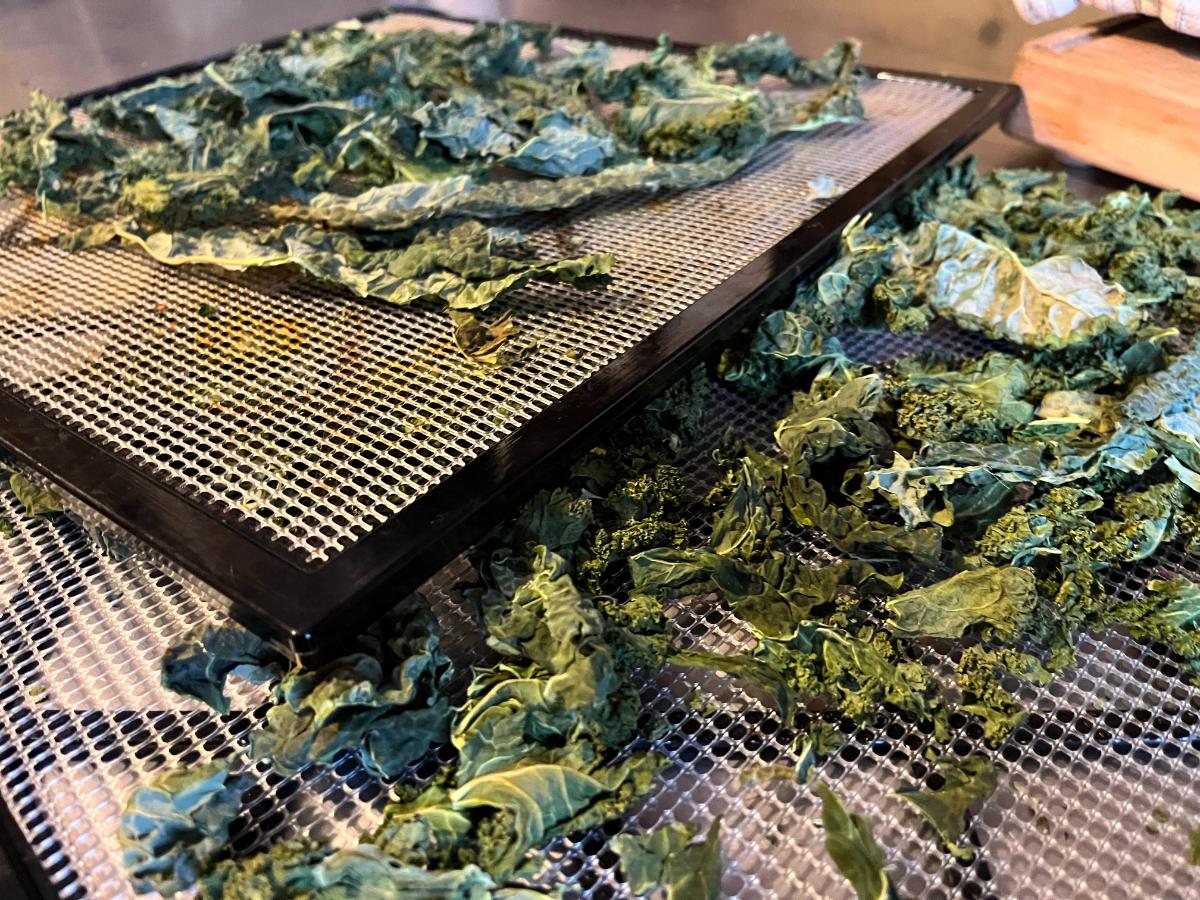
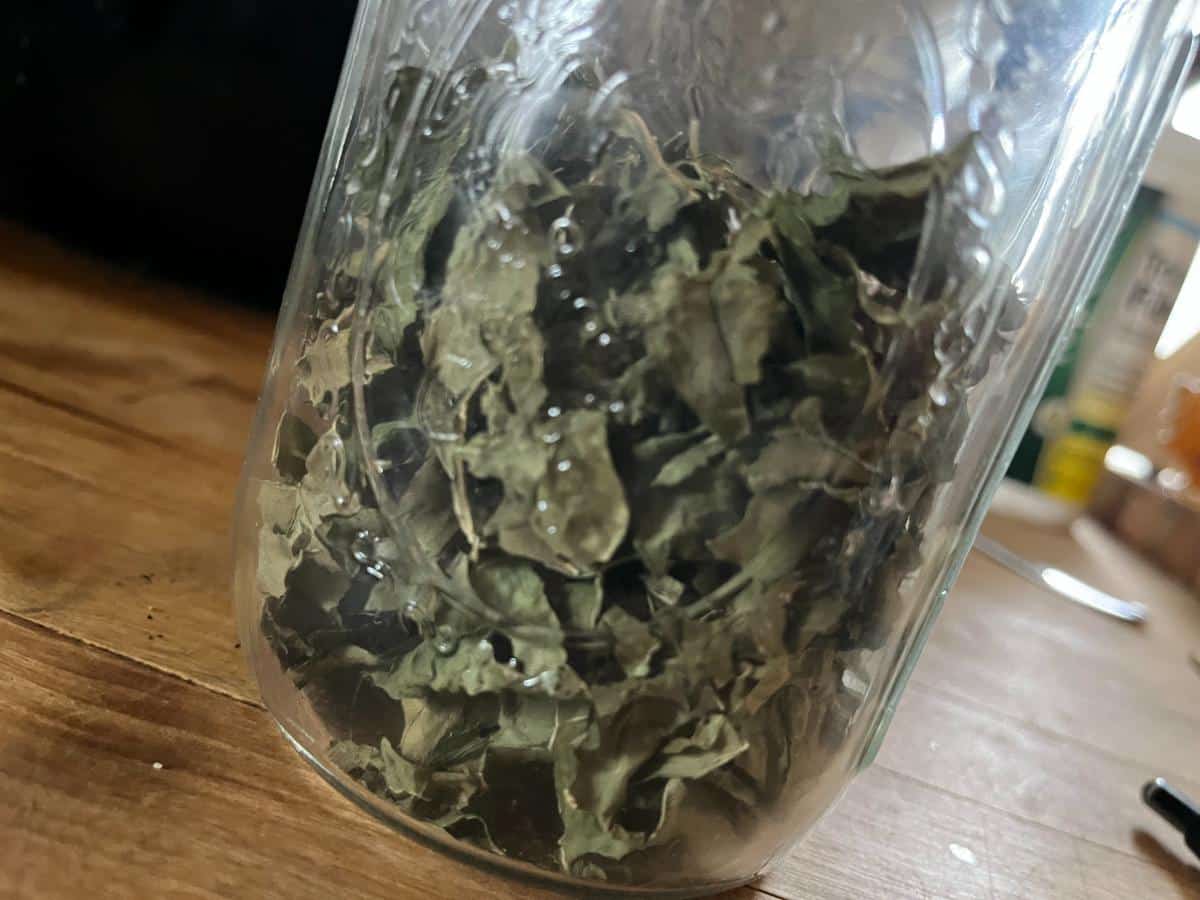
How to tell when dehydrated greens are done
Kale and dried greens are one of the easier types of vegetables to tell when they are done drying.
There isn’t a lot of guesswork involved. Kale and leafy greens are done drying when they are
- Completely dry
- Crispy
- Crumble in the hand when crushed
Oven drying method for Kale and Leafy Greens
The only problem with drying in a home oven is that they have less air movement than dehydrators with fans, and they do not usually go low enough to dry well without also risking cooking the greens.
Today’s convection ovens are a bit better because they do have fans for air movement, which helps but does not really address the high heat problem.
- Prepare kale and greens the same as you would for drying in a dehydrator
- Put a baking rack with small holes on top of a baking sheet
- Spread the kale or greens over the rack in a single layer
- Greens can touch but should not overlap
- Preheat the oven to its lowest setting, or 125F/52C if it will go that low
- Dry for 2 to 5 hours (lower temperatures will take longer, but are better at drying and preserving than higher temps, and don’t cook the product)
- Check after one hour and turn the trays every hour
- If you cannot set your oven lower than 145F (63C), heat the oven, put the kale in, and then turn it off. Leave the oven light on.
- Check after two hours. Turn on and reheat the oven as needed until the greens are completely dried.
- You can also run the oven with it turned on to its lowest temperature and propped open, but this is not the most energy-efficient option, and it might be a safety issue with pets or children in the house.
How to tell when oven dried greens are done
Kale and greens that are dried in the oven are done to the same doneness as dehydrator greens.
That is to say, they should be completely dry with no notable moisture and should crumble easily in the hand.
Other home appliances that might do the job
Some modern appliances have dehydrating settings. Check your appliances. You might already own one!
Some common alternative dehydrating appliances are:
- Air fryers with dehydrator settings
- Convection or home ovens with a dehydrating setting
If you own one of these, it is practically as good as a dehydrator without having to own another appliance. Dehydrate according to the dehydrator instructions listed above.
How to Use Dried Kale and Dried Leafy Greens
- Use in soups, such as Portuguese Kale and Sausage soup or Italian Wedding soup
- To use in soups, you do not need to rehydrate the greens first -- just put them in the liquid as it cooks
- As a green vegetable option in pasta -- you can put the dried greens right in the water when you boil the pasta and drain them together
- To make into powdered green powder, like “super greens powder”
- In smoothies and smoothie bowls (as powder or as small leaves)
- In casseroles and other dishes -- if there is liquid in the casserole or dish, add slightly more, and the greens will easily rehydrate as it cooks. If not, rehydrate the greens in hot water first
- Crumbled over vegetables or one-pan or skillet dishes
- Crumbled into roasted vegetables to boost flavor and nutrition
Interested in turning your dried kale or greens into a versatile powder? Read more here: How to Make Your Own Dried Super Greens Powder
Leave a Reply