Here’s a great way to make use of all those kitchen vegetable scraps in your life. Better than composting, this kitchen hack won’t draw animals, saves money, and puts those perfectly good scraps to nutritious, edible use.
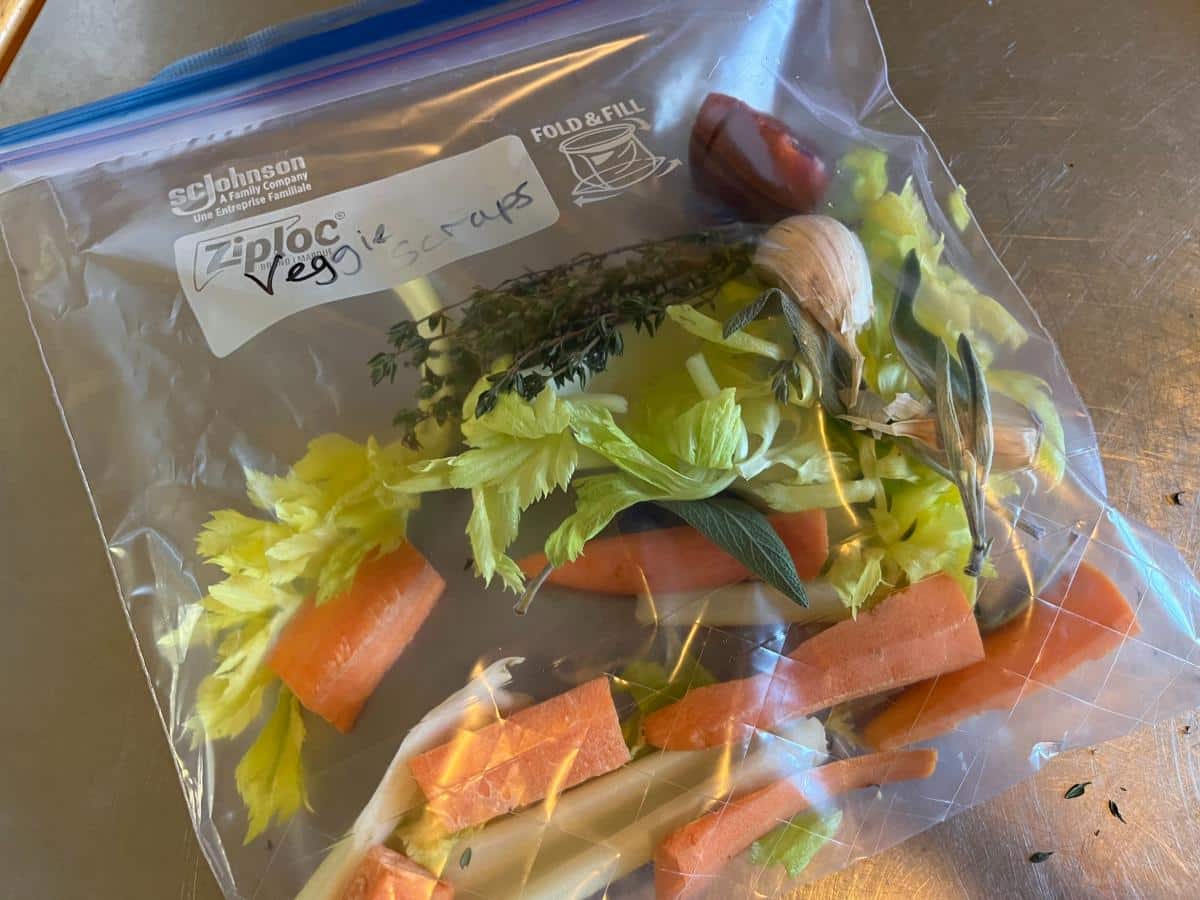
It reduces food waste, too!
Jump to:
- What to Save for Vegetable Scrap Broth Bags
- What not to put in your vegetable scrap bags
- How to Build Your Kitchen Scrap Bag
- What size and type of bags to use
- Building the bags:
- Should you blanch or cook your scraps before freezing?
- What Kinds of Broths and Stocks Can Your Scrap Bag Be Used For?
- How to Make Vegetable Stock
- Where to use vegetable stock
- How to Make Meat-Based Stocks and Broths
- Where to use meat stocks and bone broth
- What to do With the Waste After Your Make Your Stock or Broth
What to Save for Vegetable Scrap Broth Bags
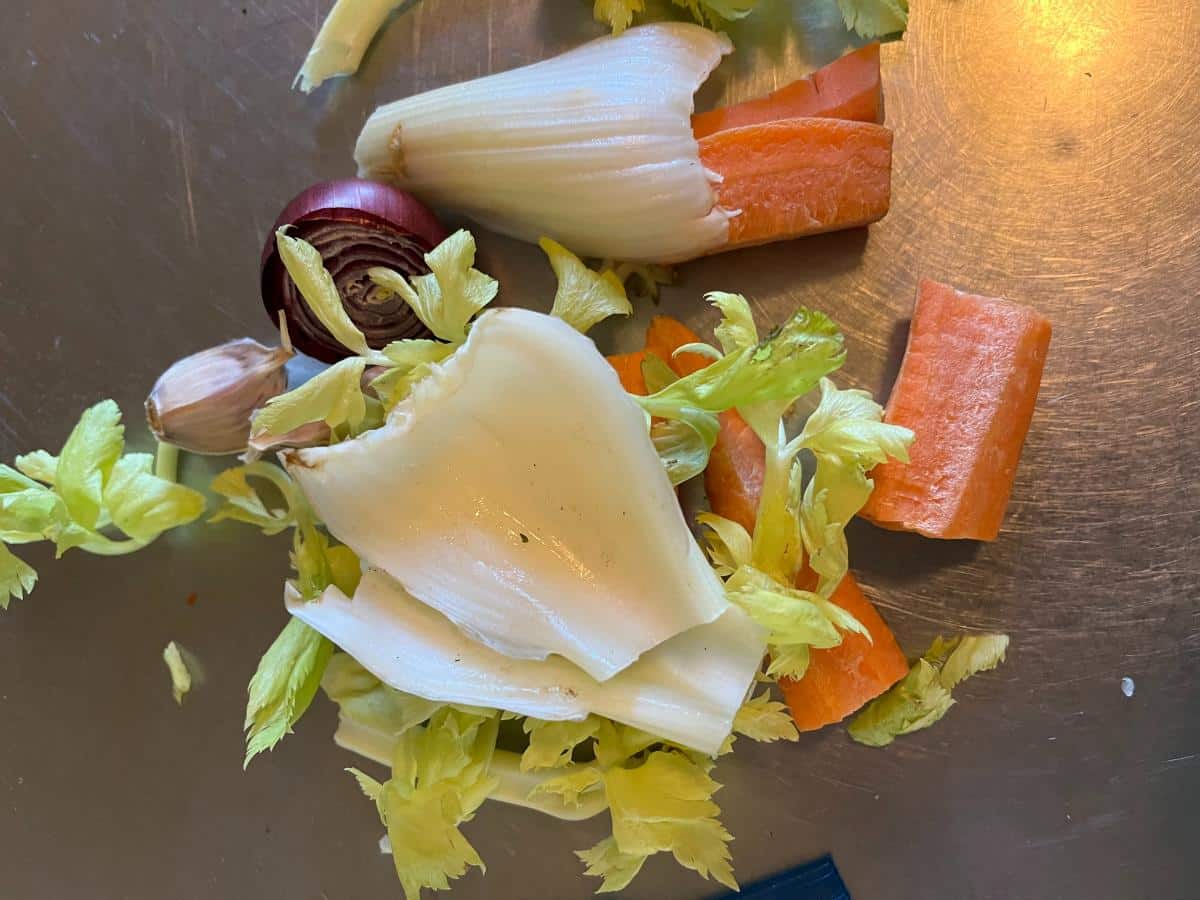
Basically, any peelings, tips, roots, tops, or trimmings that you create while cooking or preparing other foods is a candidate for the vegetable scrap bag. Instead of throwing them away (which is now against regulations in a lot of communities), or putting them in the compost, get all that you can out of them first.
Build a habit of washing all your vegetables before you prep them. The scraps you put into your bag need to be clean. It’s much easier to wash the whole vegetable before you peel or prep it, and then your scraps will already be clean and ready (and you won’t wash away flavor after they’ve been cut).
Here are examples of common kitchen scraps that go well in broth-building bags:
- Peelings from root vegetables like carrots, beets, and parsnips
- Tops and greens that are usually scrapped, including carrot tops and beet greens
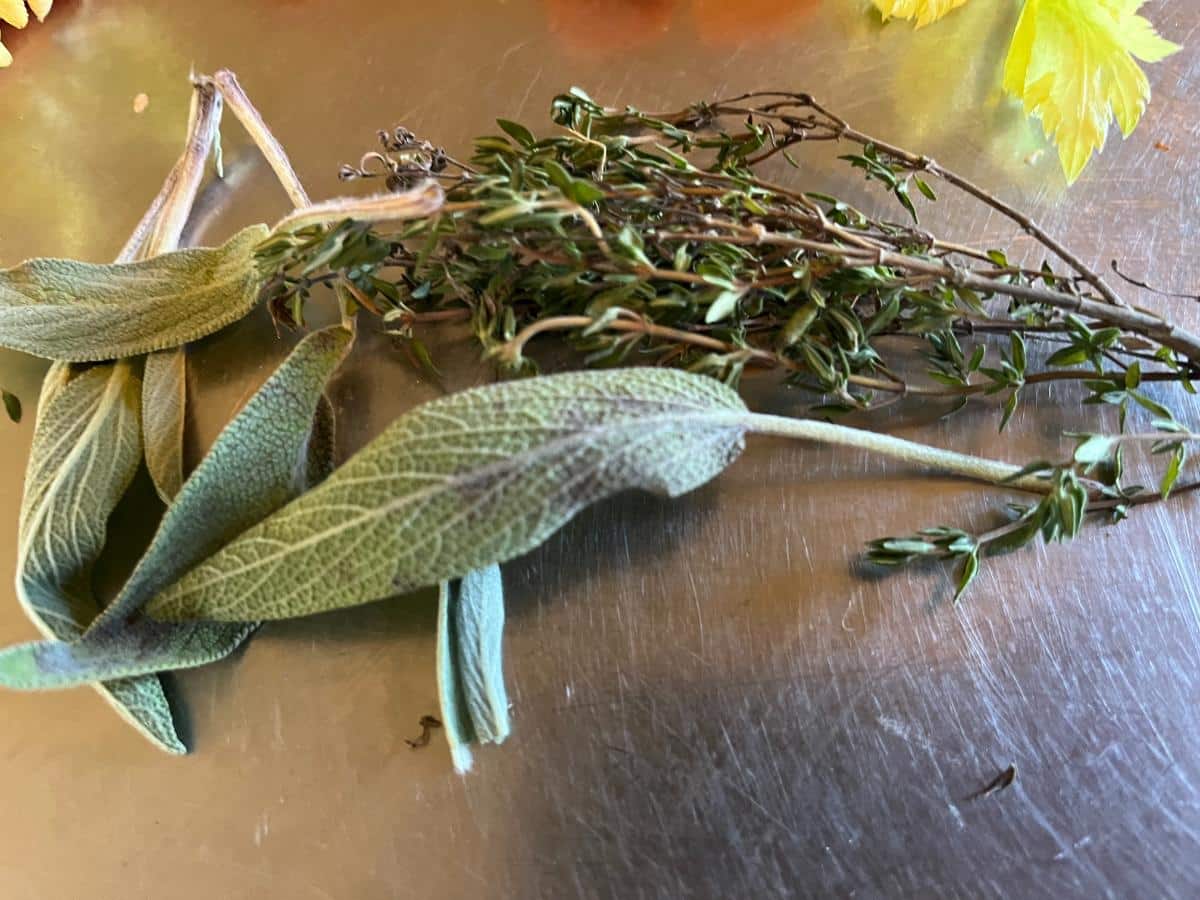
- Herb stems
- Other herb trimmings
- Skins of onions and garlic (they give flavor and also nice color!)
- Root ends and tips from trimmed onions and garlic
- Peelings or trimmings from fresh garlic or turmeric
- Root trimmings from root vegetables -- carrots, parsnips, beets…
- Tops and ends from any vegetables you have
- The root end from the heads of celery
- Celery leaves
- Stems and stalks from kale
- Tops and leaves of leeks
- Root ends from leeks
- Pea pods from shelling
- Trimming from string beans
- Outer leaves taken off of heads of greens
- Tomato peels and scraps (you may find seeds add bitterness, though)
- Mushroom stems
- Small, leftover bits of any herbs or vegetables that you otherwise wouldn’t keep
- “Ugly” vegetables or small veggies -- things that are too small or misshapen to bother with peeling or cooking
Use your scrap bag to find a use for vegetables that are about to go by. If you have things that are wilting or a handful of something left that isn’t enough to use for a meal but isn’t bad, either, throw it in the bag!
That handful of spinach? In the bag! The last of the wilted kale? In the bag! If it’s not rotting or moldy, it’s a candidate for the scrap bag. Less waste means more bang for those precious grocery or garden bucks!
What not to put in your vegetable scrap bags
Most people would avoid things like potato trimmings because they are starchy. Potato pieces break down and make a cloudy broth (harmless, but most prefer a nice, clear broth). That said, if that’s something you like, go ahead and use them.
Also, adding potato peels can give body to stocks, so it's not a clear yes or no -- go with what you like. If you are using your stocks to cook starchy dishes, you won’t notice. Or, if the stock is going into something that will be thickened anyway (like a chowder or a cream soup), the starch can help to build up the broth and thicken it.
Brassicas and cruciferous vegetables are generally avoided because they can cause stocks to taste bitter and may impart a slightly sulfurous taste. This would include broccoli, cauliflower, and cabbage. Kale is even questionable, though usually a limited amount of the stalks or leaves is fine (you may want to experiment with it before making it a regular ingredient).
How to Build Your Kitchen Scrap Bag
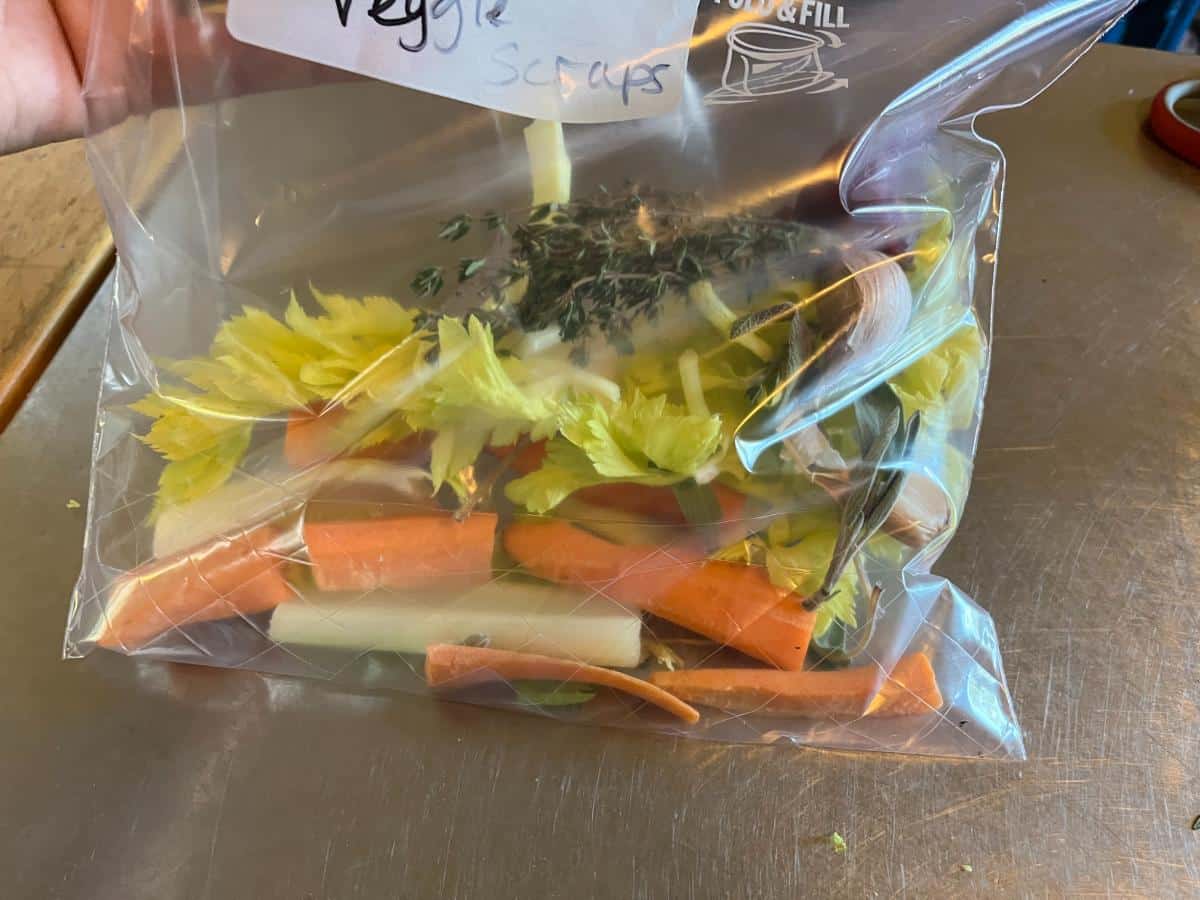
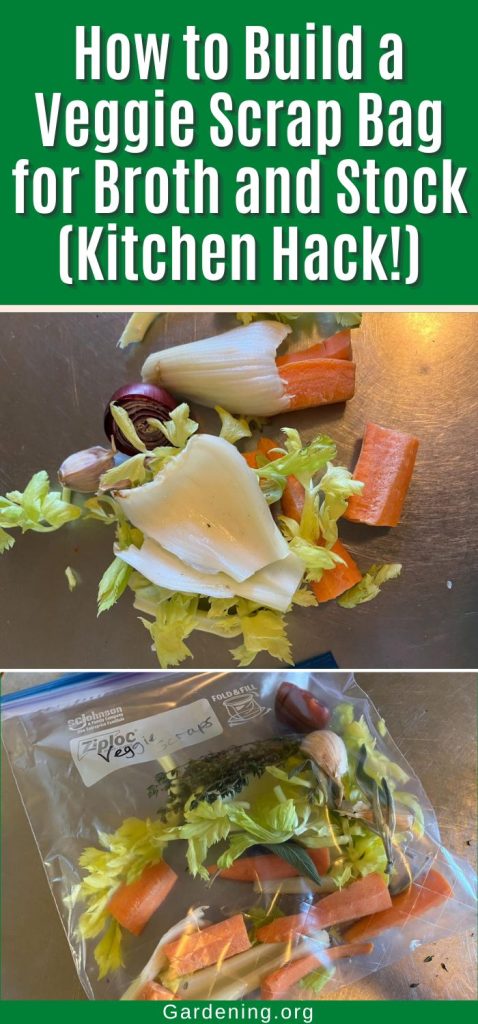
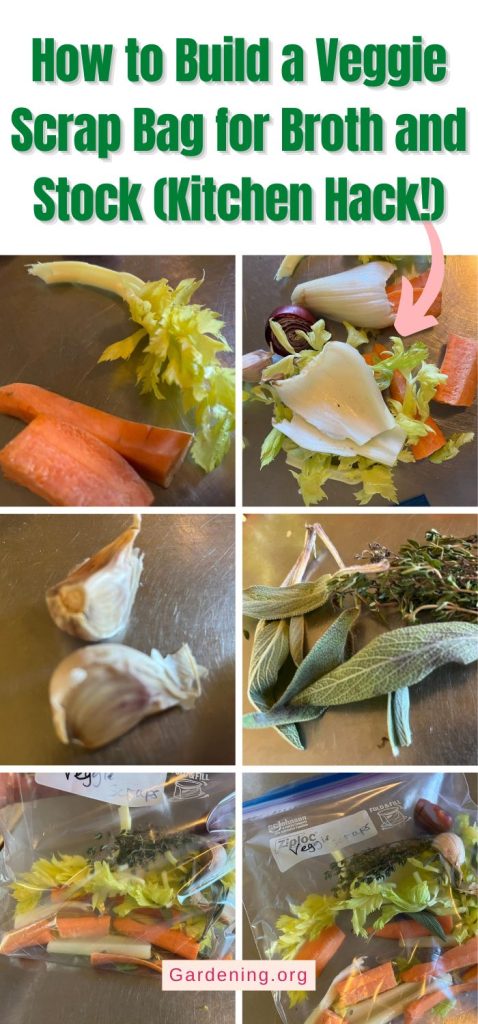
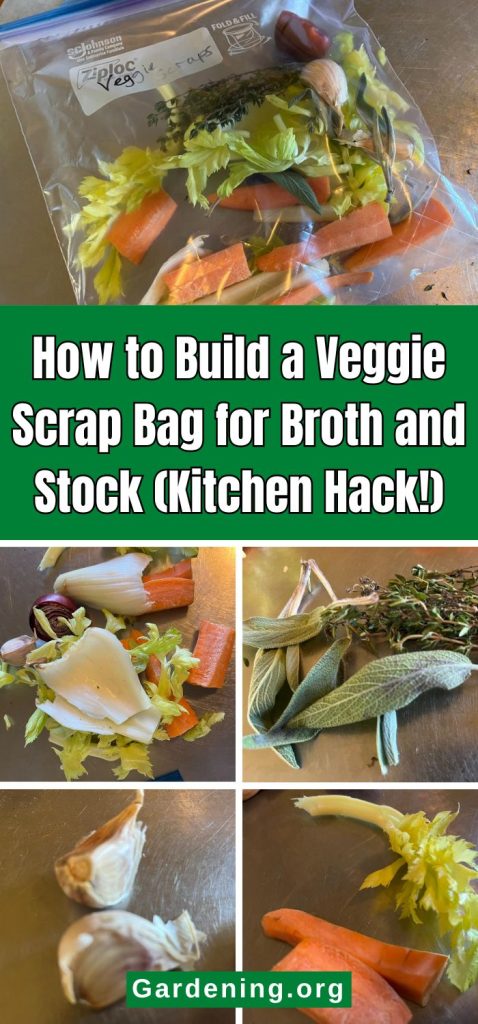
Building the actual bag (or bags) is easy. It’s just a collection of scraps of things that would typically go into a vegetable or meat broth but saved from the unusable portions of vegetables that you don’t put in your regular cooking.
What size and type of bags to use
You will want to use a large zipper or ziploc style resealable freezer bag. A one gallon size is good. You want a bag or container that can be resealed so that you can add to it whenever you need to.
You can, of course, use any size bag, including quarts if you prefer.
Quart bags are appropriate for bags that will be used as added flavoring and nutrition for meat based stocks and broths, like chicken broth or beef bone broth. The main ingredient there is the meat and the vegetables are secondary, so a quart bag will give you good flavor.
If you are making vegetable stock, though, a quart bag won’t make a large batch. Yield from a quart of vegetable stock scraps would yield only a few cups of vegetable broth. If that’s all you need, that’s fine, but people usually want a larger amount of finished stock when they’re making it.
Building the bags:
The bag itself is something you will build over time. It is designed to be cumulative and to take “waste” scraps as they come.
- Label the bag
- Start it with whatever scraps you have from that day’s cooking

- Start with a little or a lot
- Don’t worry about completing the bag all at once -- that’s not the point
- Every time you cook, add more scraps to the bag
- The more chopped the vegetables are, the more surface area they will have and the better they will be able to flavor the broth
- Chop large chunks of vegetables down to a medium to large chunk size (one or two inches is good)
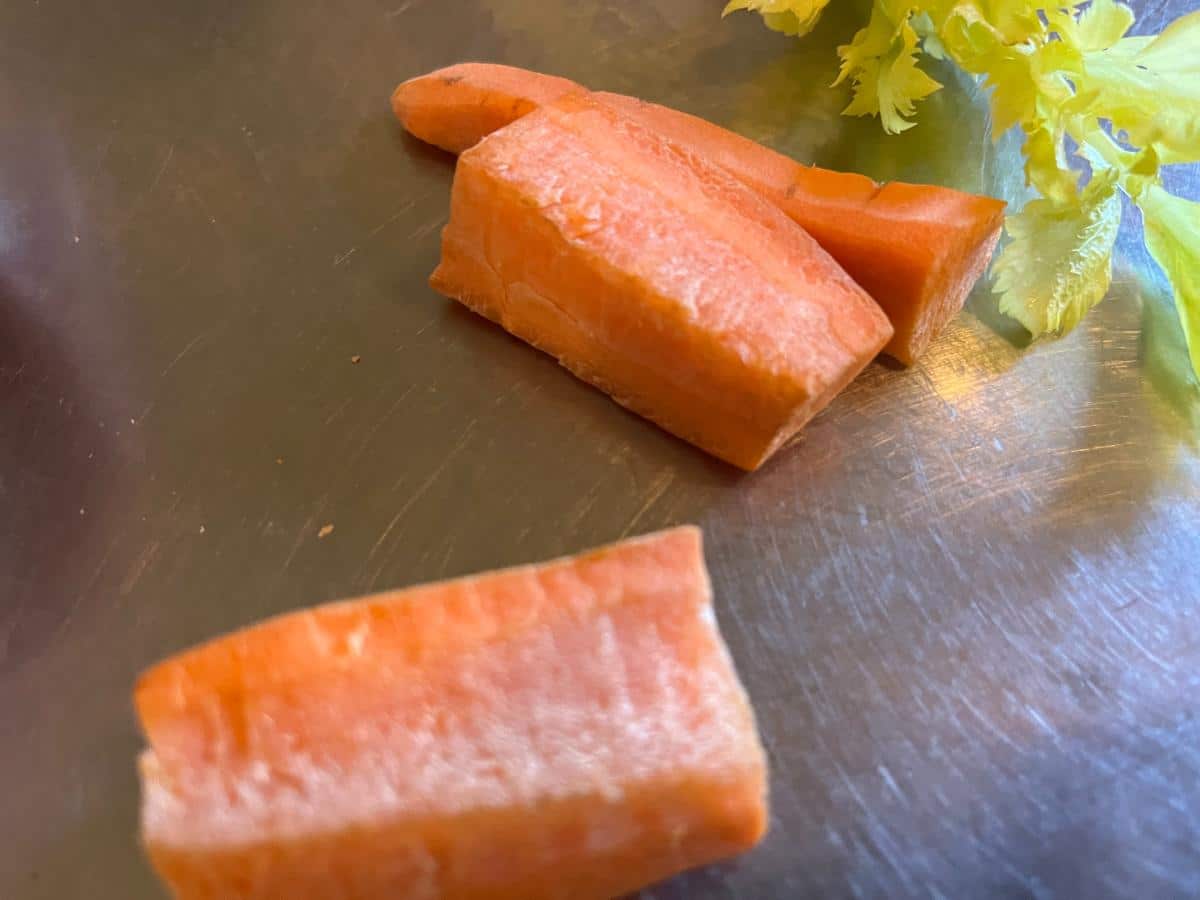
- Add whatever you have that you’d like in your stocks and broths
- The best bags are mixed bags with a variety of flavorful scrap pieces
- A good balance and mix is preferable, though, so if you find your bag getting heavy with a single type of vegetable (for example, too heavy on the onions and leeks), maybe start another bag for the extra onion-flavored vegetables; that will leave room in your mixed bags for more variety -- carrots, celery, and some nice greens could balance that bag out
- Another option is to bag scraps into bags by individual type
Separate bags by type are not as convenient when you want to use the scraps because you’ll have to pull from many bags, but it can be a good idea if you have some types of vegetables that you don’t want in all broths.
For example, if you have beet scraps, you may not want them in a chicken broth, but they’re excellent for vegetable stocks.
Should you blanch or cook your scraps before freezing?
No. Save all that flavor and nutritional goodness for your soups and stocks.
We blanch most vegetables before we store them for long term freezing, such as when we blanch broccoli or string beans for meals later. But this isn't necessary (or preferable) for freezer scrap bags that will be used for making stocks and broths.
What Kinds of Broths and Stocks Can Your Scrap Bag Be Used For?
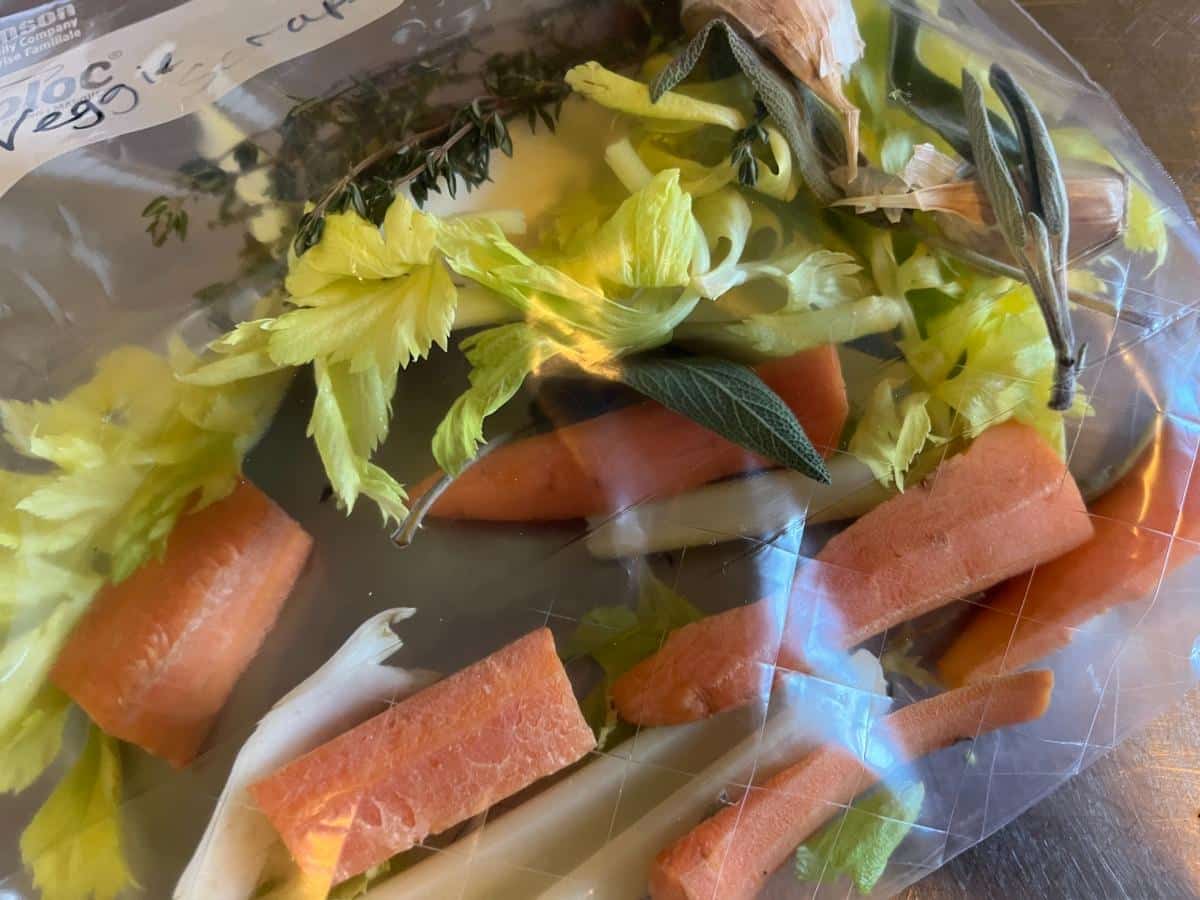
Use your scrap bags in any type of broth or stock. This includes vegetable stocks and meat-based stocks like chicken, turkey, beef, or pork broth.
If there is a vegetable or flavor that might work well in a vegetable stock but not necessarily in a meat stock, you may want to keep two bags and label them for each use.
For example, beets bring nice color and flavor to a vegetable stock, but it’s not a flavor we would generally appreciate in a chicken broth.
How to Make Vegetable Stock
Stock is really just vegetables and meat simmered and cooked for a long time to draw out the nutrients and flavors of the ingredients. You don’t need to complicate a basic stock.
- Empty your bag of saved scraps into a large saucepan.
- Add enough water to cover the vegetables without going too much over. One to two inches over the top of the vegetables is good. This will give you a good flavor ratio.
- You want roughly equal parts water to equal parts vegetable scraps.
- Use cold water. When you use cold water and the water heats along with the vegetables, it will cause any impurities to rise to the top.
- Over high heat, bring the pot to a boil.
- Reduce the heat to low.
- Skim off any scum or foam that has risen to the top. A ladle works well.
- Add ¼ teaspoon cracked peppercorns for flavor, along with any other herbs you like in your broth (bay leaf is a good addition).
- Simmer over low heat at a low simmer for one to two hours.
- After it’s done simmering, turn off the heat and (carefully) strain the stock through a tea towel or muslin. This will leave you with a nice, clear stock.
- Discard the cooked vegetables.
- Wait to add salt at the end. Salt will concentrate as the stock cooks down, and adding it, in the beginning, can result in a salty broth.
- If you want, now that your stock is strained, you can add salt to taste. Start small and add gradually so you don’t oversalt the broth.
- For a more versatile stock, especially if you are storing it to use later on, wait to salt or season the broth when you use it. That gives you options in later recipes.
- Stock can be used right away, kept in the refrigerator for up to one week, or frozen for future recipes.
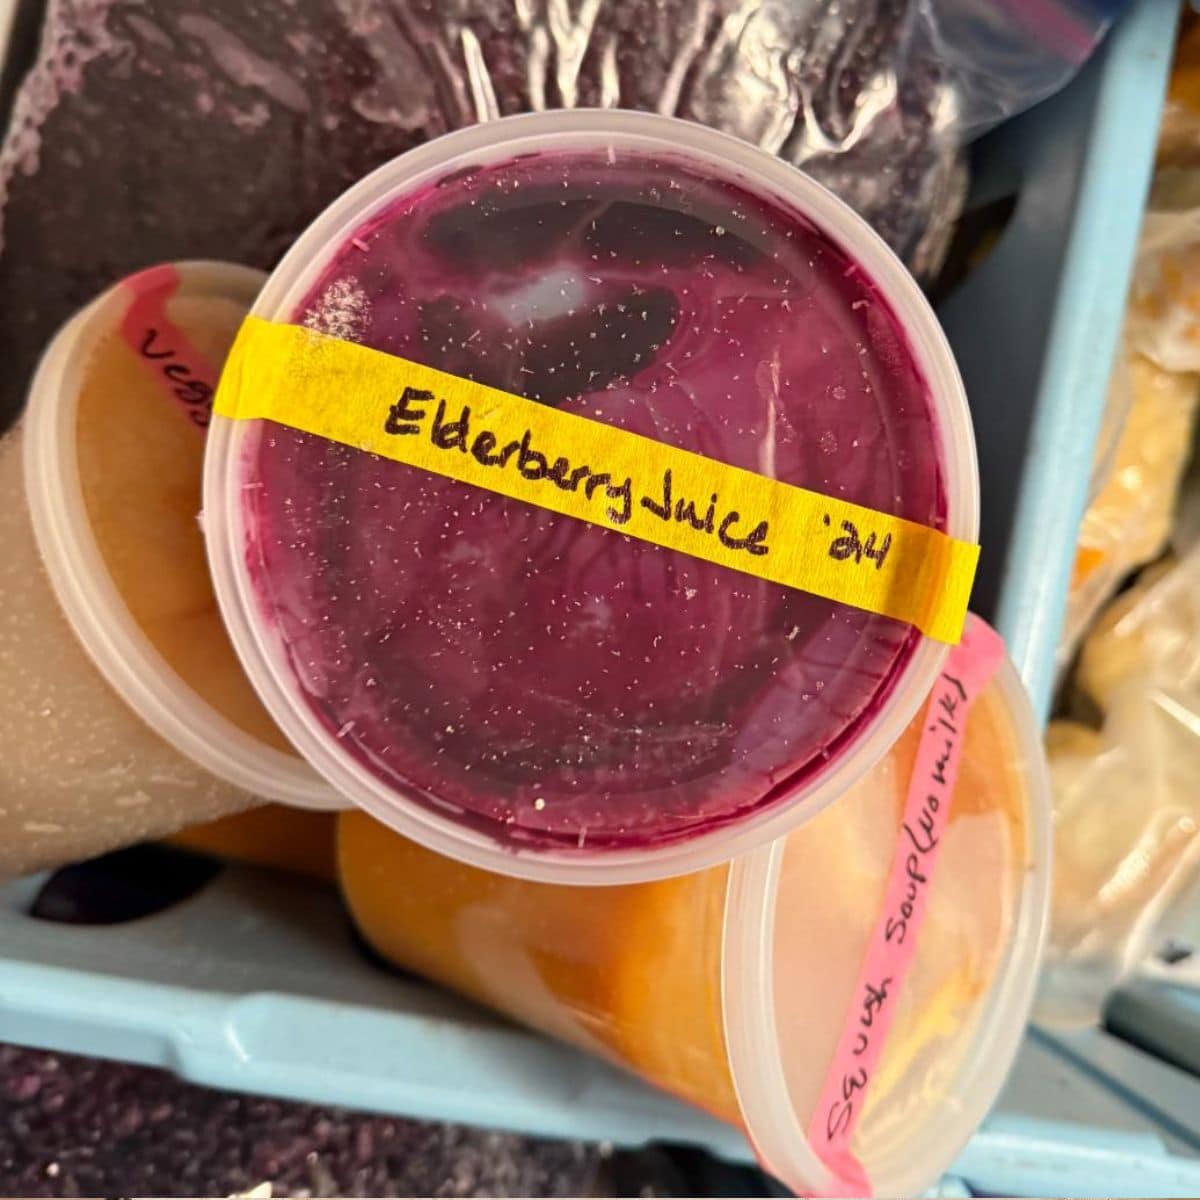
- If freezing, reusable plastic deli containers work well without breaking in the freezer. Leave one inch of headspace for expansion when the liquid freezes so it doesn’t pop off the top. Stock can be kept in the freezer for up to a year with good quality.
Where to use vegetable stock
- Cooking rice
- Vegetarian risotto
- As a base for sauce (you can reduce it for a more concentrated, intense flavor)
- In dishes like vegetarian-based bread stuffing
- As soup broth
- For gravies for pot pies, etc
- To cook other vegetables for added flavor
- In dishes like ramen noodle bowls
- In casseroles
How to Make Meat-Based Stocks and Broths
There is little difference between a meat-based stock (for example, chicken stock) and a meat-based broth (like chicken bone broth).
Like vegetable broth, meat broths are basically a process of simmering to extract flavors and nutrition from the meat or the bones, or both.
The biggest difference between stock and broth (or bone broth) is that stock is cooked for a much shorter amount of time and is generally quite light. It will be more similar to vegetable stock when finished.
Broth or bone broth is simmered for a very long time to extract all the collagens, calcium, and minerals that can be extracted from the bones and connecting tissues. It may be simmered for as long as 12 to 24 hours. There are those who would say a bone broth is not a broth if it is not cooked for at least 24 hours.
A meat stock may or may not include bones, but if it does, the bones will still have a fair amount of meat on them.
Bones for bone broth typically don’t have a lot of meat left on them, only what wasn't trimmed off. It is preferable if there are joints and connective tissues, which impart great stuff to the broth.
To make meat-based stock or broth:
- Roast the bones in the oven at 385 for 45 minutes or until nicely browned. (Optional but better flavor and nutrient release).
- Put the roasted bones or meat into a large stock pot.
- Add a bag of vegetable scraps.
- Add cold water to cover all the ingredients, plus two inches over. (Cold water helps remove impurities.)
- Bring the pot to a full boil over medium to high heat.
- Reduce the heat.
- Use a ladle or metal spoon to skim off any foam or impurities that have risen to the top of the pot.
- Add ½ teaspoon cracked peppercorns and any other herbs or flavorings you like.
- It’s best to wait to salt the broth at the end so you don’t concentrate the salt and end up with an overly salty broth.
- For more versatility, if you are storing and using the broth later, wait to salt it when you use it in recipes.
- Simmer over low heat for several hours: two to three or four hours for a lighter stock, 12 to 24 for thick, gelling bone broth.
- After simmering, remove from heat.
- (Carefully) strain the liquid through a tea towel or muslin cloth. This will remove the solid ingredients and make a clearer broth or stock.
- You can use the stock or broth now or refrigerate it.
- If you refrigerate until cold, any fat will rise to the top and will form a solid fat cap that you can then easily remove. This leaves a better mouth feel for the broth or stock, and reduces the fat content.
- If you want to remove the fat, it is easiest to cool and remove the fat from the whole pot rather than skimming individual containers later on.
- Meat stock or broth can be kept in the refrigerator for up to one week. You can also freeze it for future use (again, plastic deli containers with one inch of headspace for expansion work well). Meat broth can also be kept in the freezer for up to one year.
**For even less waste and better use of kitchen scraps, start a bag of leftover meat trimmings to use for making meat stocks!!
Where to use meat stocks and bone broth
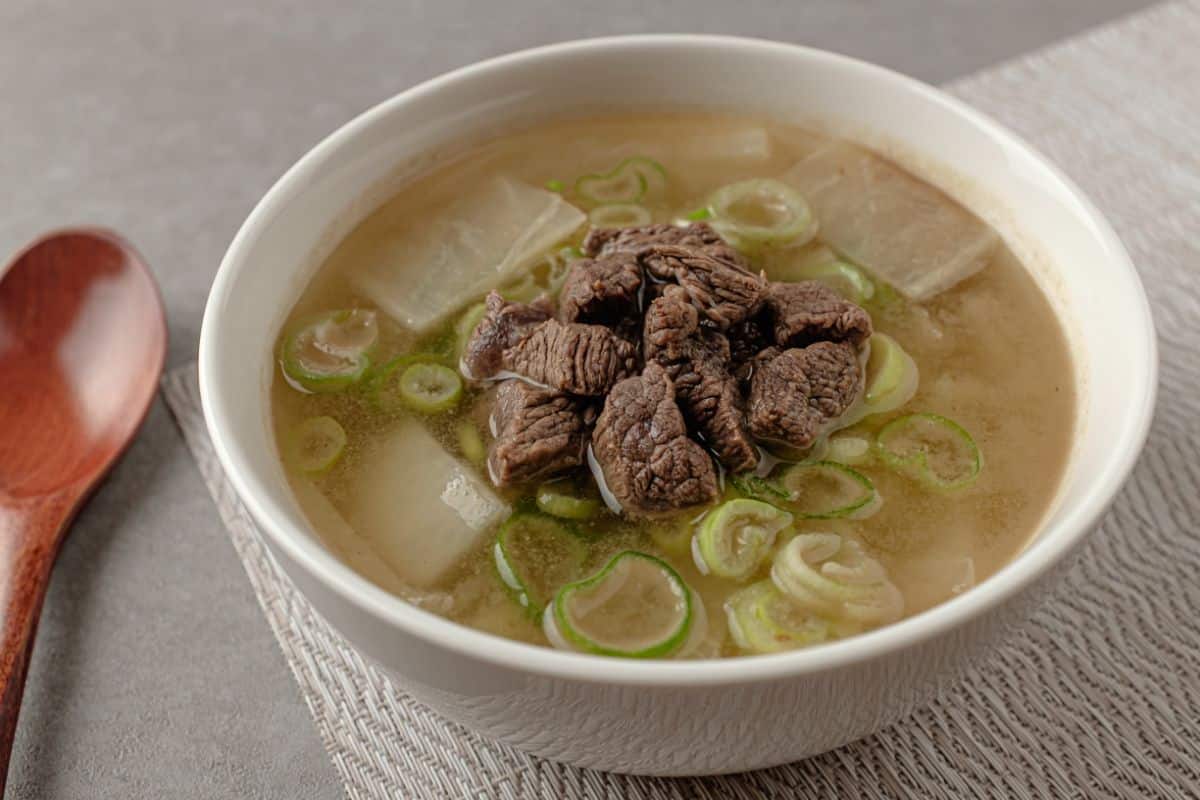
Meat stocks and bone broth can be used pretty interchangeably. Some good ways to use them include:
- As a base for any soup or stew
- To cook, flavor, and enrich rice or pasta
- In risotto
- To cook vegetables
- As a ramen soup bowl base
- Thicken for gravy
- Use in dishes like bread stuffing for chicken or turkey, etc.
- In sauces
- In casseroles
- Drink bone broth daily for a healthy boost (like a tea)
What to do With the Waste After Your Make Your Stock or Broth
Now you can put those used up scraps in the waste. There’s nothing more they can do for you as a food product. But at least they’ve been put to as thorough a use as possible.
What’s even better is that the cooking process will have broken down the scraps even more. They will decompose quickly in the compost bin.
If you made a meat broth with bones in it, the bones should not go in the compost bin. Some people do grind fine, cooked bones into powder for a bone meal for the garden, though. That’s really using your waste to its last use!
Looking for alternative composting options? Can’t compost outside? Check out these articles!

Leave a Reply