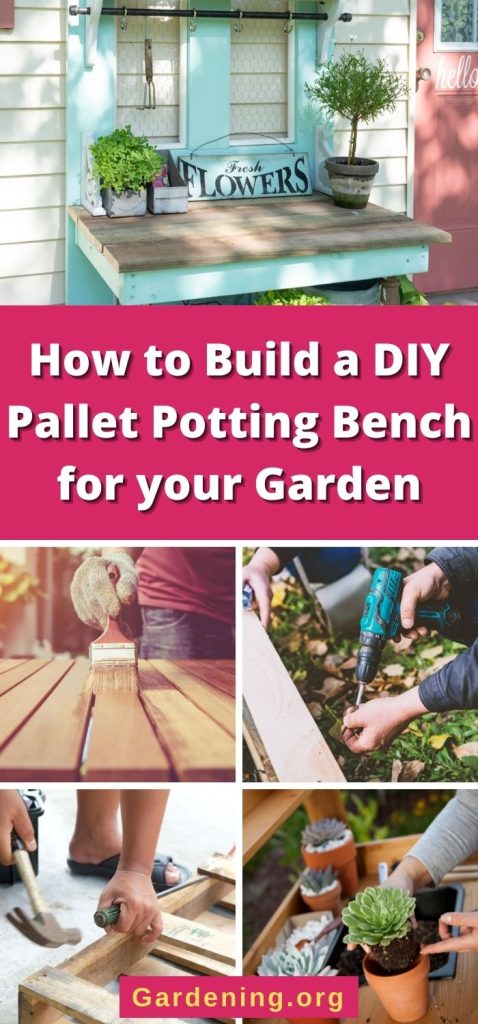
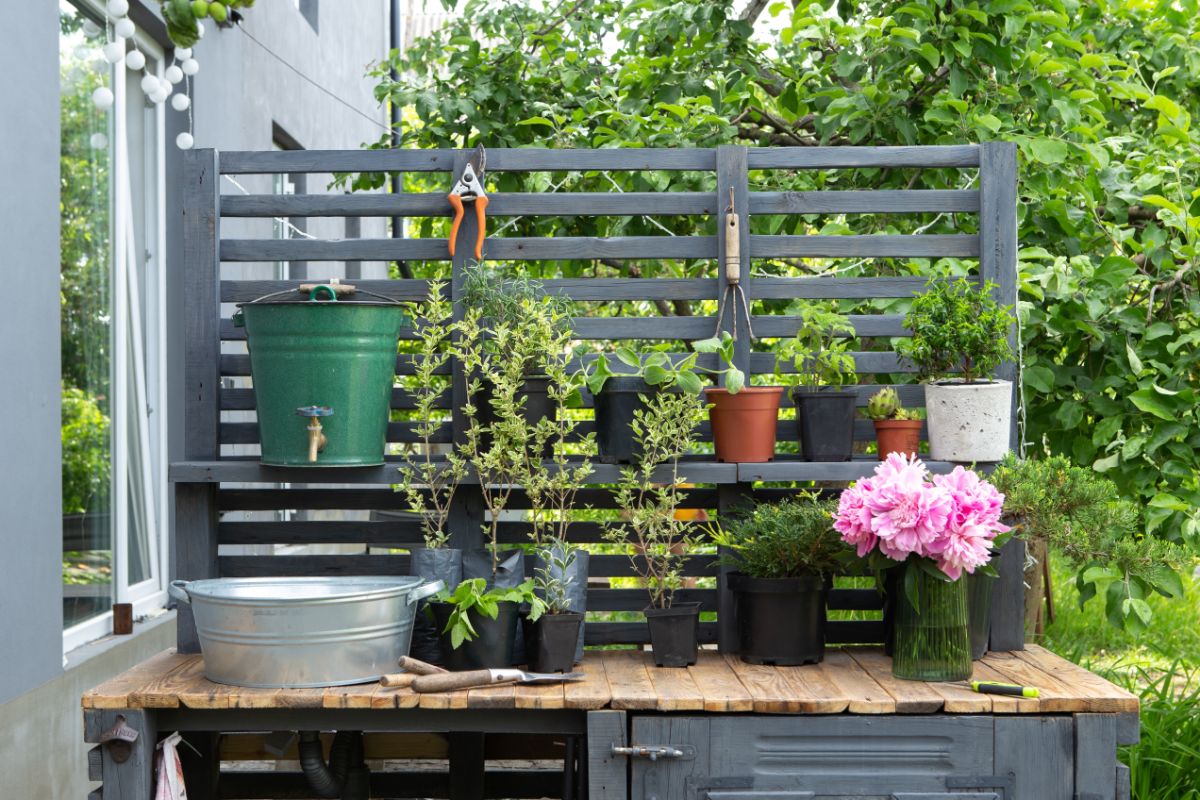
Potting benches are cute and incredibly handy outdoor furniture pieces to add to your garden, potting shed or greenhouse. But while there are plenty of premade potting bench options, you can easily make your own fully customizable potting bench that’s perfectly suited to your gardening needs. Even better, when you make your potting bench out of upcycled wooden pallets, it can be very inexpensive (or even free!) to construct.
For any gardeners looking for a fun garden project to try this weekend, or if you’ve always wanted a potting bench of your own, this tutorial will help. In this article, we’ll cover everything you need to know about making your own DIY pallet potting bench.
From a step-by-step tutorial to fun add-ons to try and wood pallet safety, we’ve got everything you need right here!
Jump to:
Why you need a potting bench
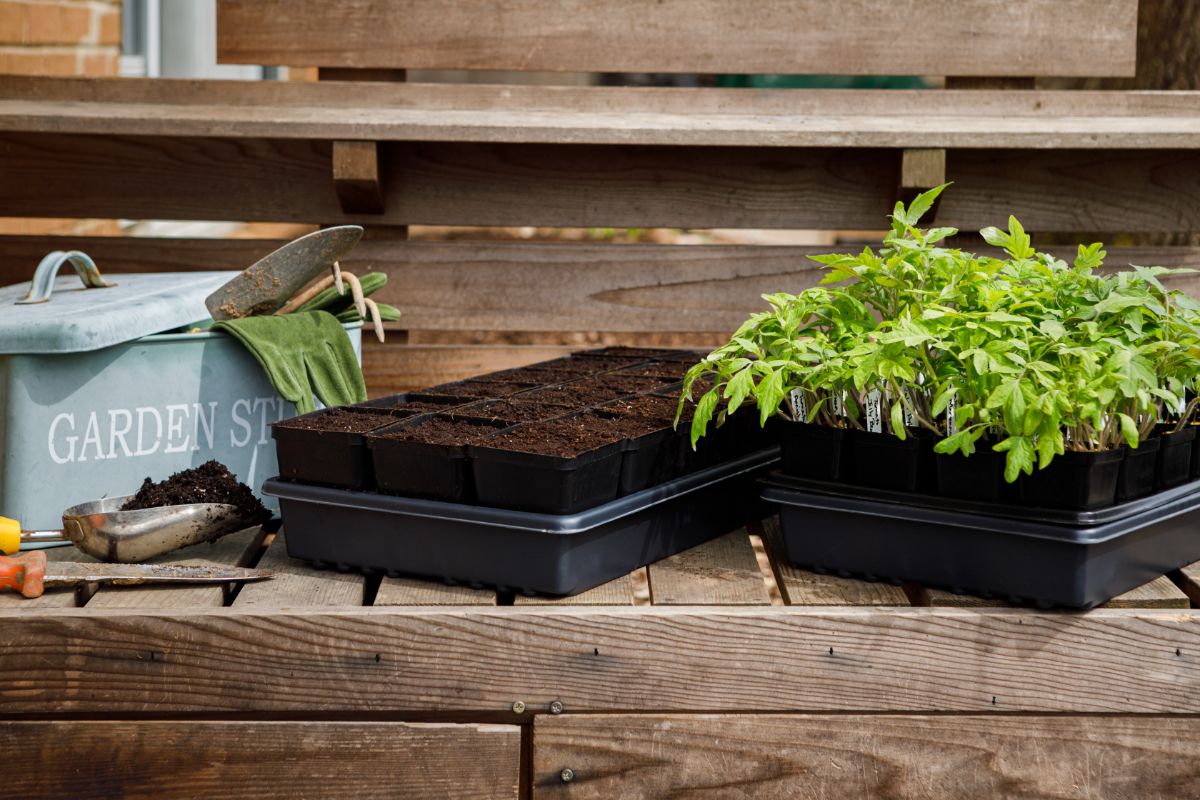
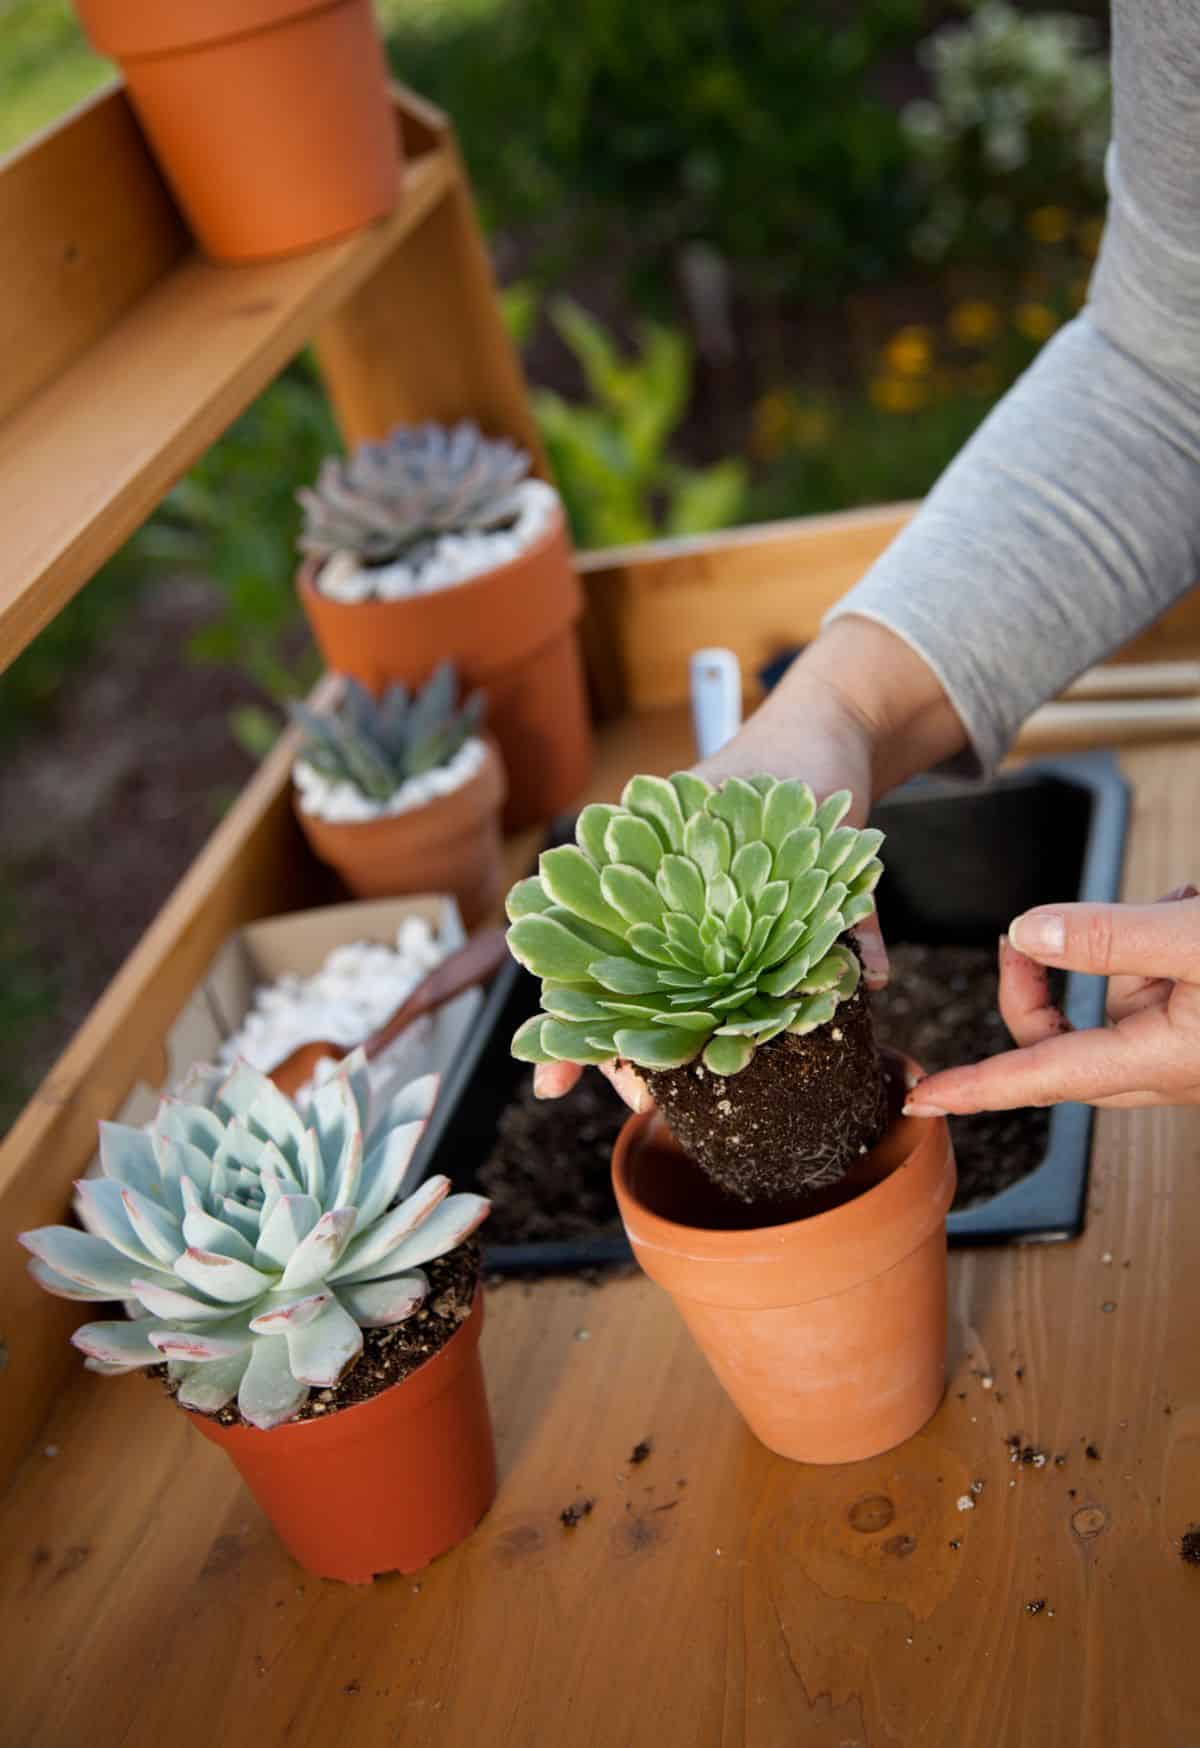
Potting benches are adorable and add lots of charm to garden spaces, but they are very functional too. As any gardener will tell you, once you start gardening, it’s hard to stop. As your garden grows, often your garden supplies, tools and products grow too, but if you don’t have a potting shed or greenhouse to store everything in, your gardening hobby can create lots of clutter.
Potting benches are the perfect place to store all your gardening essentials, like plant pots, hand tools, organic fertilizers and soil amendments, rooting compounds, gardening gloves and lots more. And, if your potting bench includes built-in baskets, drawers and shelves, you can keep everything nice and organized.
But beyond storage and organization, potting benches provide you with the perfect spot for all your messy gardening work. From potting up new seeds and plants to propagating, treating for pests and pruning, potting benches give you a convenient place to do all your garden jobs, without needing to mess up your dinner table or kitchen counter with potting soil!
Because they’re usually placed outdoors and made of durable materials, potting benches make garden clean up much easier. Potting benches can also be relocated around your garden space to give you a portable work area. This is even easier when potting benches have wheels.
On a personal level, having your own dedicated gardening space is rewarding. If you love gardening, but don’t have the space for a greenhouse just yet, setting up with your potting bench for a day of work can feel very satisfying!
Building your own pallet potting bench
The best part about building your own pallet potting bench is that your homemade bench will be fully customizable. That means you can build your potting bench to suit your exact height, shape it to fit your outdoor space, spice it up with whatever paint colors or stains you like and add fun add-ons (like shelves and tool hooks) if you choose!
Before getting started, consider who will be using the bench the most, where the bench will be located and whether or not you’d like to coordinate it with your home’s colors. Once you’ve made these decisions, it’s time to gather your supplies and get building!
What you’ll need:
- 4 to 5 wooden pallets
- Scrap wood, ledger board or cedar fence pickets
- Jigsaw
- Power drill
- Approximately 20 to 30 long wood screws, about 2 ½ to 3” long
- Wood putty
- Sandpaper
- Exterior grade paint and/or stain
- Exterior grade polyurethane
- Measuring tape
- Safety glasses
Important safety notes:
As this potting bench tutorial requires the use of power tools, like jigsaws, it is not a kid-friendly DIY project.
For safety, you’ll also want to take standard precautions while building your potting bench. Be sure to wear safety glasses while cutting your wood, take care around sharp blades and make certain you do all your sanding, staining and painting outdoors or in a well-ventilated location.
The process:
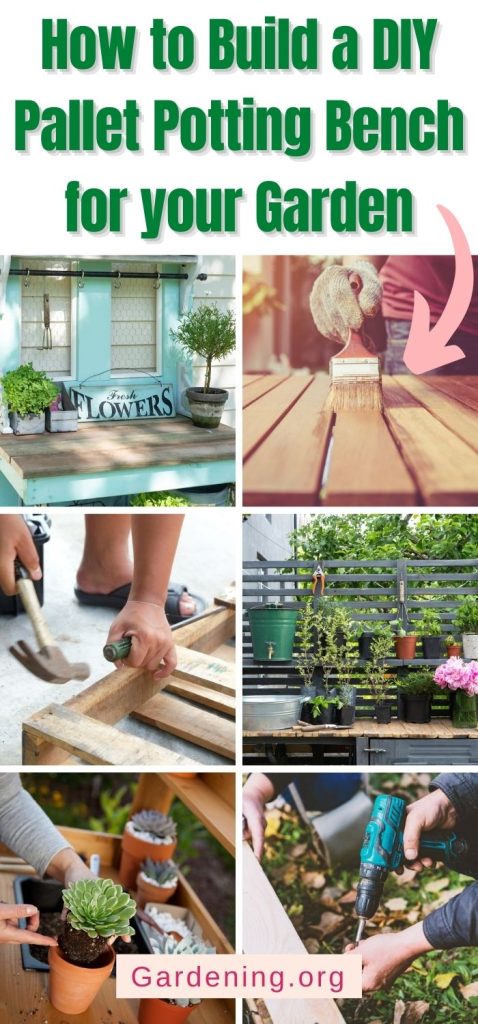
- To get started, you’ll first want to determine the approximate height of your potting bench. If you’ll be the primary person using your bench, choose a height that feels comfortable for you to work with. For best results, hip height is usually quite comfy for most gardeners so, if in doubt, measure the height of your hips.Once you’ve figured out how tall your potting bench will be, mark that height measurement on two of your wooden pallets. These pallets will form the sides of your bench.
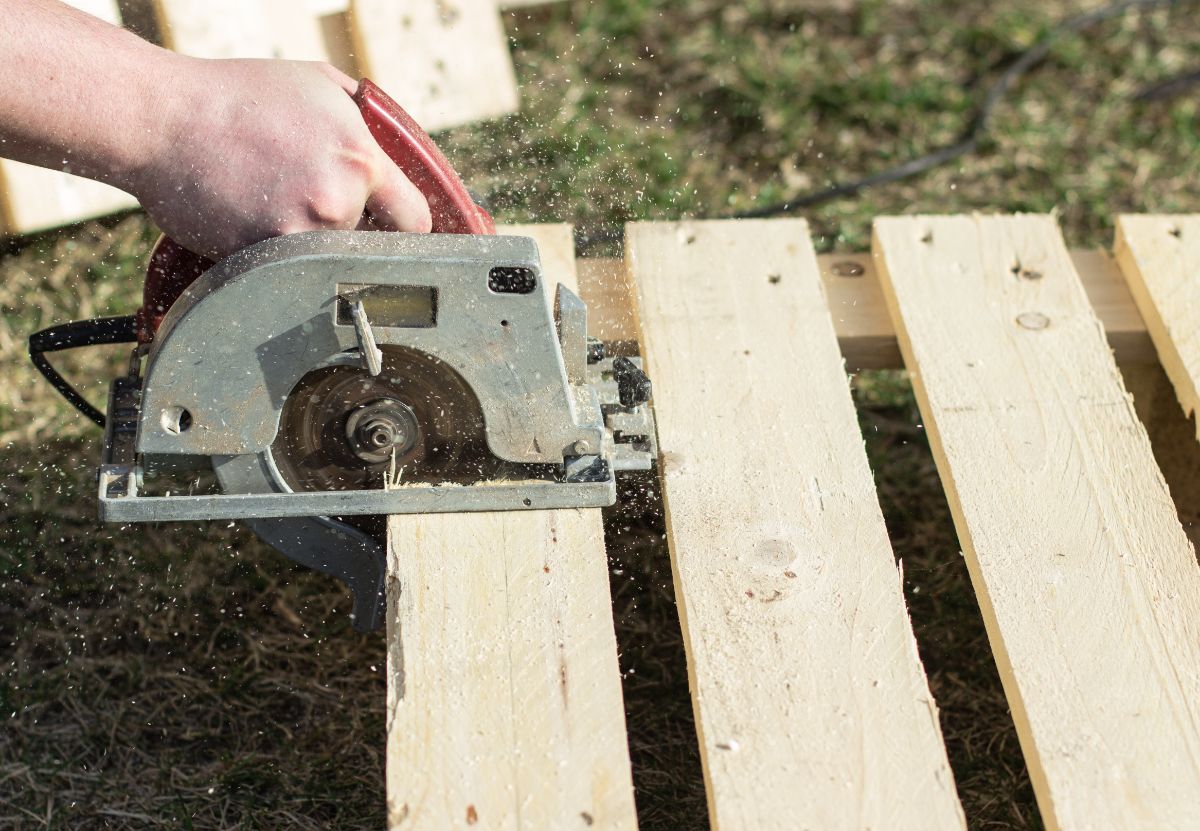
- Now, using your jigsaw, carefully cut along the height measurement line on both of your pallet side pieces. Because pallets have wooden supports inside them holding them together, you may need to adjust where you cut an inch or so to the left or right for easier cutting in between support boards.Additionally, because these will basically form the “legs” of your bench, you’ll want to make sure they are the exact same height, so doublecheck your measurements!
- Next, you’ll need to determine how deep you’d like your potting bench to be. For a really big potting bench, you can leave your side pallet pieces as is, or you can cut them down to make a narrower bench to fit your space. For reference, standard store bought potting benches are usually 18 to 24” deep.Once you know how deep you’d like your bench to be, just mark out the depth measurement on your two side pallet pieces and cut your pallet width to size with your jigsaw.
At this point, you should have two side pallet pieces that will form the support legs of your bench and they should be cut to the height and depth you’d like your bench to be.
- Now it’s time to cut the back piece of your potting bench. This back piece will sit on top of the two side legs and eventually help hold them together.
Again, as this potting bench is fully customizable, you can cut the back piece as tall or short as you’d like it. You can also vary the width of it for a longer or shorter bench. Just determine how high you’d like the back to be, and how wide you want your overall bench, and cut your back piece to size using your third pallet.
Just make sure that, when cutting, you orient the open sides of your back pallet vertically. You’ll need that open space inside the pallet accessible to assemble your bench.
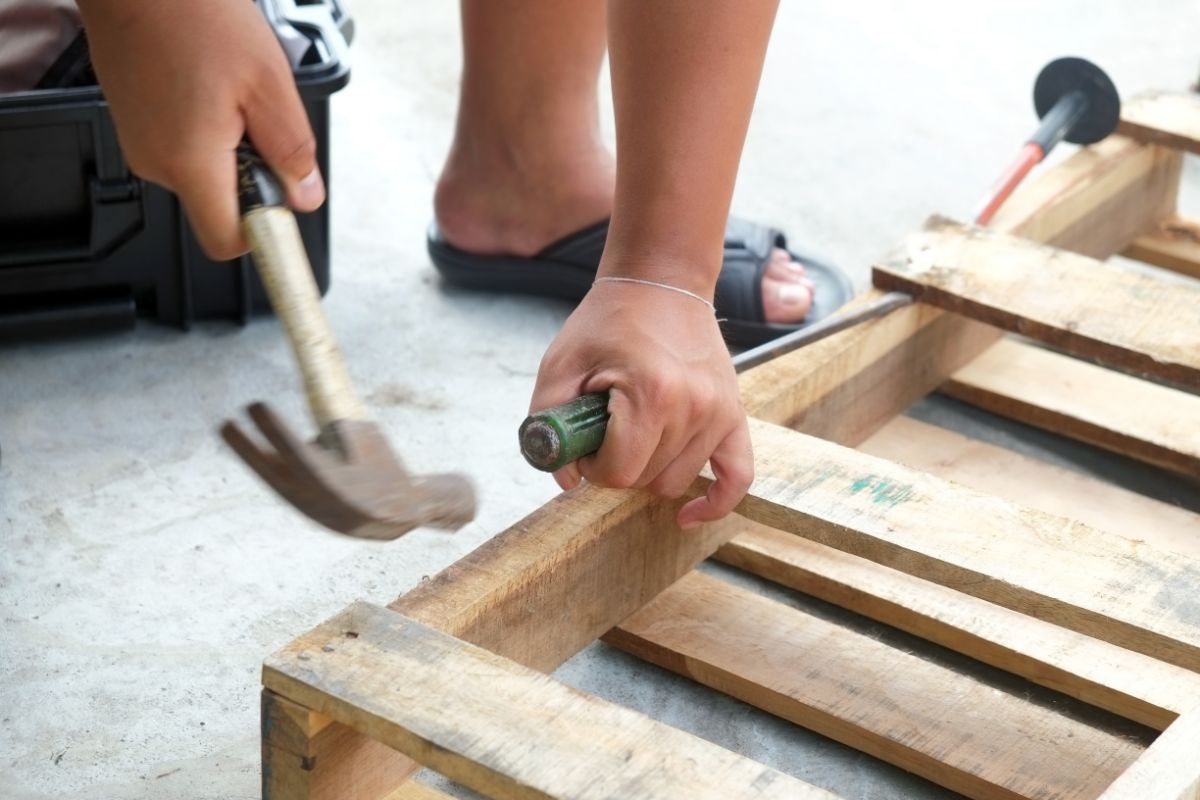
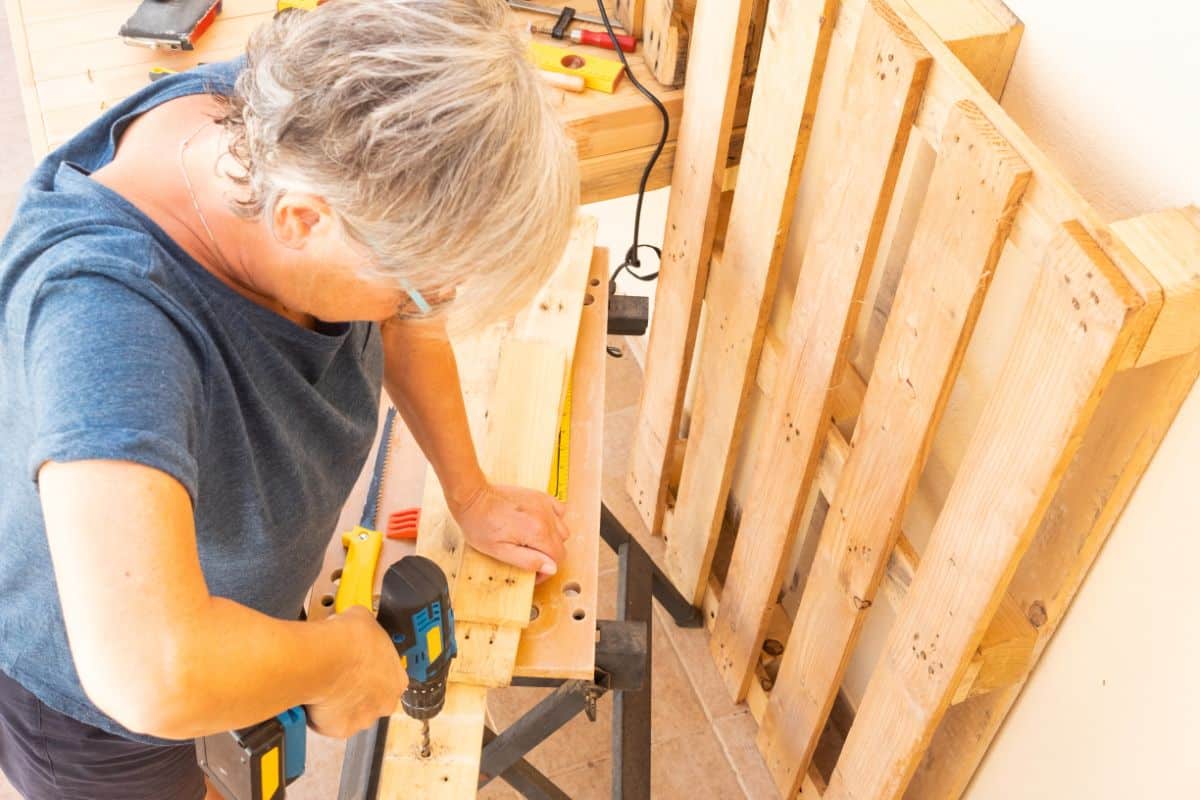
- At this point, it’s time to demo! Take your fourth pallet and carefully dismantle it so that you’re left with individual pallet board pieces.Alternatively, if you don’t want to take apart an existing pallet, look around for long flat pieces of scrap wood. These pieces will be used to assemble your potting bench and clean up edges, so they should be about as wide as the pallets themselves, approximately 3”.
Once you have your pallet wood boards or scrap pieces, you’ll want to screw one pallet board piece on the back edge of each of your side pallet pieces. These will form the supports to hold up your back pallet piece.
To attach your pallet boards, stand your pallet side pieces up (in the direction you’d like them to stand when your piece is finished) and screw a pallet board vertically against the back side of each side pallet piece. The pallet board should extend 2 to 3’ above the height of your pallet side pieces to give enough support for your back pallet piece.
When you’re done, you should have two side pieces, each with a pallet board attached that extends vertically upwards a few feet taller than your pallet side pieces.
- Now, you can start assembling your bench, but you may need helpers for this! Stand up each of your side pieces so that the pallet board extends upwards. While you may be able to do this yourself, it’s much easier to have someone hold each of the side pieces in place. Then, simply slide your pallet back piece over each of the vertical pallet board pieces and then screw the back piece in place at the rear by using as many screws as needed for a good hold.
Your potting bench will be pretty wobbly at this point, so take another length of pallet board or scrap wood and screw it horizontally across the top front of your potting bench. Make sure your side pieces are nice and straight while doing this and you’ll end up with something that’s beginning to look a bit like a potting bench!
At this point, your pallet side pieces are in place and are held together by both the back piece and an additional horizontal board at the front of your potting bench.
For a cleaner look, you can trim off the front edges of each of your side pallet pieces too.
- If you’d like to add a shelf to your potting bench, now’s the time. While this is optional, it will give you more storage space and make your potting bench that much studier.
To form your shelf, measure the interior distance between your two side pallet pieces. Then, cut your remaining pallet to that length and cut the depth of your shelf to match your overall bench.
On the inside of your pallet side pieces, mark the height where you’d like your shelf to be. Then screw a piece of pallet board or scrap wood on the inside of both side pallet pieces. These will be the supports for your shelves, so make sure these scrap wood pieces are level and are hung at the same height.
After your supports are in place, all you need to do is slide your (pre-cut) pallet shelf piece in place and then screw it onto the wooden supports so keep it there.
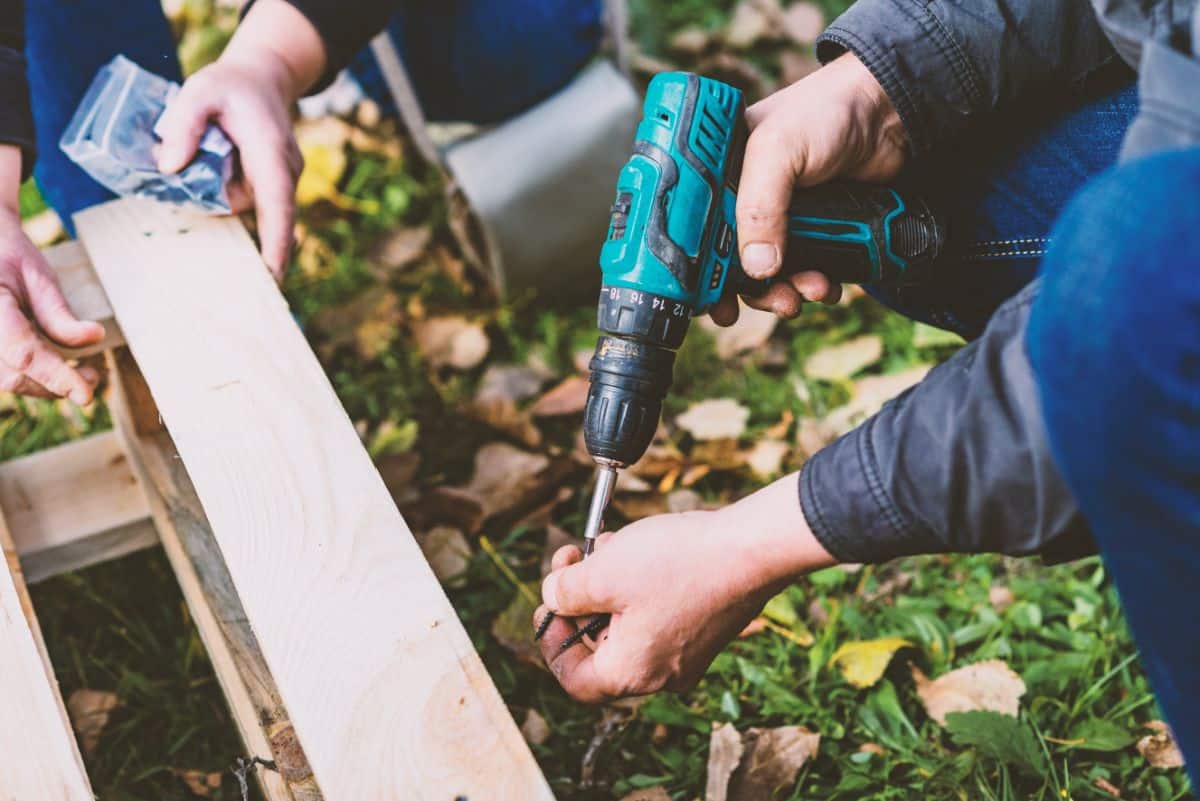
- Before adding the working surface of your potting bench, you’ll want to polish up your piece a bit.To create cleaner lines, you can screw lengths of pallet board to the exposed sides of both your side and back pallet pieces, and bottom shelf. While this is optional, it will make your potting bench look more finished.
For even more structure, you can also screw another length of pallet board to the top of your potting bench back to create an upper shelf if you’d like.
This is good time to sand all the edges of your potting bench to prevent splinters. And you can fill in any screw holes you see with a bit of wood putty.
- Once you’ve sanded everything, you’ll want to paint or stain your potting bench to help it better withstand the elements. Depending on the look you’re going for, you can simply seal the wood with an exterior grade polyurethane, or you can stain or paint it any color of your choosing. Many gardeners opt to paint their potting bench white, but the color is up to you!Just make sure whatever paint or stain you use is approved for outdoor use, and apply as many coats as you need to get a good, uniform coverage.
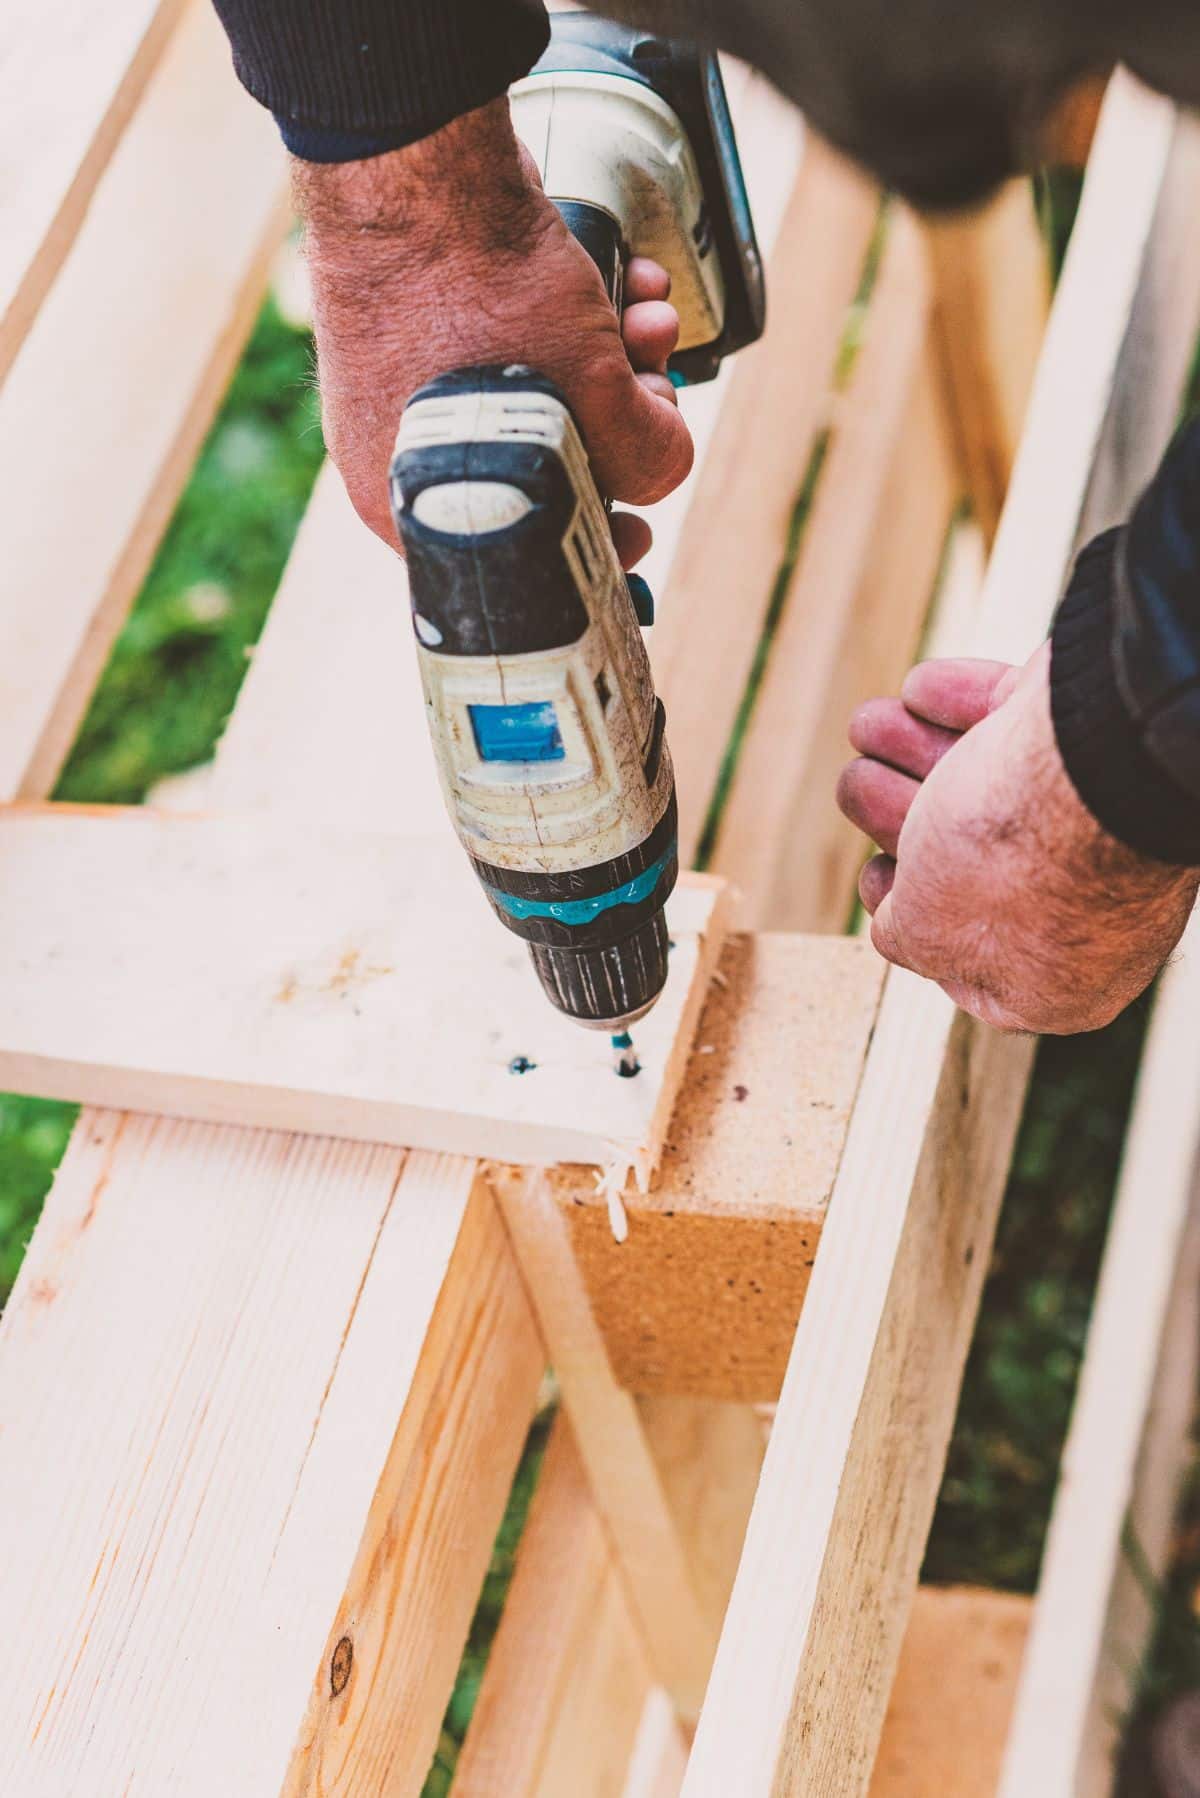
- Now that you’ve finished the sides of your potting bench, it’s time to create the most important part: the top work surface.You can use more scrap pallet board pieces for the work surface, or you can use ledger board or other scrap wood of your choosing. For a very finished look, cedar fence pickets are a good choice.
Simply lay the wood boards horizontally across the sides of your potting bench and screw them into the tops of the side pallet pieces until they’re good and secure. Since you’ll be trimming the ends of the wood boards off later, you don’t need to worry about getting them aligned perfectly along the outer edges.
For an even cleaner look, you can cut notches into the first horizontal board to fit around your potting bench back or you can just leave it flat. Whatever works for you.
After securing the boards, trim along the outer edges so you have a nice clean and even work surface edge. When cutting, leave a 2” overhang between your work surface and the side pallet supports for a prettier look.
If you want, you can even round off the corners of your work surface, or you can leave them square.
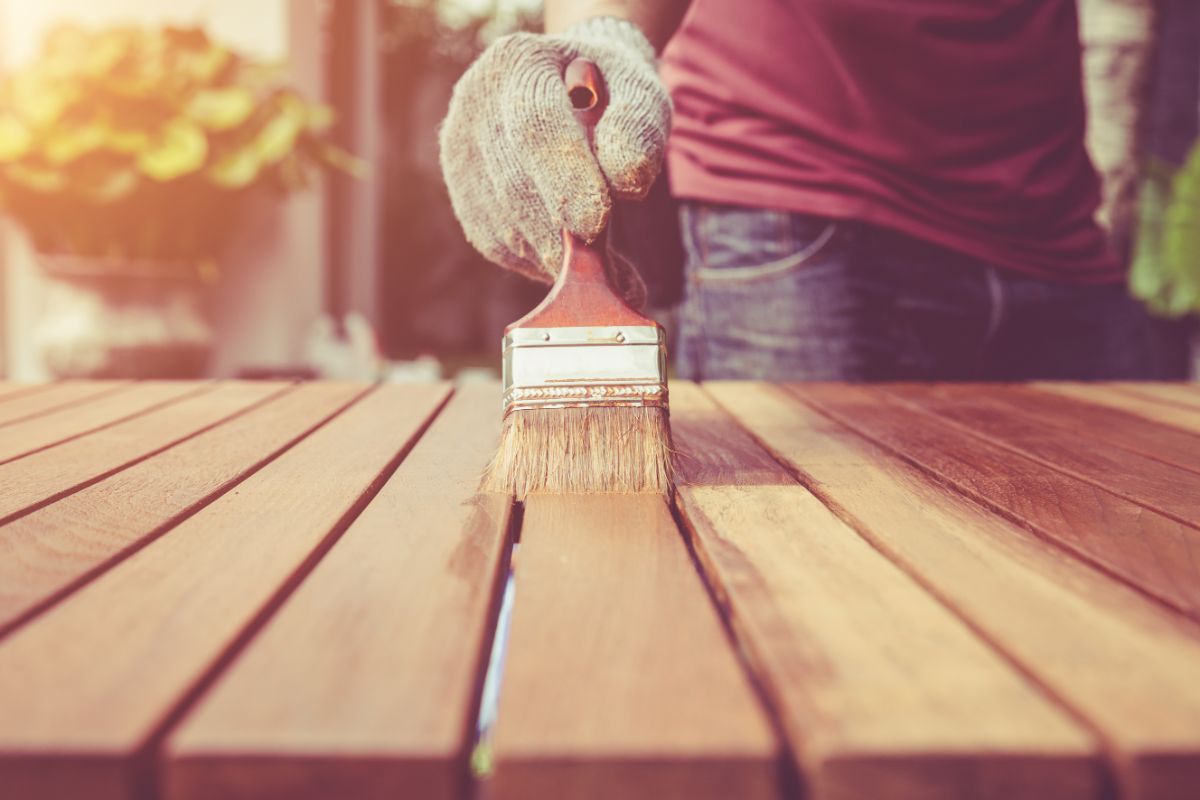
- With your work surface in place, all that’s left to do is add the finishing touches.Sand the edges of your work surface and then paint or stain the work surface with an exterior grade product. You can paint or stain the work surface the same color as the rest of your potting bench, or you can make it a different color for a cool, two-toned look.
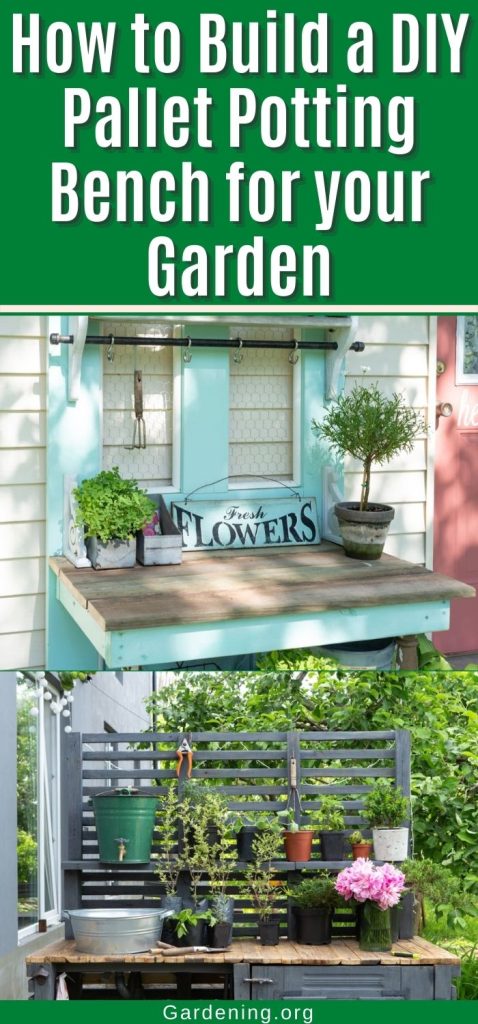
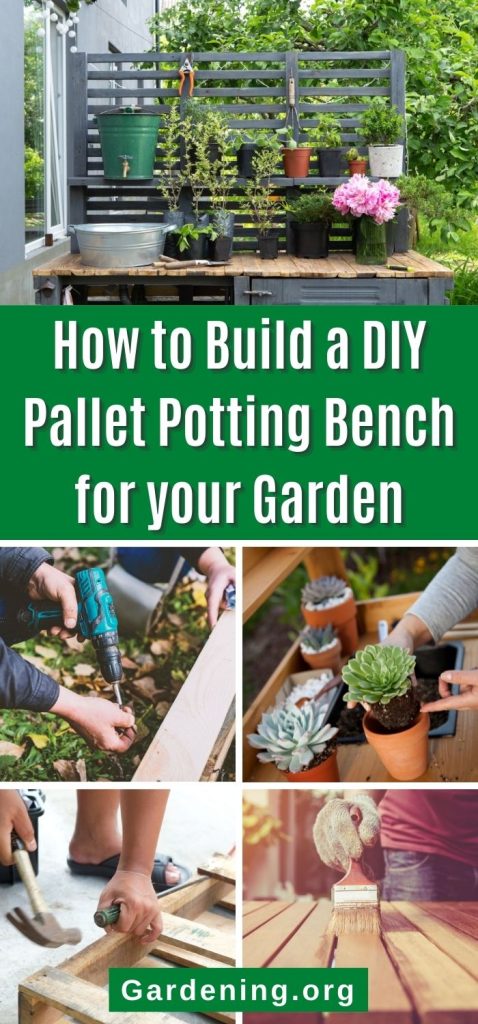
One fun choice is to paint the sides and back white, and stain the top work surface a deep, rich brown.And that’s it. Simply seal your potting bench with exterior grade polyurethane and you’re ready to go. You can add extra add-ons (like hooks and more shelves) to your bench to further customize it or leave it as is and just start potting!
Spruce up your potting bench with add-ons
If you follow the above tutorial, you’ll end up with a super cute, DIY potting bench that is perfectly suited for you and your space. But if you’re looking for more ways to customize your bench, there are plenty of fun add-ons you can try that will amp up the organization and utility of your homemade piece.
Although there are lots of other customizable features you can add to your potting bench, some of the most useful ones we’ve found are:
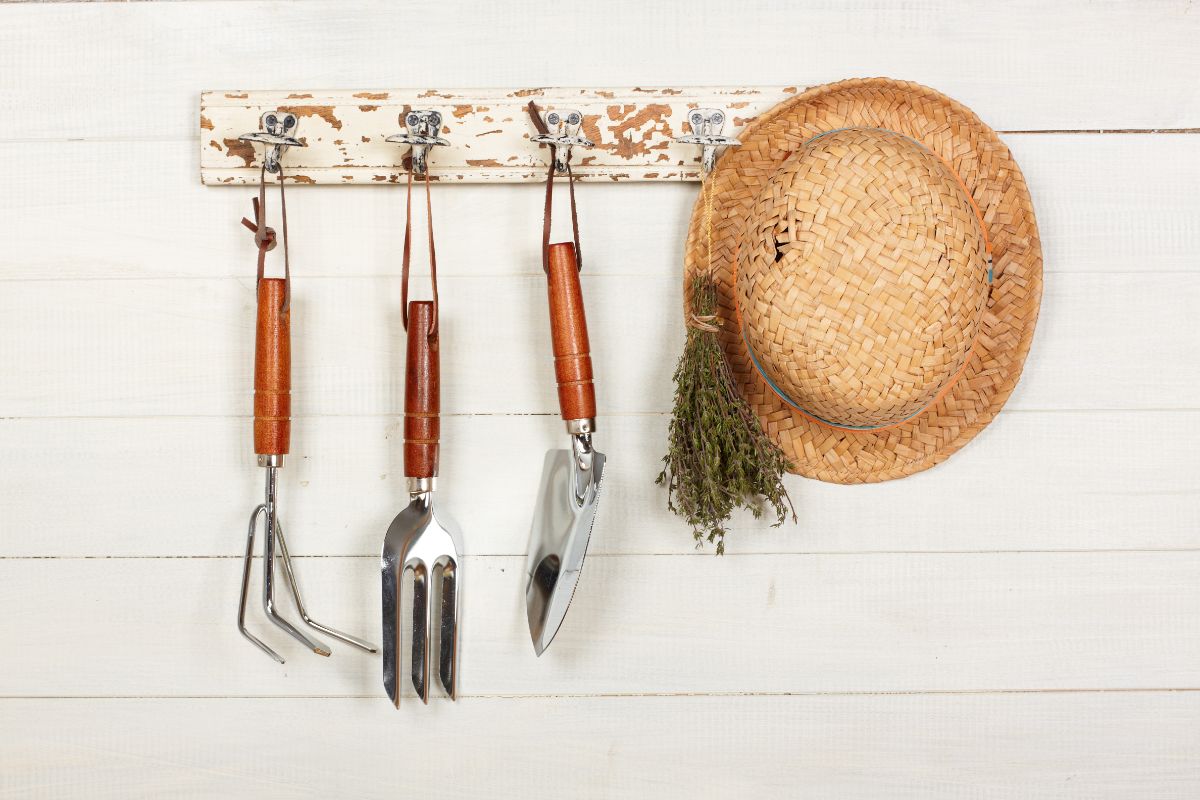
- Hooks and hangers. These are must-haves with your outdoor potting bench. Great for keeping everything nice and organized, you can use various hooks to hang up your garden hand tools, gloves and gardening hat. Hangers can be screwed onto the back of your potting bench, or you can mount some hardware cloth to the back of your bench and hang S-hooks from it for lots of hanging storage.
- Towel rack. Hands can get pretty messy when potting up garden seedlings or propagating new plant starts. Having a towel nearby to brush away dirt can keep your bench (and you) from getting too dirty. These swivel towel racks, in particular, are great because they fold away when not in use.
- Additional shelves. Although you can build in as many wooden shelves as you’d like when constructing your potting bench, for even more convenience and storage, you can add a few premade shelves too.Look for shelves that are made out of materials that can withstand the weather and won’t rust. Shelves can either be free hanging or mounted to the back or sides of your bench with screws.
- Drawers and baskets. For even more storage options, why not add a few baskets or drawers to your potting bench? They’ll give you lots more organization options and, because they tuck everything neatly away, your potting bench will look tidier too!You can try making your own drawers out of salvaged wood to match your bench or, for an easier option, just purchase some premade drawers or baskets. Since they’ll likely be outside most of the time, opt for items made out of materials (like coated metal or galvanized steel) that can hold up to the elements.These under cabinet organizers make really handy drawers for outdoor use while plastic or metal storage baskets are other convenient choices.
- Potting tray. With all that planting and propagating, potting benches are meant to get messy, but adding a potting tray to your set up can make cleaning up your bench a breeze. Just do all your potting on the potting tray and then, when you’re done, simply dump the extra dirt and mess into your compost heap or back into your soil bag for reuse.
- Outdoor sink. If you want to get really fancy, you can also run your garden hose to your potting bench and add a spigot to make washing up and watering potted plants even easier. For even more convenience, you can add a small sink and place a plastic bucket beneath for drainage. Or simply pop in a small, galvanized tub, without a drain, for a simpler set up.
- Potting benches are usually pretty heavy pieces, but adding wheels to your bench base will make it really easy to relocate. Once your wheels are in place, you can push your potting bench to wherever is most convenient for you to work that day!
Where to find pallets
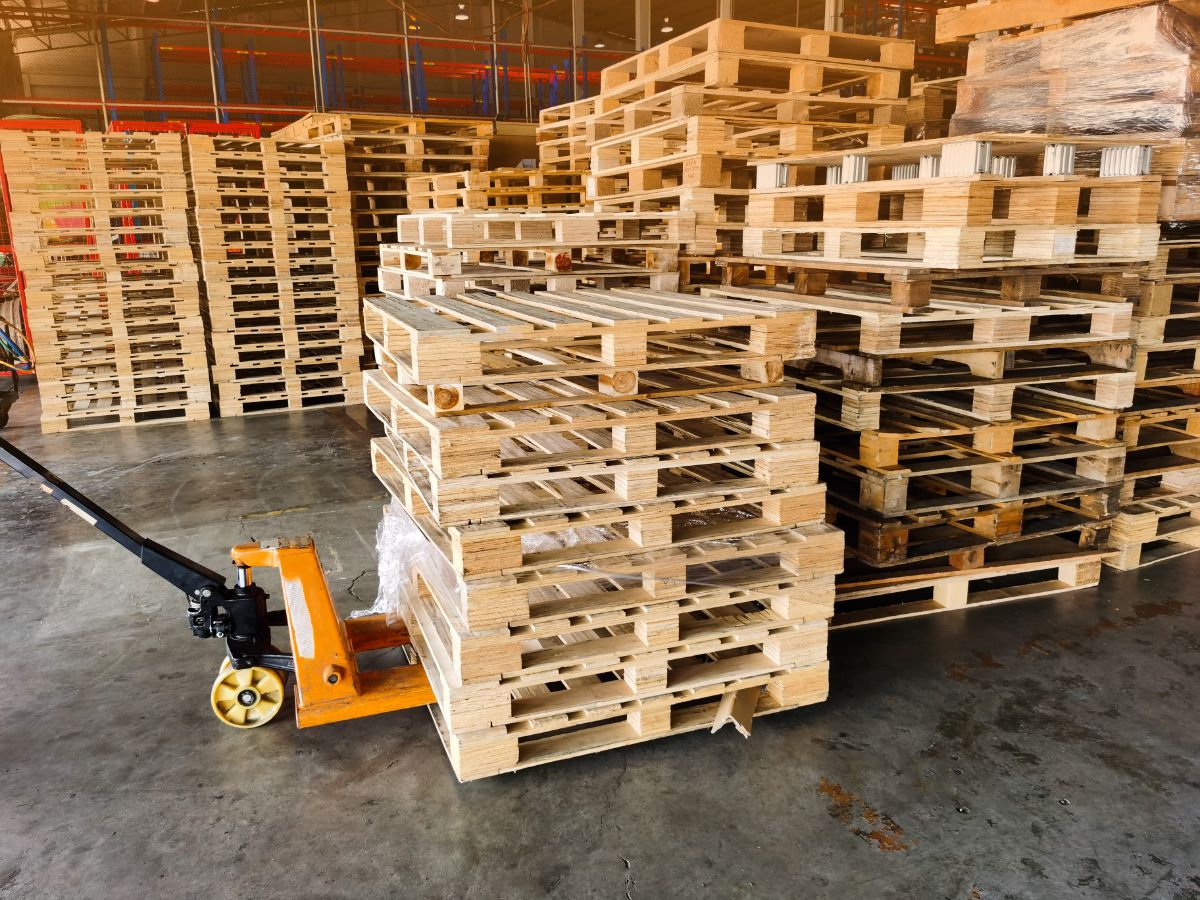
Large companies and big box stores use pallets all the time for receiving shipped goods. Once they’ve unpacked their trucks, they are often left with tons of wooden pallets that they just don’t have a use for and they’re usually more than happy to give them away for free!
When you’re on the hunt for some free wooden pallets, try calling up local box stores, hardware stores, your local garden center or plant nurseries, or any other nearby businesses you can think of. You can also ask local construction companies and builders to see if they have any leads.
For more choices, check out listings on social media sites or post in local groups that you’re looking for pallets. You’ll usually find people that are ready to get rid of a wood pallet or two.
If you’re willing to do a bit of hunting, you’ll likely be able to find more wooden pallets than you could possibly need. However, if you’re really having difficulty locating any free wood pallets, you can also order them online. If you buy a few, you can often get a bulk discount rate.
Using garden safe wood pallets
Wood pallets are frequently used by companies to ship their products internationally. However, in today’s globalized economy, it’s become an increasing concern that pests may spread from different countries when items are shipped internationally. For this reason, many wooden shipping pallets are sprayed with insecticides.
Wooden shipping pallets are usually marked with letters that tell you a bit about how they were made, including whether or not they were sprayed with insecticides. Pallets marked with “MB” or “SF” have been treated with the chemicals methyl bromide and sulphuryl fluoride respectively and are not safe for garden use or to use around anything you plan on eating.
Instead, for safety reasons, look for pallets that are stamped with “HT,” which signifies that they’ve received heat treatment only. These wooden pallets are safe for home and garden use.
Pallets that were not made for international shipping are usually not stamped with anything, but that doesn’t mean they’re safe for gardens. Unmarked pallets may or may not have been treated with chemicals, but there’s no way of knowing. For this reason, it’s best to avoid using unmarked pallets in your garden and garden-related projects too.
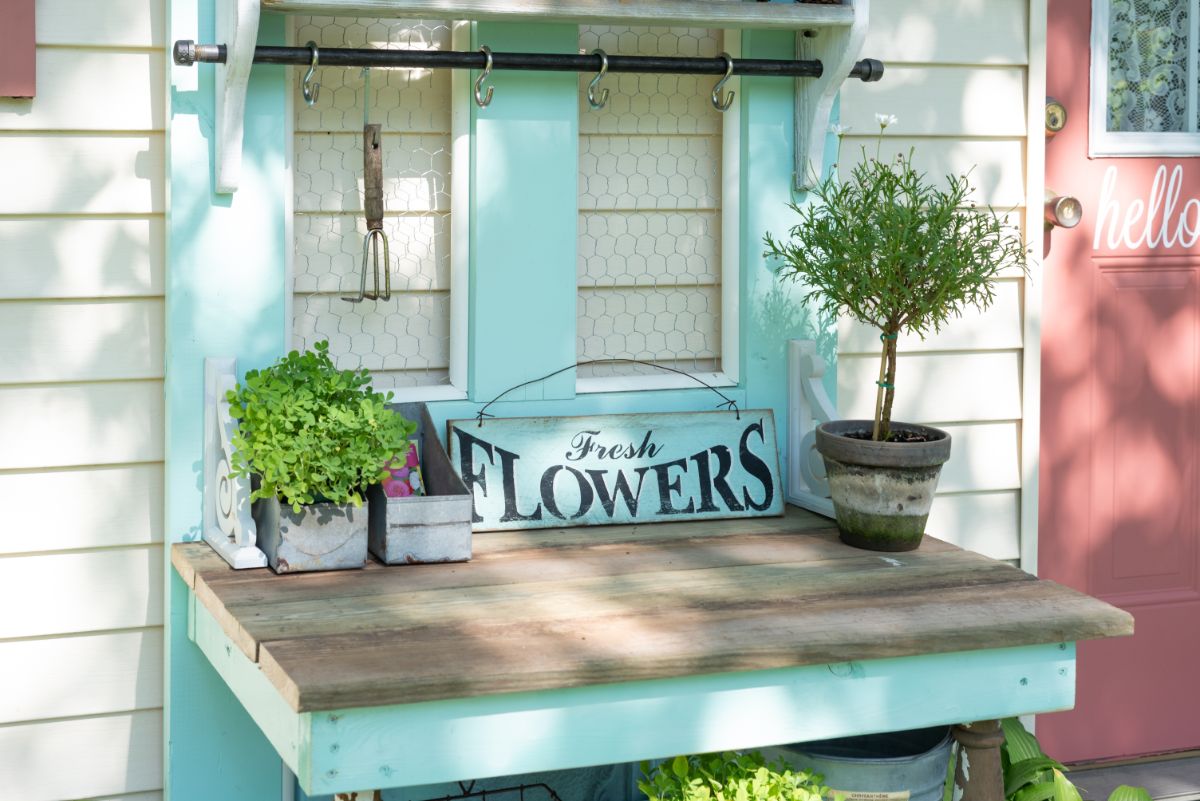
Best premade potting benches
While homemade potting benches, especially ones made out of upcycled pallet boards, are more cost effective, if you’re in a hurry or you’re just not that into DIY, there are plenty of great potting bench options to buy too.
Often you can find potting benches for sale at box stores and some plant nurseries, but for the greatest selection, shopping online is usually the best choice. Some of the top online potting benches with lots of great features are:
- The garden sink with potting station by BrylaneHome is one super convenient model. It is wall-mounted, so you can hang it on the side of your home or outdoor shed. Even better, when attached to your garden hose, it offers running water and a handy outdoor sink for all your washing up.With sliding panels that cover the sink when not in use, you have lots of ways to use this potting station and it’s got plenty of room for working on outdoor projects. It’s even made out of an easy to clean polypropylene, which can just be wiped down when you’re done gardening.
- The natural wood potting bench by Yaheetech is one of the most popular potting benches around. With plenty of hooks, a drawer, 2 shelves and a closed cupboard, you’ll have lots of places to store and organize your gardening supplies. It also features a metal-plated potting area that won’t get stained by potting soil and is easy to clean up when you’re done gardening.This bench comes in 3 different colors, so you have plenty of choices and it’s easy to assemble too!
- If you’d prefer a potting station you can tuck away when it’s not in use, the folding potting bench by Outsunny is hard to beat. This pretty potting bench has a leaf motif that will coordinate with almost any outdoor space and it’s made of metal so it can stand up to the elements. Some of the other useful features include: 2 shelves for lots of storage, multiple hooks for organizing and a built-in bag to hold soil or help with cleanup.
- Another handy potting bench choice is the wooden work table by Outsunny. This petite potting station has wheels, so you can move it just about anywhere. It also comes in 3 colors, so you can coordinate it with your home, and it has 2 shelves, a drawer and a removable plastic sink for all your garden chores.
- For a more modern and industrial look, the RMP aluminum potting bench is perfect. It doesn’t have all the bells and whistles of some of the other potting benches, but its simple design still has everything you need.It provides you with a sturdy work space that’s easy to clean, has a perforated work area so soil and water can be simply wiped away and, at 18 pounds, it’s lightweight enough that you can relocate it as needed.
Conclusion
Gardening is a hobby that grows and grows. Once you start your first garden, don’t be surprised if you want to keep adding to it, expanding new beds and growing new container plants. But all of those new beds and plants often mean you’ll need more garden tools and accessories, and a potting bench is the perfect place to store them.
Potting benches help keep all of your garden essentials in one convenient spot. But they also are an ideal place to do all your messy garden work, because they are just so easy to clean up.
While you can certainly buy a premade potting bench if you’d like to, most gardeners don’t mind getting their hands dirty and choose to make their own DIY potting bench. Simple in design, homemade potting benches are easy for beginning builders to complete in a weekend. But even better, when you make your potting bench out of salvaged wooden pallets, they’re usually very inexpensive to make and eco-friendly too.
So, if you’re looking for an easy gardening project to complete this weekend, try making your own potting bench. With a few upcycled wooden pallets and a little bit of elbow grease, you’ll end up with your own fully customized potting bench, just right for you and your garden space.
References:
- Anderson, Tanya. “How to Build a DIY Wood Pallet Potting Bench.” Lovely Greens. 3 August 2022. 16 August 2021.
- Cammack, Heather. 2019, August 14. DIY Pallet Furniture // Potting Bench. [Video] YouTube.


Mary Coakley
A great.subject