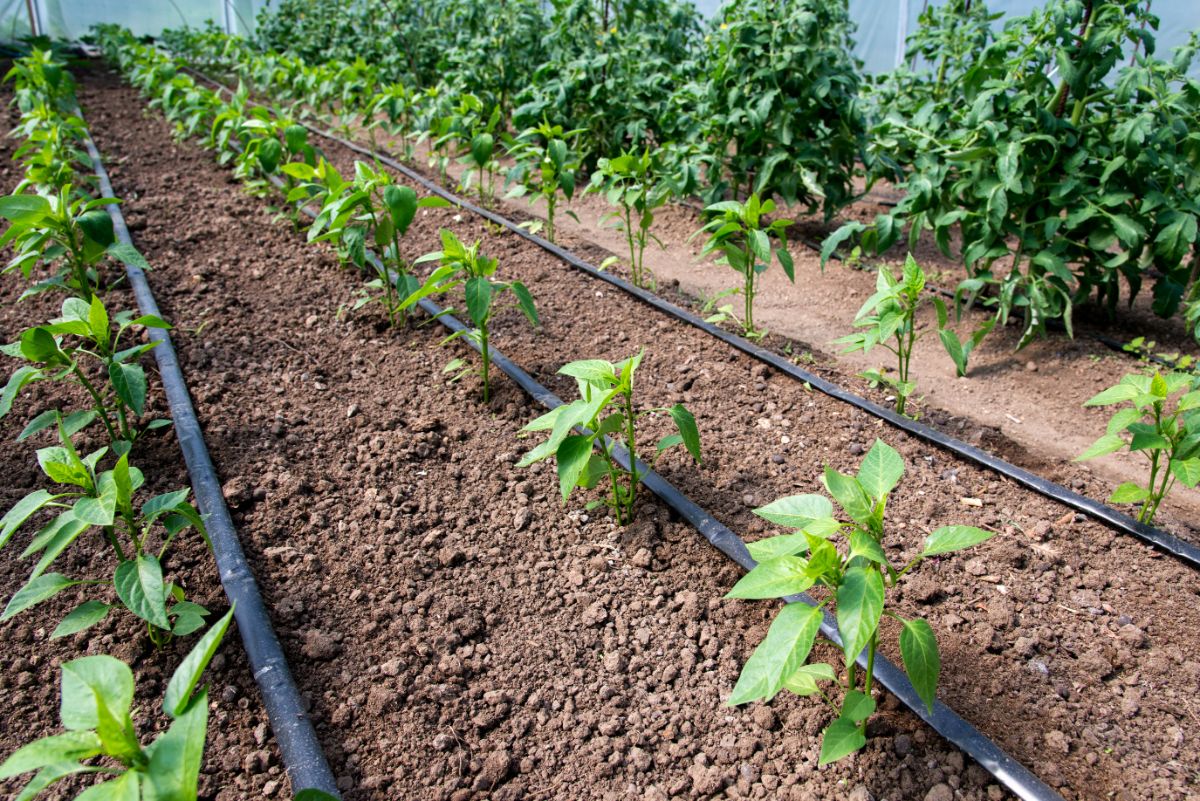
Drip irrigation is a system for watering your garden that allows water to be directed straight to plant roots and rows of crops and offers a wide range of benefits.
There are so many reasons to install drip irrigation: decreased plant disease, fewer weeds, reduced yard work, and more. And while soaker hoses and sprinkler systems may work in a pinch, they don’t offer many of the perks that driplines do.
So, if you’re ready to install your own dripline system, or you’re simply curious and want to learn more, follow along with us as we explore the joys of drip irrigation and how to install your own basic system.
Jump to:
Benefits of a dripline system
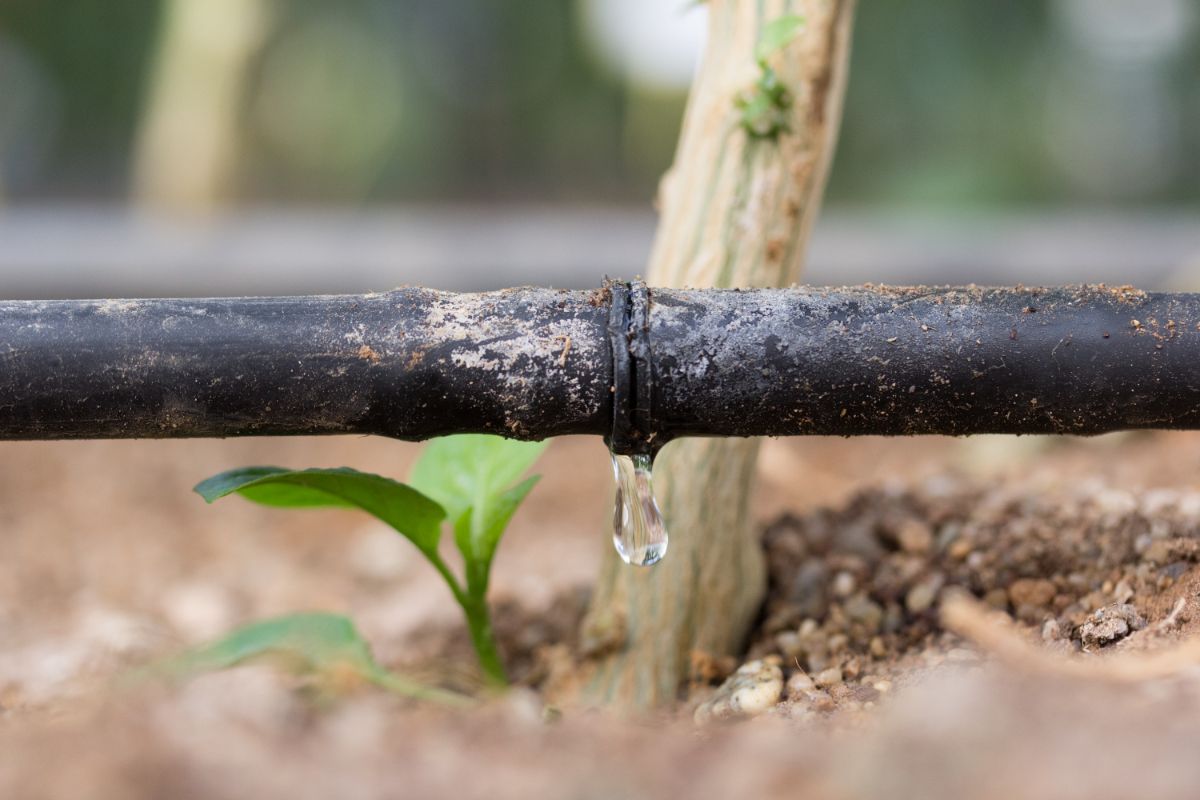
From disease prevention to reduced water consumption, there are so many benefits to installing a dripline system. Some of the major perks of drip irrigation include:
- Reduced water usage. Drip irrigation directs water right where it’s needed: to plant roots. Unlike sprinkler systems that waste water with overspray, drip irrigation allows you to water your plants just as much as they need, reducing water consumption dramatically.
- Natural weed prevention. By directing water straight to plant roots, weeds in other areas of your garden beds will be deprived access to moisture and will wither away in the summer heat. This is what makes drip irrigation an essential part of weedless gardening.
- Eliminate common plant pathogens. Downy and powdery mildew thrive in conditions with dry soil and moist foliage. Sprinkler systems, with their overhead spray, often lead to mildew issues as they wet leaves and raise humidity. Drip irrigation, on the other hand, waters plant roots directly, thus reducing or eliminating common mildew problems.
- Automated watering. Whether you travel a lot or simply don’t want to spend time watering your garden, drip irrigation allows complete automation of your watering. Simply program your timer at the beginning of the season and you can forget about watering your plants!
- A fully customizable system. Drip irrigation systems are the most customizable systems around. Whether you have a raised bed garden, in-ground beds or a bunch of planters on your porch, you can run a dripline to it. You can even direct water to a single plant or time your watering program for a row of carrots down to the minute.
- Tidy setup. Unlike garden hoses and soaker hoses, dripline systems are quite orderly. If you don’t like seeing tubes everywhere, sections of your dripline can even be buried underground for a neater look.
- Long lasting and easy to fix. Soaker hoses don’t have a long lifespan and usually need to be replaced every one to two years. Additionally, if they are damaged, you may need to replace them or splice your hose. Drip irrigation tubes, however, can last eight years or longer and damaged tube sections can be easily replaced without affecting the entire system.
- Adding value to your home and garden. A drip irrigation system can improve the aesthetics of your garden by ensuring that your plants have enough water to grow healthy and lush. Your landscape and your home will reap the benefits with greener foliage and better curb appeal.
The difference between drip irrigation, soaker hoses and sprinkler systems
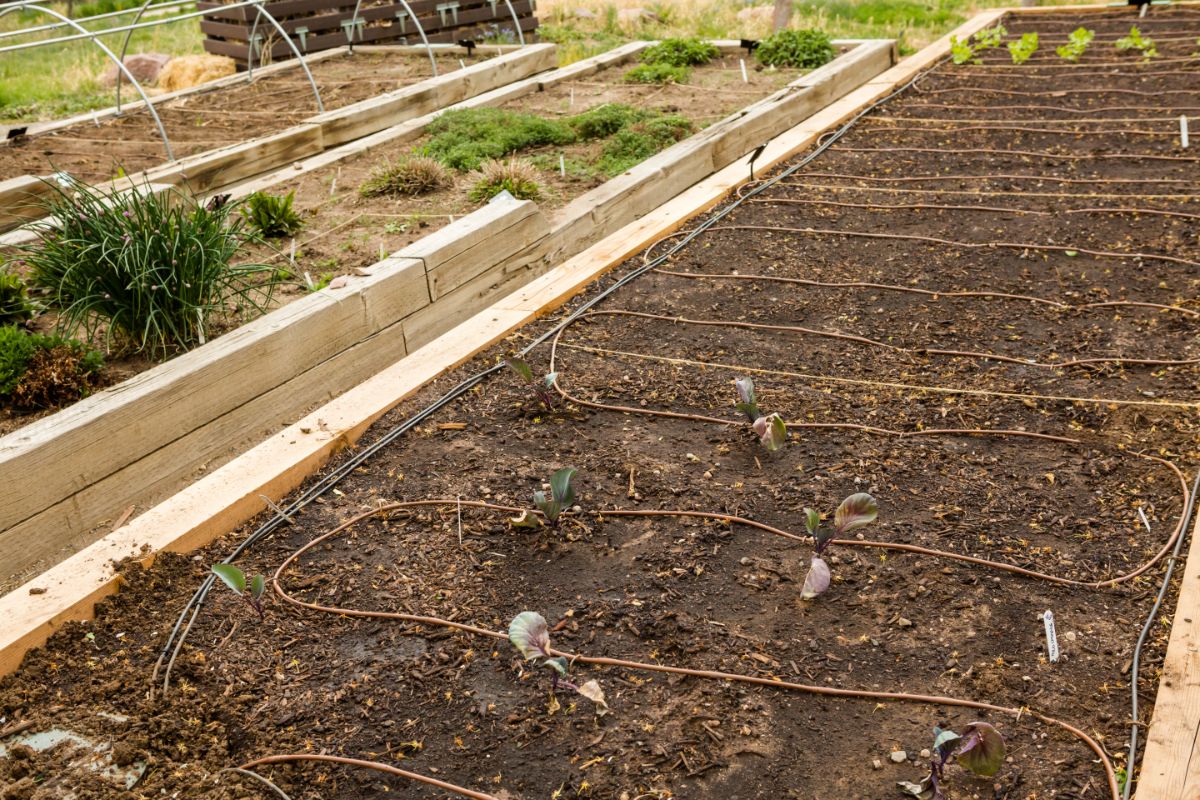
Sprinkler systems work by overhead watering. There are a wide range of sprinkler options and many of them are quite inexpensive. However, sprinklers create high humidity conditions and wet leaves, which can promote issues with downy and powdery mildew. Additionally, sprinklers usually overspray your garden and their water streams cannot be directed, which can encourage weed growth and water waste.
Soaker hoses at first resemble dripline systems, as they both direct water to the soil line and away from plant leaves; however, they are a bit different. Soaker hoses are less expensive and easier to install than dripline systems, but they aren’t as durable. Soaker hoses need to be replaced frequently, usually every year or two. If a section becomes damaged, you either need to replace your entire hose or splice it together, which will shorten your hose length overall.
Soaker hose setups are also not particularly customizable. You simply lay them down as you would a regular garden hose, and you can’t direct them to specific plants or adapt them perfectly to container gardens or oddly shaped beds. Additionally, most soaker hoses cannot be buried underground without causing clogs.
Drip irrigation, on the other hand, may be more expensive to get started with, but the tubes and equipment are much more durable and often last eight years or longer. If a section of your dripline becomes damaged, you can simply replace that length of tubing without disturbing the rest of your system.
Drip irrigation is fully customizable too and is well-suited to oddly shaped gardens, container plants and even vertical spaces. You can run a single tube to water just one plant, or you can direct a length of tubing to irrigate a row of seeds. It is a fully flexible system.
Drip irrigation (mainline) tubes can also be buried underground for a cleaner look without causing clogs.
What you need to install your own dripline system
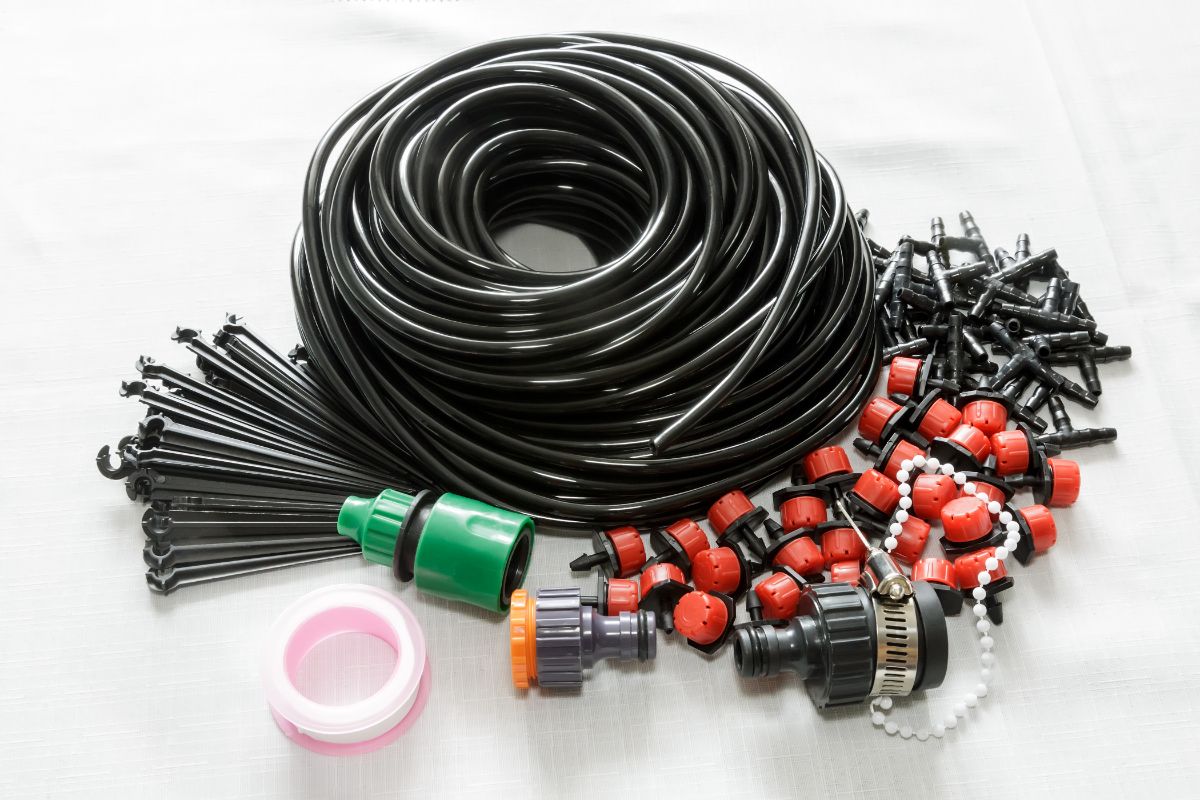
Y-spigot with valves (optional) – Although optional, having a y-spigot will save you time and energy. This item will split your outdoor spigot into two streams, so you can still use your spigot or an additional hose without needing to unscrew your dripline system. *Before ordering, check your spigot measurements to ensure you order the correct size.
Check valve – A check valve, or backflow preventer, screws into your outdoor spigot. In place, this valve ensures that water will run in only one direction: out towards your garden. Without this valuable valve, water may be able to flow back into your home, causing issues with water pressure or potential contamination of drinking water. *Before ordering, check your spigot measurements to ensure you order the correct size.
Timer – Of course, you don’t really need a timer, but part of the beauty of dripline systems comes from their automation. Installing a timer allows you to pre-program your watering schedule. You can select what days and what times you would like your dripline system to run too.
PSI pressure regulator – The water pressure in your outdoor spigot is often quite high, usually over 45 psi (pounds per square inch). Dripline systems can be damaged by high pressure, so a PSI pressure regulator works by lowering the water pressure that comes from your spigot so that it will work with your dripline. Most dripline systems run well with 25 PSI, while some can work with 40 PSI, so read the manufacture’s labels to know which PSI regulator size will suit your tubing.
Mesh drip filter – Drip filters make sure no sediment finds its way into your dripline system where it can gum up emitters and cause clogs.
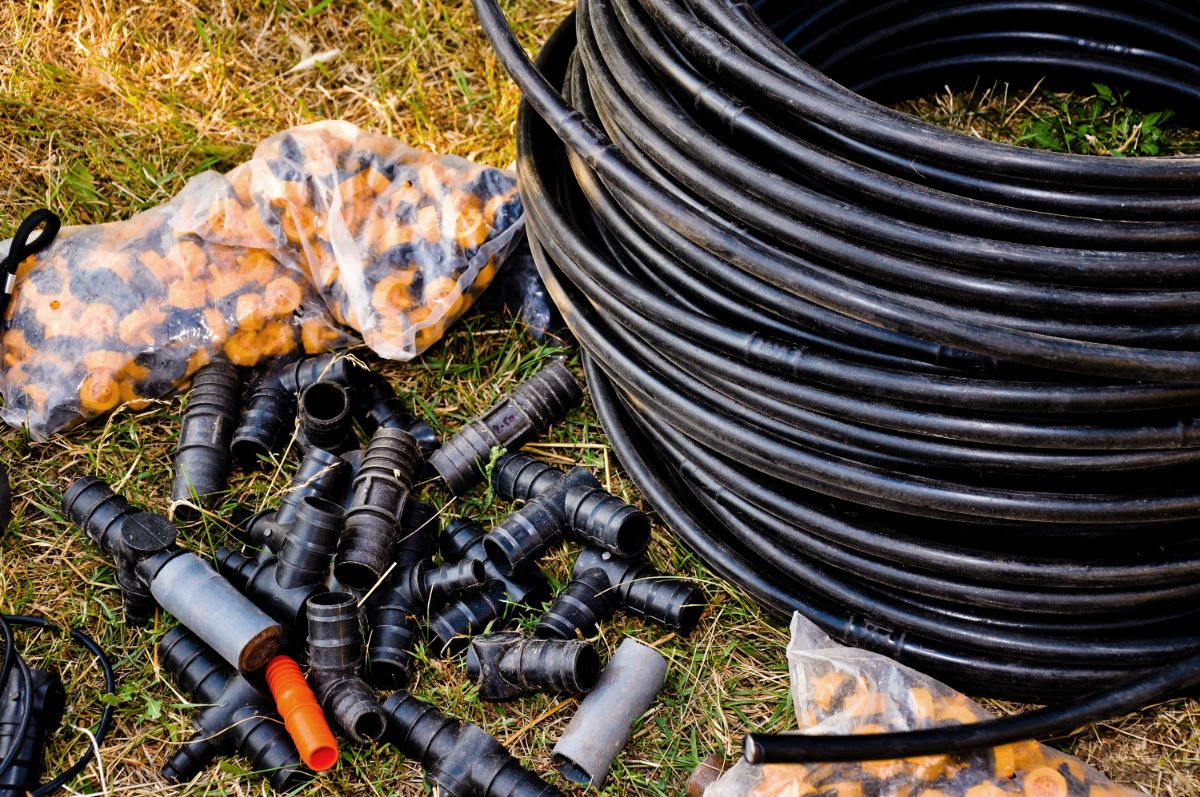
Punch – Use your punch to poke holes in your mainline tubing where you want to attach your emitter tubes.
Mainline tubing – Mainline tubing extends from your outdoor spigot or hose to your garden. Because it’s sturdier than emitter tubing, and less prone to getting clogged, use mainline tubing to form the backbone of your dripline system. Most dripline systems use ½” mainline tubing, which can come in rolls of 100’ to 1000’.
Emitter tubing – Emitter tubes extend from the mainline tubing and are placed along rows of plants or wound around container beds. Emitter tubes have a series of premade holes that allow water to drip out to water your plants. Emitter tubing holes can be spaced anywhere from 12” to 36” apart, so choose the spacing that works best for your garden and planting arrangement.
Mainline hose beginning or mainline hose beginning elbow – Mainline hose beginnings adapt your outdoor spigot to your mainline tubing and form the beginnings of your dripline system. You can choose either a straight or angled hose beginning depending on your set up.
Mainline coupler or mainline coupler with valve – Mainline couplers link two sections of mainline tubing together. This is useful if you’re combining two lengths of tubing for larger scale installations or if you accidentally damage a section of tubing and need to repair it. Mainline couplers with valves allow you to turn sections of your drip system on and off, allowing for more precision with your watering.
Mainline T-coupler – T-couplers allow you to connect three lengths of mainline tubing together to form the structure of your dripline system. These couplers work well for adding multiple lines of mainline to your garden or for directing your tubing up into raised beds.
Mainline L-coupler - L-couplers allow you to connect two lengths of mainline tubing together to form the structure of your dripline system. These couplers work well for going around corners or for directing your tubing up into raised beds.
Mainline hose end with cap or figure 8 mainline end – Use either capped hose ends or figure 8 ends to close off any open ends on your mainline tubing after install.
Two-way plugs – Otherwise known as “goof plugs,” two-way plugs are small plastic pieces with differently sized ends. These ends can be used to plug up the end of emitter tubes or microtubing lines or to stop up any holes you accidentally poked in your mainline tubing.
Barbed connectors – Barbed connectors help you to attach emitter tubing or microtubing to your mainline.
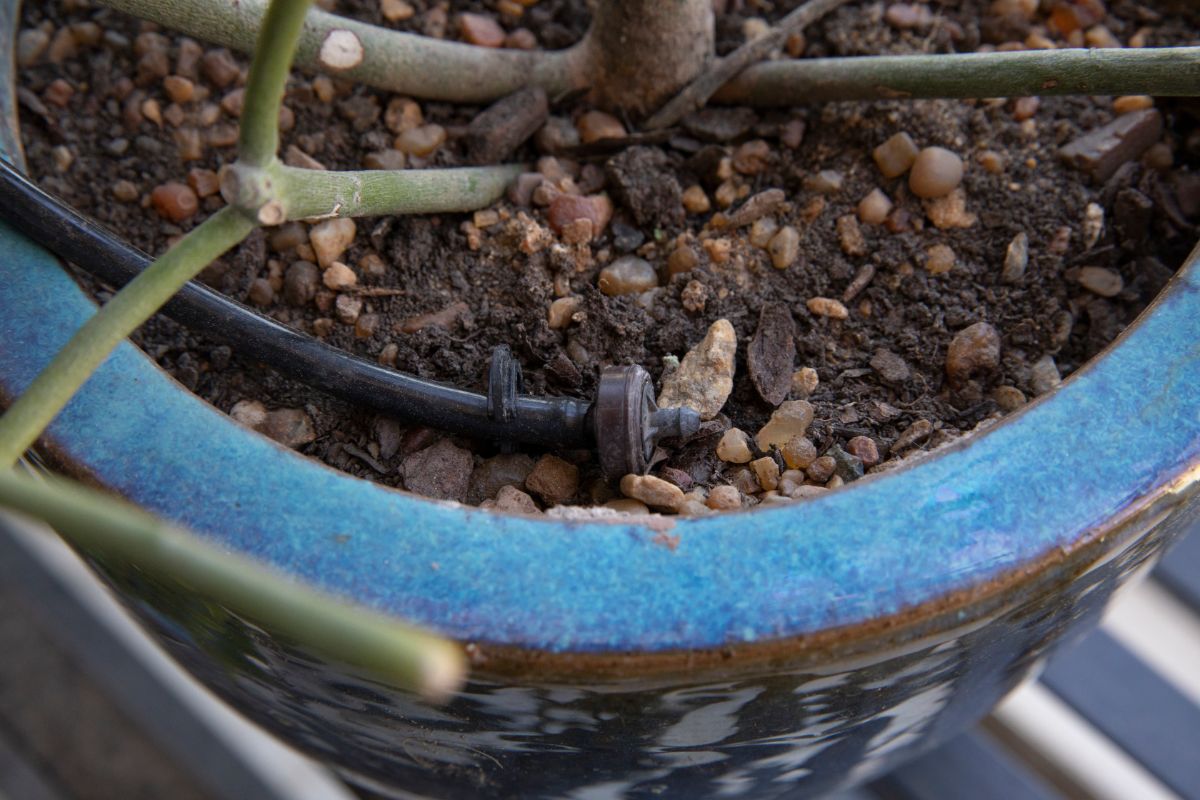
Microtubing (optional) - Microtubing usually isn’t essential for in-ground gardens, but it is the ideal solution for watering containers or specimen trees. Unlike emitter tubing, microtubing doesn’t have any emitter holes. Instead, microtubing is used in conjunction with spot emitters to create a direct stream of water for watering individual plants.
Spot emitter (optional) – Spot emitters are also not essential for in-ground gardens, but they are great for watering containers or specimen trees. Use spot emitters with microtubing to water individual plants or pots.
Landscape staples – Landscape staples help secure mainline tubing in place to keep your dripline system where it should be. Simply drive them into your soil with a hammer.
Perforated plastic strapping (optional) – If you’re installing your dripline system in a raised bed, use loops of plastic strapping and nails to secure your mainline tubing to the top of your raised beds for a secure system.
How to set up a basic drip irrigation system for an in-ground garden
The sheer versatility of drip irrigation means that there are thousands of different ways to install a dripline system. While we can’t cover everything here, nor can we tell you exactly how to structure your own system, we can give you plans for a very basic set up which you can adapt to your own garden space.
The below dripline plan is for a rectangular in-ground garden; however, with the use of L-connectors and T-connectors, drip irrigation can be easily adapted to a raised bed set up or to irregularly shaped garden beds too. Alternatively, driplines can also be used for container gardening, just add some microtubing and spot emitters.
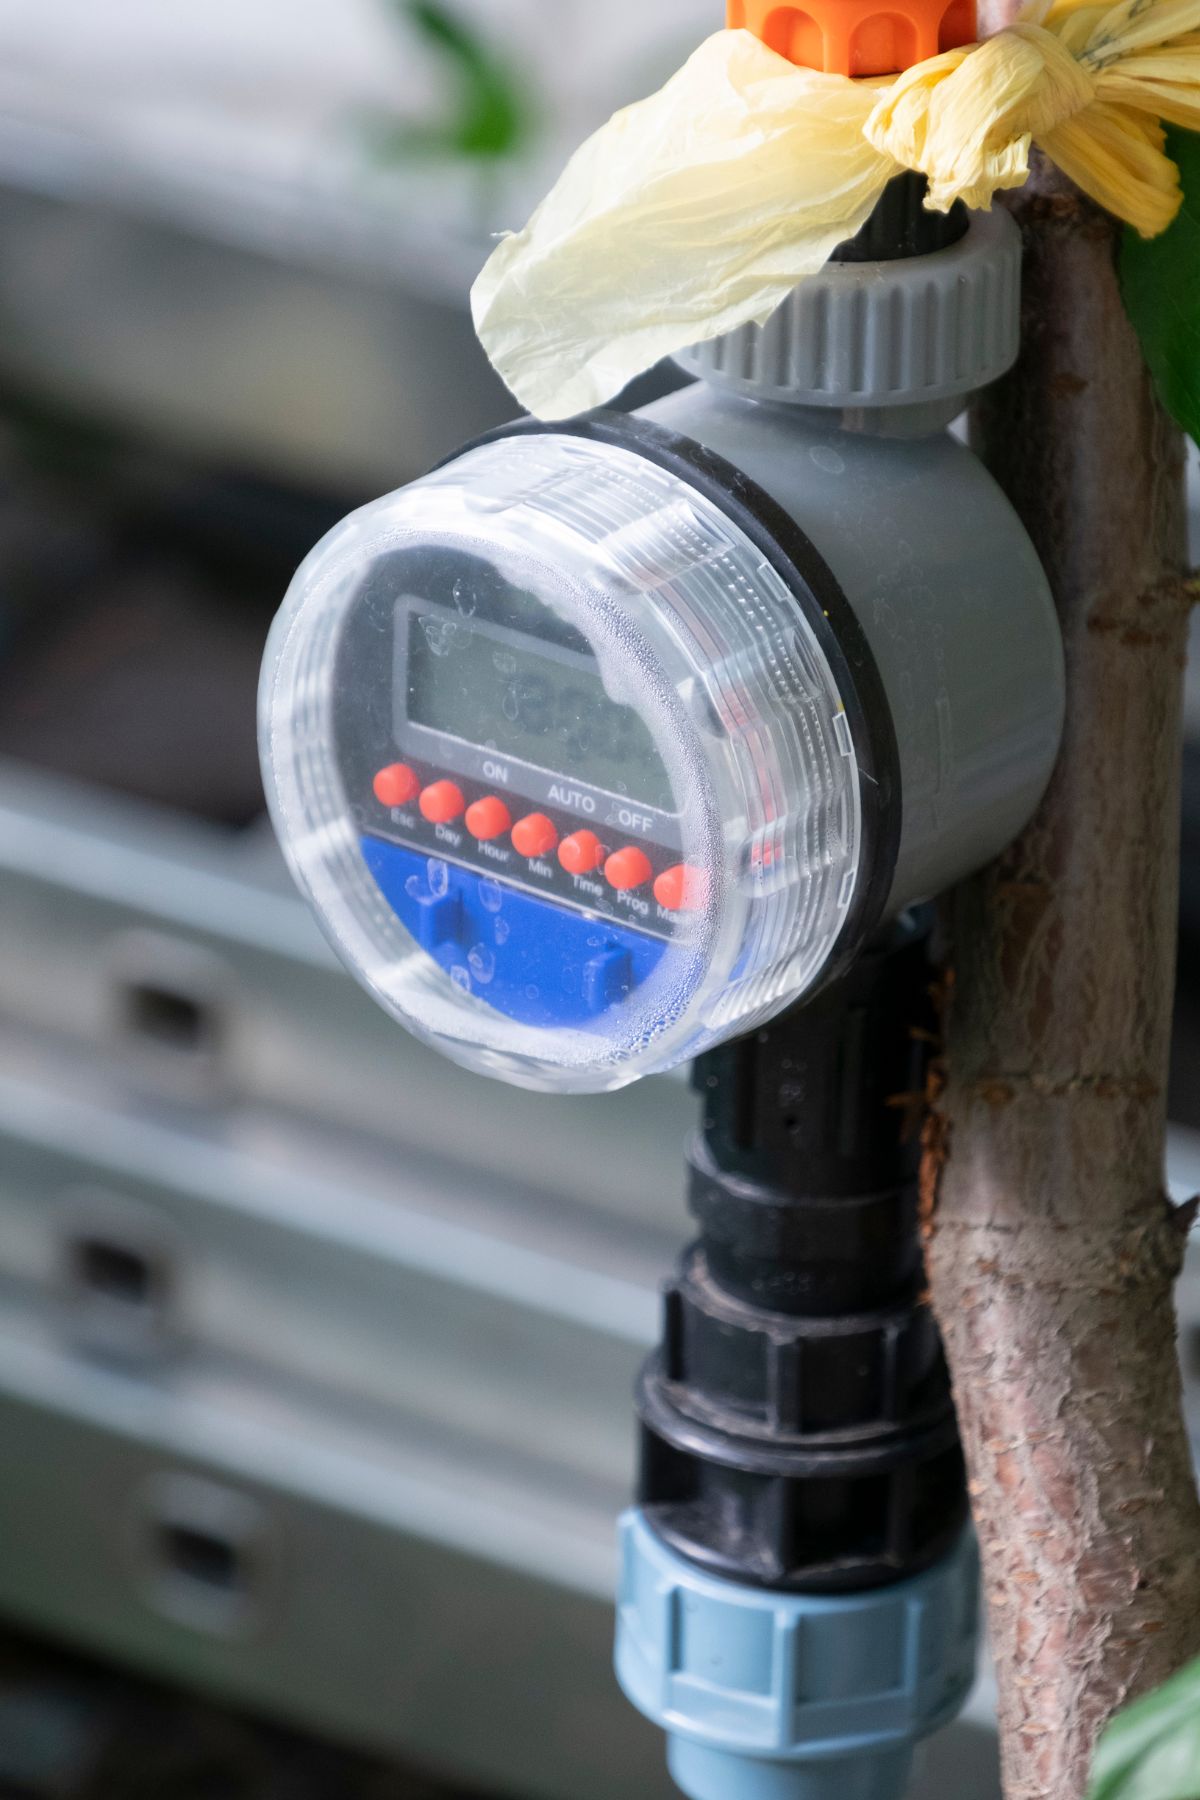
- The first steps all take place at your outdoor spigot. If you’re using a Y-spigot adapter, install it first. Then twist on your check valve.
- After that, screw on your PSI regulator, mesh drip filter and timer. While these are sometimes structured differently, these usually just twist on easily, in the same way you would attach a hose to your spigot.
- Next, you’ll need to determine how you want to get the water supply to your garden.
You can either choose to run a standard garden hose to your garden or you can run a line of mainline tubing to your garden. It doesn’t really matter what you choose; however, if you’re working with a large garden space, garden hoses can ensure better water pressure.
Additionally, garden hoses are a bit more flexible and durable, but mainline tubing can be buried underground, so it’s up to you.
If you want to use a garden hose, simply screw it onto your timer and then stretch it out until it reaches your garden.
Alternatively, if you opt to run a length of mainline tubing to your garden, attach it to your timer with a mainline hose beginning. Then run your mainline tubing out to your garden and snip off the excess with garden pruners.
- Once you’ve gotten your water to your garden via mainline tubing or a garden hose, cut a length of mainline tubing that is the same length as your garden. Then cut that length in half and attach a T-connector in the middle of these two lengths of mainline. This will be used to direct water to both sides of your garden.
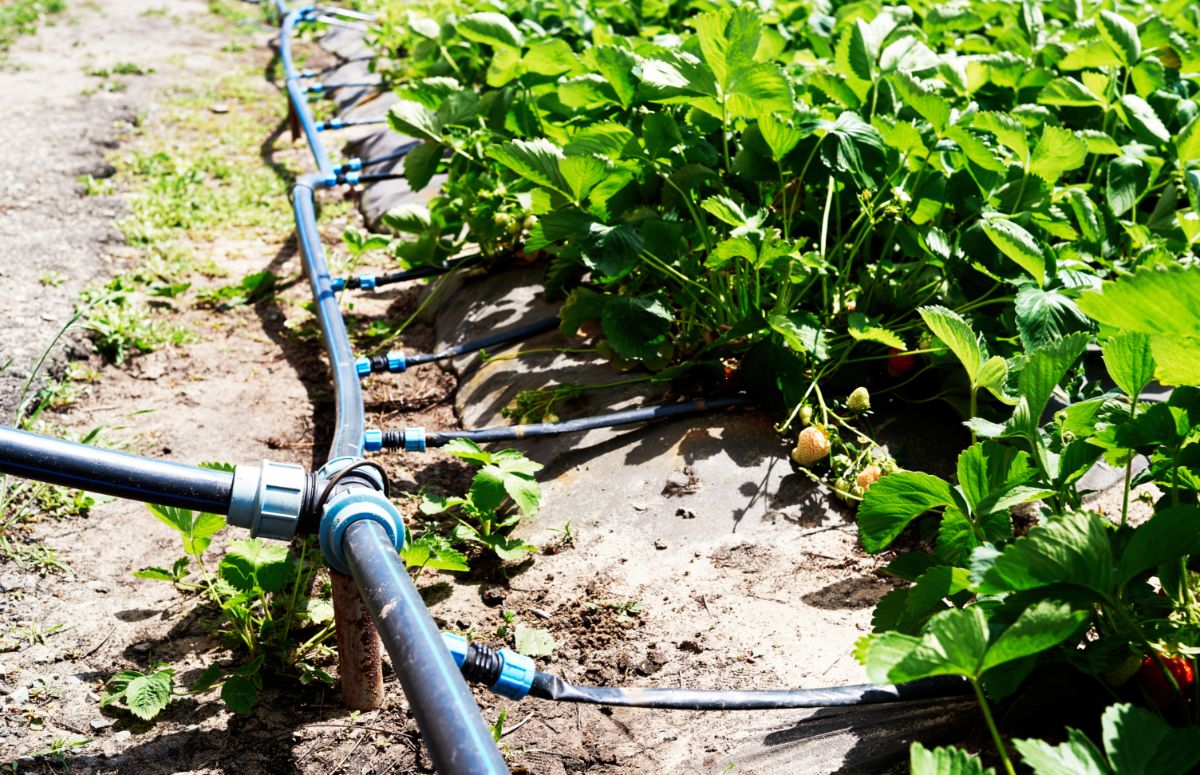
- Next, you’ll want to attach this section of mainline tubing to your water supply.If you ran a length of garden hose out to your garden, attach the mainline hose beginning to your garden hose and then attach the other end of the mainline beginning to a small 6 to 12” section of mainline tube. Finally attach this small section of mainline tubing to your T-connector so that your hose is officially connected to your garden’s mainline tube.
If, instead, you decided to run a length of mainline to your garden, rather than a hose, simply attach this length of mainline to your T-connector. This will form the connection you need to run water to your dripline system.
- Now, you’ll want to seal off both ends of your mainline tube to create a closed system. Apply a mainline hose end with cap or figure 8 mainline end to both ends of your mainline tube. At this point, you should have water running to your garden via either your garden hose or a mainline tube. You should also have a length of mainline tubing, with both ends closed, running the length of your garden.
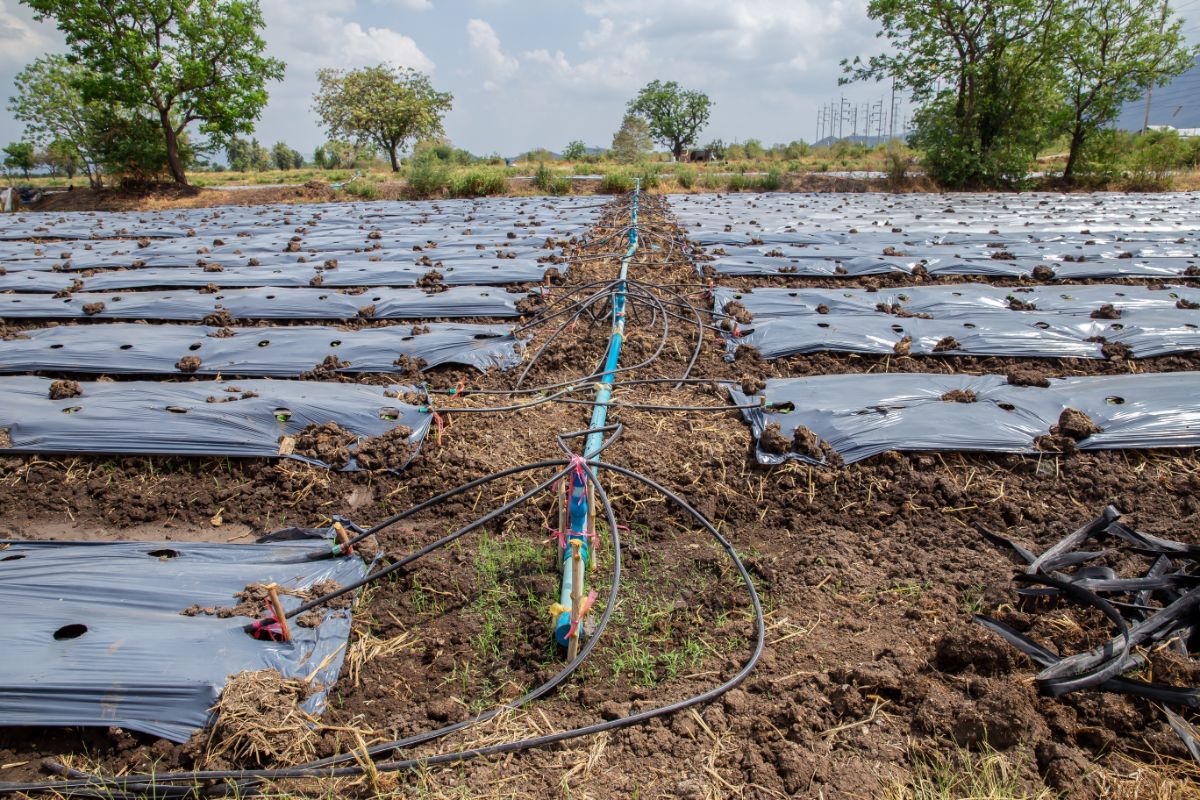
- Next, you’re going to attach emitter lines to your mainline.
When deciding how many emitter lines you need, you’ll want to consider your soil type. Clay and sandy soils hold and disperse water differently. For standard garden soil, emitter lines should be spaced 18” apart; however, sandy soil should have emitters spaced 12” apart, while clay-heavy soil should have emitters spaced 24” apart.
Based on the length of our garden and your soil type, determine how many emitter lines you’ll need.
For example, if you have a 100’ long garden and clay-heavy soil, you’ll need to run 50 emitter lines across the width of your garden (100 feet of garden length / 2 feet spacing between emitters in clay soil = 50 emitter lines).
Measure the width of your garden and cut your emitter lines to match, snipping off as many lengths of emitter lines as you need.
- Now, poke holes in your mainline tubing with your punch, spacing your holes as needed for your soil type.
Then, attach each emitter tube to your mainline tube with a barbed connecter, carefully sliding one end of the connector into the hole you punched and the other end into your emitter tubing.
Finally, close off the end of each line of emitter tubing with the smaller end of a two-way plug.
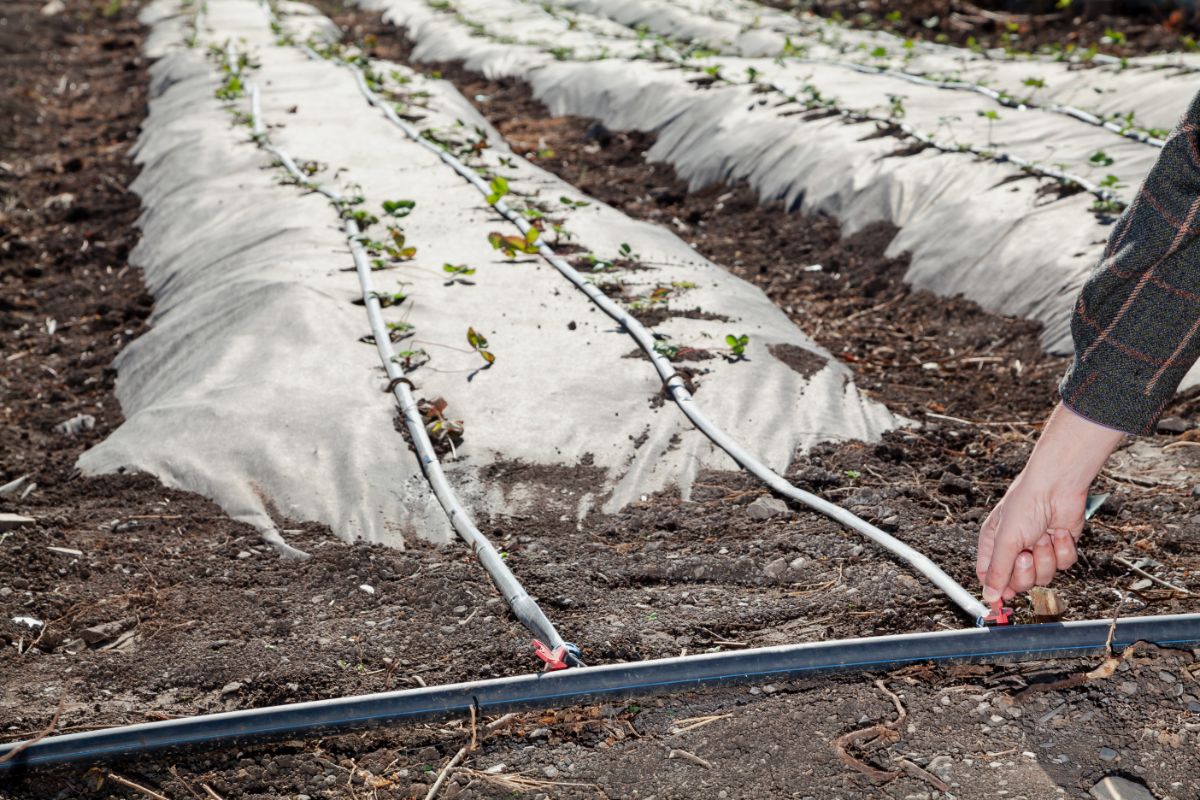
- At this point, you’ve pretty much created a dripline system. You can leave the system as is, however, to make it more secure, you’ll probably want to fasten your mainline tubing in place with some landscape staples.
Then stretch your emitter tube lines across the width of your garden, following along your plant rows if you’ve already planted your garden. Most gardeners choose to just place their emitter tube lines on top of their soil so they can be moved out of the way as needed, such as when you want to apply mulch or compost. If, however, you want your emitter lines to stay in a particular place, you can secure them with landscape staples.
- Now, all that’s left to do is program your timer! Once you’ve done that, you’re ready to go. Your timer programming should reflect how many plants you have and what types of plants you’re growing. You’ll need to water less if you have plants that love dry soil, for instance, so do a bit of research on your plant types and their needs. Also, it’s a good idea to program your timer to water your plants in early morning or evening when plants will more readily absorb moisture.
And congratulations! You’ve just installed your own drip irrigation system and your garden will start watering itself automatically. Now it’s time to sit back, relax and watch your garden grow!
Troubleshooting
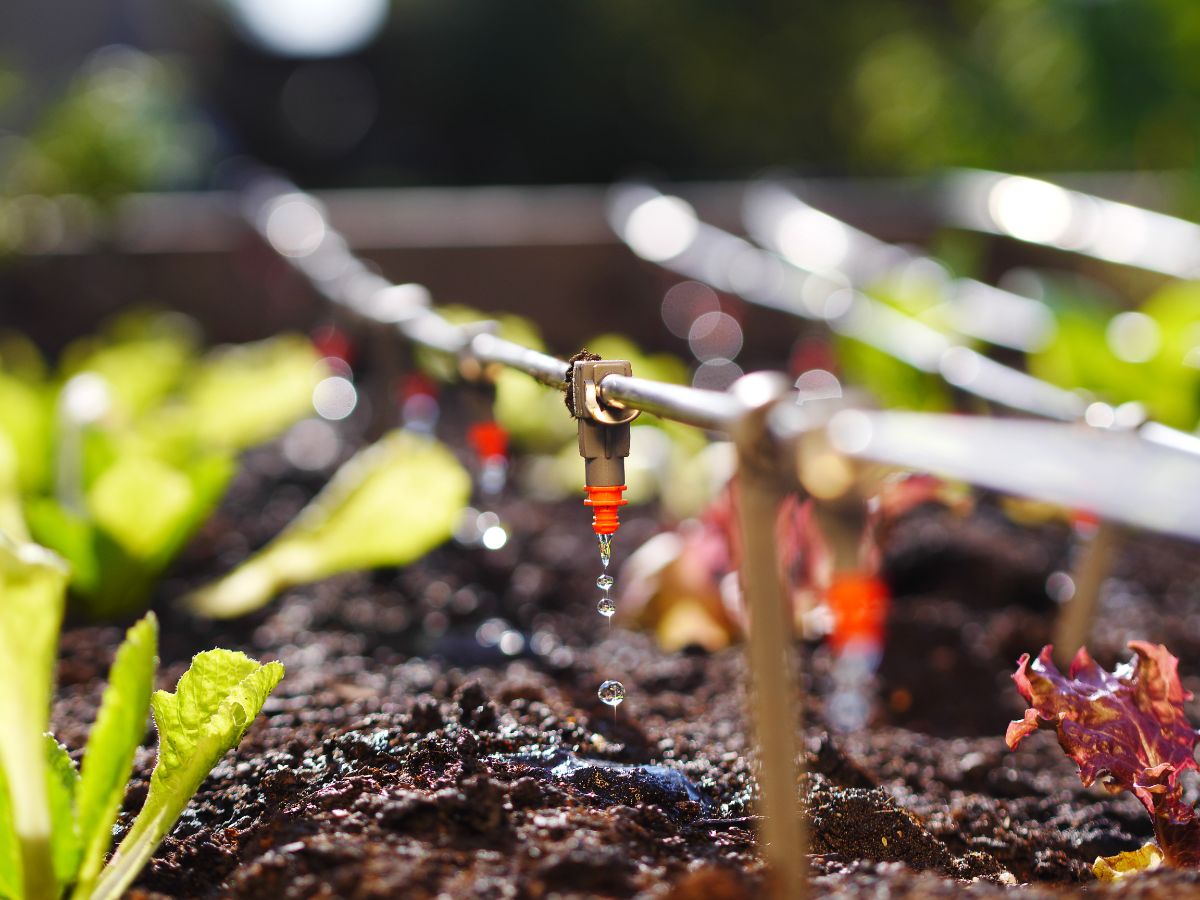
Although dripline systems are time savers and hugely efficient methods of watering, they do occasionally encounter some issues. And, by far, the most common issue with drip irrigation is clogging.
Clogging doesn’t happen all the time, but it may occur, especially if you place your emitter tubing directlyt on soil (rather than supporting it with raised beds or staking). It’s a good idea to simply keep a lookout for any signs of plant distress, such as wilting or browning leaves, which may indicate that a section of tubing has become damaged, bent or clogged. If this occurs, simply replace the effected section or try cleaning out your emitter lines with a small pin or a blast from the hose.
Regular maintenance of any garden is key. Most gardeners check their plants from time to time for signs of disease or pests. There’s no reason to perform extra checks because of your dripline system. Just work your dripline checks into your usual garden maintenance regime – it shouldn’t take more than a few seconds to ensure everything is running smoothly.
FAQ
Yes, you can. Driplines are made of flexible tubing, which usually can withstand winter freezing quite well.
To winterize your system, shut off your spigot and remove the faucet assembly. Your timer, PSI regulator and mesh filter should all be stored indoors during winter.
Then, remove the end caps from your mainline and allow it to drain. After that, screw your end caps back on. That’s all it takes to winterize a dripline system.
Both types of tubing are quite malleable and are easily cut with scissors or garden pruners.
Of course, the first step is measuring. Measure the length of space between your outdoor spigot and your garden. Then measure your garden bed’s external dimensions. This should give you a good idea of how much mainline and emitter tubing to order.
Then, try sketching out your garden on a sheet of paper. This is especially useful if you’re working with an unusually shaped garden or raised beds. While mainline tubing is bendable, this can decrease water pressure, so you’ll likely want to use T-connectors and L-connectors to maneuver around corners and up into raised beds. Sketch your garden carefully to determine how many corners and odd shapes you have so you know how many connectors you’ll need.
As far as barbed connectors and two-way plugs go, you’ll need a lot. The good news is they are inexpensive, so order as many as you can.
Frequent travelers are sure to see the benefits of dripline systems. If you’ve hired “garden sitters” in the past or avoid traveling because you don’t know how to keep your garden going while you’re away, drip irrigation is the solution.
Just set your timer and rest easy in the knowledge that your garden is watering itself. Even if you’re halfway around the world, relaxing on a beach!
Absolutely! Drip irrigation is a fully customizable system and works well for unusual plant arrangements, including container gardens.
To water individual plants, add some microtubing to your mainline system and top it off with a spot emitter. With this set up, you can direct water straight into plant pots, fabric grow bags -- you name it!
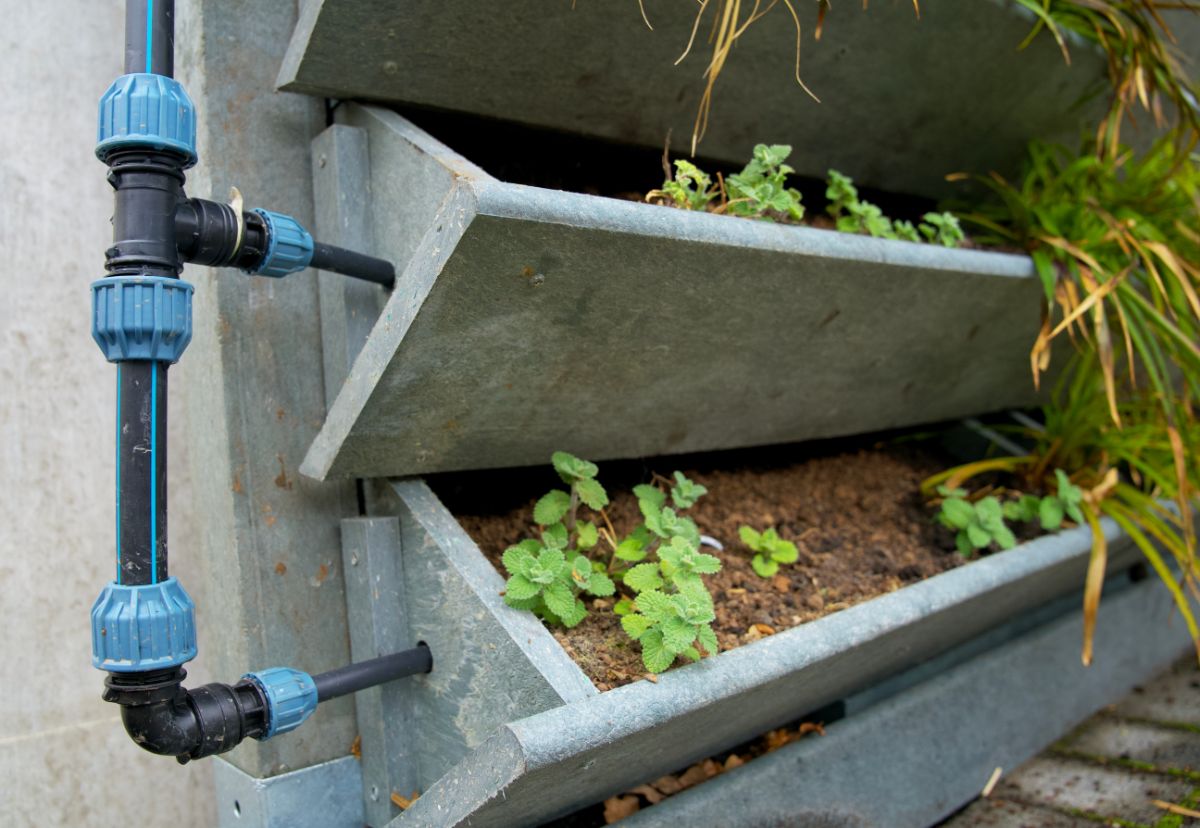
Yep. You can direct mainline tubing up into your raised beds with the help of L-connectors and T-connectors for a tidy look. If you don’t want to do all that fiddling, you can just drape mainline tubing into your raised beds too, although this may create bends that can reduce water flow.
To keep your setup nice and secure, try attaching your tubes to the sides of your raised bed with loops of plastic strapping or metal straps.
Conclusion
Dripline systems offer so many benefits that it’s no wonder they are gaining popularity today. Their ability to conserve water makes them eco-friendly choices. Beyond that, they deliver just the amount of water plants need straight to their roots which promotes healthier, more productive and more disease resistant plants.
And while they may look intimidating at first, drip irrigation systems are easy to install. If you enjoyed playing with blocks or building things as a child, installing a drip system is a lot like that. Just fit tubes together and stretch them around your garden. It really is that simple.
No matter what your garden looks like, whether it’s just a few pots on a patio or a large in-ground plot with rows and rows of produce, dripline systems will work for you. Fully customizable, durable and efficient, if you give drip irrigation a chance, you’ll wonder why you ever used sprinkler systems or hand-watering!

Leave a Reply