It’s easy to flavor your yogurt with your own homegrown or homemade ingredients. There are many flavor possibilities and countless combinations.
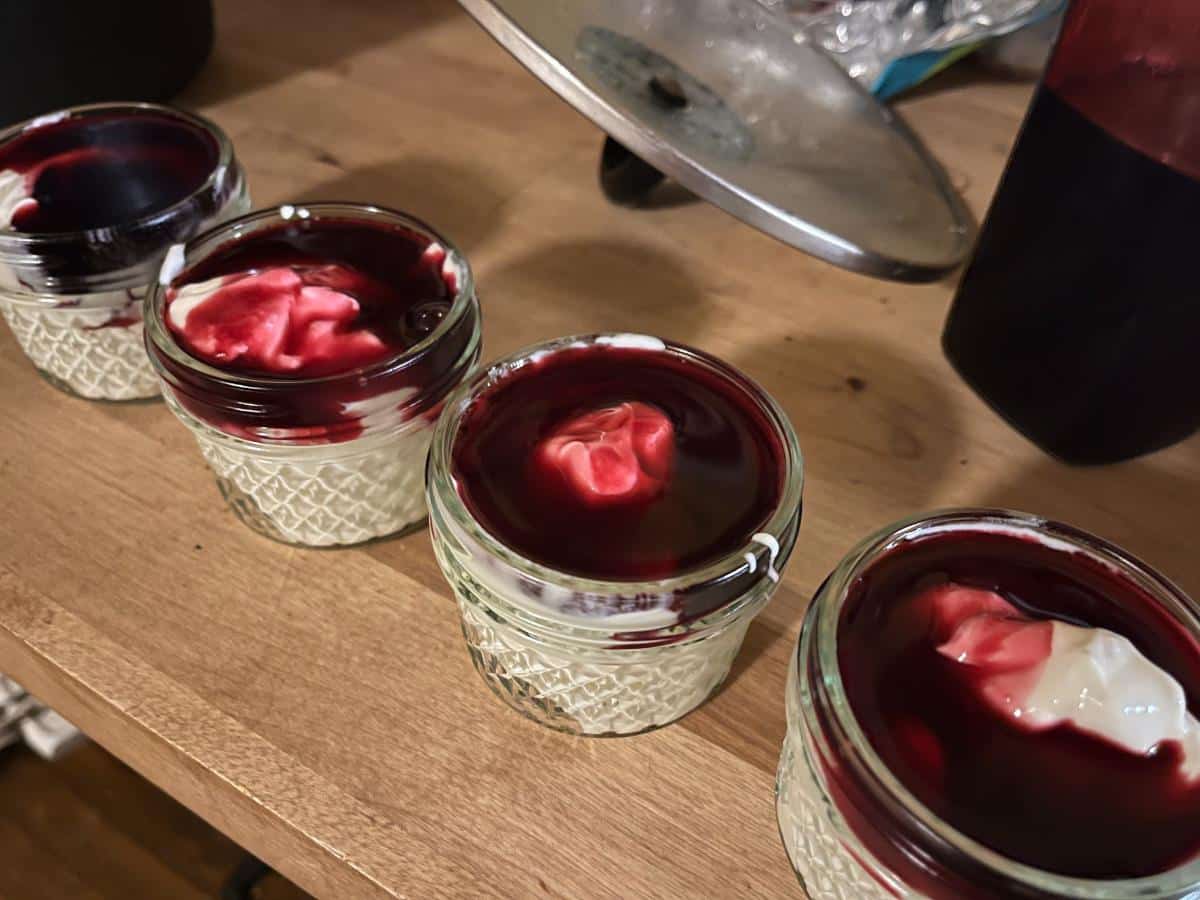
Flavoring yogurt does not have to be hard at all. In fact, there’s a solid chance that if you like to can and preserve, you already have all the yogurt flavoring you need right on your pantry shelf.
Jump to:
- A Clean, Easy, Wholesome Solution -- No Preservatives!
- Why Homemade Yogurt Flavoring?
- What’s the Easiest Way to Flavor Plain Yogurt?
- Other Ideas for Homemade Yogurt Flavorings
- An EASY Way to Make Your Yogurt at Home, Too!
- Equipment for making yogurt at home (hint: you probably already own this!)
- How to make EASY Crock Pot Yogurt
- Tips for thicker homemade yogurt
- Homemade yogurt and flavorings save time, money, and more
- Easy Crock Pot Yogurt
A Clean, Easy, Wholesome Solution -- No Preservatives!
Commercial yogurt often comes with a lot of unnecessary additives and ingredients. Dyes, added sugars, artificial sweeteners, artificial flavorings…these are all things that are common in flavored yogurts.
They are things we don’t realize are there in many cases. And they are things that turn a good, healthy, probiotic food into something with a solid serving of junk. For some yogurts, it’s almost to the point of making it pointless to eat the yogurt at all!
This is more true of flavored yogurts than it is of plain yogurt. But plain yogurt isn’t something we tend to enjoy on its own.
Without flavoring, plain yogurt tastes more like sour cream. To eat it as a meal or dish isn’t very appetizing.
Why Homemade Yogurt Flavoring?
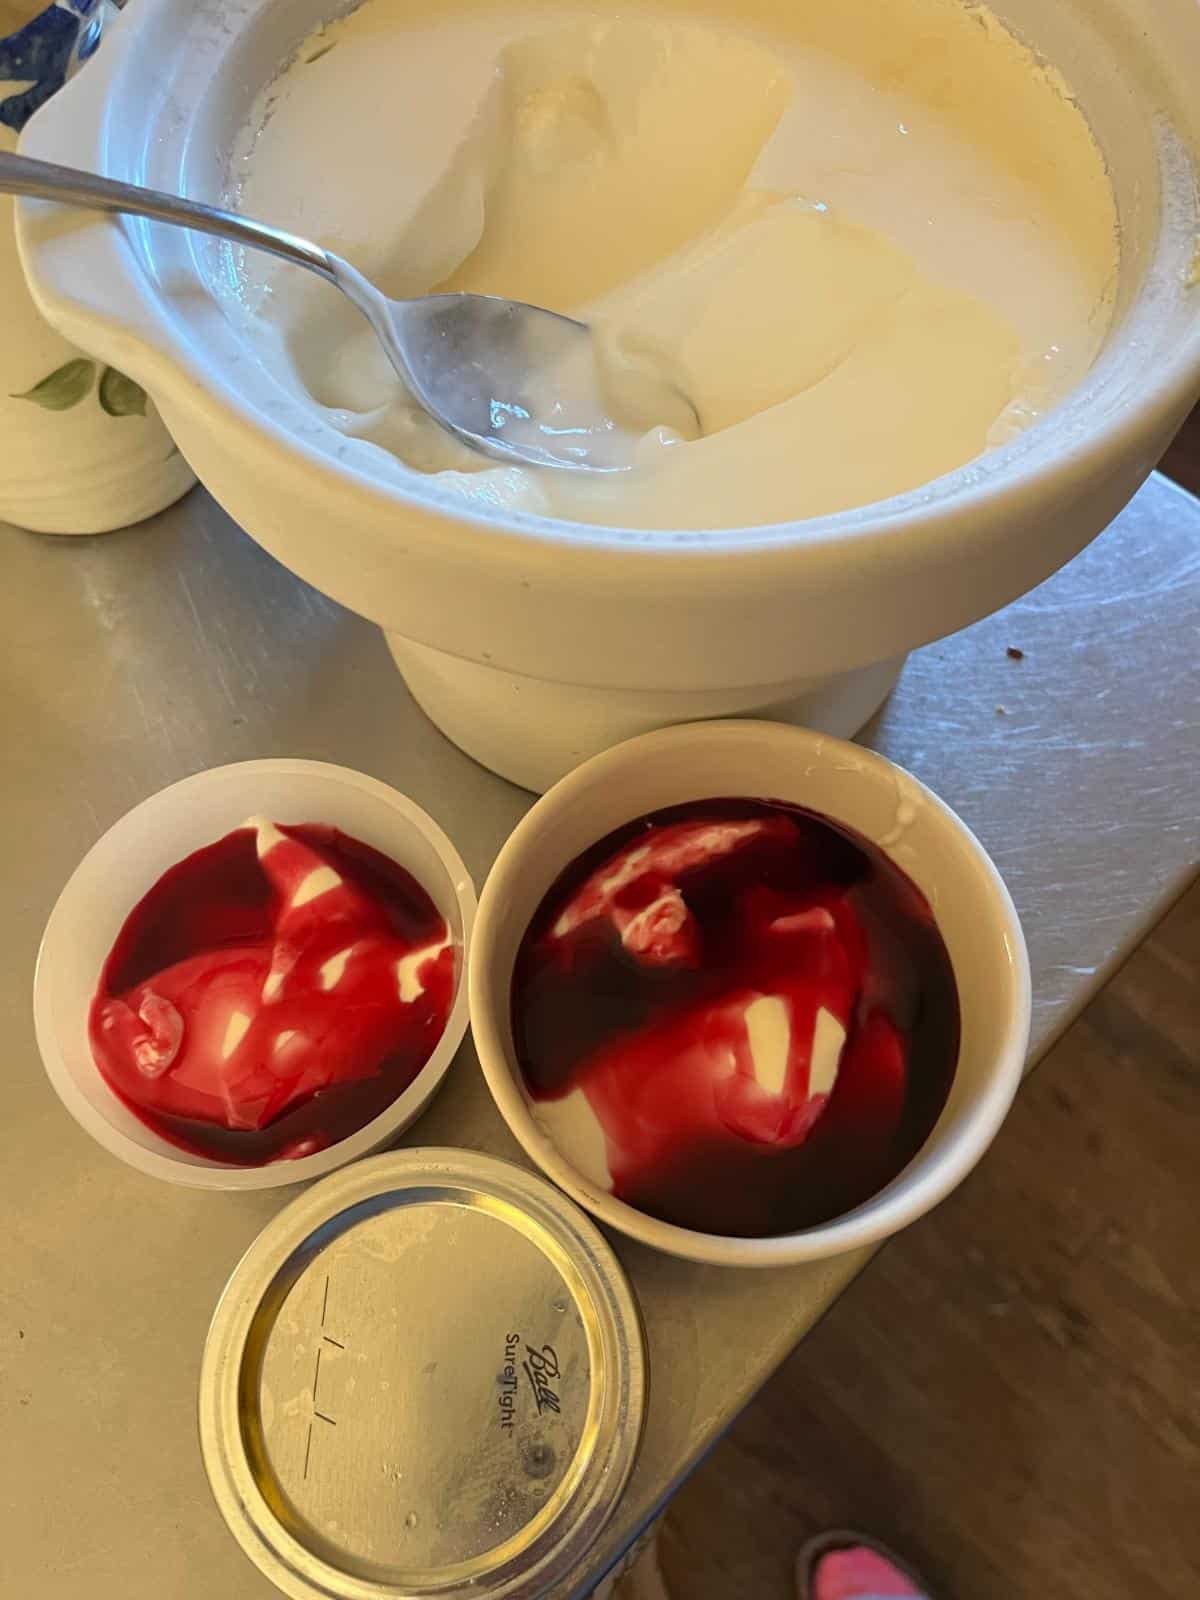
With this flavoring, you are in control of not only the flavor but everything else that is and isn’t in your yogurt.
In the end, all your yogurt will be a much more known entity. You can have complete control over everything that goes into your plain yogurt for flavoring. And if you make your own yogurt, then you can control that, too (it’s easy, we promise -- see the recipe and instructions at the end!).
Something else that is great about this trick is that you don't have to have just one flavor of yogurt. With this simple flavoring hack, you can have a different flavor every day. There’s no need to flavor the whole container or batch (unless you want to, and that’s okay, too).
Finally, you control the amount of flavoring. Maybe you think most commercial yogurt is too sickly sweet tasting. So use less flavoring! Maybe you think it doesn’t have enough flavor. Just use more!
Your yogurt, your way!
What’s the Easiest Way to Flavor Plain Yogurt?
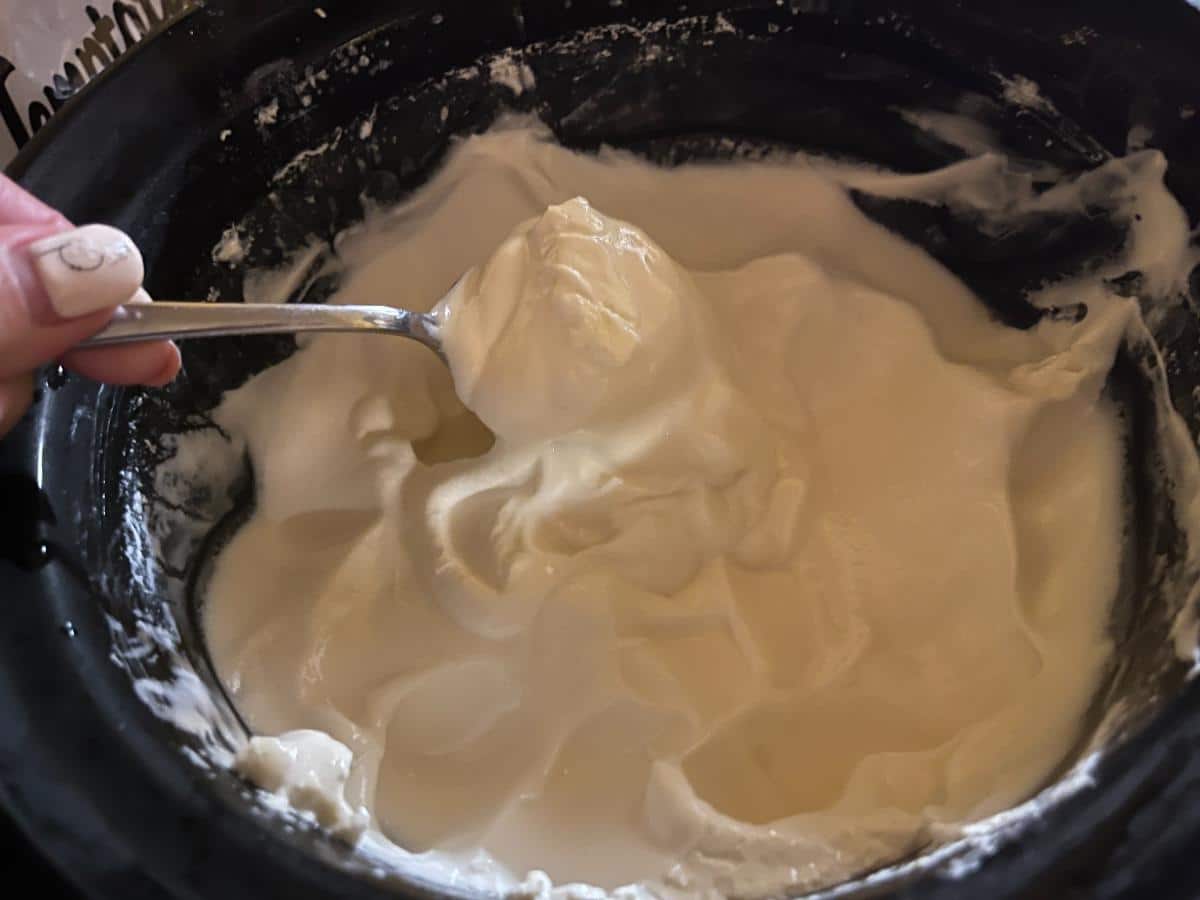
Here’s the hack.
You can use this yogurt flavoring hack in any plain yogurt (but the healthier, the better, so preferably a clean, plain, organic yogurt).
You can also use this hack to flavor homemade yogurt (again, see below for instructions on how to make homemade yogurt).
To flavor your own yogurt:
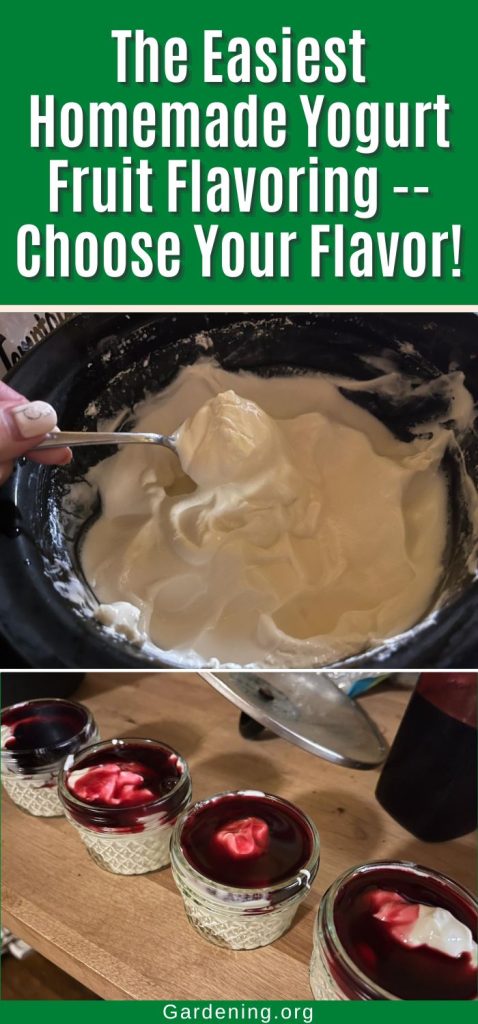
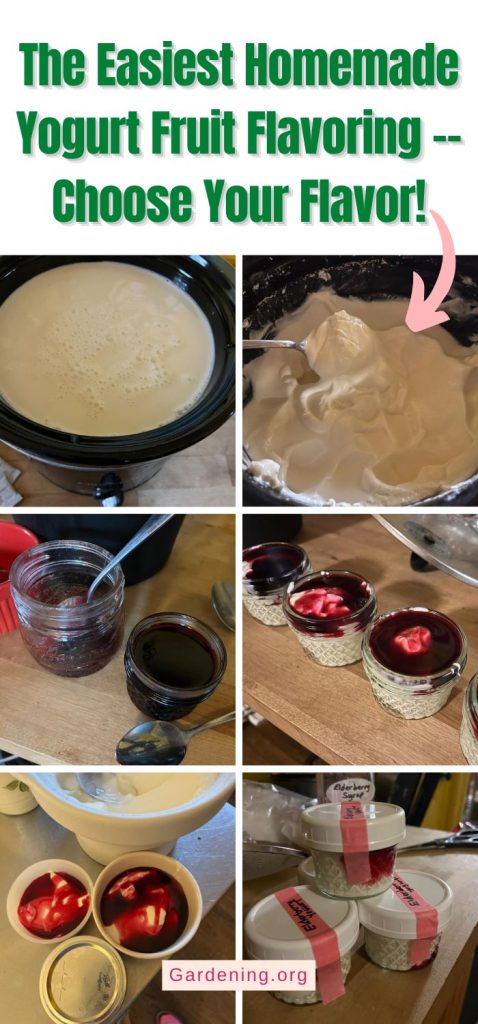
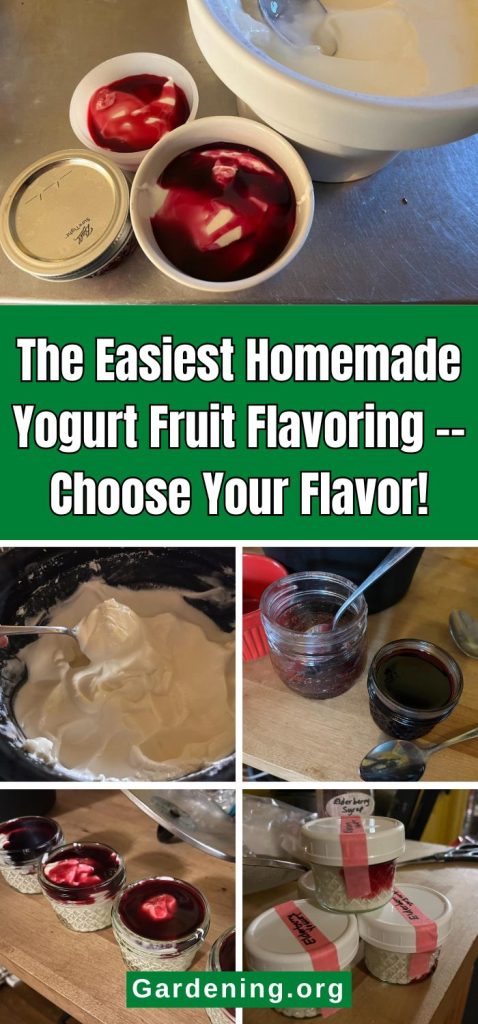
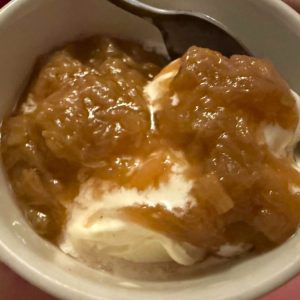
- Stir jam or jelly into your plain yogurt.
Yes, that’s really it!
Jam and jelly are already sweetened, so you don’t need to add additional sweeteners. You’ll find this gives you an easy, flavorful yogurt that is a lot like the fruit-style flavored commercial yogurts (minus the junk).
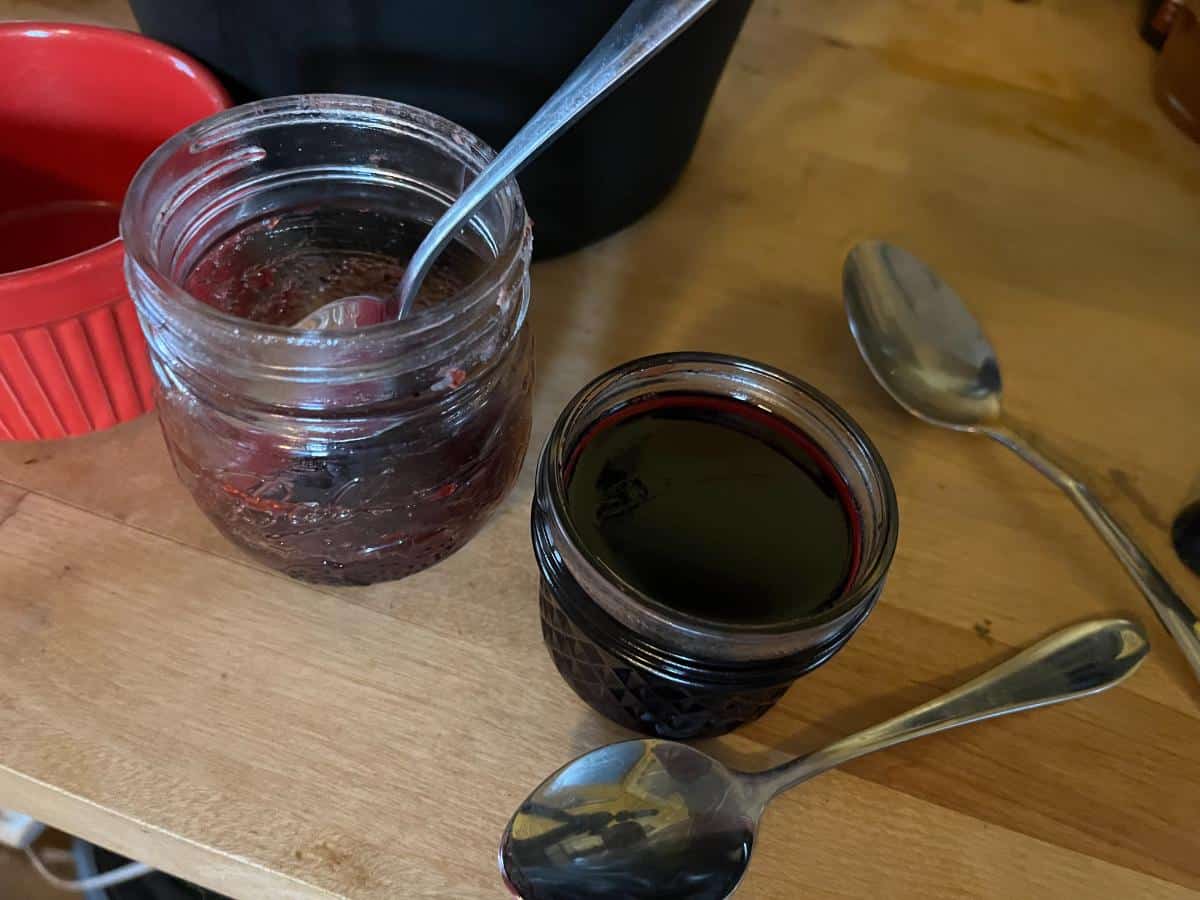
That really is all there is to it, but here are a few more helpful tips worth knowing:
- Preferably, use homemade jam or jelly so you know exactly what’s in it.
- A good starting point is one heaping teaspoon of jam or jelly to four ounces of yogurt (about what you’d spread on a piece of toast)
- Easily adjust by using more or less to taste
- You can also use preserved whole berries or fruit preserves, with or without sweetening
- Things like homemade fruit syrups are also good flavorings (elderberry syrup is a favorite here)
- If you do like nutraceutical-type foods like elderberry syrup, using them as a flavoring for yogurt is a great way to get them into your diet, and it feels more like enjoyable food than taking a supplement
Other Ideas for Homemade Yogurt Flavorings
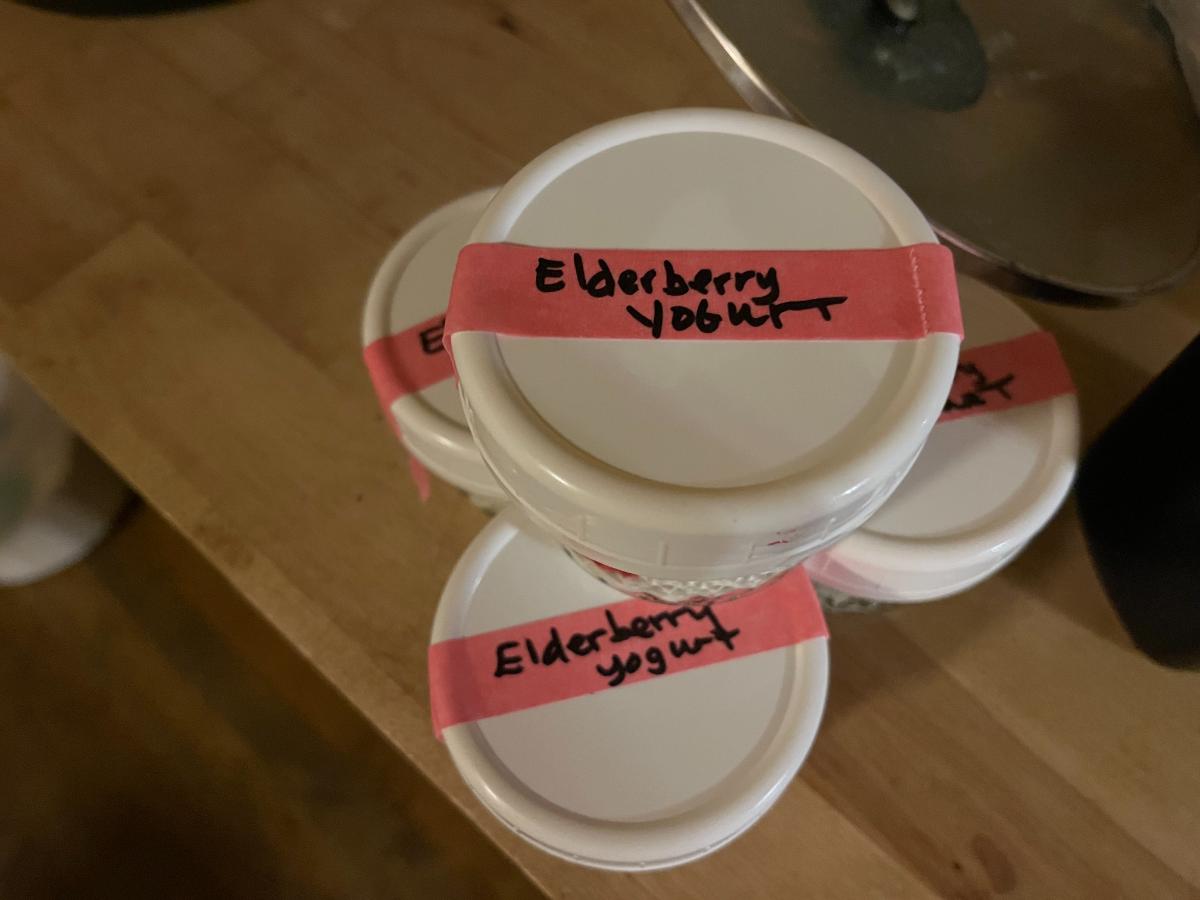
This will make a delicious yogurt all on its own, but you can, of course, add other foods or ingredients to your yogurt for more bulk or flavor.
Some ideas for additional yogurt flavorings include:
- Nuts
- Toasted oats
- Coconut
- Whole berries or fruit
- Honey
- Maple syrup
- Homemade granola
- Fruit puree
- Warm spices like cinnamon, cardamom, nutmeg, cloves…whatever you like (try this with honey and nuts!)
An EASY Way to Make Your Yogurt at Home, Too!
In addition to the colors and flavorings that are added to commercial yogurt products, the yogurt itself often has ingredients that many of us are trying to stay away from. For example, for texture, store bought yogurt will usually include corn starch and modified food starch and gelatins. Sounds rather counterproductive!
It’s easy to get away from these products, though, because yogurt is extremely easy to make at home! You might be shocked to find out how easy it is to make your own homemade plain yogurt, which you can then use as a base for this flavoring hack or for other healthier, fresher flavoring options.
Equipment for making yogurt at home (hint: you probably already own this!)
Although there are yogurt “makers” sold online and in other places, you don’t really need any special equipment.
You know what makes a great at-home yogurt maker without spending any more money? A slow cooker, otherwise known as a crock pot!
Go this one simple step further to make your own yogurt, and you can be in complete control of your yogurt dish. No added starches or fillers, no genetically modified food byproducts, and a cleaner product. You'll know exactly what it has in it (and more importantly, what it doesn’t).
How to make EASY Crock Pot Yogurt
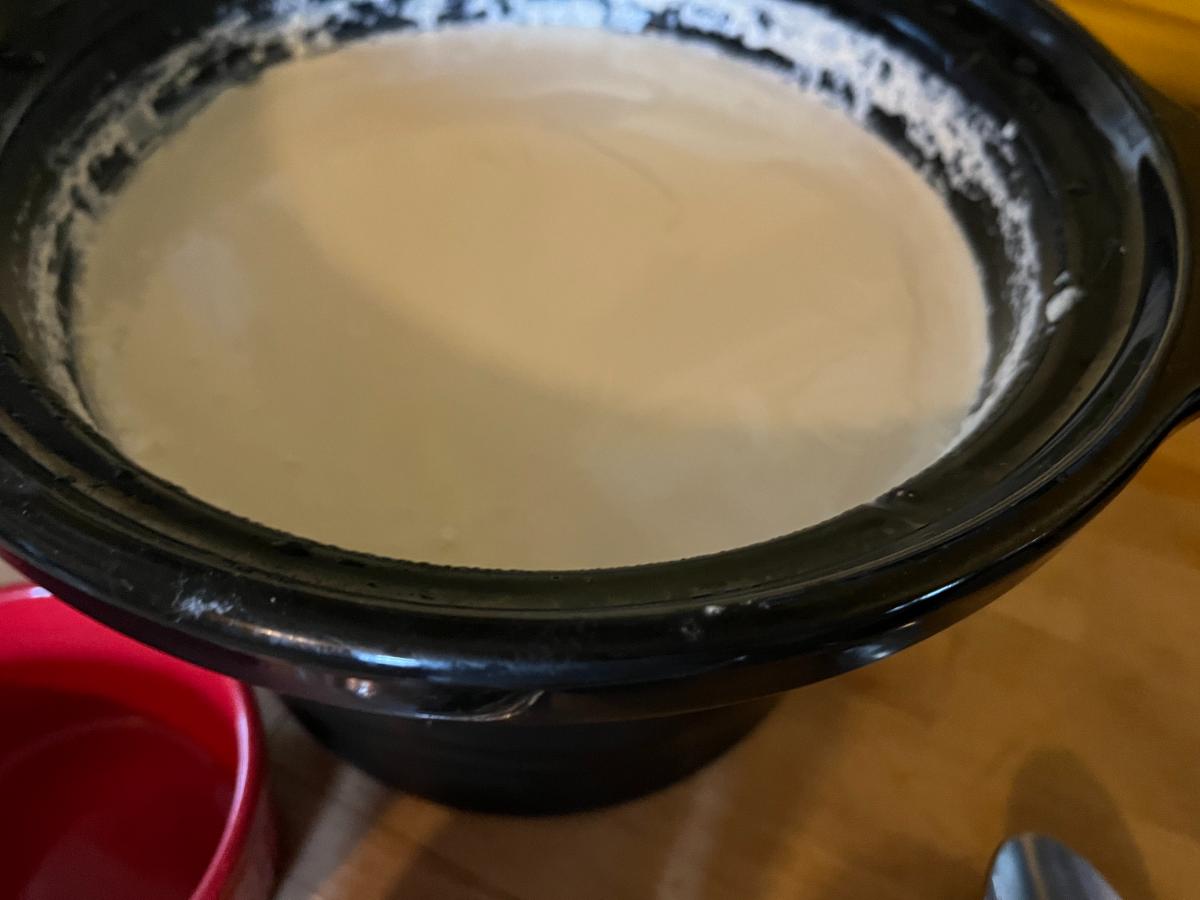
*Yield is roughly equal to the amount of milk you use. For example, two quarts of milk will give you two quarts of finished yogurt (a little less if you strain it).
You will need:
- A crock pot (preferably a small 2 or 4-quart crock pot for better batch control)
- Yogurt starter* or culture
- Milk** (see notes below for milk sourcing)
*Where to find yogurt culture or starter:
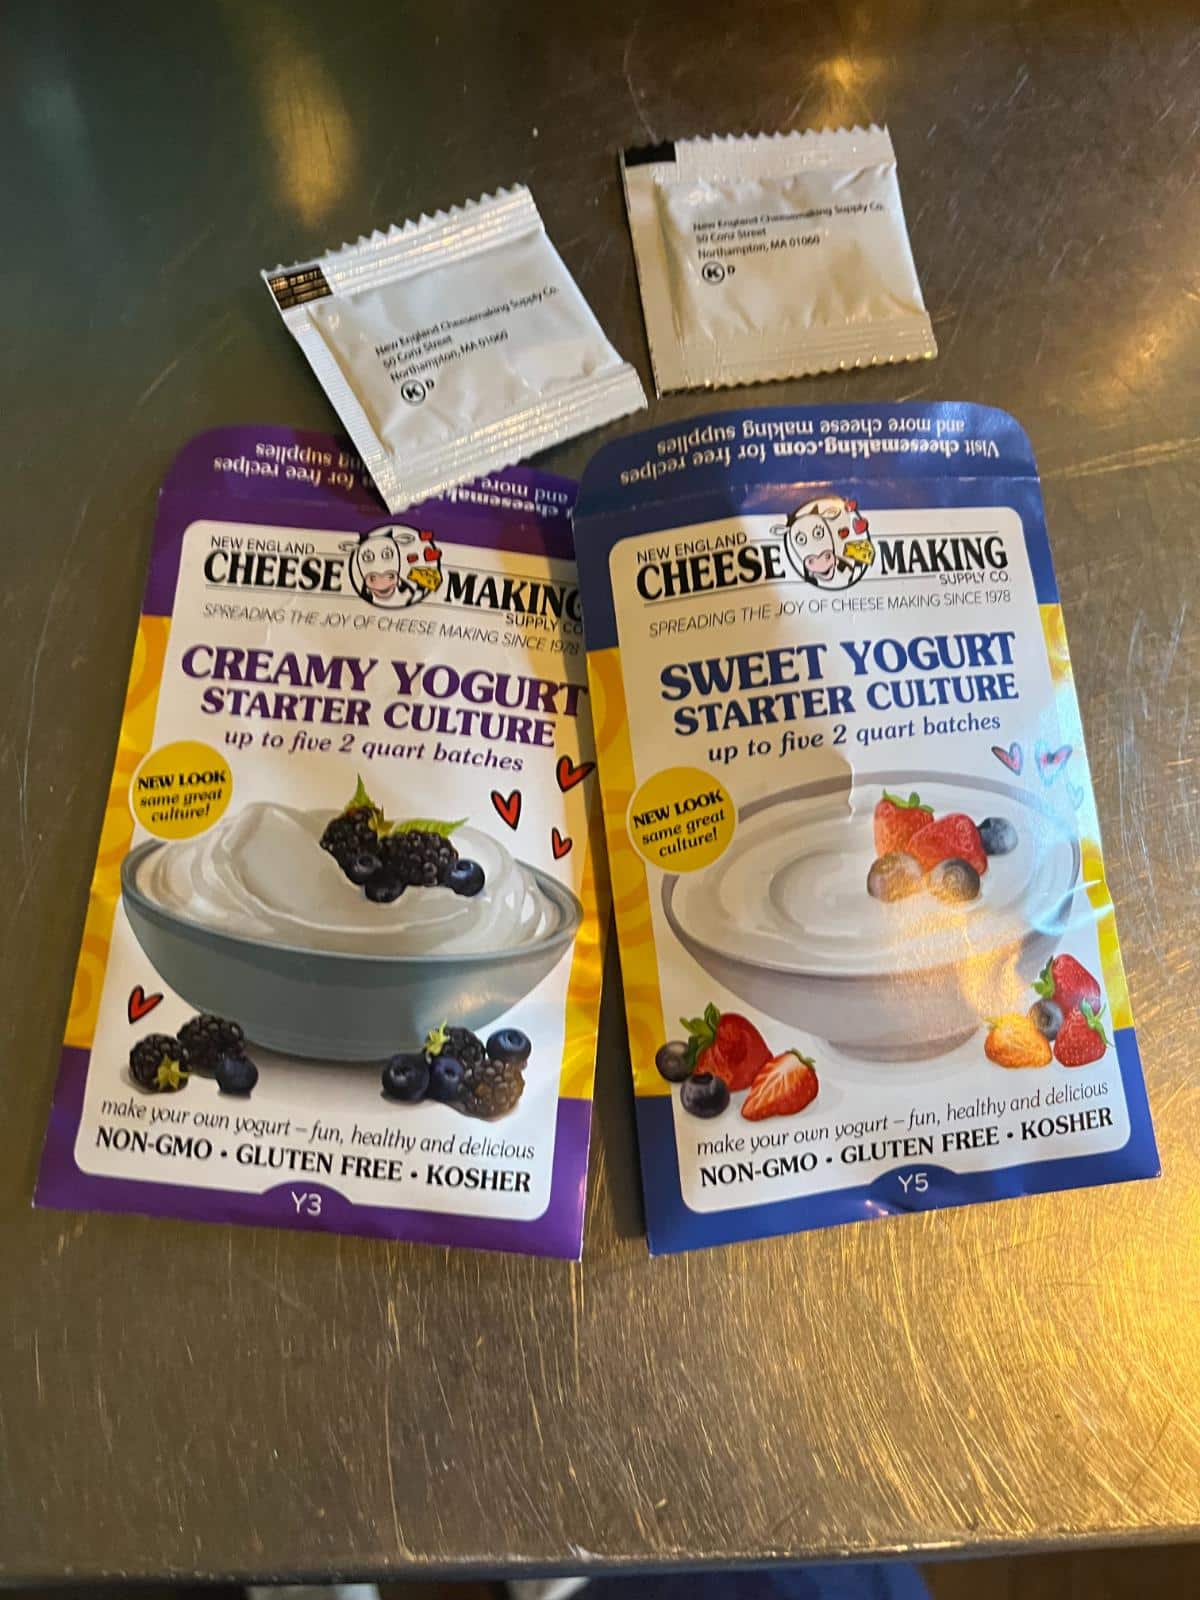
There are two options for yogurt starter (or, more accurately, culture).
Yogurt is made through the digestive fermentation process of active, live cultures. This is what gives it its probiotic goodness.
A yogurt culture or yogurt starter is simply an injection of probiotic active live cultures that ferment the milk.
You can buy yogurt starter from a company that sells them. Usually, any cheesemaking supply company will carry them.
Our preference is the Y5 or Y3 starters from New England Cheesemaking Supply. These are available by mail order and come in premeasured, easy-to-use packets made to culture up to one gallon (one packet per quart works very well for us!).
The second option is to simply use yogurt (even store bought yogurt) that has live active cultures in it. Most yogurt does. Look on the label. It should say so.
- Use ¼ cup of yogurt per quart of milk.
- The better quality and cleanliness of the product, the better the ingredients you’re using to start your yogurt, so the best option is a plain, organic yogurt with live active cultures.
**What milk to use:
For the milk, use the best quality you can find, but store-bought milk is fine. Avoid anything ultra-pasteurized as it usually will not work, and you can’t add enough culture to it to get it to make yogurt. Ultra Pasteurization is a high-heat treatment that makes the milk shelf stable for months -- not really a living food, and it is often the reason people find milk to be indigestible.
Raw milk can be used and the heating process will also kill off negative bacteria. Local, farm fresh milk or as close to it as you can get will always work the best.
Skim or whole milk (or any percentage of milk) can be used. Whole milk will have more flavor.
Directions:
- Pour the milk into the crock pot crock
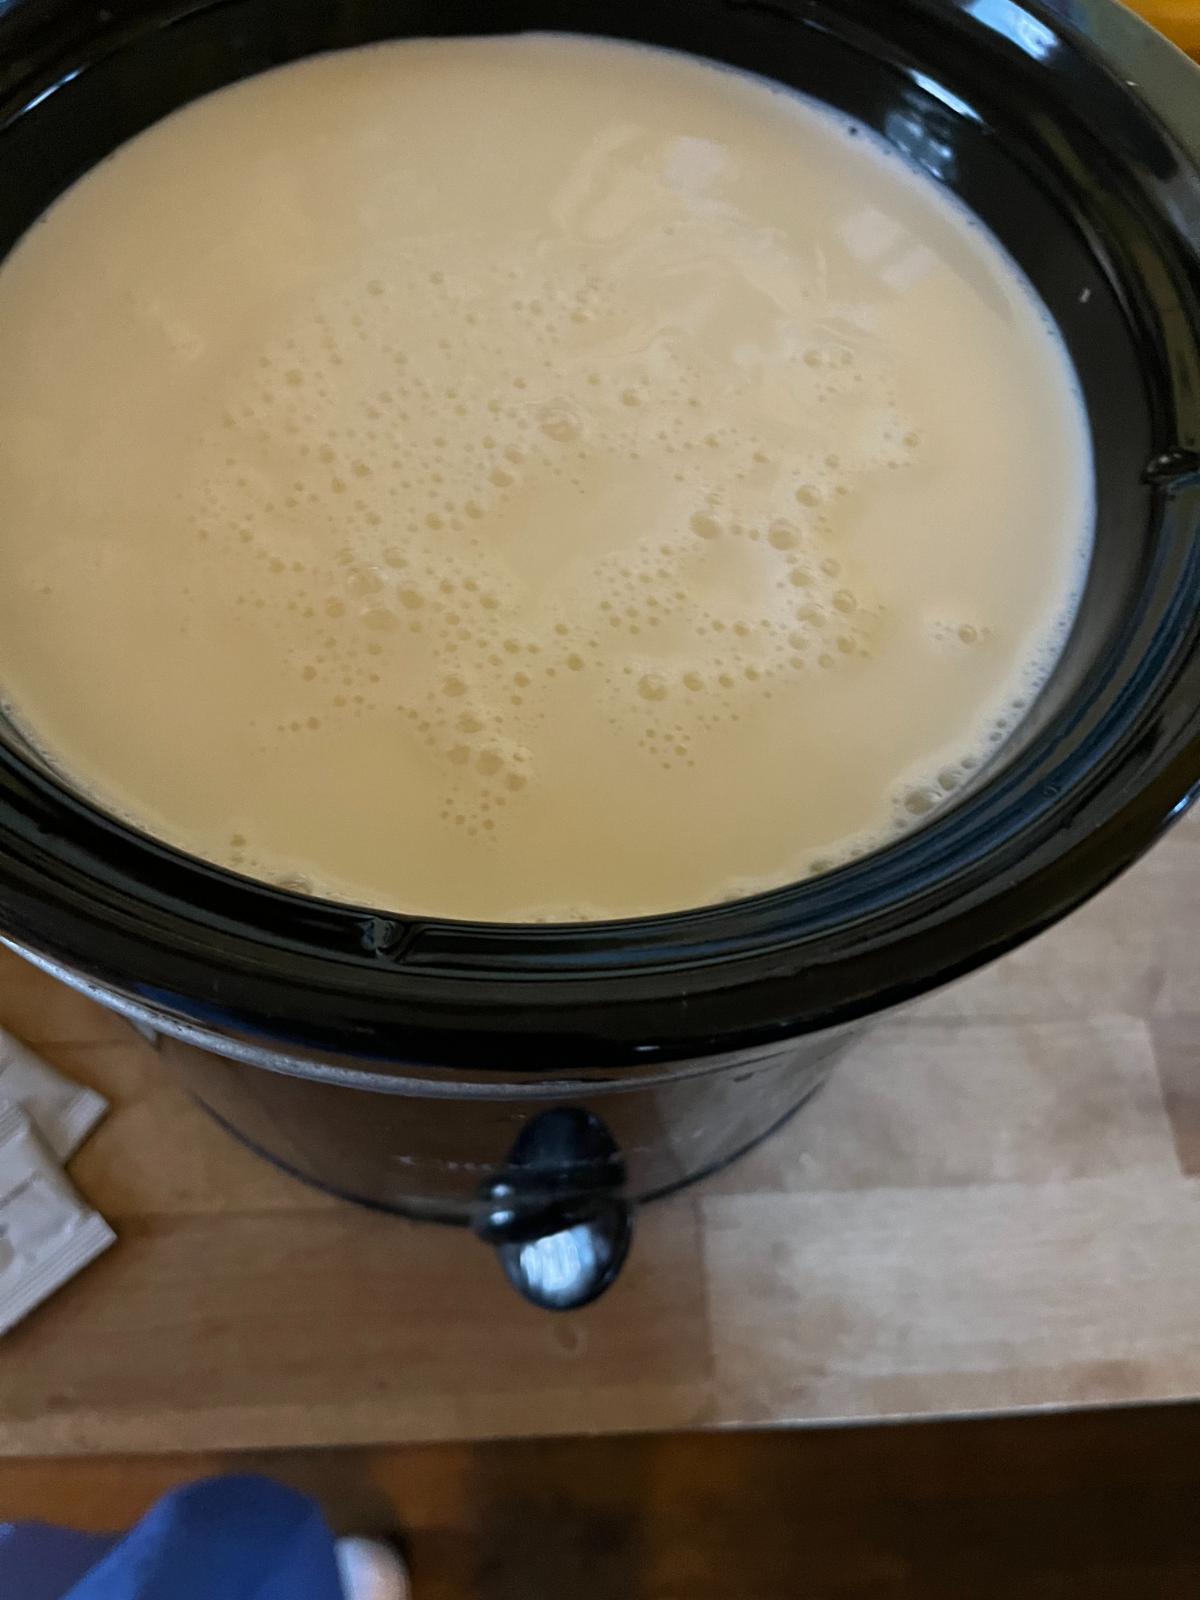
- Heat the milk until it reaches 185℉ (85℃). Use a kitchen thermometer to measure the temperature. This usually takes two or three hours on high, but all slow cookers are different, so watch yours and measure periodically.
- Turn off the crock pot. Leave the pot in the base. You don’t want the milk getting too cold. Unplug the base for good measure and safety.
- Let the milk come down in temperature (this will take an hour or two). You can crack the cover a little to speed cooling.
- Cool until the milk is between 112 and 115℉ (44.44 to 46.11℃).
- Add the starter.
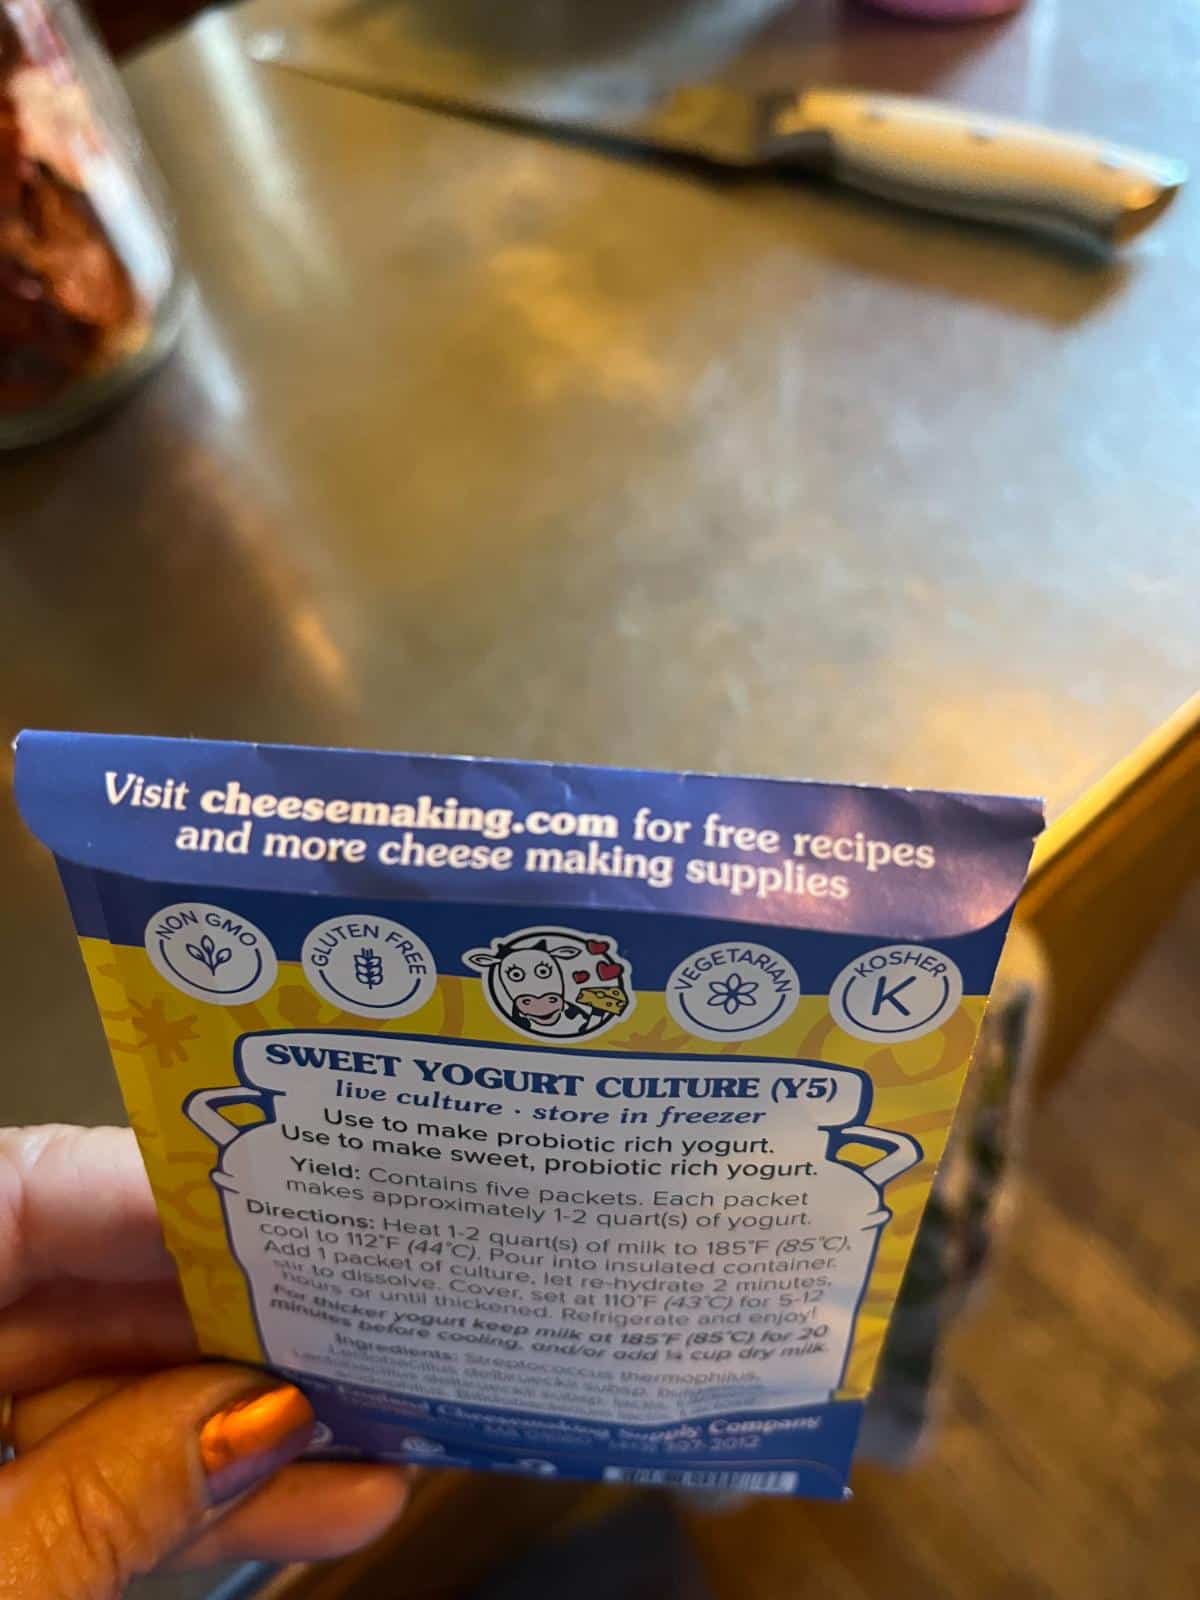
- Stir in the starter until it is evenly combined.
- Cover the top of the crock pot with two or three thick kitchen towels (or a bath towel).
- Let the whole unit sit in a warm kitchen overnight to culture. Leave it for 8 to 12 hours.
- In the morning (or later in the day, depending on when you cultured), you will open the crock up to a thick, lovely batch of easy homemade yogurt. That’s it!
- Refrigerate the yogurt to firm it up more, then use and flavor as desired.
- Keep extra yogurt stored in the refrigerator until used.
- Homemade yogurt will last at least one week in the refrigerator.
Tips for thicker homemade yogurt
The yogurt that we’re used to eating from the store is not really yogurt in its natural state. It has those starches and fillers to keep its consistency predictable and firm.
Natural, homemade yogurt will be quite firm on its own, but it will also have the whey in it, which separates out just a little bit. The whey is actually quite healthy and is perfectly fine to eat, but if you stir it back into your yogurt it can make the yogurt thin. You might find that a little harder to get used to, especially if you are used to the consistency of store bought yogurt.
But no worries! There are things you can do to naturally thicken your yogurt (and, in some cases, to avoid it from becoming too thin).
Here are some tips to keep your yogurt thicker, and to make it thicker still if you don’t like how thin the yogurt might get. You can use one or more of these options, or none at all, if you're happy with the yogurt as it comes out!
- Add dry powdered milk to the milk before you heat it (3 tablespoons per quart)
- Let the yogurt culture for longer; the longer it stays culturing, the thicker it will be (but it can be tangier and more sour if it cultures for a really long time -- not a bad thing, just a taste preference to know about)
- Be sure to heat the milk to 185 and then hold it there for 20 to 30 minutes before cooling down to 112/115℉ (44.44/46.11℃); with the crock pot method, cooling happens slowly and this pretty much happens for you anyway, so it often results in thicker yogurt to begin with. But it is smart to wait 20 minutes on a “hold” or “Warm” cycle before turning the crock pot off and wait 20 minutes before cracking the cover to help it cool.
- Refrigerate the yogurt before you use it -- it will firm up even more as it cools
- Scoop the yogurt, but leave the liquid whey behind; yogurt thins as you stir this in
- Pour off any whey that is standing around the thickened yogurt so it doesn’t accidentally get mixed in (you can discard it, add it to smoothies, use it in baking….anywhere you might use whey)
- Strain the finished yogurt (without stirring and before it is flavored), through 2 layers of butter muslin or through a moistened tea towel. Let strain for one to two hours, or to your desired thickness. You can make a greek style yogurt this way.
Keep in mind, thin yogurt isn’t a “bad” thing, just a preference thing. You might even like a thin yogurt if you like smoothies or drinkable yogurt. If it’s not quite thin enough, go ahead and add some milk to it, or stir in some of the reserved whey from strained or thickened yogurt.
Homemade yogurt and flavorings save time, money, and more
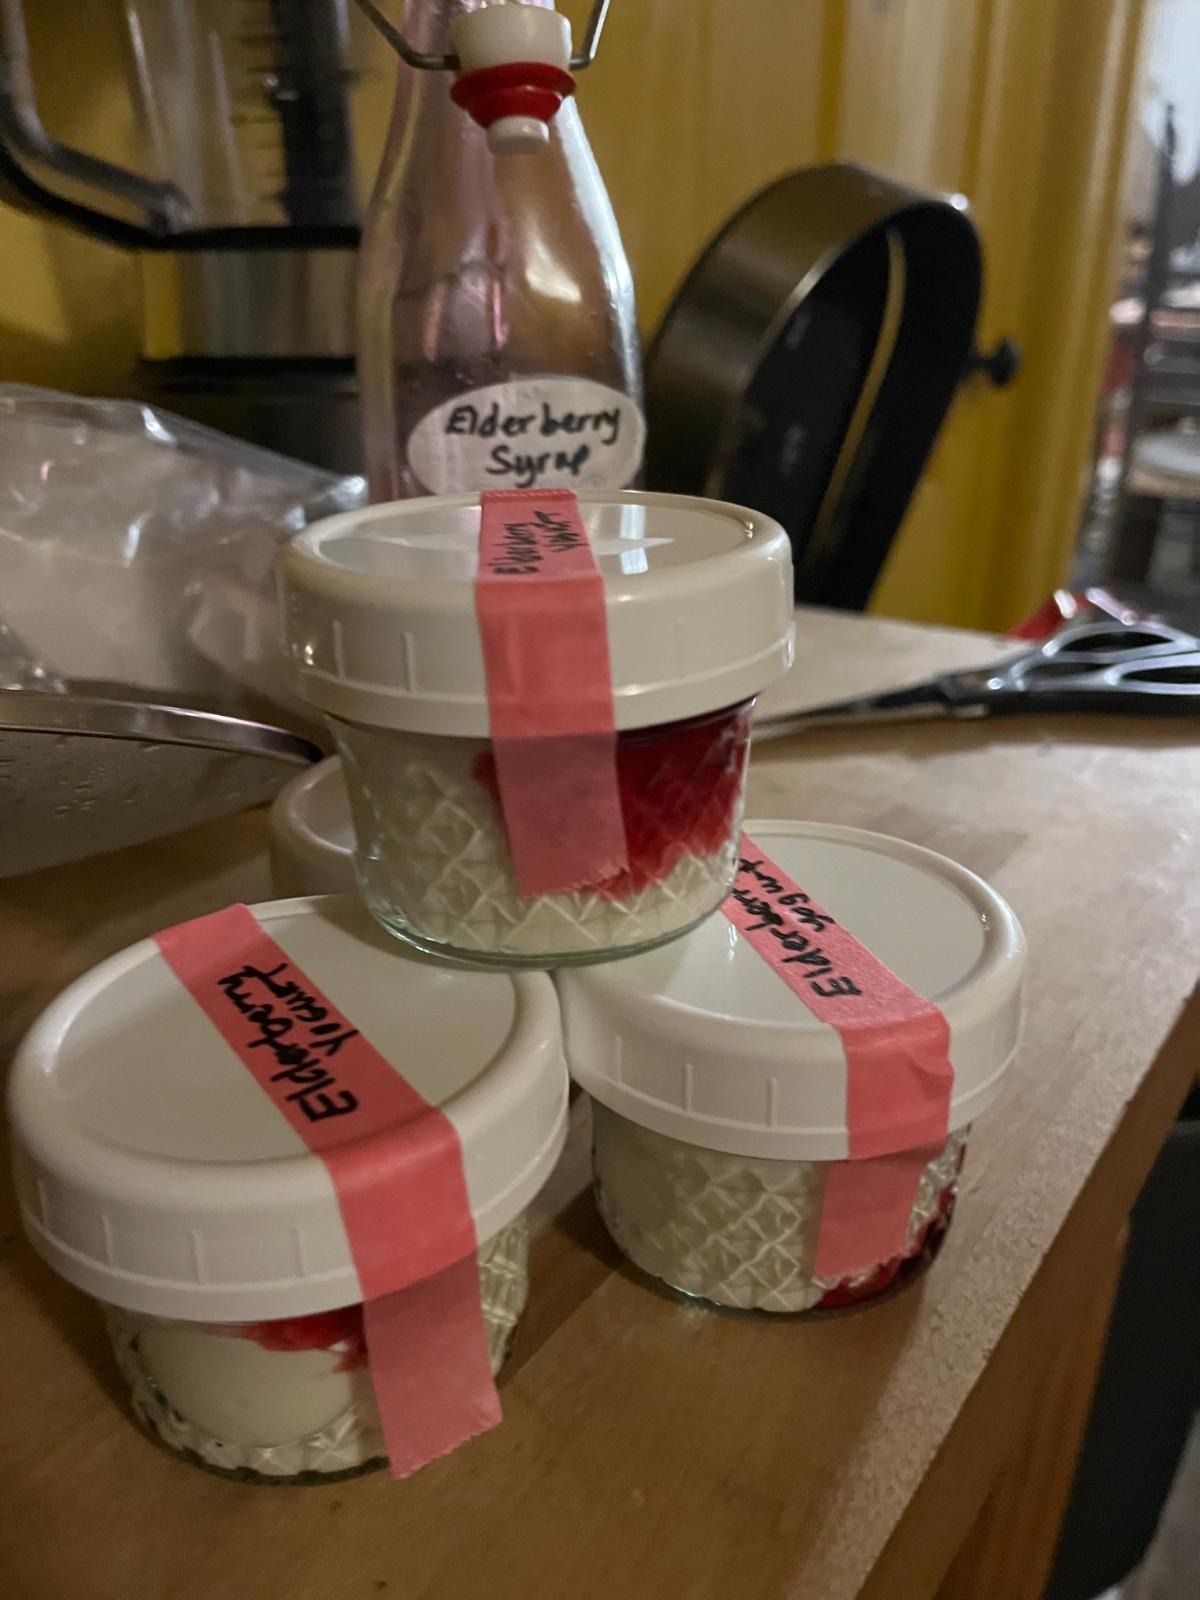
Making and flavoring yogurt is very easy, and it can be enjoyable, too! The best part about it is that it takes barely any time. It’s easy to do while you go about your kitchen duties, and most of the “time” will be spent culturing while you work, play, or sleep.
In the long run, not only will you save yourself from a lot of unnecessary and unappetizing ingredients, but you can save a lot of money, too -- all while boosting your own health and nutrition! That’s a real win-win.
Easy Crock Pot Yogurt
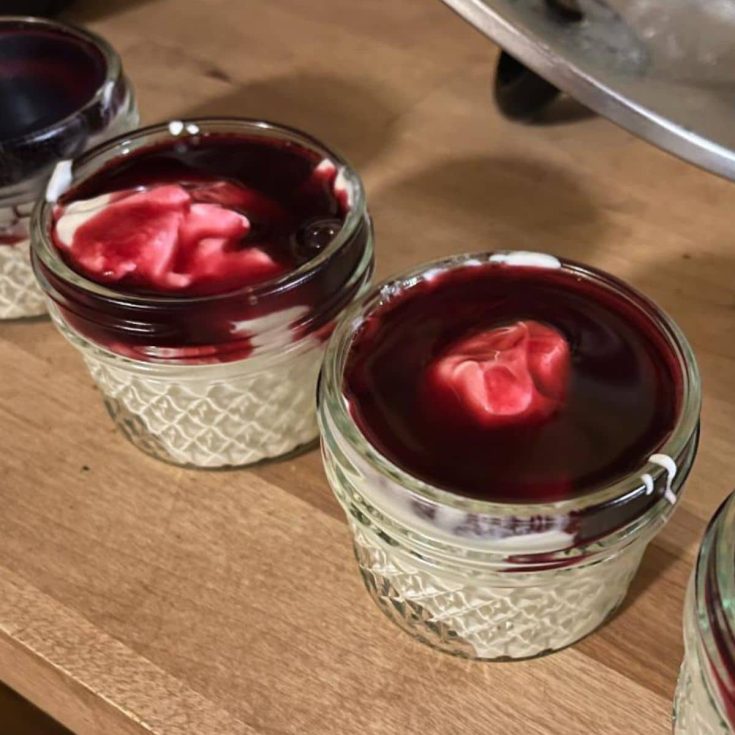
Discover the simplicity of making yogurt at home with our Easy Crock Pot Yogurt recipe! Enjoy creamy, delicious yogurt with minimal effort.
Ingredients
- A crock pot (preferably a small 2 or 4-quart crock pot for better batch control)
- Yogurt starter or culture
- Milk
Instructions
- Pour the milk into the crock pot crock.
- Heat the milk until it reaches 185℉ (85℃). Use a kitchen thermometer to measure the temperature. This usually takes two or three hours on high, but all slow cookers are different, so watch yours and measure periodically.
- Turn off the crock pot. Leave the pot in the base. You don’t want the milk getting too cold. Unplug the base for good measure and safety.
- Let the milk come down in temperature (this will take an hour or two). You can crack the cover a little to speed cooling.
- Cool until the milk is between 112 and 115℉ (44.44 to 46.11℃).
- Add the starter.
- Stir in the starter until it is evenly combined.
- Cover the top of the crock pot with two or three thick kitchen towels (or a bath towel).
- Let the whole unit sit in a warm kitchen overnight to culture. Leave it for 8 to 12 hours.
- In the morning (or later in the day, depending on when you cultured), you will open the crock up to a thick, lovely batch of easy homemade yogurt. That’s it!
- Refrigerate the yogurt to firm it up more, then use and flavor as desired.
- Keep extra yogurt stored in the refrigerator until used.
- Homemade yogurt will last at least one week in the refrigerator.
Notes
- For the milk, use the best quality you can find, but store-bought milk is fine. Avoid anything ultra-pasteurized as it usually will not work, and you can’t add enough culture to it to get it to make yogurt. Ultra Pasteurization is a high-heat treatment that makes the milk shelf stable for months -- not really a living food, and it is often the reason people find milk to be indigestible.
- Raw milk can be used and the heating process will also kill off negative bacteria. Local, farm fresh milk or as close to it as you can get will always work the best.
- Skim or whole milk (or any percentage of milk) can be used. Whole milk will have more flavor.



Leave a Reply