If you’ve gardened for any time at all then you are likely familiar with how rough it can be on your hands. Your skin can get dried out and start cracking as you work with your hands and the skin can become red and irritated too as it’s rubbed against all sorts of different things. If you’re working in the cold or the damp it can be even worse!
What is Gardener’s Balm?
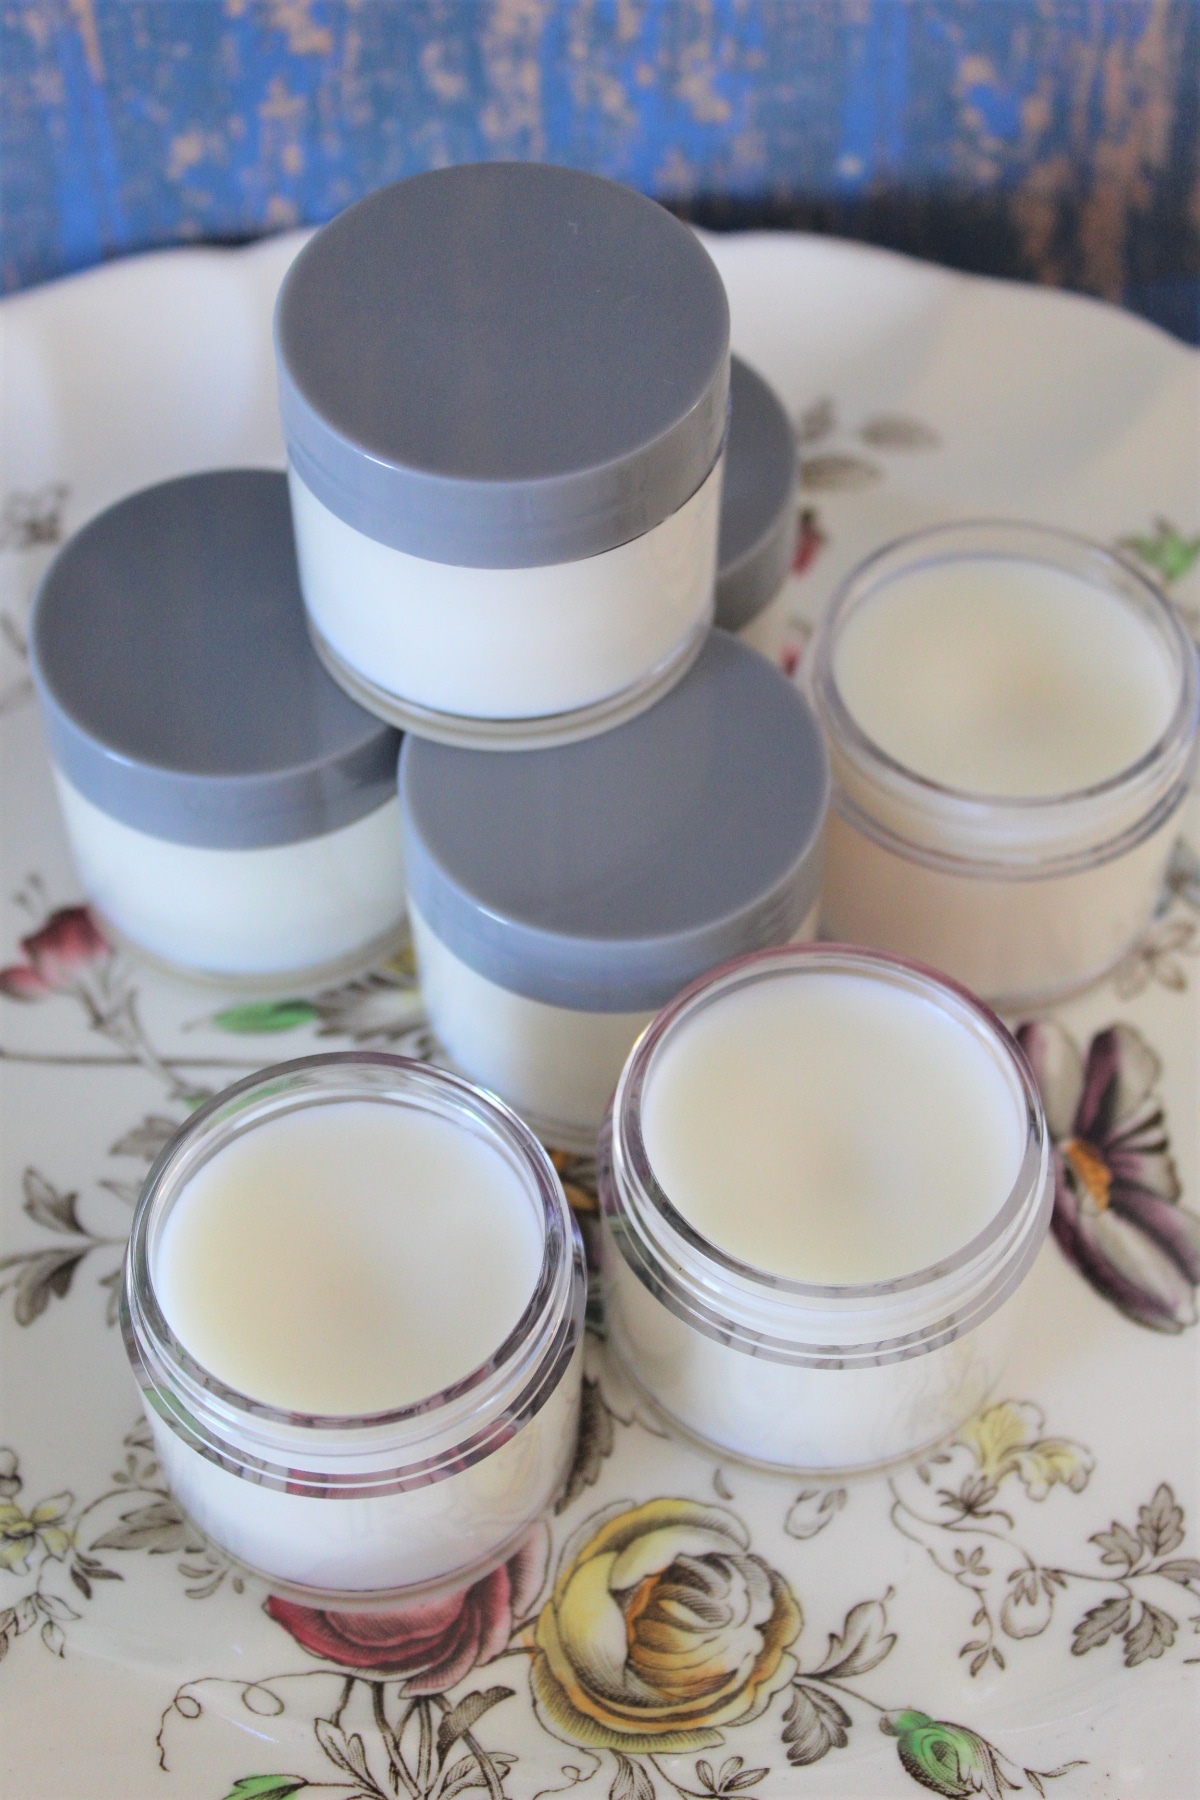
You don’t have to live with damaged and painful hands though. Yes, you could wear gloves and they would protect your skin. But many people, myself included don’t like to garden with gloves on. Even the most skin-tight gloves can make some tasks feel awkward. And if you are wearing gloves all the time you’re missing out on the scientifically proven benefits of having your hands in the dirt!
What is the alternative? Gardener’s Balm, an organic hand repair balm that will soothe and heal your tired hands. Keep gardening just as you always do then, after you wash your hands apply the Gardener’s Balm to help prevent the skin from getting those dry skin cracks or becoming inflamed by the work you’ve done in the garden. The balm is all-natural and incredibly easy to make at home with just a few ingredients.
How Do You Use Gardener’s Balm?
There are a few different ways you can use the balm depending on your personal preferences and the state your hands are in already.
Already Soft Skin
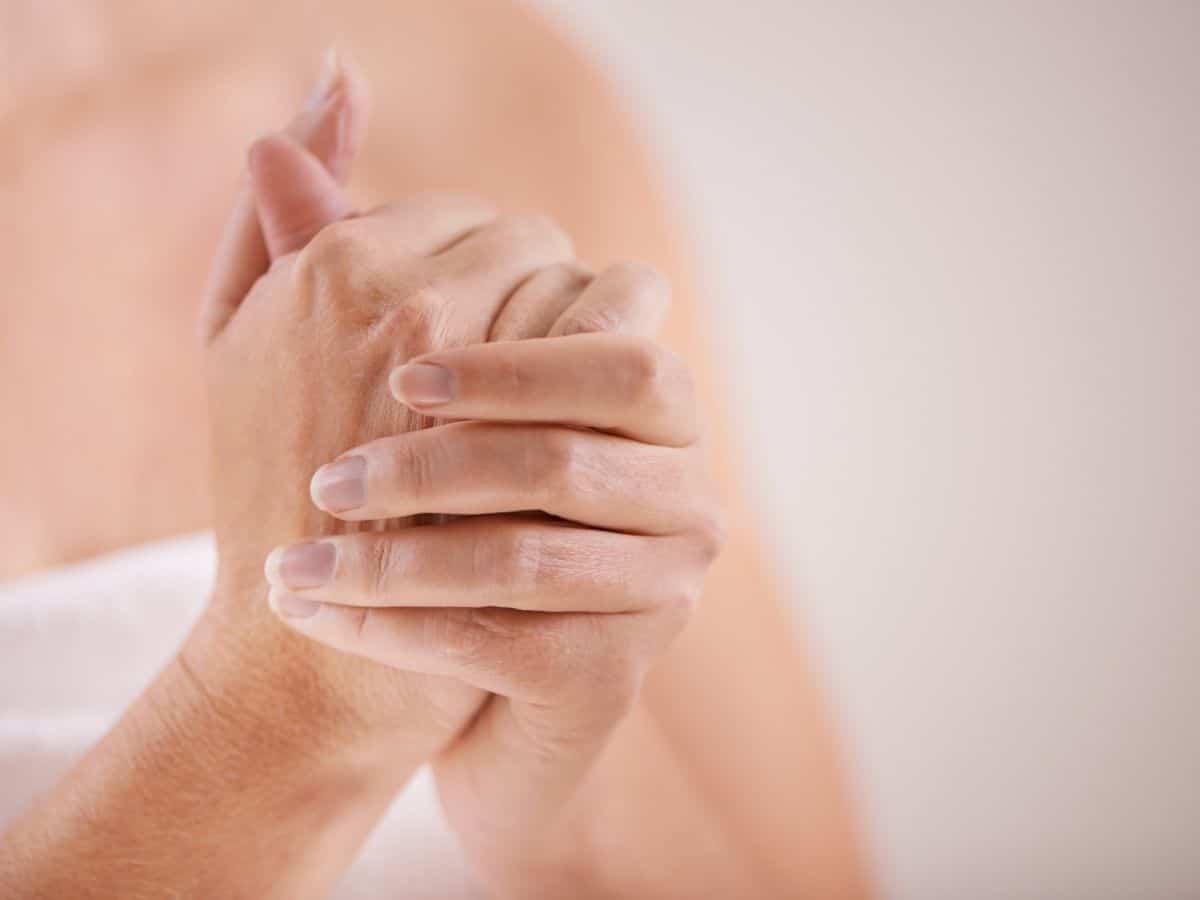
If your hands are already soft then apply the Gardener’s Rescue balm to your hands after you’ve washed them when you finish gardening. You will only need a small amount to keep your skin protected.
Moderately Soft Skin

If your skin is generally crack-free but not as soft as you’d like then I would recommend using a little bit more balm each time you use it. In addition to applying it to your chapped hands after you finish gardening also use it right after you step out of the shower.
Damaged Skin
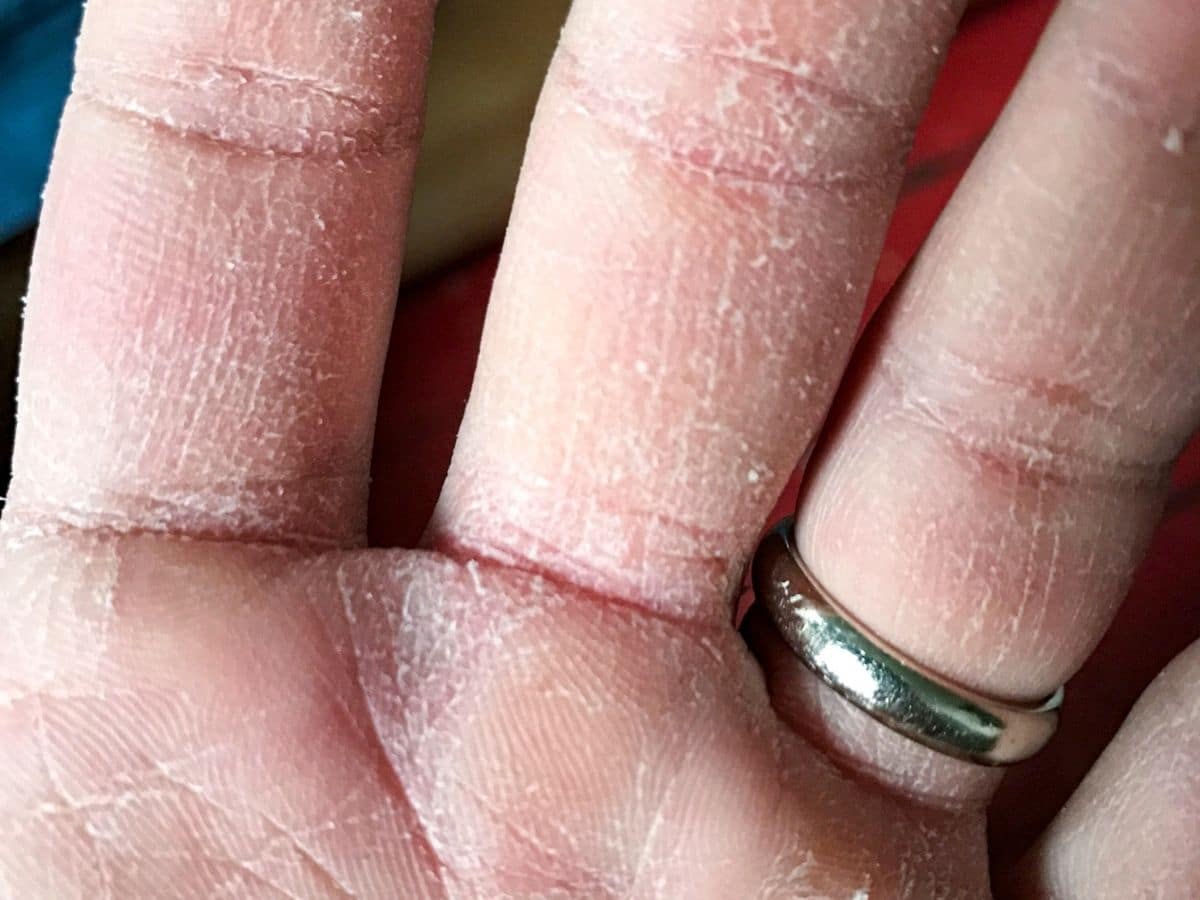
If your skin is damaged already with cracks, inflammation, and incredibly dry then it is time to get serious about applying the balm. Use a liberal amount on your dry hands after you’ve gardened, after you’ve showered, and then do it again right before you go to bed. You might even consider wearing a pair of gloves to help prevent the balm from coming off while you sleep.
The Base Ingredients
The base ingredients of the gardener’s balm are beeswax, coconut oil, and olive oil. All three of these are great for nourishing the skin.
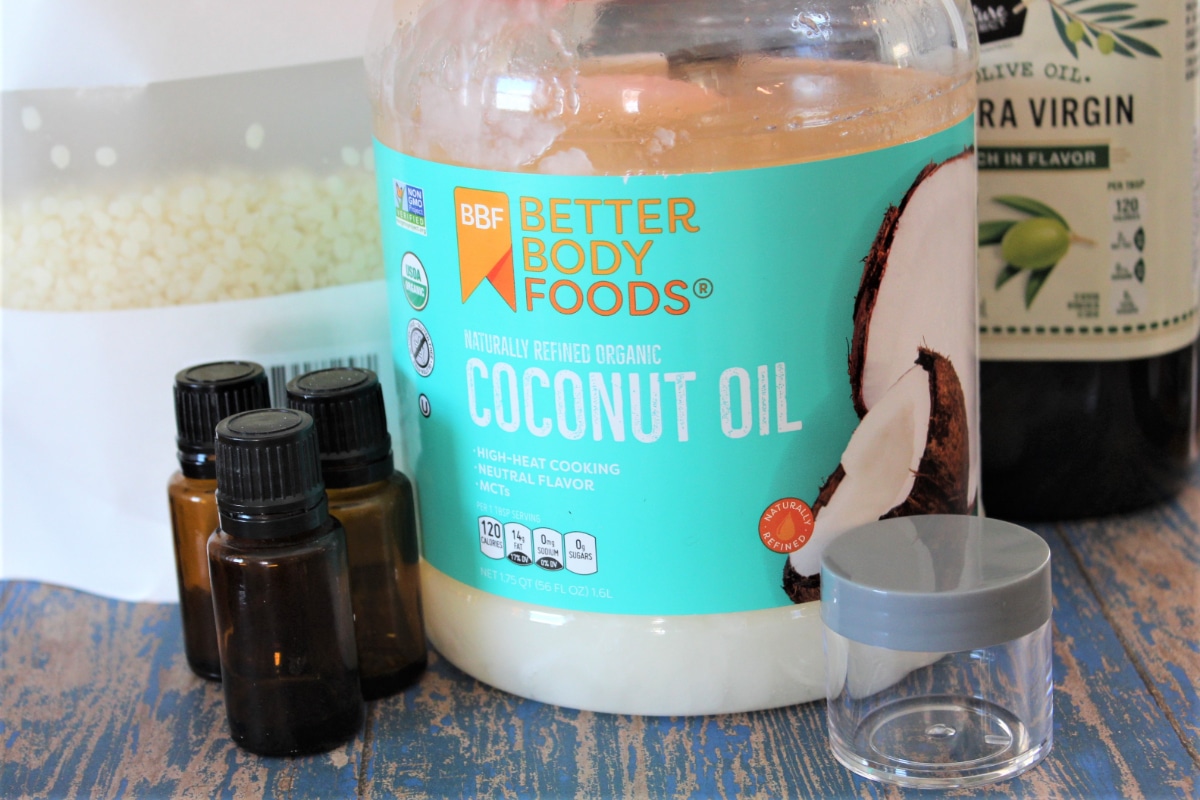
Locally Sourced Beeswax
Beeswax will help calm inflammation, but its primary use in this recipe is to thicken the balm a bit and help keep the balm on your skin for longer, meaning it has more time to work.
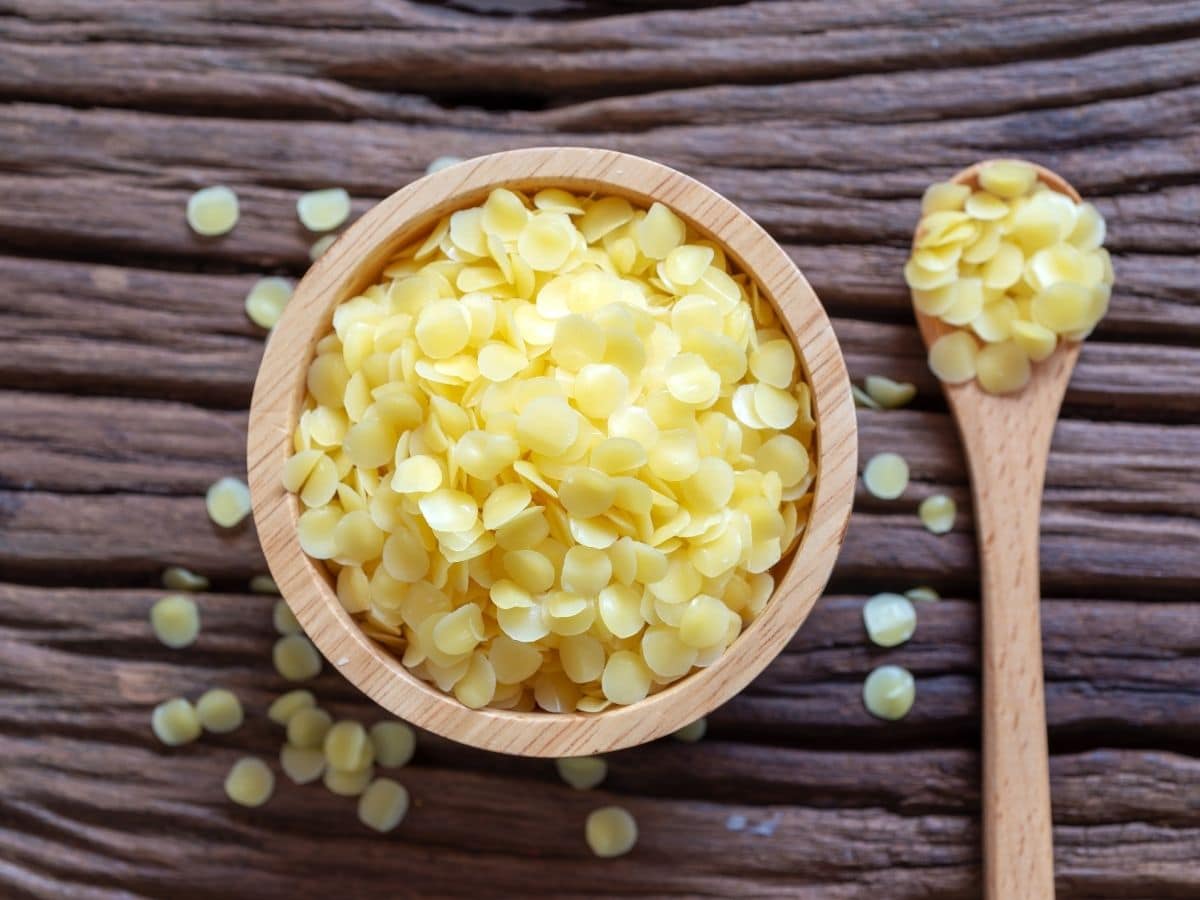
Why should you go for locally sourced beeswax and not organic?
Well…it’s because of the bees and the legal practices in the United States. Bees will naturally travel up to 8 miles from their home in any direction in search for food, making it impossible to 100% guarantee that your beeswax is organic. There is also very little regulation on beeswax being labeled organic.
So what you end up seeing is a lot of beeswax coming from Brazil and other countries where you have no idea what they’re using on the food the bees are eating. Instead, buy locally from small beekeepers. You won’t be guaranteed that it’s organic, but at least you will know where it came from. Find beekeepers at farmer’s markets selling honey and ask them if they sell beeswax as well.
Ethically Sourced Coconut Oil
Coconut oil has some amazing anti-inflammatory properties as well as its ability to trap moisture, which is exactly what we want for this balm. But, not all coconut oil is created equally. In recent years coconut oil has had an explosion in popularity for everything from washing your hair to the foods you eat. The sudden high demand for coconut oil has led to widespread deforestation and the extinction of at least two animals. A recent report also revealed that some coconut farmers have been using monkey labor to pick the coconuts and beating them if they try to eat any themselves. It might be safe to say that coconut oil is more harmful to the environment than palm oil now.
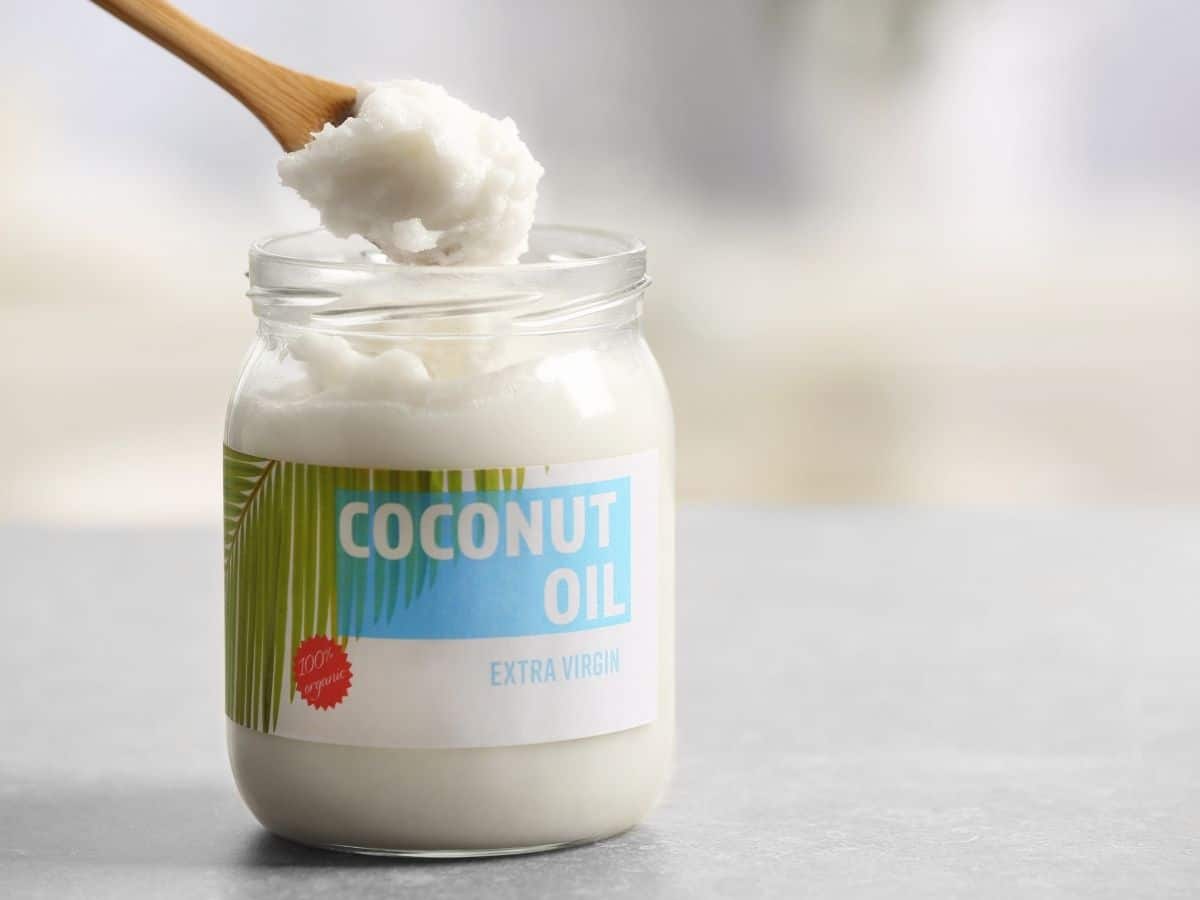
How to Find Ethically Sourced Coconut Oil
Don’t worry though, all is not lost. It is possible to find ethically sourced coconut oil. But, you have to put in some work. The first thing to know is that big box stores are less likely to have ethical coconut oil. This is why I like to shop at health food stores for mine. I will also break out my phone in the store and do a quick Google search for “Is Brand Name coconut oil ethical?” You will pretty quickly be able to tell if there are any problems with that particular oil.
Extra Virgin Olive Oil
Olive oil has been used to moisturize the skin since at least the time of the ancient Greeks. And, while it may not smell the best, Extra Virgin Olive Oil is the best.
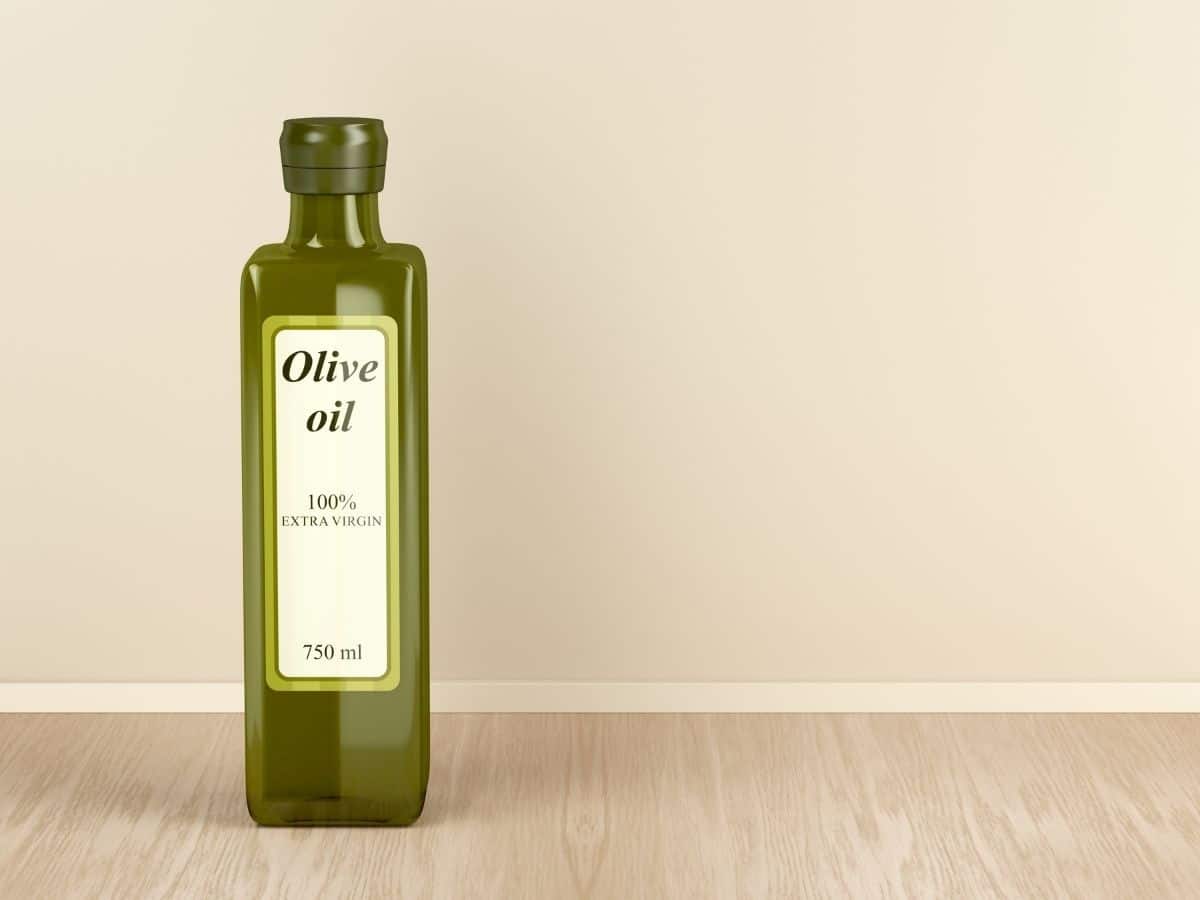
Get Organic Fairtrade Olive Oil
While olive oil doesn’t have the environmental concerns that coconut oil and beeswax have, what it does have is a pesticide and a labor problem. Avoiding pesticides is as easy as buying organic, though it will cost a bit more, it is absolutely worth it! Pesticides end up in your oil and that is going to soak into your skin. Also, check that your olive oil is fairtrade. This helps make sure that the farmers are receiving a fair price for their olives. Finally, buy olive oil that is in glass instead of plastic. The glass bottle can be recycled after it gets rinsed out, the plastic one can’t. These little things will make your gardener’s rescue balm a little more friendly to all living creatures on the planet, though they are by no means necessary.
Which Essential Oils Should You Use?
While the bulk of the balm is based on beeswax, coconut oil, and olive oil, there are a few essential oils involved as well that play an important role. They were chosen specifically for their health benefits and work really well. But, if you’re familiar with essential oils you can always make substitutions if there is one you like better. Below I will explain why each essential oil from this recipe was picked to help you better understand what the balm is doing and how.
Lavender Essential Oil
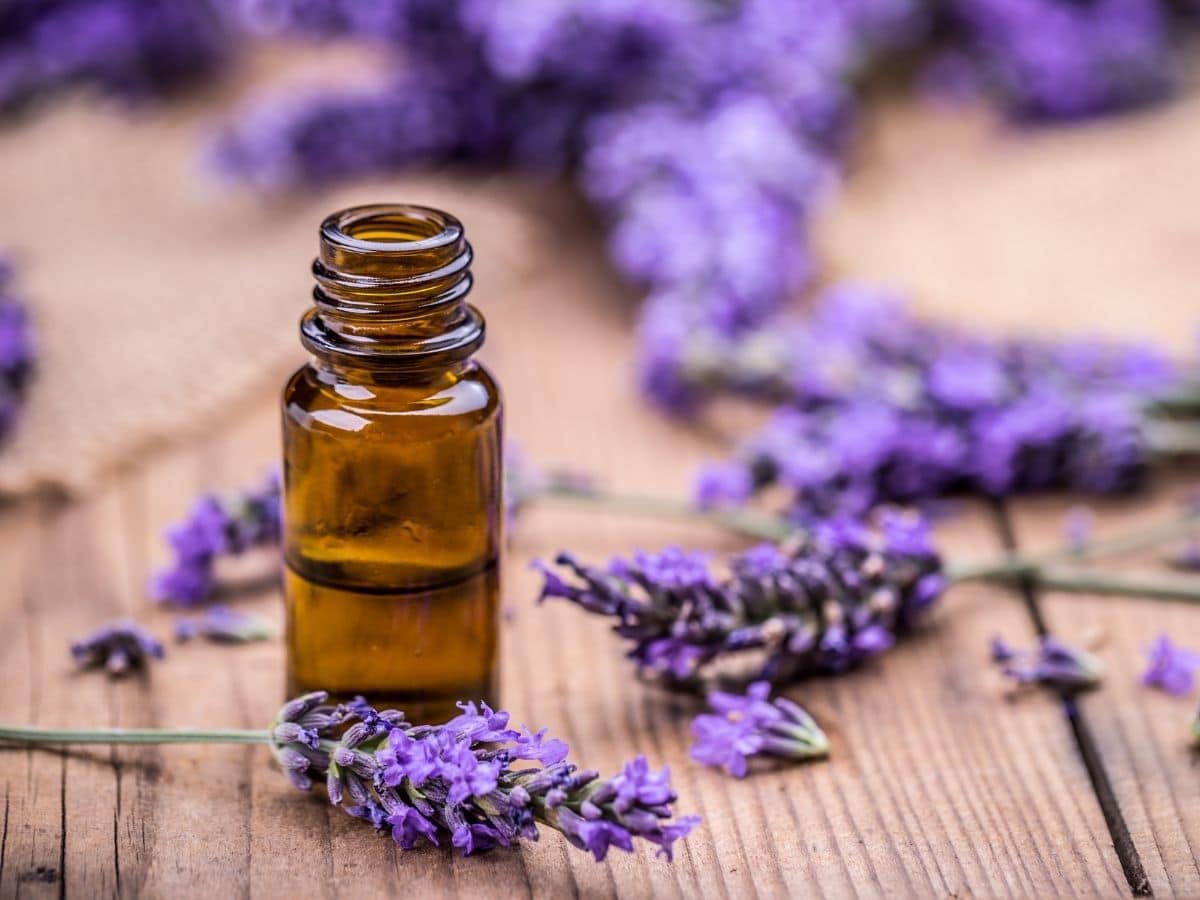
Lavender is one of the most popular essential oils on the market simply because it has so many uses. You can use it to keep flies and mosquitos away from where you’re sitting and it works wonderfully in this balm too.
- Lavender oil is antibacterial so it will help clean any cracks and wounds you have on your hands.
- It acts as an antihistamine, calming allergies and irritations.
- The scent of lavender is also very calming, helping your body relax after spending time out in the garden.
Basil Essential Oil
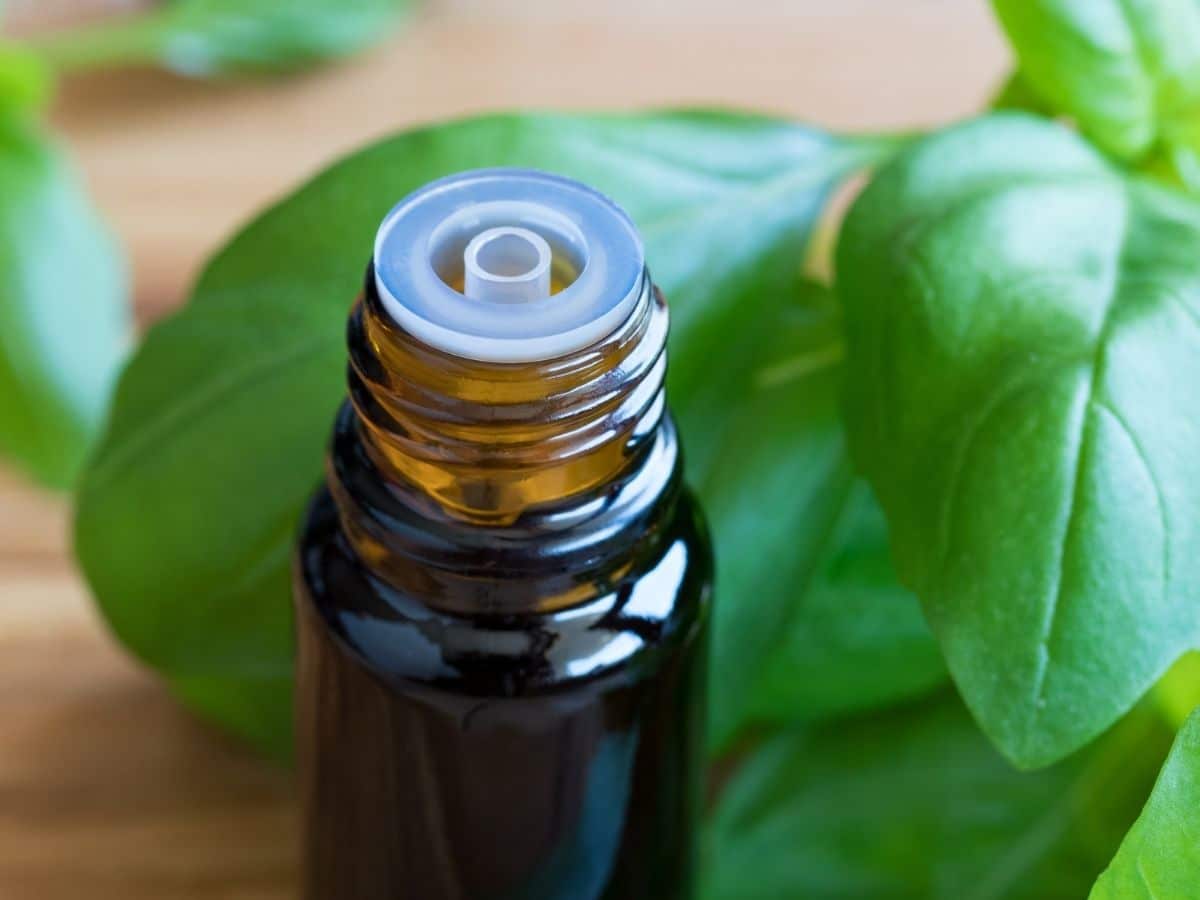
Basil essential oil is a bit underrated in the essential oil world, mostly because it has such a strong basil smell, but, it is also a powerful tool in combating inflammation and stress, both physical and mental. It is often used on acne to treat the inflammation and irritation that comes with it as well as anxiety and depression by those who use essential oils as alternatives to modern medicine. It’s in our balm to:
- Combat Inflammation and Irritation on the skin
- Help you destress
- Make you crave Italian for dinner. (Just kidding on that one…a little bit.)
Geranium Essential Oil
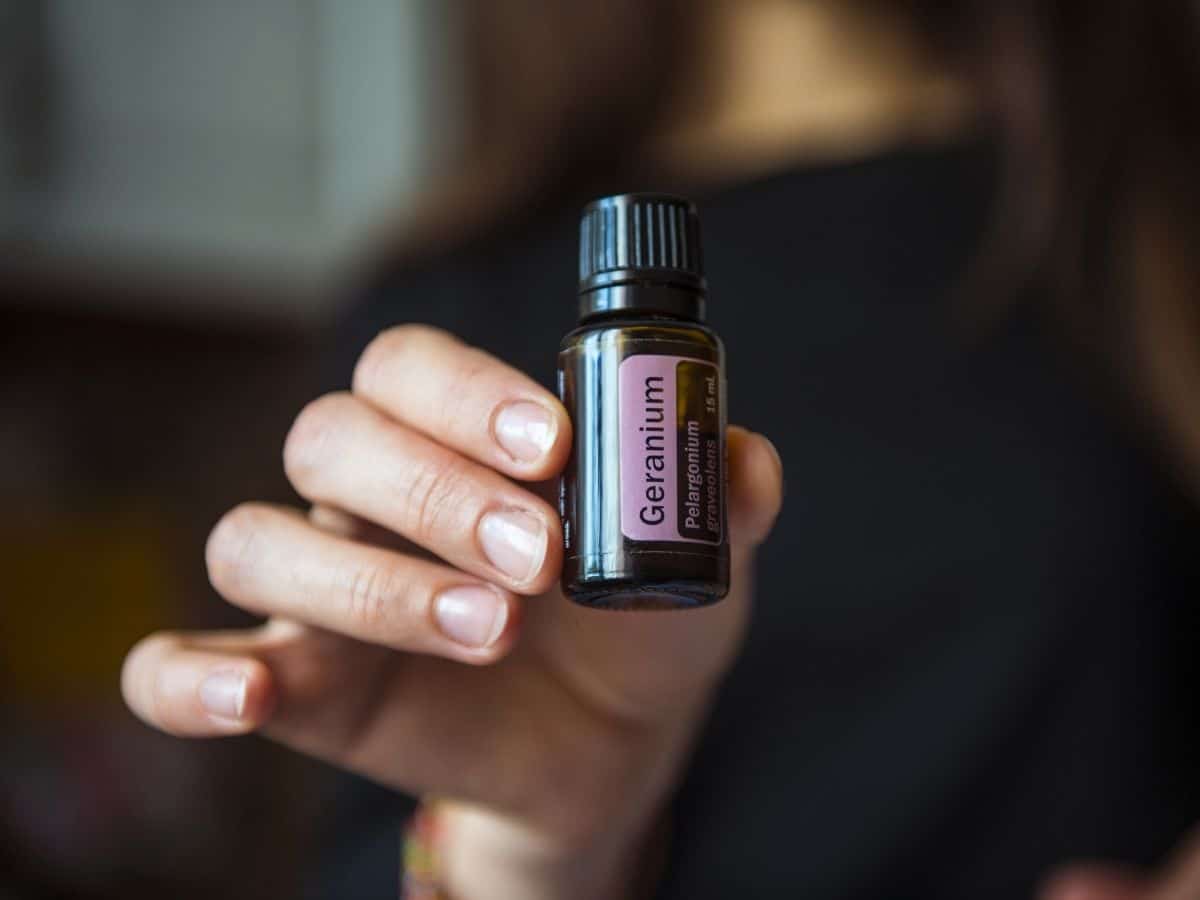
Flower essential oils are often considered to be overbearing because of their strong smell but before you reject geranium essential oil you should know that it isn’t as strongly scented as other flower oils. It also has some amazing uses on the skin. Here’s what we’re using geranium essential oil for.
- Moisturizes the skin and helps prevent more cracks from forming.
- Helps promote healing microtears and small wounds in the skin.
- Acts as a detox for the skin.
Other Oils You Could Pick
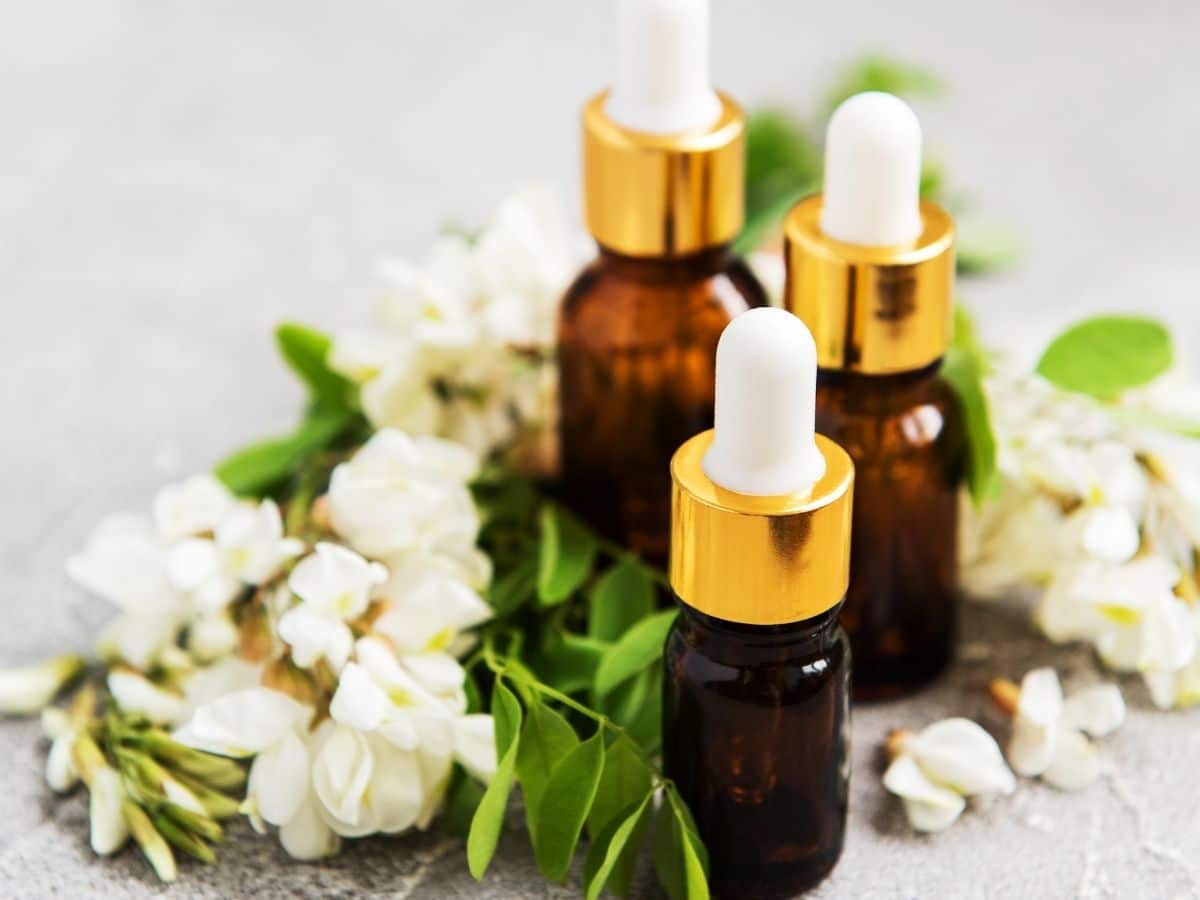
All of the essential oils I picked for this balm are fantastic, but for whatever reason, you might decide that you don’t want to use one or more of them. Here are a few substitutions you could make. They’re all known for being good for your skin though some are less well known than others, which is a terrible shame!
- Tea Tree Essential Oil
- Oregano Essential Oil
- Helichrysum Essential Oil
- Frankincense Essential Oil
How to DIY a Double Boiler
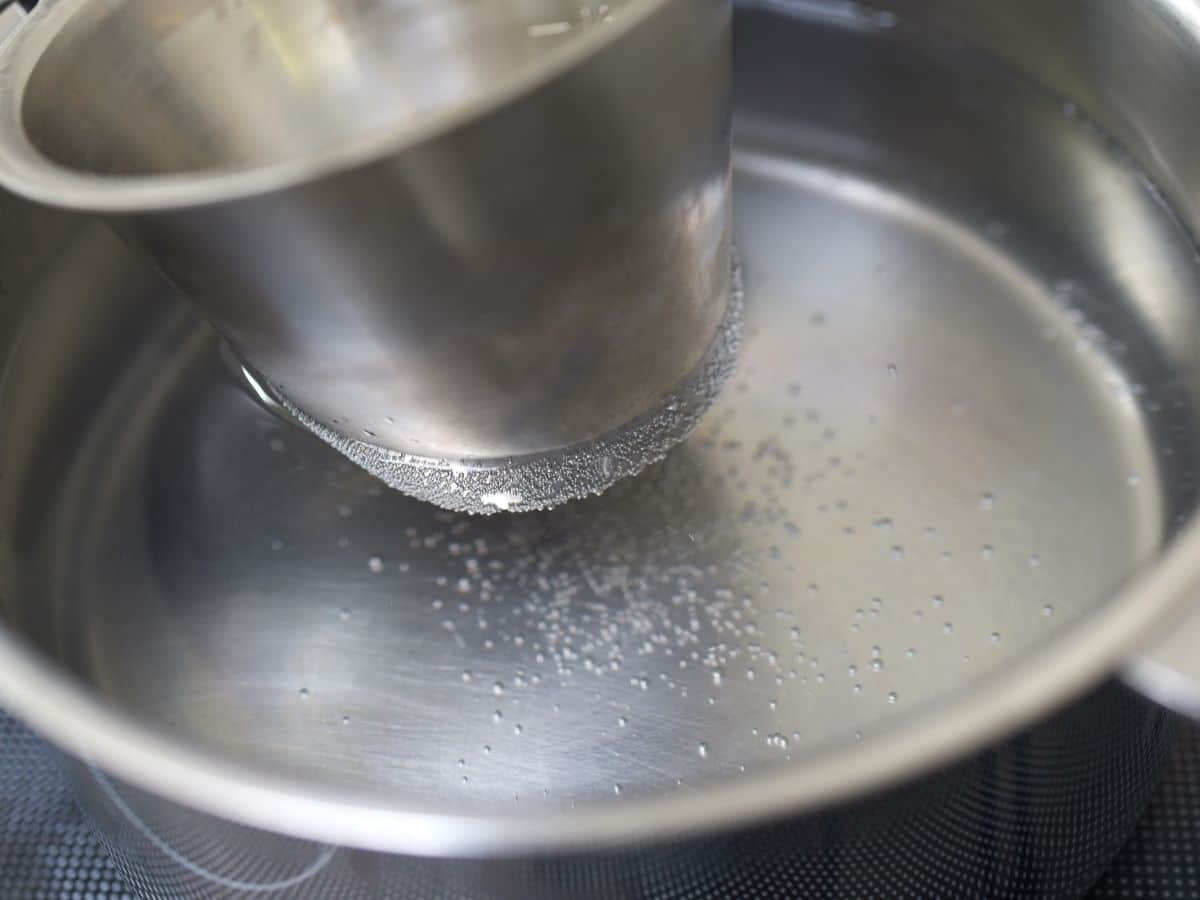
If you don’t have a double boiler you don’t have to go out and get one just for this recipe. I certainly haven’t. It’s just another kitchen tool that will get used rarely and mostly takes up space. Instead, it is incredibly easy just to make your own!
All you need to make a double boiler is a pot and either a tempered glass mixing bowl or a stainless steel mixing bowl. The bowl needs to either sit on top of the pot with a good amount of the bowl in the pot or it needs to be so much smaller than the pot that it can sit inside it. In the past, there were concerns that the bowl, no matter which type you use shouldn’t touch the bottom, but these days this myth has proven to be false so long as you are using the appropriate bowl. This same idea also works with a crockpot if you are going to be doing a big batch.
DO NOT PUT BEESWAX IN YOUR MICROWAVE
Beeswax is sometimes called a microwave killer. So while you can microwave chocolate instead of using a double boiler, you should NEVER do it with your microwave.
Giving Gardener’s Balm as a Gift
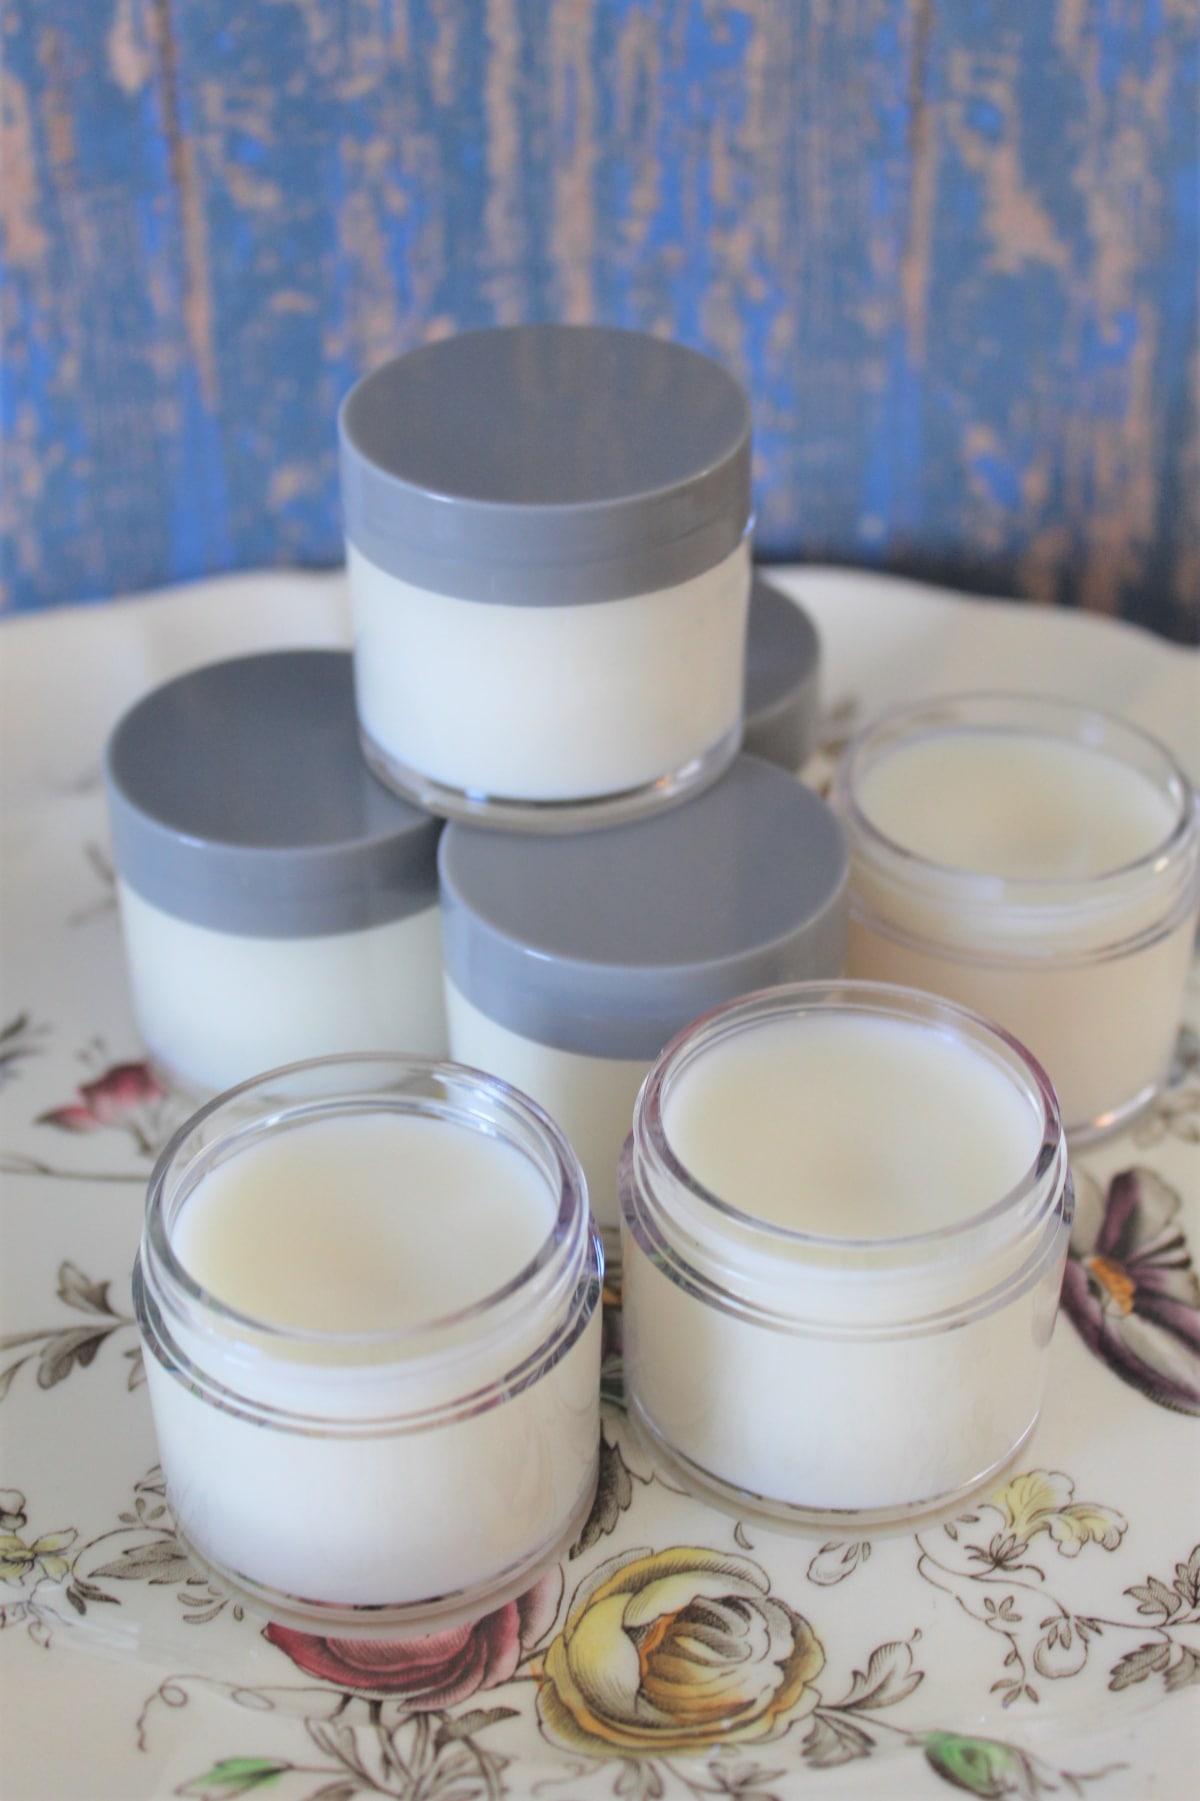
Homemade Gardener’s Balm makes a fantastic gift for gardeners and anyone else who works with their hands a lot. I enjoy giving it to my mother and grandmother every year for Mother’s Day, just when they are going to start wanting it most. My brother who is a firefighter also likes to use it throughout the fire season because fighting fires is rough on your skin. This really is an all-purpose healing balm that can be used anytime, not just in the garden. But, if you’re going to give it as a gift, even if it is just a gift for yourself, then you want to make it look good. Here are a couple of my favorite jars to put the gardener's balm in to give as a gift.
Vivaplex 1 Ounce Round Glass Jars
Furnido 1 Ounce Frosted Glass Pot
Directions for Making Your Gardener’s Balm
Below I’ve included instructions on how to make your balm with pictures to go along with it. You can also skip straight to the recipe at the end if you feel like you don’t need visual directions.
Making Gardener’s Balm
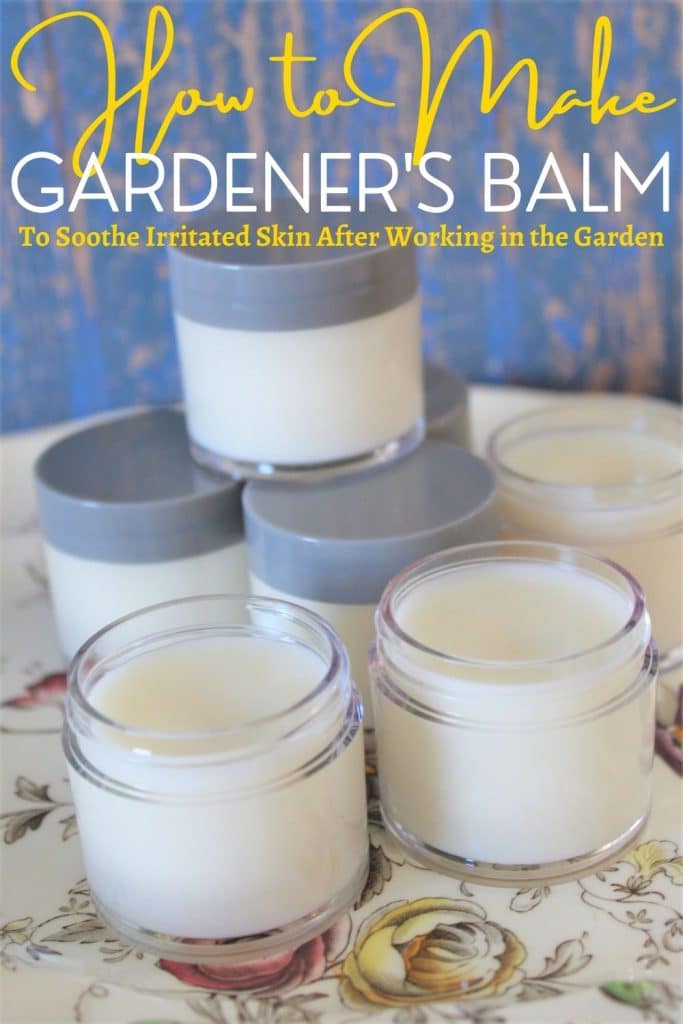
This recipe will make 3 ounces of balm which I like to split up into 1-ounce containers in the end. But feel free to other sizes if you like.
To begin you will need a double boiler pan (or your DIY double boiler) for melting down the beeswax. Fill the bottom pot with water, about ⅔ of the way full, or slightly less, so that it touches the bottom surface of the top pot/bowl, but isn’t too close to coming up the sides. It can easily boil over and out once it gets heated up well.
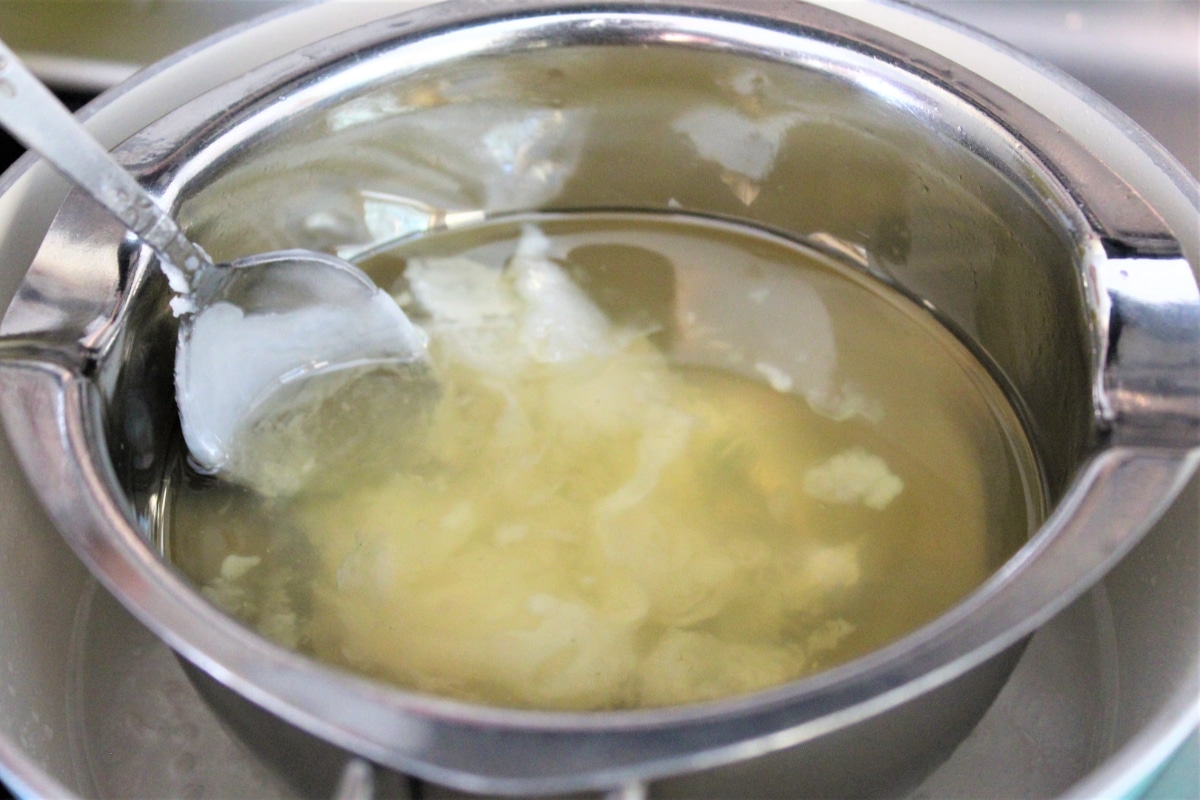
Turn the heat to medium-high to begin with, then fill the top pot/bowl with the chopped beeswax and place on top of the pot with the water in it. The water will take a few minutes to get heated up, so just be listening for it to start bubbling. Be sure to check on the beeswax once or twice during this time. When you see the wax beginning to get clear, give it a stir and break it up if need be. Beeswax tends to stick together and will need to be broken apart a couple of times during the process.
While the water is heating, open up your jars and check that they are clean and free of debris. Set them in a good place for filling and for leaving out to cool later where any little hands or pets won’t be able to get them and they aren’t at risk of being knocked over.
Measure out the olive oil and have it ready. If your coconut oil is hardened and too thick to pour or scoop easily, remove the lid and microwave it for about a minute. This will loosen it up for you and make it much easier to use. You can measure it out when its thick, but you need to be able to get the spoon through it. I like to liquefy it some and pour if I have time to, but it works either way.
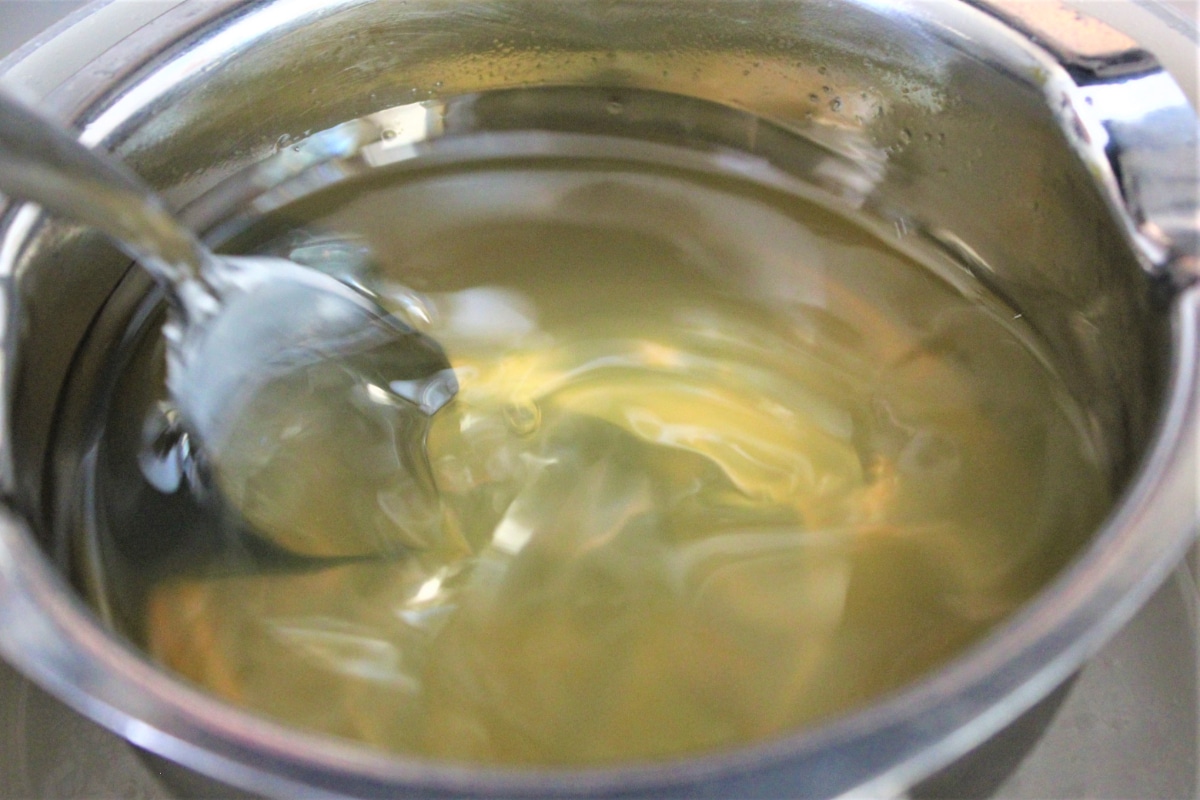
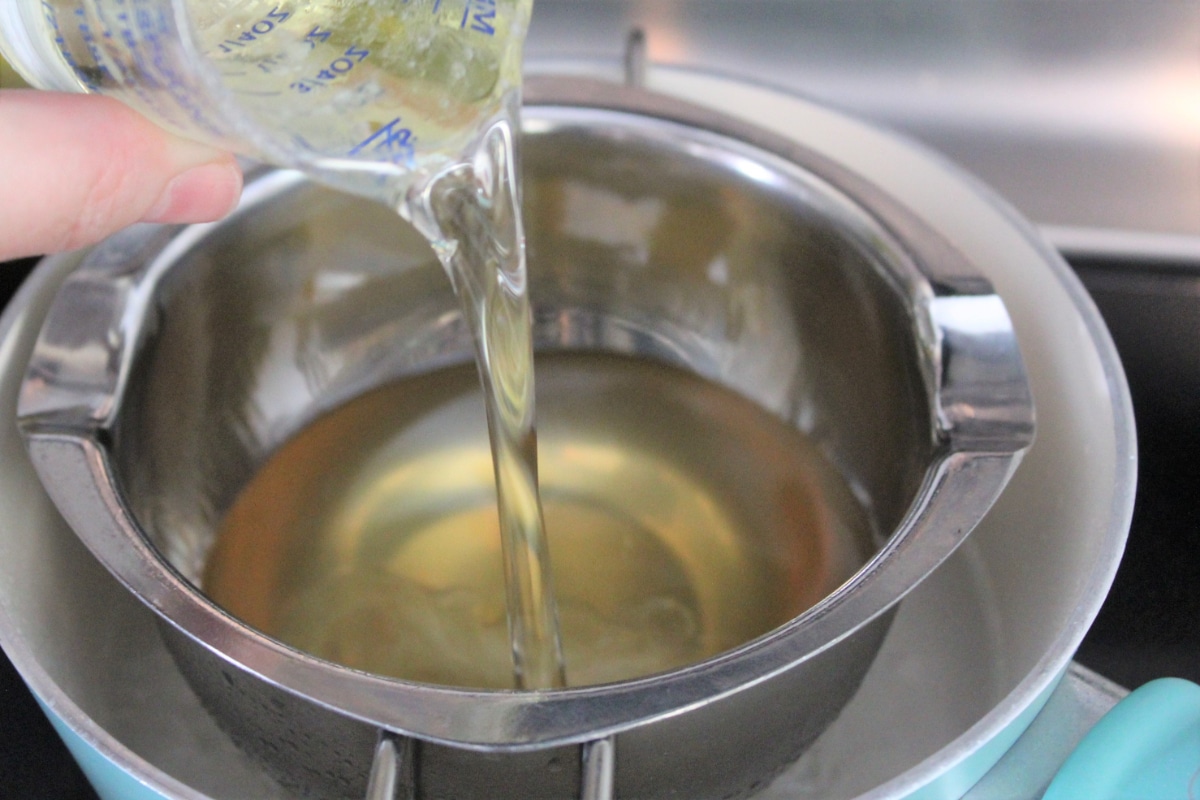
Check on your beeswax and once the water starts to get close to boiling, turn it down to simmer. Break up the chunks of wax and allow it to melt until it is all liquefied. Once it is liquified you can add in the olive oil. Stir the mixture to break it up and blend it well. Let it melt for a minute before adding the coconut oil and breaking it up with a thorough stirring.
TIP: One thing I like to do when using beeswax is to use 2 metal spoons for the stirring process: One to break things up and stir, and the other to scrape the wax off the first and get it back into the mixture.
Allow the wax mixture to melt until clear. Once it is you can add in the essential oils. All three of these oils are thin ones and they can run out of the bottle pretty fast, so be careful as you pour the drops. Stir vigorously to blend in the oils, you really want to make sure they are mixed in well. and then you are ready to pour the balm.
Pouring the Balm into the Jars
**Leave the water on low heat while you pour, as you may need to re-heat the balm again.**
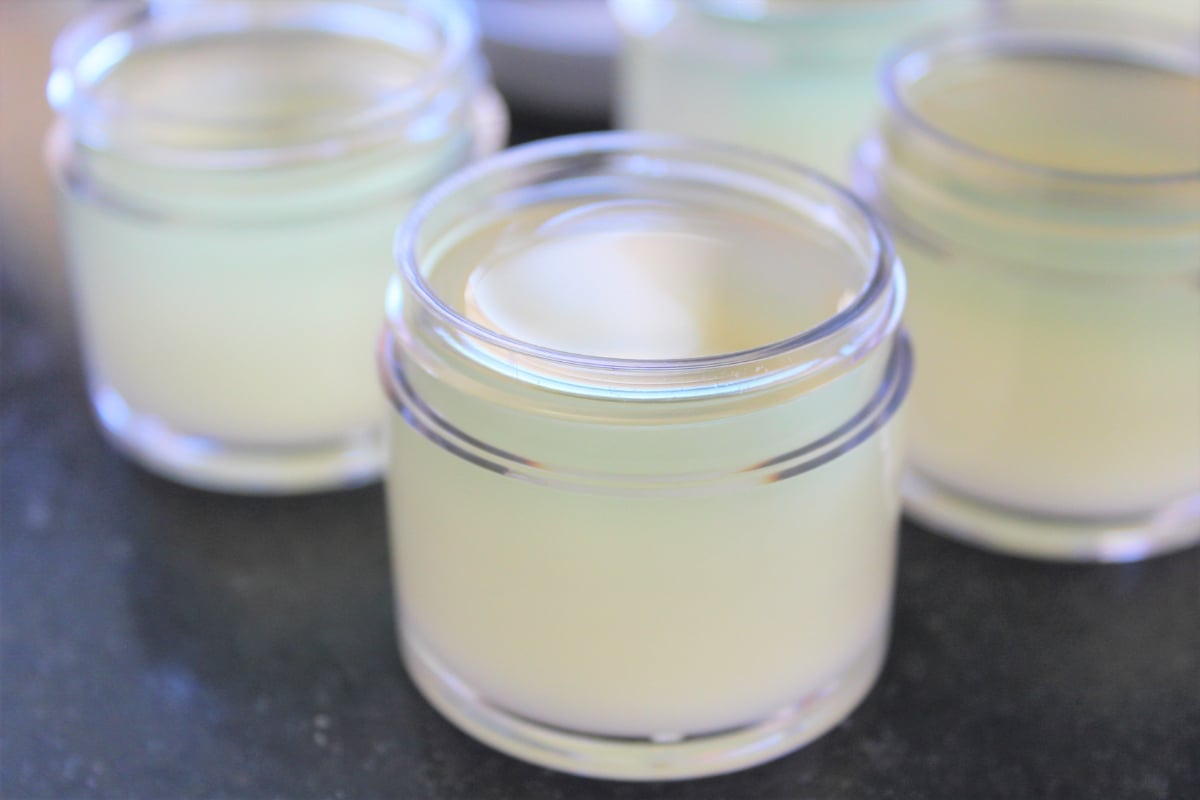
Carefully and slowly pour the balm into the tubs until it reaches just below the top.
TIP: If you want to be sure you have enough to fill the 3, or spread it out to more containers, fill it a little lower and then go back and top off if you have extra.
If the balm thickens, especially in the spout area, place it back on the heat, and scrape the spout and sides, placing it back into the mixture and let it melt again and then finish pouring. If I make a double batch this almost always happens to me.
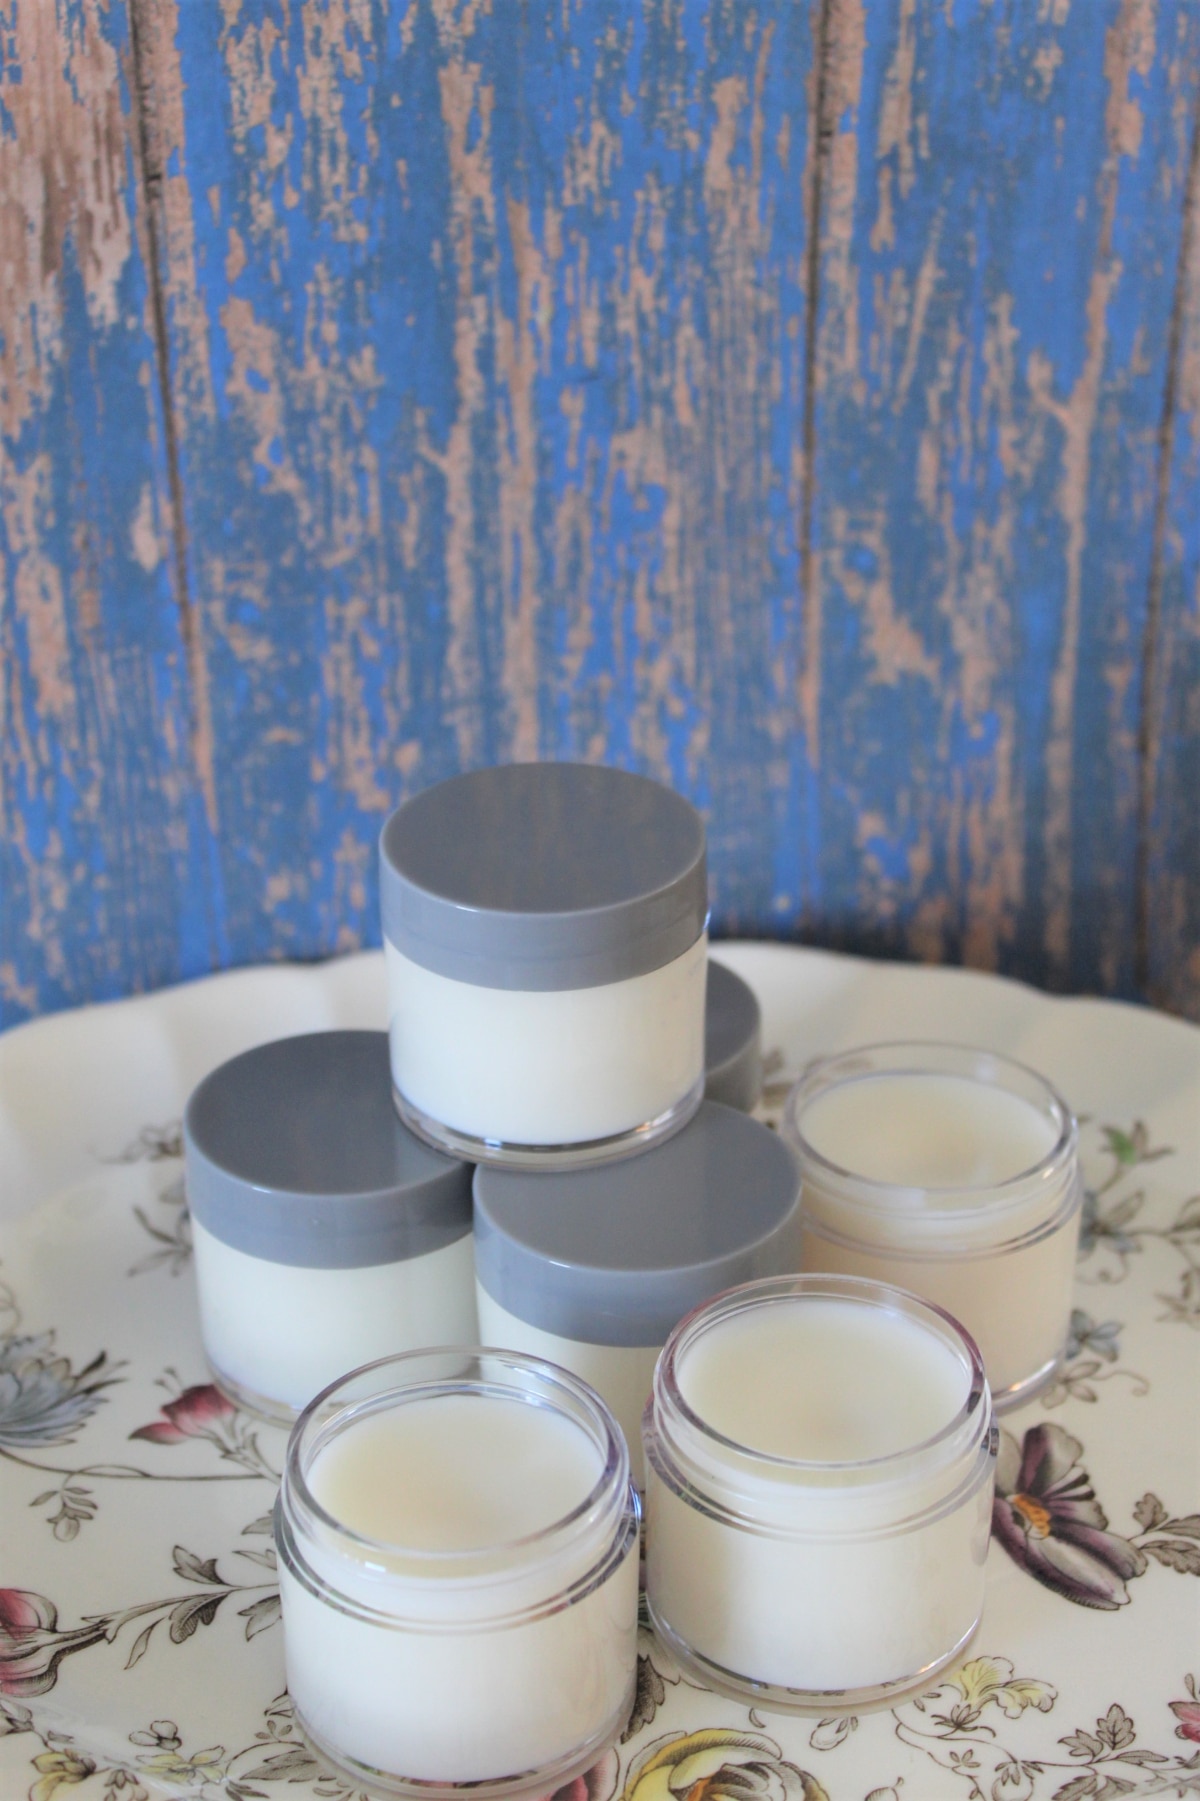
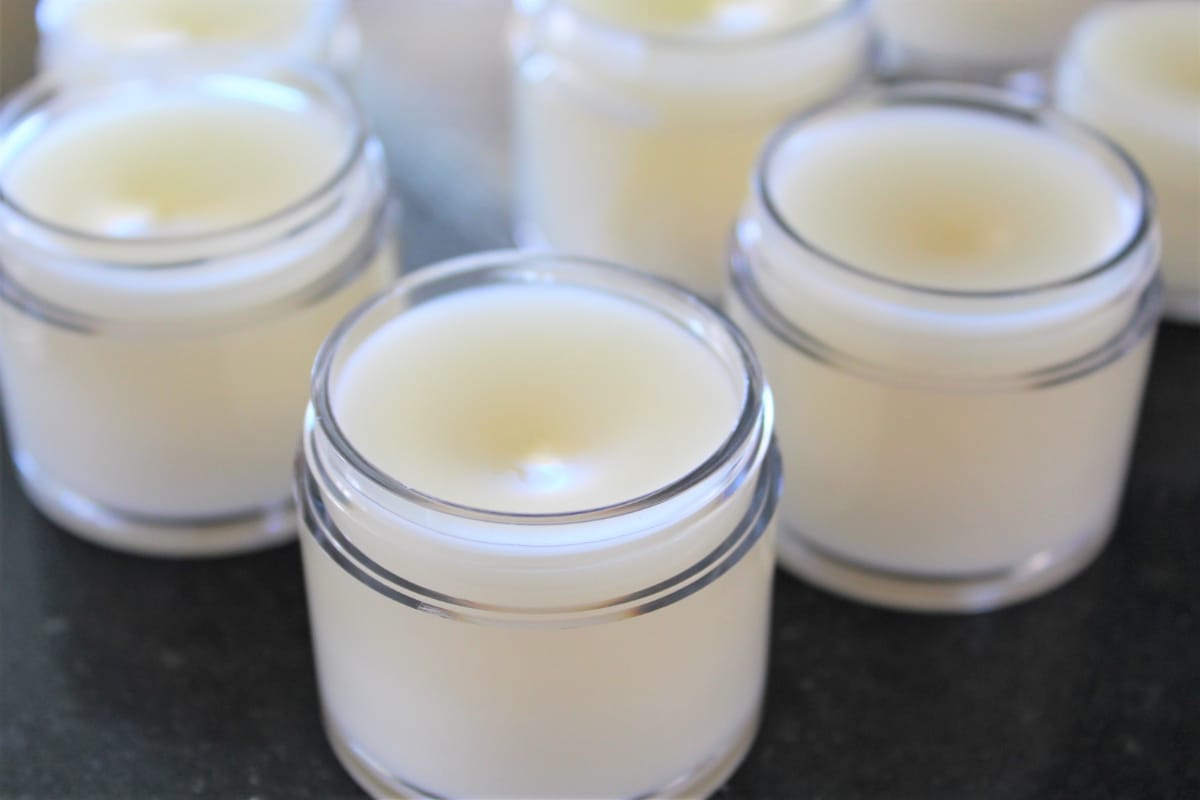
Now you just have one step left – Allow the balms to fully cool. This will take a few hours, so let them sit and don’t move them during the process if possible so they stay nice and smooth. Once they’re cool to the touch, you can tell by touching the sides of the jar rather than touching the balm itself, you can place the lids on.
If you are going to apply any labels I recommend waiting until the next day when you are sure that the jars have cooled enough that the sticker labels won’t come unglued.
How Long Will It Last?
The oils in your balm will start to go bad after about 6 months assuming it has been left out of sunlight. So if your gardener’s rescue balm has been sitting around for a while give it a smell before you use it. It will be very obvious if it has gone off. Using balm that has gone off won’t do any harm but it will have an unpleasant funk. If it has gone rancid then all you need to do is heat up the balm to melt it, I use the double boiler method, and it will slide right out. Give it a good washing with soap and water then the jar can be reused for the next batch.
Gardener's Balm Cream Recipe
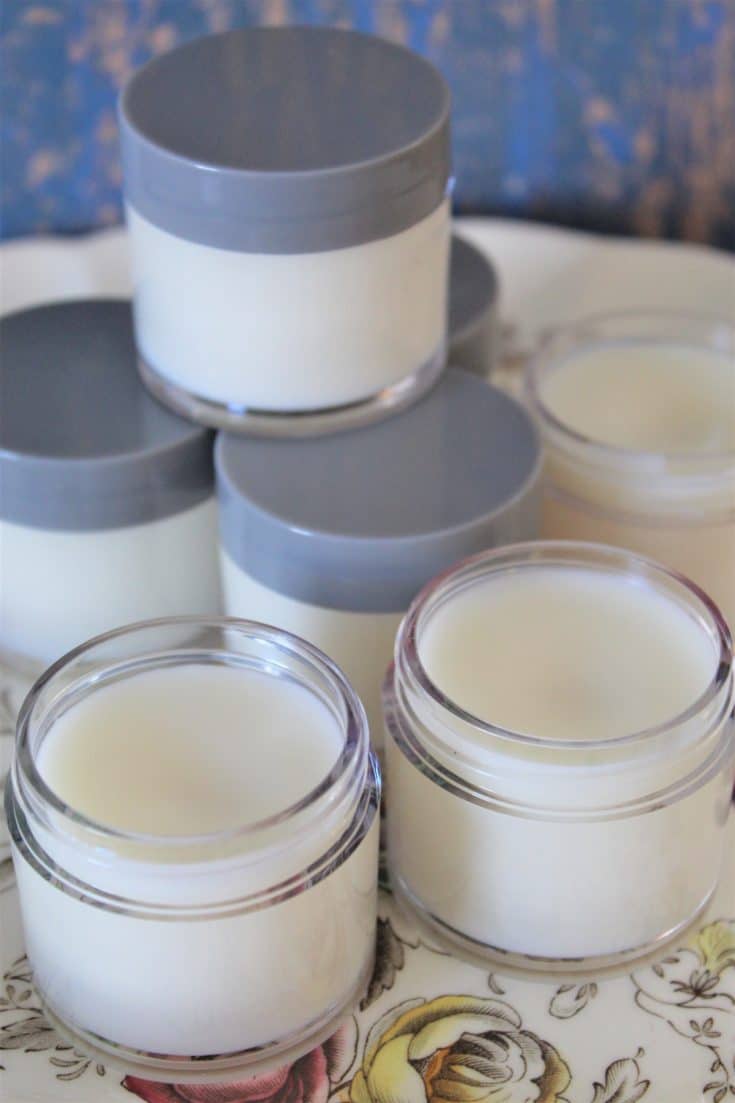
Soothe your hands, elbows, knees, and feet after a long day of working in the garden with this all-natural gardener's balm.
Ingredients
- ¼ Cup of Chopped Beeswax or Beeswax Pastilles
- 2 tbsp. Coconut Oil
- 1 tbsp. Olive Oil
- 15 Drops Lavender Essential Oil
- 14 Drops Geranium Essential Oil
- 8 Drops Basil Essential Oil
Instructions
- Fill the bottom pot with water, about ⅔ of the way full so that it touches the bottom surface of the top pot/bowl then set the stove to medium-high and let the water begin heating.
- Add the beeswax to the top pot and set the pot on top of the bottom pot.
- Stir the beeswax occasionally to get it to melt completely.
- While you wait for the wax to melt open your jars to make sure they are clean and in a secure location.
- Once the wax is melted add the olive oil and stir. Let it sit for 1 minute.
- Add the coconut oil and stir thoroughly. Let the mixture sit until it becomes clear again.
- Add the essential oils and mix well.
- Pour the balm into the jars.
- Allow the balm to cool for several hours before placing the lid on the jars.
Notes
Keep the double boiler on while you pour. The mixture may start to harden as you're pouring. If this happens add it back to the double boiler to soften it again.

Barbara J Beckstrom
Re: the coconut oil, which kind? Solid or liquid
Mary Ward
Either would probably work, but the solid is recommended.