If you want to grow tall, colorful, eye-catching perennials and do not mind them being short-lived, you may be intrigued by hollyhocks.
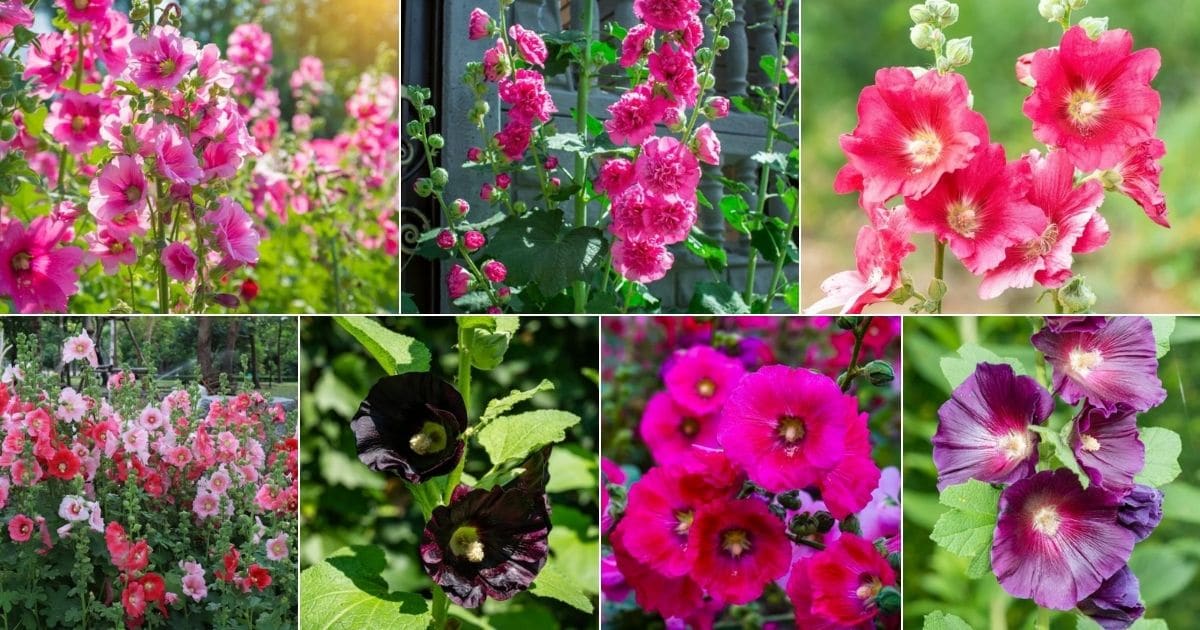
This guide will answer all of your questions to make it easy for you to get started growing hollyhocks in your own garden.
You will learn how much sun and water hollyhocks need, and what soil conditions are ideal. We will also teach you about fertilizing and additional care.
But first, we will cover the basics and go over some varieties that might dazzle you in your cottage garden.
To skip to any section in this guide, just click on the links in the table of contents below.
Jump to:
- What Are Hollyhocks?
- Hollyhock Basics
- Where to Buy Hollyhocks
- Where Do Hollyhocks Grow?
- Why Grow Hollyhocks?
- Recommended Hollyhock Varieties
- When Do Hollyhocks Bloom?
- When to Plant Hollyhocks
- Ideal Growing Conditions for Hollyhocks
- How to Plant Hollyhocks
- How to Care for Hollyhocks
- How to Transplant Hollyhocks
- Recommended Companion Plants for Hollyhocks
- Fun Project: Make a Hollyhock Doll!
- Frequently Asked Questions About Growing Hollyhocks
What Are Hollyhocks?
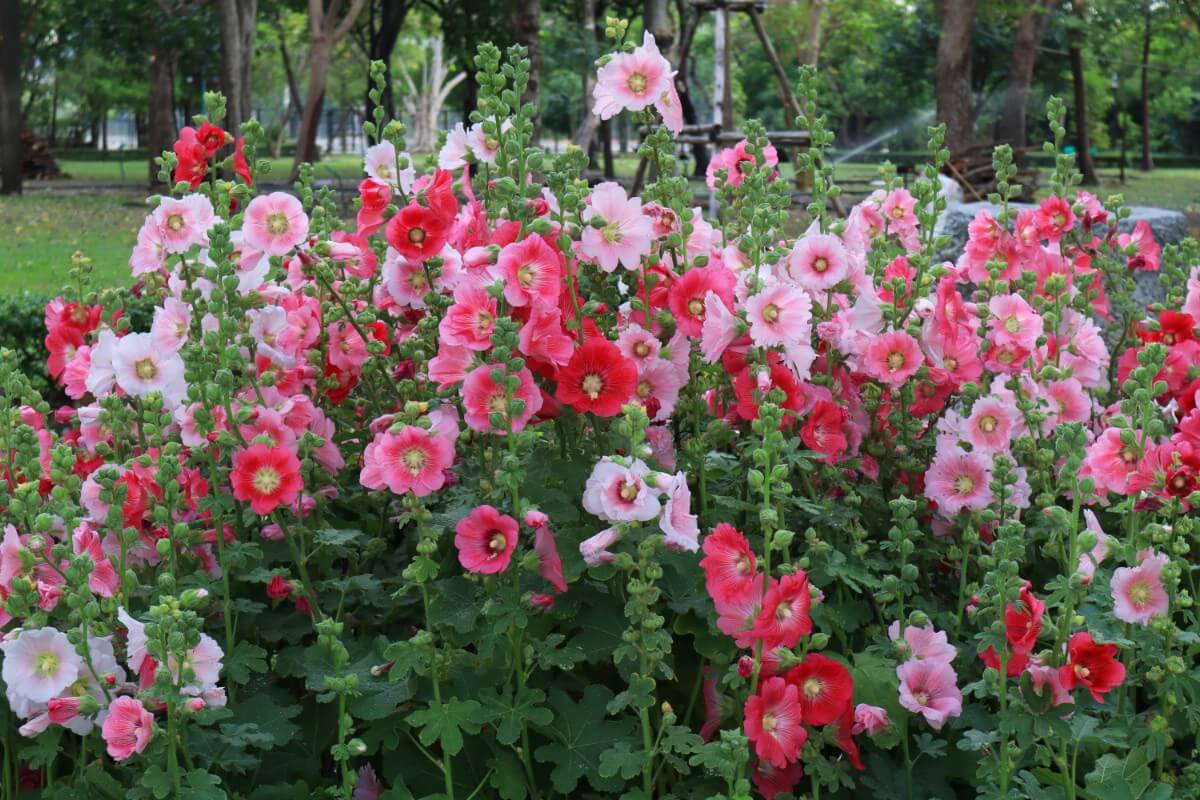
Hollyhock is the common name of the plant with the scientific name Alcea rosea.
The name “hollyhock” actually is a derivative of “holyoke,” which was the name that herbalist William Turner gave the plant.
Shorter varieties of hollyhocks can be around 3 feet tall, while taller ones can reach around 9 feet in height.
It is common to see hollyhock labeled as an annual plant, but it can also be classified as a short-lived perennial.
Technically, they are also a biennial. So, if you plant hollyhock seeds, do not expect flowers the first season. You should see them the next, however.
That being said, by planting hollyhocks early, sometimes you can give them a chance at first year blossoms.
If you want yours to live multiple years, it is essential to provide ideal conditions and appropriate care.
Hollyhock Basics
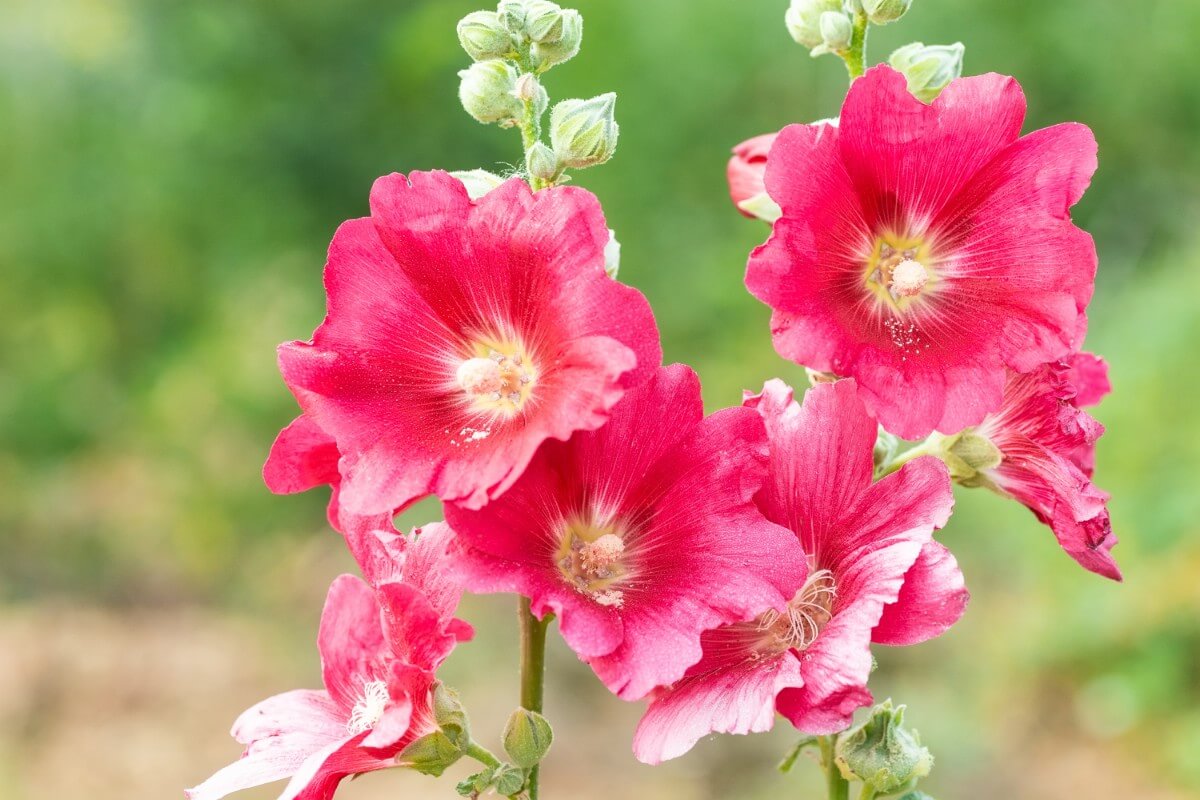
| Zones: | 3-8 |
| Blooming season: | Summer-fall |
| Expected height: | Up to 9 feet |
| Soil: | Rich, moist, well-drained |
| Sun: | Full |
Where to Buy Hollyhocks
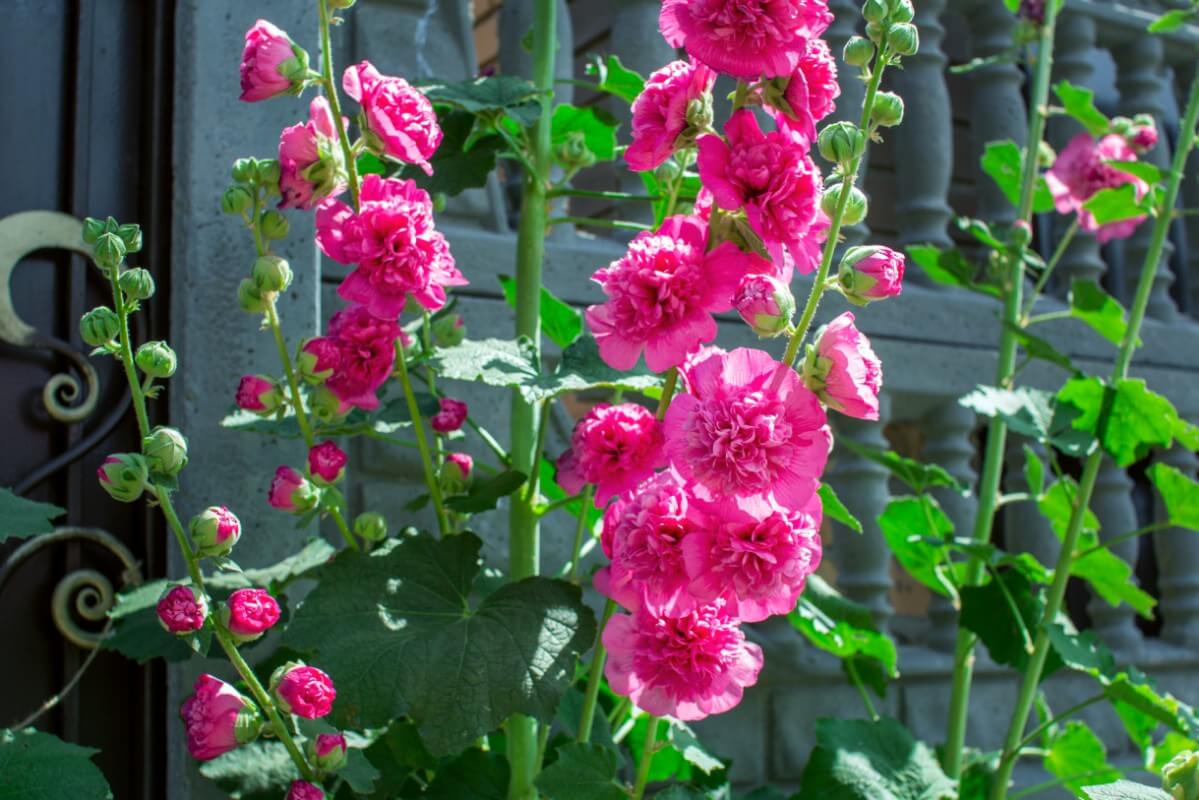
- 【Package】: 300+ Hollyhock Seeds (mixed colors).
- 【Unique features】: Hollyhocks are easy to grow, grow quickly, and require basically no attention once they have taken off. Unique mixed colors are so amazing, you'll love the difference! Plus,...
- Early planting for flowering the first year. Deep crimson, light pink, rose, red, yellow and white. Reseeds itself for continuous plants each year
- Planting instructions included with purchase
- ✔ Quality seeds packaged by MySeeds.Co All seeds sold by MySeeds.Co are Non-GMO based seed products and are intended for the current & the following growing season. "All seeds are produced from open...
- ✔ Hollyhock is completely edible and are commonly found in many cottage gardens
- Package includes about 50 seeds
- Instructions in English are included
- Zone: 3-9
- Low Maintenance
- 300+ Hollyhock Rare Mixed Seeds for Planting
You have now discovered the charms of hollyhocks, and you know how to successfully grow these tall, colorful perennials! Click below to shop hollyhock cultivars now
Where Do Hollyhocks Grow?
Hollyhocks are native to China. But as early as the 15th century, they made their way to Europe.
Now, gardeners around the world in zones 3-8 enjoy their tall stalks and stunning flowers.
Why Grow Hollyhocks?
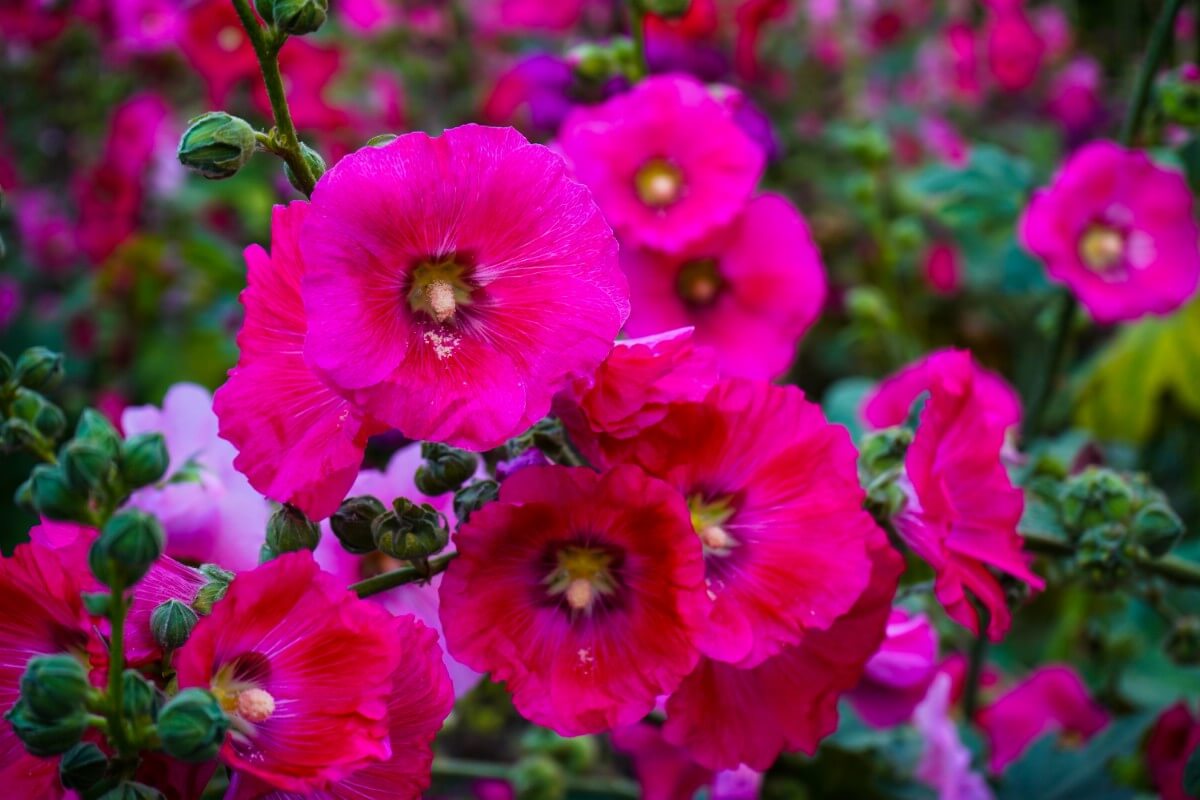
Even though hollyhocks may not live as long as other perennials, they offer some great benefits for your garden. Here are a few reasons too think about planting them in yours:
- Hollyhocks are astonishingly tall. With spires that tower as high as nine feet, you probably will be able to see them from any location in your garden. They can make a lovely backdrop for other plants, and even offer them a little bit of shelter from the wind. That being said, you should put the hollyhocks in a sheltered location themselves, if possible. Just make sure it is also a sunny location.
- Bring welcome guests to your garden. If you want to invite birds, bees, and butterflies to your lawn, planting a row of hollyhocks may help. Indeed, if Painted Lady butterflies live in your area, they will be drawn to the hollyhock plants (just keep in mind that their caterpillars eat them).
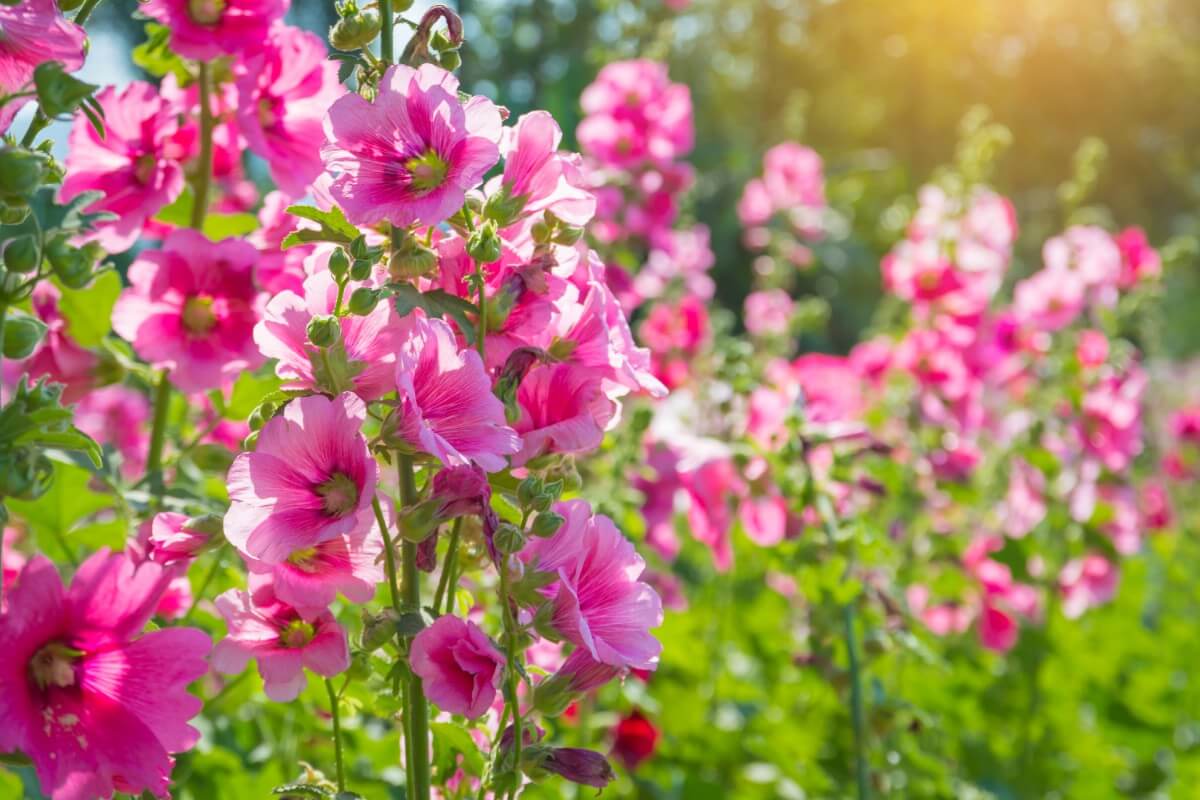
- Hollyhocks have a nice, long bloom period. Plant them in a sunny location in your garden and you can enjoy their spectacular display during summer and fall.
- Hollyhocks self-seed. That means that even if you are growing them as annuals, you will usually be able to get new hollyhocks each year without returning to the garden center. This is also advantageous if you plan on letting the caterpillars dine on the leaves.
- You can make cute crafts from hollyhock flowers. Making hollyhock dolls is a time-honored tradition.
- Hollyhocks offer a great starting point if you want to achieve the cottage garden look.
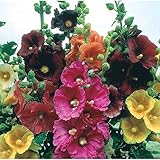
- These tall plants come in different varieties. Vibrant pinks, yellows, reds, and other hues bring a riot of color to your garden (see below).
Recommended Hollyhock Varieties
Are there multiple varieties of hollyhocks? Yes! Let’s take a look at a few of these lovely cultivars.
- Scarlet Eye: If you fancy red flowers, this variety of hollyhock will bring bold color to your garden.
- Charter’s Icicle: This garden favorite features beautiful flowers with a pure white color. They are also double blooms, which are very popular.
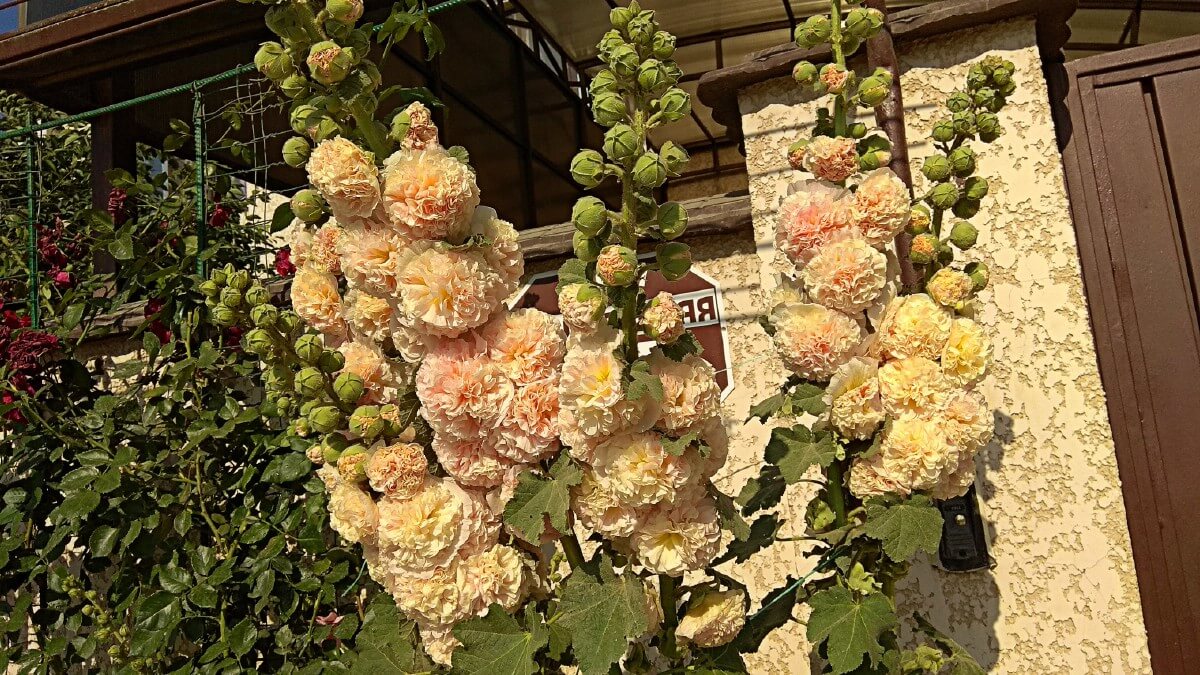
- Peaches-n-Dreams: Another type of hollyhock that features impressive double flowers is Peaches-n-Dreams. The fluffy peach flowers are voluminous, making for an instant visual focal point. Just keep in mind they can get heavy, and will likely need staking.
- Charter’s Salmon Queen: Another double blossom cultivar that looks similar to the one above but with a slightly different hue is Charter’s Salmon Queen. The flowers on this plant are a bit more pinkish than those on the Peaches-n-Cream variety.
- Charter’s Golden Yellow: Close in appearance to Charter’s Salmon Queen, these double blooms instead feature a warm, pale yellow hue.
- Charter’s Chestnut Brown: The blossoms on this double hollyhock variety are a rich, dark brownish-red.
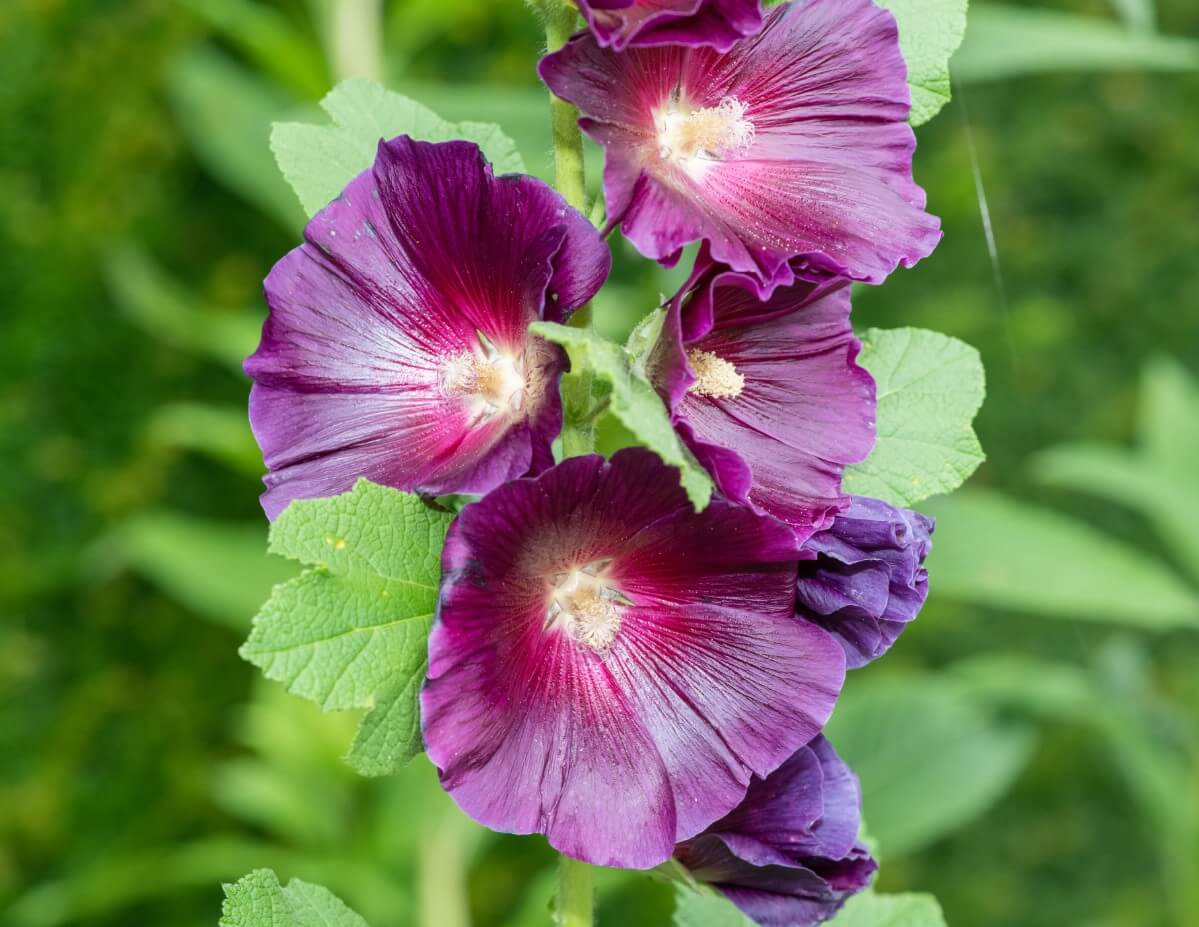
- Créme De Cassis: This type of hollyhock features single blossoms in a dark purplish color. They are white in the middle and around the edges.
- Mars Magic: Another red variety of single blossom hollyhocks to think about planting is this cultivar.
- Sunshine: Want to plant a hollyhock that will blossom in its first year, rather than making you wait until the year after? Consider “Sunshine.”
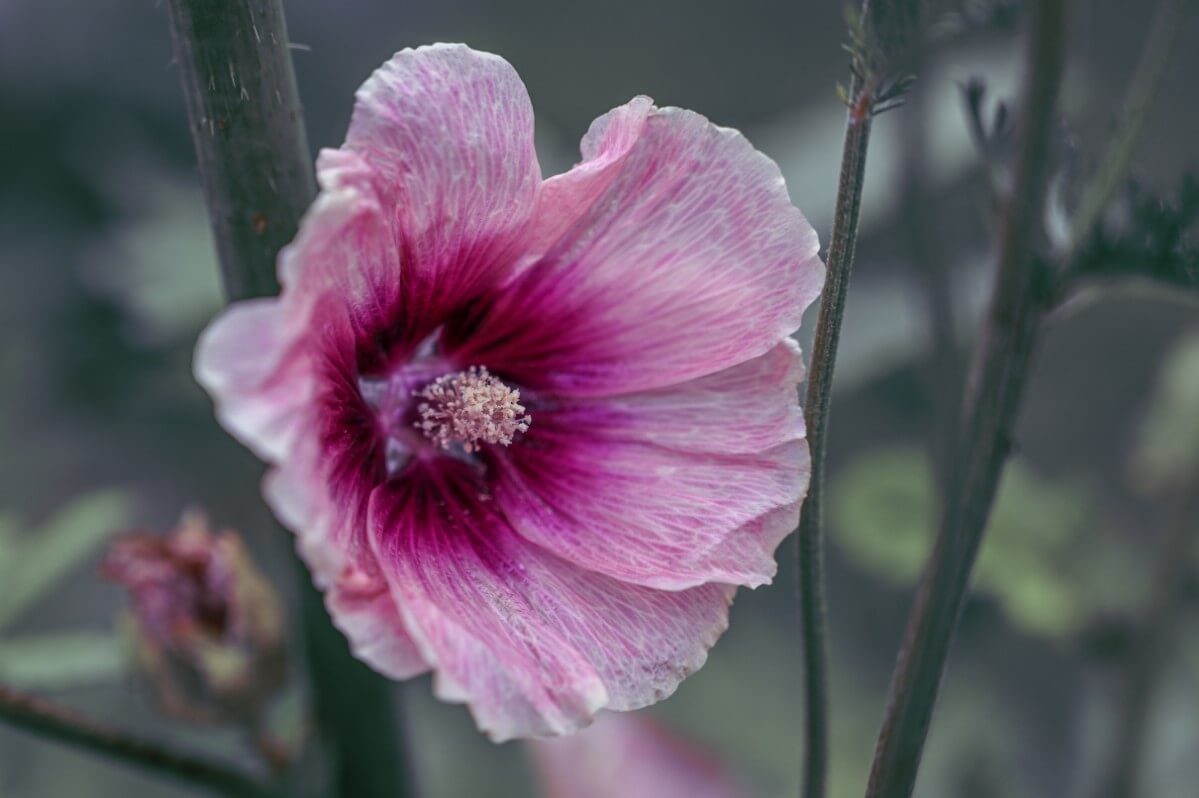
- Halo Apricot: These flowers feature petals with a gradient that is dark in the middle and light apricot around the edges.
- Russian Yellow: For hollyhocks that produce single blossoms that are a vibrant, sunny yellow, think about this cultivar.
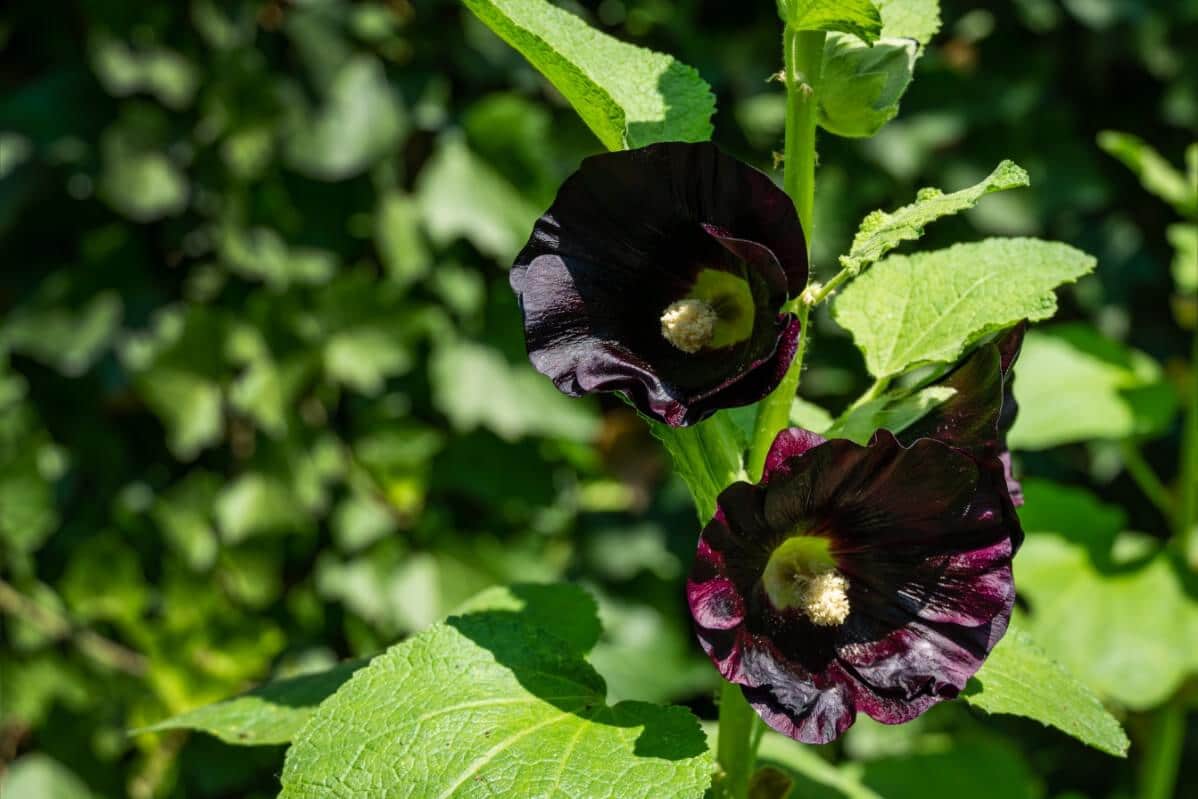
- Alcea Nigra: If you want a hollyhock variety with really dark blossoms, think about this cultivar. It is a deep, dark purple that can look black at a glance. As it is an unusual color for flowers, it will be one of the conversation pieces of your cottage garden.
- Indian Spring: This cultivar can produce flowers in white, yellow or pink.
When Do Hollyhocks Bloom?
The bloom season for hollyhocks begins in late summer and runs through early autumn.
The lengthy bloom season for hollyhocks is one of the reasons they are popular.
When to Plant Hollyhocks
If you are growing your hollyhocks from seeds, aim to plant them out in your garden in late summer.
Farmer’s Almanac adds, “In the fall, before the ground freezes, or in the spring after the ground has thawed, move the plants to a permanent location in the garden. Because of their long taproots, hollyhocks don’t like to be disturbed once they are planted. If you wait until the spring to plant hollyhocks, you can plant them either in indoor pots 6-8 weeks before the last frost, or outdoors after all danger of frost has passed.”
Ideal Growing Conditions for Hollyhocks
Now that you know what you can expect as far as the bloom period for hollyhocks and when to plant them, let’s talk about the ideal conditions they need to reach impressive heights and produce colorful blossoms.
How Much Sun Do Hollyhocks Need?
To grow a beautiful hollyhock successfully, you need plenty of sunlight.
In fact, if possible, you should always plant them where they will receive full sun.
A little bit of shade should not interfere with their growth too much, however.
What Type of Soil is Right for Hollyhocks?
In general, the soil in which you plant your hollyhocks should be rich and moist, but also well-draining.
The plant can tolerate a range of different soil consistencies. But if you are planting a hollyhock with blossoms with a light color, one rule of thumb is to lean toward clay soil.
If, on the other hand, you have picked a variety that features dark blossoms, it may do better in a sandy soil.
Beware of the temptation to plant hollyhocks in dry soil. A lot of novices do this, underestimating the level of moisture that these flowers need to thrive.
How Much Water Do Hollyhocks Need?
Because moist soil is so important for hollyhocks, you need to make sure that you are watering them sufficiently.
They can benefit from daily water when they are establishing. But after that, watering them twice a week should be enough.
While you are watering your hollyhocks, be mindful of their leaves. You do not want to get them too wet, because this may predispose them to disease.
Instead, water your hollyhocks from below.
Also, keep in mind that moist soil does not mean soggy soil. Standing water will cause problems.
How to Plant Hollyhocks
You can grow hollyhocks in pots or in the ground. South Dakota State University Extension states, “Hollyhocks are pretty easy to grow. Probably the best way to get started is to look for potted plants for sale at your local garden center or greenhouse.”
So, let’s go over the planting steps for such potted plants. Then we will discuss growing hollyhocks from seed.
Container Planting
1. Select the right container.
The roots of the hollyhock plant can take up a significant amount of space. Make sure that you are choosing a big container, regardless of the cultivar you are growing (yes, even if you are growing a dwarf variety!).
Check the bottom of the container to ensure that drainage holes are in place. If they are not there, make them.
2. Fill the pot with growing medium.
Next, put your growing medium in your pot. A good option is a mixture of loam, peat moss, and perlite in equal amounts.
3. Transfer the hollyhock.
Gently remove the hollyhock from the pot it was in at the garden center, taking care with its roots. Shake loose the extra soil, and place the plant inside its new home. Backfill the growing medium.
4. Water your hollyhock.
After you finish planting the hollyhock in its container, water it thoroughly. As it is establishing, you will want to continue to give it extra water.
5. Choose a location for your potted hollyhock.
Now, you just need to find a place for your hollyhock on your patio or deck or in your garden. Try and make it a spot with full sun if you can.
Ground Planting
1. Find a suitable location in your garden.
The more sunlight the spot gets, the better. But if possible, you might want to choose a location that also has some shelter from heavy wind or rain. The tall stalks can be vulnerable to both.
2. Get your soil ready.
Once you have found the perfect spot for your hollyhocks, the next step is to get the soil prepared.
A pH of anything from 6-8 is ideal. You will also want to mix some compost into the soil.
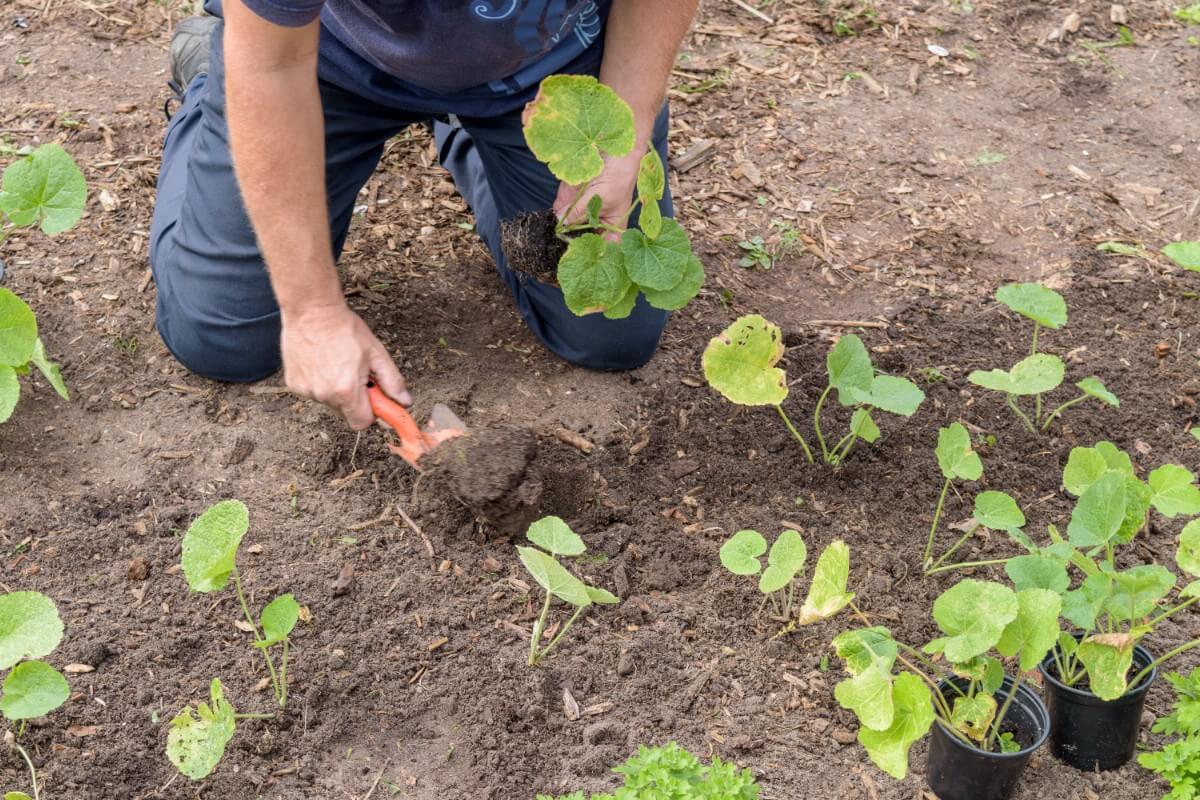
3. Plant your hollyhocks.
When you are planting your hollyhocks, it is vital to ensure that you are spacing them out sufficiently. Ideally, there should be 12-18” of space between each.
It might seem strange that they would need so much space. But the reason has to do with their root systems and how extensive they become.
Indeed, digging up and transplanting a hollyhock is quite challenging after it is established for just that reason.
So, make sure you are absolutely sure about the locations you have chosen for your plants before you put them in the ground.
4. Water the hollyhocks.
Once you have planted the hollyhocks, you should water them. Return and water them frequently until they are established.
Starting Hollyhocks from Seed
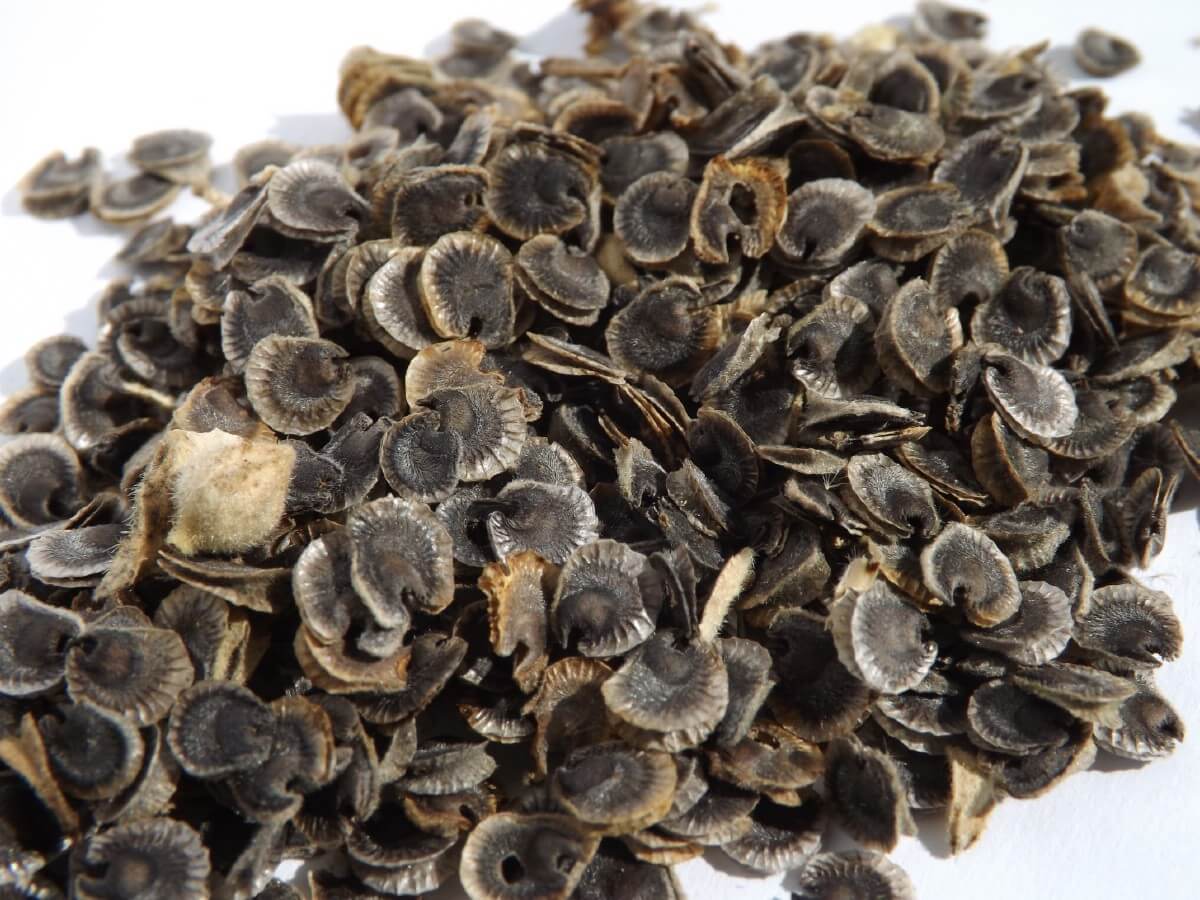
Now that you know how to plant a hollyhock in your garden bed or a container after buying one from the store, let’s talk about starting them from seeds.
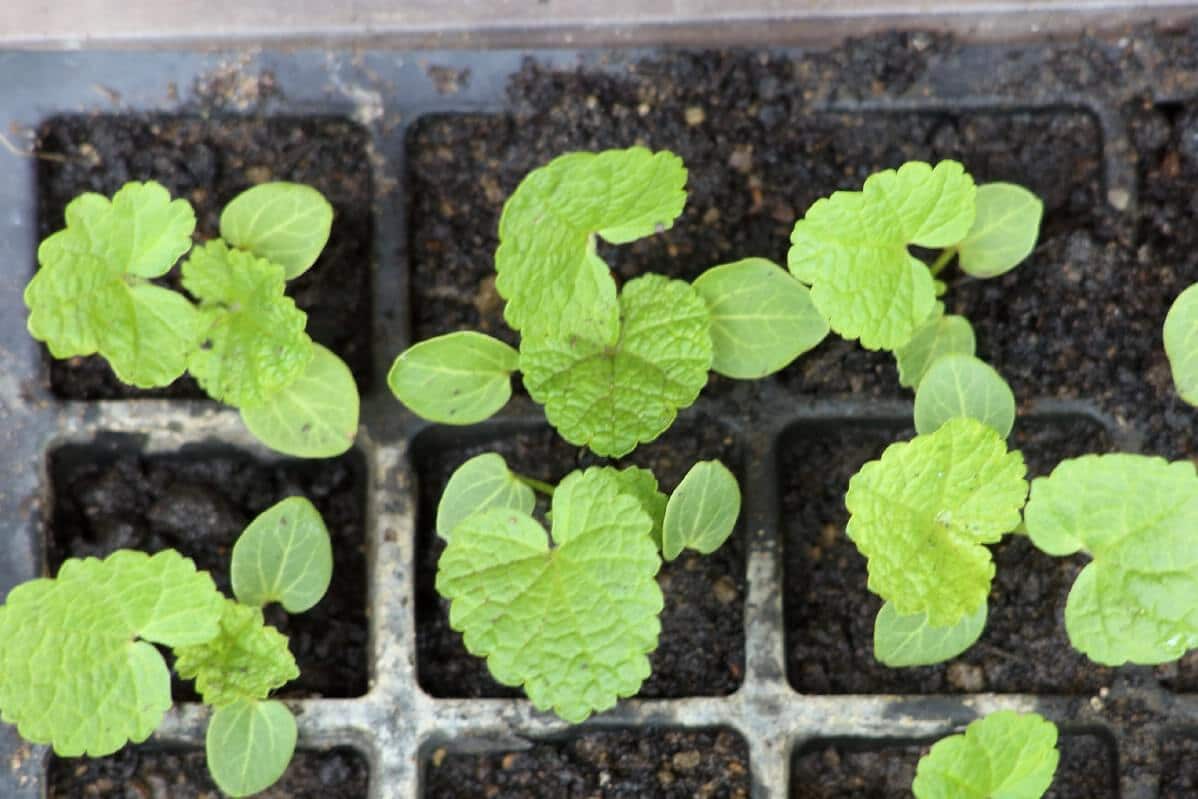
1. About 6 to 8 weeks before you expect the last frost, you should start your seeds.
2. Get peat pots or peat pellets for a reusable plastic seed starting kit.
3. Fill your peat pots with a combination of peat moss, perlite and vermiculite.
About an inch from the top should be left clear of soil.
4. Water the soil.
A common mistake among beginners is to water after planting instead of before. Unfortunately, doing that can wash the seeds away. So, it makes more sense to do it in advance.
5. Add your seeds.
For each peat pot or pellet, plant a single seed. You only want to put a tiny covering of soil over each of them.
6. Cover the pots.
It is important to make sure that your pots can retain moisture. So, you should cover them with plastic wrap or a plastic lid.
At the same time, you want them to be able to breathe. So, make sure there are holes in the top of your plastic covering.
7. Put the seeds in a warm, dark location.
Next, find a spot for your seeds to germinate. They need to be kept warm, but you do not want them to be exposed to much light.
If you cannot find a dark place for them, you can cover the top of the pot with a piece of cloth that will help keep the light out.
Just remember once again that the seeds need to breathe. So, do not smother them with the cloth. Ensure that there is sufficient airflow.
8. Wait for germination.
At this point, you just need to wait for the seeds to germinate, which can take anywhere from about 10 days to up to a fortnight.
At this point, the seedlings are going to need plenty of light. That means you may need to relocate the pot or get rid of the dark cloth that you covered it with.
Keep in mind, however, that the seedlings still need to be warm.
9. Harden and transplant the seedlings.
When you are ready to move the hollyhocks to their permanent location, you will need to begin by hardening them to the weather. This process can take anywhere from one to two weeks.
After that is done, you can transplant them in your garden beds or large pots.
How to Care for Hollyhocks
After hollyhocks are situated, how do you take care of them? Let’s go over instructions for fertilizing, mulching, and more.
How to Fertilize Hollyhocks
First, let’s talk about feeding your hollyhocks. What do you need to know about fertilizing them?
South Dakota State University Extension says that when you plant your hollyhocks, “You can sprinkle a little 10-10-10 fertilizer around the plants and scratch that into the soil, maybe a couple tablespoons per plant. Or you can use some of the water soluble plant fertilizers too. Mix it up in a watering can and give them a good drink a couple times during the summer.”
How to Mulch Hollyhocks
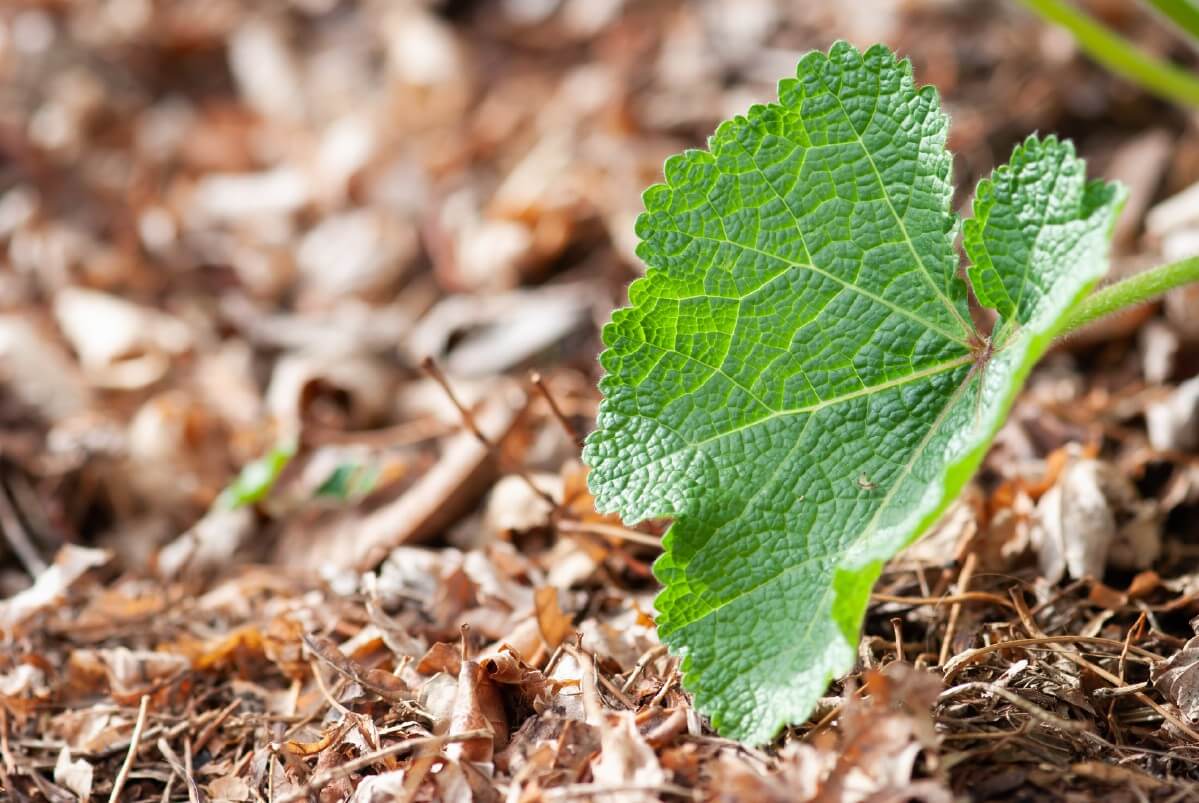
If you are not going to overwinter hollyhock indoors (see the FAQ), you will need to winterize it. This is going to be the case in most climates where hollyhock is grown.
Right after you are finished pruning in the fall, you can mulch your hollyhocks with about 4-6 inches of material.
If you do not have mulch, you can use leaf litter, straw or compost.
The mulch will help to lock warmth into the soil as protection against light frosts.
Make sure that after the winter is over, you do not leave the mulch in place for too long.
Once your hollyhock starts to grow again, it is going to need more space and air than the mulch permits.
How to Stake Hollyhocks
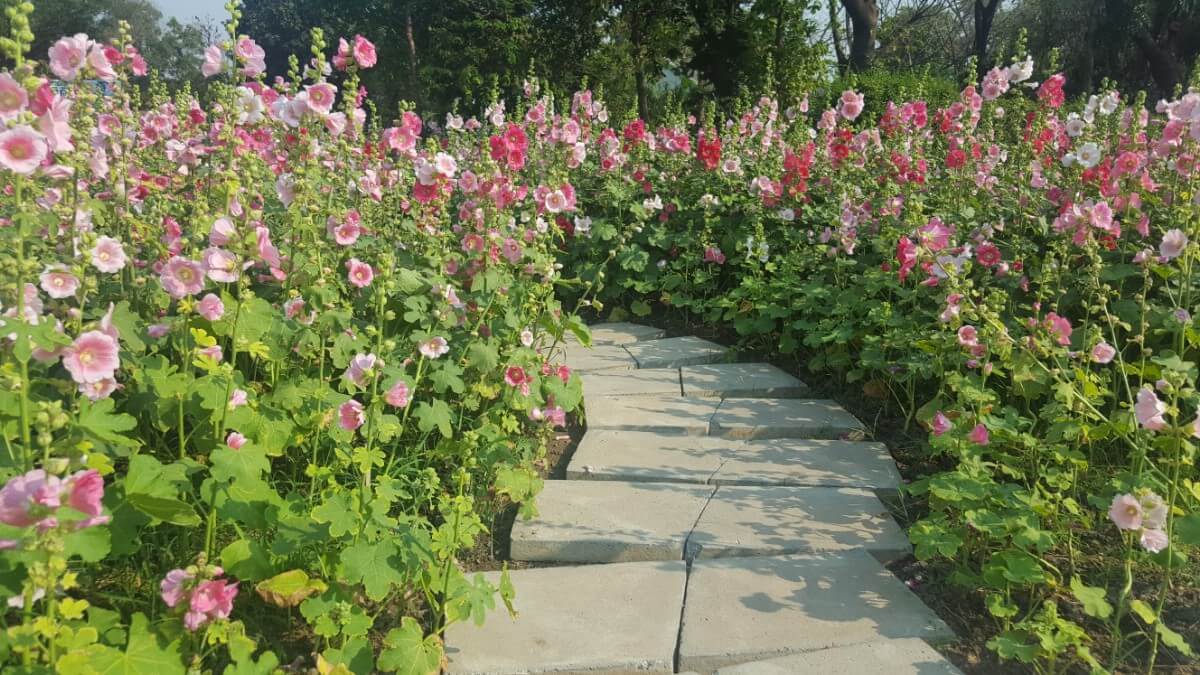
You can use bamboo or metal stakes to prop up hollyhocks that need it. If they do not have a lot of shelter from wind or rain, you might want to do this by default. Don’t wait for the weather to knock them down.
Another trick is simply to plant them next to a fence. If you do that, the fence will shield them from a little bit of the wind, and also give you something you can stake them to without the need for poles.
How to Prune Hollyhocks
Pruning your hollyhocks each year involves a combination of deadheading them while they are in bloom and cutting them back after they finish blossoming.
When to Cut Back Hollyhocks
It will be time to cut back your hollyhocks in the fall. You will know that it is the right moment when they turn brown.
Should You Deadhead Hollyhocks?
If you want to promote extra blooms on your hollyhocks before the season is over, you should remove the wilting blossoms as they fade. This process is called deadheading.
Just keep in mind that when you remove the spent blossoms, you are also interfering with seeding.
You want to be careful not to overdo this, or else you may not get new hollyhocks. Remember, these plants are short-lived perennials. If you are overzealous with deadheading, you might end up having to buy more, instead of simply enjoying the results of natural reseeding.
Are Hollyhocks Vulnerable to Diseases or Pests?
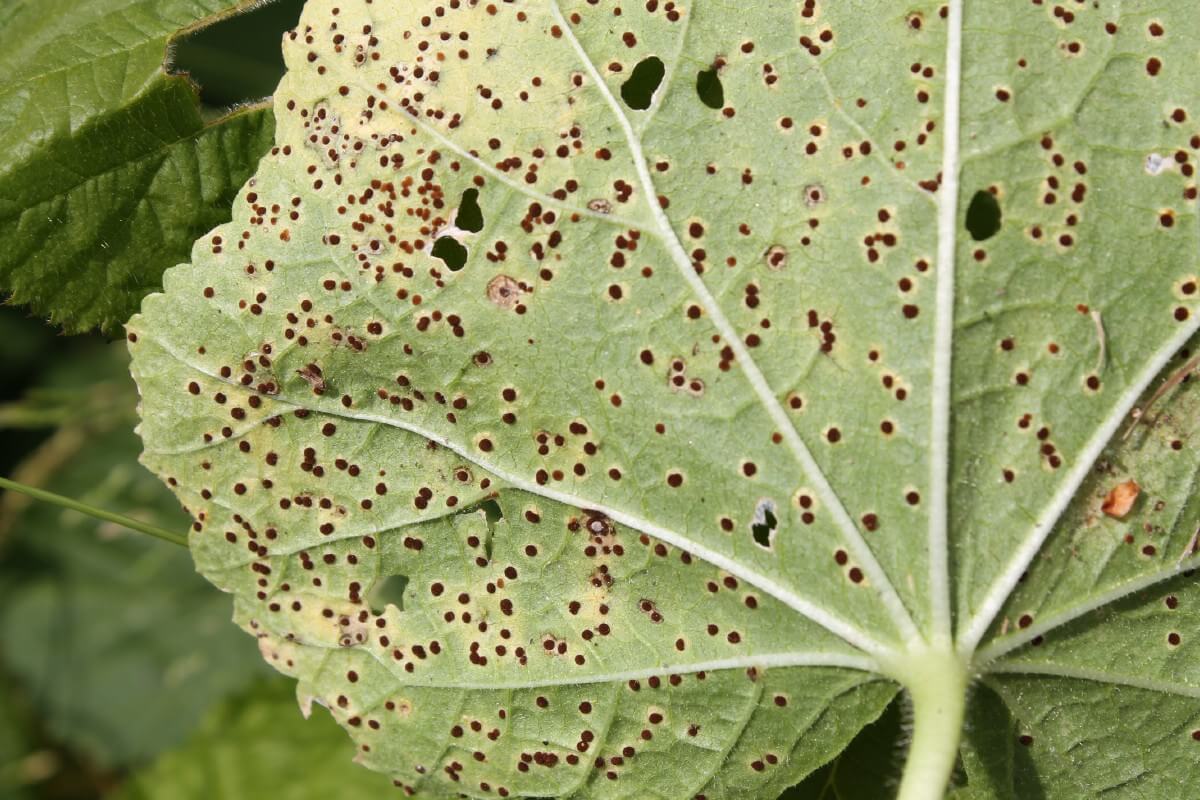
The most prevalent disease that affects hollyhocks is rust. Since we have already talked about rust, let’s discuss some other diseases to be on the lookout for.
Hollyhocks can be susceptible to leaf spots and anthracnose as well. As these are also fungal diseases, you can prevent them the same way you can rust, by providing adequate air circulation and not getting the leaves wet.
As far as pests are concerned, the one most commonly associated with the hollyhock is Rhopalapion longirostre. Indeed, this species favors the hollyhock so much that its common name is the “hollyhock weevil.”
Originally, hollyhock weevils were found in Europe. But today, they are found in locations around the world where hollyhocks grow.
Weevils use the hollyhock plant in a variety of ways. They eat it, for starters. They also mate on it.
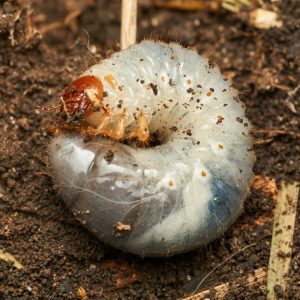
Then, as Colorado State University explains, “The female uses her very long snout to chew deeply into the developing seed and lays an egg in the cavity. The cream-colored grub then consumes the seed and pupates when feeding is completed.”
A telltale sign that larvae are infesting a seed pod is distinctive circular plugs.
How can you get rid of them? Sometimes, it is as simple as shaking them off the plant, retrieving them, and taking them off your property.
But if necessary, you can resort to insecticide. Most general purpose products should do the trick.
Although hollyhock weevils are the primary pest for these plants, Japanese beetles, sawflies, caterpillars, snails, slugs, and other pests may also damage hollyhocks.
How to Transplant Hollyhocks
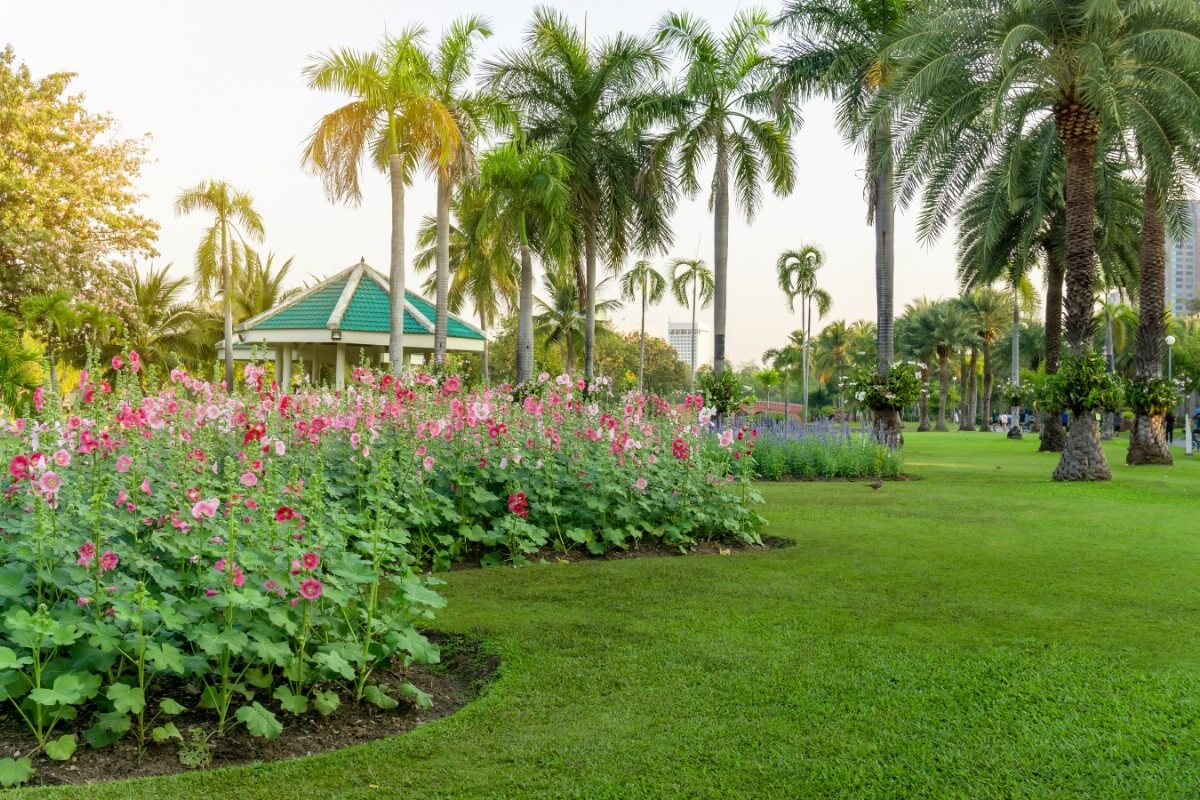
As we discussed earlier, transplanting established hollyhocks successfully is not an easy prospect because of their large root systems. But it is not altogether impossible.
If you cannot avoid doing it, the best season for it is typically autumn. You can also get away with it in winter.
You will need to work carefully around the roots to make sure not to damage them. It might take you some time because they are so large.
Once you have removed the plant from the ground, either immediately place it in its new soil, or temporarily keep it in a bucket of water as you dig it a new hole.
After the plant is in its new location, fill in the soil around it and cover up the roots.
Water your transplanted hollyhock more frequently as it is establishing, as usual.
Recommended Companion Plants for Hollyhocks
Looking for companion planting ideas for these tall flowers? Here are a few to consider:
- Delphiniums: Like hollyhocks, these flowers grow along stalks, but they are not as tall as hollyhocks, so you can plant them in front of them. They blossom in summer, and can produce flowers that are blue, purple, pink or white. Like hollyhocks, they go well in cottage gardens. They like lots of sunshine, just as hollyhocks do.
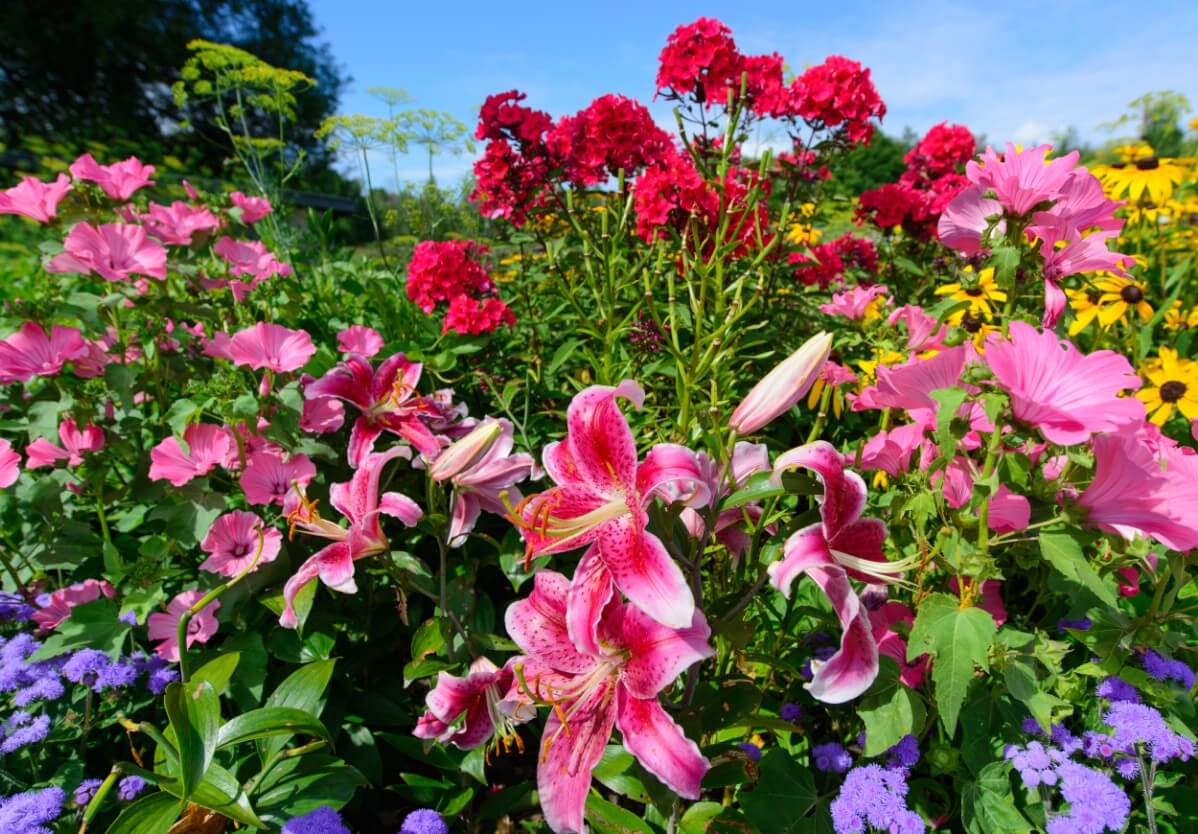
- Foxgloves: These flowers are a good option as a companion plant for hollyhocks for many of the same reasons as delphiniums. They also grow on upright stalks, thrive with plenty of sun, and blossom in a variety of colors. But they bloom in spring, ahead of hollyhocks. So, as your foxglove blossoms are dying down, the hollyhocks will take over.
- Tulips: Another spring-blooming flower that can complement hollyhocks is the tulip. Tulips come in a wide variety of colors, and do well in partial or full sunlight.
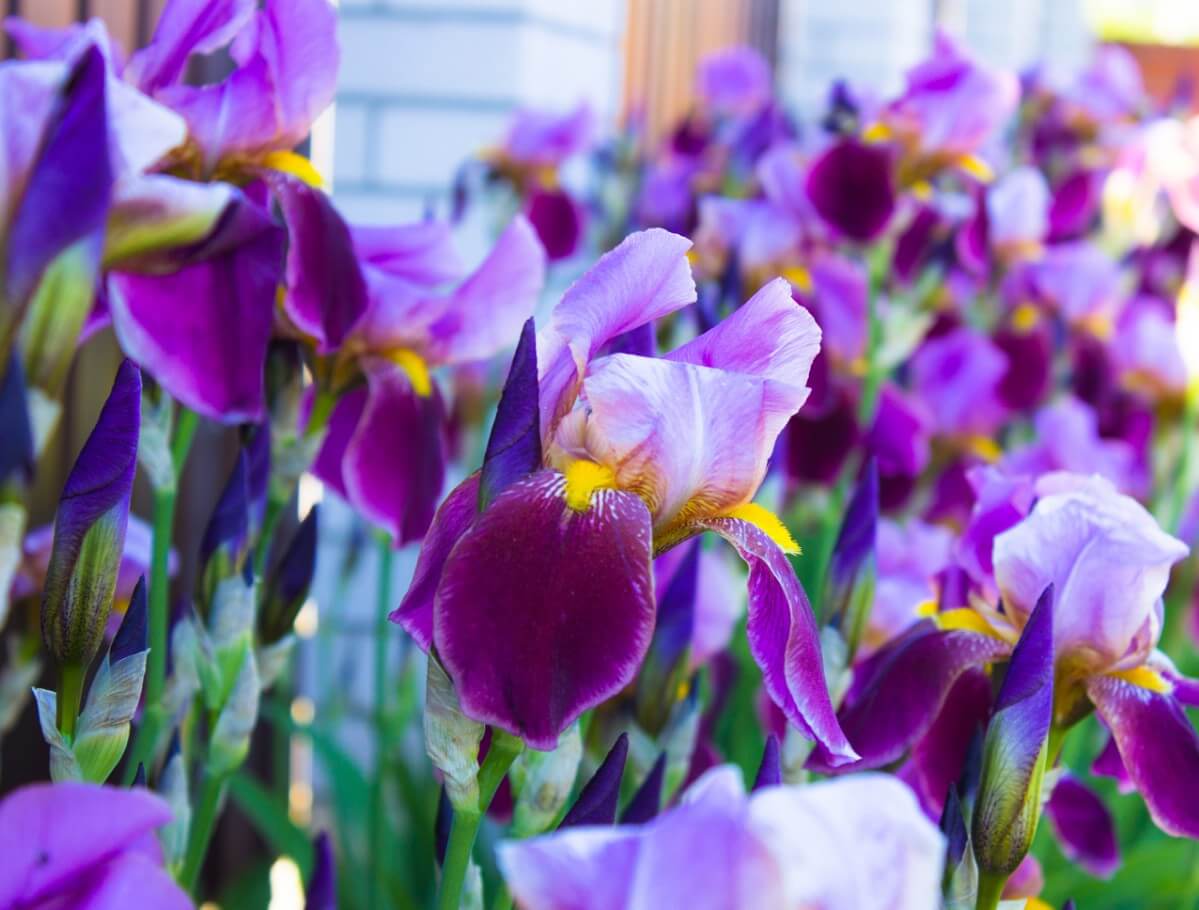
- Irises: One more idea for a companion plant for hollyhocks is irises. These flowers blossom in spring and summer, and do well in a sunny spot. You can get them in an array of colors.
One important thing to remember, regardless of the companion plants you choose for your hollyhocks, is that your hollyhocks need plenty of air circulation. So, do not plant other flowers too close to them.
It is easy to forget this if you are planting hollyhocks as part of a cottage style garden, where the practice is often to grow plants close together to create the appearance of voluminous leaves and blooms.
Fun Project: Make a Hollyhock Doll!
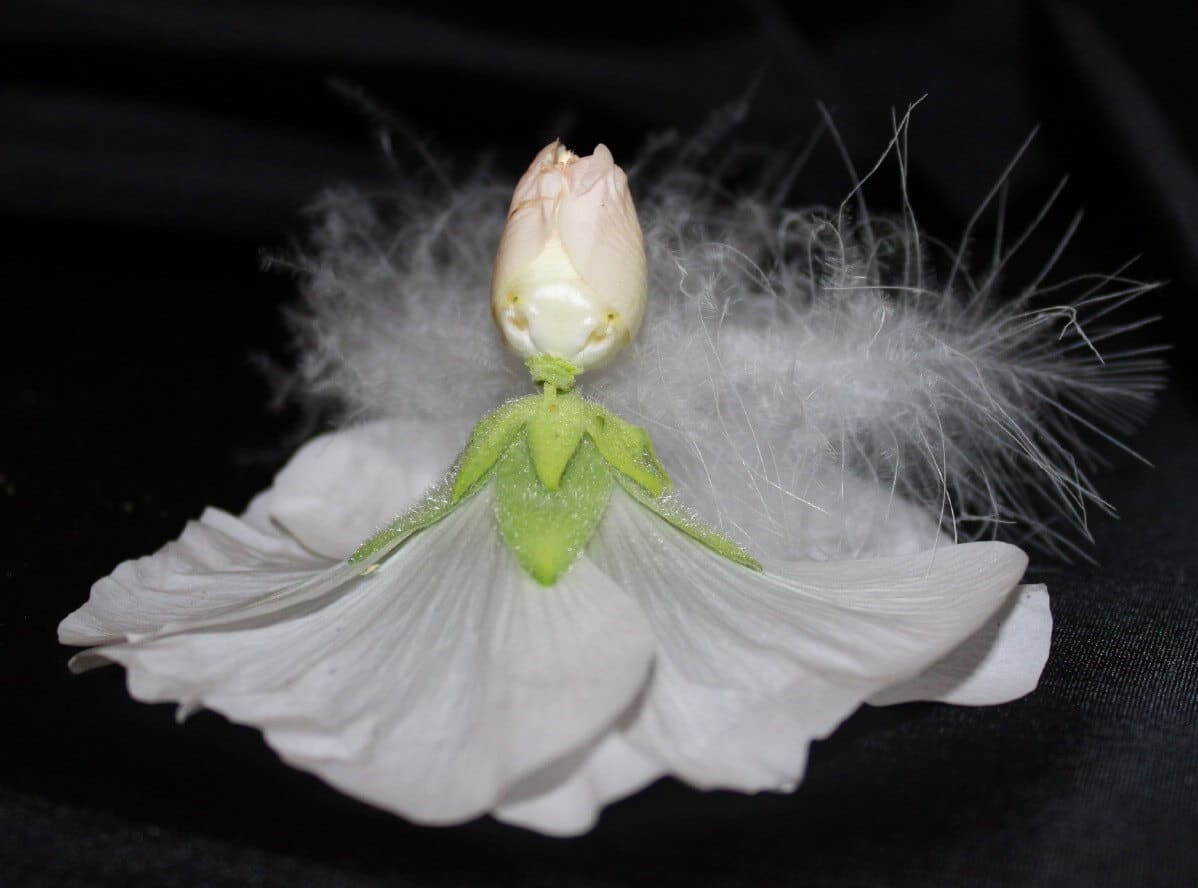
Do you enjoy making simple crafts? One craft with a history that dates back hundreds of years is creating hollyhock dolls.
Here are the steps!
1. Choose an open blossom.
2. Remove the sepals, pistil, and stamens.
3. Turn it upside-down. It will be the doll’s dress.
4. Use a toothpick to make a hole through the center. Be careful with this step so you do not damage the flower too much.
5. Either push the stem through the hole or remove it. Keep the toothpick in place at the center. The pointy end should be facing up.
6. If you want a fancier, layered dress, you can repeat steps 1-5 with additional blossoms. Then, just stack each layer on top of the other, using the toothpick to hold them all in place.
7. When you place the top layer of the gown/body, leave the sepals in place. Do not remove them. They will look like a collar for the gown.
8. Choose a bud or seedpod to attach as the head of the doll. As with the layers below, just use the toothpick to hold it in place. The toothpick should not protrude above the head, so cut it back if you need to before attaching the head.
9. Finally, you can choose a smaller flower to turn into a hat.
10. Optionally, some people like to use a marker to draw a face on the doll.
Hollyhock dolls don’t last when the blossoms dry, unfortunately, so they can only be enjoyed briefly. If you refrigerate them, they should be viable for at least a day, maybe even two.
You can extend their life in the fridge if you do what you can to retain moisture. Stand them up on top of a wet paper towel. Keep them inside a covered container.
What can you do with them? If you are hosting a party, you could set them out as décor.
Children also love to make them and play with them.
Frequently Asked Questions About Growing Hollyhocks
Hollyhock weevils, slugs, snails, Japanese beetles, and various insects all may consume hollyhocks.
Also, these tall spires are sometimes listed as deer-resistant plants. But deer do sometimes eat hollyhocks.
There are plenty of possibilities, but foxgloves, delphiniums and tulips are a few to consider.
Hollyhocks can be grown as either an annual or perennial, depending on your location and the care you provide. They are also classified as a biennial, which means that they take two years to blossom.
They can, yes. As short-lived perennials, each of the hollyhocks you plant can give you at least a few years before dying if you take care of it properly.
Not only that, but hollyhocks tend to be efficient at self-sowing. That means that even as your old hollyhocks are dying out, new ones will often spring into place.
Denise Seghesio Levine, UC Master of Napa Master Gardener Column says, “Keep dogs away from hollyhocks, however. I have read several reports of dogs occasionally digging up and eating hollyhock roots with resulting trips to the vet. These are anecdotal tales, but worth paying attention to.”
Also, be aware that hollyhocks can irritate the skin. This can happen to pets as well as humans.
Despite these warnings, ASPCA lists hollyhocks as being non-toxic to dogs, cats and horses.
If you are noticing yellow spots all over the leaves of your hollyhock plants, that is a sign that your plants have been infected by rust (Puccinia heterospora). Sometimes, the spots may also have an orangey color.
As rust is such a common problem for hollyhocks, it is useful to know how to treat it if you identify it.
You should keep an eye on your hollyhocks if they are prone to getting rust. The moment you spot the telltale yellow spots, remove the affected leaves to prevent the fungus from spreading.
If removing the affected leaves is not enough to kill the infection, you can try applying a fungicide.
Indeed, you should probably follow up with that step even if the infection appears to be gone.
With hollyhock rust, an ounce of prevention really is worth a pound of cure. It is much easier to stop rust from taking hold than it is to cure it once it does.
One thing you can do to prevent rust is to ensure that conditions are not friendly to the fungus in the first place.
That means that you should not water the leaves of your hollyhocks, and avoid standing water. A soaker hose should help. Space plants are enough to allow for ample air circulation.
Mulch can provide a protective layer, but you should keep the area around your plants well-weeded.
Cutting back properly for the winter can help prevent rust too.
What should you know about the preventative use of fungicides?
University of Wisconsin-Madison suggests, “If you decide to use fungicides for control, select products that are labeled for use on hollyhocks (or more generally on ornamental flowering plants) and contain the active ingredients chlorothalonil, mancozeb, myclobutanil, tebuconazole, or triticonazole. When making more than one application, DO NOT use the same active ingredient for all treatments. Instead, alternate the use of at least two active ingredients with different modes of action to help minimize problems with fungicide-resistant variants of the hollyhock rust fungus. Myclobutanil, tebuconazole and triticonazole have similar modes of action and should NOT be alternated with one another. Be sure to read and follow all label instructions of the fungicides that you select to ensure that you use products in the safest and most effective manner possible.”
Are your hollyhocks not producing blossoms as you expect? There could be a few possible issues.
University of Illinois Extension says, “Sounds like the hollyhocks are getting either too much fertilizer some how (height and flowers aborting) or they are getting botrytis (a disease that often infects flowers and flower buds).”
Also, do not forget that hollyhocks are biennials, and therefore do not blossom every year. Sometimes, it is entirely normal, and the plant is perfectly healthy.
It could be that your plants have a disease that is weakening them, or they might just be really tall. You could try staking them.
Sometimes, you might observe a rather dramatic change in the color of your hollyhock flowers.
Debra Zaveson says on Ask Extension, “Hollyhocks are not reported to change flower color like hydrangeas, based on soil acidity. However, many growers of the deep-colored varieties report that they gradually fade to pink. Hollyhocks are also usually biennial in most climates, so it is possible that the pink hollyhock is actually growing from a seed that was produced by the original dark flowered plant before it died. The seedlings would not necessarily be the same color as the parent.”
She continues, “Frequently, unusual colored flowers require very specific conditions of temperature, light exposure, and soil type to remain true to type. They slowly lose that color if all those special conditions are not met. The cool spring weather may have had a hand in the color change this year, so if you can tolerate the pink this year, it is possible that the flowers may be darker next year if the spring weather is different.”
So, depending on what is going on, you might see your original flower color again. But you also might not. If you cannot return to that color, Debra suggests you just buy more hollyhocks in the color you want.
An occasional light frost will likely not kill your established hollyhocks, so long as you are growing them in a suitable zone.
That said, if hard freezes are an issue in your climate, your hollyhocks may be safer if you overwinter them indoors.
As we mentioned previously, transplanting hollyhocks can be problematic because of their hefty root structures.
So, the best solution if you live in such a location is to either 1-keep hollyhocks in a greenhouse or 2-keep them in containers instead of your garden bed. That way, you can just move the containers inside if you have to.
Remember, if your hollyhocks spend significant time indoors, you will have to harden them again when you put them back outside.

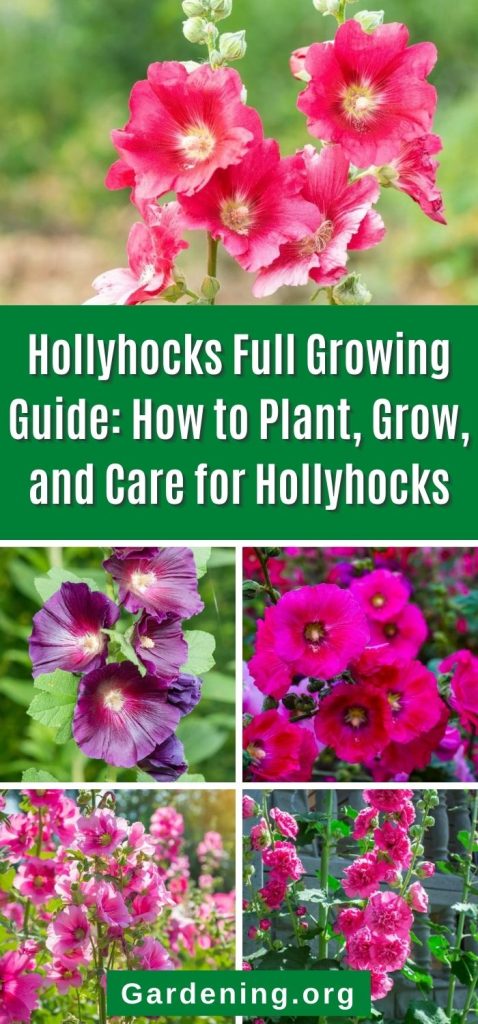
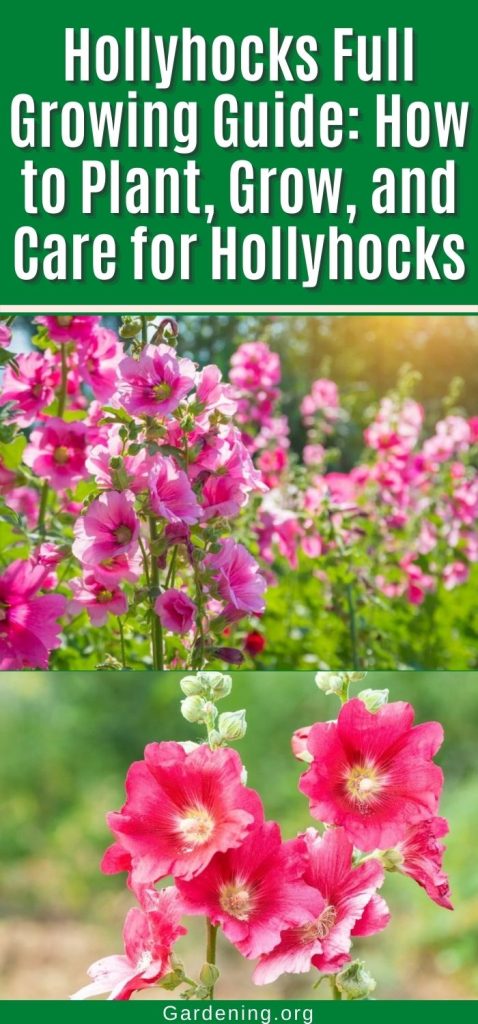
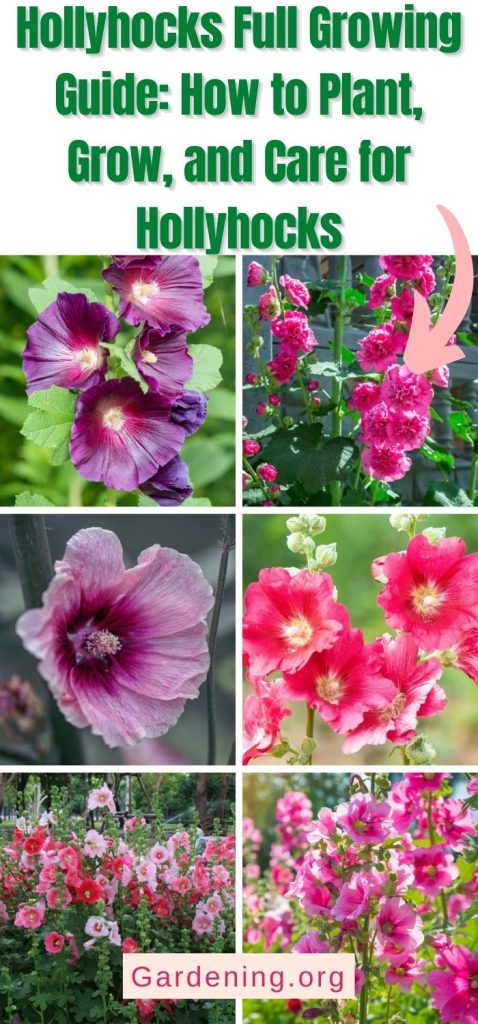
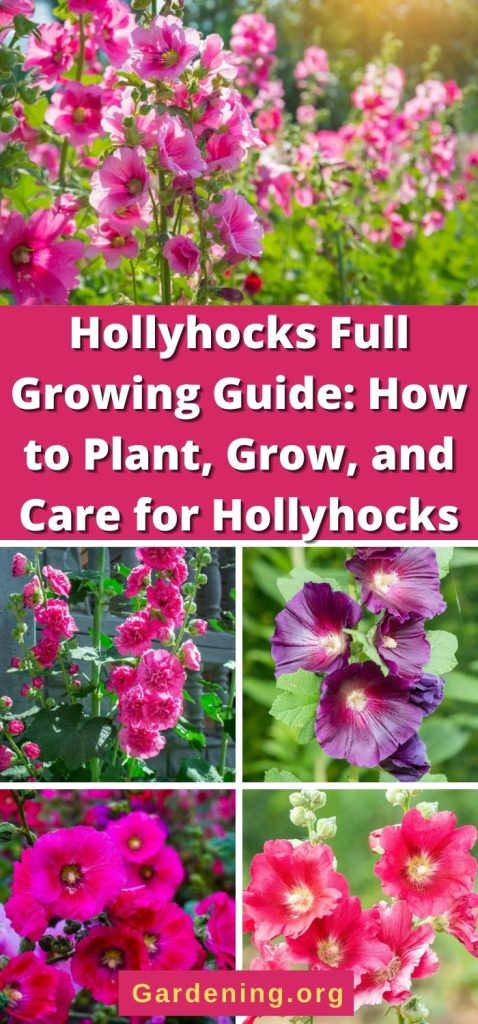




Julia
This was by far the best tutorial I have read or seen. It was easy to understand where some of them you’re just like what lol. I thank you very much for more information on the Hollyhock’s my childhood favorite flower my Momma grew them like crazy in the 50s and I absolutely adore them and thank you so much for that and also I didn’t know about the companion plants thank you for that and I guess that’s all I have to say right now so happy planting. Thanks again a loyal hollyhock fan Julia
Judith Ann Jarvis
Thank you I’m trying to learn how to grow all sorts of flowers. It is 100% sun. I planted my seeds late this year, so I’m praying everything comes off. I noticed the sunflower seeds are starting to. I see daisies which are full but I have not opened my lilies along with so many other plants. I’m looking to learn how to grow dark patchouly flowers, if anybody has any education in that, please let me know. I love the smell not everybody does but I wanna find flowers that I’m going to be able to bring in if they’re not pre-annual and I will be able to place them out in the garden the following year I just keep putting seeds after seeds and they’re supposed to be pre-annual but I do live in the state of Maine so sometimes they just don’t growl , I really want to fill the garden with nothing but beautiful things to look at for hummingbirds to come back over and over again I’ll never forget the first time I brought my grandson out we said good night moon, hollow sun, and along came the first hummingbird to check that it’s OK and then it came back with such a huge group and my grandson was a little boy The look on his face was like the first time my children went out on the ship and got to see porpoises seals whales it’s just one of those expressions you never forgot. Beauty is beauty it’s important for children to learn to respect and that’s what I’m trying to do , they need to understand that bumblebees have to live just like other things. Oh my God, I’m a hippie grandmother education is the doorway to success. .!!!!! I also spent over $300 on vegetables and fruits to be planted and yet another year they have not been done so I know that I’m going to have to do it myself. They do have a tent where they’re able to grow things it’s just important for them to learn that the earth can actually feed us as far as I’m concerned, if anybody can suggest any books that I should be looking at them we’re looking at a baby that’s going to be too then we’re looking at a seven year old and an eight year old. I didn’t grow up with a Grandma Meadow Never mind in Mother’s so I’m trying to learn all of these things in the best way to educate them up that’s why it’s important. Thank you everybody I hope you have a wonderful day or night
Mary Ward
It's never too late to learn!
You are also not too late for planting outside in Maine. If your flowers got started a little late, they might not bloom as early as you'd have liked but you should still have time to get some beautiful blooms. Try direct-sowing (planting seeds in the ground) with zinnias if you don't have them started--they bring the bees and hummingbirds in droves, especially if you grow them every year. You're only a couple/few weeks behind, and anything that is started and transplanted should take off once it gets in the ground or permanent container. Good luck!
Sally
I was given hollyhock seeds and want to plant them al9ng the border of my back yard which is very near a salt water tidal creek. If the water washes up on them, will it kill the plants?
Mary Ward
Hollyhocks are usually tolerant of salt, but it may depend on how much and how often they get flooded with it. I would say yes, plant them there, but you might want to hold some seeds back and start them in soil, then plant the plants as transplants--especially if you think the creek might wash the seeds away.