Fruit leathers are a healthy, delicious, way to preserve different types of fruits and berries. Fruit leathers (also known as fruit rolls or fruit roll-ups™) make excellent snacks for kids—though the adults in your life are sure to love, them, too!
Jump to:
- What is a Fruit Leather?
- What Types of Fruit or Berries Can be Used to Make Fruit Leather?
- Sweetening Fruit Leathers
- Basic Recipe: How to Make Fruit Leather
- Drying In a Dehydrator
- Drying in the Oven
- Fruit Leather Flavors and Recommended Combinations
- Making Fruit Leathers from Canned or Frozen Fruit
- Make-Your-Own Fruit Leather Flavor
- How to Make Fruit Leathers (Lots of Flavors and Recipes)
What is a Fruit Leather?
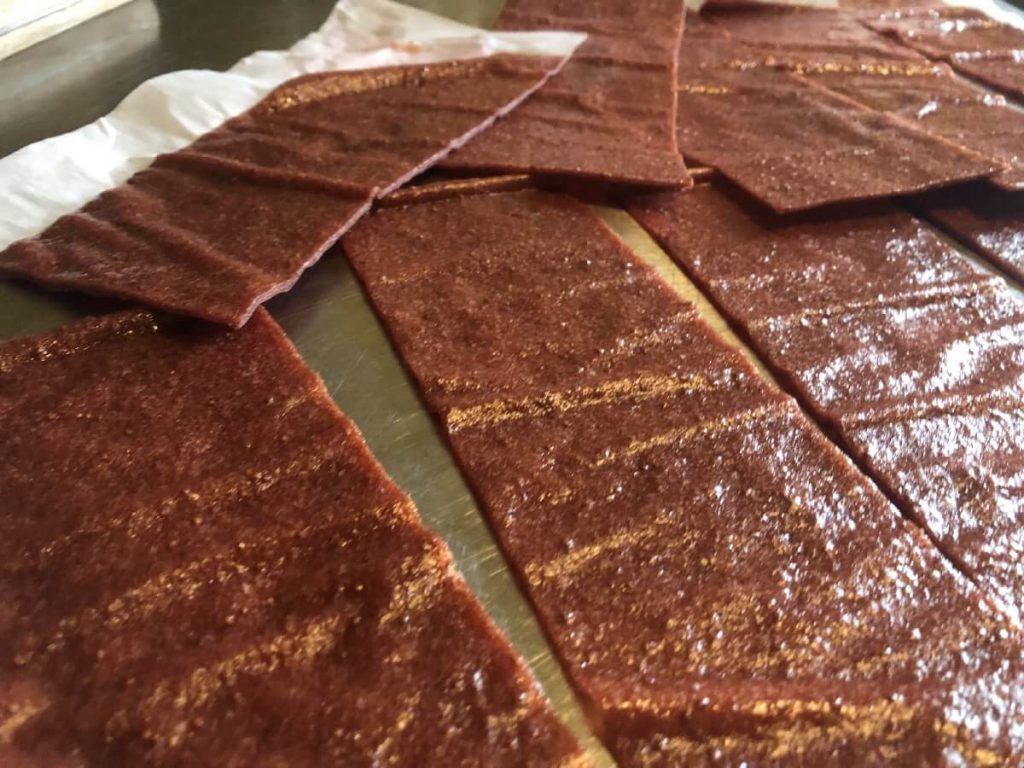
A fruit leather is a dried or dehydrated fruit product made from an easy fruit puree and just a couple of simple, natural ingredients (like fruit and sweetener—but the sweetener is optional). They are simple to make and quite versatile because they do not rely on additional ingredients to preserve them—just the action of dehydration. So unlike canned foods, you can play around with the ingredients, adding or subtracting, without making the leather unsafe.
What Types of Fruit or Berries Can be Used to Make Fruit Leather?
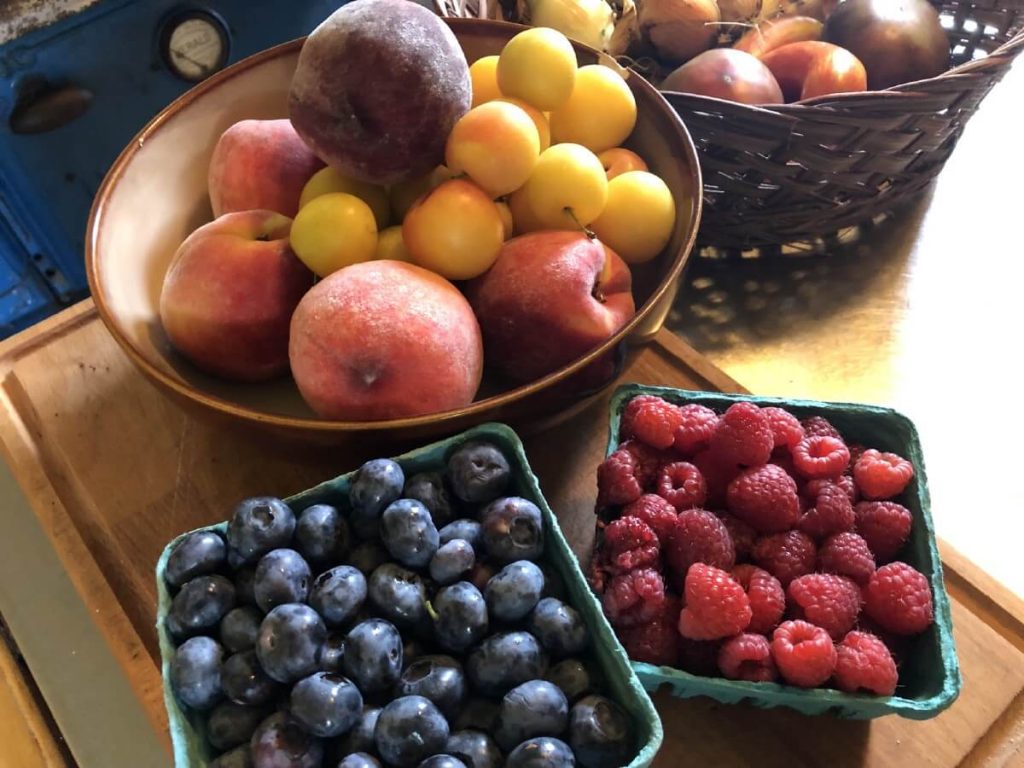
Almost any fruit or berry you can think of can be used to make a flavor of fruit leather. Some people even make a vegetable version, or a type of dried veggie leather that they use as a flour-free/gluten-free or vegan vegetable wrap.
The most common fruits and berries are all good candidates for fruit leather, so you’re sure to find your own favorite. Some types of fruit will require slightly more preparation than others. For example, rhubarb requires a short period of simmering when making the puree because it is more fibrous and needs the added cooking step to break it down and make it a bit more palatable. (That said, rhubarb is an excellent flavor compliment to many fruits and berries and is a great way to moderate a strong flavor or stretch a short supply of another fruit).
Sweetening Fruit Leathers
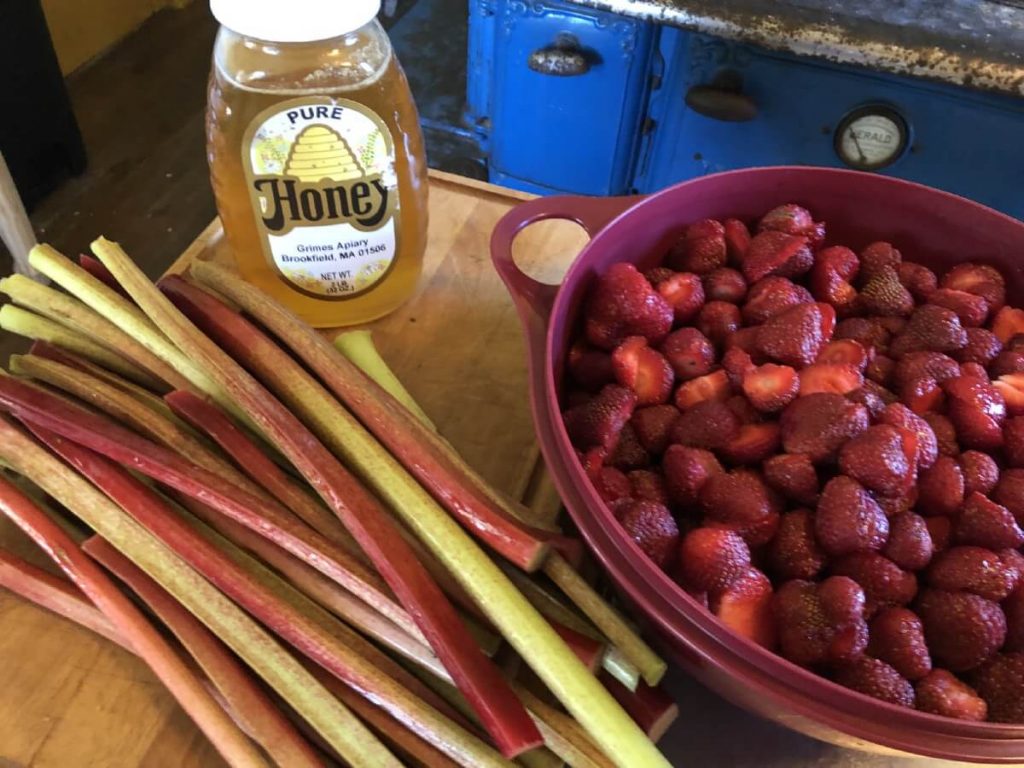
The sweetness of fruits and berries can vary greatly, even among the same kind of fruit. The variety of the fruit, ripeness, harvest time—all of these factors come into play. And then, personal taste is subjective, too. Some will like a sweeter fruit product while others might not like their leathers to be sweet at all.
Fortunately, fruit leathers do not rely on sweeteners as part of their preservation—it is the drying and removing of water that preserves the fruit. And so, you do not need to add sugar or sweeteners at all, if you so choose. Or, you can adjust the amount or type of sweetener to suit your preference and dietary goals.
While a measurement is given in the base recipe for sweetener, feel free to adjust accordingly or ignore it altogether. In fact, it’s smart to taste as you go and always taste the puree before adding any sweetener. If the mix tastes good to you as a puree, it will make a good fruit leather. If anything, err on the side of slightly less sweet because flavors do concentrate some in the drying process.
Here are some ways that you can sweeten fruit leather:
- Honey
- Pure cane sugar
- Maple Syrup
- Fruit juice
- Sweet vegetables
- Apples
- Bananas
- Agave syrup or nectar
- Corn syrup
- Molasses
- Stevia
- Artificial sweeteners (though some may lose strength of sweetness when dried)
Basic Recipe: How to Make Fruit Leather
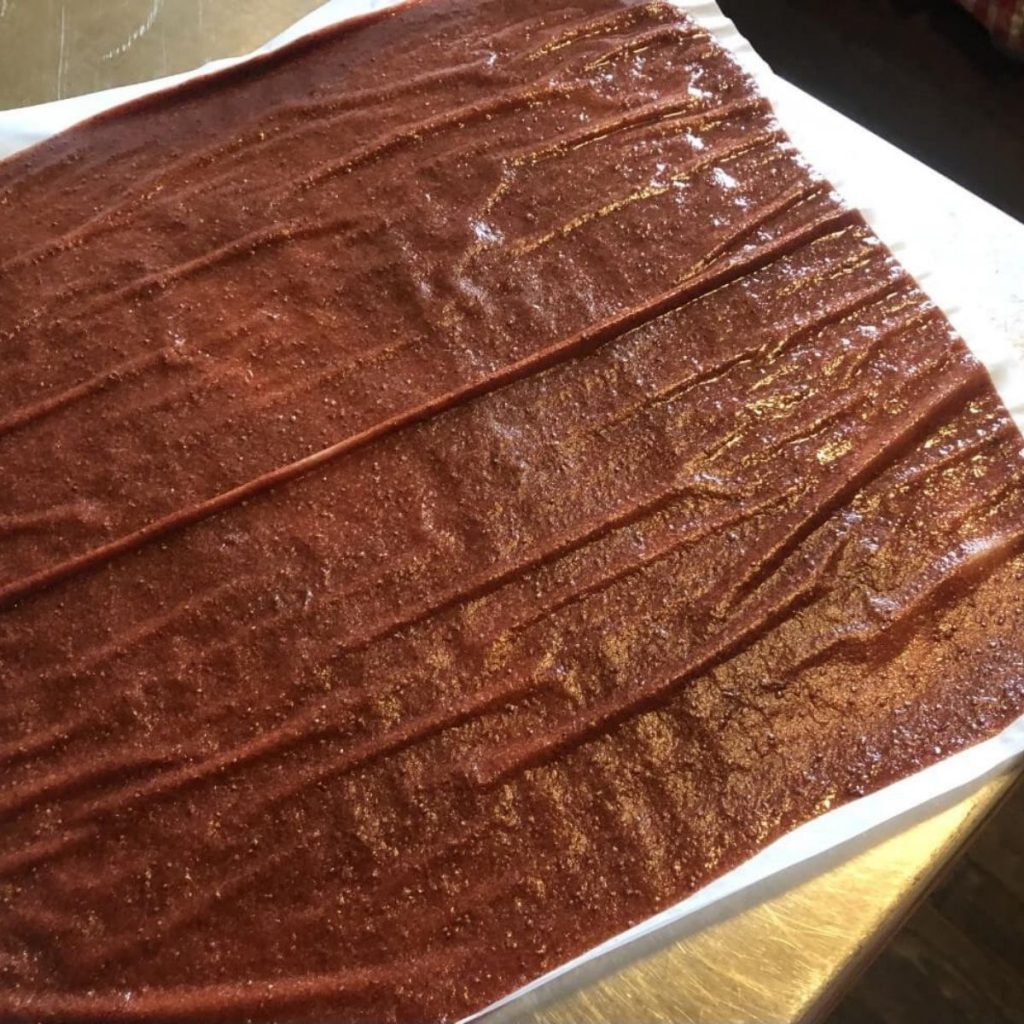
(Feel free to double this recipe or even cut it in half, depending on your supplies—amounts are entirely flexible.)
Ingredients:
- 6 cups fruit or berries
- ¼ to ½ cup honey or sugar (or equivalent of another sweetener) or to taste (sweetener optional)
- 2 teaspoons lemon juice (Optional—helps prevent discoloring, especially in light and oxidizing fruit like apples and peaches—aesthetic only so may be left out if you don’t mind dark-colored leathers)
Instructions:
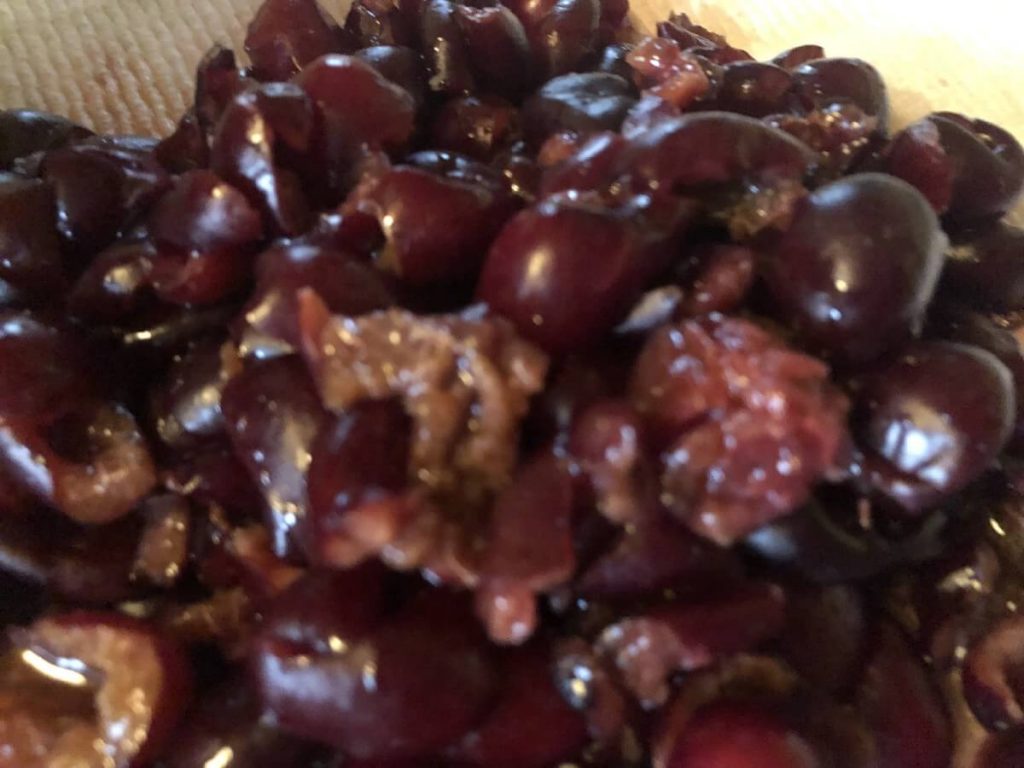
Remove skins from stone fruits (peaches, plums, apricots, etc.) and peel and core apples, pears, and any other fruit with a thicker skin. Remove pits and cores from large fruits (apples, pears, and stone fruit...).
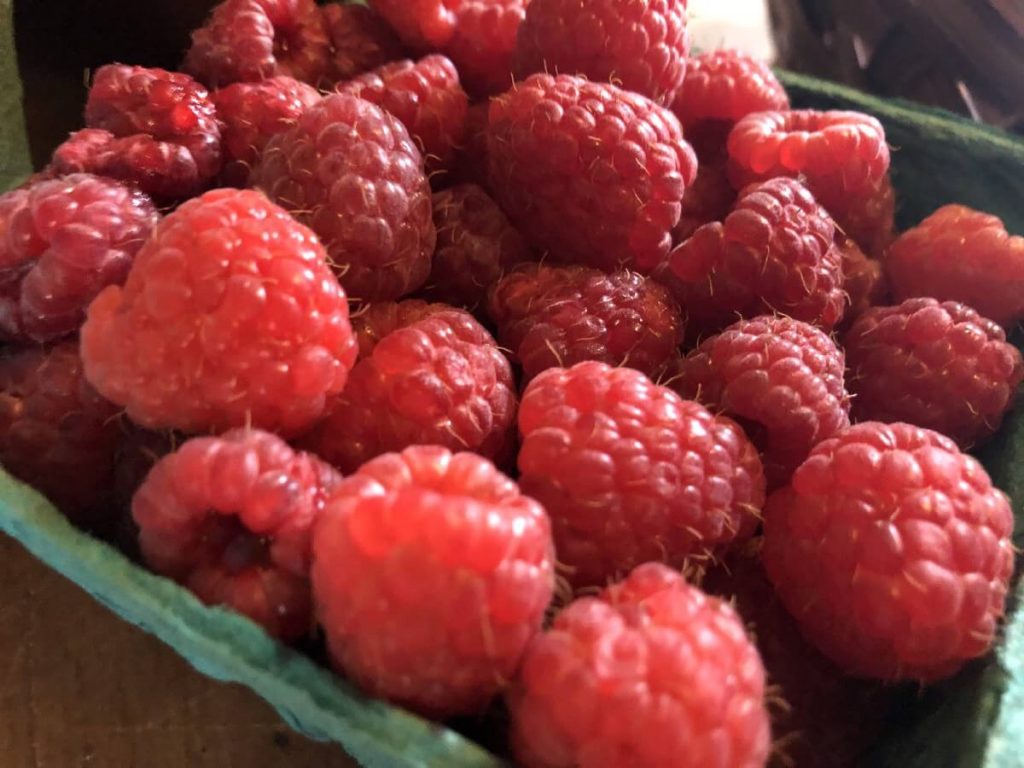
You do not need to remove the seeds from berries, though you might prefer your leather to have fewer seeds. If this is the case, use a fine sieve or food mill with a fine screen to remove as many berry seeds as possible. If you feel that you are also losing too much bulk, you can run just half of the berries through the mill or sieve to reduce the number of seeds.
If the seeds do not bother you, you do not have to remove them. Another option to consider is combining berries with another type of produce to reduce the percentage of seeds in the puree (apples,
squash, bananas, etc.).
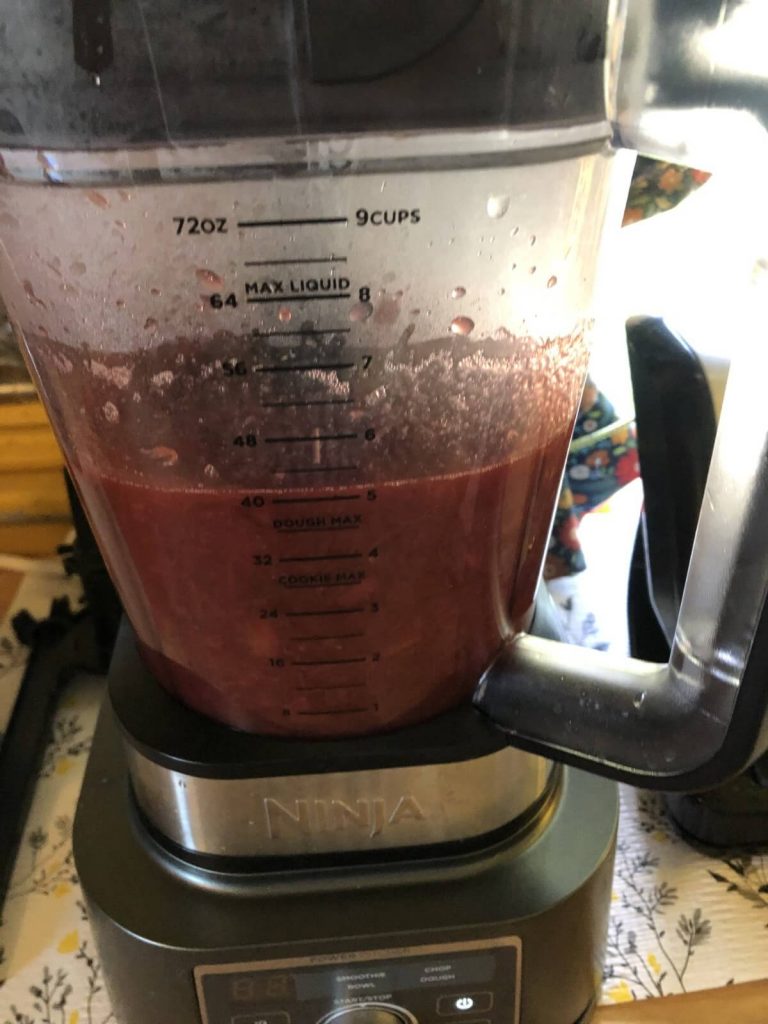
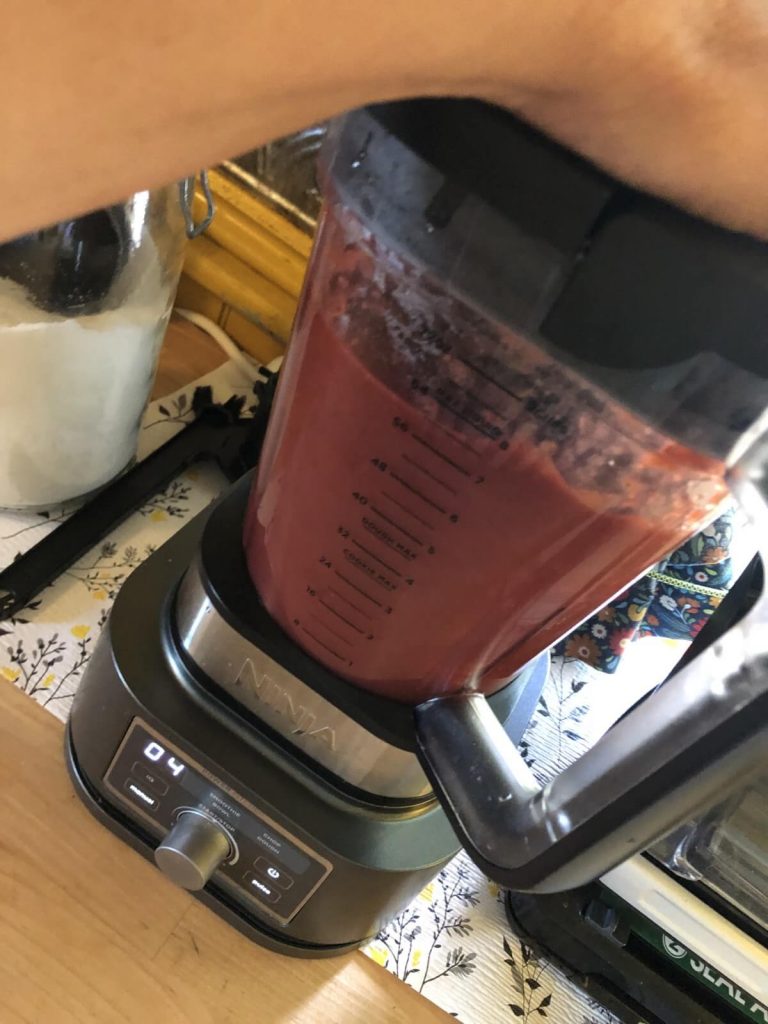
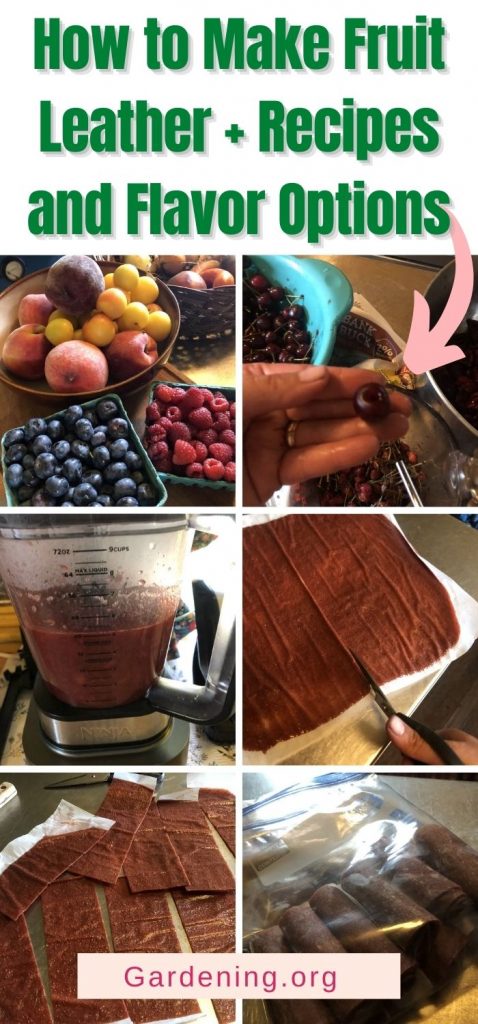
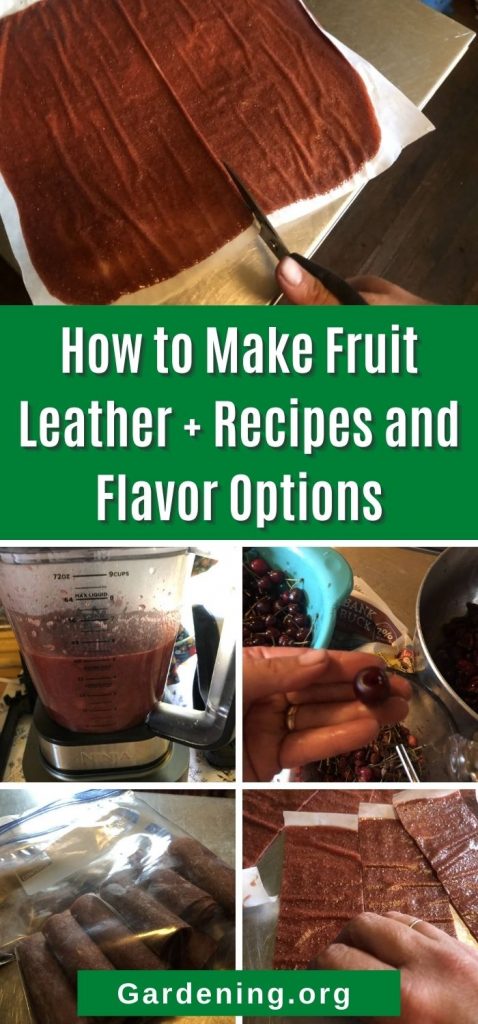
Place the prepared fruit in your blender (preferred) or food processor. A food mill works well, too. Puree until smooth and uniform. No large chunks should remain.
Taste the puree before adding any sweetener. You may feel the fruit is sweet enough on its own, especially if it is very ripe. If you feel it needs sweetening, add ⅛ cup sweetener at a time until you reach the desired sweetness. If you would like to add any additional spices, you may do so now.
Blend until well combined. Your puree should be thick but pourable. If you cannot easily pour it, you may add a small amount of water or fruit juice.
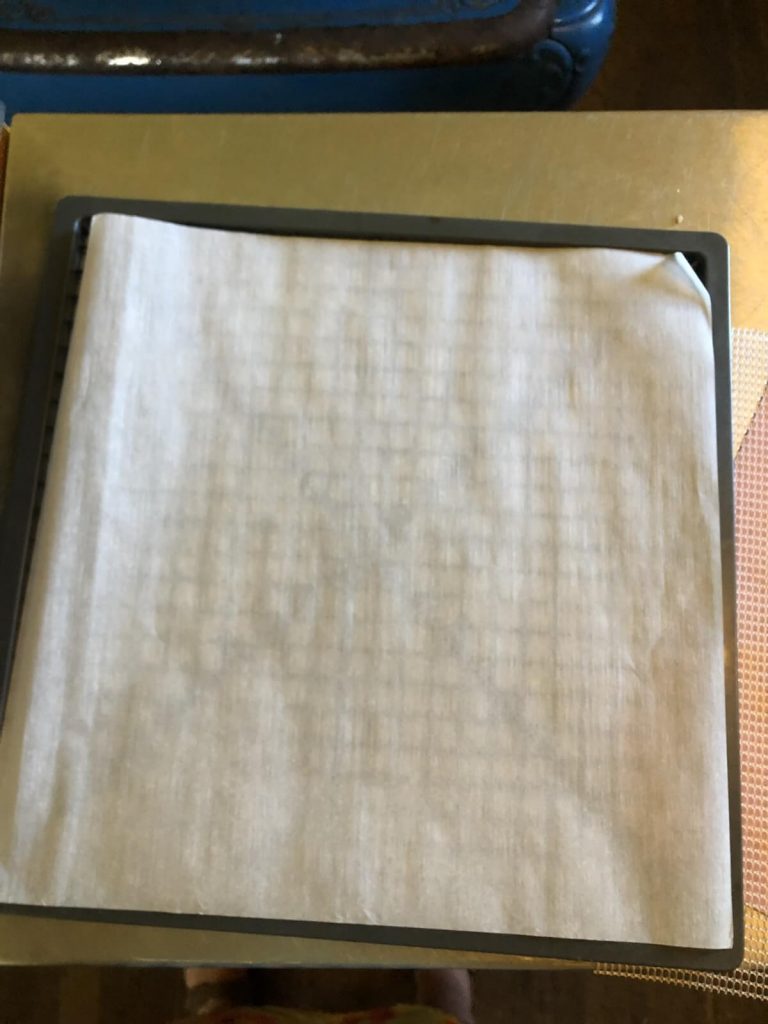
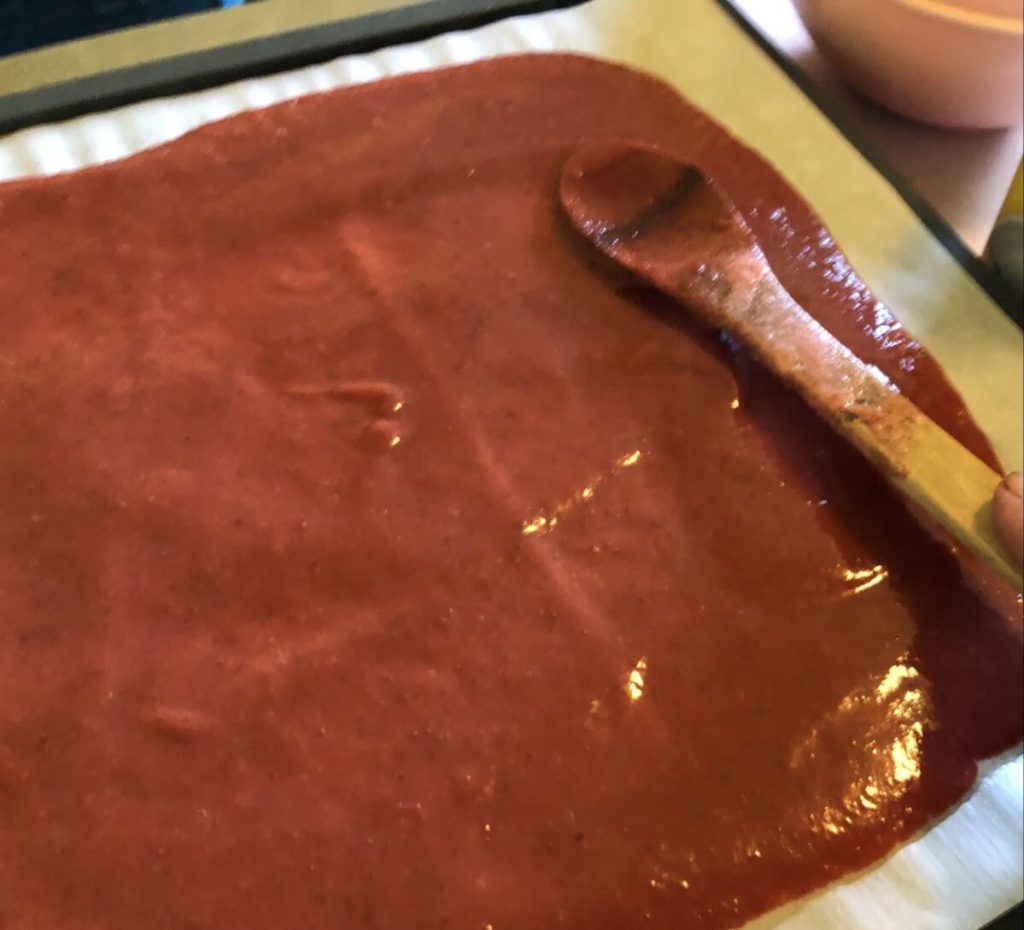
Line trays with parchment paper, disposable dehydrator sheets, or a reusable solid dehydrator sheet. Pour the puree evenly over the entire sheet. It should be between ⅛ and ¼ inch thick. The edges will dry faster than the middle, so it is best to have the puree thinner on the middle and inside than the outside edges. Tap and jiggle the trays to distribute. If you need to use a spatula to spread the puree you may, but avoid leaving uneven spots and make sure there are no spots where you can see through the puree. Work from the center out towards the
edges.
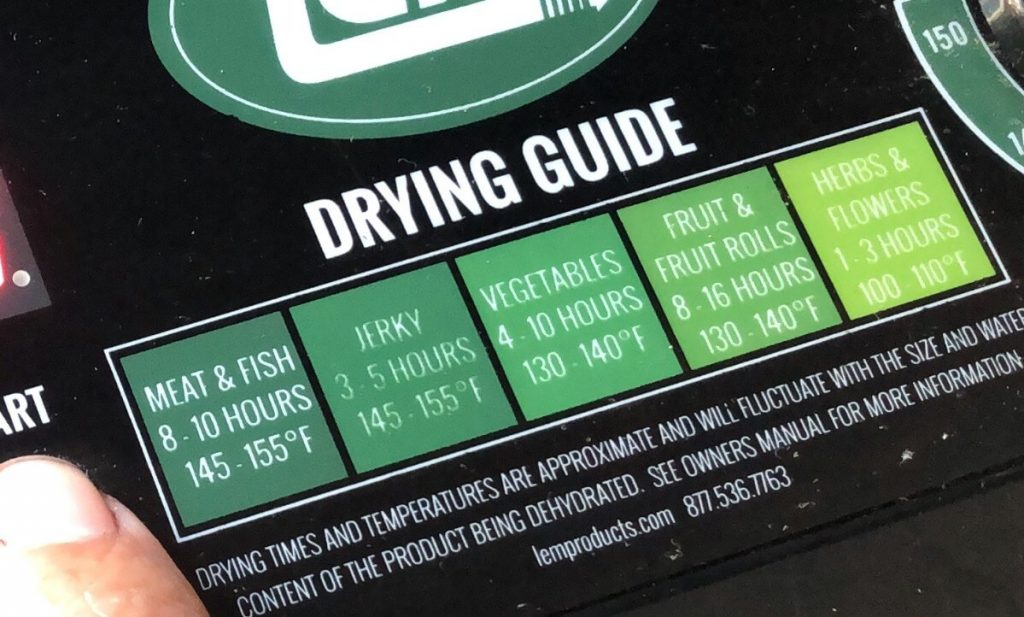
Dry at 135 to 145 degrees Fahrenheit (57 to 60C) until leathery and pliable, with no wet or moist spots (note that sweeteners may leave the leather feeling a little sticky, especially while still warm). Rotate trays after three or four hours in the dehydrator, and again if drying is taking longer, so that all sides dry evenly. This will help speed your drying time, too, and prevent over-drying in one area.
Near the center of the leather is the best place to check for wet spots and doneness. The color should be fairly uniform and somewhat translucent. The dried fruit sheet, when lifted and pulled from the liner, should pull cleanly away and should not leave areas behind on the liner. The leather may have some shine or reflectiveness to it, but will be notably different than the wet puree, and should not be shiny-wet looking. If you press the surface with your hand or finger, no fruit or puree should come off on your hand. You should not be able to leave an impression or dent with your finger.
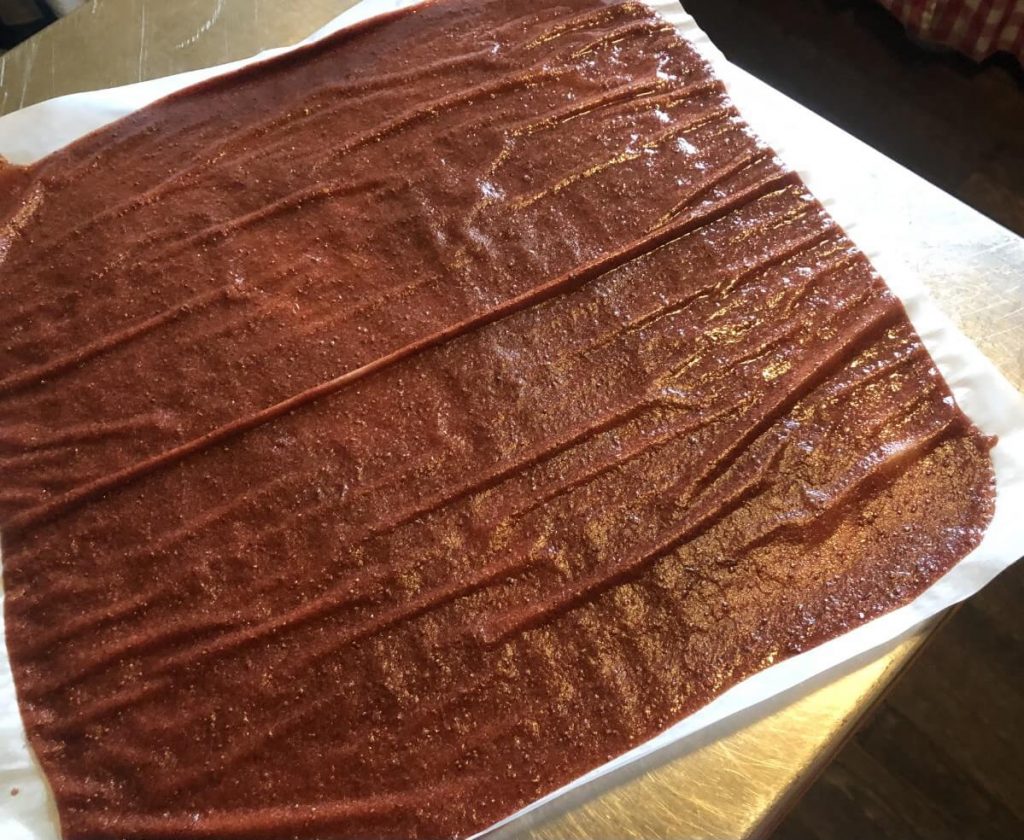
Drying time varies, but leathers usually take a minimum of 6 hours to dehydrate, up to 14 hours.
When done, let the leathers cool completely before wrapping and storing. You do not want any condensation to build up in storage!
If you used parchment or disposable dehydrator sheets, you can leave them attached to the sheet for rolling and storing.
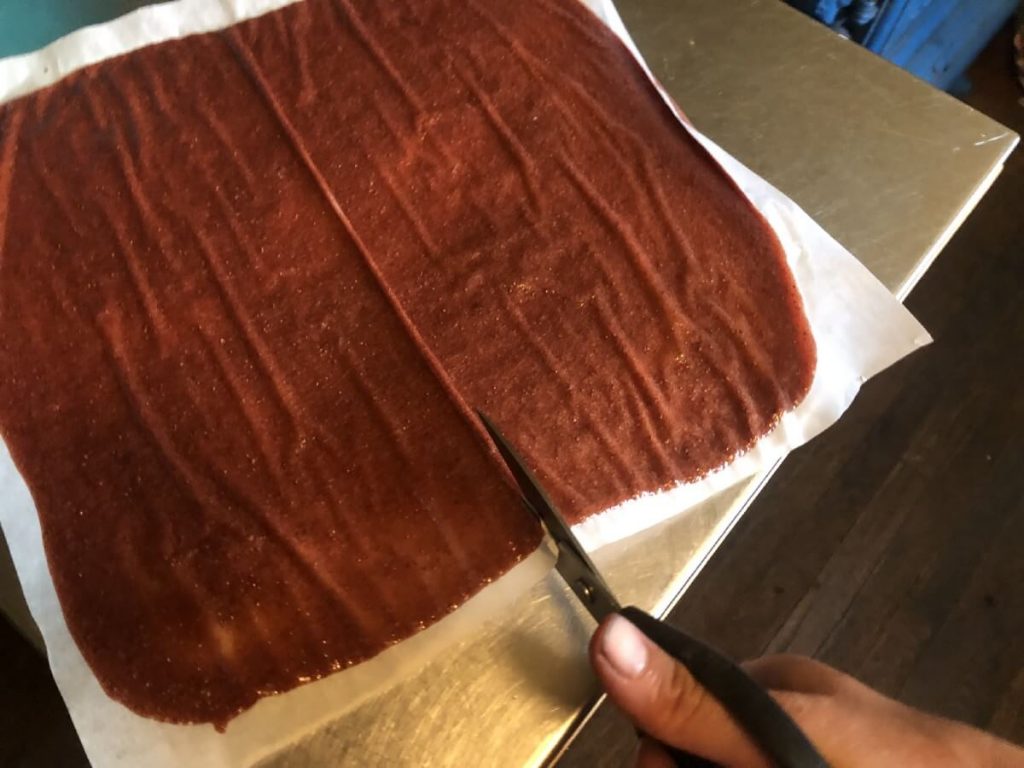
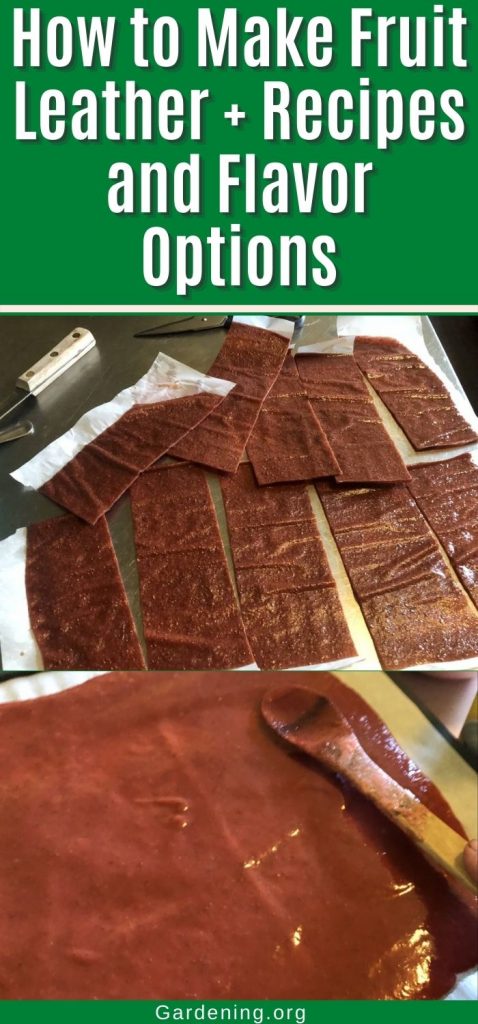
Cut the rollups to whatever desired serving size you prefer. A pair of good kitchen shears work well for this task. A pizza cutter or pastry cutter also works.
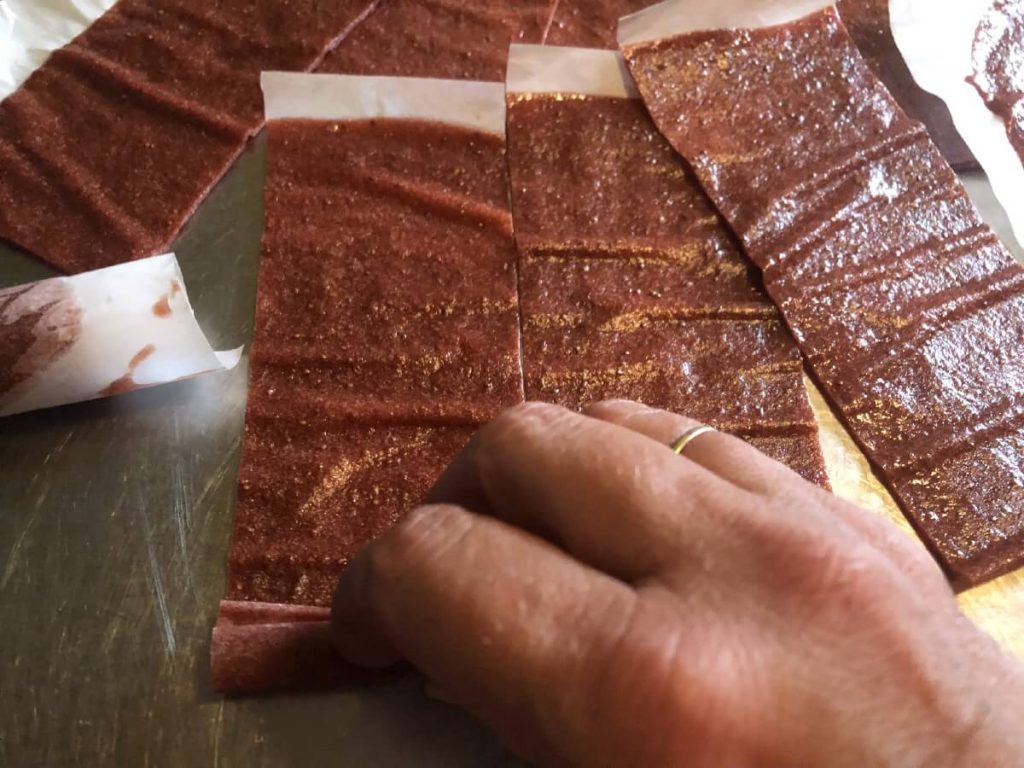
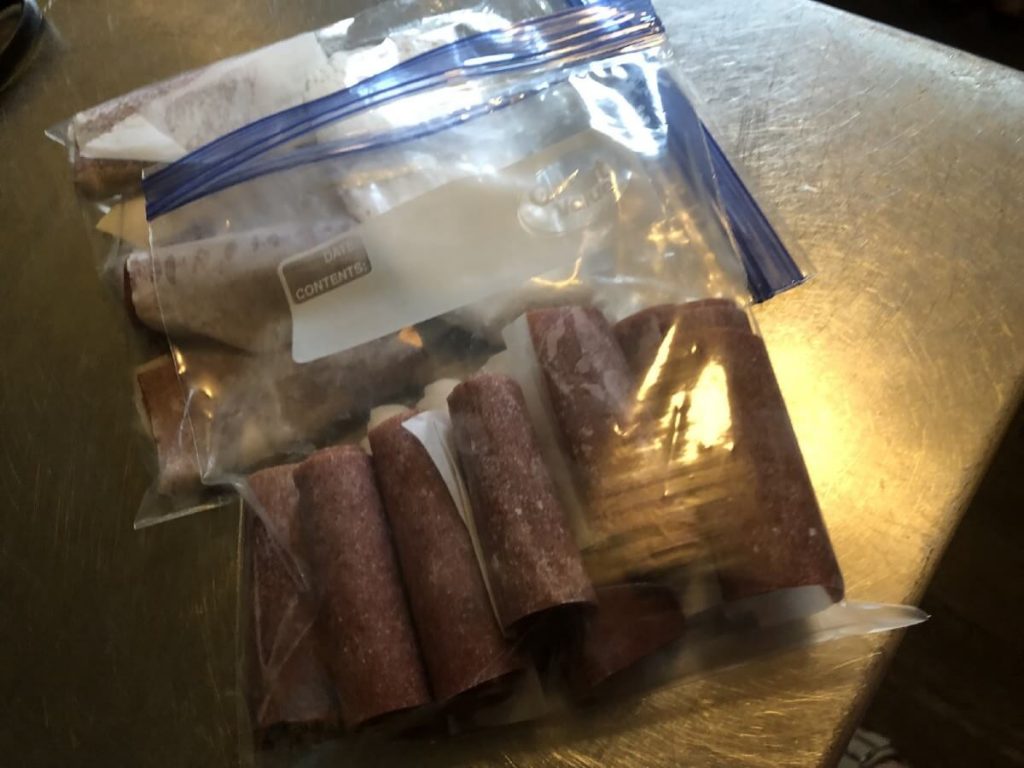
The leathers may be stacked in an airtight container, or rolled up and kept in an airtight container, plastic bag, or canning jar with a lid.
Drying In a Dehydrator
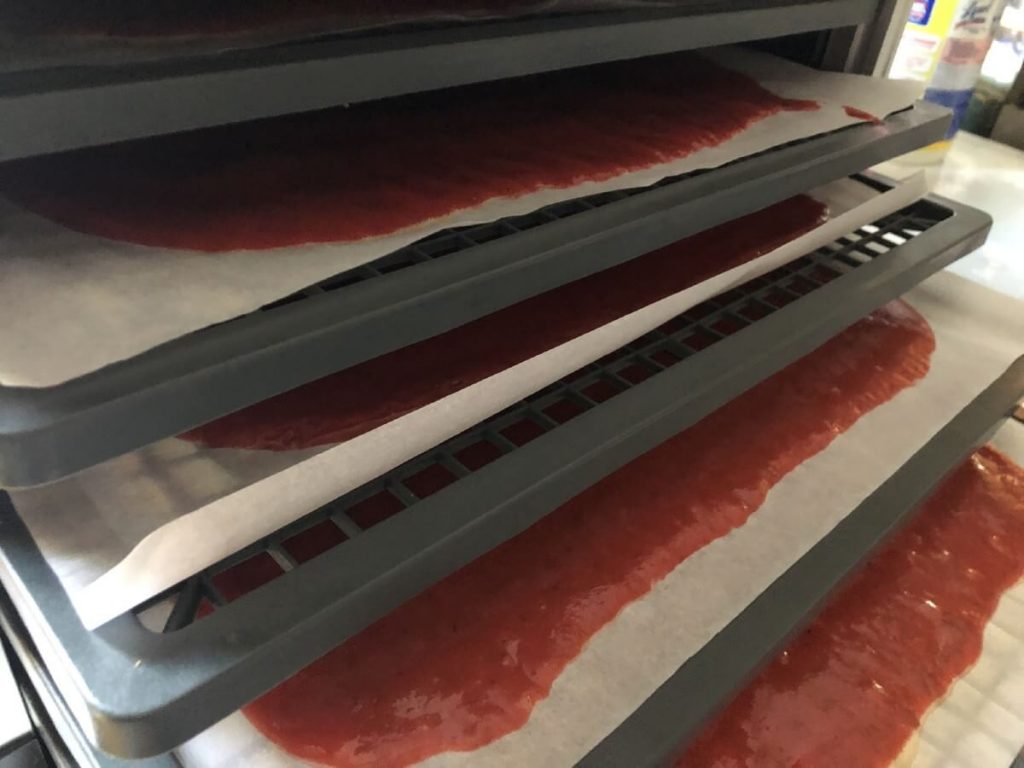
Drying in a dehydrator is best because they are designed for drying and airflow. Most dehydrators will fit two cups of prepared fruit puree per dehydrator sheet (this may vary by model). For the sake of efficiency and utility savings, it is wise to work a batch large enough to fill your whole dehydrator and have a stock of leathers prepared ahead—it costs the same to run your dehydrator half empty as it does completely full!
Drying in the Oven
If you do not have a dehydrator, you can make fruit leather in your oven, as long as its temperature setting goes low enough. Your goal should be a temperature of 140F (60C). Slightly higher will be okay, but if the temperature is too high (over 160F) your leathers will cook instead of drying and will become too dry and brittle.
Use parchment-lined baking sheets to dry your fruit leather.
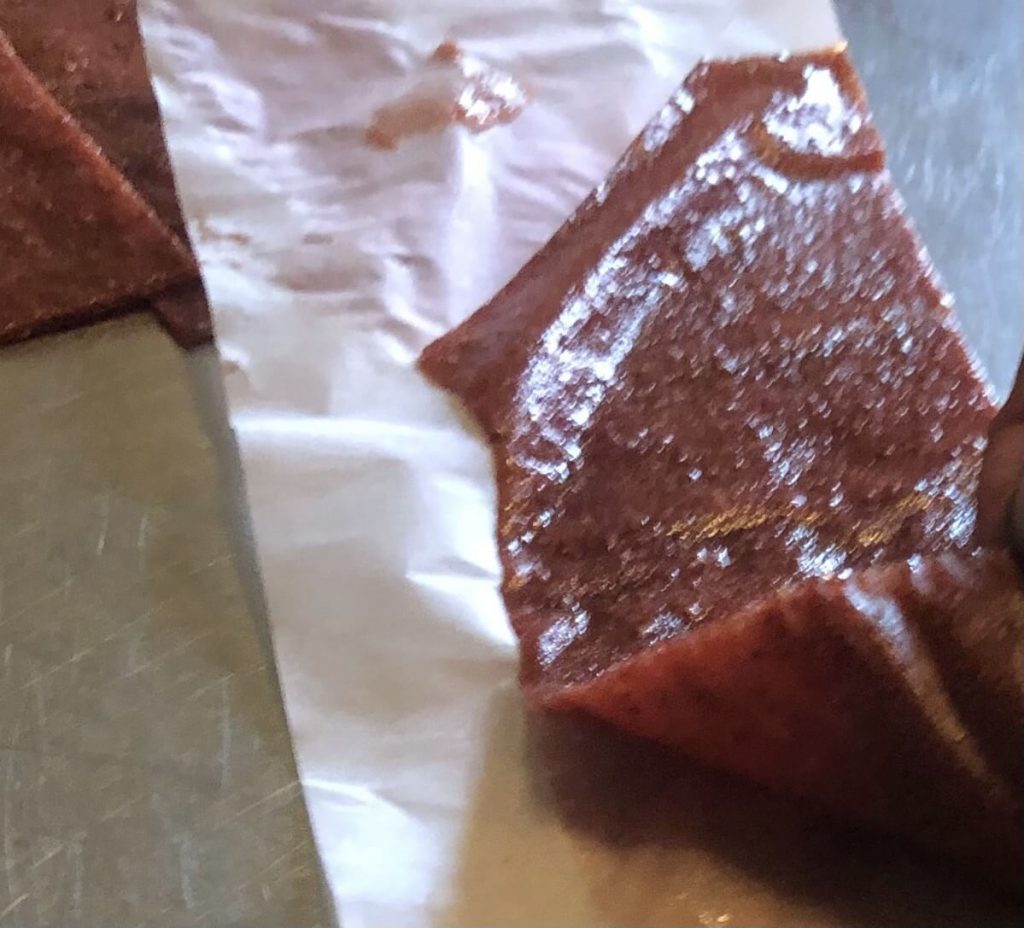
In the oven, dry your leathers at 140F (or as close as possible). Convection ovens or ovens with a fan are best—some traditional ovens may not work well for fruit leathers. It may also help to leave the oven door ajar while drying and place a fan blowing across the opening for airflow. Oven drying normally takes longer than drying in a dehydrator, due to reduced air exchange.
Fruit Leather Flavors and Recommended Combinations
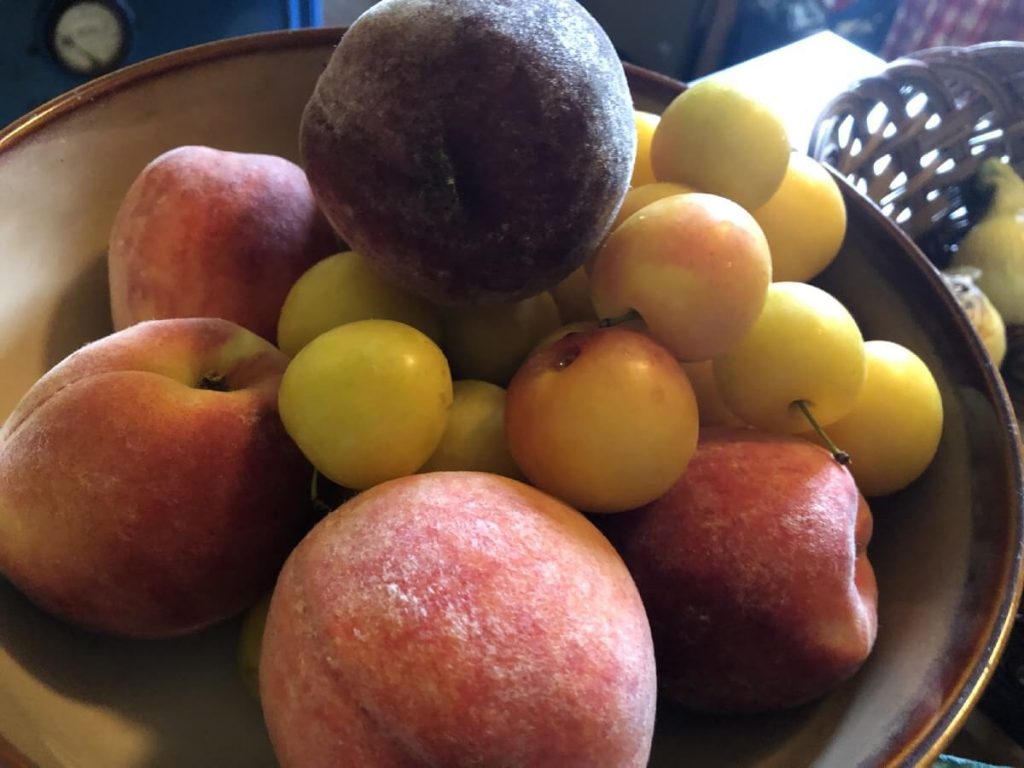
Some popular fruit leather flavors and combinations follow, but feel free to mix, match, and experiment on your own! If any cooking or special preparation is needed, it is noted below:
- Peaches
- Apples
- Pears
- Grapes
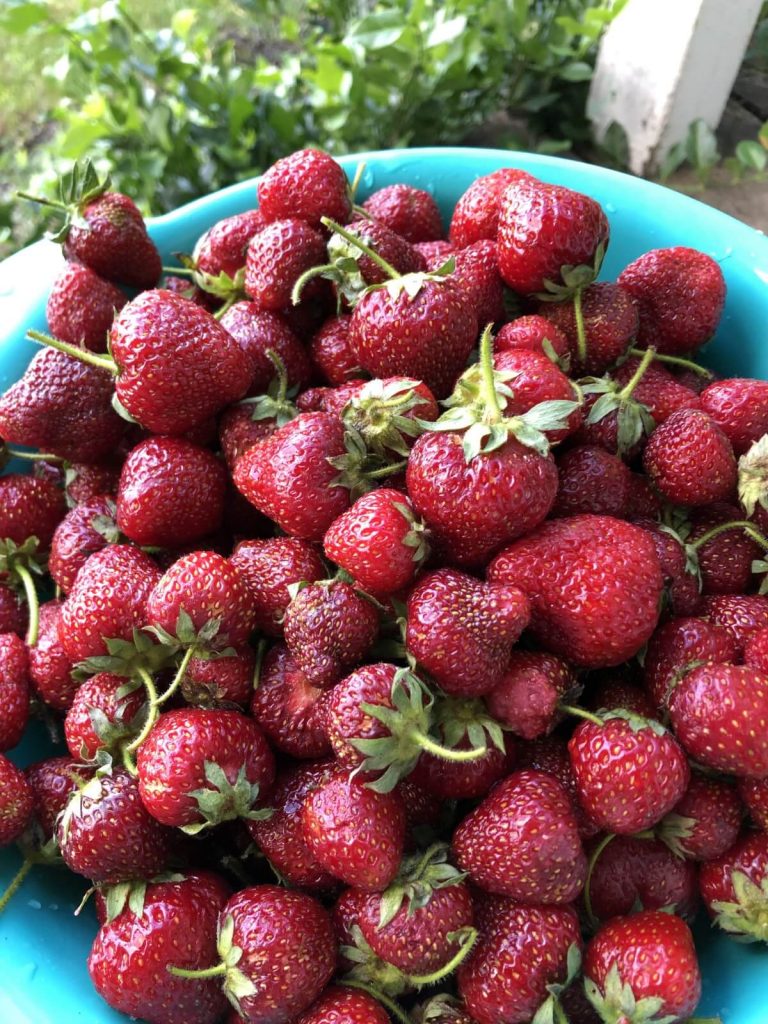
- Strawberries
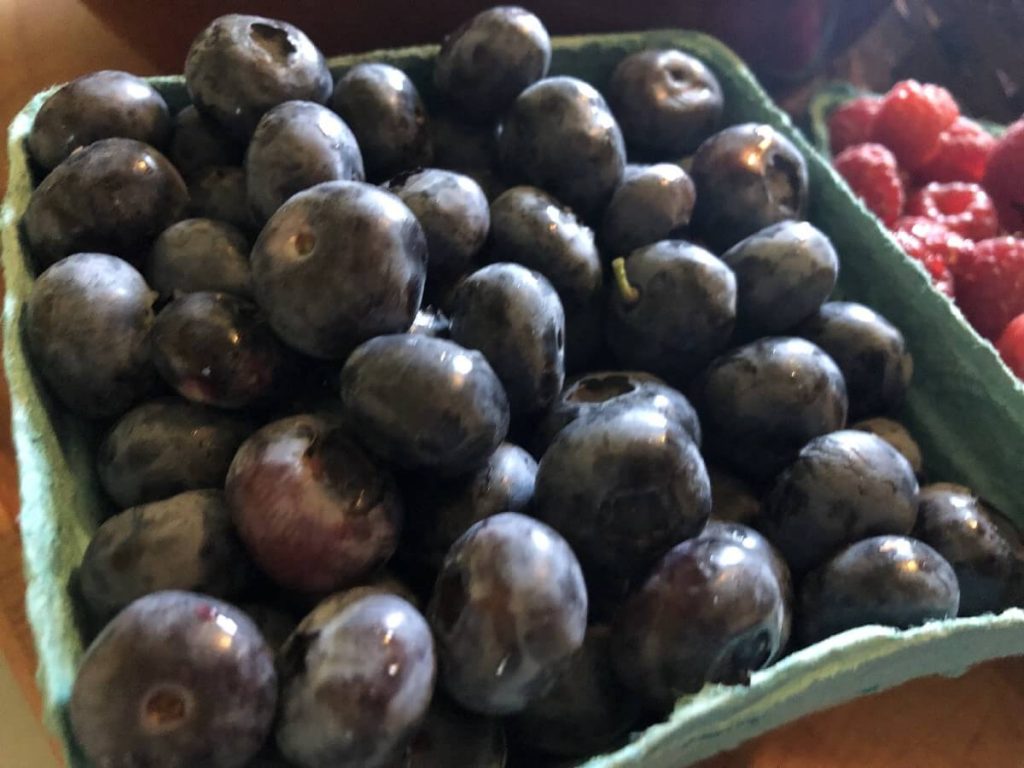
- Blackberries, mulberries, raspberries, black raspberries, or blueberries (nearly any kind of berry!)—use alone or in combination with each other. Note that these types of berries tend to get brittle when dried due to their high water and low pectin content, so they are best when combined 50/50 with a higher pectin fruit like apple, peach, banana, pear, or other fuller-bodied fruit.
- Mixed berry—half strawberries and half other berries (such as raspberry and blueberry); the strawberries help overcome the issue of the other berries’ brittleness.
- Triple Berry with Apple—half apple, half blueberries, raspberries, and blackberries mixed
- Raspberry-Banana
- Strawberry-Banana
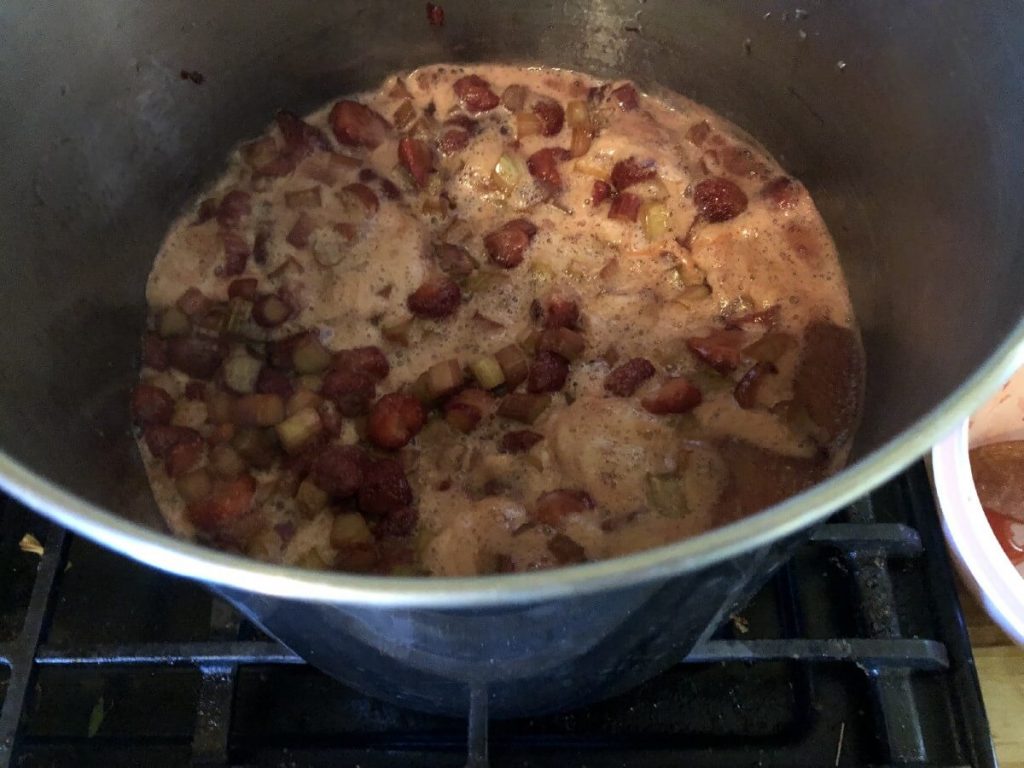
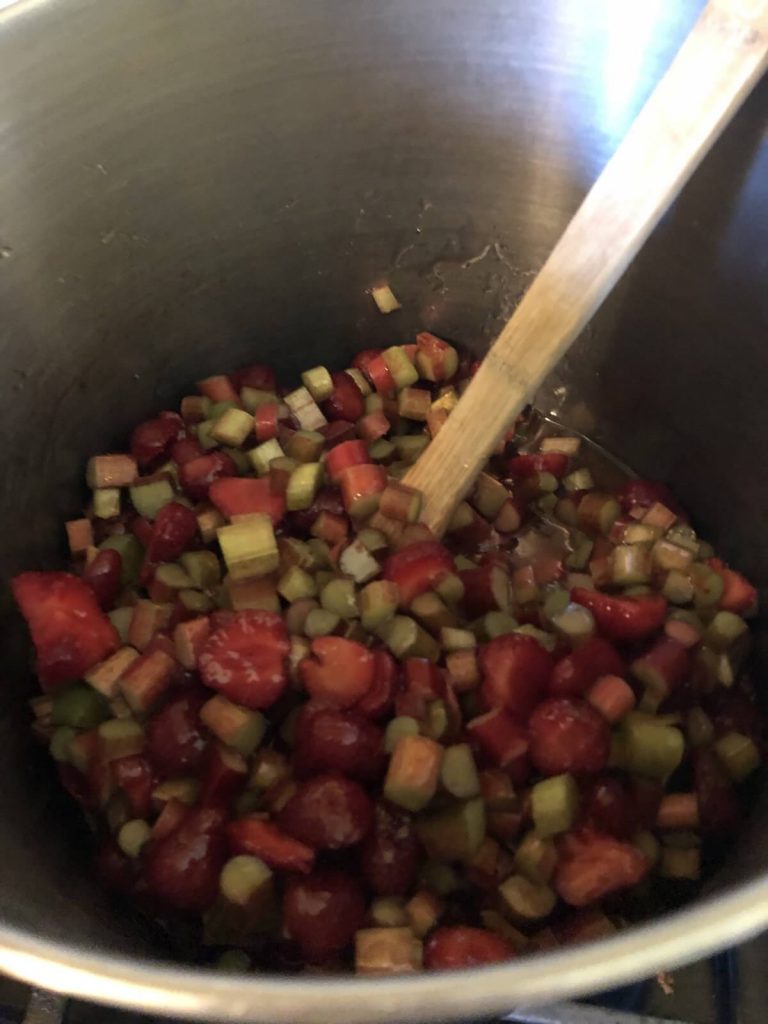
- Strawberry-Rhubarb—simmer for 5 minutes before pureeing to break down rhubarb fibers
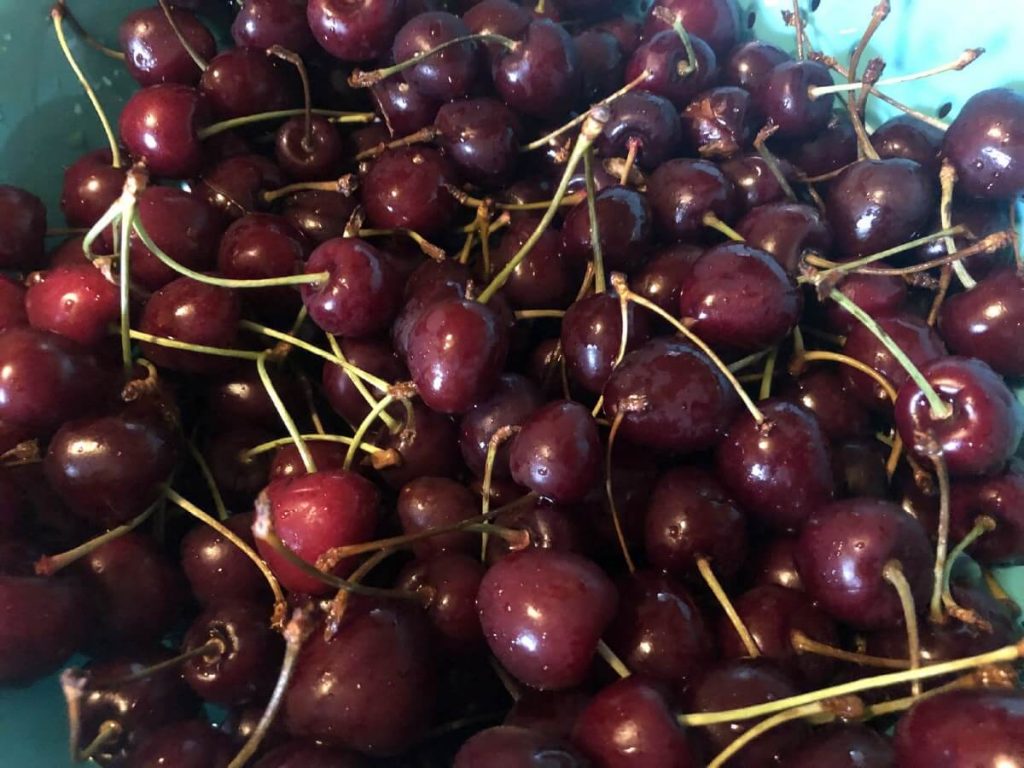
- Cherry
- Apricot
- Nectarine
- Pineapple
- Strawberry-Pineapple
- Plum
- Apple-Sweet Potato
- Apple-Ginger—2 tablespoons grated fresh ginger to 6 cups apples
- Pumpkin Spice—½ teaspoon cinnamon, ¼ teaspoon nutmeg, ¼ teaspoon ground cloves for 3 cups of cooked pumpkin puree (or 1 teaspoon pumpkin pie spice)
- Spiced Pumpkin-Apple—3 cups cooked pumpkin, 3 cups apple, 2 teaspoons apple pie or pumpkin pie spice (or spice combination above)
Try combinations of fruit and berries with sweet vegetables like sweet potatoes, carrots, and squash. You will need to cook these vegetables to a soft mashable state first. Leathers will take on the taste of the fruit and the vegetables will work as a sweetener, so this is a good option for sweetener-free fruit leather.
Try experimenting with your favorite spice additions, or add a teaspoon of vanilla extract to your batches.
Making Fruit Leathers from Canned or Frozen Fruit
It is perfectly okay to make fruit leathers from previously preserved produce, such as canned or frozen fruits and berries. There is not much about the process that needs to change:
- Thaw frozen fruits or berries and drain away excess juices before pureeing.
- Sweetened produce is not likely to need any additional sweetening—do not add sweetener to your puree until after you have pureed the fruit or berries, then taste-test before adding any more sweetener.
- Thawed or previously processed fruit may not need simmering or cooking, even if it is a fruit that you would cook before pureeing from fresh (because the process of freezing and thawing breaks down fibers in many cases). If you feel the produce is too fibrous, it is certainly okay to lightly cook the produce, though.
- If you feel the puree is still too runny after draining, the addition of apples, applesauce, or bananas can help thicken the puree.
Making fruit leather from canned or frozen fruit is a great way to make something new from preserves that need to be used up!
Make-Your-Own Fruit Leather Flavor
The beauty of fruit leathers is that they are simple at heart. Once you know the basics, you can create all sorts of flavor combinations. Because the process is the preservative and not the ingredients, you can easily create new recipes and flavors without having to worry about throwing something out of balance safety-wise (unlike canning where the quantities and ingredient balance often matter).
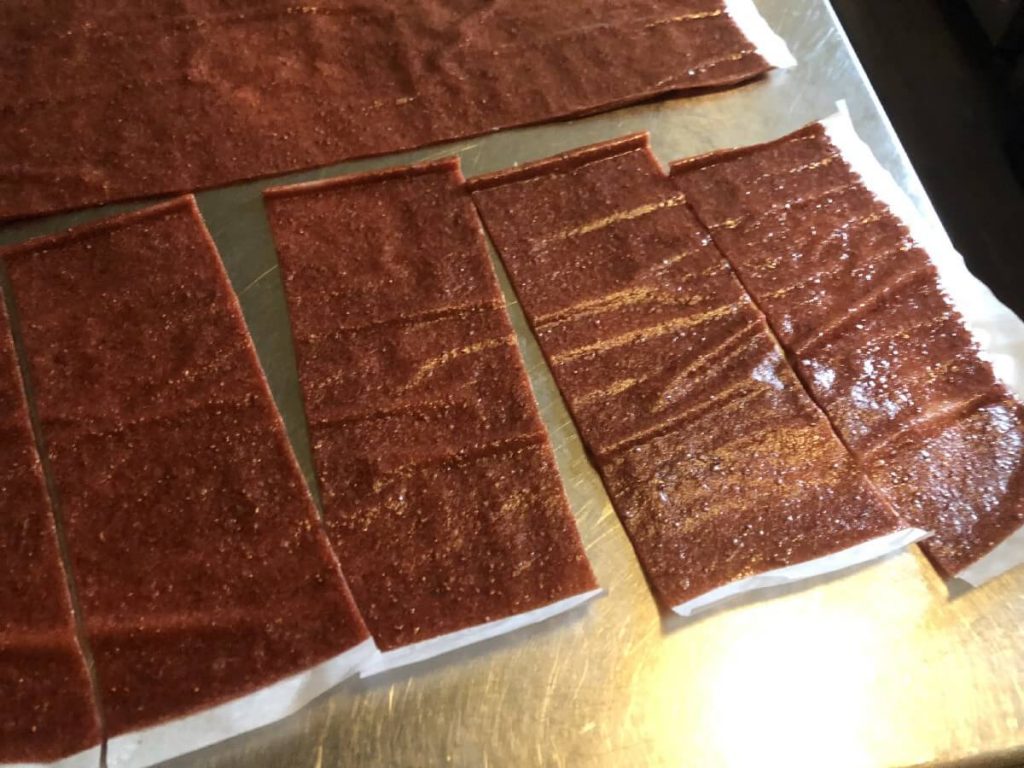
Fruit leathers are a fun, easy, space-saving way to preserve foods and make tasty treats in the meantime. You can even rehydrate your leathers to use as spreads, pie and pastry fillings, and more!
Fall in love with fruit (or vegetable) leathers and have one more way to use and preserve your harvest!
How to Make Fruit Leathers (Lots of Flavors and Recipes)
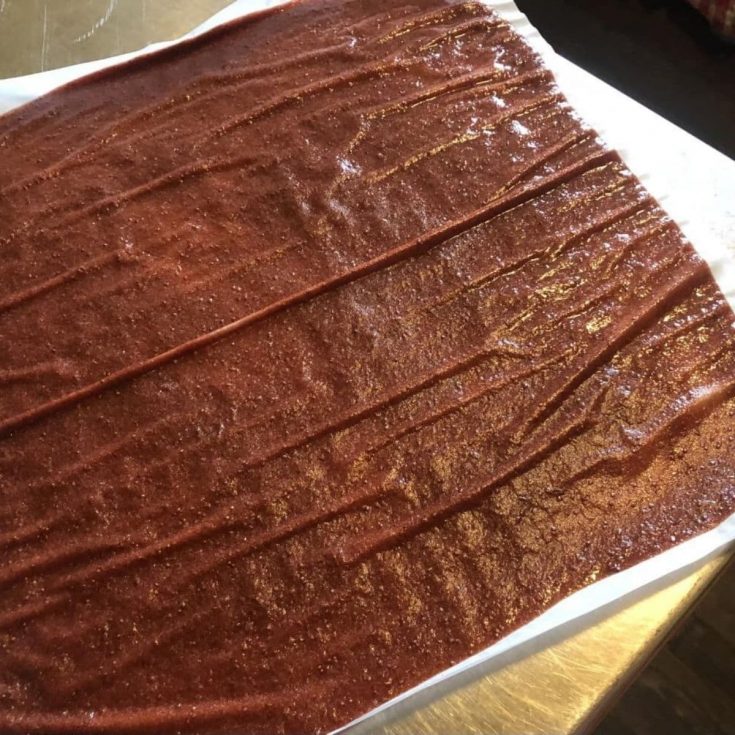
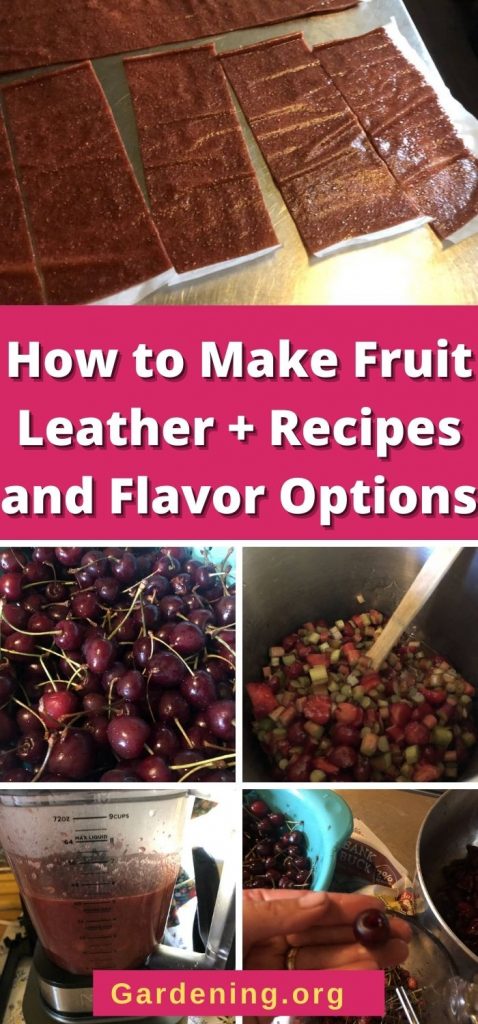
Learn everything you need to make your own homemade fruit leathers plus tons of great flavor combinations to try!
Ingredients
- 6 cups fruit
- ¼ cup sugar
- 2 teaspoons lemon juice
Instructions
- Clean and peel fruit as needed, removing skins and pits or seeds.
- Place the fruit into a blender or food processor, and pulse until smooth with no chunks remaining.
- Add sweetener if needed, starting with ¼ cup and increasing until sweet enough. Pulse to incorporate.
- Prepare a baking sheet with wax paper, then pour the liquid fruit onto the sheet. Spread it to cover the sheet until it's ⅛" to ¼" thick.
- Heat the oven to 135°F and place the baking sheet into the oven.
- Rotate the tray every 3 hours until the fruit is dry and no more wet areas remain.
- Allow it to cool completely before slicing into portion sizes. You may roll or lay these flat and store in an airtight container, jar, or bag.
Notes
- Thaw frozen fruits or berries and drain away excess juices before pureeing.
- Sweetened produce is not likely to need any additional sweetening—do not add sweetener to your puree until after you have pureed the fruit or berries, then taste-test before adding any more sweetener.
- Thawed or previously processed fruit may not need simmering or cooking, even if it is a fruit that you would cook before pureeing from fresh (because the process of freezing and thawing breaks down fibers in many cases). If you feel the produce is too fibrous, it is certainly okay to lightly cook the produce, though.
- If you feel the puree is still too runny after draining, the addition of apples, applesauce, or bananas can help thicken the puree.
Nutrition Information:
Yield:
24Serving Size:
1Amount Per Serving: Calories: 32Total Fat: 0gSaturated Fat: 0gTrans Fat: 0gUnsaturated Fat: 0gCholesterol: 0mgSodium: 1mgCarbohydrates: 8gFiber: 1gSugar: 6gProtein: 0g


Leave a Reply