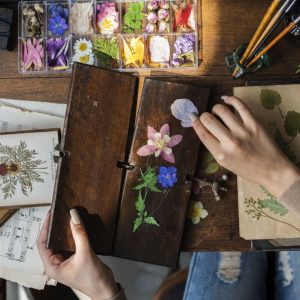
From daffodils to hyacinth, there are so many colorful bulbs to try in your garden. But to give your bulbs an advantage, it’s important to plant them at the right time of the year. For most bulbs, especially spring blooming flowers, autumn is the best time to start planting!
We’ve created this guide to simplify your autumn bulb planting this year. From determining when to plant your bulbs to the best soil amendments to add to your planting holes, this guide includes everything you need to successfully grow gorgeous flowering bulbs this year.
Jump to:
- Top tips for bulb planting
- 1. Choose the best bulbs.
- 2. Know when to plant.
- 3. Pick the right location.
- 4. Plant at the correct depth.
- 5. Orient your bulbs correctly.
- 6. Add the right amendments.
- 7. Water well.
- 8. Use mulch.
- 9. Protect your bulbs.
- 10. Dig up tender bulbs.
- 11. Cluster your bulbs.
- 12. Plan for the season.
- 13. Naturalize your bulbs.
- Frequently asked questions
- Summary
Top tips for bulb planting
From how to plant your bulbs to designing colorful bulb beds bursting with vibrant blooms, read on for the top tips for autumn bulb planting.
1. Choose the best bulbs.
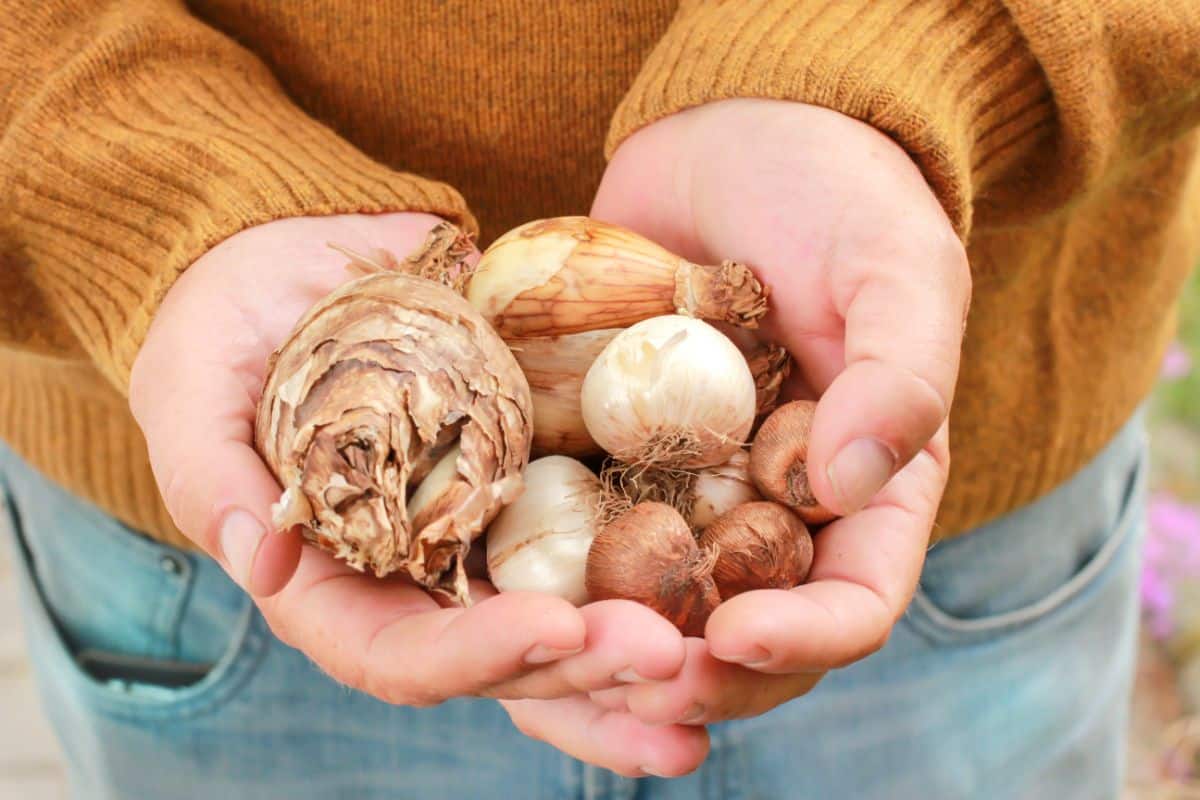
Not all bulbs are suitable for all growing locations, so be sure to choose bulbs that are appropriate for your growing region. Or, if you live in a cool spot but like more tropical plants, you can still grow some warm weather-loving species as annuals or by overwintering them indoors.
Most common bulbs can be found at your local plant nursery or big box store. However, for more unusual bulb varieties, check online or order from a bulb or seed company. Just make sure you research the company beforehand and read their user reviews so you know you’re getting a quality product.
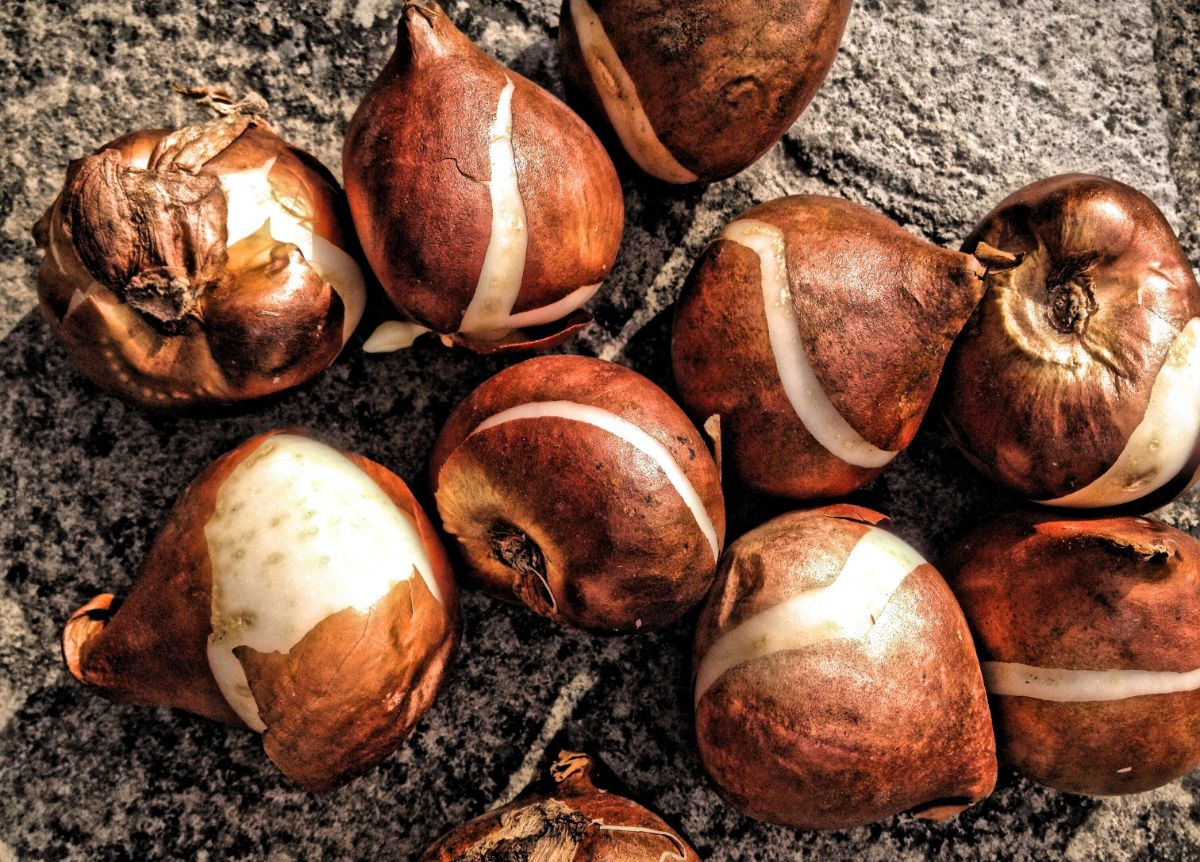
When your bulbs arrive, check them over for any signs of damage or rot. Healthy bulbs should be firm, yet plump, without obvious signs of withering or mushy spots. In general, larger bulbs tend to be healthier and bloom more reliably that smaller bulbs of the same species.
2. Know when to plant.
Different bulbs need to be planted at different times of the year, depending on their bloom time and other factors.
Spring-blooming flowers, like daffodils and crocuses, are usually planted in autumn. However, summer-bloomers, like gladiolus and dahlias, are best planted in springtime as they don’t overwinter well in cool areas.
Be sure to do a bit of research on specific bulb varieties prior to planting. But, as a general rule of thumb when planting:
- Crocuses are planted in fall, about 6 to 8 weeks before hard frost is expected.
- Daffodils are planted in early fall when the soil is still workable.
- Tulips are planted throughout fall, as long as the soil isn’t frozen hard.
- Dahlias are planted in spring after soil temperatures are above 60°
- Ranunculus should be planted in autumn in warm regions and spring in locations with cold winters.
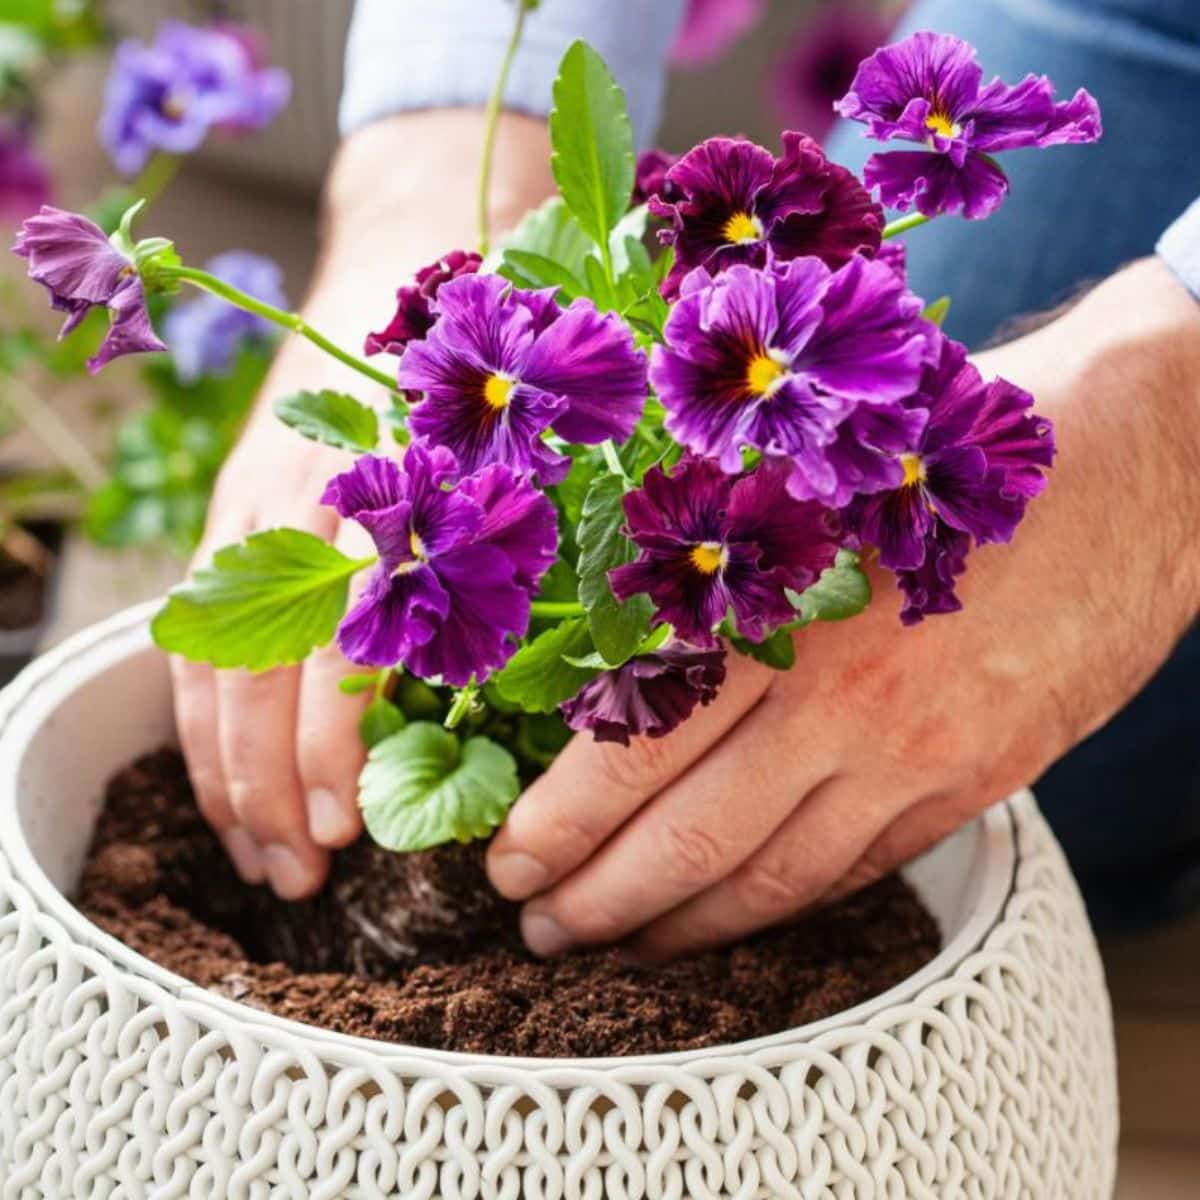
3. Pick the right location.
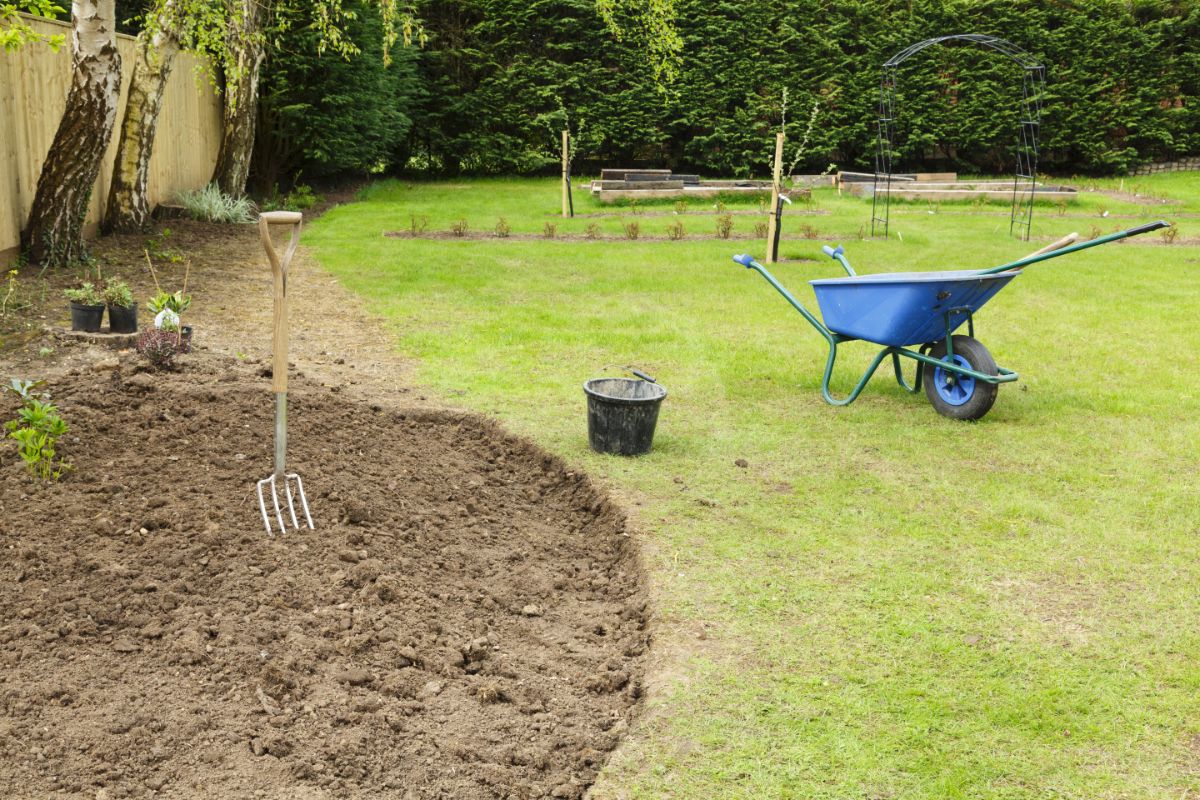
When planning out your autumn bulb planting, you’ll want to choose a location in your garden that has the right amount of sunlight and shade for the bulb variety you’re working with. Bulbs like grape hyacinth, crocuses and fritillaria can tolerate some shade; however, dahlias, Liatris and gladiolus require a spot with full sun (at least 6 hours of bright sun).
Beyond sunlight, you’ll also want to choose a location with rich, well-draining soil or amend the soil as needed. For most bulbs, choose a location that isn’t waterlogged or soggy as this will cause bulbs to rot. That said, certain bulbs, like some types of wild hyacinth or canna lilies, can tolerate a bit of moisture in their soil.
If you plan to create a larger planting arrangement with your bulbs, make sure whatever location you choose has enough surface area so you can space your bulbs correctly.
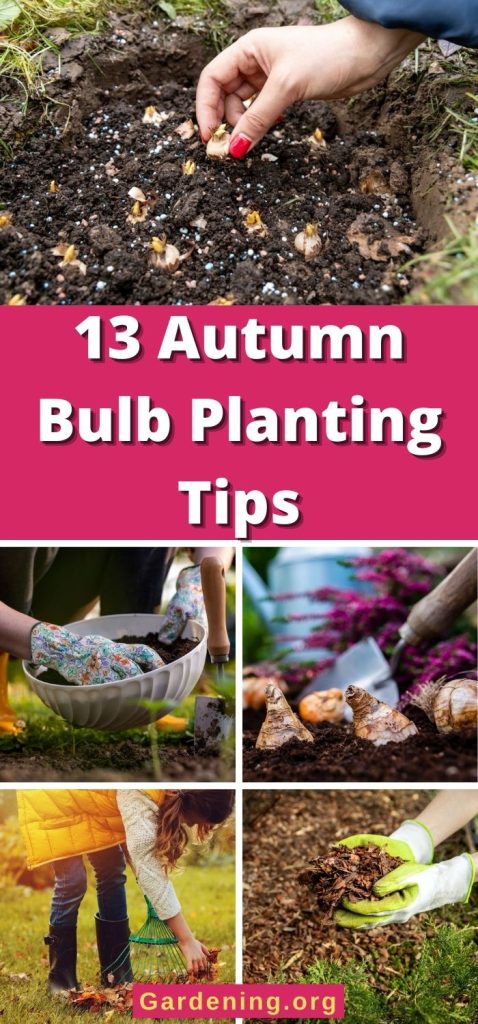
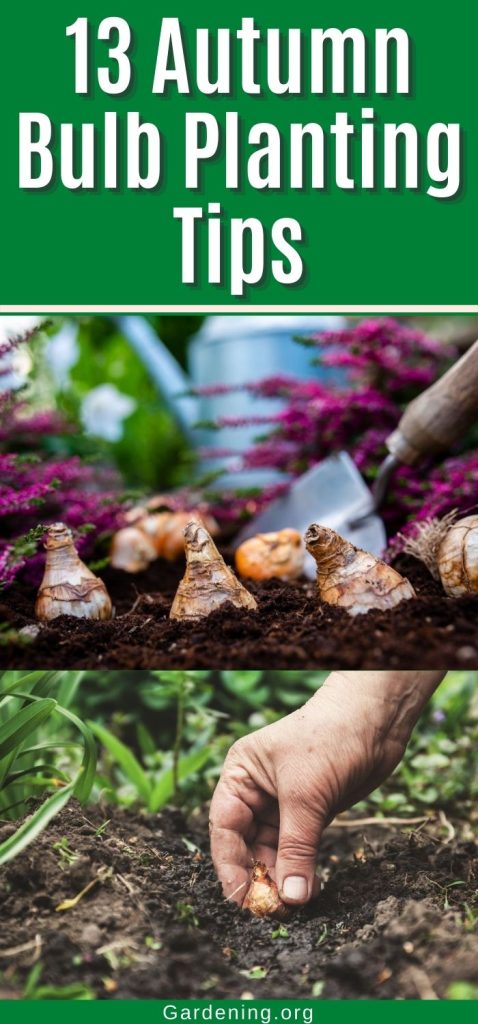
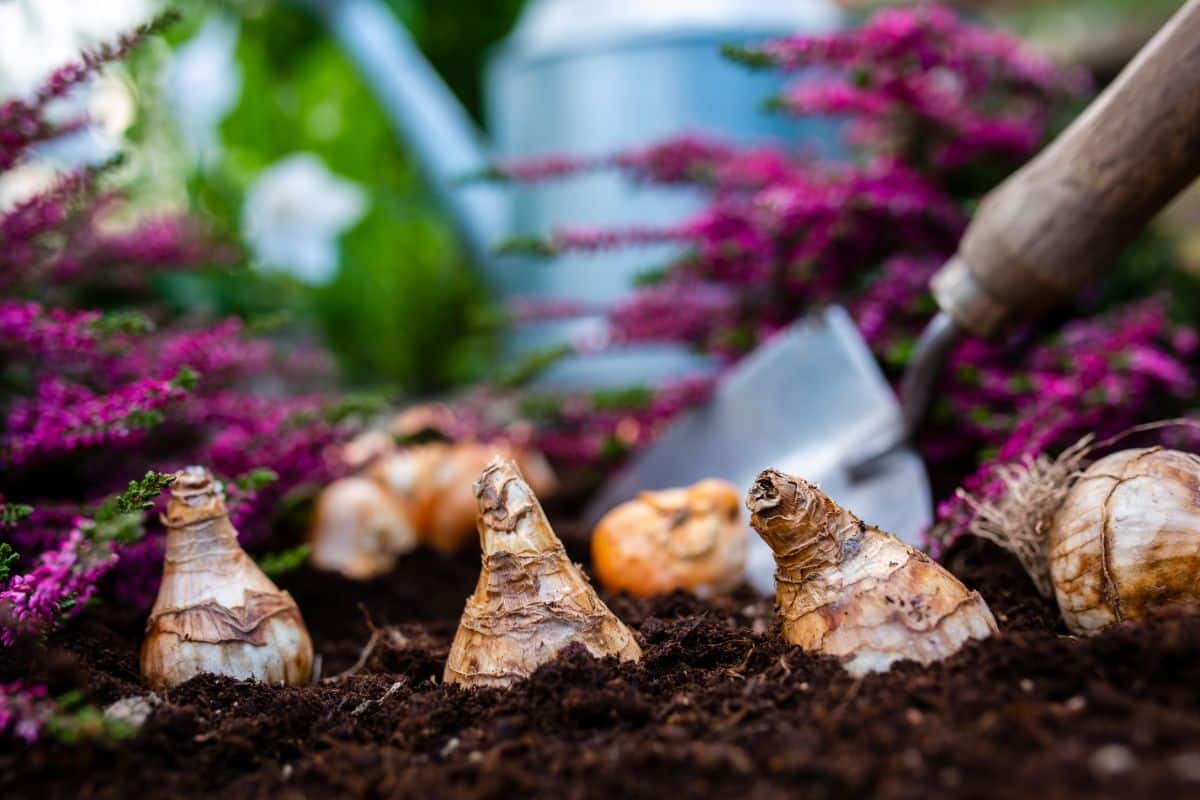
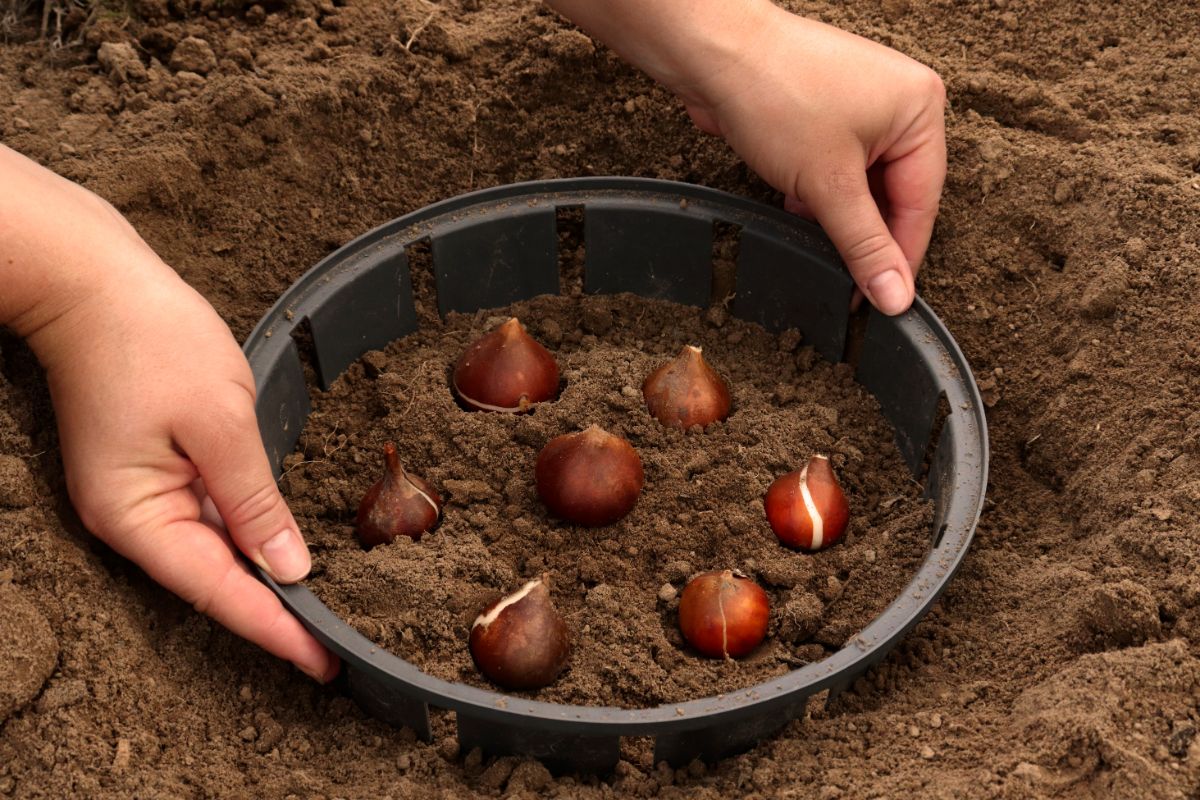
4. Plant at the correct depth.
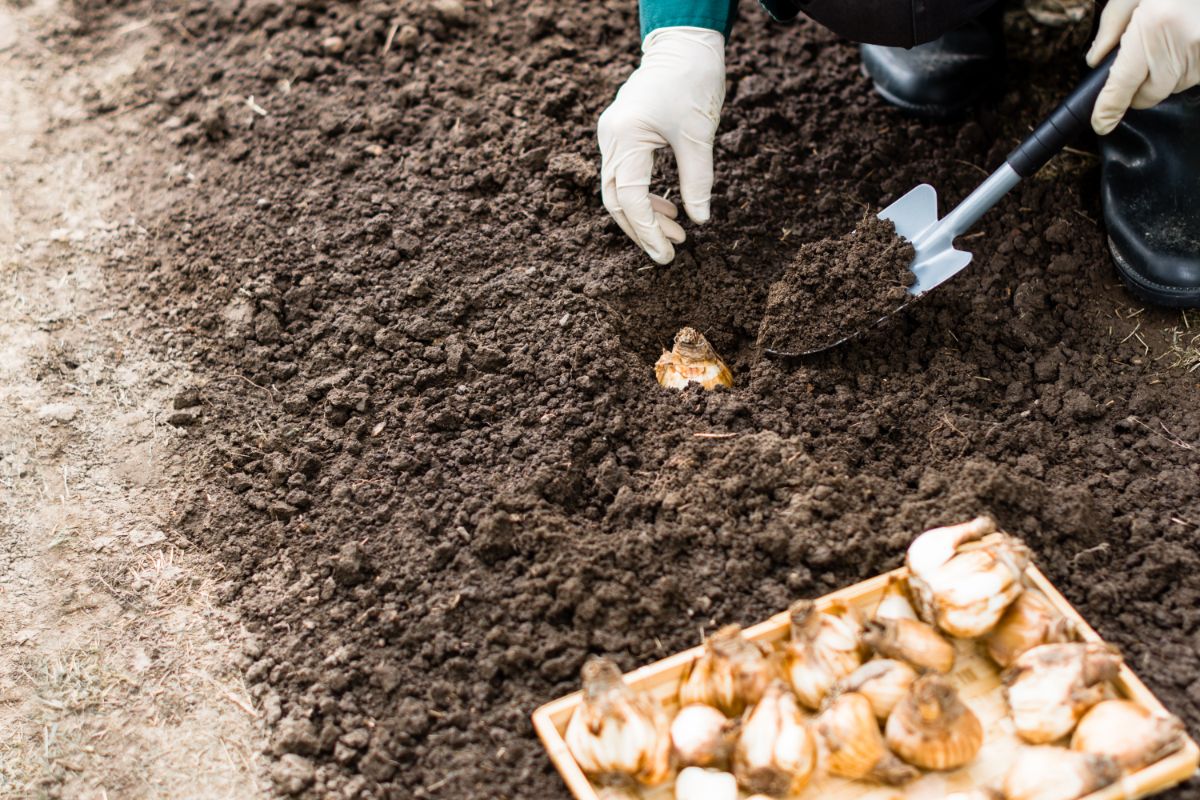
Depending on the bulbs you’re working with, you’ll need to vary planting depth. In general, bulb holes should be about 2 to 3 times as deep as the bulb is high; however, this may change depending on the plant species.
Some bulbs, like tulips, should be buried quite deep, especially in colder areas. Deeper planting, at a depth of about 8”, helps protect these cold-sensitive bulbs from winter’s chill.
Conversely, smaller bulbs are usually planted in more shallow holes. Planting any deeper than the recommended depth may cause delayed bloom times or may even kill the bulbs if they’re unable to reach the soil’s surface.
To determine the correct planting depth, be sure to read all planting instructions included with your bulbs or research individual species prior to planting. Using a bulb planting tool or Hori Hori with inscribed measurements can simplify the planting process and make sure your bulbs are planted at the correct depth.
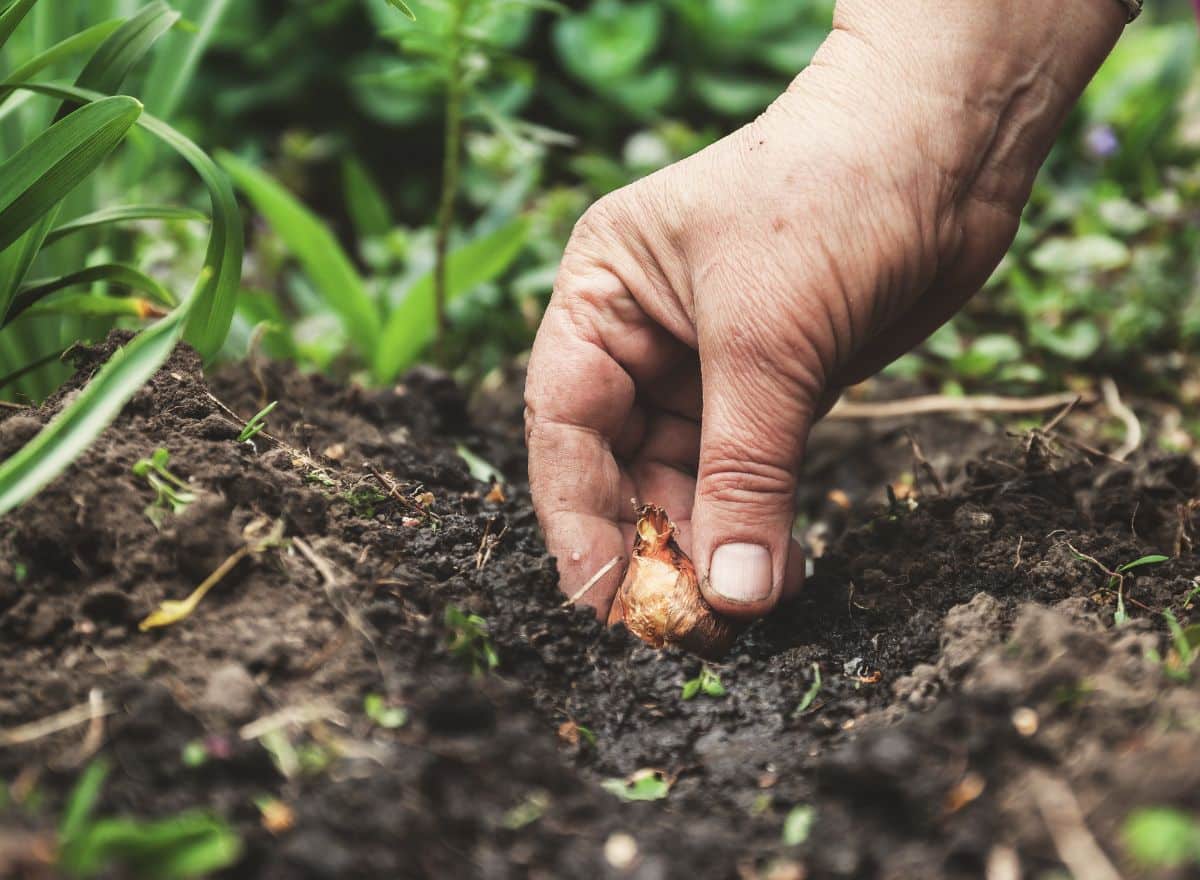
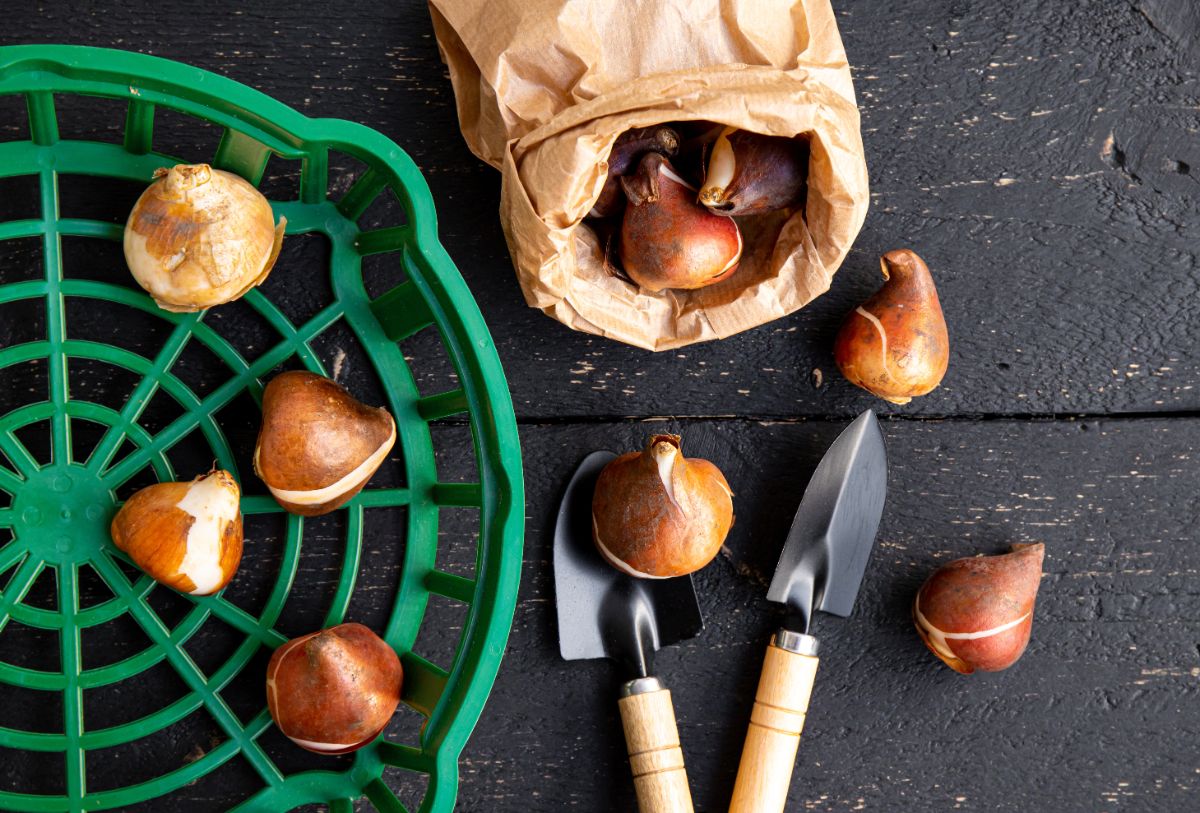
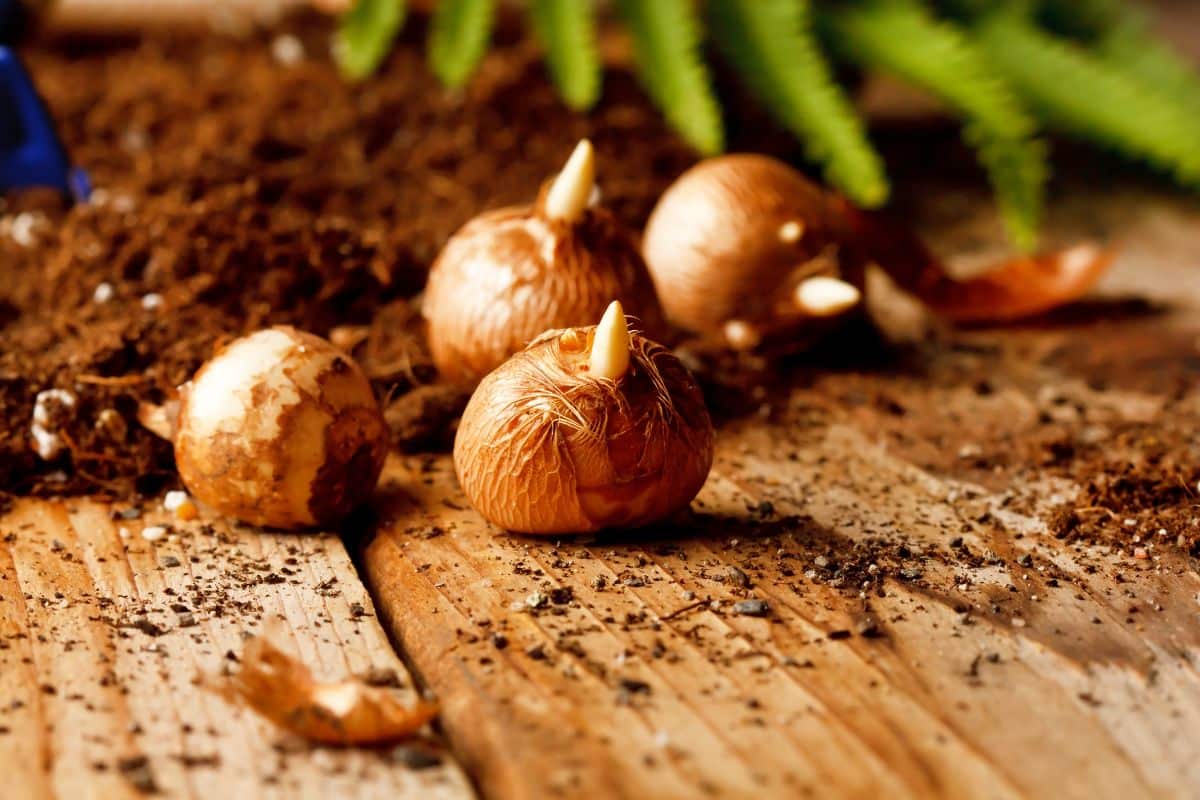
5. Orient your bulbs correctly.
When planting bulbs, always be sure to situate them in the hole so that the pointed end of the bulb is facing upward. The rounded or flat bottom of the bulb should be positioned snuggly against the bottom of the hole. This will reduce strain on your new bulbs and make sure they grow correctly.
If bulbs don’t have a pointed side, examine the bulb carefully for any signs of roots. This is the bottom of the bulb.
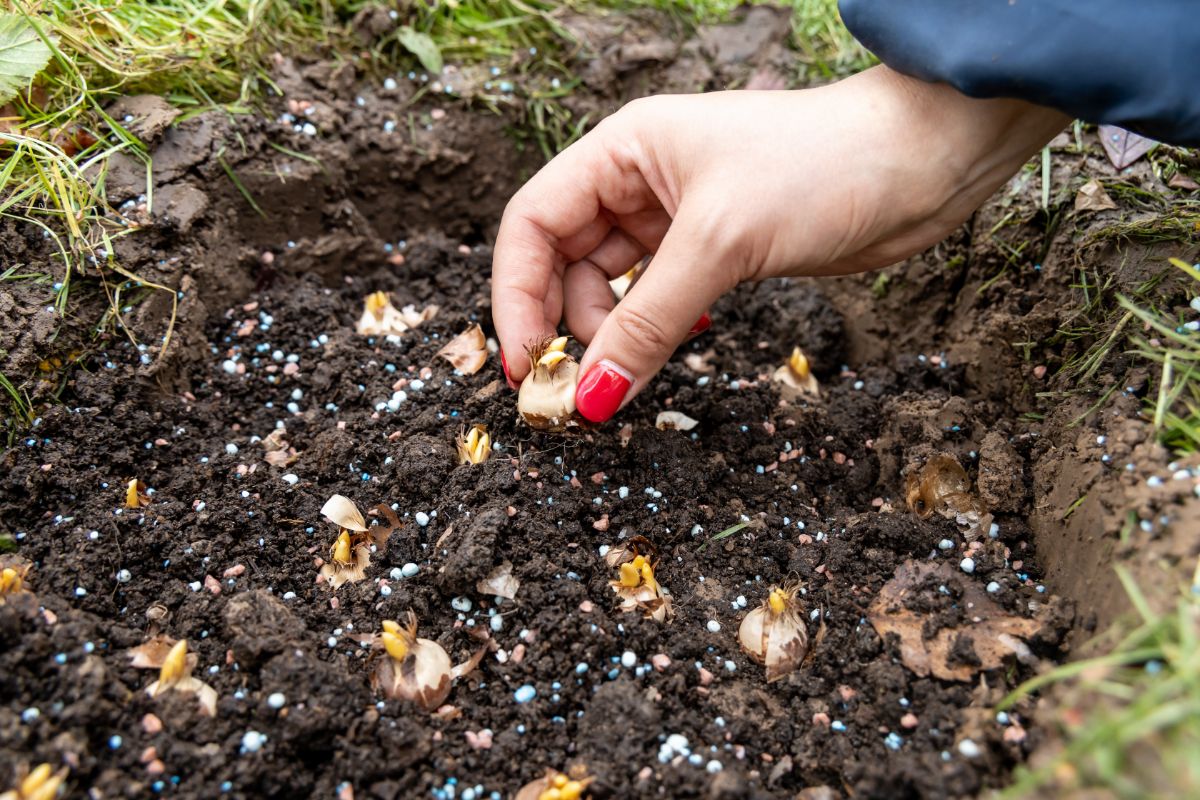
6. Add the right amendments.

It used to be a common gardening practice to add bone meal to holes when planting bulbs. However, recent research has shown that it’s not often necessary.
Because of the way bone meal is processed today, it usually has a lower nutrient content than bone meal of the past. Today, bone meal is most commonly used for its high phosphorous content; however, most garden soil already has a lot of phosphorous in it. That means adding additional phosphorous is rarely necessary.
If in doubt, you can always have your soil tested, but generally speaking, bone meal isn’t needed and may attract unwanted pests.
You’ll also want to stay away from adding any hot composts – like fresh manure – to bulb holes as this may burn the bulbs.
Instead, for most gardens, you don’t often need to add anything to bulb holes when planting. However, if your soil is deficient or poorly draining, mixing in some fresh compost or worm castings into the surrounding soil will benefit your bulbs.
There are also some quality organic fertilizers, made of kelp or alfalfa meal, which are well-suited for bulb planting. While they’re not necessary, many gardeners like using them as a bulb boost, especially if they’re planting edible bulbs, like garlic.
7. Water well.
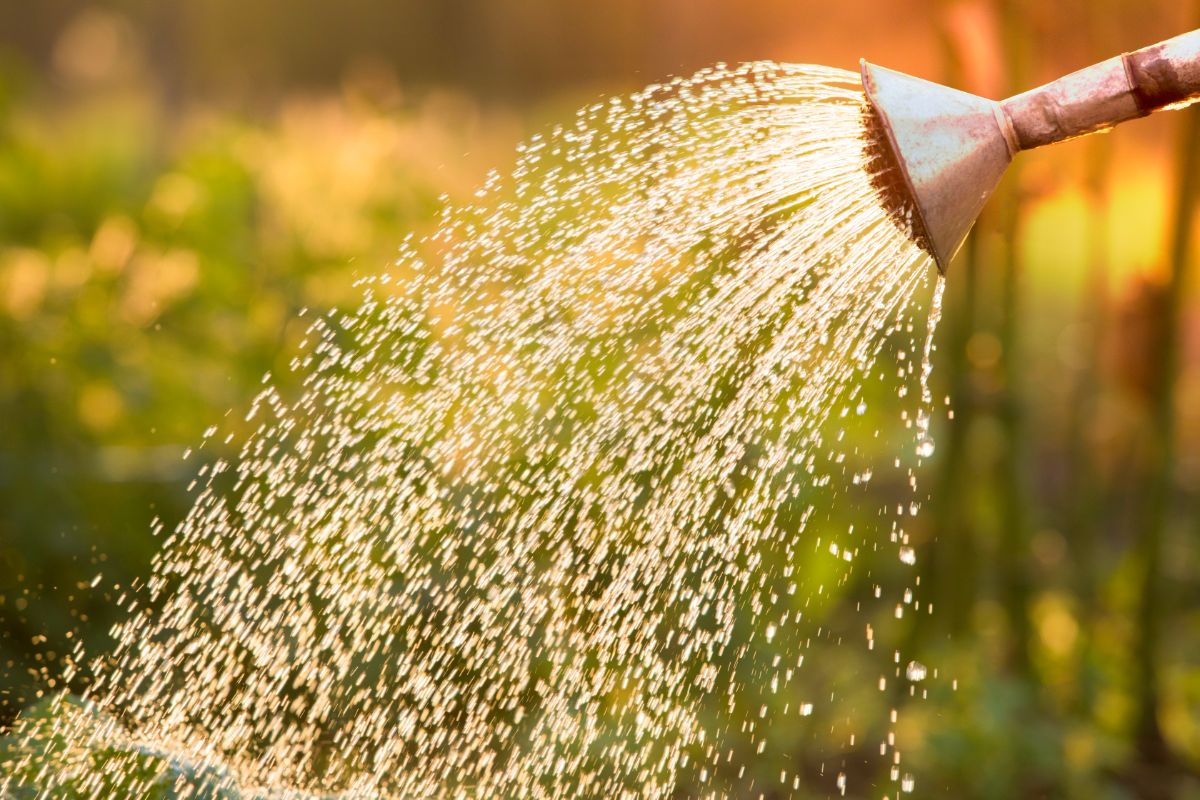
All plants benefit from getting drink of water after they’re planted, and bulbs are no exception.
After planting your new bulbs, try watering them in with your watering can or garden hose. This will encourage their roots to sprout sooner, which helps them get situated before winter begins.
Watering will also eliminate air pockets in the soil, which can cause your bulbs to dry out. And, if your bulbs seemed dry after shipment, a well-timed watering will help them recover quickly.
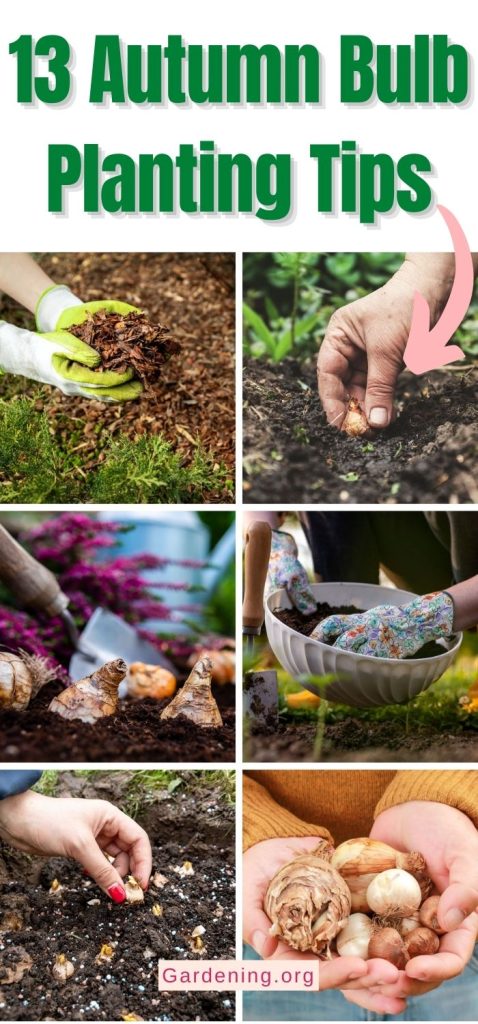
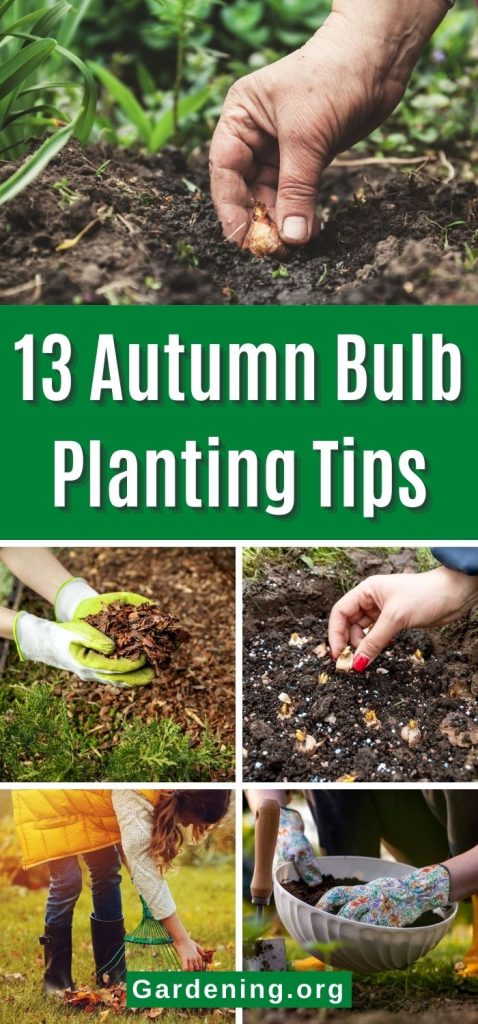
8. Use mulch.
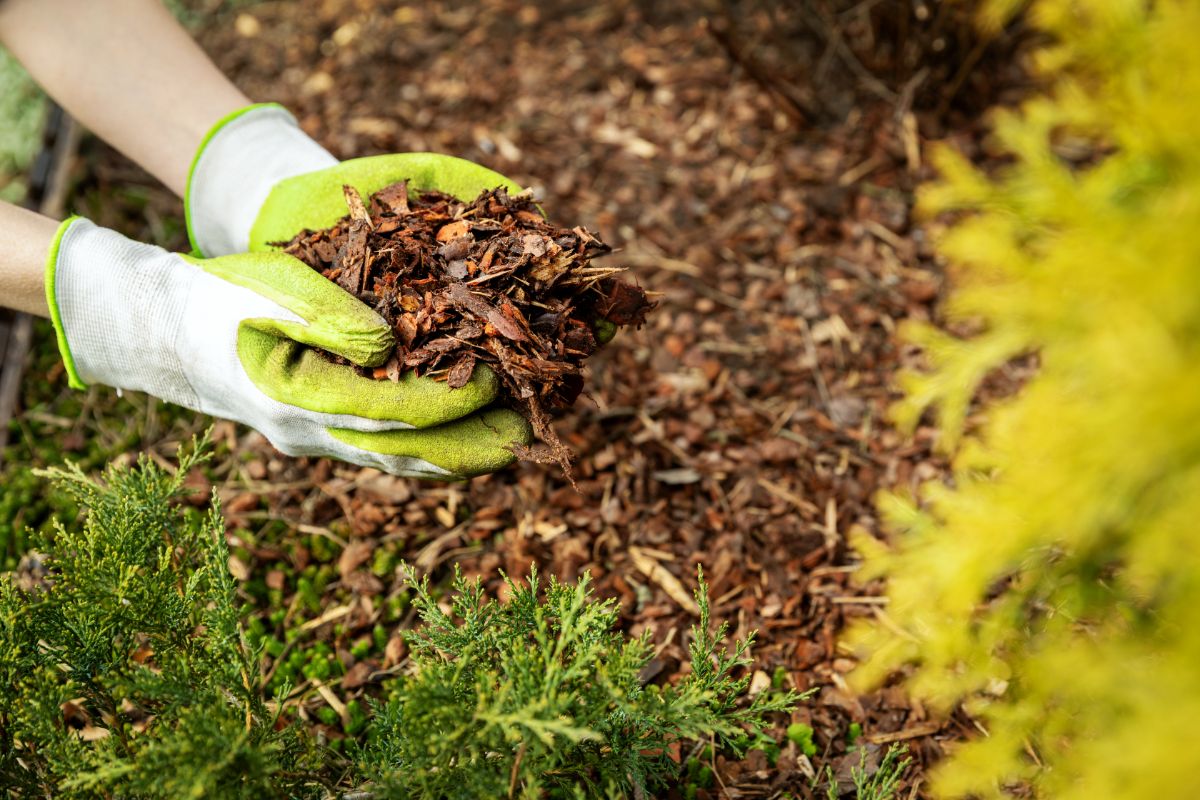
Weeds can be an unsightly nuisance in the garden, but they can also cause problems for new plants and bulbs too.
Vigorously growing weeds can rapidly choke out smaller plants, which is particularly problematic for bulbs when they first start to sprout. If new bulbs are surrounded by a thick mass of weeds, they may not get enough sunlight or may be deprived of the water and nutrients they need.
Adding a 2 to 3” layer of organic mulch around your bulb beds can help suppress weed growth, while encouraging your bulbs. This thin layer of mulch is usually thick enough to prevent most weeds, but is thin enough for bulb sprouts to push their way through.
For ornamental beds, wood chips or bark mulch are quite popular. Salt marsh hay, chopped autumn leaves or weed-free straw are other good, all-natural options.
9. Protect your bulbs.
Animals, like chipmunks, voles and rats, love munching on certain bulb varieties. In fact, if you’ve ever planted bulbs that never sprouted, the most likely reason why is that they were nibbled up before they got a chance to grow!
While rodents won’t eat all bulb varieties, plants like dahlias, are particularly vulnerable. One solution is to only plant bulbs that rodents don’t like to eat, such as:
- Snowdrops
- Daffodils
- Alliums
However, if you don’t want to be limited with what bulbs you can plant, there are other steps you can take to protect your bulbs.
Adding a thick layer of mulch over newly planted bulbs can help conceal your bulb holes, making them less likely to be targeted by rodents. For even more protection, placing a layer of chicken wire under your mulch can thwart any attempts at digging.
Alternatively, try planting your bulbs in bulb cages or wire baskets, which are sturdy enough to prevent chewing and also prevent any pests from digging up underneath your bulbs.
10. Dig up tender bulbs.
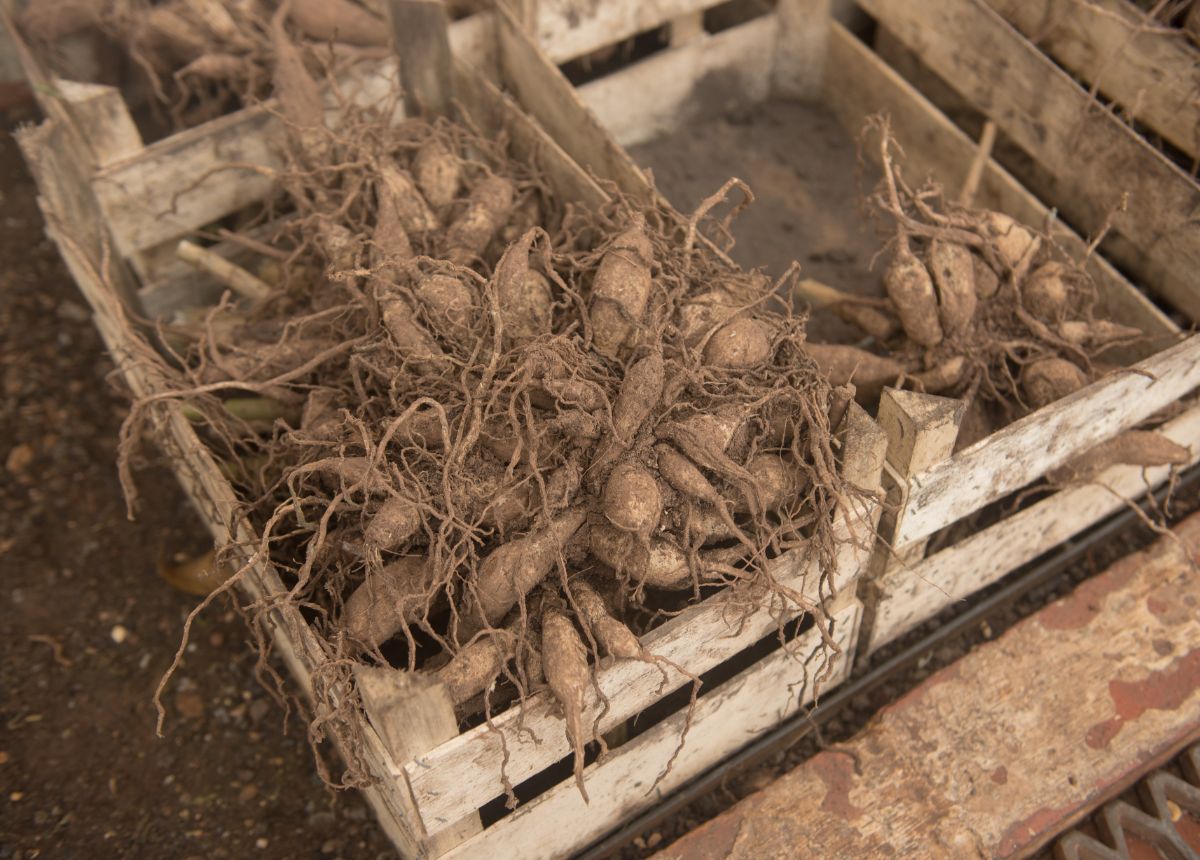
Not all bulb varieties are winter hardy and more tropical species will need to be dug up and overwintered indoors in cold regions. Otherwise, these plants will only grow as annuals.
Plants like dahlias, gladiolus and canna lilies are only hardy down to zones 7 to 8, so if you live in a cold spot they will need to be brought indoors. After digging up your bulbs, allow them to dry out some to prevent rot and then store them in a cool, dark spot until springtime. If you have a garage or outbuilding that stays above 40°F during the winter, that’s a good place to keep your bulbs.
To simplify your autumn garden chores, you can try planting tender bulbs inside a container that you sink into your garden during the growing season. Then, when autumn begins, just dig up the container and overwinter the entire setup indoors.
Alternatively, to keep track of where you planted your tender bulbs, mark bulb holes with plant labels or tall bamboo sticks so you never forget where your bulbs are.
11. Cluster your bulbs.
Depending on what you’re planting, a single flowering bulb can look quite pretty in the garden. But, for more color and visual impact, planting clusters of bulbs together is a sure way to achieve that “wow factor.”
When planting bulbs in clusters, be sure to following any recommended spacing requirements noted on the bulb packaging. This will prevent issues, like mildew, which can result from overcrowding and will reduce competition for soil nutrients and water.
You can plant bulbs of the same species together, or you can design a bulb bed with only flowers that bloom in the same color family. For an even more vibrant look, try planting bulbs with complementary colors together to make your garden really pop.
12. Plan for the season.
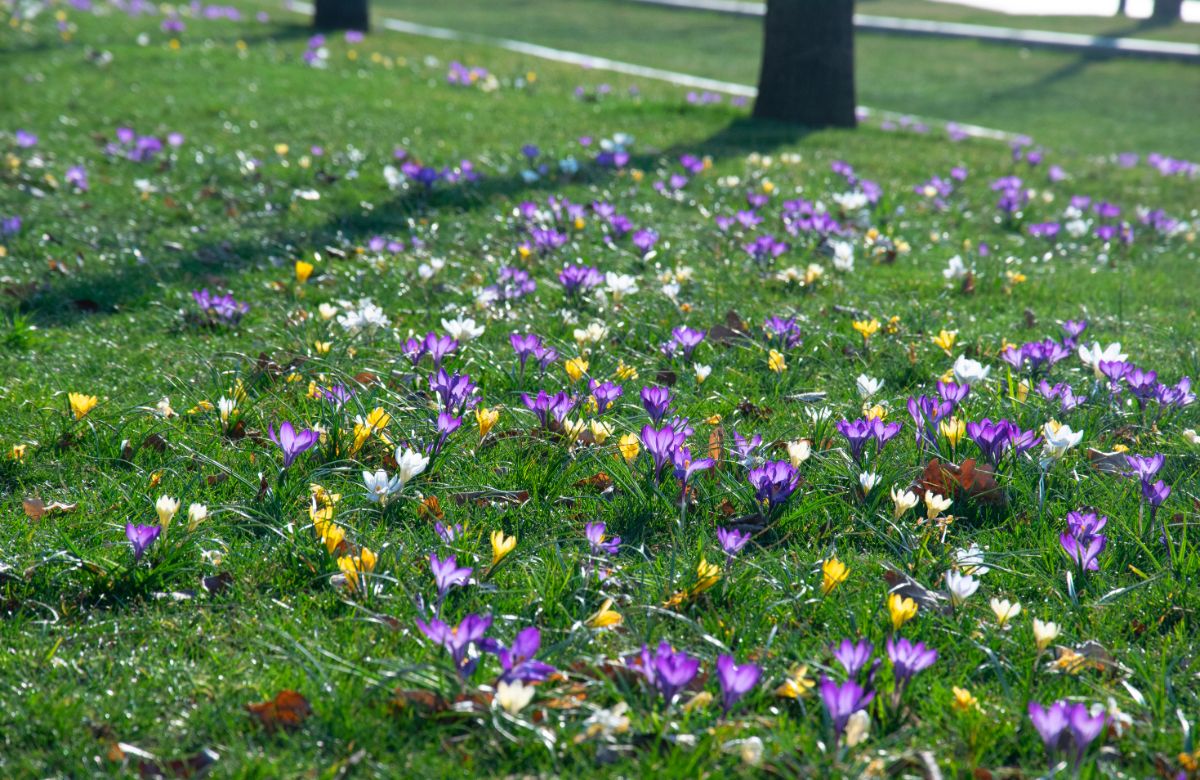
With proper planning, you can design a garden bed thickly planted with flowering bulbs that bloom sequentially all season long. From snowdrops to autumn crocuses, different bulbs bloom at different times of the year. So, to keep the colors coming, try to plan ahead for the full season.
For spring blooming bulbs, try out:
- Snowdrops
- Tulips
- Hyacinth
- Grape hyacinth
- Daffodils
For summer blooming bulbs, plant:
- Alliums
- Dahlias
- Gladiolus
- Lilies
And for fall blooms, gives these a try:
- Autumn crocus
- Climbing lilies
- Peacock orchid
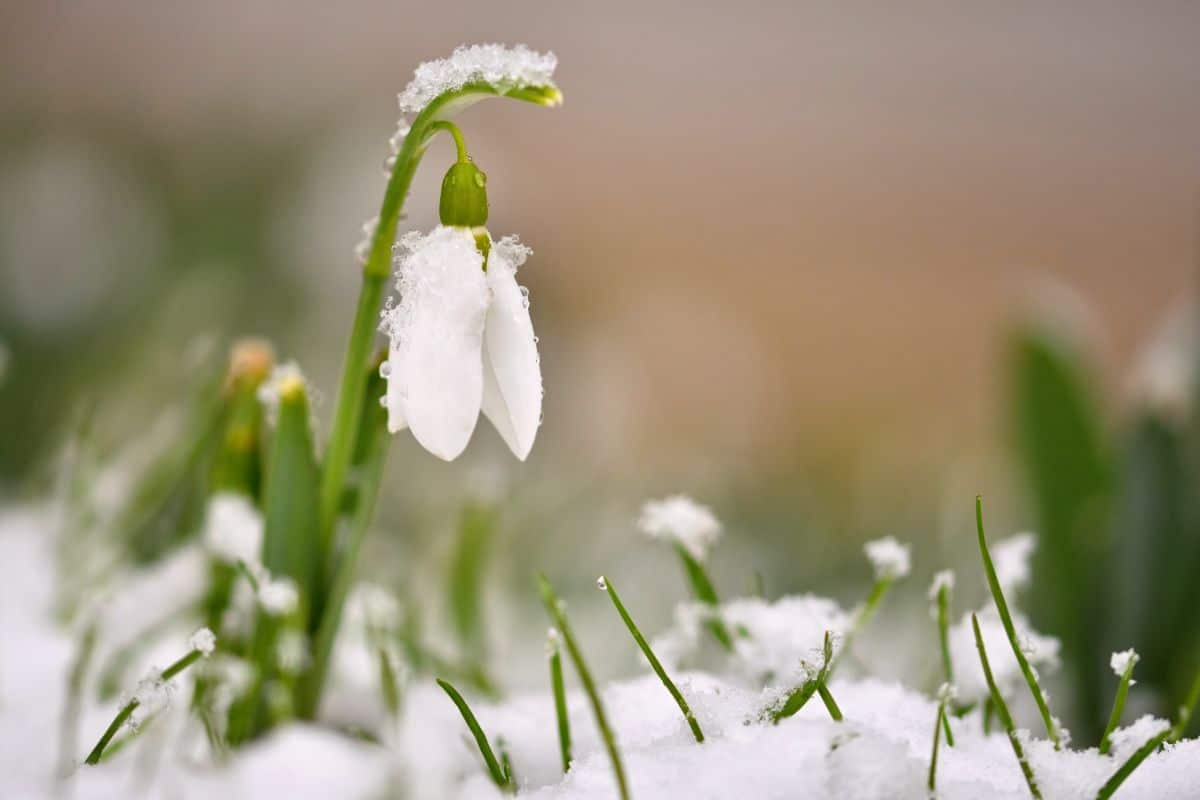
13. Naturalize your bulbs.
While dedicated bulb beds are lovely and are a great way to add lots of vibrant color to your backyard, interplanting your bulbs in your lawn is another excellent way to add interest to your outdoor space.
Low growing, spring bloomers, like crocuses, grape hyacinth and snowdrops, are perfect for planting in your grass. These plants add just the right amount of color to your lawn and usually bloom early enough in the year that they’re done flowering before you need to start mowing your grass.
Frequently asked questions
Different bulbs have different ideal planting windows; however, most bulbs can be planted any time throughout fall, as long as the soil is still workable. That means, if the winter is mild, you may still be able to plant bulbs as late as January!
Tender bulbs, like dahlias and gladiolus, need to be dug up and overwintered indoors in cold regions. However, most cold hardy bulbs are perfectly safe to leave in the ground all year long.
Depending on your soil structure and type, you may need to amend your soil before planting your bulbs. Adding compost or worm castings is a quick way to elevate poor soil and improve drainage.
Watering your bulbs immediately after planting can help them settle into your garden. After that, bulbs don’t need to be watered during winter as they are in a state of dormancy.
Summary
Autumn is the perfect time of the year to start planting crocuses, daffodils, tulips and other flowering bulbs. With a little bit of knowhow, you can give your bulbs an advantage, ensuring that they bloom successfully in next year’s garden. When you see those colorful flowers light up your spring beds, you’ll be so glad you did your bulb planting in fall!
If you liked this article, check out our post on the best flowers to plant in fall for more ideas on how to add color to your garden.
Mary.Coakley
To say thank.you.I.am learning.so.much
Colleen Lee
Thank you for the information. Love how it is easy to read.