Fall is the time to plant bulbs for spring flowers. If you don’t get these bulbs in the ground now, you’re not likely to see flowers next spring. This goes for all the bulbs that are hardy perennials in your location and which you would expect to be blooming in the spring and early summer.
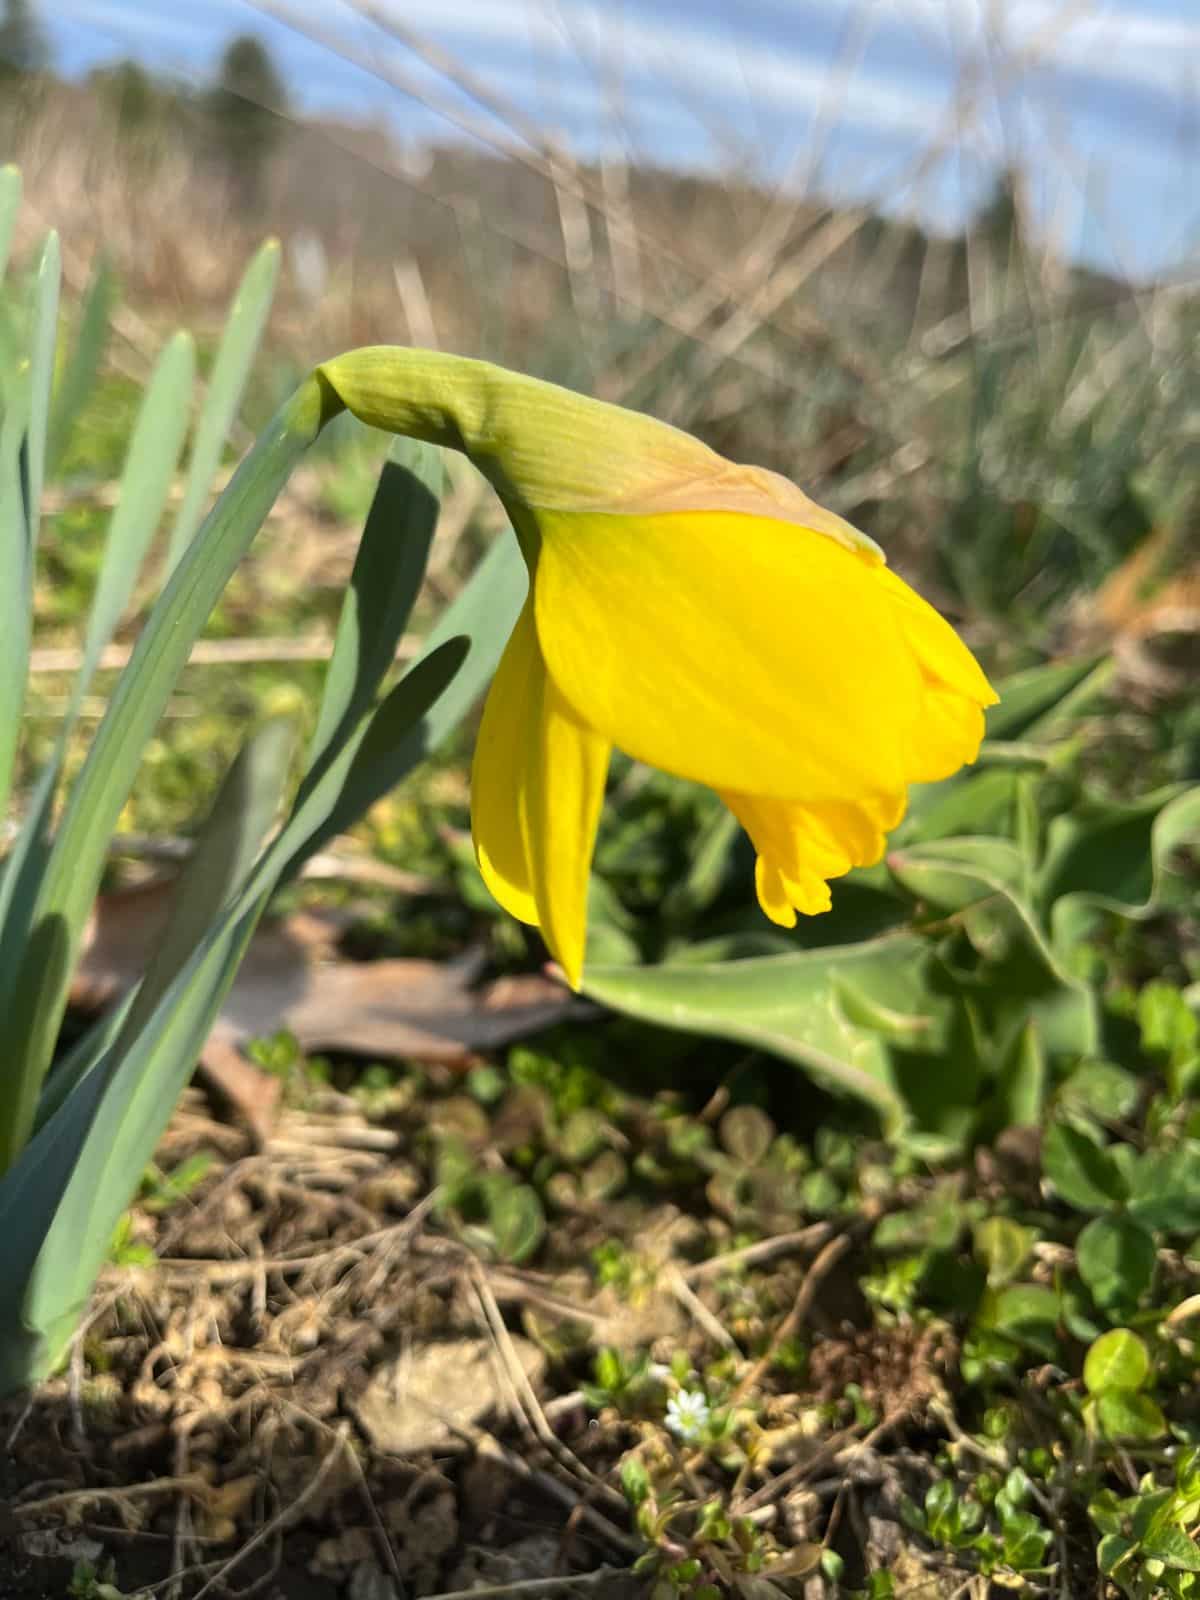
If you’re not sure how to plant those bulbs, if you’ve struggled with blub planting in the past, or if you find the vague directions printed on the bulb package to be incomplete, here are some good basics of planting bulbs that you can use, no matter what type of fall-planted bulb you’re planting.
Jump to:
- Fall-Planted, Spring Bulbs—How Confusing!
- Easy Tips for Easy Bulb Planting
- 1. Prep soil before you start
- 2. Plant bulbs three times their height.
- 3. Space bulbs two or three times their width apart.
- 4. Measure the depth from the soil surface to the bulb’s shoulder.
- 5. Measure the space between bulbs from center to center.
- 6. Dig your holes or trench deeper than needed, then fill up.
- 7. Plant with the tip up, root down.
- 8. For small bulbs and tiny bulbs that have no clear direction, don’t worry about it.
- 9. Plant non-directional, large bulbs on their sides.
- 10. Mulch, but not too thick.
- A Bonus Tip to Keep Chewing, Eating Pests Away
Fall-Planted, Spring Bulbs—How Confusing!
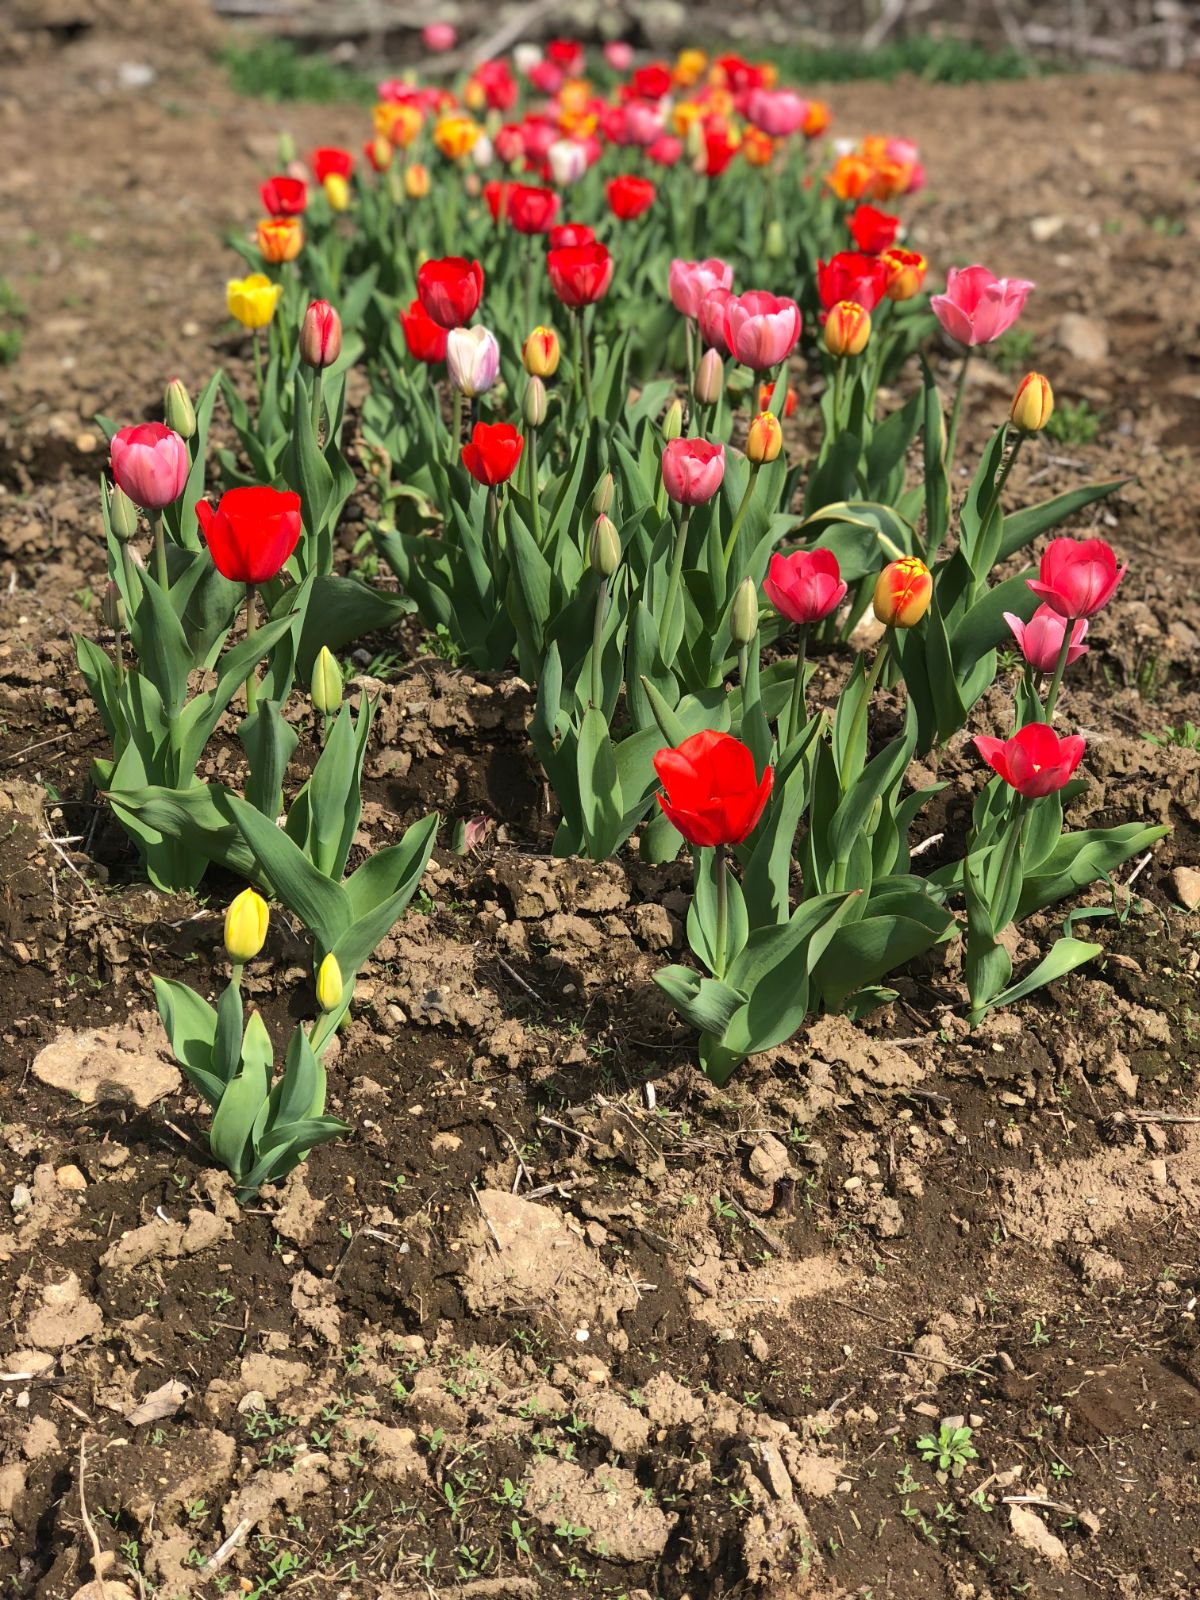
First, let’s clear up some things that may be confusing to you. Are we talking about fall bulbs or spring bulbs?
Both, in a way, but really, what we’re talking about is this—bulbs that flower in the spring but that need cold weather to grow and bloom, and so they’re planted in the fall. These are referred to as fall-planted bulbs because we plant them in the fall...even though they will flower in the spring.
This is different than bulbs that flower in the summer—many of which need to be planted in the spring because they can’t take the winter in the ground. These are referred to as spring-planted bulbs. They are more tender bulbs and plants, like calla lilies, dahlias, gladioli, begonias, and others. (The winter hardiness of these bulbs will depend on where you live and how harsh your winters are.)
This is also different from fall flowering bulbs, though, to be honest, there aren’t many of those, and they’re less common.
The most common and most popular fall-planted bulbs (to bloom in the spring) are:
- Hyacinths
- Daffodils
- Tulips
- Grape Hyacinth (aka Muscari)
- Ornamental alliums
- Crocus
- Snowdrops
Though these are the most common fall-planted bulbs, this is not a complete list, and there are others you can consider.
Easy Tips for Easy Bulb Planting
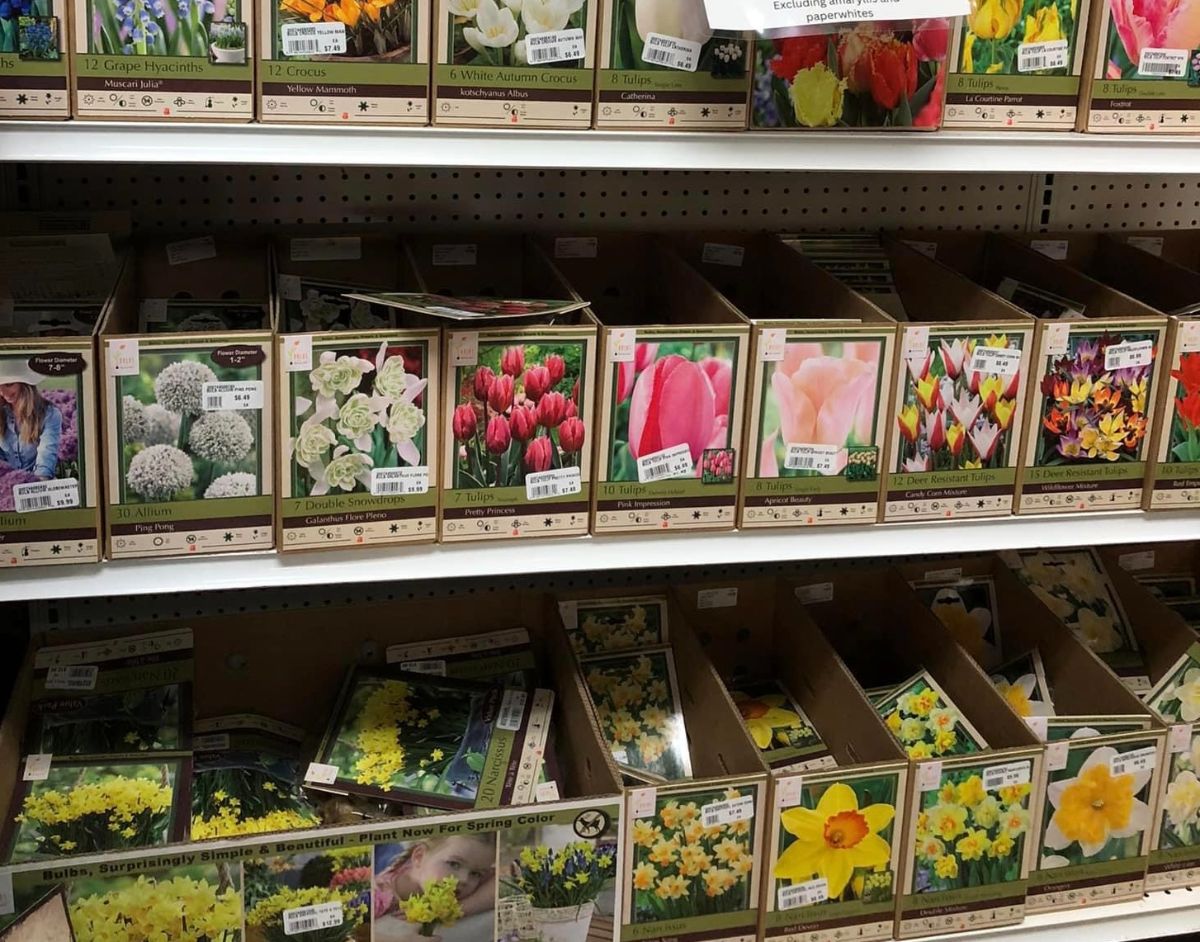
The good news is that planting bulbs isn’t hard—regardless of whether you’re planting them in spring or fall. The bad news is that a lot of bulb packages are very general and lack good planting information. So, we’ve reduced it down to the few basic tips you need to know. This makes it easy for you to plant any type of fall-planted bulb (in fact, most of these tips hold true for spring bulb planting, too).
1. Prep soil before you start
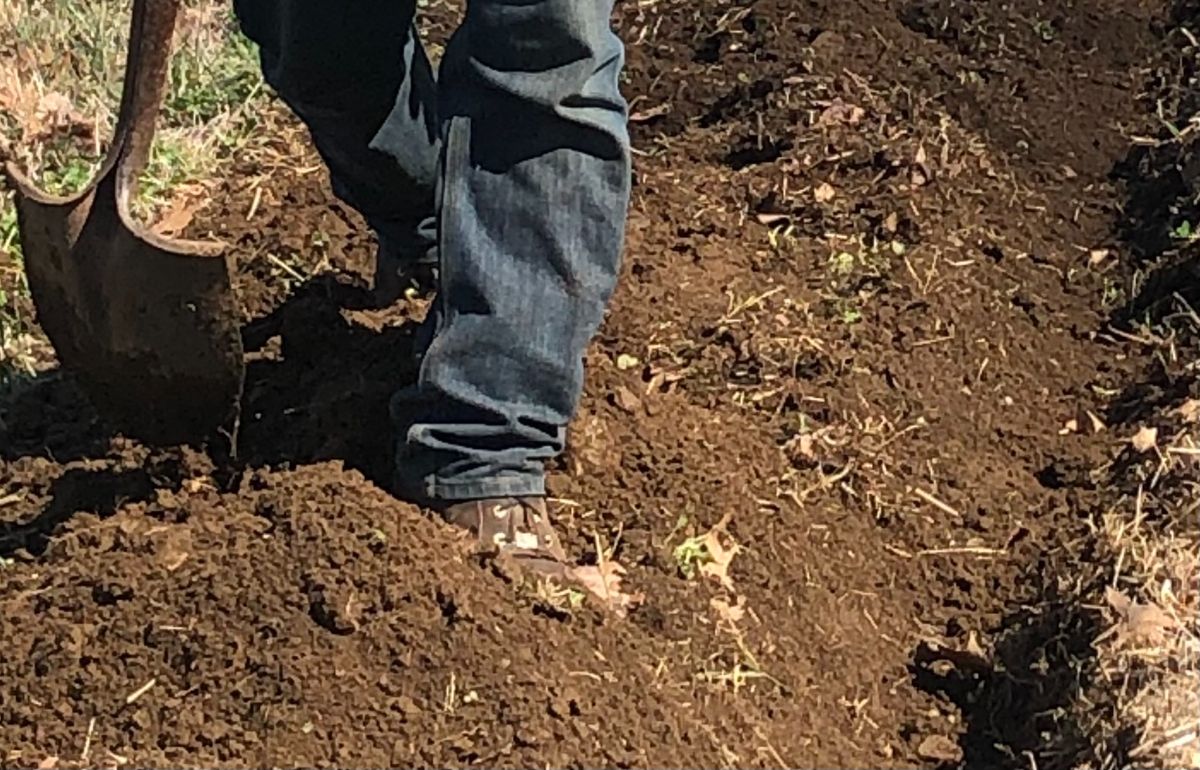
Decide how you’re going to plant your bulbs, then prep the soil accordingly before you start.
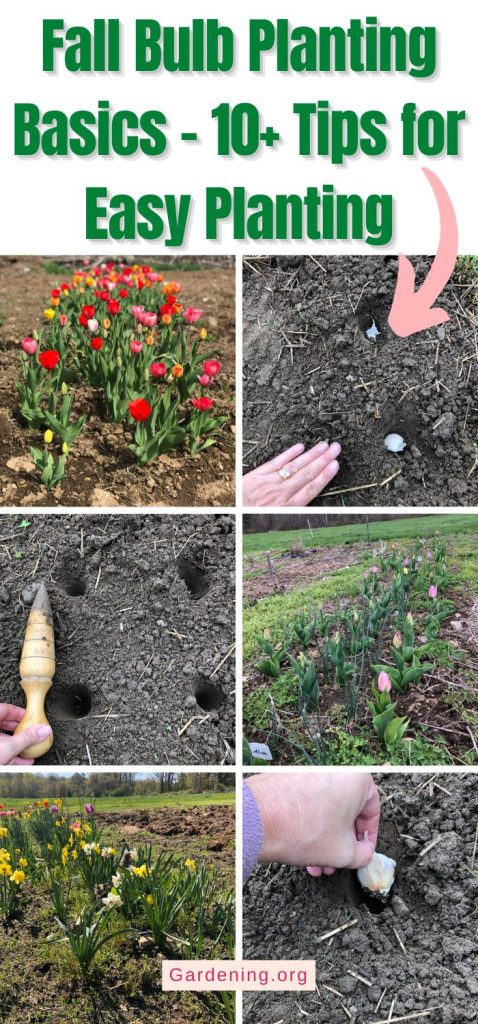
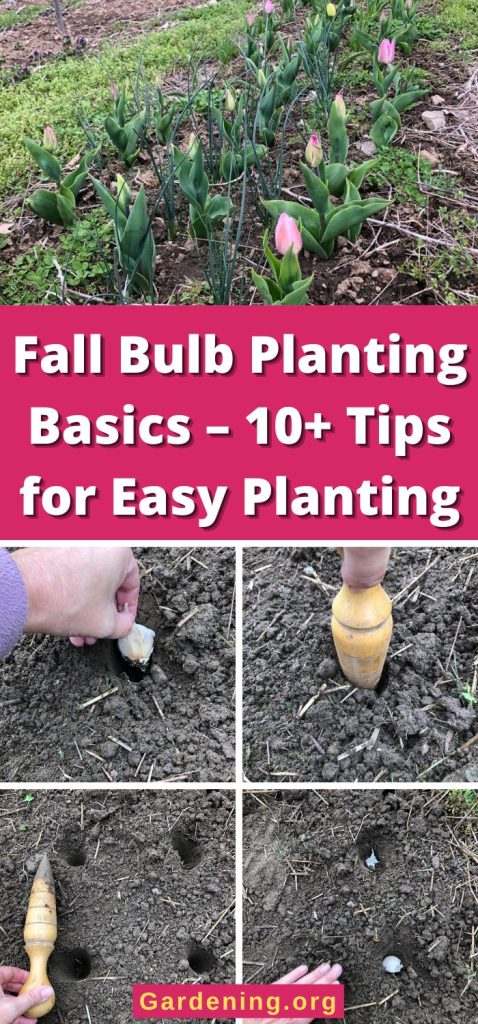
If you are planting a small quantity of bulbs, you don’t necessarily need to till the soil. You can just dig holes for each individual bulb with a hand trowel or with a bulb planting tool.
Tilling is the easiest and best option if you are planting a large bed or many bulbs in rows or large sections. This will loosen the soil, so you can just push the bulbs in and cover them over. You can also till, then dig one wide trench to set the bulbs into, then cover.
Whatever you decide, if there is work that needs to be done to the soil, do it first. If you try to do it later, you’re going to disturb your bulbs.
Spring flowering bulbs don't need much (if any) fertilizer, but if you plan to use it, you can use an all-purpose fertilizer at the time of planting. Spread it over a trench or sprinkle it into the bottom of individual planting holes when you plant.
2. Plant bulbs three times their height.
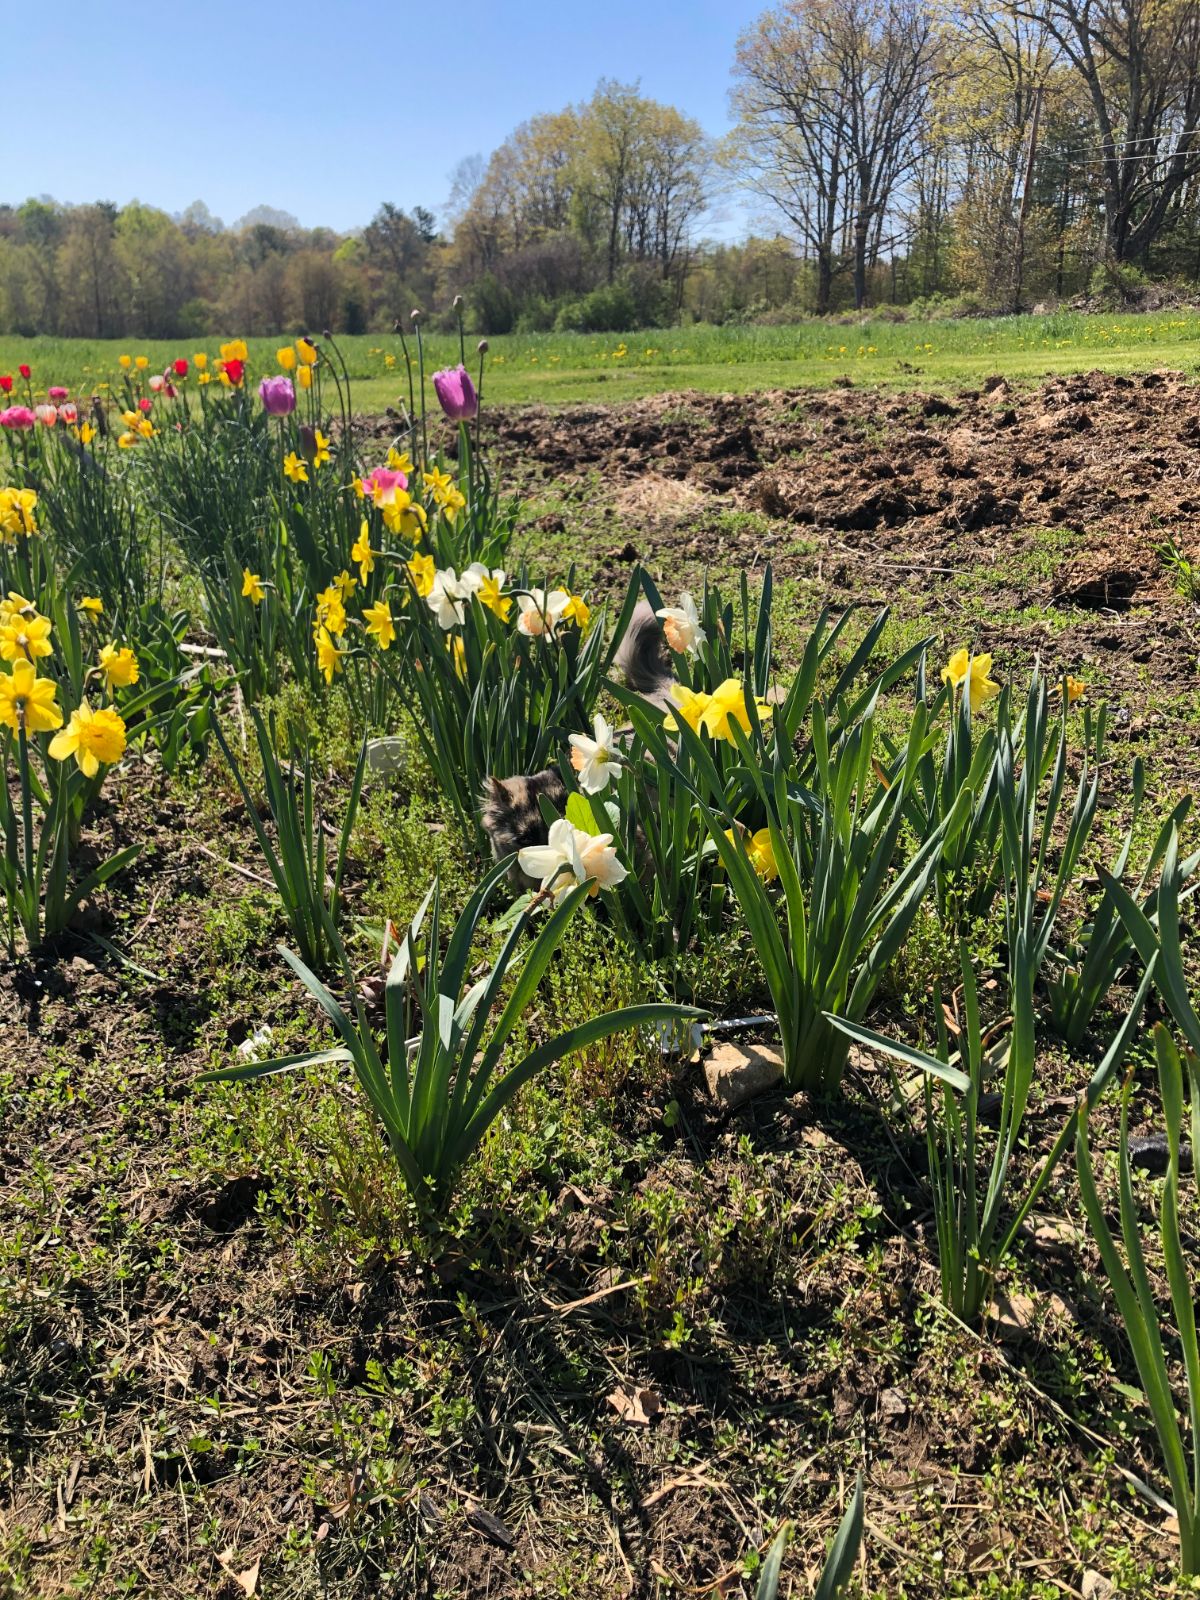
Here’s a good rule of thumb that works for any type and size of bulb: plant the bulb three times its height.
This means that if a bulb is two inches tall, plant it about six inches deep. One-inch bulbs get planted about three inches deep.
Even if the right depth isn’t listed for your bulb on its package, follow this rule. It works. Small bulbs will only want to travel through a relatively shallow depth, while larger bulbs will need deeper ground for their roots and anchoring.
The right planting depth will also give the bulbs the right exposure and protection to cold, which is important for fall-planted bulbs to bloom in the spring. They rely on cold treatment from Mother Nature.
3. Space bulbs two or three times their width apart.
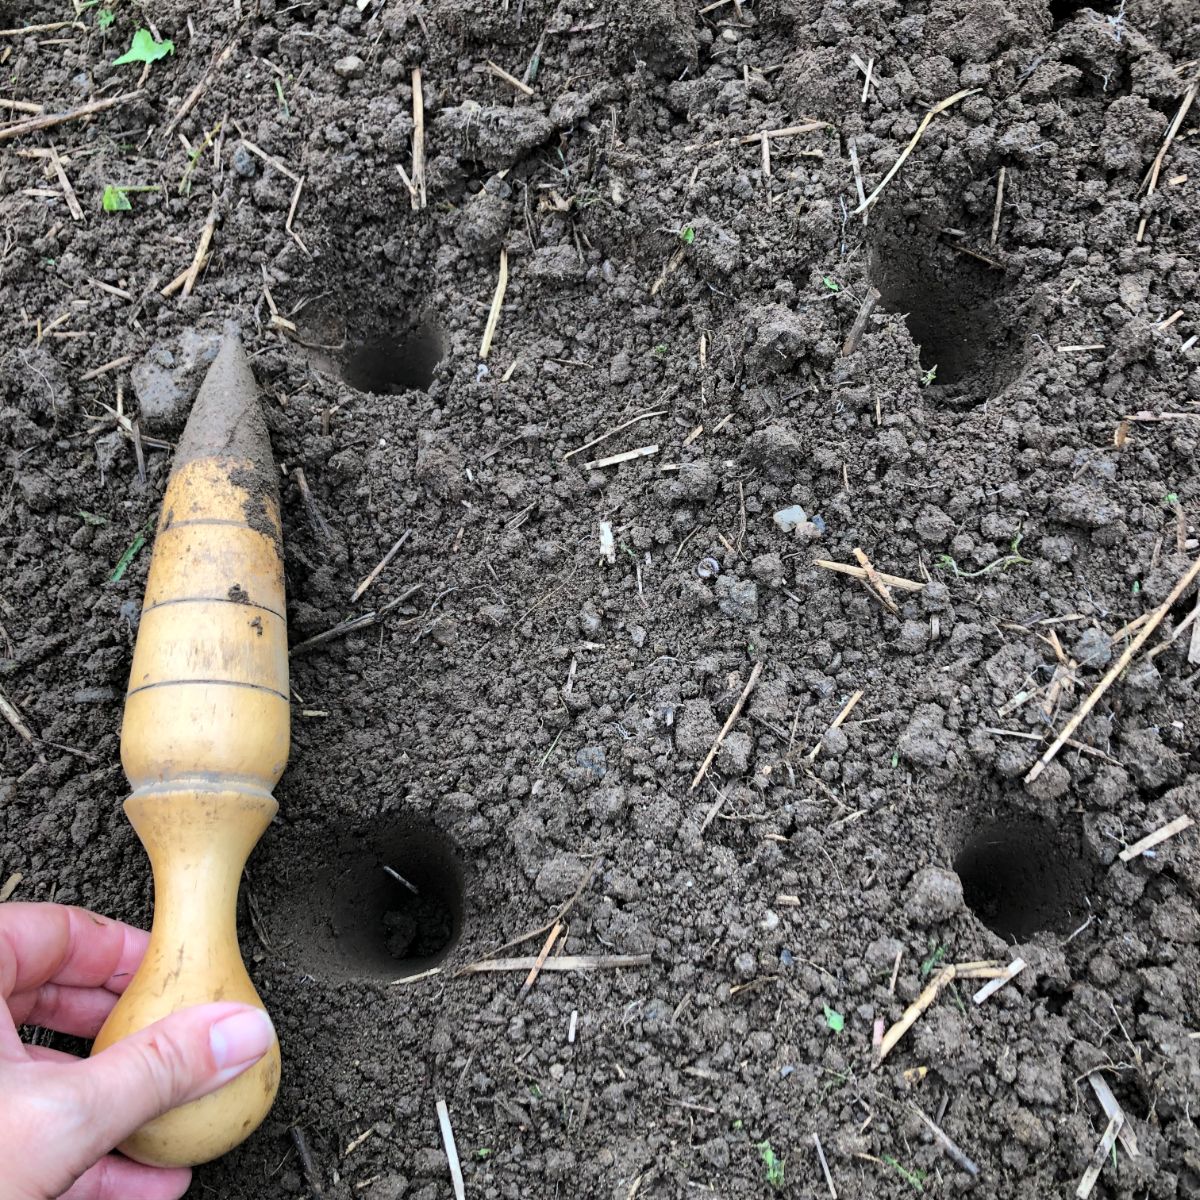
Use the same basic rule of thumb to decide how far apart to space fall planted bulbs. Two to three times the width of the bulb is a good spacing that will give each bulb enough room and resources to grow without leaving your garden bed looking too bare or sparse.
Basically, this means you’ll space your bulbs as deep as you planted them.
So again, a two-inch wide bulb, like a tulip or daffodil, should be spaced about six inches apart (buried six inches deep), while a one-inch wide bulb, like a snowdrop, should be spaced about three inches apart (and three inches deep).
4. Measure the depth from the soil surface to the bulb’s shoulder.
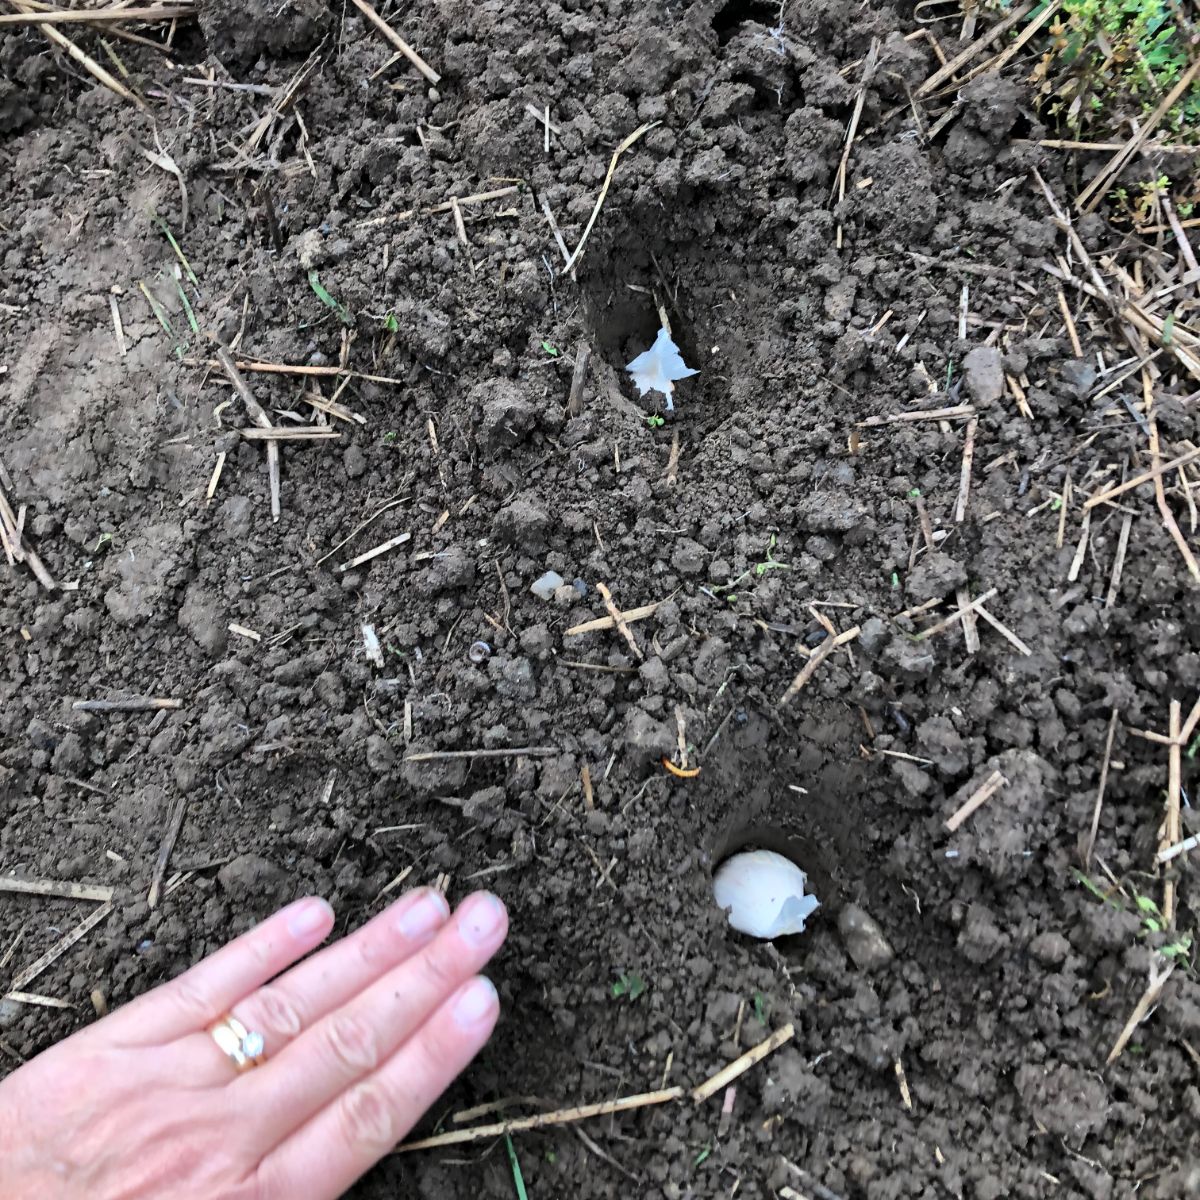
To make sure you have the right depth, measure the depth of the bulb from the level top of the soil’s surface, down to the shoulder, or the curved top of the bulb itself—not just to any sprouted or old sprouted top.
Keep in mind that this usually means digging your hole a little deeper than the proper depth. For example, if a bulb is two inches tall and thus needs to be planted at a depth of six inches, the hole really needs to be eight inches deep so that the distance between the bulb’s shoulder and the soil surface is six inches.
Less than that height will result in a bulb that heaves out of the ground when it freezes and that is not anchored and rooted deeply enough come spring.
5. Measure the space between bulbs from center to center.
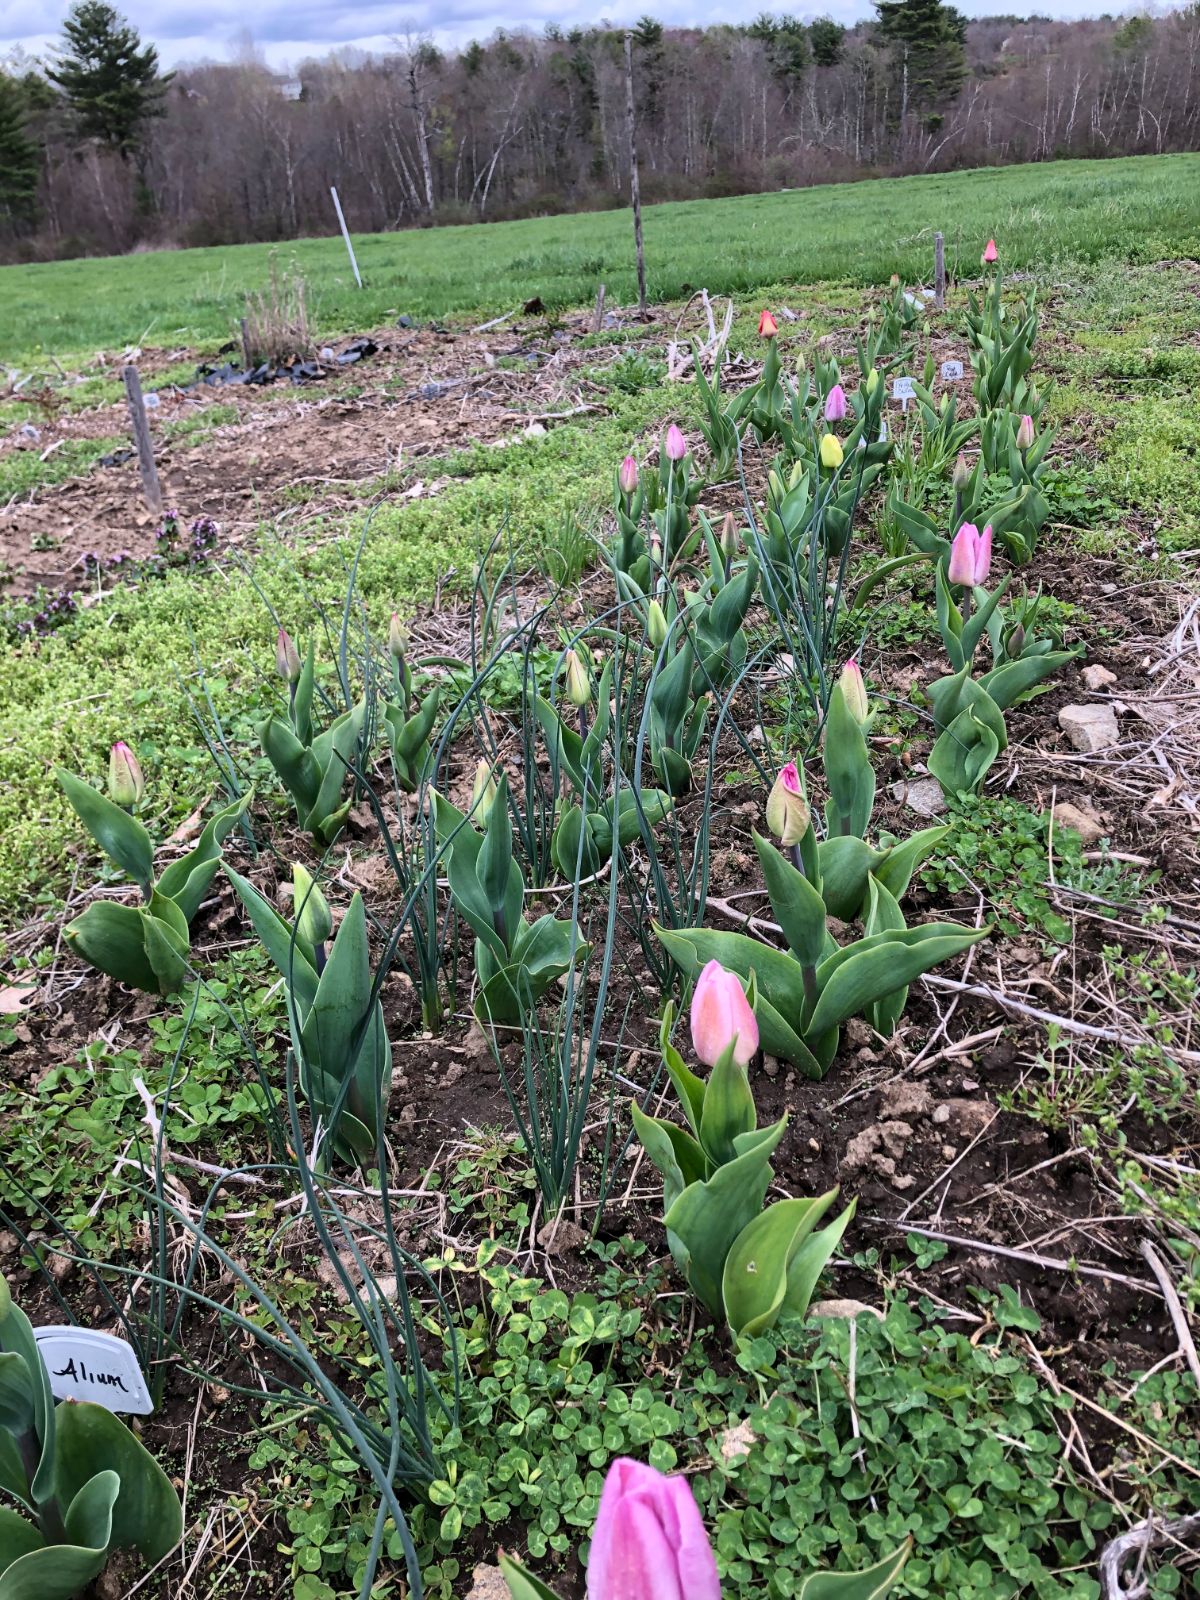
Similarly, measure the spacing of bulbs from the center of one bulb to the center of the next. This doesn’t make much of a difference with smaller bulbs, but it can make a difference with large bulbs.
Spacing side to side instead of center to center often results in a wider spacing with more bare space in your flower bed than you want.
6. Dig your holes or trench deeper than needed, then fill up.
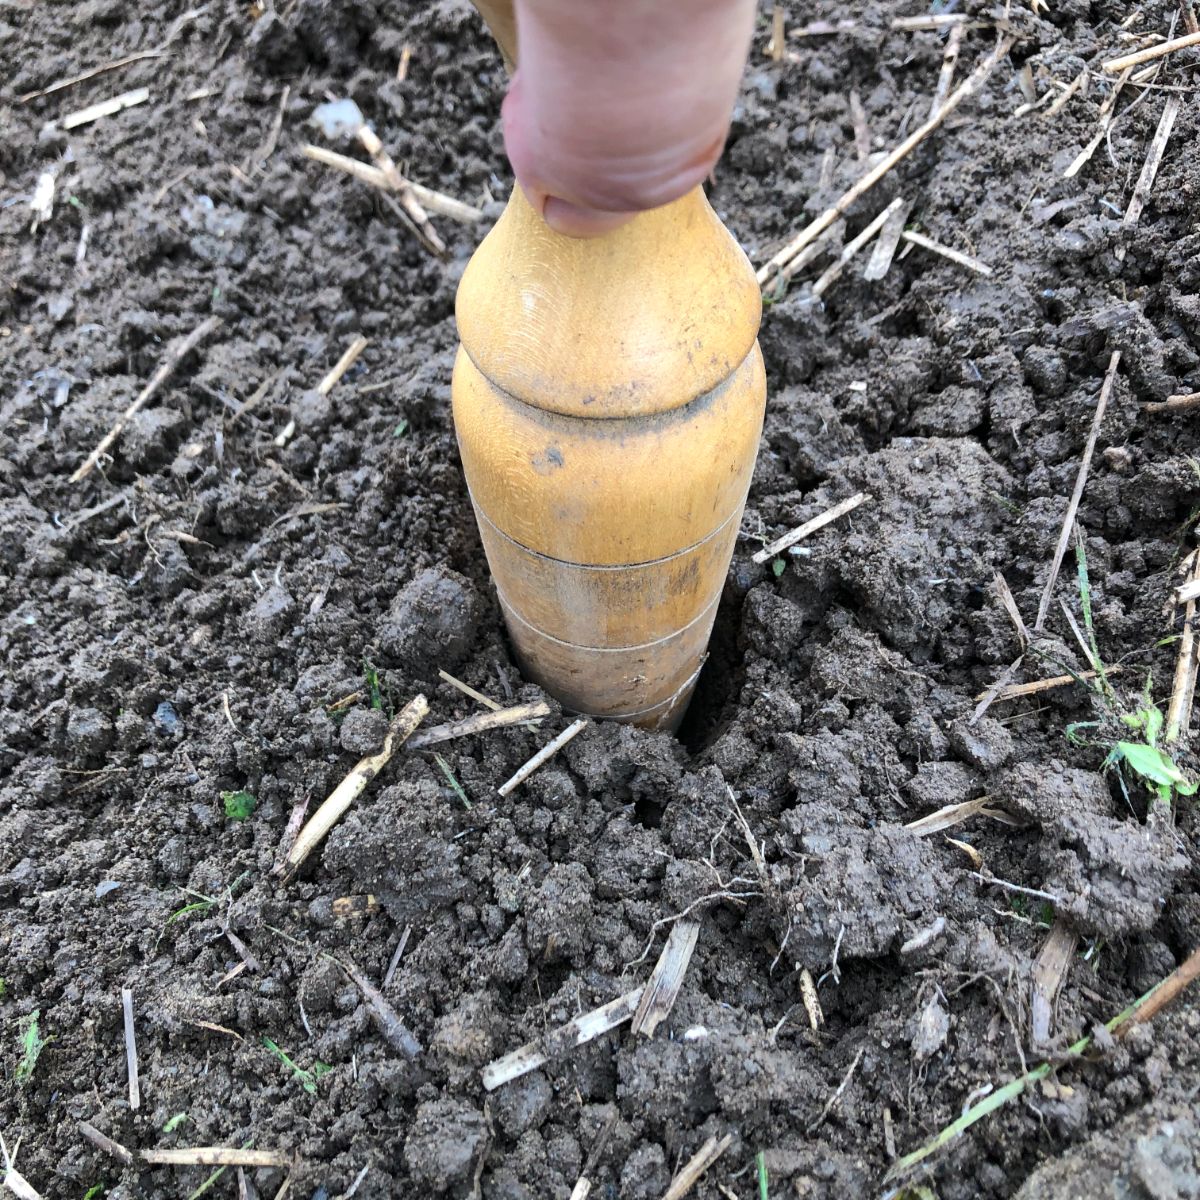
Dig your planting depth one to three inches (one for small bulbs, three for larger) deeper than the desired planting depth, then fill it in up to the desired depth for planting.
There are two reasons to dig your trench or hole deeper than the planting depth of your bulbs—the first is to give you enough space to plant the bulb deep enough and have the measurement correct—from the surface of the soil (as discussed above) to the shoulder of the bulb, not the bottom of the hole. The shoulder should be six inches down on a large bulb, which means the bottom of the hole would be more like eight.
The other reason to dig deeper is that this will loosen the soil directly at the bottom of the hole below the bulb and make it easier for roots to grow down in the looser soil.
Also, if you do use a fertilizer or booster, you have room to put that in before the bulb.
7. Plant with the tip up, root down.
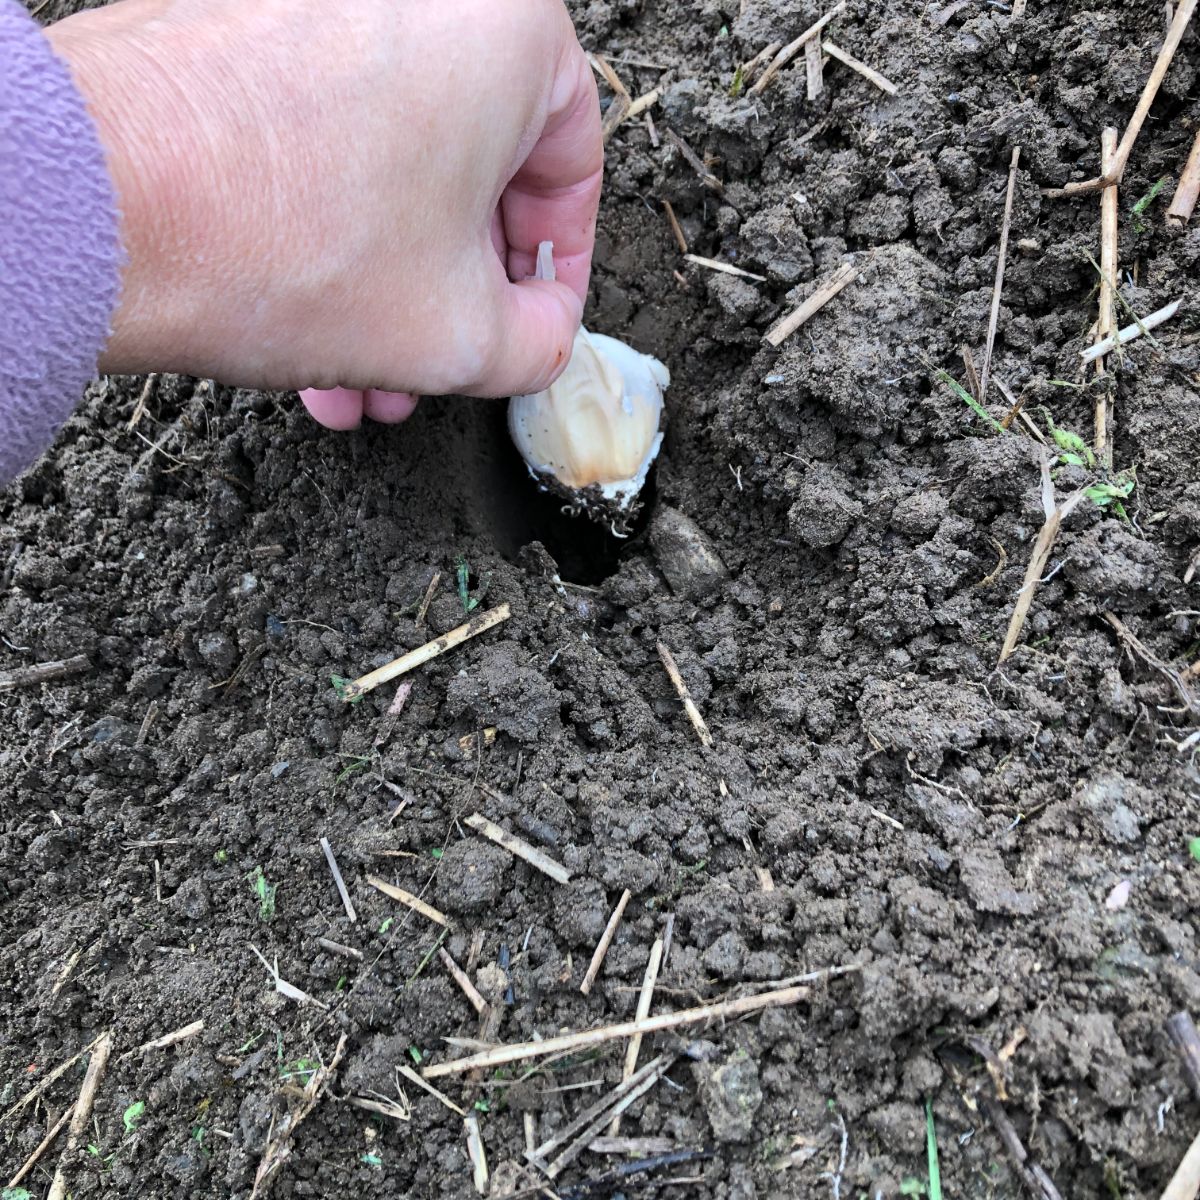
There is a right and a wrong direction to plant bulbs.
Most bulbs, larger bulbs especially, have a distinct top and bottom. The top will be pointed on many bulbs. The point may be subtle and hard to see on some rounder types of bulbs, but you can usually see it. This is where the green sprouting foliage will grow from, and thus, that needs to be pointed up towards the top of the soil.
There is also usually an old root portion at the bottom of the bulb. You may even be able to see old, dried roots. If you do, that’s your bottom, the part that should be pointed flat down in the ground. If the roots are no longer there, this often looks like the bottom, blossom end of an apple or squash—similarly round and dried, looking as if something broke or dropped off.
8. For small bulbs and tiny bulbs that have no clear direction, don’t worry about it.
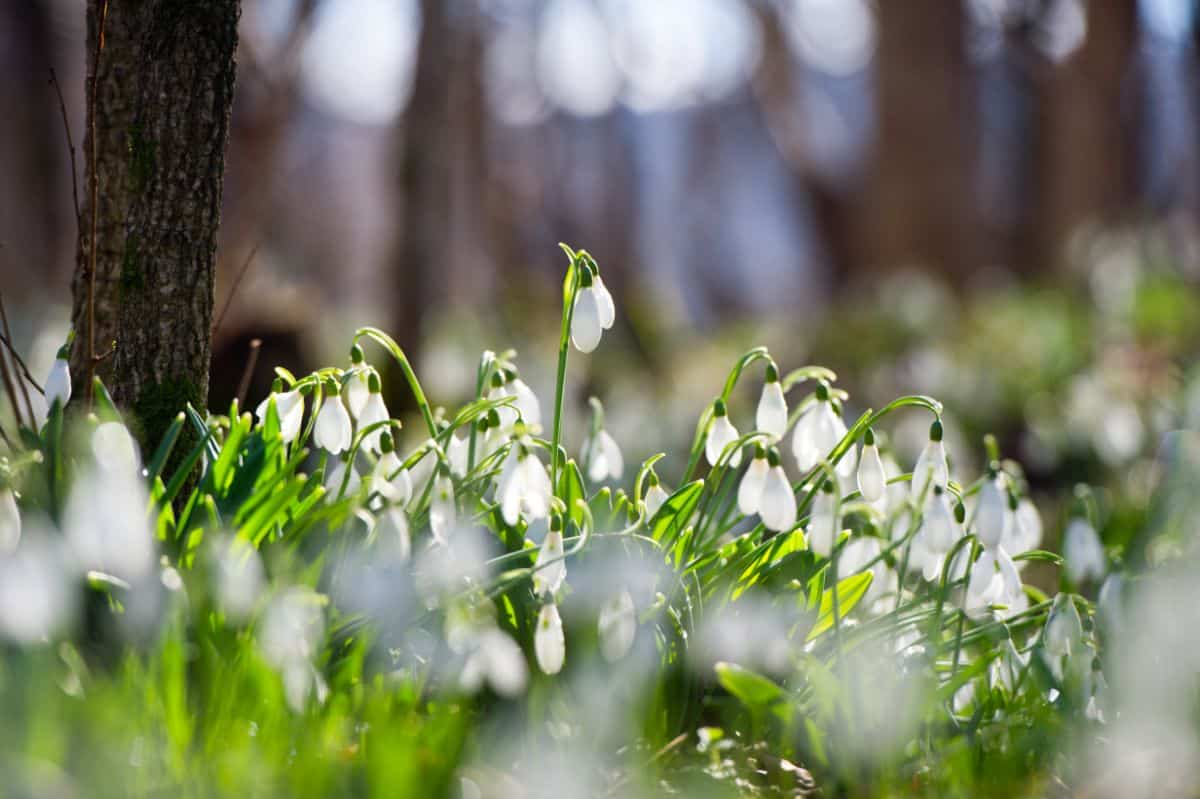
When you can tell the bulb’s direction, use it and plant accordingly. But you can’t always tell. Some bulbs, especially very small bulbs, can look almost completely round and even pea-like.
For these, if you can’t tell which end is up (or down), don’t stress over it. Plant to the right depth and spacing. The bulb is small enough not to impede growth, and the bulb should find its own direction, even if it has to grow around and over itself.
9. Plant non-directional, large bulbs on their sides.
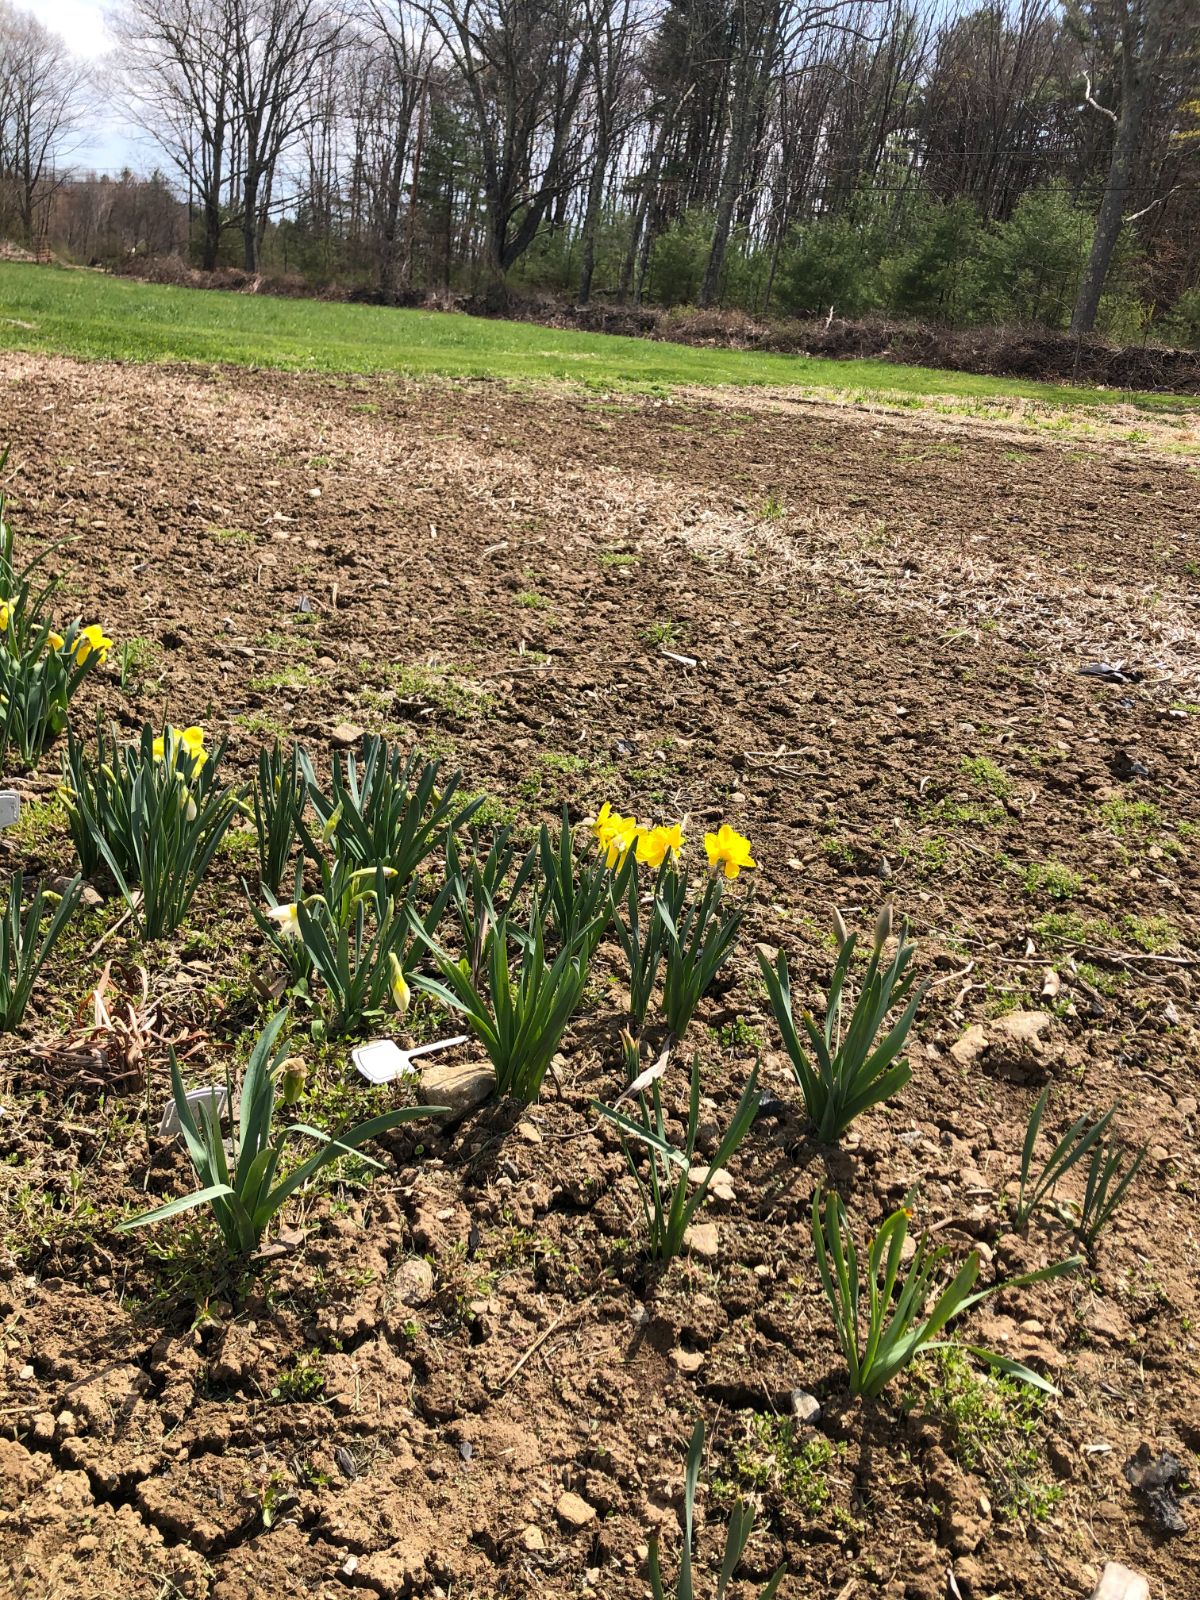
It’s a little harder for large bulbs to grow up and around themselves. If you can’t tell the end from the end but you know where the sides are (I.e., you can see that there is a tip or root, but you’re not sure which it is), plant the bulb on its side. The sprout will turn and head up, and the roots will go down, and the bulb will be enough out of its own way to let it do so.
10. Mulch, but not too thick.
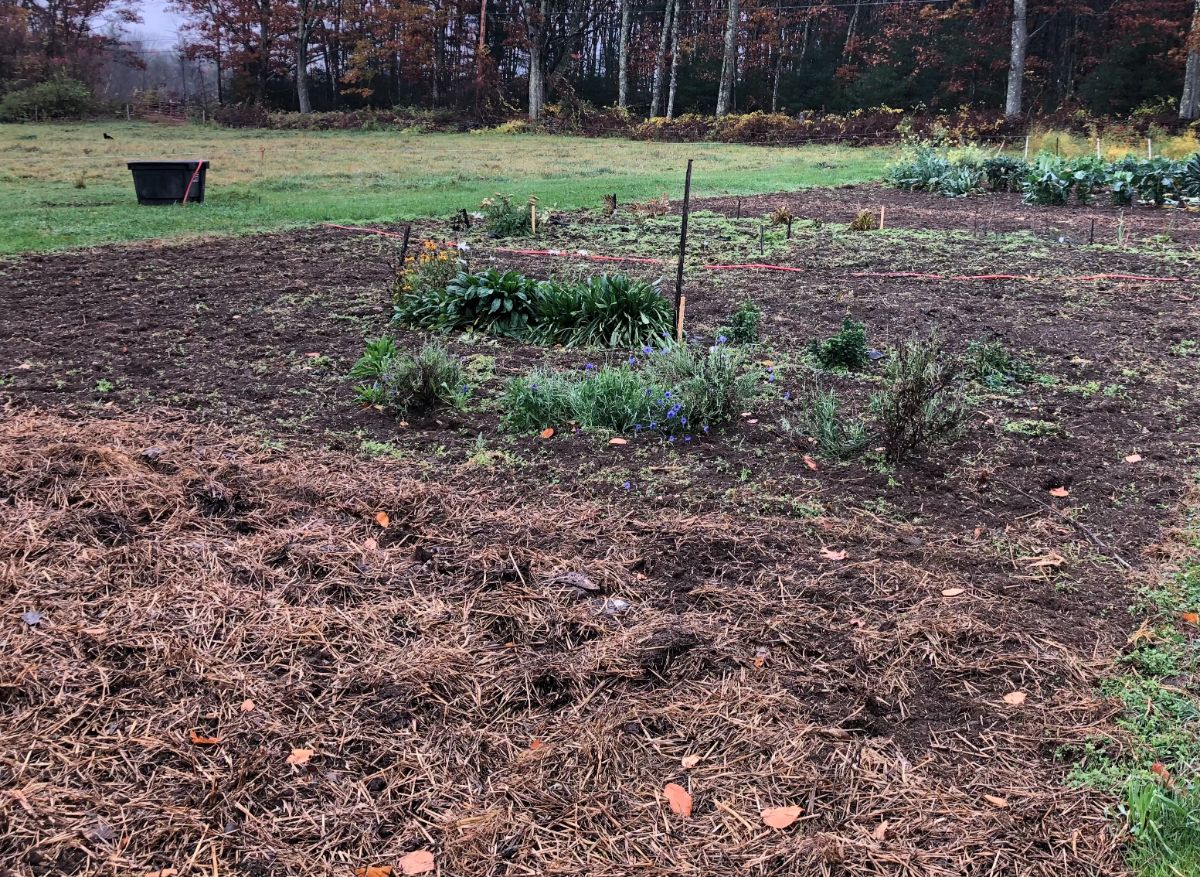
Bulbs don’t need mulch quite like a lot of other plants do, but a light layer of mulch can be helpful. Use something light and loose for now, like straw, leaf litter, or sawdust.
Mulch can help retain soil moisture and keep bulbs cool and at an even temperature, which is what they need, especially in the fall, before soil temperatures get closer to (or is at) freezing. Mulch can also reduce weeds in the spring and keep weeds from sprouting if you have a warm fall after the bulbs are planted (though hopefully, your bulbs are not in the ground too early in the fall, and there shouldn’t be many active, sprouting weeds then).
It’s best to apply mulch over cool ground just before a deep freeze. Apply to a depth of one to three inches—no deeper than three inches, and three inches is only for the largest of bulbs (shallower for smaller bulbs).
Keep in mind that the depth of the mulch adds to the planting depth, so keep it a thin layer and pull back excess mulch in the spring to let young sprouts through.
A Bonus Tip to Keep Chewing, Eating Pests Away
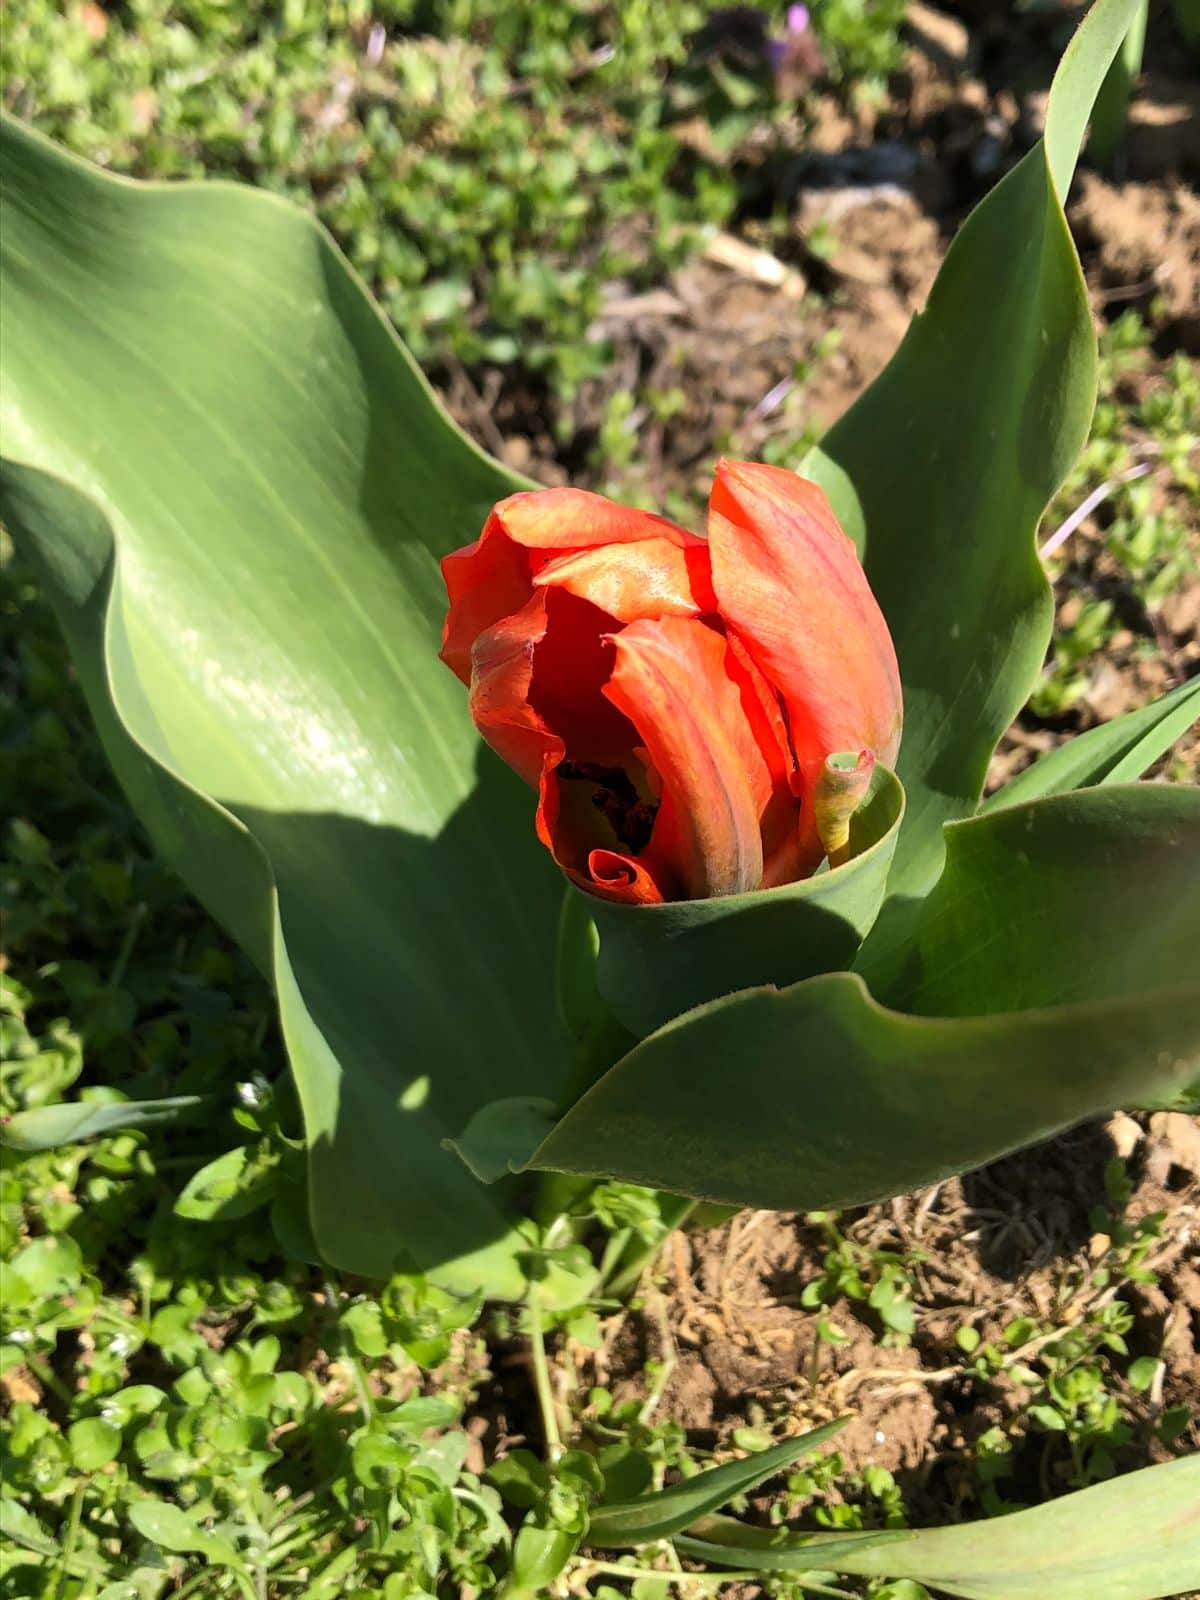
Bulbs taste good to some animals. Rabbits, moles, voles, deer, mice, and others may snack on bulbs, especially in the fall and winter.
To protect your fall-planted bulbs through the cool, hungry months, you can lay a length of hardware cloth or chicken wire over your bulb patch. This makes it hard for animals to dig from the top down.
Repellants that smell and taste bad—like urine, mint, garlic, pepper, or rotten eggs—can also be used, but a physical barrier like the cloth is more effective.
Remove the wire in the spring when you start to see new growth so the wire doesn’t choke off growing foliage.
If you follow these basic rules for planting fall bulbs, your reward will be beautiful blooming flowers come the spring. Now that you know them, surely the mystery of planting bulbs has been solved. Here’s to a bloomingly bright spring!



Leave a Reply