There are many types of seeds that need to be cold stratified before they will sprout. Though cold stratification may sound like something complicated and scientific, it really is not.
Jump to:
- What is Cold Stratification?
- How long do my seeds need to be cold treated?
- Deciding how long to cold stratify specific types of seed
- Cold Stratification Simplified
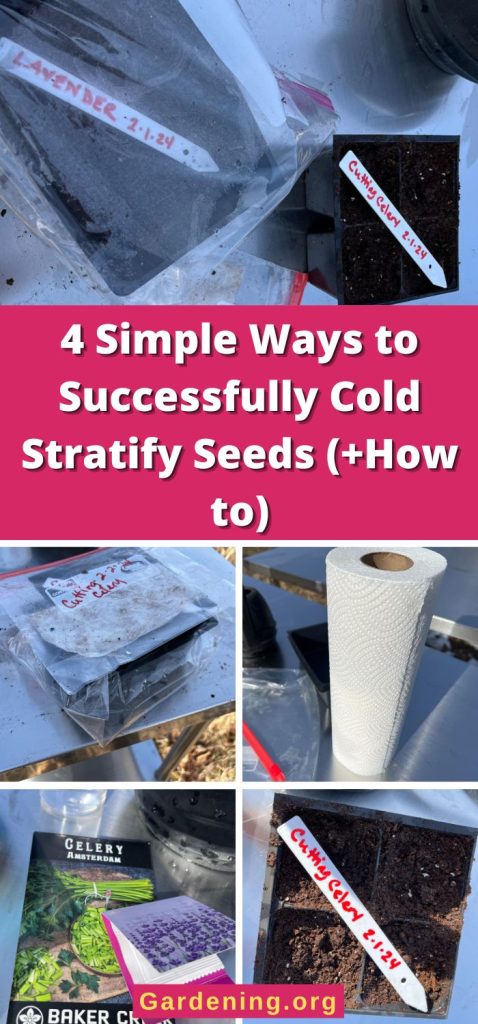
- Dry Stratification in the Fridge or Freezer
- Winter Sowing Cold Stratification Method
- Paper Towel Refrigerator Method
- Cold Stratifying in Seedling Soil in the Refrigerator
- If in Doubt, Try Cold Stratifying
What is Cold Stratification?
Stratification is a process, one that happens in nature by default. When we cold stratify seeds, we’re just mimicking that process to give seeds the conditions they need in order to sprout.
All that cold stratifying means is that the seeds are kept at low, cold temperatures for an extended period of time. Ideally, those temperatures will be between 32- and 40 degrees Fahrenheit. The conditions should be moist as well.
Cold stratification (also sometimes called seed stratifying/stratification or cold treatment) happens naturally over winter for seeds that fall off and spend the winter outside and for seeds that are planted in the fall (and for bulbs, too—like garlic).
In the natural process, seeds fall to the ground, where they lay on or in the moist ground for the winter, and the moist, cold winter conditions stratify the seeds.
When enough time has passed, and temperatures warm up, those seeds will sprout and begin to grow.
How long do my seeds need to be cold treated?
Note the phrase “enough time has passed.” This is important to cold stratifying seeds. Just a few days of cold won’t do it. It needs to be at least weeks; for most seeds, a month or months.
This is all by design in nature. The reason seeds don’t just sprout after a few days of coldness is that if they did, they’d sprout and die long before it is warm enough for them to continue to grow. Cold kills! So those seeds need a way to stay sleeping until enough time has passed so that the seedlings can survive when the temperatures are consistently warm.
And so, Mother Nature, in all her wisdom, gives the seeds a hard coat that won’t be penetrated and broken until a long period of cold exposure has passed, which is then followed by a consistent period of warmth in the spring. How warm depends on the seed.
How long the cold period needs to be depends on the type of seed, too. Some seeds will sprout if you only stratify them for a couple of weeks, but most need a minimum of four weeks.
The average amount of time seeds need to be cold treated is one to two months. Some need as long as 90 days.
Deciding how long to cold stratify specific types of seed
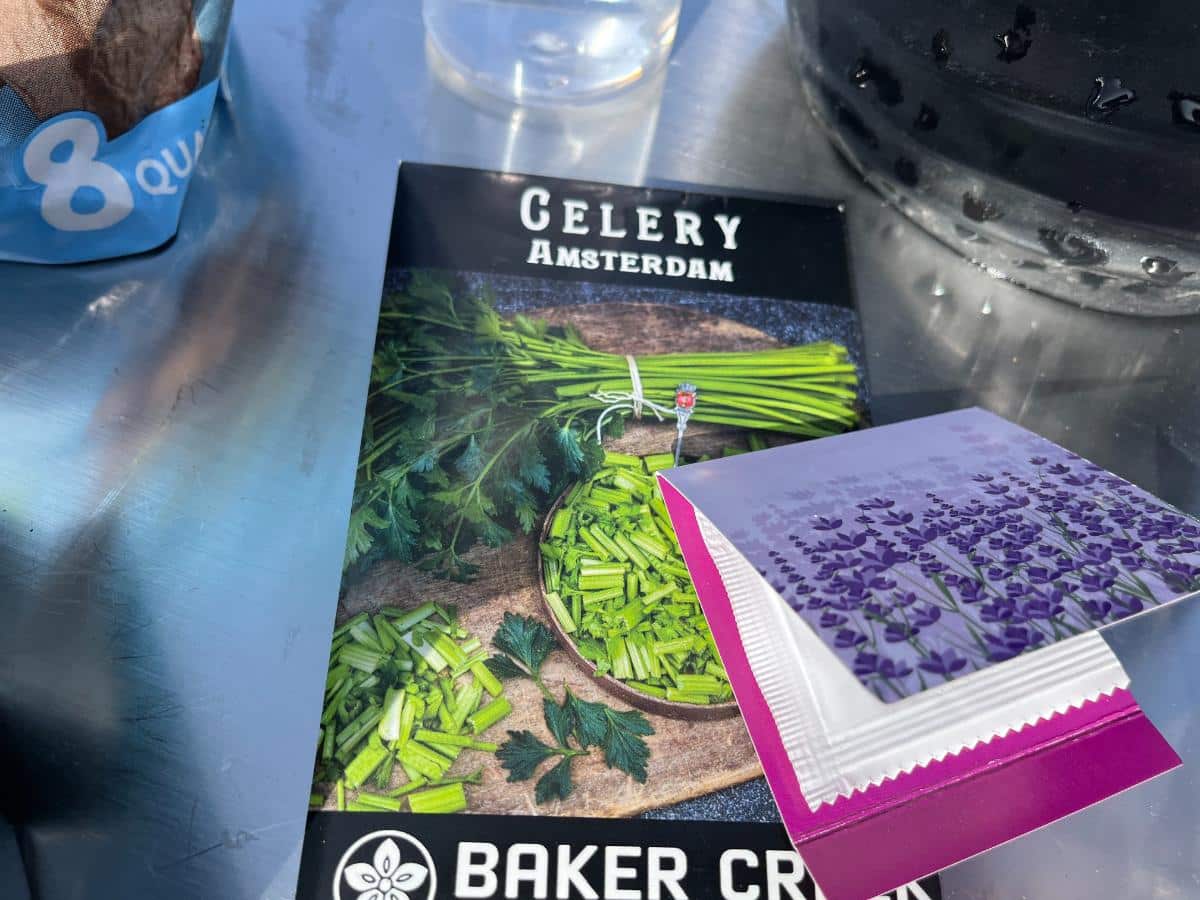
Seeds that require cold stratification should say so on the seed packets. Here are some tips to help you figure out which seeds need to be stratified and how to find out how long to cold treat them for:
- If you don't see it noted, double-check in the company’s seed catalog.
- Seed company websites will also often list this information in the seed’s description
- If you can’t find it there, search for the type of seed online (search “cold stratification for ‘variety’ seeds” or “Do ‘variety’ seeds need cold stratification”)
- Annuals like garden vegetables and most* annual flowers usually will sprout without being cold stratified
- There are some annual flowers that still need cold stratification (part of their natural protection against premature sprouting); these are usually those that reseed themselves or self-sow.
- Herbaceous perennials are the seeds that are most likely to need cold stratifying
- Many plants that we think of as herbs fall into that category. Therefore, many herbs need cold stratification, and herbs that are hard to germinate can often be helped by cold stratifying first.
Cold Stratification Simplified
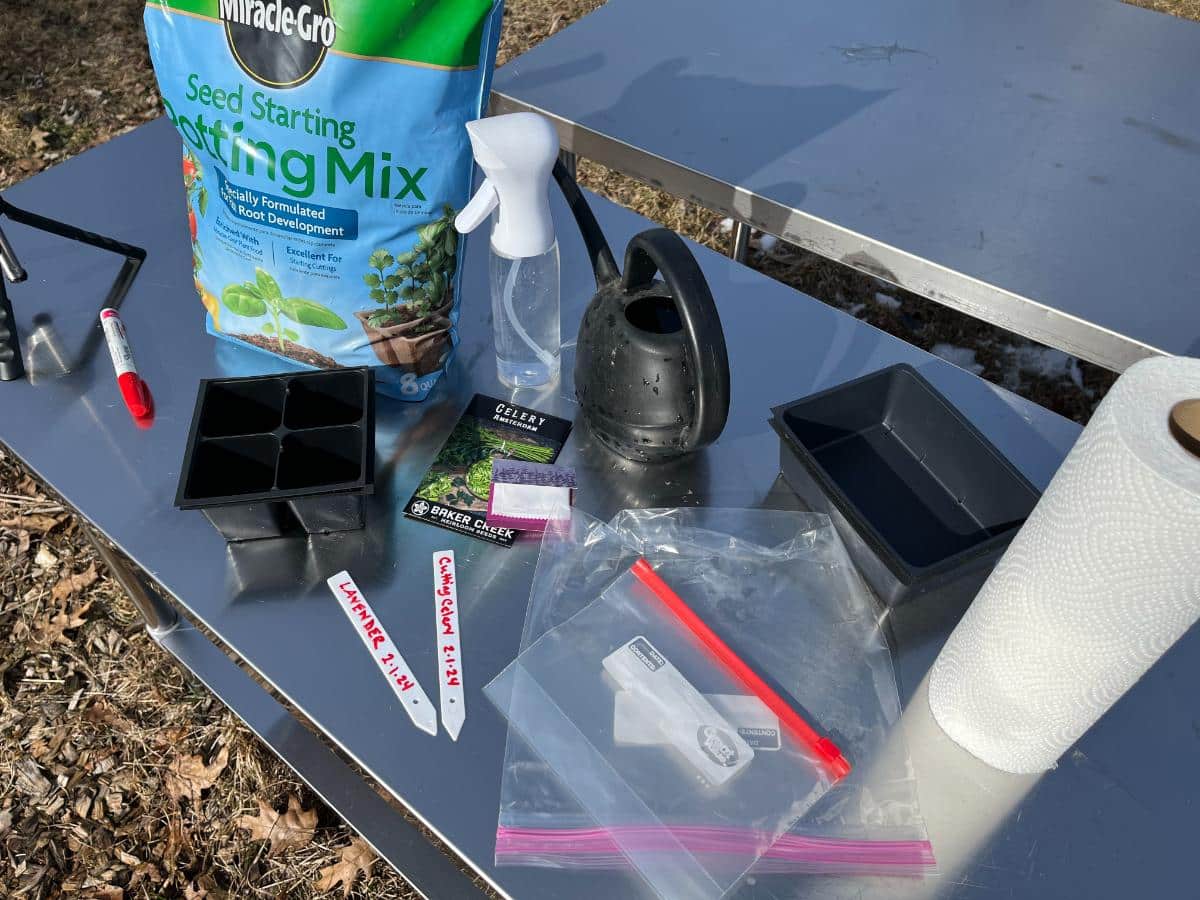
Cold stratification is not hard to do. There are several options that can get you there. Here, we’ve collected four of the simplest methods.
Dry Stratification in the Fridge or Freezer
This is the easiest way to cold stratify seeds, but truth be told, it is not the most successful. It’s not the most highly recommended, either, but it is an option to try if you don’t have the time or fridge space to spend on prepping seeds for cold stratifying.
The reason this is not the preferred method is that there is little to no moisture involved when you just stick seeds in the refrigerator or freezer. Although it may not seem like it, there is quite a lot of natural moisture in and on the ground throughout the ups and downs of winter.
In nature, seeds don’t just stratify with cold; they stratify with moisture, too. Your seeds will be much more successful if you stratify them in a moist environment.
How to Dry Stratify Seeds in the Fridge or Freezer:
- Place packets of seeds in the freezer or refrigerator
- Leave seed packets in the freezer or fridge for the required amount of time (depending on the variety)
- Remove after the designated cold treatment period and plant as directed, in the ground or in seedling pots as you normally would
Winter Sowing Cold Stratification Method
The popular winter sowing method of starting seeds also stratifies seeds (as long as you sow and set your containers outside while there is still a month or more of cold left where you live).
What's nice about this method is that your seeds are planted, will develop in rhythm with nature, will be hardy, and will not need hardening off when it’s transplanting time. And the mostly closed, moist containers give the seeds both their cold and moist environment.
It’s a lot like natural cold stratification but in a more protected environment.
How to Winter Sow and Stratify Seeds:
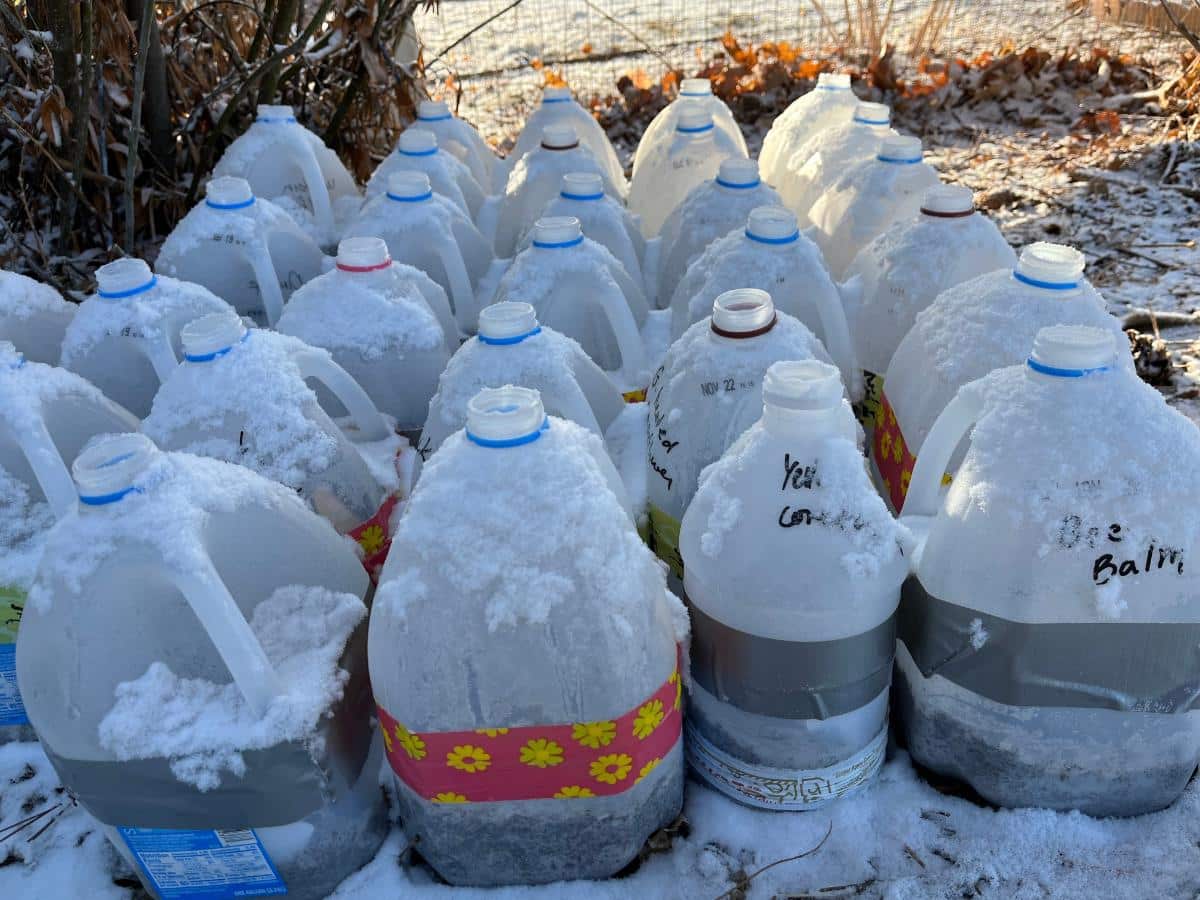
- Use a clean, clear one-gallon milk jug or other clear container with a top
- Make ¼ inch drainage holes in the bottom of the jug
- Cut the milk jug about halfway up, leaving one-half to one-inch uncut below the handle (this will work as a hinge to close the jug)
- Put 4 to 5 inches of potting soil in the bottom of the jug
- Plant the seeds at the depth recommended on the seed packet
- Moisten the soil (moist but not soggy)
- Label the jug’s contents (either on the outside of the jug or with a plant marker placed inside)
- Close the cut jug
- Tape the jug along the seam (with duct tape or other weather-proof tape)
- Leave the cap off the jug for airflow and moisture
- Set the jug outside in a semi-protected place, where some moisture and light can still reach the jugs (alternatively, you can move the jugs into the light after seeds germinate in the spring, but they should still have moderate access to moisture)
- If the soil and seeds are not staying moist from natural snow or rain, mist the jugs periodically with a spray bottle (don’t let the soil dry out)
- When seedlings grow in the spring, open as necessary to control heat and gain access to unfiltered sunlight
- After sprouting, continue to protect frost-sensitive plants by covering or bringing them inside in freezing weather
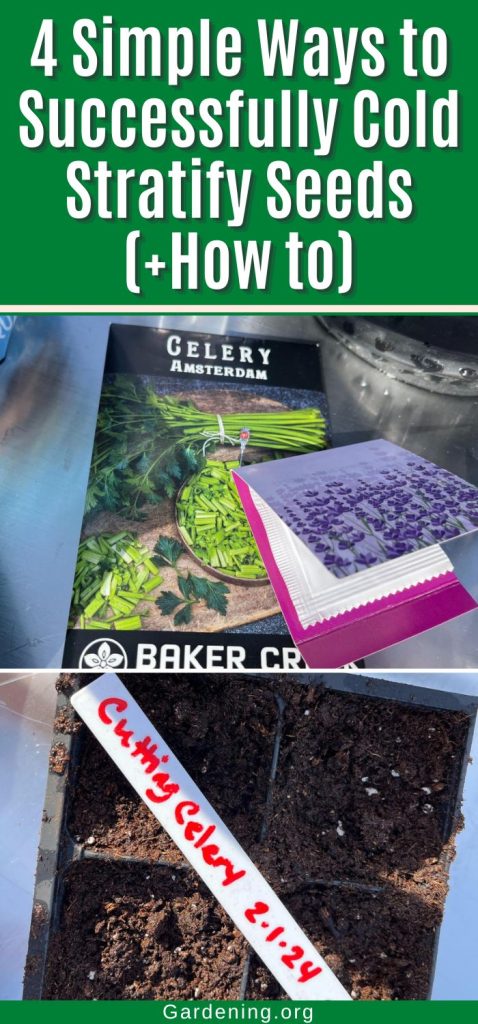
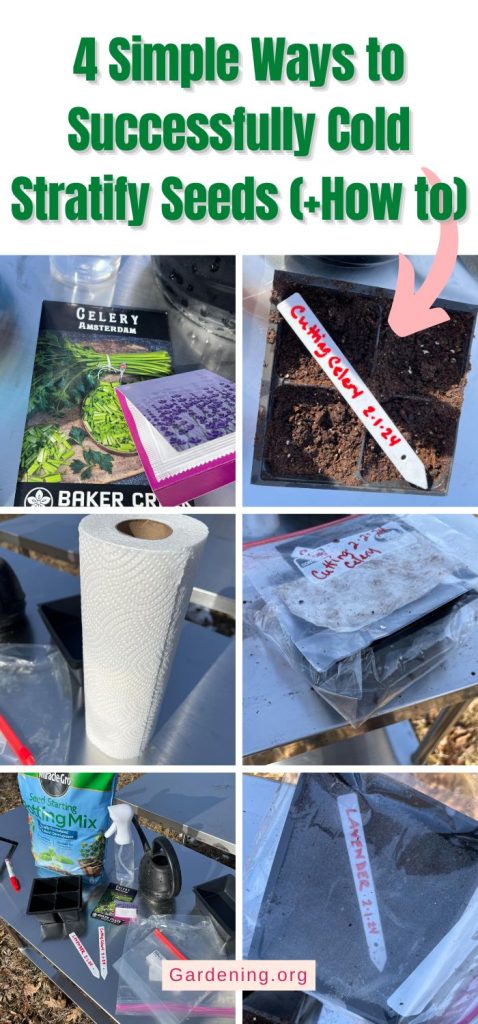
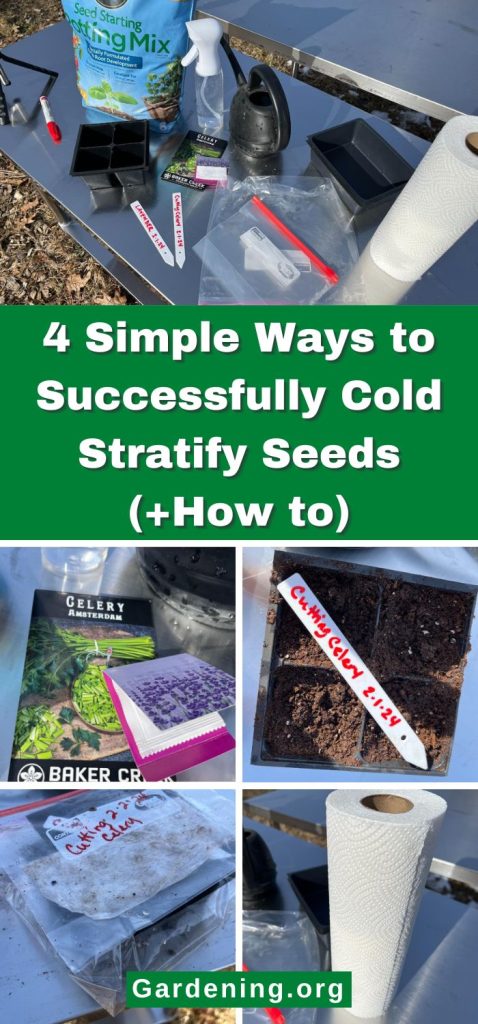
Paper Towel Refrigerator Method
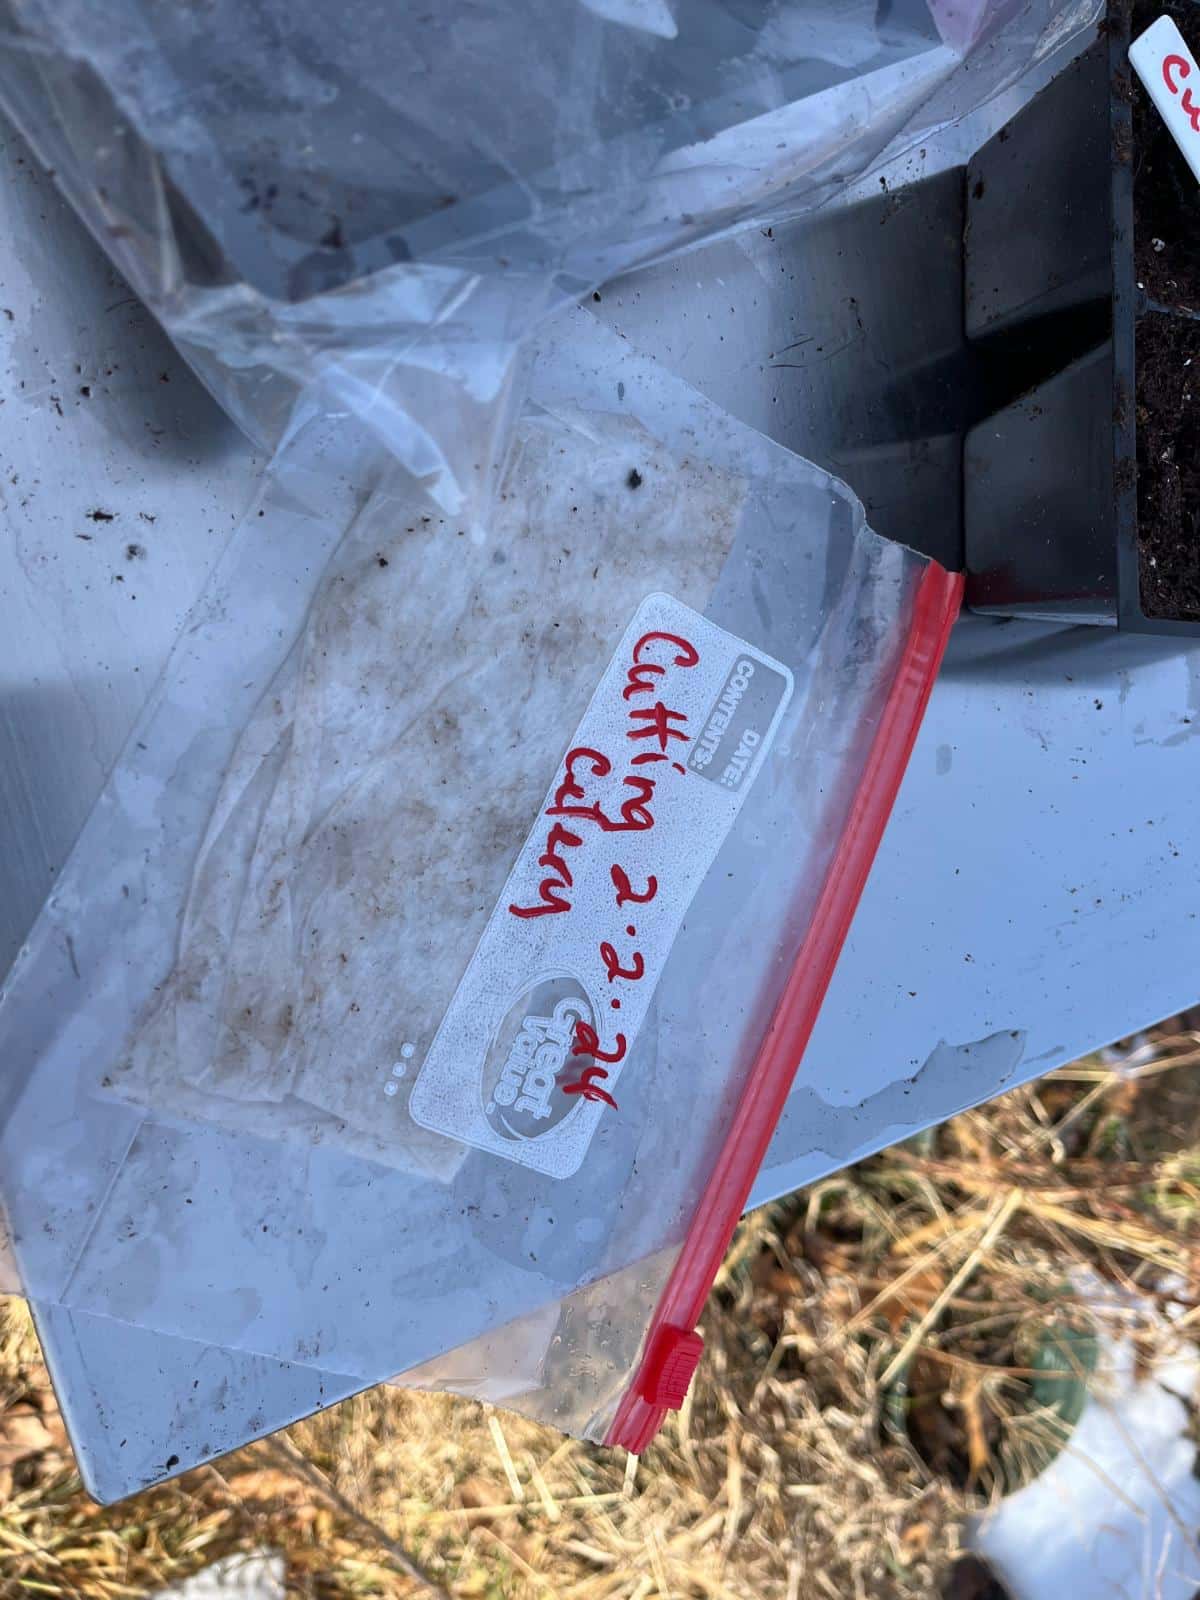
The paper towel method is a way to cold stratify seeds in your fridge without taking up much space (and without keeping dirt in your refrigerator).
Seeds that are stratified this way will need to be planted after they are stratified.
This method gives both the cold and moist environment stratifying seeds like best.
How to Cold Stratify Seeds on Paper Towels in the Refrigerator:
- Moisten two sheets of paper towels (you could use newspaper as well)
- Ring out excess water – the towels should just be moist, not dripping wet
- Lay the moist towel out flat, then carefully scatter the seeds across the wet towel
- Try to evenly space the seeds, but this isn’t imperative at this point
- Lay a second moist (not wet) paper towel flat over the seeds on the bottom towel
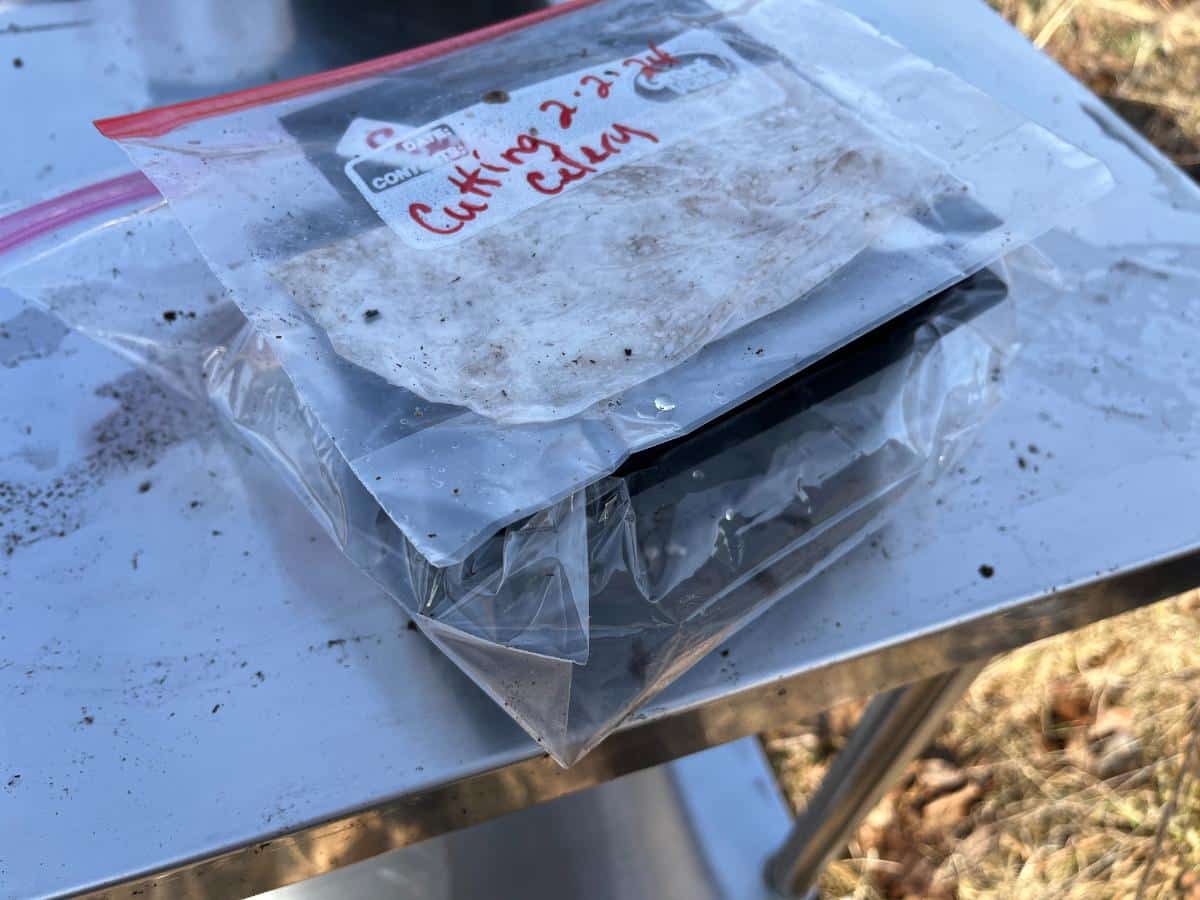
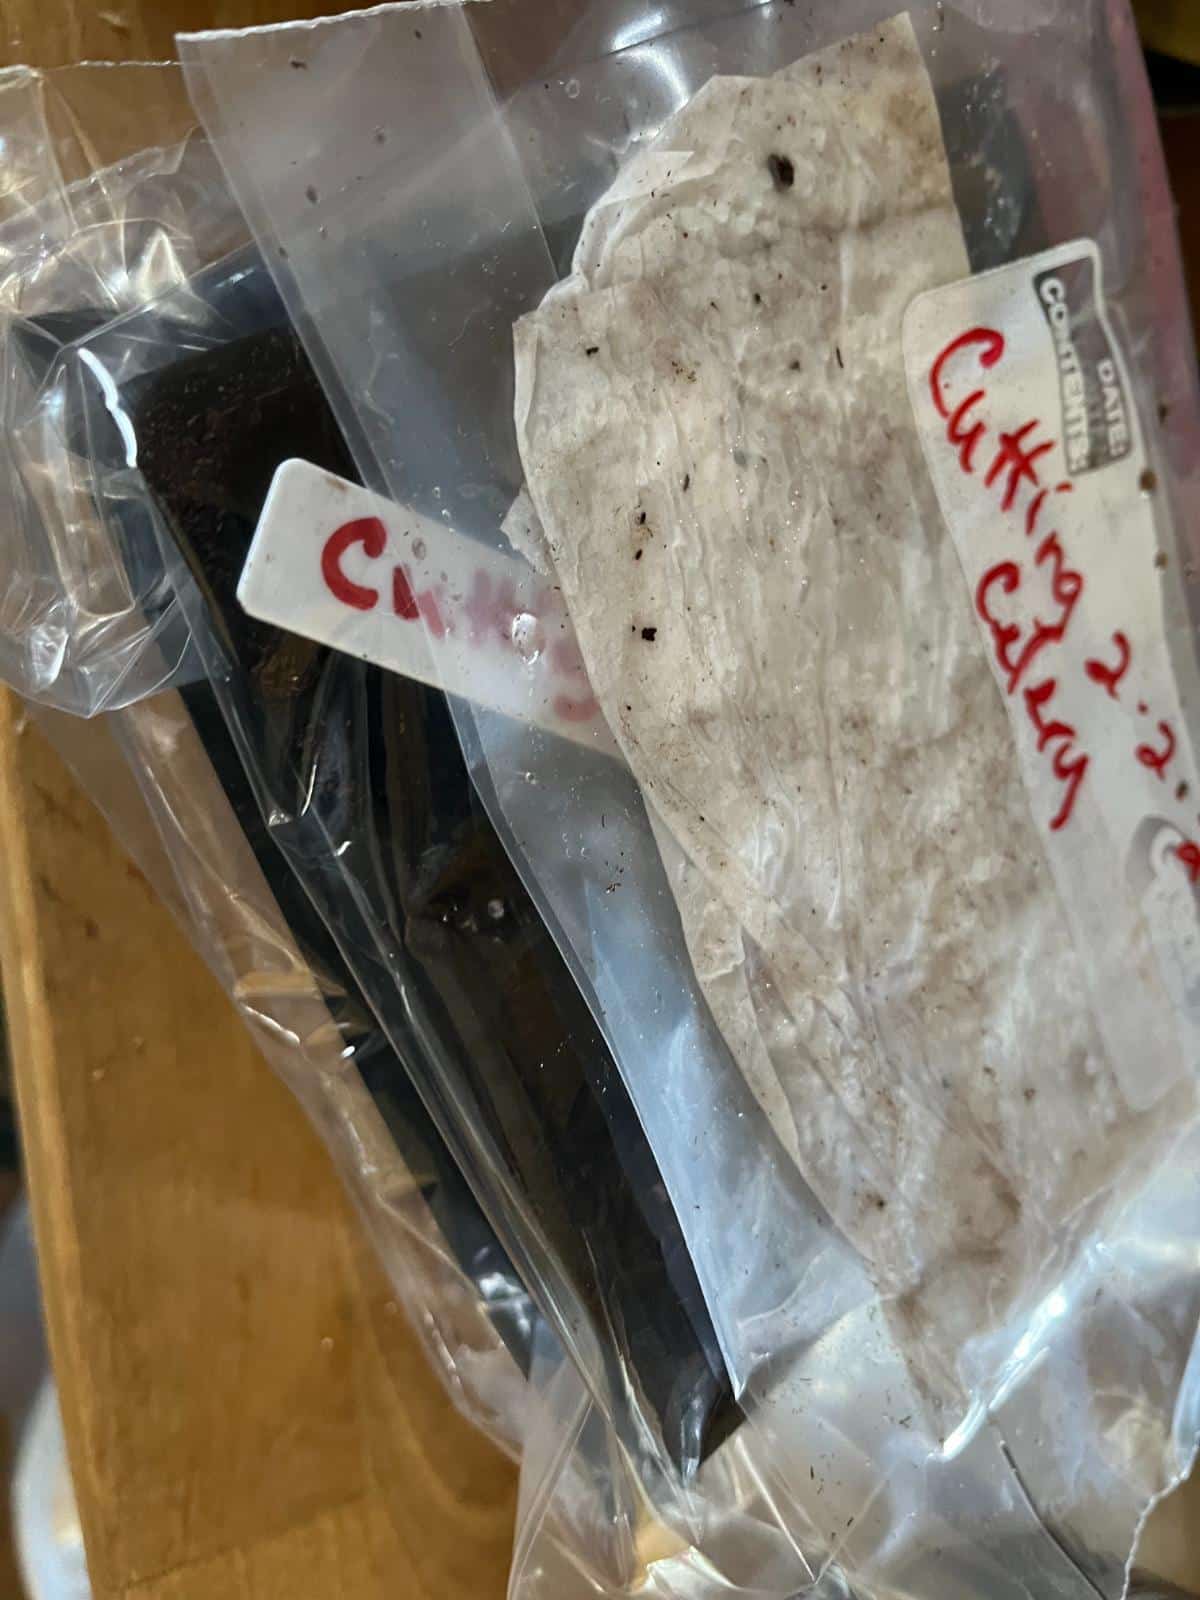
- Slide the seeded towels into a plastic zipper bag (a quart-sized freezer or sandwich bag works well)
- Label the baggie!
- If you need to, it’s fine to fold the towel to fit it into the bag
- Place the bag in the refrigerator where it won’t be disturbed too much
- Keep in the fridge for the recommended period
- Remove after the cold treatment period and plant or start in seedling pots as you usually would, to the depth listed on the seed packet
*Seeds will sometimes sprout on the towels when you use this method. That is fine, but you should check periodically and plant when you see the seeds have sprouted. Don’t leave them trying to survive in the cold, dark bag for very long!
Cold Stratifying in Seedling Soil in the Refrigerator
This method falls somewhere between winter sowing methods and using baggies and moist towels.
The advantage of this method is that you can control the timing of the stratification and, therefore, the sprouting and growing time of the seeds. If you want an earlier start than what you’re likely to get with winter sowing, use this method and then set up a simple indoor seedling station to keep the plants growing until it’s time to move them outside.
How to Cold Stratify Seeds in Seedling Soil
Option 1 – Germination Pots
With this method, you will set up small germination pots and “plant” the seeds in the potting soil. The seeds will stay in the soil and germination pots when they come out of the fridge, and they’ll start their sprouting and growing life here.
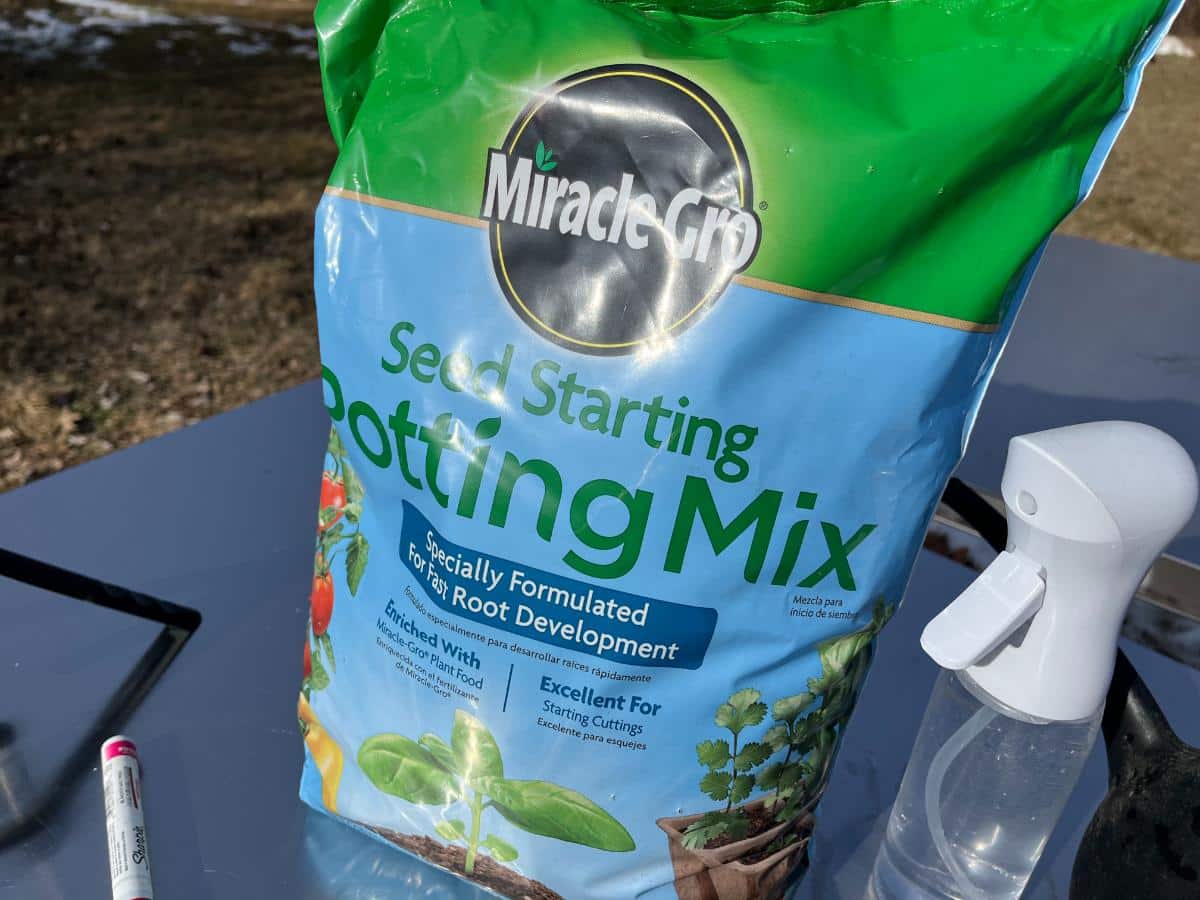
- Fill a germination pot about ¾ full with seed-starting medium
- The “pot” should be about three inches deep and four inches long; if you don’t have this type of pot, a four- or six-cell pot can be used; just disperse the seeds evenly amongst the cells (several to a cell – this is for germination only)
- Use a stick or a pencil (or your finger) to make shallow “rows” in the pot
- The rows should be whatever depth the seed should be planted at (according to the packet’s instructions)
- Cover the seeds and pat lightly (If the packet says not to cover the seeds, for example, if they need light to germinate, sprinkle them on the surface and do not cover them)
- Place the entire pot in a plastic bag (one-gallon zipper bags work well, or twist-tie a plastic storage or bread bag)
- Seal the bag
- Place the bag in the refrigerator
- To save space, it’s okay to stack the pots (even if it’s basically on top of the soil)
- Keep in the fridge for the required cold treatment time
- Check periodically to make sure seeds are not sprouted (possible, but not likely); if many seeds are sprouting, remove them and move to a warm space to grow
- After the seeds have been cold exposed long enough, remove the pot from the fridge, open the baggie, and place it in a warm place to germinate (see the text links above for more information)
- Remove the plastic after the seeds have sprouted (earlier if you feel it’s necessary)
- Pot up sprouted seedlings when they have two sets of true leaves
At that point, all you’ll need to do is open the bag, mist it with water if the soil needs moistening, and warm the germination pot to let the seeds sprout (room temperature is fine for most). It’s a fairly normal process of germinating seeds and then up-potting from here on.
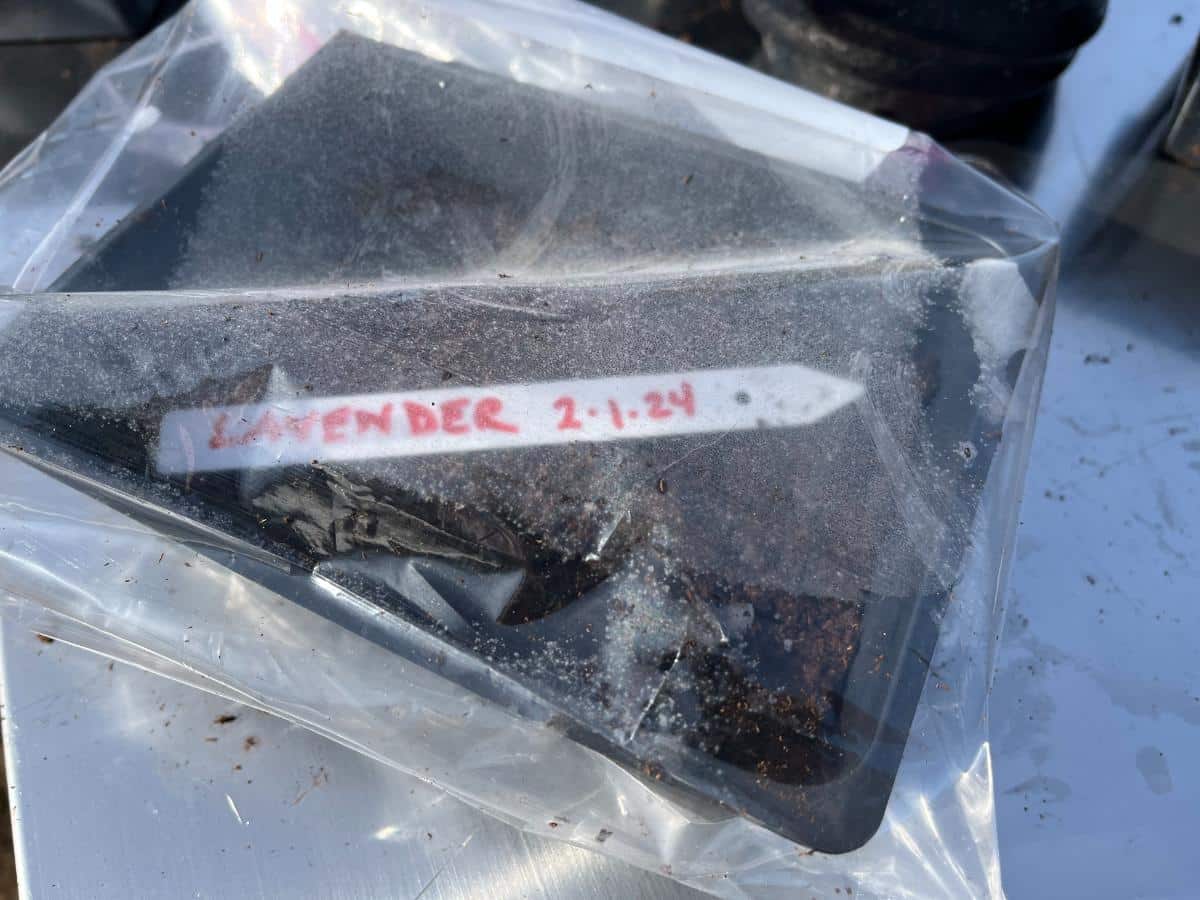
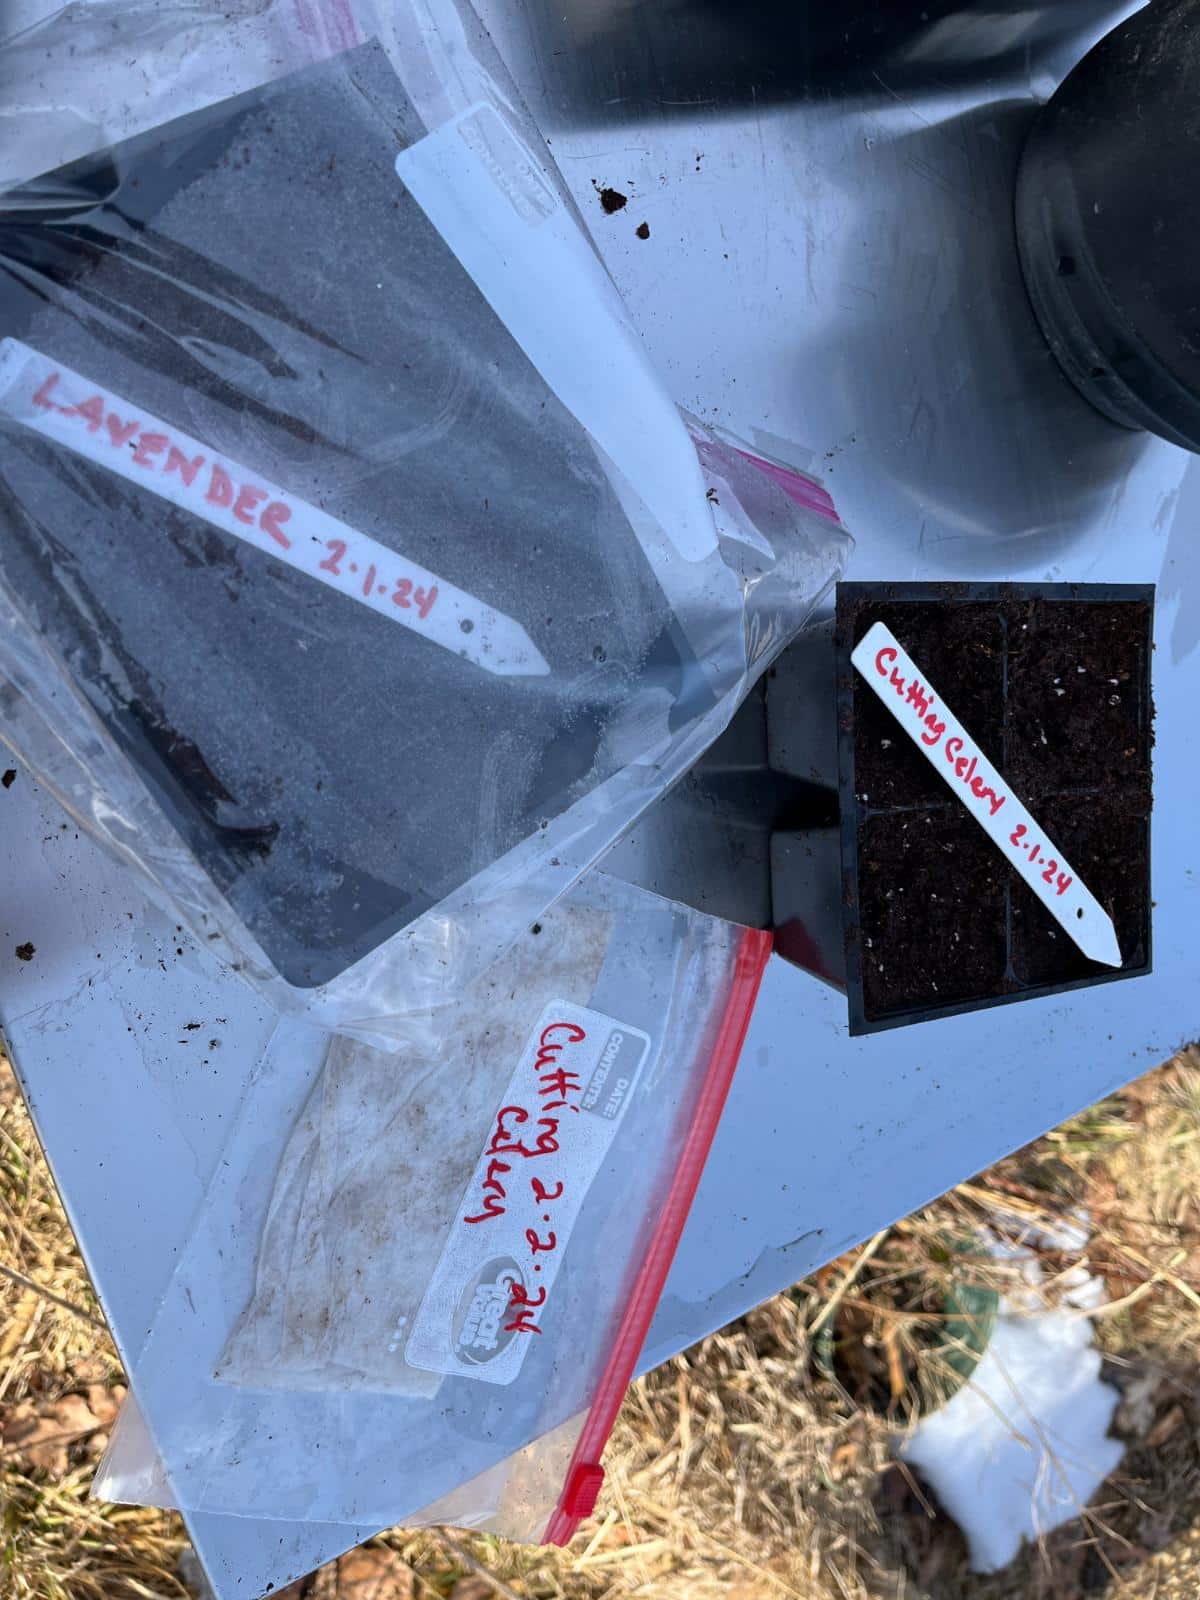
Option 2 – Soil Baggies
When you use this method, the seeds will need to be planted in pots after they come out of the refrigerator. It saves some space, but it also does require an extra step later on.
- Moisten some seedling soil/medium
- The medium should be moist, not wet, and not dripping
- Put about ¼ cup of moist seed starting medium in a plastic baggie
- Empty the contents of the seed packet into the baggie with the seedling soil
- Close and seal the bag, then shake lightly to evenly distribute the seeds through the medium
- Place bags in the refrigerator for the recommended amount of time
- Remove and plant in germination pots as normal
If you use this method, it is best to plant the stratified seeds and soil in germination pots because it’s very hard to tell where some seeds are (especially if the seeds are small), and it can be difficult to get a single seed per cell or to space the seed properly.
With germination pots, all the seeds will be sprouted together in one pot. After you have two sets of true leaves, you will pot up the small seedlings into individual cell packs. The advantage of doing this is that you know you have only one pot per cell, and you are only planting seeds that are viable and have successfully sprouted (no duds!).
This link has information detailing how to do this: Small Space Seed Starting
If in Doubt, Try Cold Stratifying
There’s a good rule of thumb for cold stratifying seeds – it usually won’t hurt, and it can help even seeds that in nature might not see much cold exposure (eucalyptus, for example, can be helped by cold stratification).
It’s helpful for seeds with hard coats and hard-to-start seeds, too.
The real rule of thumb is this: if in doubt, cold treat seeds for one month. The same goes for seeds that aren’t listed as needing cold stratifying but that which germinate poorly for you otherwise.
Leave a Reply