So, you bought a greenhouse. Now what? We already know you are going to fill it with plants for your summer garden, but what will those seedlings and starter plants actually sit on? That's where this easy-to-make DIY pallet greenhouse bench table comes into play. A few tools, some scrap lumber, or an old pallet, and you have an excellent setup for holding all of your plants in the greenhouse.
DIY Pallet Greenhouse Bench
Adding a greenhouse to your property can be an amazing way to add extra plant protection. For those of us in the Northern regions (Michigan for me), there is a much shorter growing season. That means using a greenhouse to protect my plants from changes in weather, and to create a climate-controlled environment, helps me produce a much larger garden harvest.
There are probably thousands of greenhouse options out there to choose from, but most don't come with their own shelves, racks, or benches. This method helps you create exactly what you need for a fraction of the cost of the ready-made units from garden supply companies.
What Type of Greenhouse Does This Work With?
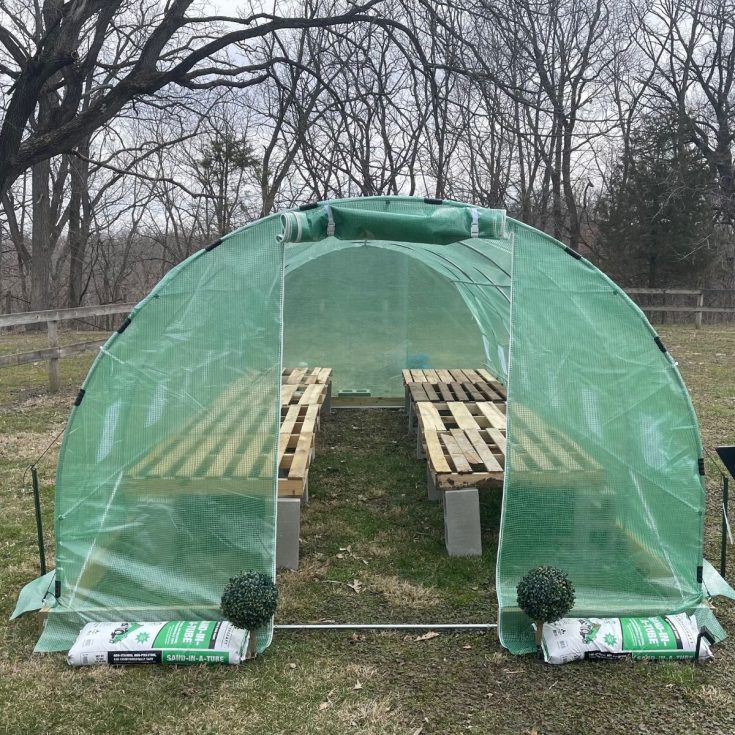
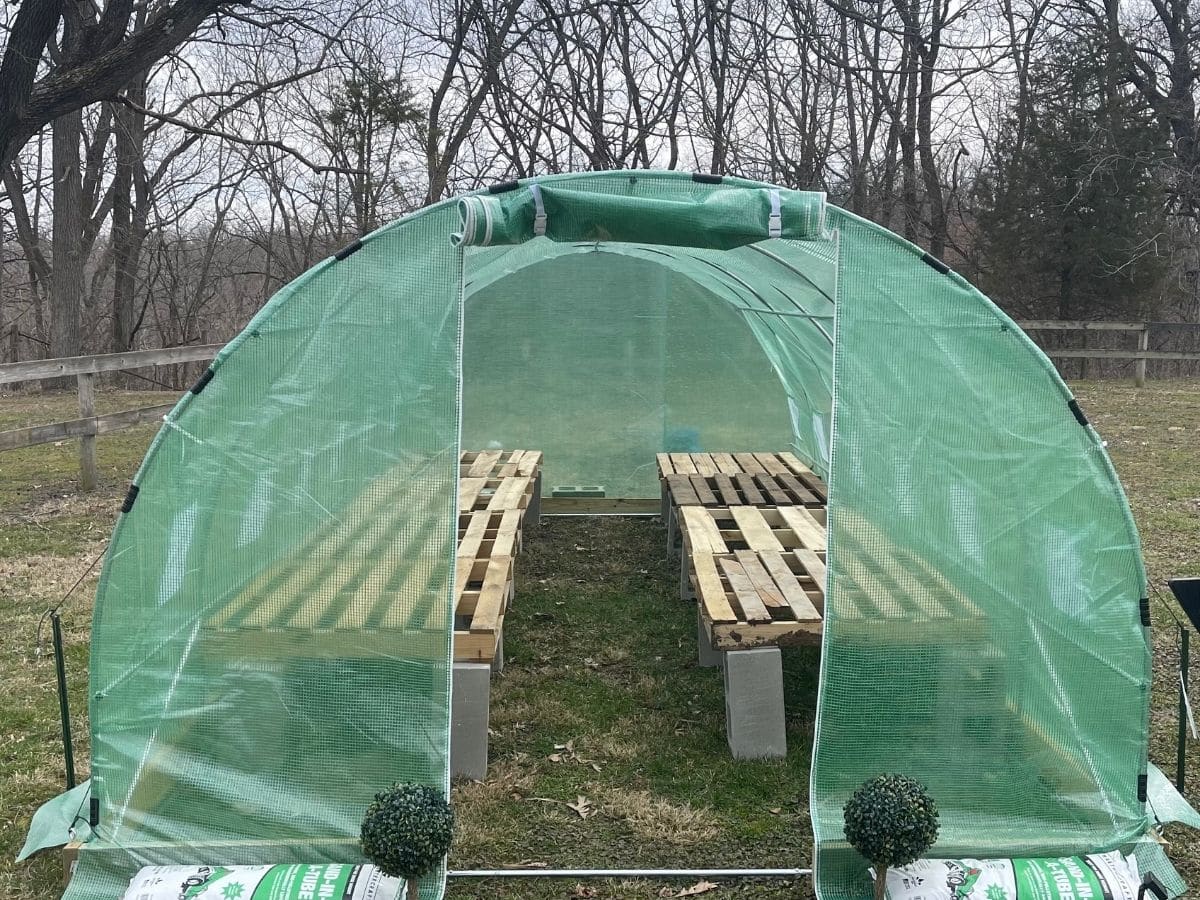
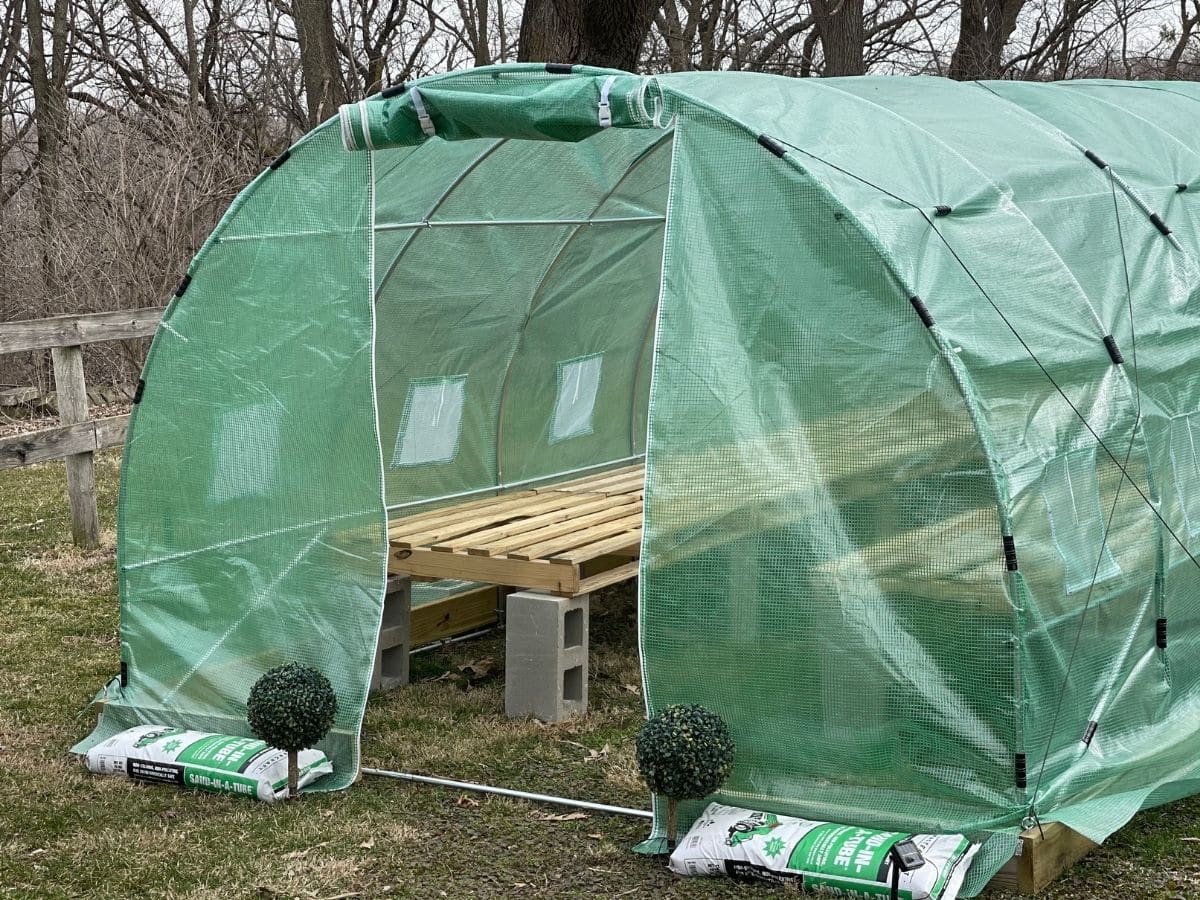
The best part about making your own table from pallets is that it can be customized to fit any greenhouse no matter how big or small. I have a cheap homemade greenhouse using plastic sheeting and some metal tent stakes, but I also invested in a full greenhouse kit recently and love it. Whether you make your own or you buy a set of metal hoops and the classic green top like shown in this tutorial won't matter. The bench works with anything you make or buy.
Do I Have to Use Pallets For This?
No. While pallets are a great choice thanks to their affordability, you can use any scrap lumber. If you already have lumber, use it instead. For those who can't find pallets, check out a local lumberyard for pieces that may have flaws that are inexpensive or discounted. While it's important to look for treated wood so it will last longer, you can use whatever is affordable and on hand.
What Can I Use as the Base for My Table?
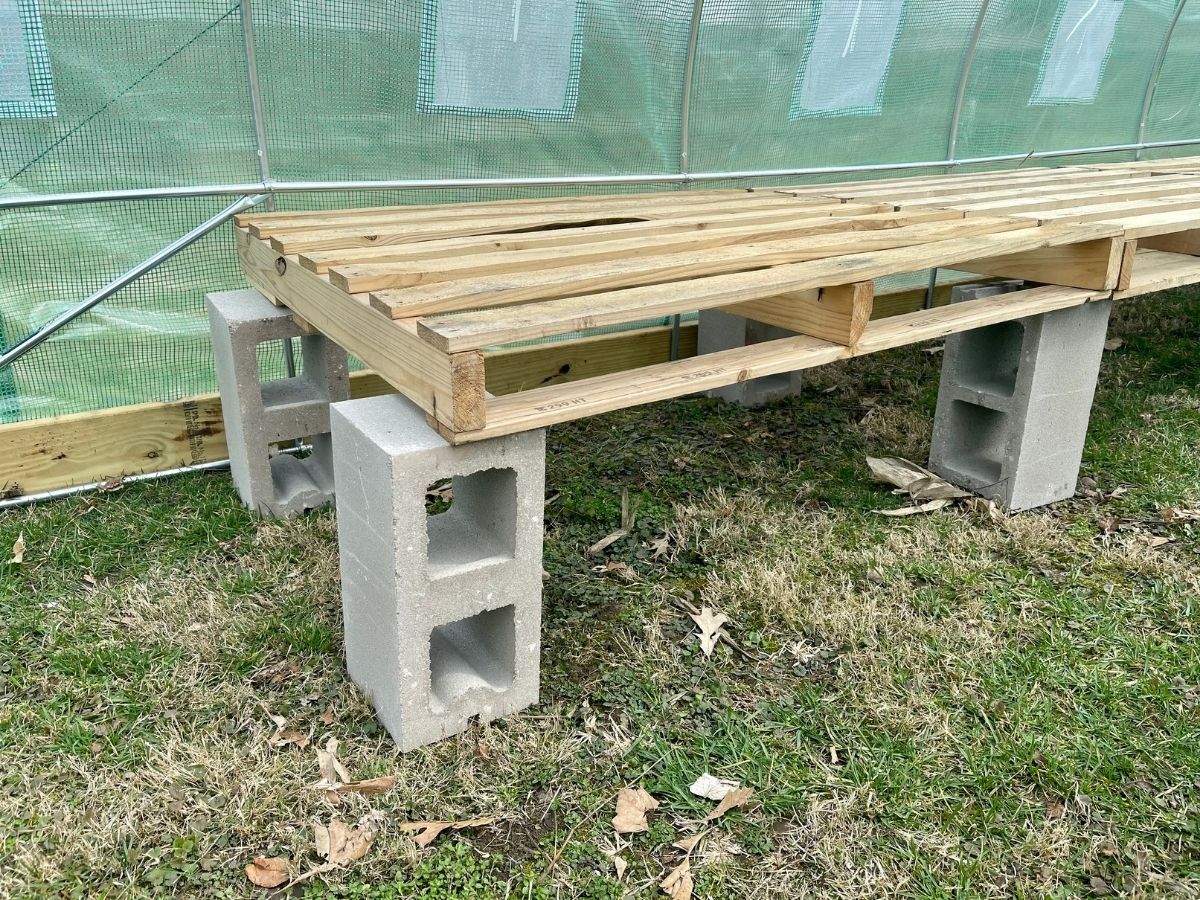
For this, we used concrete blocks. They are easy to find, fairly affordable, and are super sturdy. In my opinion, they are by far one of the best choices for using when making a project like this that has to sit on the ground outdoors. They are strong, durable, and are less likely to fall through softer spots in the ground or get wobbly when extra weight is put on top of them from your plants.
Other options to consider are stacked bricks, concrete pavers, or even 4"x4" pieces of lumber cut into lengths and nailed or screwed into place. You may even have existing tables or benches that are out of shape but the legs are sturdy. So, salvage those and use on this if you can.
Supplies Needed
- Hammer
- Circular saw
- Pallet
- Tape measure
- Galvanized nails
- Crowbar
- Concrete blocks
- Pencil
- Sawhorse
- Protective eyewear
How to Build a Greenhouse Table From Pallets
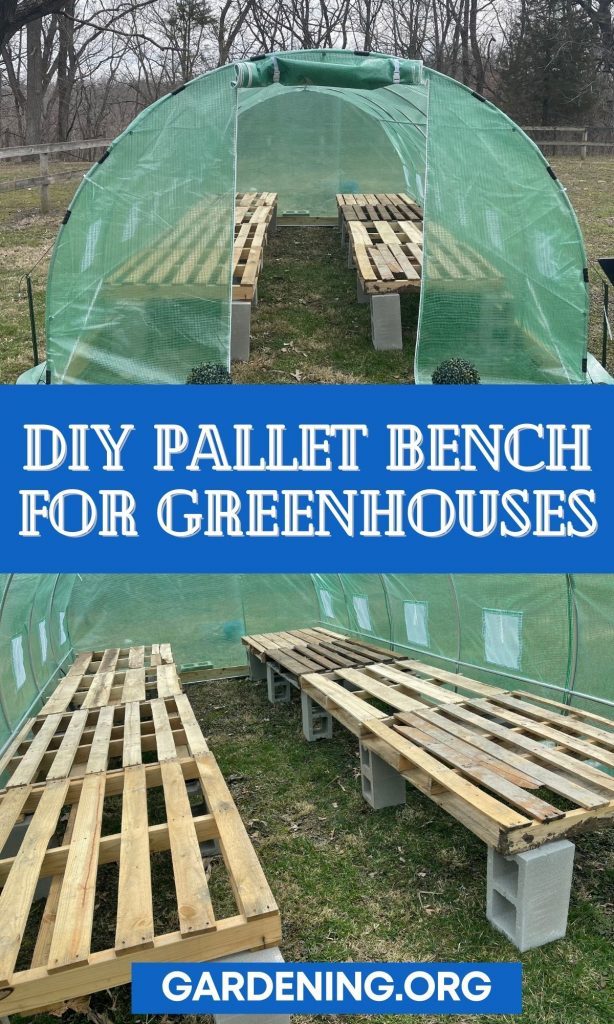
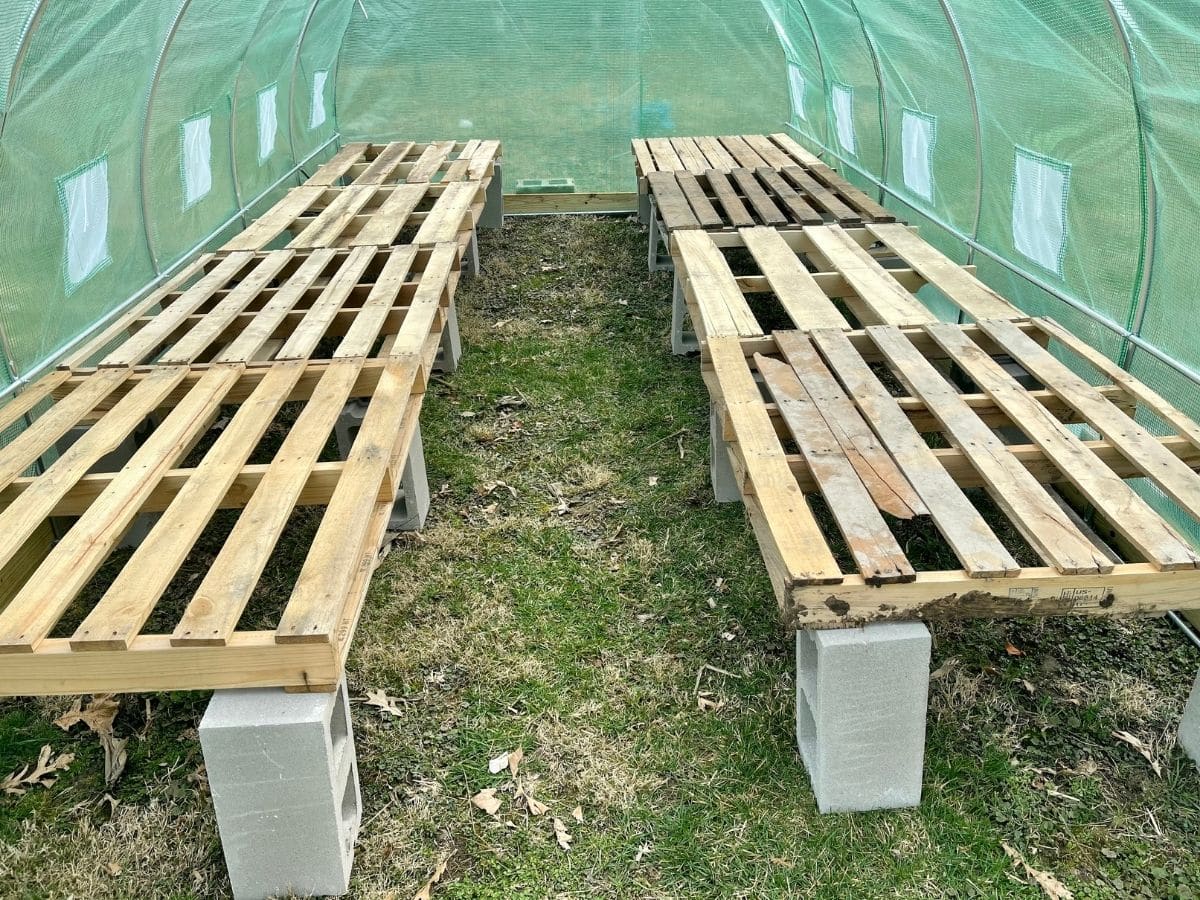
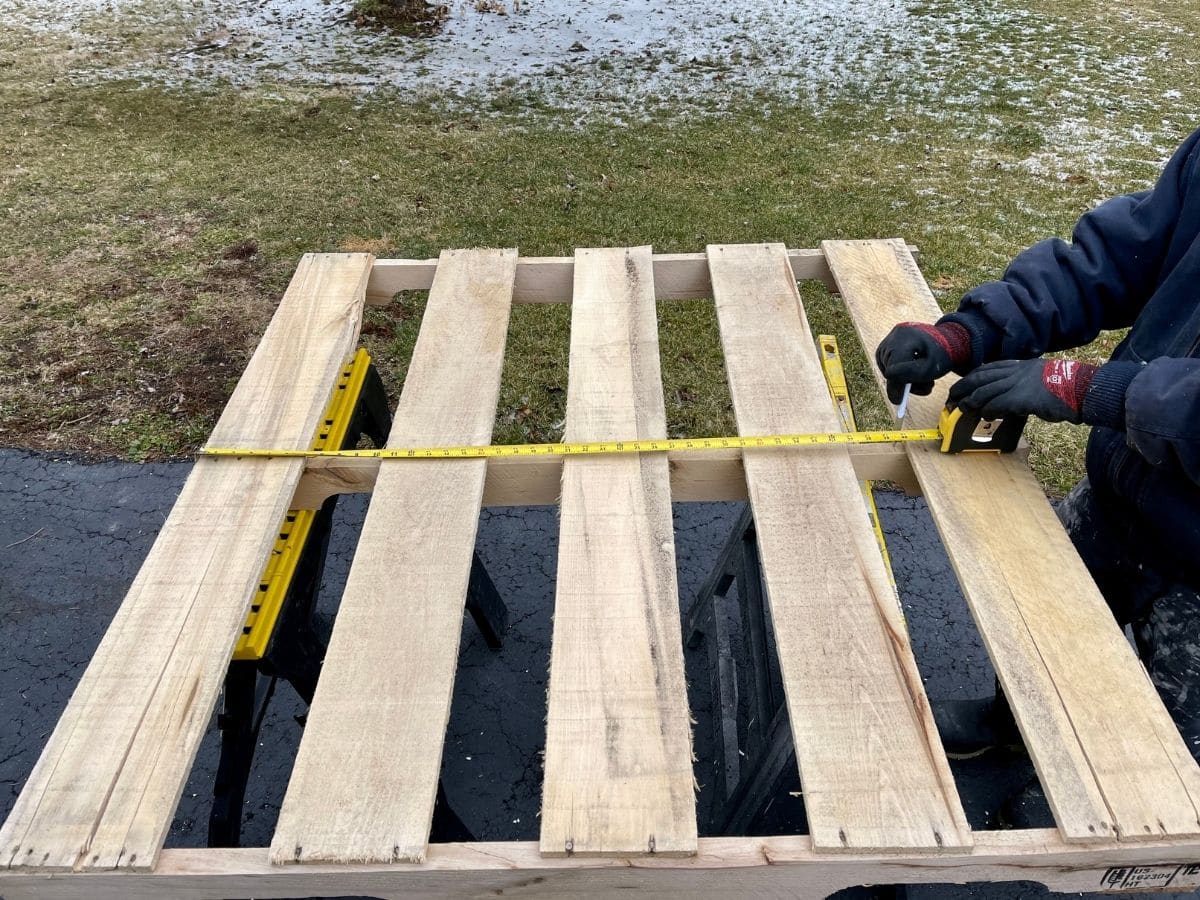
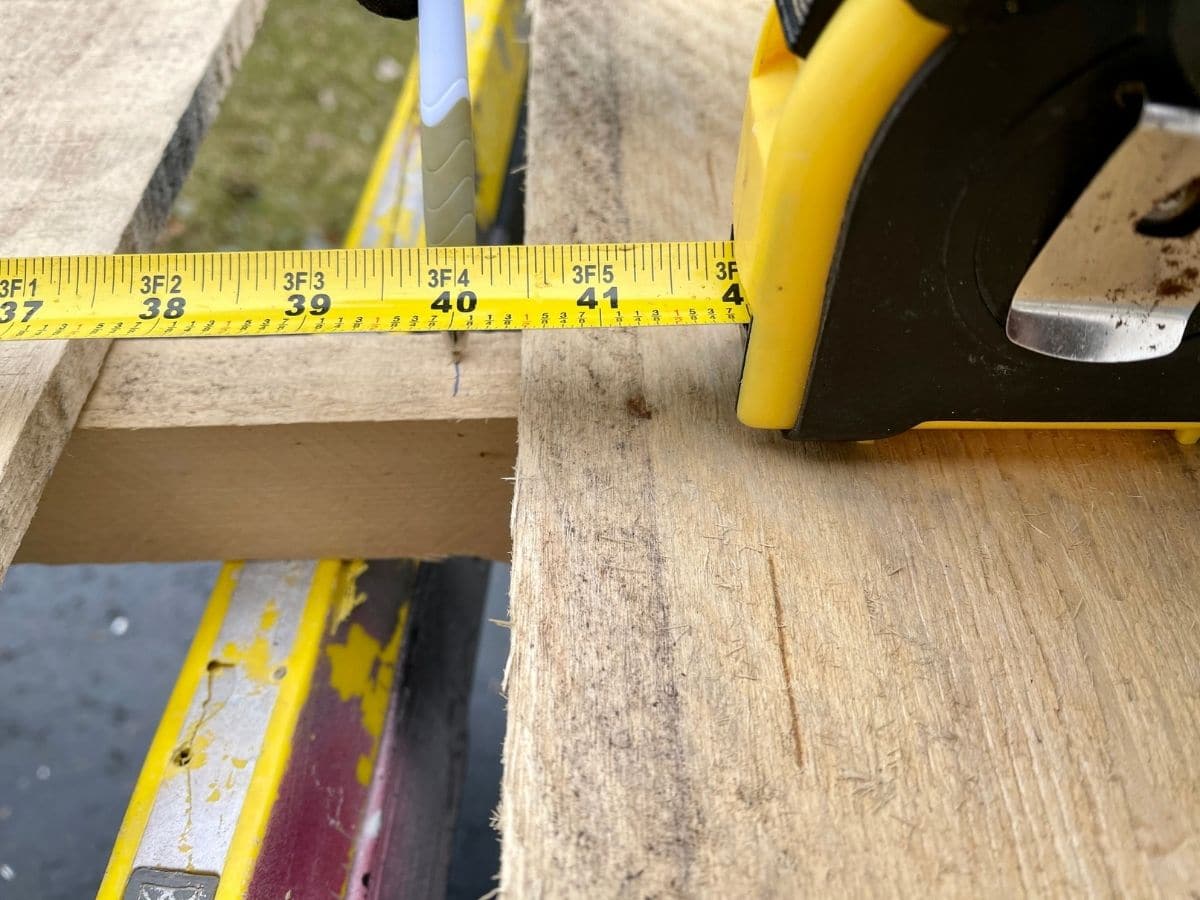
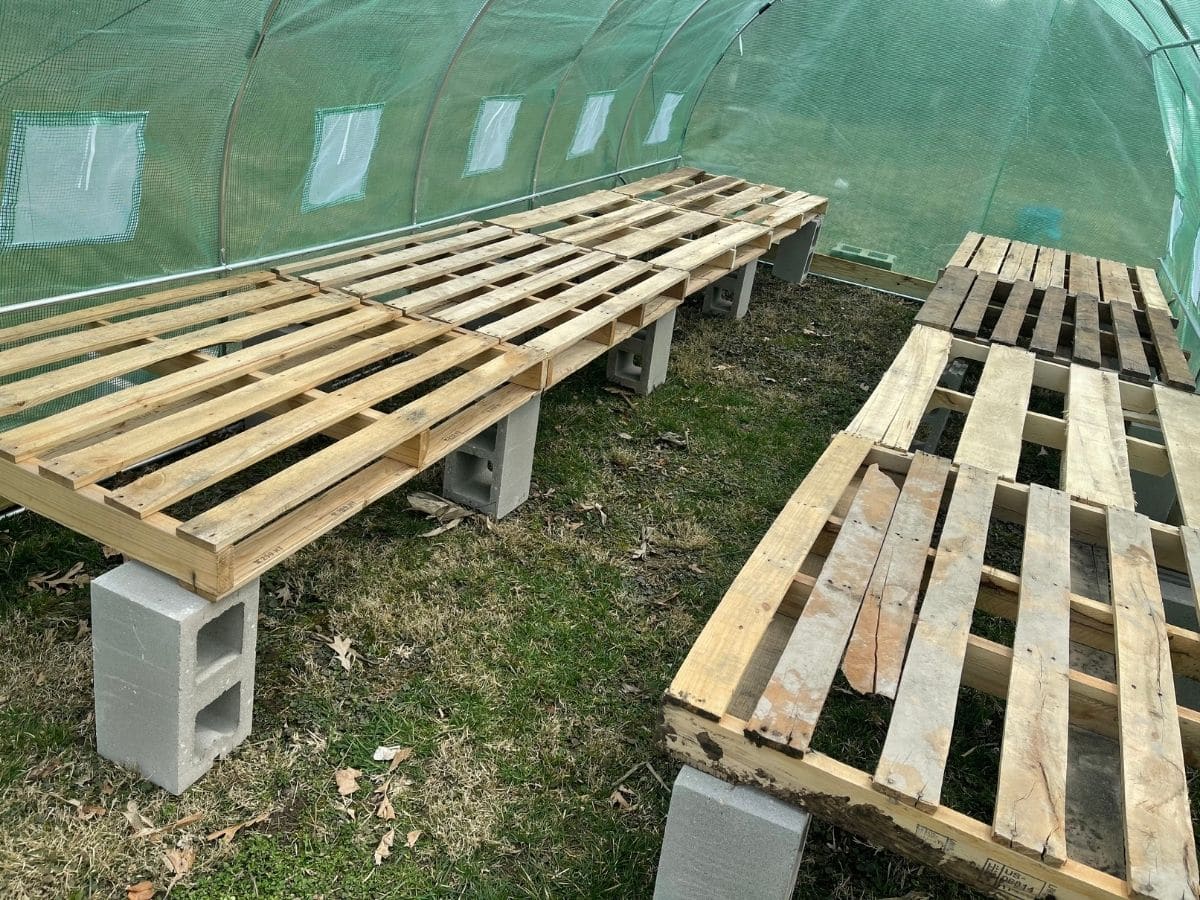
For this greenhouse table, you will be working with a 48"x40" size. Depending upon the size of your greenhouse, you may need to create multiple tables. Shown in the final pictures is a 20'x10' greenhouse that held 4 tables on each side. This created 40" of walking space in the center and was ideal for our needs. You can adjust to suit your needs.
Cut the Pallets or Wood
Measure your greenhouse to choose your measurements. If you are adding multiple tables on both sides of your greenhouse, you may need to cut your pallet(s) to a different width.
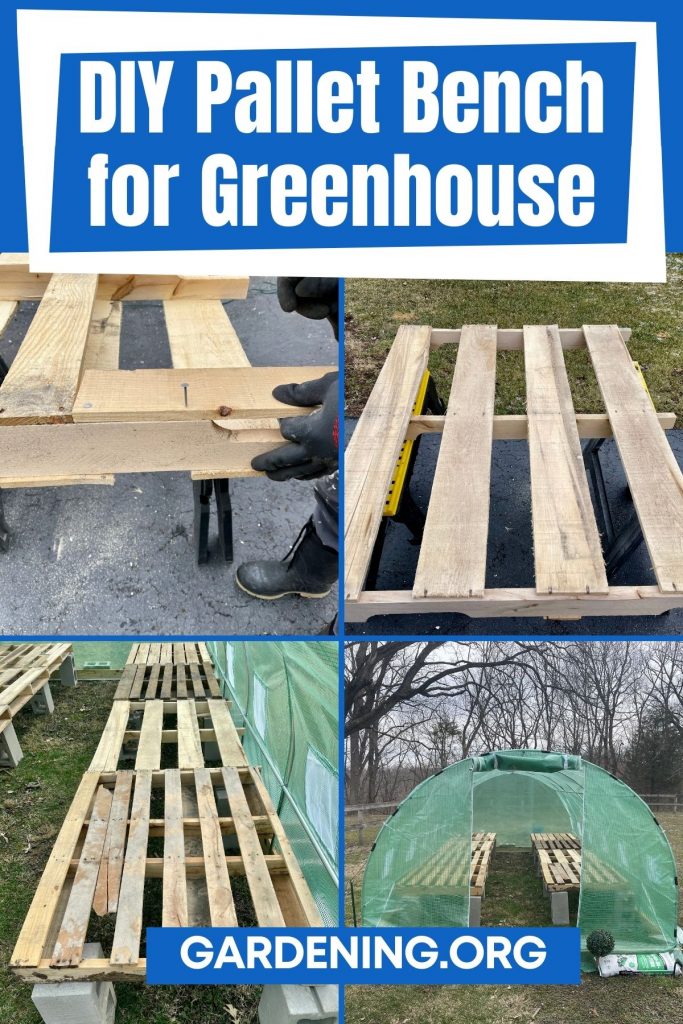
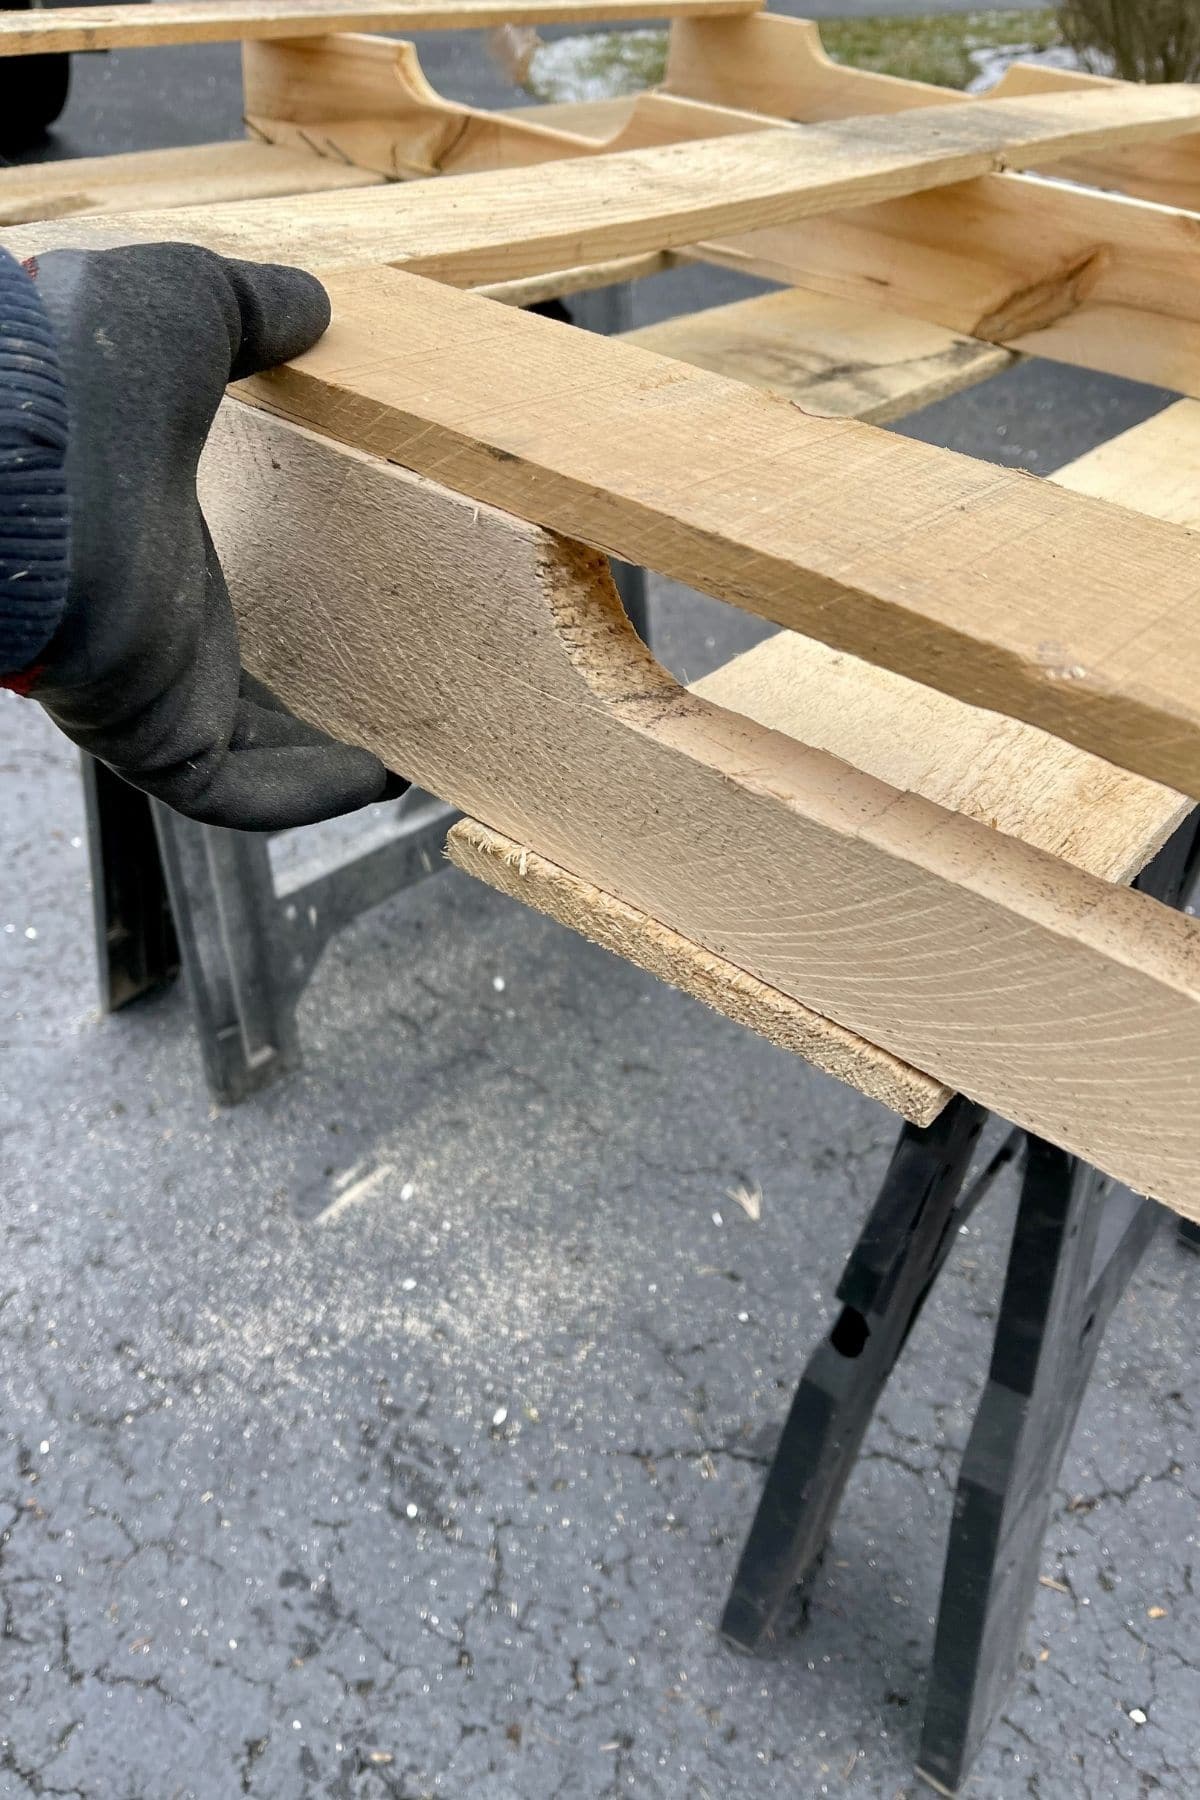
Begin measuring your pallet to fit your needs. When measuring, make sure you are starting on the side easiest to cut through. You want to find the side with the least amount of nails. If one side has significantly more than the other, flip the pallet and start on that side.
Once you have chosen the side you will be cutting, use your pencil to mark the line from one end of the pallet to the other to create an easy-to-follow mark for your saw. You can also use the contractor's chalk line to do this marking.
Put on the protective eyewear, and then place the pallet onto the sawhorse, or a work table that is safe to use for cutting. Make sure there is nothing in the way that could snag or be cut by the saw by accident.
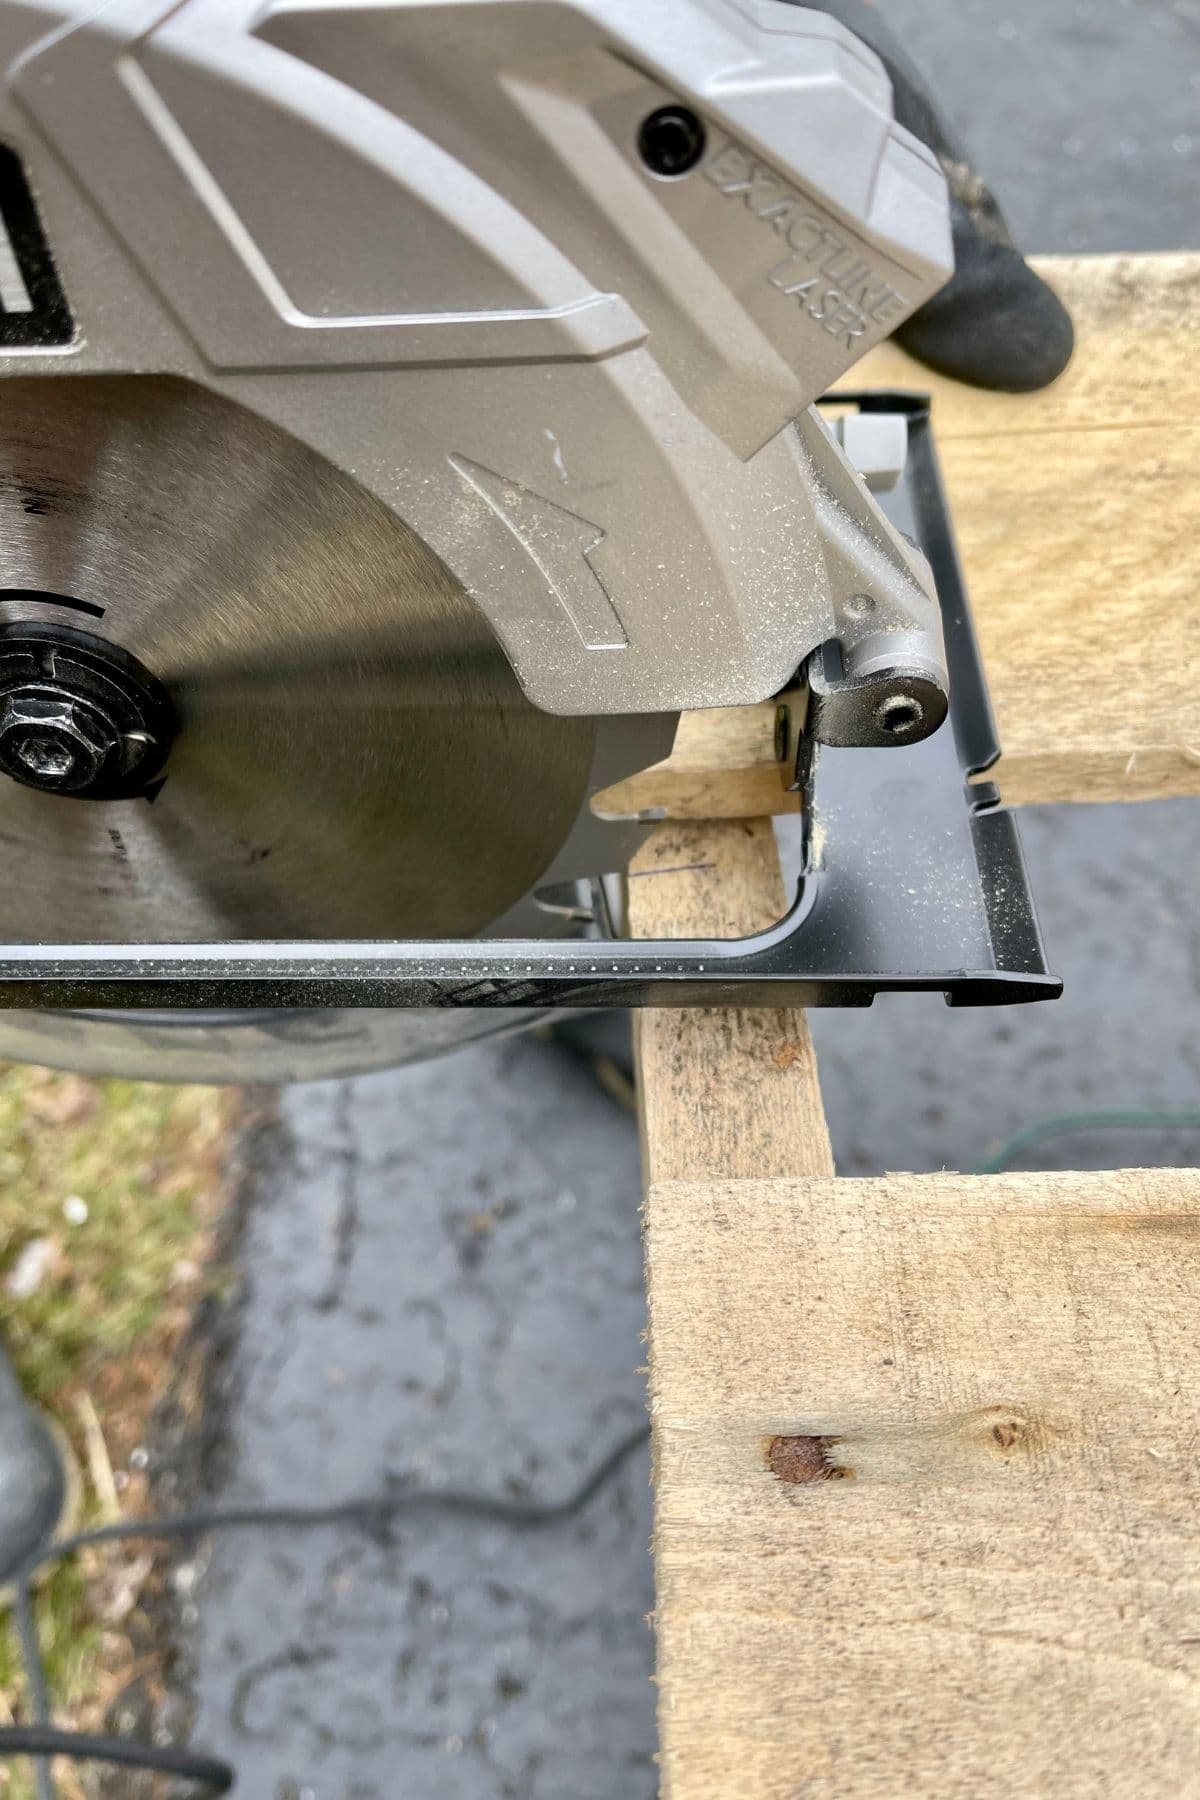
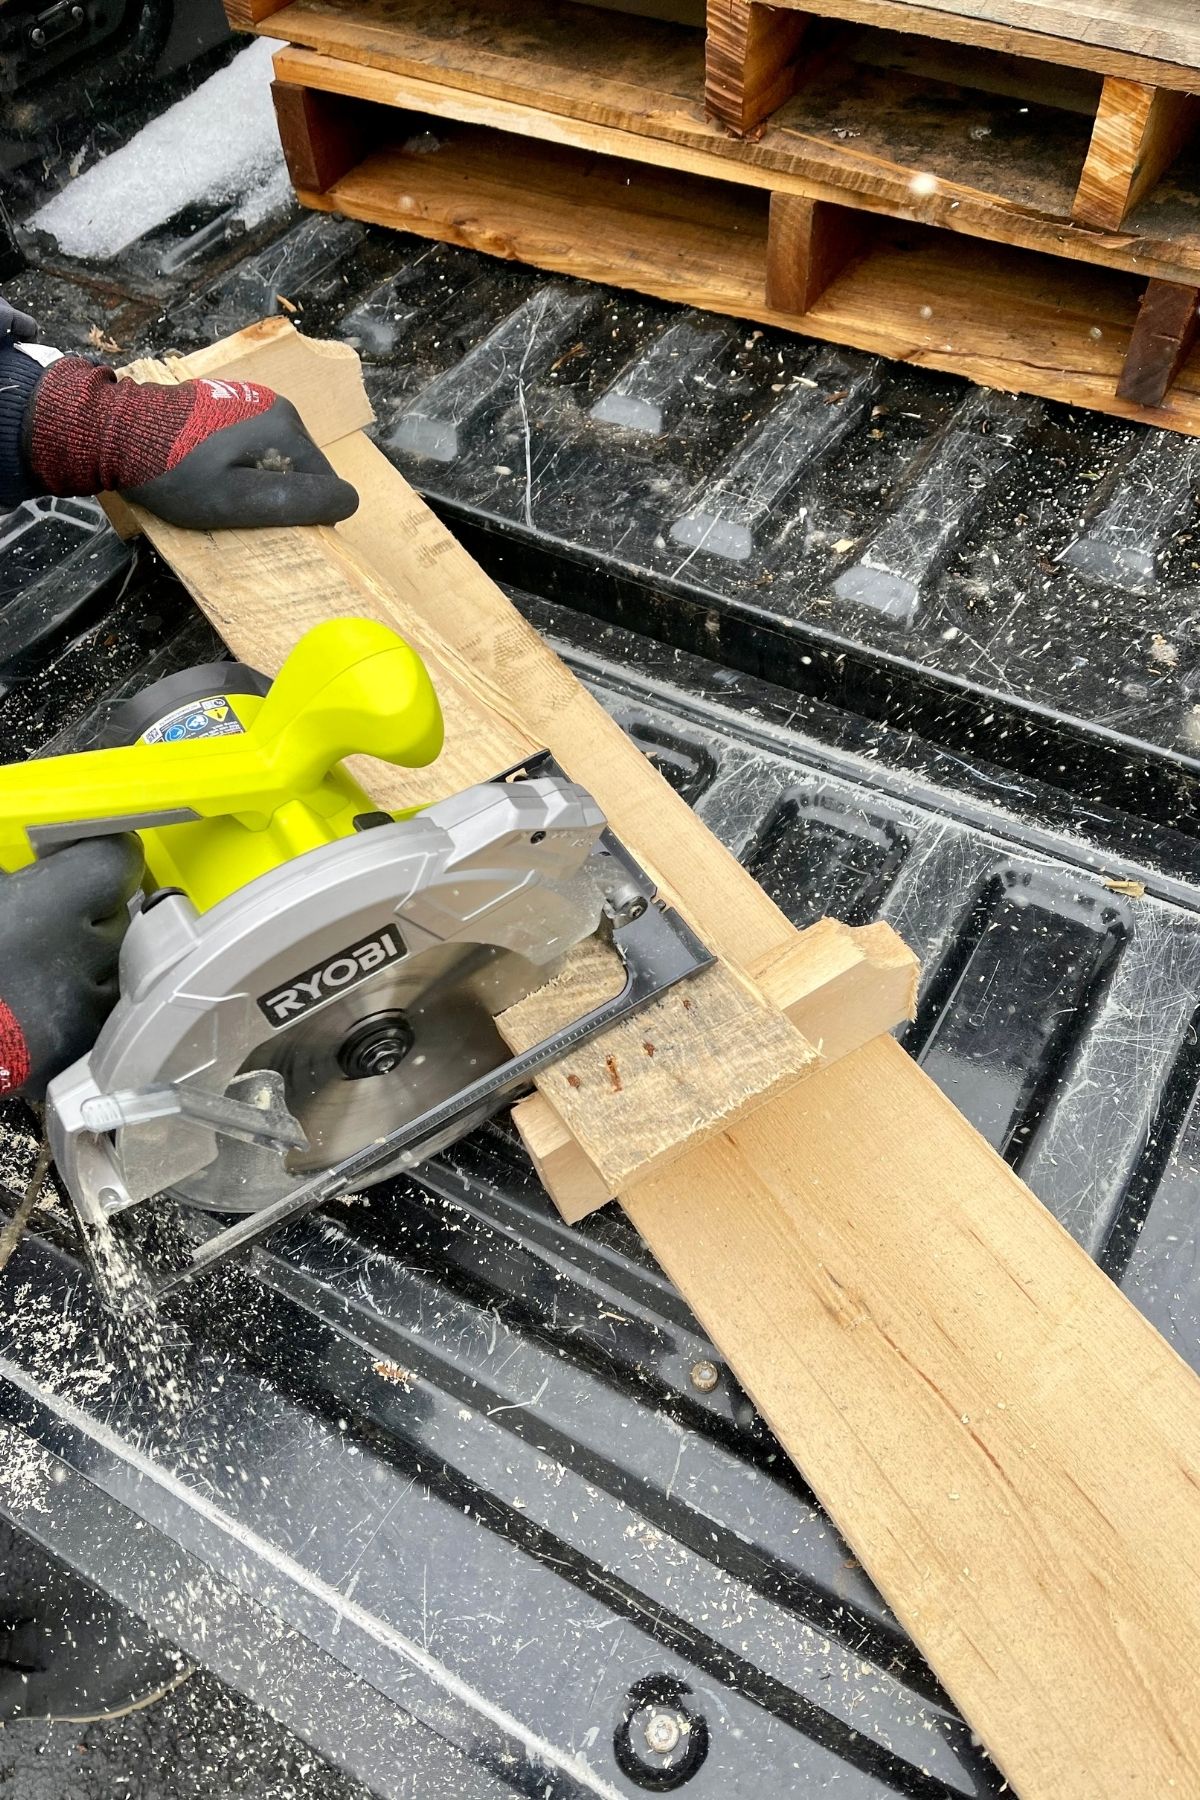
Using the circular saw, line the blade of the saw to your measurement and make the cut. Your cut should be a straight line from one end of the pallet to the other. Since there are multiple boards on a pallet you may need to cut through, it may be required to flip the board to cut through safely since a circular saw only cuts through 2 inches.
Set aside any unused and unwanted wood scraps. You may need these for later.
If your pallet has a curved bottom on any of the sides, you will need to brace it so it will sit evenly on the blocks. The brace supports can be made from extra lumber or scraps from the pallet that you cut off.
Making sure you have protective eyewear on, use a crowbar to remove any nails in the wood scraps. You may need to use the saw to cut the pieces if larger. Measure out support pieces at least 10" long and cut if needed.
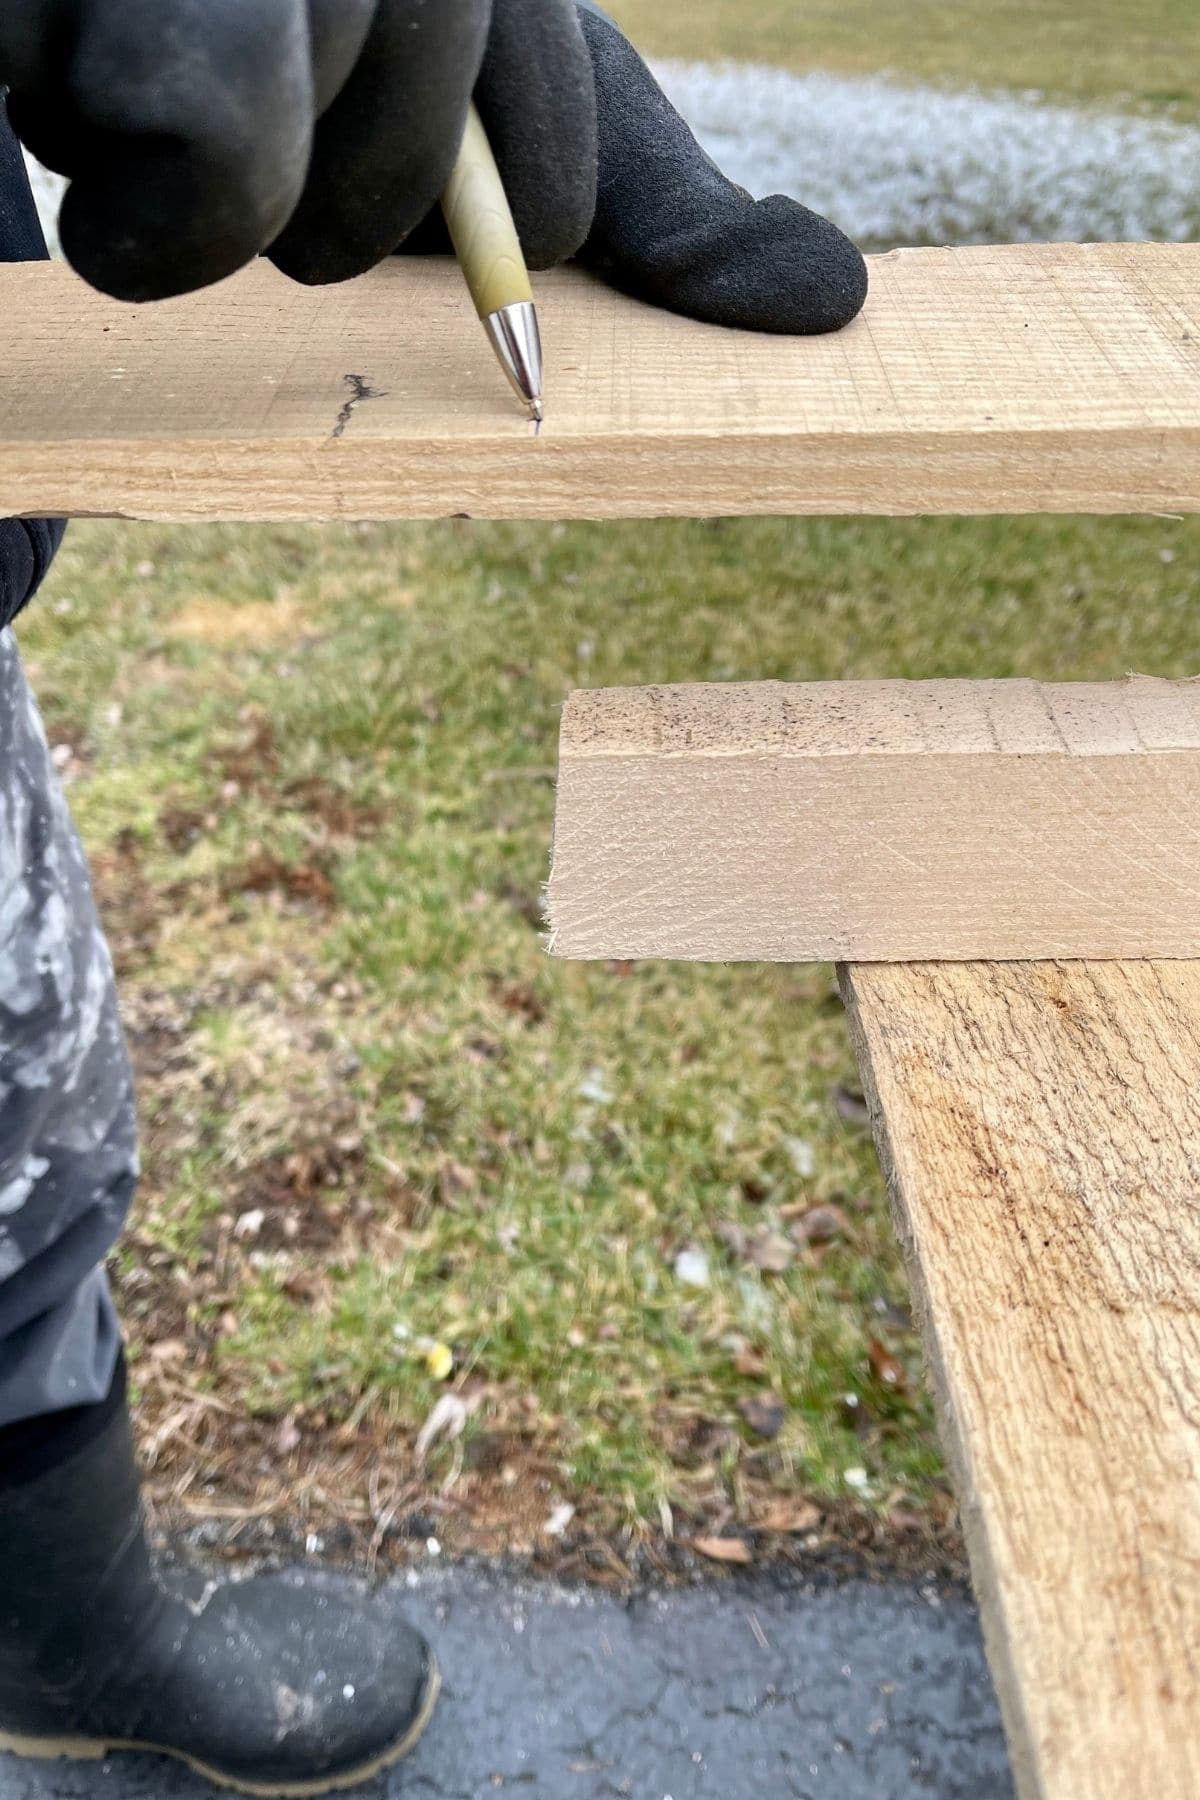
Flip the pallet table you already cut so the top is facing downward. Line up your support board to the edge of the pallet to form the support brace. Using a pencil, mark the support board to line up with the end of the pallet. Repeat on the other side(s) as needed.
Keeping on protective eyewear, use your saw to make the cuts on your measured boards.
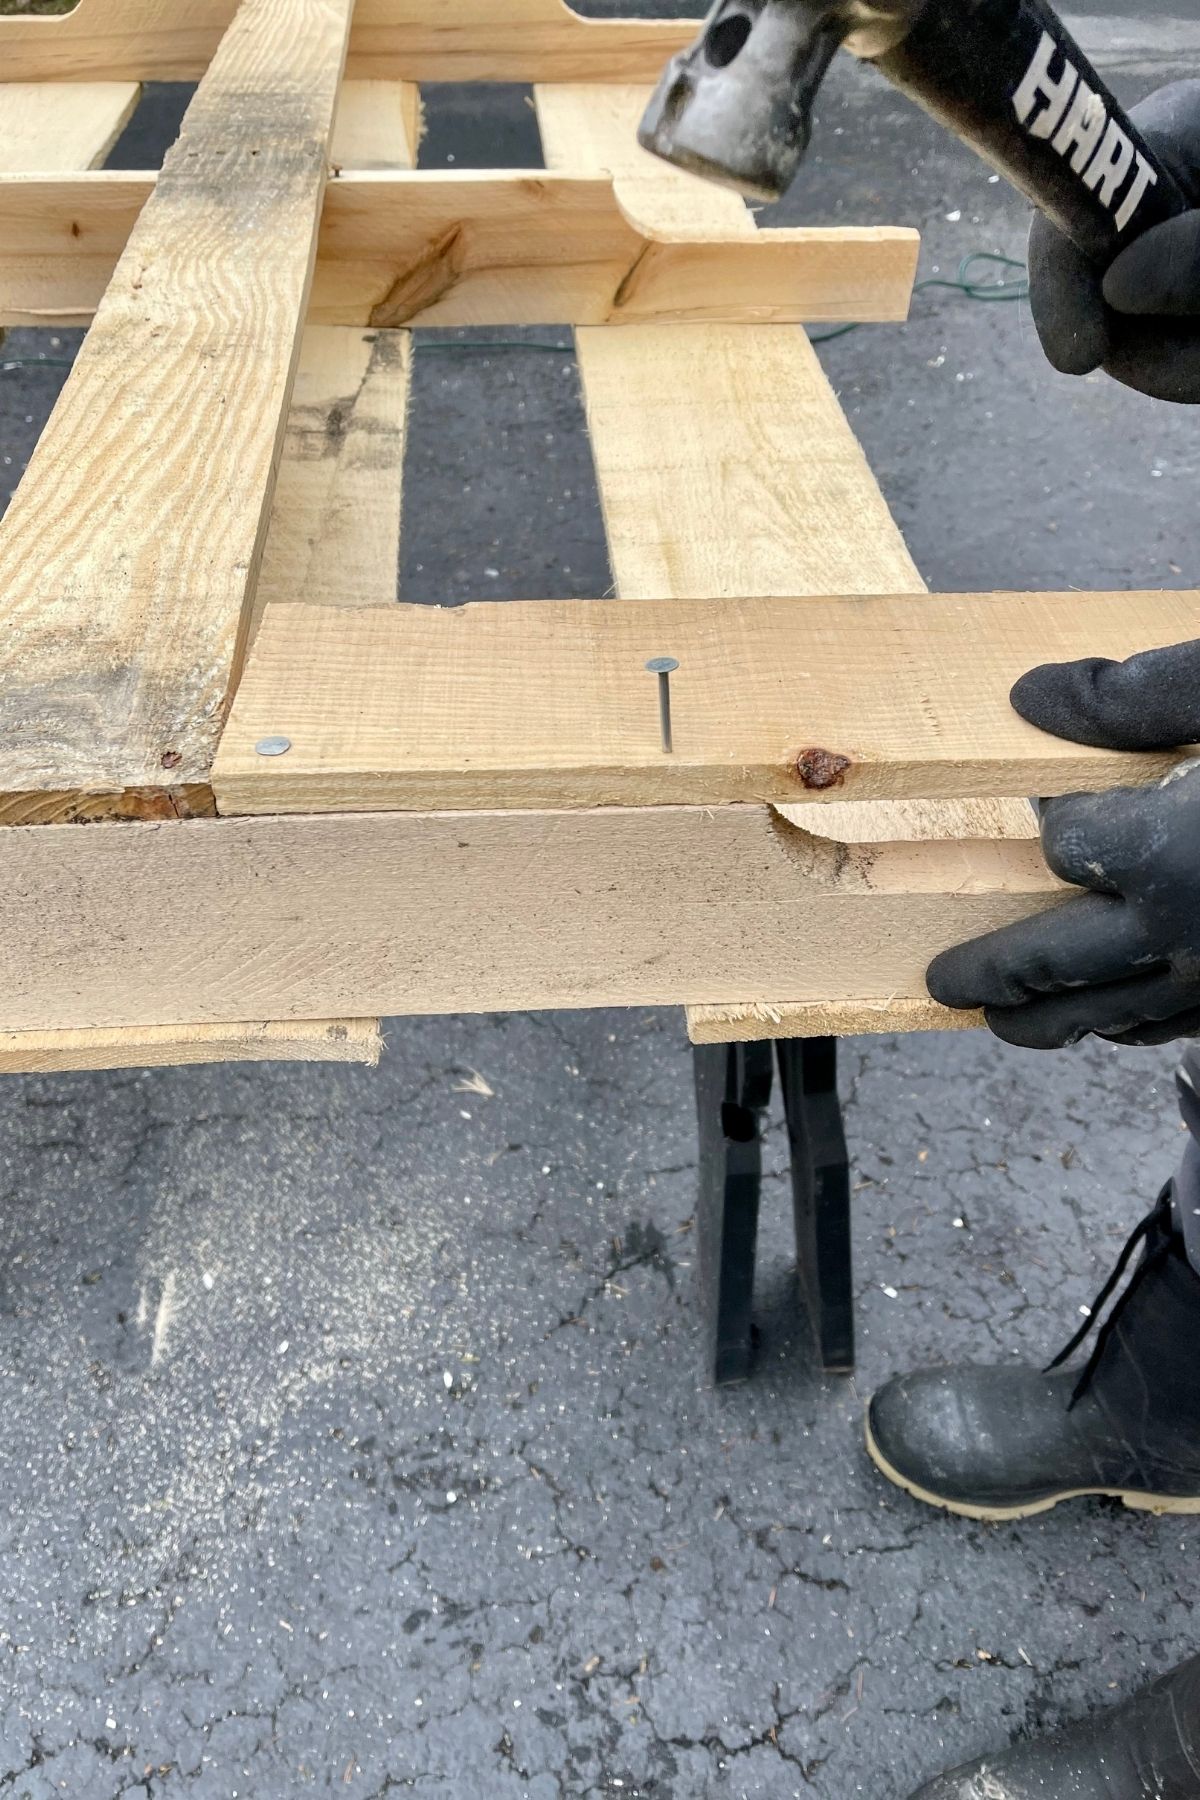
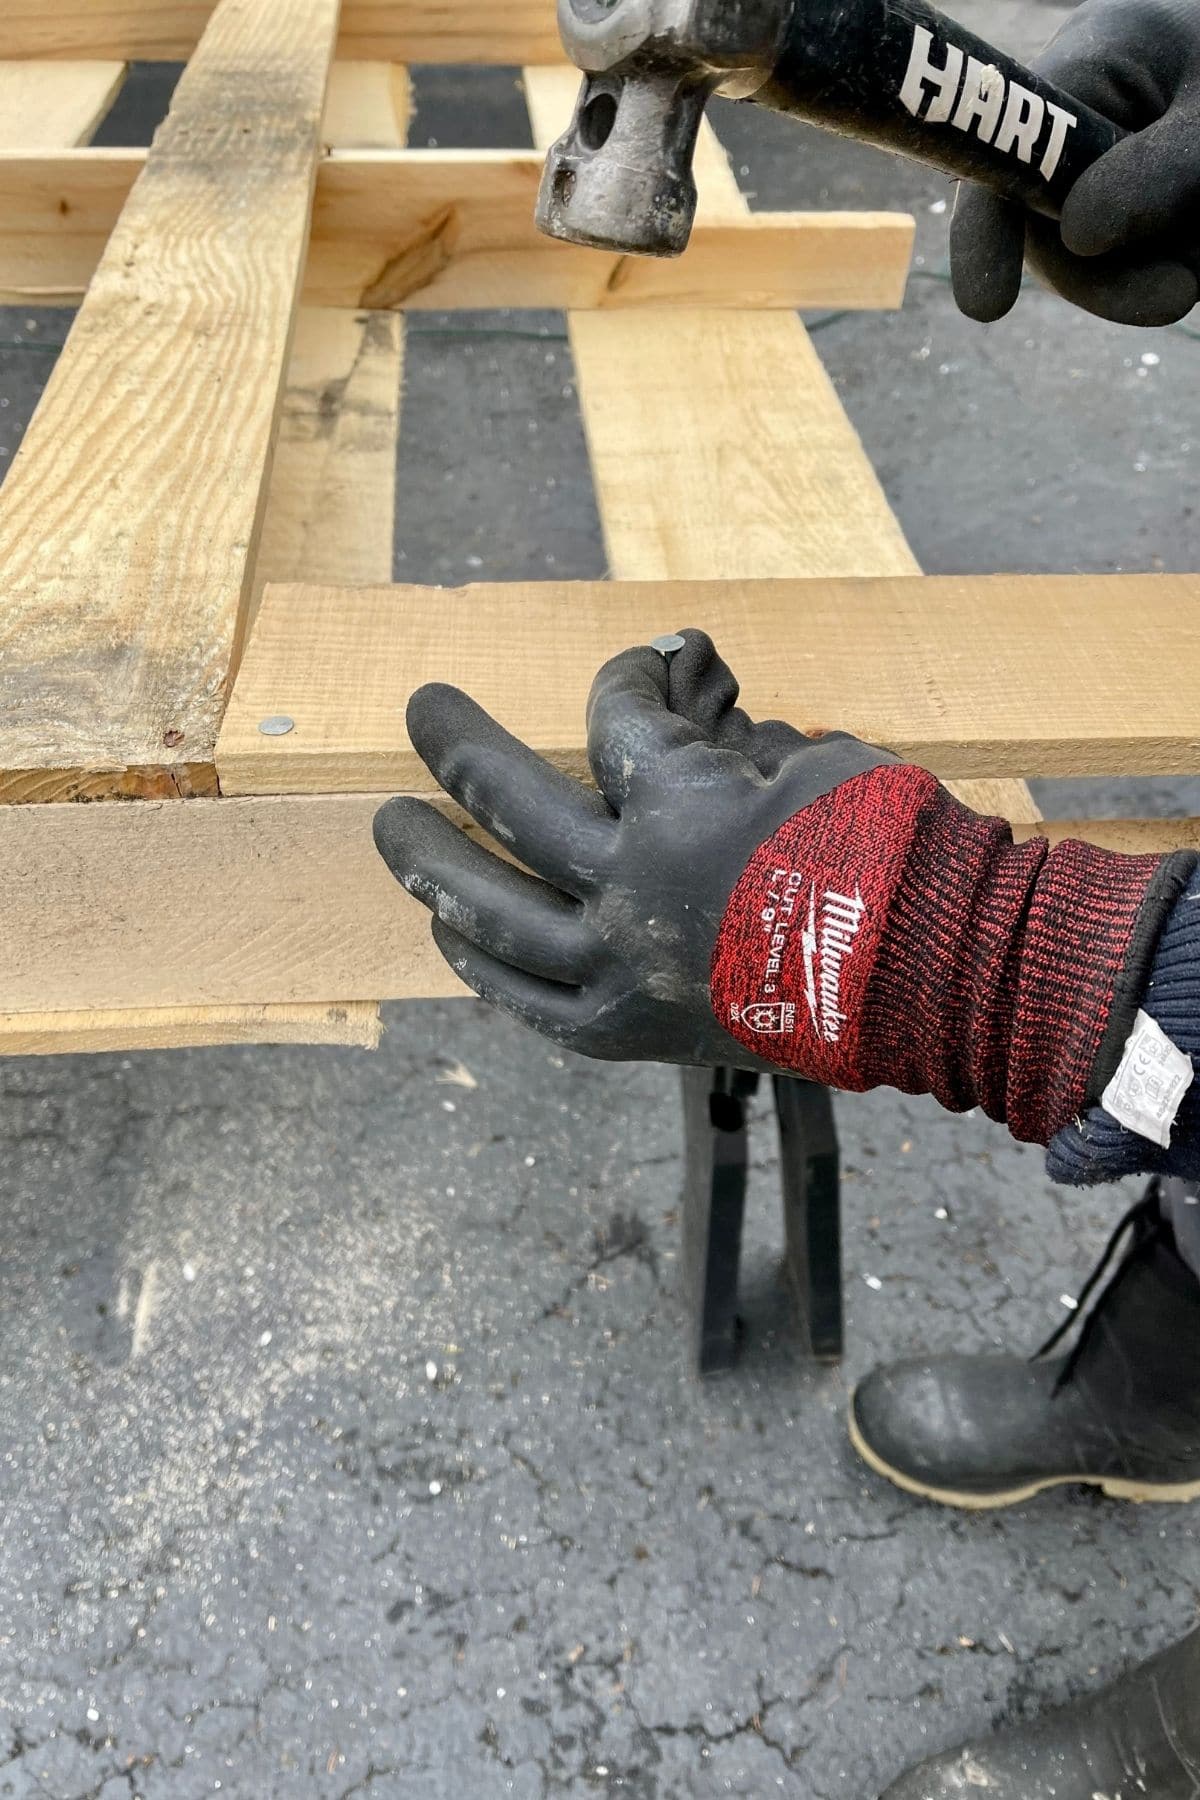
Line up the boards so they are even, then use a hammer and nails to secure the support board in place. Repeat on other sides if needed.
Flip the pallet again to make sure it sits evenly, if not, adjust the boards until you have an even base.
Set Up Your Pallet Table
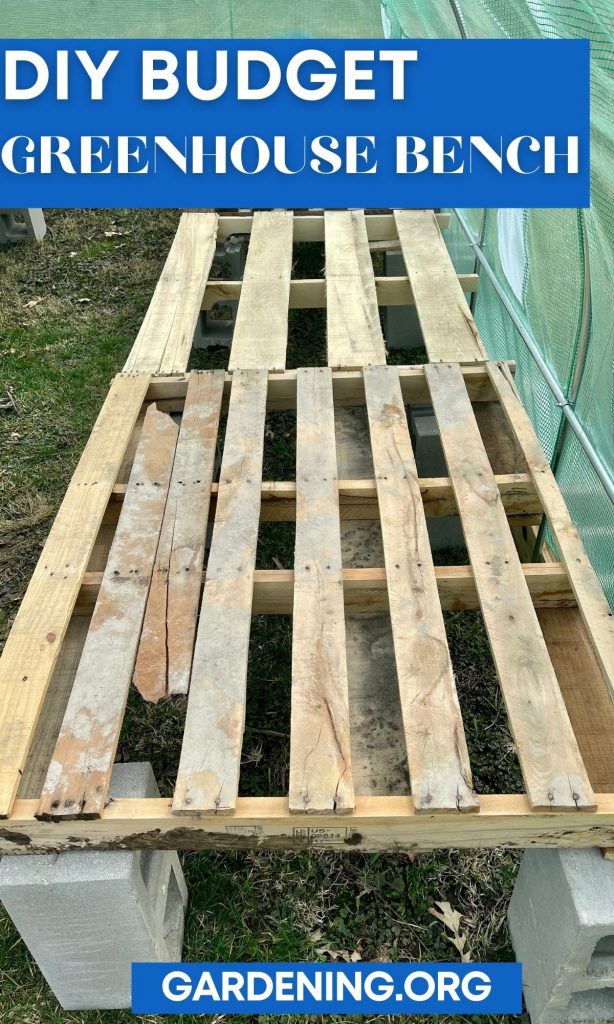
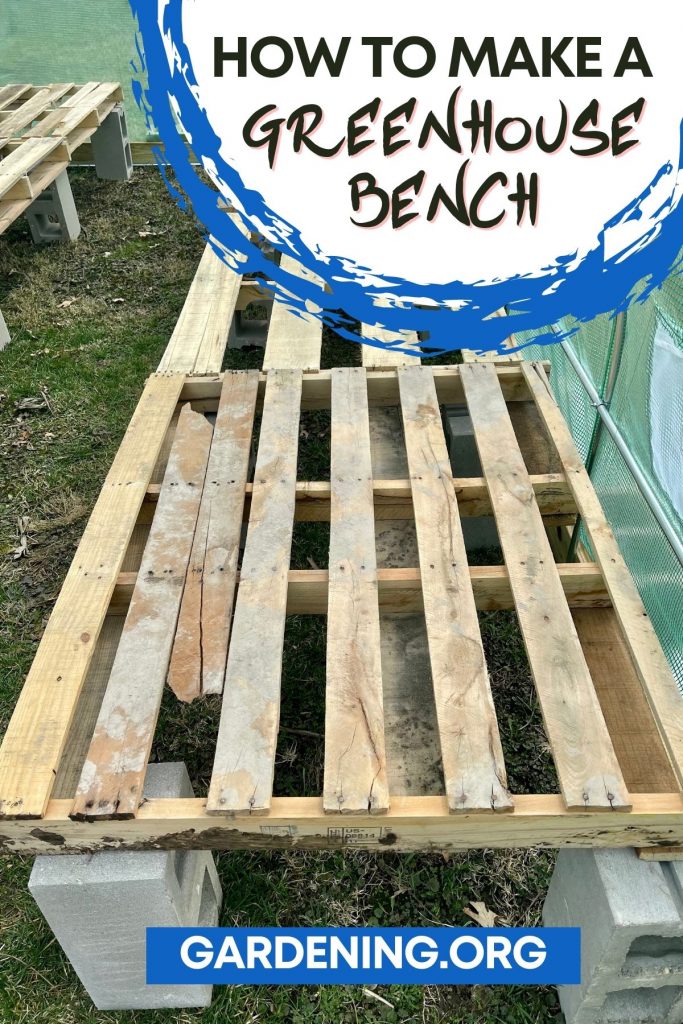
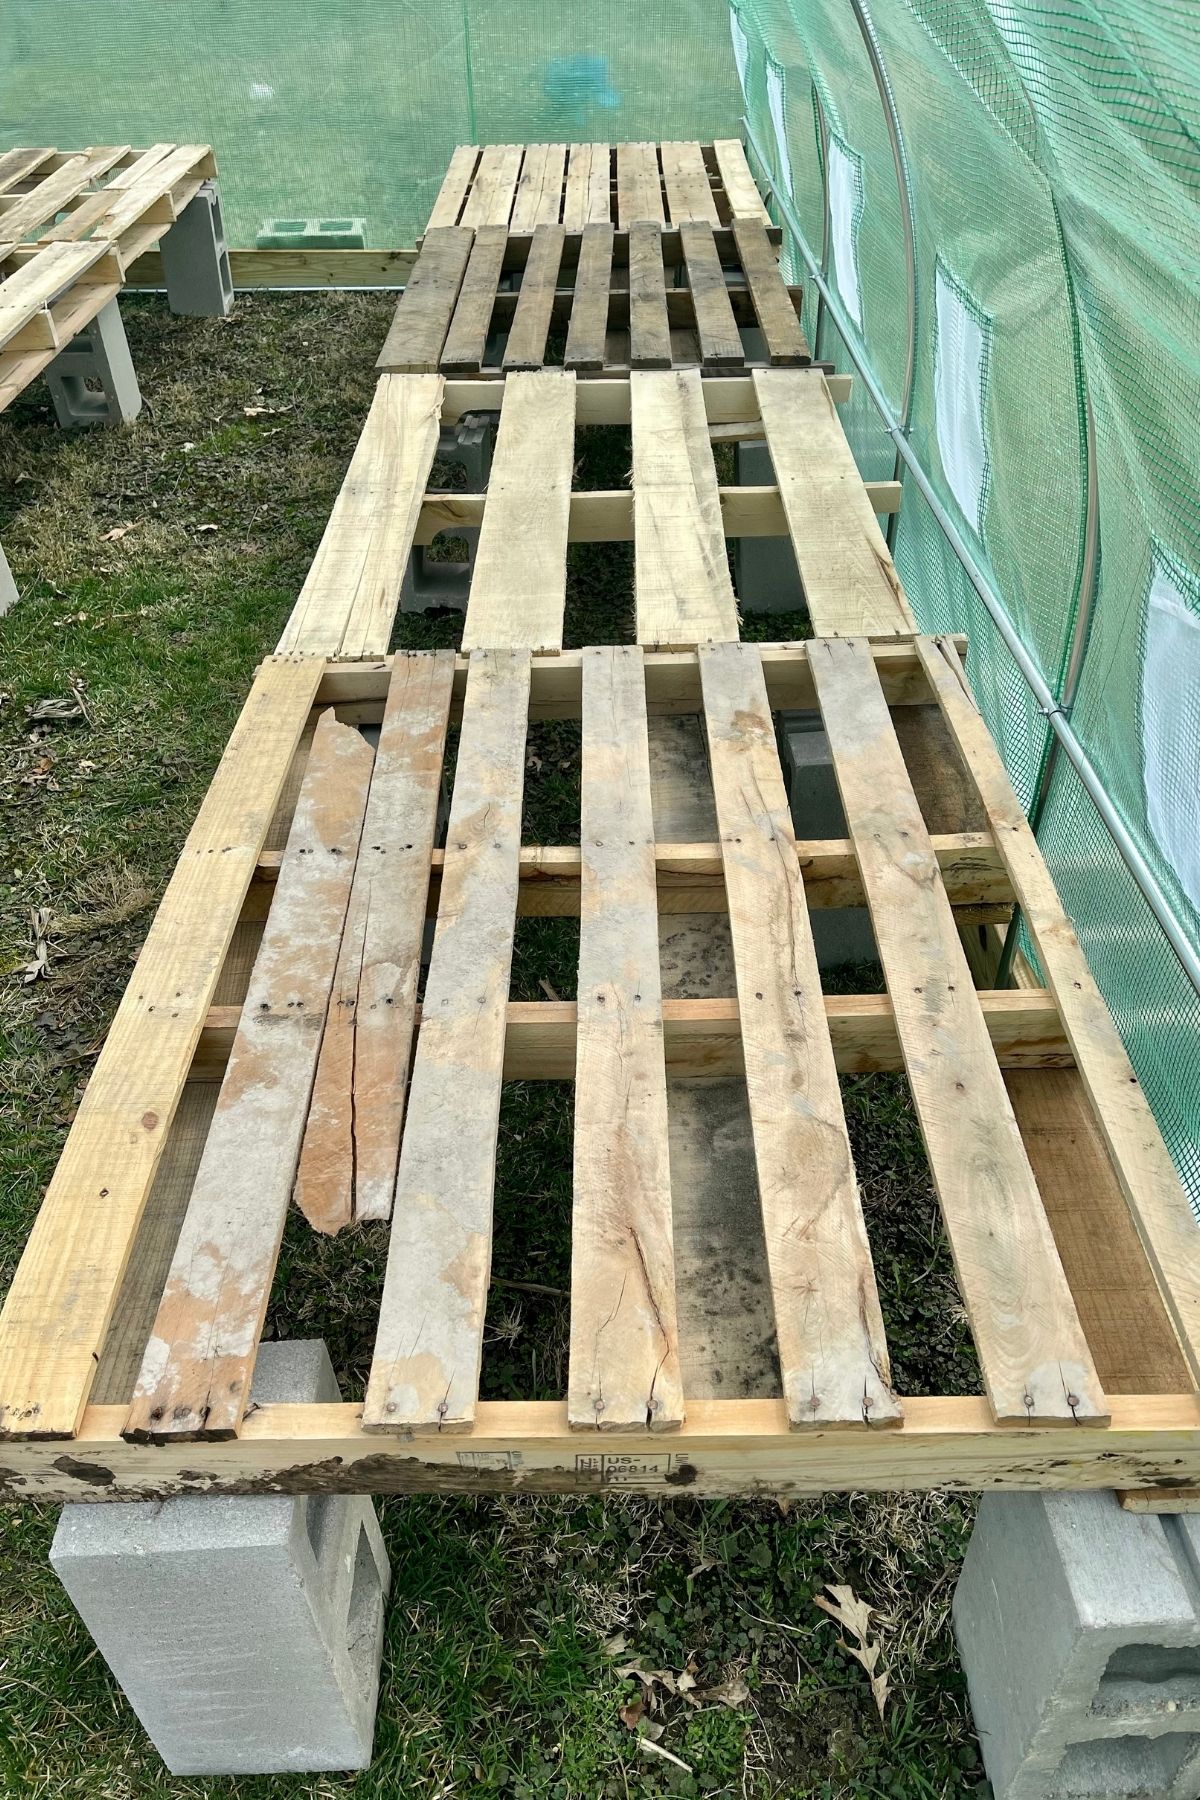
Place the cinder blocks or your preferred base into the greenhouse at the desired length/width You want them standing on end so the widest part is vertical and the top of the block is the solid flat part.
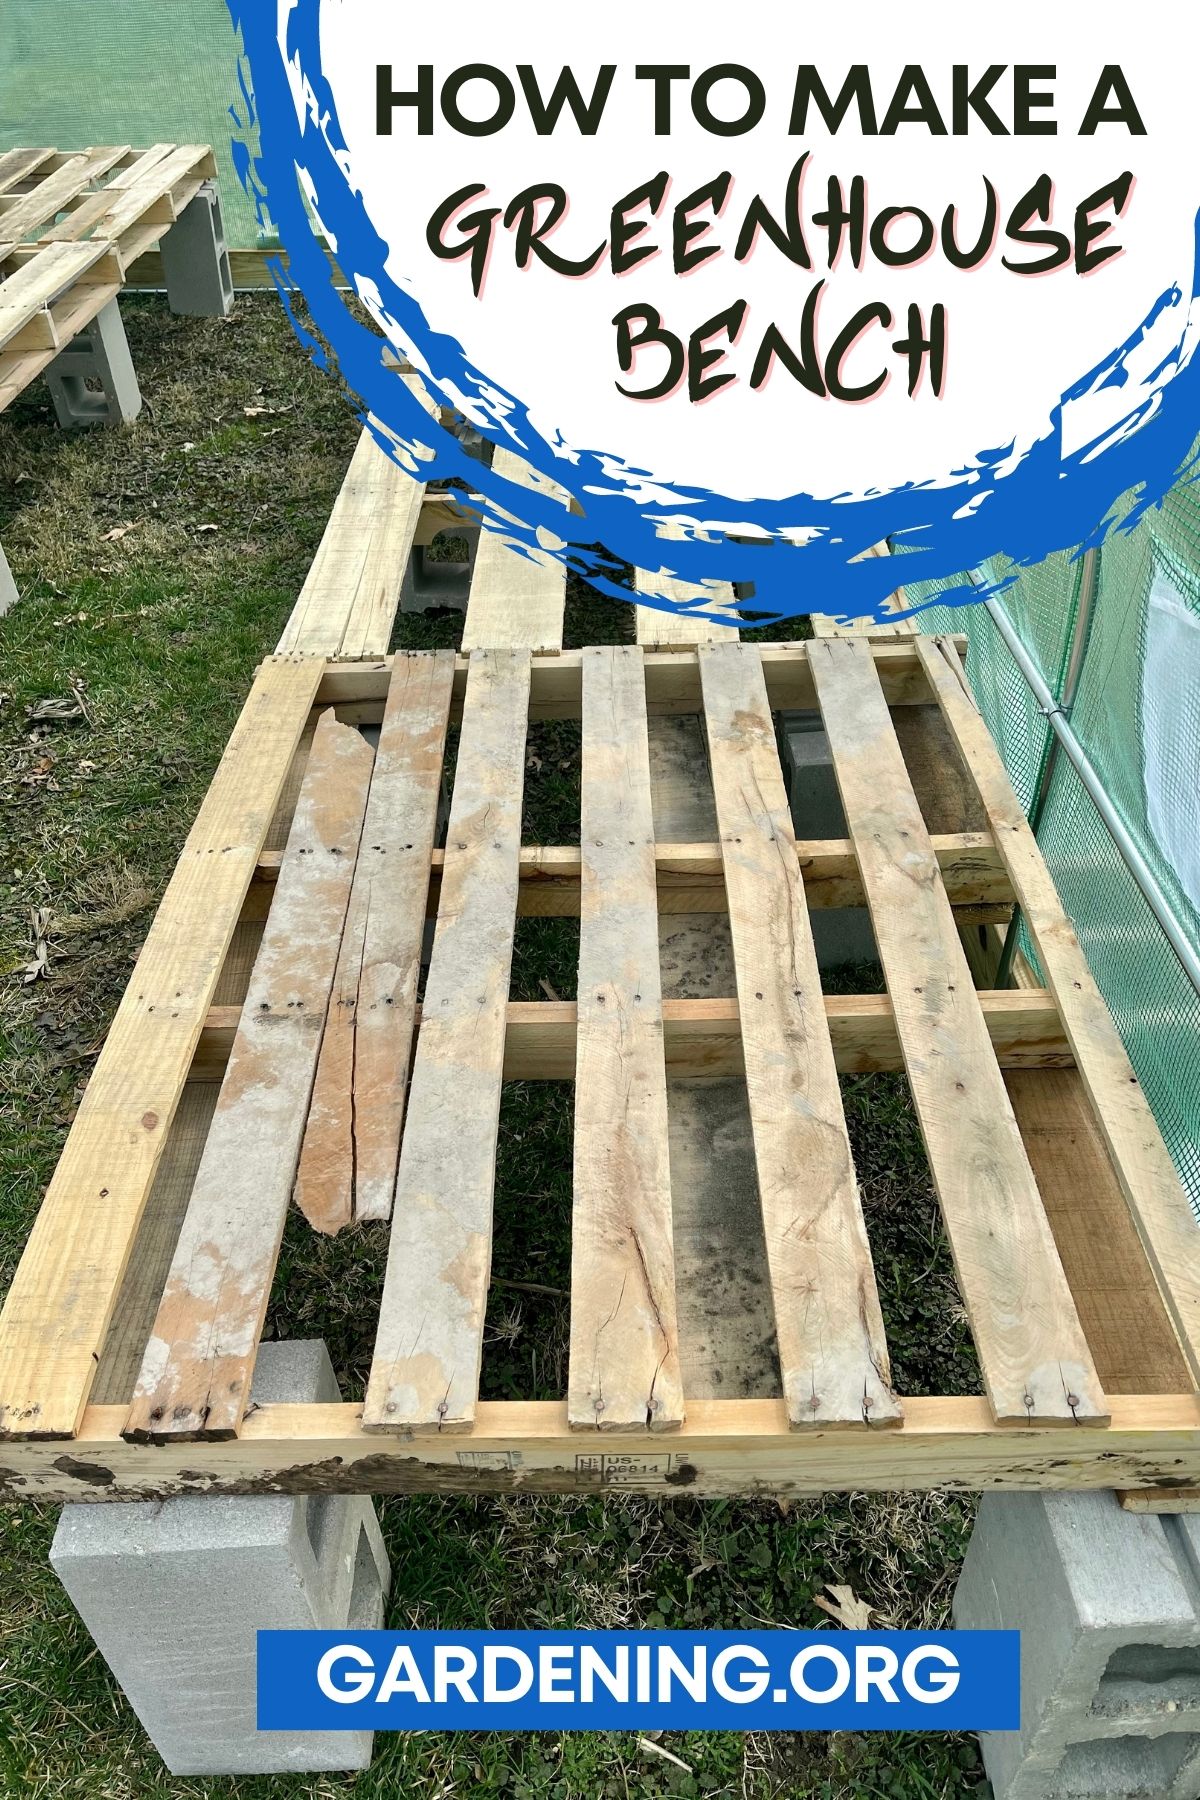
Place your pallet table on top of the blocks with the side of the pallet with multiple vertical boards facing upwards.
Repeat this process until all of your tables are set up. If you need them to be taller, you may want to stack the blocks two high. Be careful when doing so as they can get a bit wobbly.
More Gardening Tips
- 14+ Uses for Sawdust in the Garden Plus Tutorials
- 19 Garden Helper Insects + How to Attract Them
- 20 Amazing Uses for Vinegar In Your Garden + Recipes
Make your own sturdy but affordable greenhouse bench or table following this easy tutorial! Scrap lumber can be used for this project in place of pallets. Budget DIY Pallet Greenhouse Bench Tutorial
Materials
Tools
Instructions
How to Build a Greenhouse Table From Pallets
Cut the Pallets or Wood
Set Up Your Pallet Table
Notes



John H
Exactly how I'm doing mine. A little tip, turn all your cinderblocks so the core is facing to the sides of the bench. Then you can run 2x4s into the cores and add an off-ground shelf for things like bags of potting soil or tools. It will also help stabilize the blocks and make them less wobbly.
Mary Ward
Yes, great tip.Thanks!