When it comes to composting, there are so many great options to try. There’s hot composting, which can produce large volumes of compost quickly, cold composting that requires minimal effort, vermicomposting for a more active compost bin and, of course, bokashi composting.
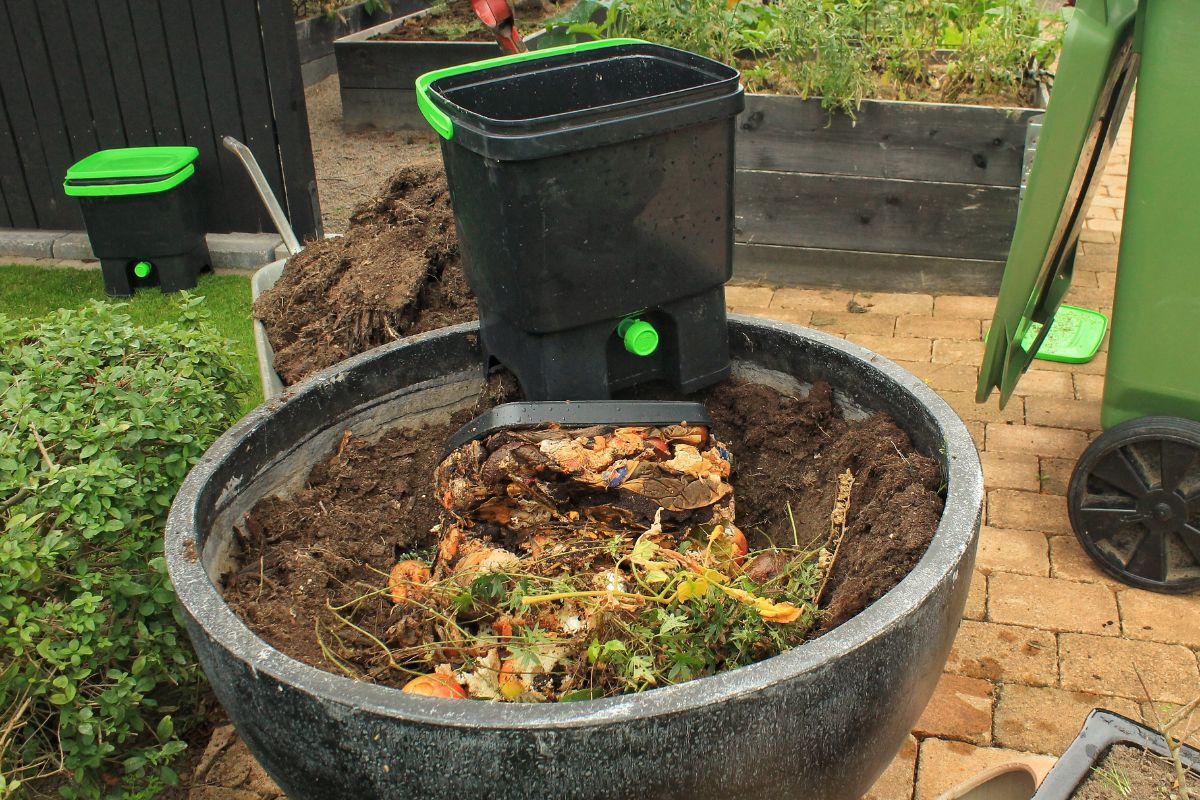
While you may have never heard of it, bokashi is a small but mighty composting method that is rapidly gaining popularity with gardeners and eco-minded consumers alike. And for good reason. Bokashi is capable of producing quality compost in a fraction of the time of other methods and it can process food scraps that other methods can’t handle.
Even better, bokashi composting is small-space friendly, requires no heavy lifting and is easy to master. Curious? Good! Read on for a primer on all things bokashi. We’ll cover topics like how to make your own bokashi bin, how to use bokashi compost and how to troubleshoot common issues. So, if you’re ready, let’s get started and you’ll be a master of bokashi in no time.
Jump to:
- What is bokashi composting?
- What are the benefits of the bokashi method?
- How to start composting at home with bokashi
- Purchasing a premade bokashi system
- How to make your own DIY bokashi system
- How to make your own homemade inoculated bran
- How to use your bokashi composting system
- What can you compost with bokashi?
- How to use your bokashi compost
- How to make bokashi compost tea
- FAQ
- Conclusion
What is bokashi composting?
First begun in Ancient Korea, bokashi composting is a unique method of composting that relies on pickling and fermentation, rather than decomposition, to create finished compost in as little as four weeks.
What makes bokashi composting special is that it takes place in an anaerobic environment, otherwise known as an environment that is lacking in oxygen. While other methods of composting require aeration, bokashi utilizes certain strains of beneficial bacteria and other microbes that can thrive in an oxygen-poor location. With the help of these particular microbes, bokashi is able to quickly and efficiently process food scraps and yard waste, producing garden-ready compost and compost tea in just a matter of weeks.
Additionally, because of the unique fermentation process, bokashi creates an acidic environment where bad microbes can’t thrive. As a result, bokashi is the only method of composting recommended for processing difficult to compost items, such as dairy and meat.
What are the benefits of the bokashi method?
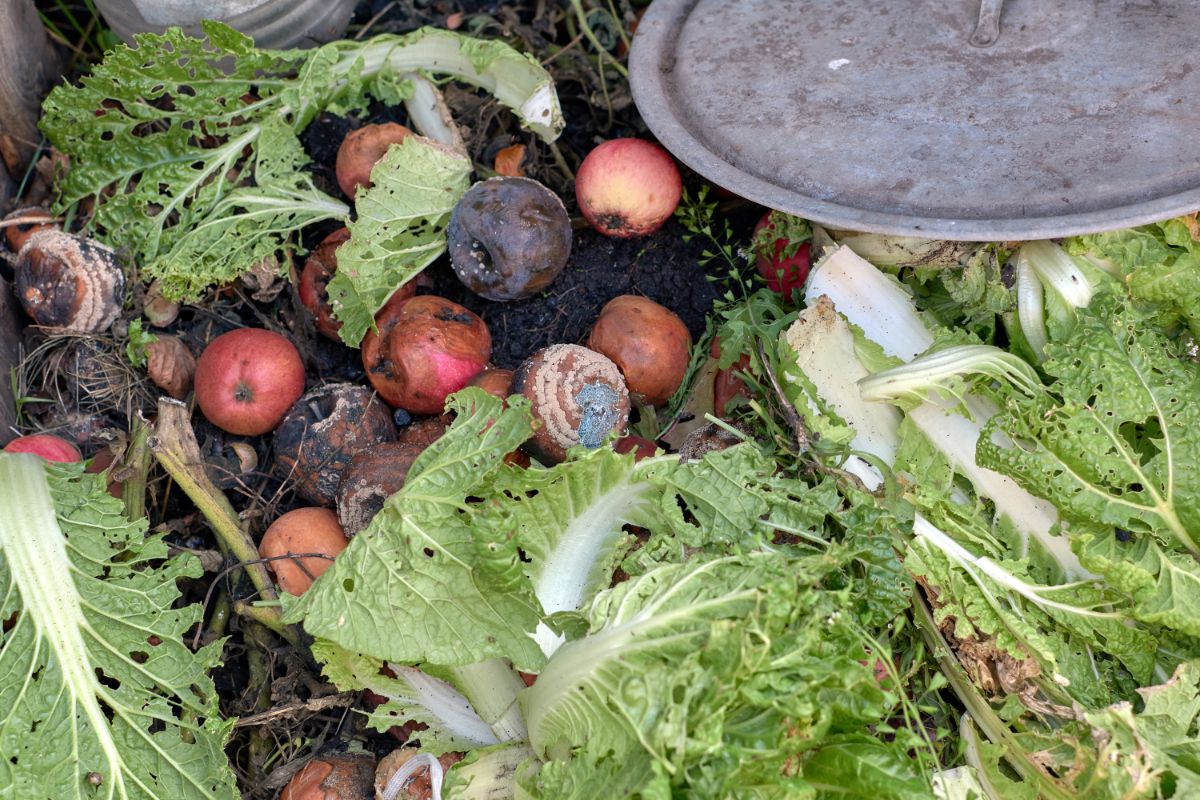
Bokashi is an incredibly simple composting method to master and, if you happen to find composting an enjoyable process, it is one of the most fun methods to get into. That said, there are some very tangible benefits of utilizing bokashi for composting. Those benefits include:
- Bokashi produces finished compost more quickly than other methods. Because bokashi uses fermentation, rather than decomposition, it works much more quickly than other, more traditional composting methods, like cold composting. With bokashi, you can expect to produce a finished compost tea in two weeks and a finished garden-ready compost in as little as four weeks.
- Super simple to use, bokashi is easy to learn and doesn’t require any turning. Bokashi and hot composting are both fast composting methods; however, hot composting requires frequent turning to provide enough aeration to speed the composting process along. Bokashi, on the other hand, requires no turning and does not need to be regularly monitored for temperature fluctuations as hot composting does. This makes bokashi an extremely simple process that is ideal for any gardener with back pain, sore muscles or simply anyone who doesn’t relish the physical labor hot composting requires.
- Bokashi can process difficult to compost organic matter other composting methods can’t handle. Meat, bones and dairy are often not recommended for other composting methods as they can attract garden pests or encourage unhealthy bacteria from taking up residence in your compost pile. However, as bokashi creates an acidic environment during the composting process, it is the only method that is recommended for composting meat scraps and dairy.
- Compost produced with this method is naturally repellant to garden pests. Because bokashi pickles, rather than decomposes, organic matter, the finished compost has a different odor and consistency that garden pests, like raccoons and rodents, find unpleasant. And, although garden pests avoid it, you don’t have to worry about unpleasant garden odors: finished bokashi compost smells like pickles!
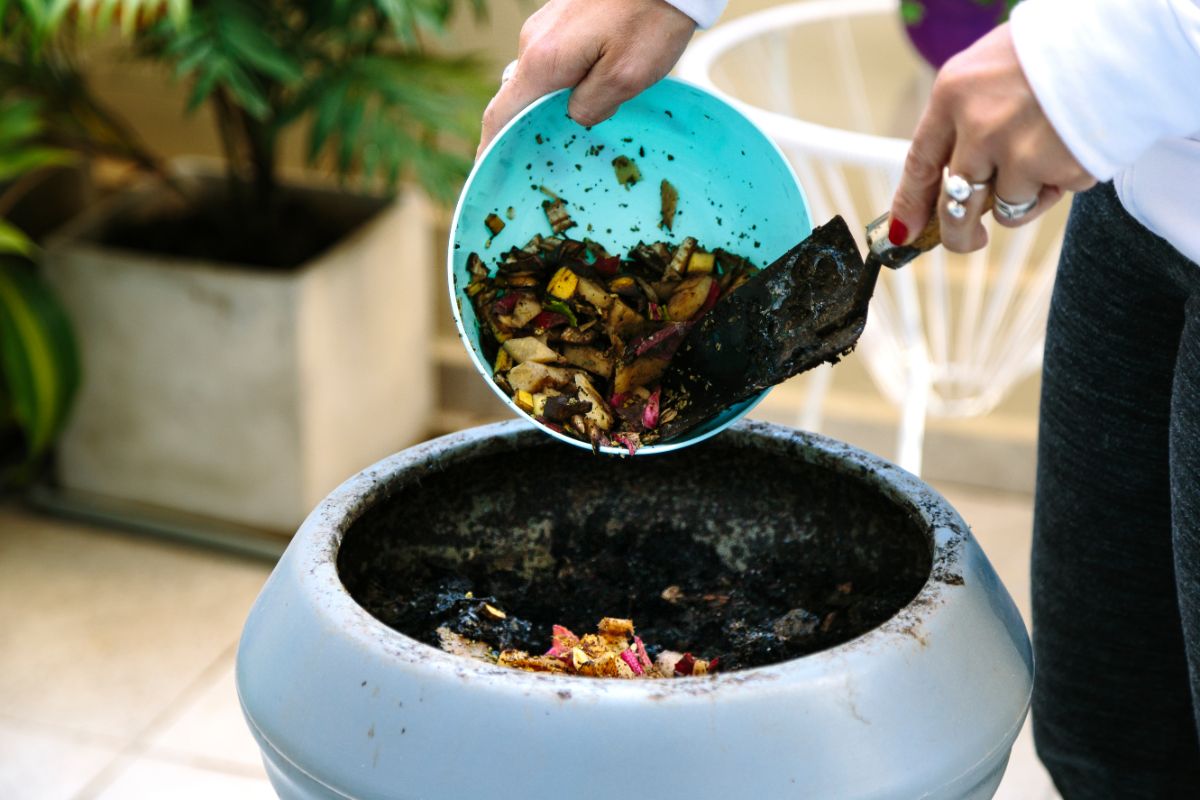
- Small space-friendly, bokashi is the best composting method for apartment life. Your bokashi setup can be as elaborate or simple as you like; however, the standard-sized bokashi bin is a simple 5-gallon bucket. This compact size makes it the perfect composting method for small spaces and apartment dwellers as it can fit in any small closet or even under the kitchen sink.
- As an indoor composting method, bokashi allows you to compost all year long. While outdoor composting, like hot and cold composting, stalls out when temperatures drop below freezing, bokashi is an indoor composting method. This means you can compost all year long, which is great for reducing kitchen waste and for producing fresh compost for indoor houseplants even when your garden is dormant during the winter months.
- Bokashi produces a ready-made versatile compost tea. Unlike other composting methods, during the fermentation process, bokashi creates lots of liquid, which can be used as a liquid fertilizer. This liquid, known as bokashi tea, does not need to be brewed as other compost teas do, which saves you time, though it should be diluted prior to use.
How to start composting at home with bokashi
Before you start composting with bokashi, you’ll need two things: an air-tight bokashi container and inoculated bran.
When choosing a container, you have several options. You can buy a premade bokashi bucket, which often comes with a spigot that allows you to easily draw off your bokashi tea, or you can make your own system. Both are great options, although a DIY-system can be much less expensive to put together and is simple to make.
You’ll also need inoculated bran to begin composting, which can also be made at home or purchased online. Again, making your own bokashi bran is simple to do; however, to save some time, buying premade may be the better choice. It’s up to you.
Bokashi bran is generally made from rice or wheat bran that has been inoculated with a special blend of Effective Microorganisms (EM), which consist of beneficial microbes, like lactobacillus and other helpful, naturally-occurring bacteria and yeasts.
With these two products in hand, gather your kitchen scraps and yard waste. You’re ready to start bokashi composting!
Purchasing a premade bokashi system
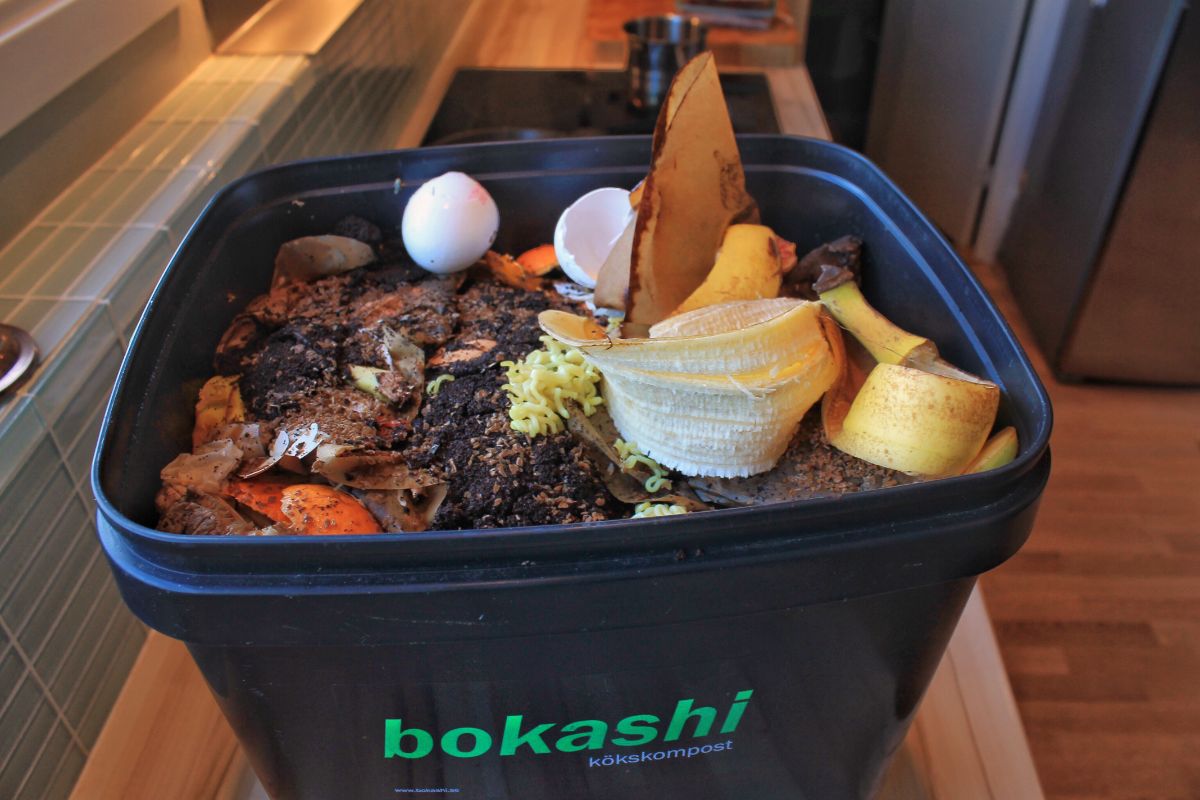
As far as premade bokashi systems go, there aren’t that many different products to choose from. This is because, while bokashi is a relatively old method of composting, it has only begun to gain popularity in gardening groups and how-to books recently and companies are just beginning to catch on.
For premade systems, look for bokashi buckets that have an airtight seal with a lid and, ideally, a spigot for easy harvesting of your bokashi tea. The Bokashi Starter Kit by Bokashi Living is a great beginning setup that has everything you need to begin composting with bokashi, including a bucket with a spigot, two bags of bokashi bran and a booklet with easy instructions perfectly tailored for beginners.
To make your bokashi composting go a bit smoother, consider purchasing the two-bin starter kit, which can speed up composting times as you can continue bokashi composting with your second bin, while your first bin is allowed to rest and finish composting.
For other great premade bokashi composting systems, Biorfe offers a two-bin starter kit as well, as does TeraGanix. While less expensive, the TeraGanix system does not include a spigot so you may need to do a bit more fiddling to harvest your bokashi tea.
How to make your own DIY bokashi system
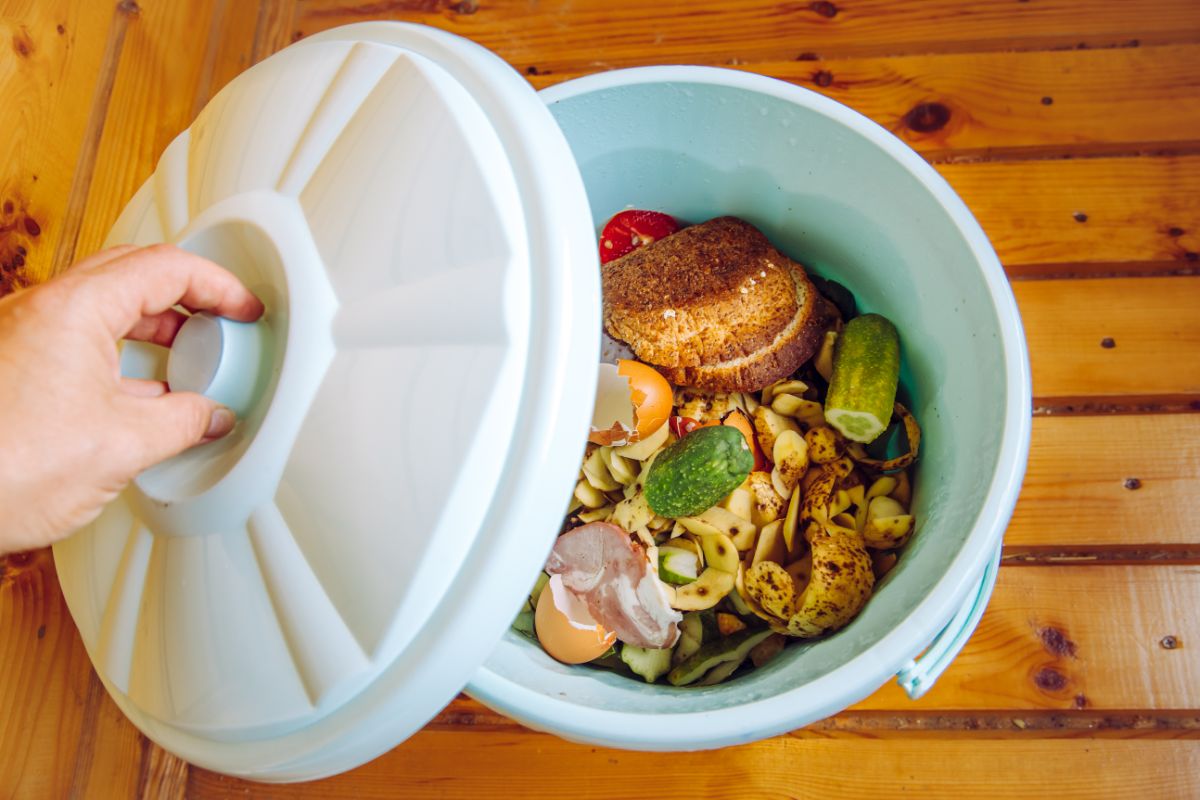
While premade bokashi systems are great, making your own DIY bokashi bucket is simple to do and very inexpensive to complete. Better still, as it requires only very basic materials, you can easily find everything you need at your local home improvement store or online.
What you need:
- Two 5-gallon plastic buckets with lids
- One airtight gamma seal lid (optional)
- A power drill with a ⅛ to ¼” bit
- Paddle bit for your drill (optional)
- Bike inner tube
- Super glue
- Plastic spigot with washers and nut (optional)
Getting started:
- First, using your ⅛ to ¼” drill bit, drill a series of holes all around the base of one bucket, approximately 20 to 30 holes in all. These holes will allow your bokashi compost tea to drain out of the first bucket and into the second bucket for easy harvesting.
- Next, cut your bike inner tube in half and secure it with tape or super glue to the top of the bucket that you did not drill holes into. This will help ensure your buckets have an airtight seal, which is necessary for the anaerobic environment utilized in bokashi composting.
- While this is optional, you can now add a spigot to your system if you’d like. Simply drill an appropriately sized hole with your paddle bit near the base of the bucket you did not drill holes into already.Then, thread your spigot in through the hole, carefully securing it with the washers and nut. The seal on your spigot should be good enough as is, but you can reinforce it a bit with some extra super glue.Before proceeding, fill your bucket with some water to test the seal around the spigot. If it doesn’t leak, you’re good.
- Finally, assemble your bokashi system by stacking your buckets together, placing the bucket with the holes in the base inside the bucket with the (optional) spigot and bike tire tube seal. Then secure your lid to the top of your uppermost bucket and you have a completed system.Alternatively, you may wish to use an airtight, gamma seal lid instead of the lid that originally came with your plastic bucket. The original lid, while functional, is not quite airtight. The gamma seal lid will provide the optimal seal needed for an anaerobic environment.To secure your two-part gamma seal lid, simply remove the outer ring and snap it into place on your top bucket, making sure you hear it Next, simply screw the lid in place and you’re ready to begin composting.
How to make your own homemade inoculated bran
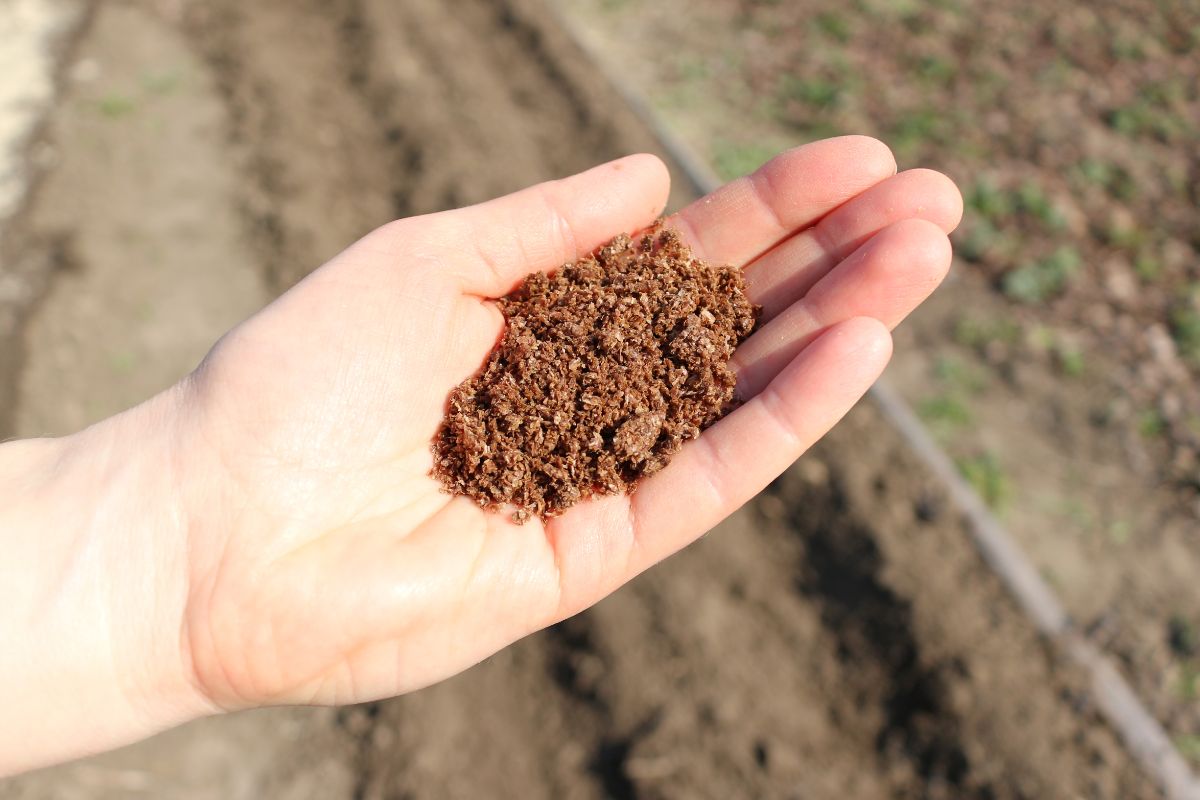
While the simplest solution is to buy premade bokashi bran, if you’re feeling very crafty or just enjoy DIY, you can also make your own out of a few basic ingredients. And, if you enjoy cooking, this is just the project for you -- it’s a lot like cooking after all!
What you need:
- Water
- Molasses
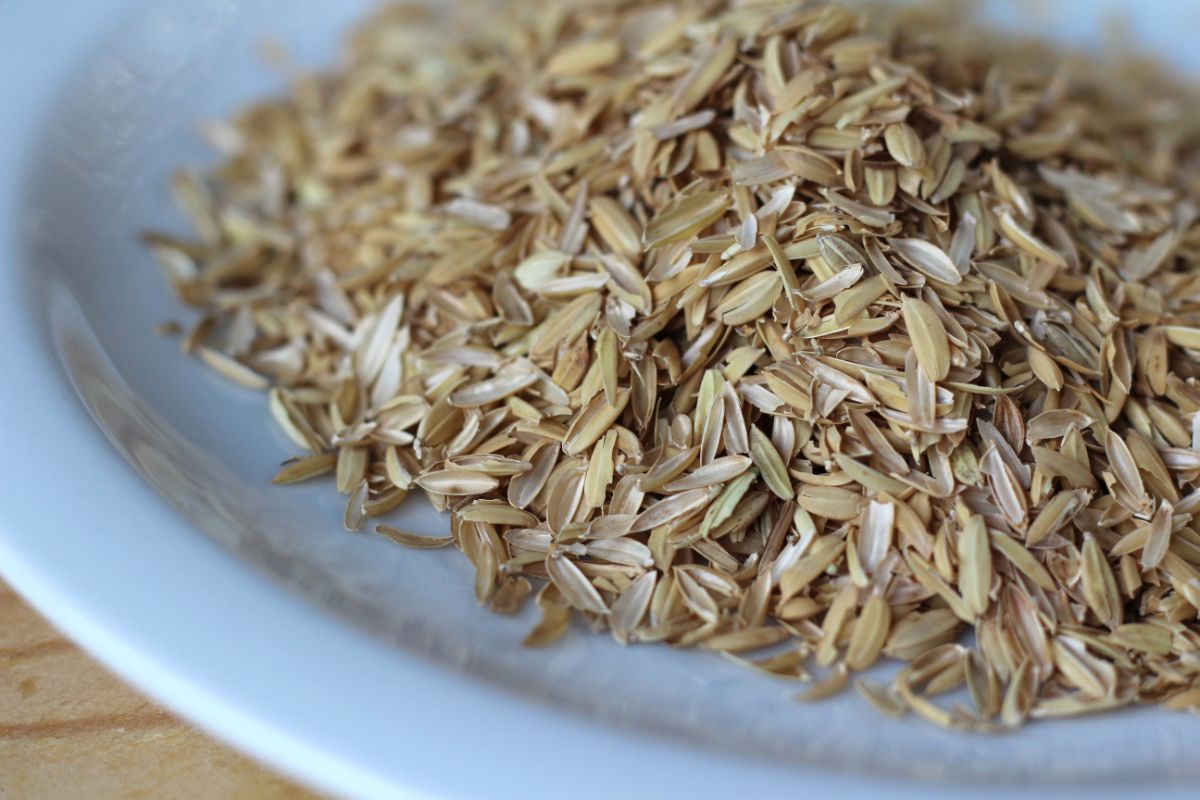
- Bran, such as wheat bran or rice bran. You can also use other porous materials, such as coffee grounds, shredded cardboard or newspaper or rice husks.
Pro tip: If you’re looking for a large quantity of bran for little to no cost, try reaching out to a local brewery in your area. They may have some leftover spent grain that will work great for bokashi bran. - Liquid Effective Microorganisms (EM-1)
- A large bowl or bucket for mixing
- An airtight container
Getting started:
- In your mixing vessel, pour in 4 cups of lukewarm water and 2 tablespoons of molasses and mix well to combine.
- Next, stir in 2 tablespoons of EM-1 and, again, mix well.
Tip: This recipe can either be scaled up or scaled down depending on how much bran you’d like to make. Just try to stick to this ratio for a properly balanced bran:
- 1 tablespoon of EM-1
- 1 tablespoon of molasses
- 2 cups of water
- 4 pounds of bran or other porous material
- Now, add your bran to your airtight container and pour in ¾ of your EM-1 liquid mixture and mix with your hands trying to combine your ingredients thoroughly until you achieve even moisture throughout.
- Little by little, continue to pour in more of your EM-1 liquid mixture until you reach the desired consistency, which should be approximately the consistency of oatmeal cookie dough. If you squeeze the mixture together, it should stick to itself in a little ball. If it drips, there is too much moisture, but this is a forgiving recipe so don’t stress if the consistency isn’t quite right.
- Once you’ve mixed your batch well, all that’s left to do is seal your container and wait. Ensuring a tight seal on your container, allow your bran to ferment undisturbed for two weeks. At the end of this period, you’ll have fully inoculated bran ready for bokashi composting. Just remember, during this fermentation process, don’t take off the lid of your container. The EM-1 needs an airtight seal to properly ferment the bran.
- After two weeks, your bran is ready for use; however, you’ll probably want to dry your bran out first for easier storage. To do so, simply spread your bran out on a tablecloth or tarp indoors or outside (when rain is not expected) and allow it to thoroughly dry.While you may be tempted to dry your bran in the oven, it is not recommended as too high of heat may kill off your EM-1. For the same reason, avoid drying your bran in direct sunlight, which may be too intense for your EM-1.
Tip: Once finished fermenting, your bran should have a pleasant, slightly vinegar scent to it, similar to apple cider vinegar. If it smells bad or has non-white mold on it, toss that batch and start again.
- Once your bran is dried, gather it up and store it in an airtight container or Ziploc bag and place it in a cool, dry location out of direct sunlight. A properly made batch of inoculated bran should last one to two years without losing any effectiveness.
How to use your bokashi composting system
Once you have your bokashi bucket and bran gathered together, you’re ready to get to work composting!
To begin using your system, simply sprinkle a thin layer of inoculated bran into the bottom of your bokashi bucket. If you’re using a homemade, two-bucket system, add the bran to the bottom of the upper bucket only.
Next, add approximately 1 to 2” of food scraps to your bucket and then sprinkle an additional layer of bokashi bran on top of your food waste. If you have large chunks of food, try cutting them up into smaller 1” pieces for easier and quicker composting.
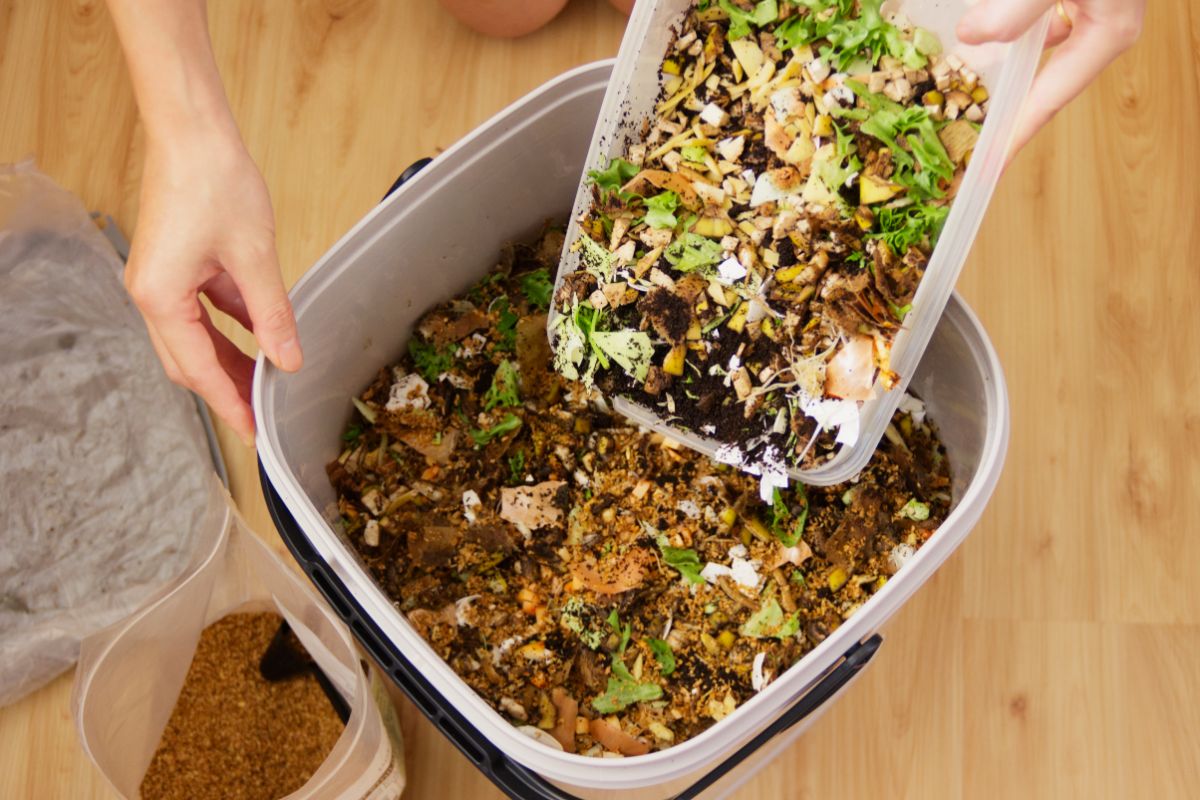
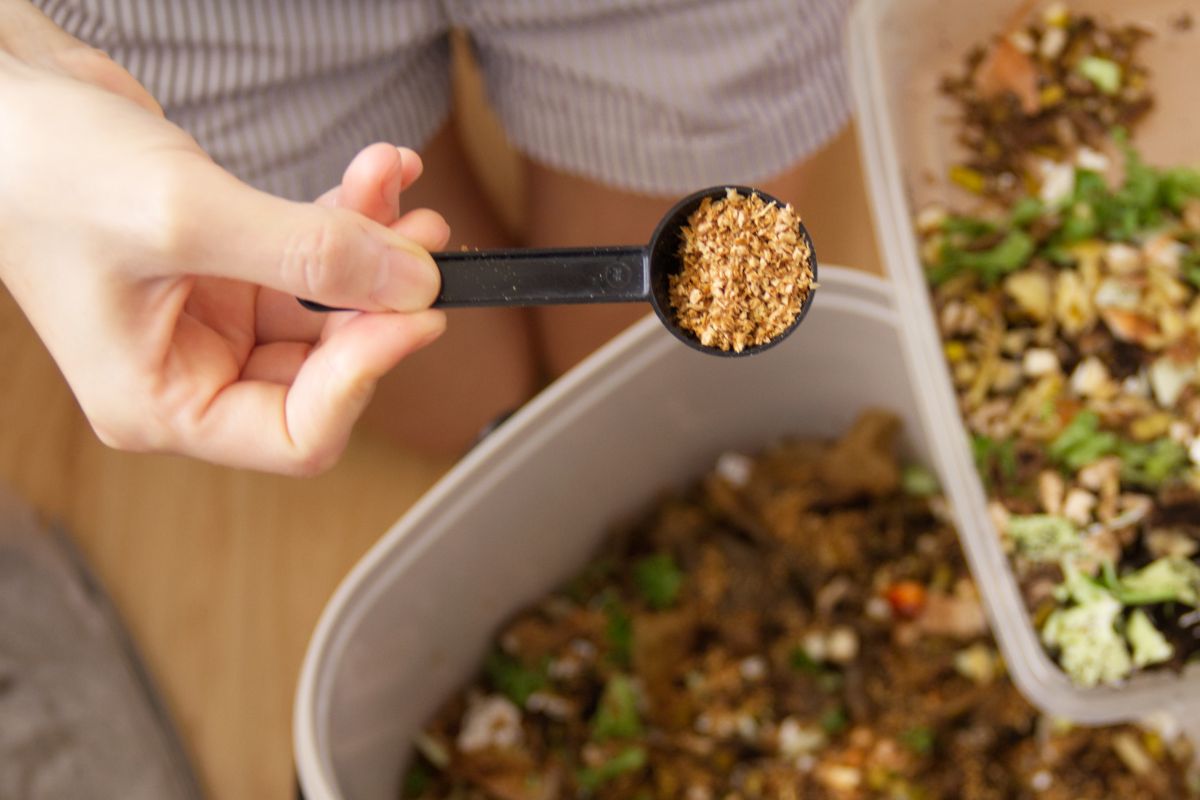
As you accumulate kitchen waste, continue adding 1 to 2” of food scraps to your bucket and topping each layer off with a sprinkling of bokashi bran until your bucket is full.
Once your bucket is full, carefully secure your lid and allow your bucket to ferment, undisturbed, for two weeks.
Throughout the fermentation process, you’ll want to draw off the liquid, or bokashi tea, from your bucket from time to time to keep your bokashi system functioning efficiently. If your bucket has a spigot, this process will be much simpler as all you need to do is open the spigot and allow your bokashi tea to drain off. If you don’t have a spigot, that’s fine too, just carefully tip your bucket to the side from time to time and drain off any liquid that has accumulated.
After two weeks have passed, you’ll be left with something known as “pre-compost.” Essentially, the contents of your bucket will look the same, you may still see lemon peels and crusts of bread; however, on a structural level, your food scraps have changed in a fundamental way. While you may not be able to see the difference, your kitchen waste has been fermented and predigested by the Effective Microorganisms in your bokashi bran.
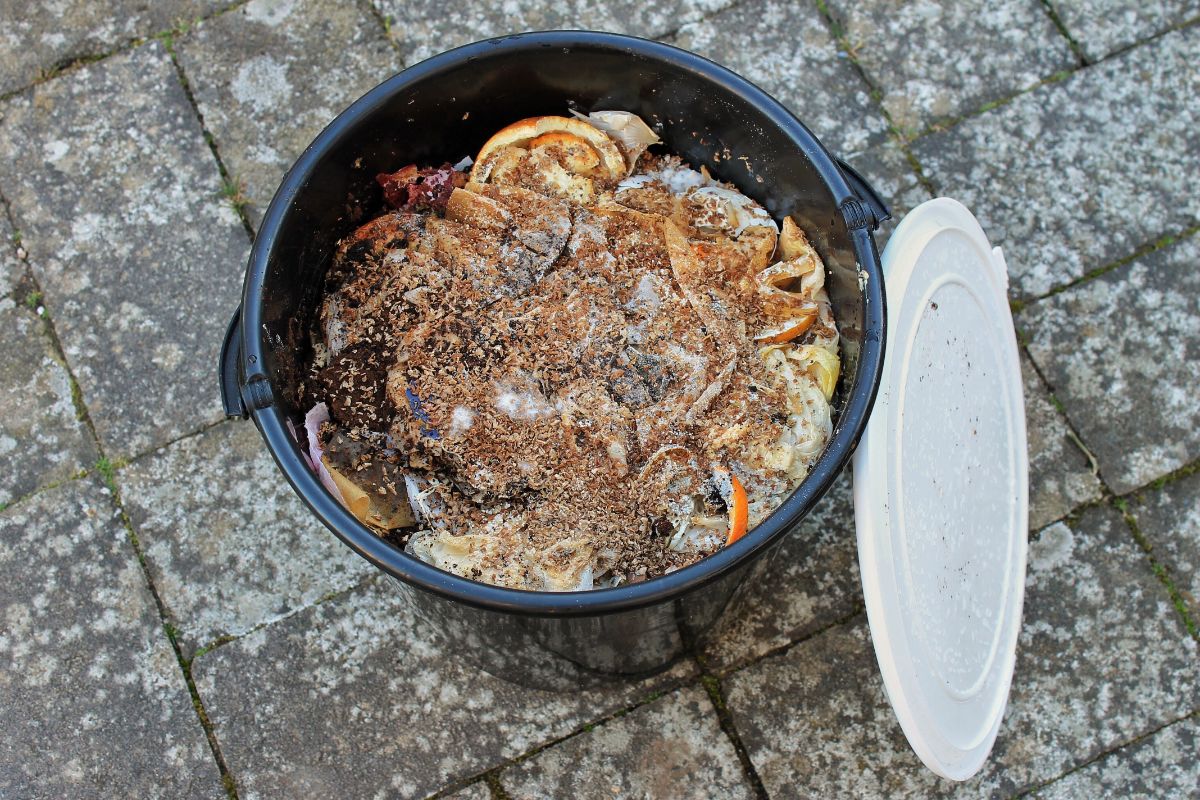
At this point, your pre-compost is far too acidic to add directly to your garden or houseplants; however, it is still usable. If you have a worm bin for vermicomposting, you can bury your pre-compost in the substrate and allow your worms to take care of the rest. Or you can trench compost your pre-compost by burying it 10 to 12” deep in your garden. Trench composting with bokashi works particularly well as the acidity of bokashi compost is repulsive to garden pests. Avoid planting any plants near your bokashi scraps for at least two weeks to allow the pH to balance out for plant safety.
If you don’t want to use your pre-compost, that’s fine too. Simply allow your pre-compost to ferment in your bokashi bucket for an additional two weeks and the pH will balance out, leaving you with finished compost that is ready for garden use. Alternately, pour your pre-compost outside into a dedicated bokashi compost pile and allow it to rest outdoors for two weeks for the pH to balance out.
After this final two weeks of fermentation time (that’s four weeks total fermentation time), your bokashi compost will be finished fermenting, pH will stabilize, and nutrients will be broken down efficiently and be readily accessible for plant absorption.
A note on keeping your bokashi system anaerobic:
Bokashi is an anaerobic system, so it’s important to try to limit the amount of air that is able to enter your bokashi bucket. One way to do this is to ensure that you have a tight-fitting lid and, if you have a two-bucket homemade system, check that the buckets fit together with a tight seal and add a bike inner tube or similar material for a tighter fit.
Another way to make sure your system remains an anaerobic one is to reduce the amount of times you open your bokashi container when adding kitchen scraps. To do this, simply add a countertop compost bin to your composting setup and accumulate old kitchen scraps and food waste there. Once a day, or less, add your kitchen scraps to your bokashi container and be sure to tightly secure the lid every time you open your bokashi bin.
It can also help to place a piece of waxed paper or cardboard on top of your bokashi waste inside your bokashi bucket. This will help limit the amount of air that your bokashi compost is exposed to and you can use this paper or cardboard piece to carefully press down on your bokashi waste to remove any air pockets and limit air circulation within your bin.
During the fermentation process, it is normal for white mold to appear in your bokashi bin – this just means everything is working properly! A healthy bokashi bin should not attract any pests nor emit any unpleasant odors and your bucket should smell slightly like pickles (the kitchen scraps within are becoming pickled after all!)
What can you compost with bokashi?
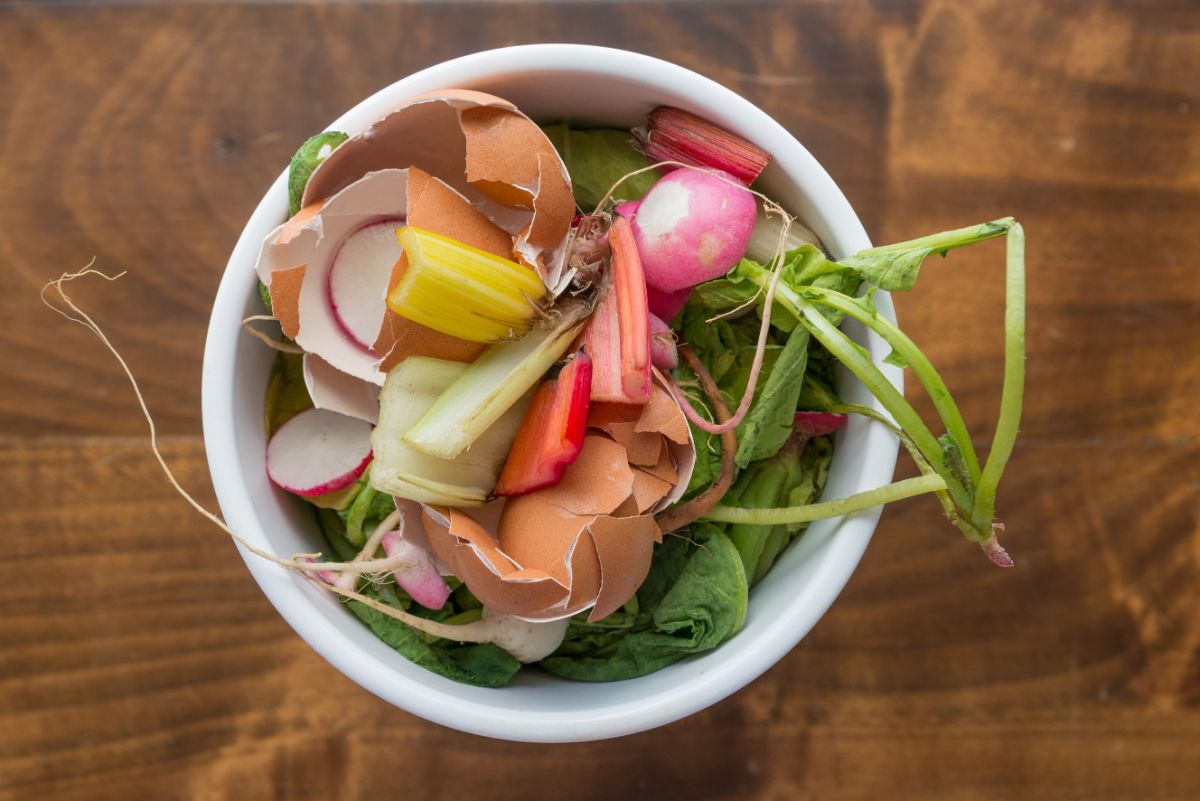
Pretty much anything! That’s right, unlike other composting methods, the uniquely acidic environment produced during bokashi fermentation can kill off most bacteria and so is perfectly safe for composting difficult to compost items like dairy and meat. Feel free to compost anything from vegetable and fruit peelings and pits, to grass clippings, cooking oil, pizza boxes stained with grease, shredded paper, old pasta or bread, dairy, meat and bones, eggshells, coffee grounds or loose-leaf tea.
Even better, the acidic environment created by bokashi can even kill off weed seeds so feel free to compost weeds. Any seeds they have won’t be able to survive the composting process, so you won’t have to worry about accidentally sowing weeds when you use your bokashi compost.
What can’t you compost with bokashi?
You can compost just about everything with bokashi… but there are a few exceptions. As with other composting methods, it is not safe to compost household pet waste from cats or dogs or human manure with bokashi. Additionally, some plant diseases may be able to survive the bokashi composting process, so avoid composting any diseased plant material and try burning it or place it safely in your trash instead.
Additionally, avoid placing moldy or rotten food into your bokashi bin as this can introduce unwanted organisms into your system and throw off the bokashi fermentation process.
How to use your bokashi compost
Bokashi can be used in several different ways: as either a pre-compost, a finished compost or a compost tea.
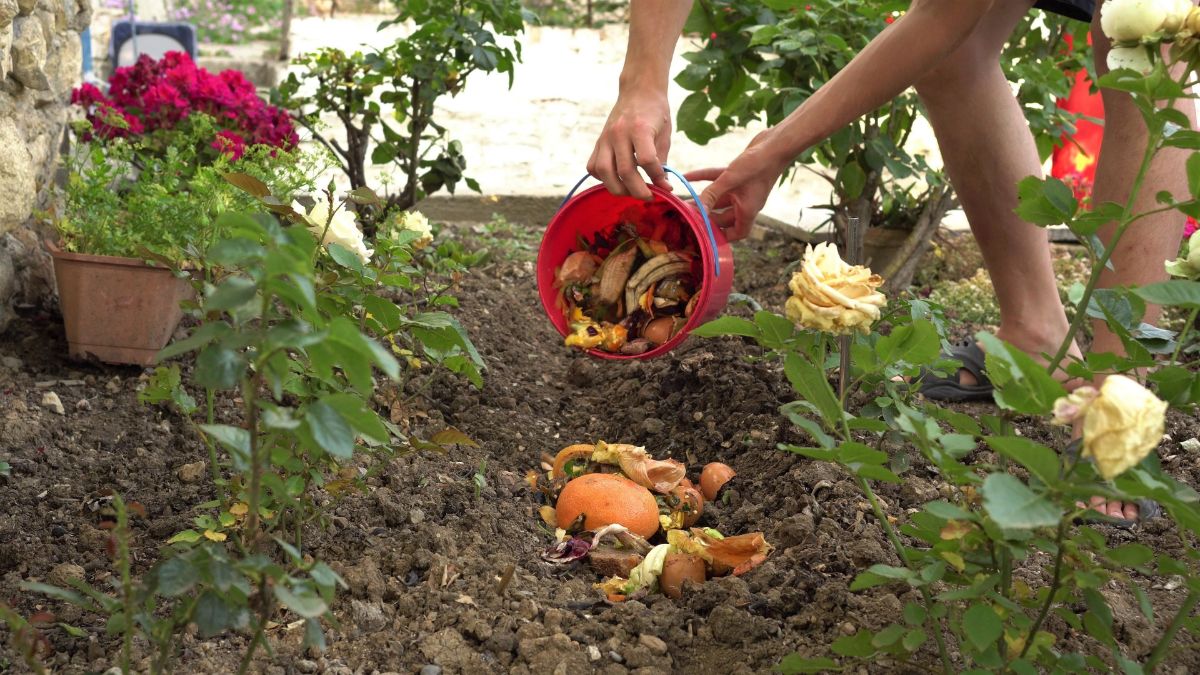
Bokashi pre-compost, which is produced after allowing your kitchen scraps to ferment for only two weeks, is highly acidic and cannot be used directly on plants. Instead, add your pre-compost to your vermicomposting bin or trench compost your pre-compost by burying it 10 to 12” deep in your garden beds in trenches or holes.
When used as a trench compost, your pre-compost will slowly break down and become incorporated into your soil, where it will serve as a slow-release fertilizer for your plants. However, due to its high acidity level, avoid planting anything near where you buried your pre-compost for at least two weeks.
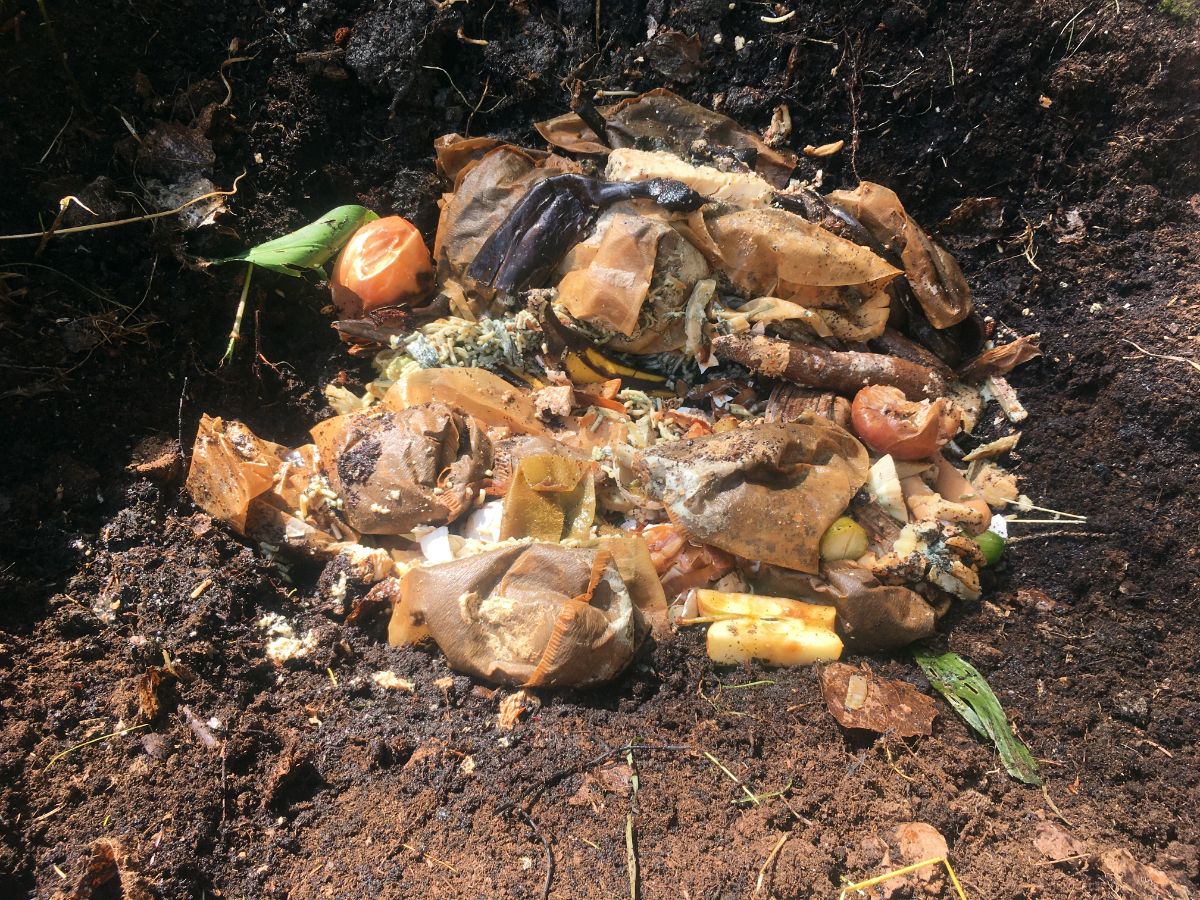
When used as a finished compost, a process which takes a total of four weeks of fermentation time to complete, your bokashi compost can be added directly to your garden beds as a top-dressing, mixed into the top few inches of garden soil at the beginning of the season to give your soil a little boost, sprinkled into holes prior to planting seeds or seedlings, or added as a side dressing to established plants and trees. If you intend to use your finished compost as a side dressing, just keep in mind that compost of any sort should never directly touch plant stems to prevent rot and potential tissue burn.
And then there’s bokashi tea, that nutrient-rich liquid fertilizer that garden plants and houseplants alike can’t get enough of.
How to make bokashi compost tea
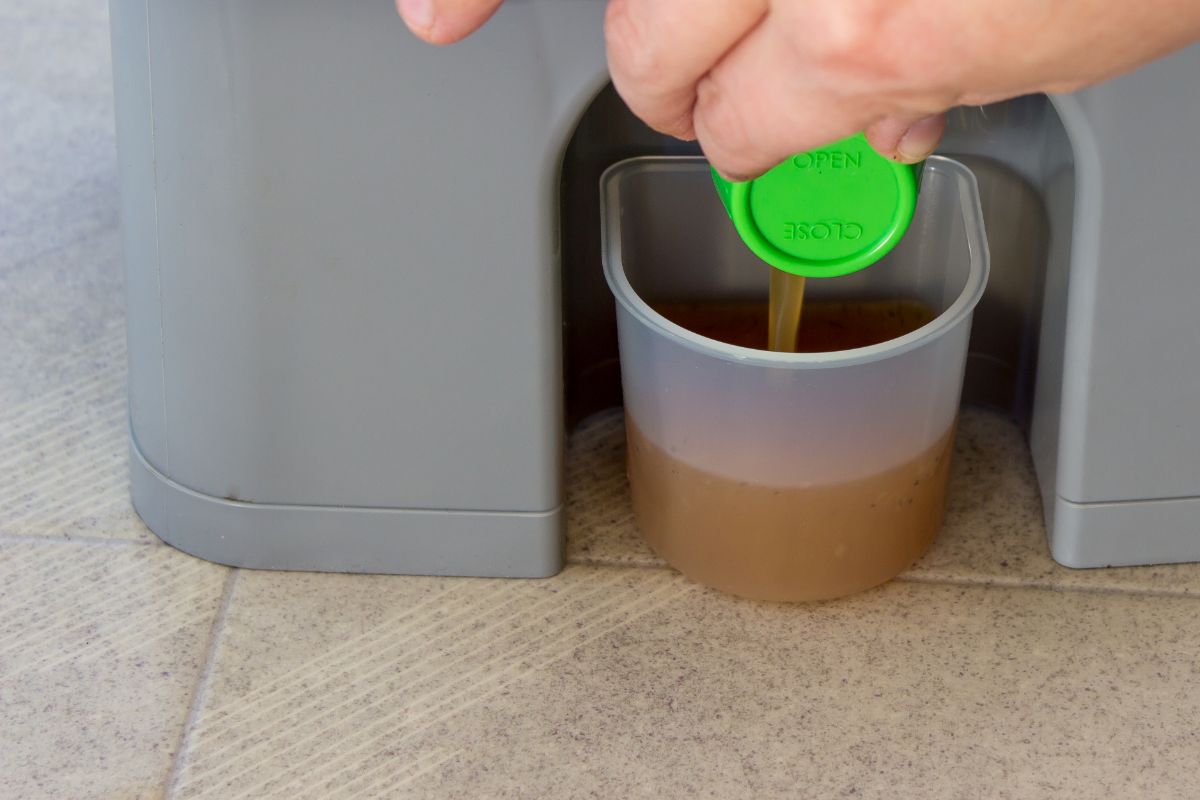
Bokashi tea is an amazing liquid fertilizer and soil amendment that not only provides plants with the minerals and nutrients they need to grow, but it can also help boost plants’ immune systems and act as an all-natural, organic pesticide and herbicide.
In its natural form, bokashi tea is quite acidic and should not be applied directly to plants. However, its high acidity level can be put to good use. Undiluted bokashi tea can be used as a natural pesticide in place of vinegar for controlling common garden pests like slugs and snails. Additionally, it can double as an organic herbicide by applying it directly to weeds, which can be particularly useful with plants, like poison ivy, that you don’t want to pull by hand.
If you have an outdoor hot or cold compost bin, try pouring your undiluted bokashi tea into your compost pile and mixing it in well. When used in this way, bokashi tea functions as a compost accelerator, speeding up the decomposition rate of your compost pile.
But to really see the utility of bokashi tea, try using it as a liquid fertilizer. As bokashi tea is highly acidic, you’ll want to dilute it properly at a rate of 1 part bokashi tea to 100 parts water (1:100). When diluted, bokashi tea can be watered in at plant roots or used as a foliar spray on both garden plants and houseplants alike. For optimal growth, apply bokashi tea to your plants no more than once every 14 days and use the bokashi tea as soon as possible so that the beneficial microbes remain active and healthy.
FAQ
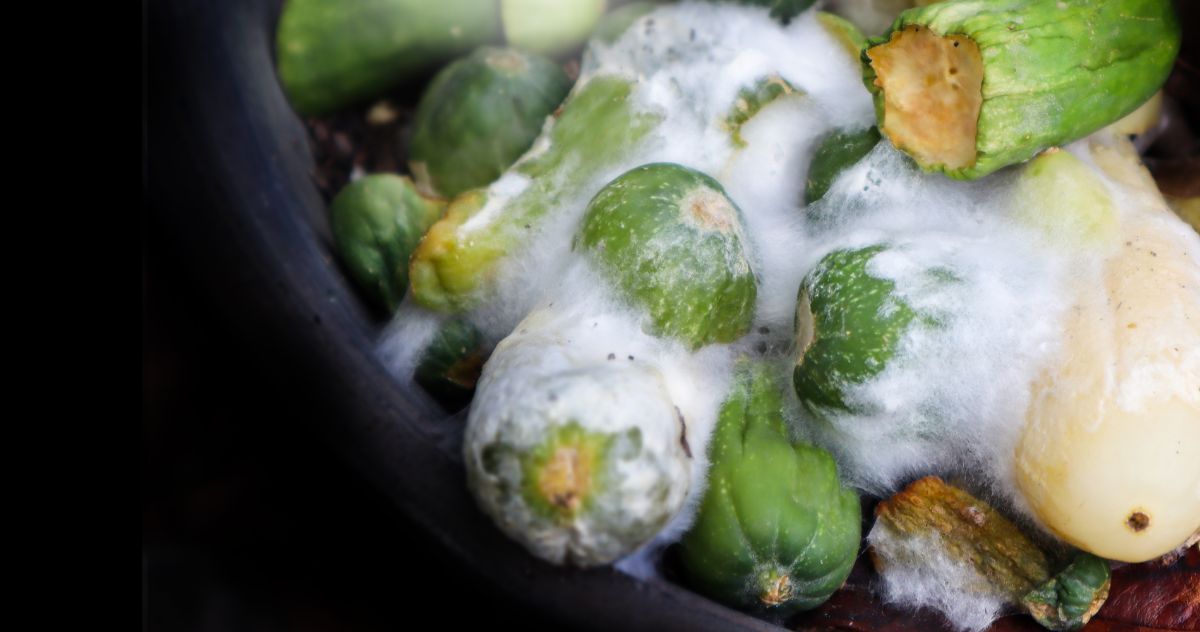
Not necessarily. White mold in your bokashi bin is good and actually means the fermentation process is working. If, however, you notice a blue or green mold in your bin or your bin starts to smell bad, your compost batch has failed. Simply dispose of your compost, rinse out your bokashi bin well and start over.
Don’t worry just yet. While it may look like your food scraps haven’t changed at all, during the fermentation process, the beneficial microbes will predigest and ferment your kitchen waste, changing it on a structural level. Even though everything may look the same, it really isn’t.
However, on rare occasions, if your bokashi bin gets too dry, the fermentation process will stop. If you suspect your bin is too dry, you can add a bit of water to jumpstart the fermentation process, just try to maintain the approximate moisture level of a wrung-out sponge.
Both too little and too much moisture can spell trouble for your bokashi bin. Try drawing off any bokashi tea that has accumulated at the bottom of your bin. If that doesn’t do the trick, add some dry, organic material, such as shredded newspaper or paper egg cartons, to sop up the extra moisture.
If your bokashi batch started to smell or produced blue or green mold, there are several potential causes. It’s possible that your lid wasn’t properly secured or that food scraps were too large and could not properly ferment. Other possible reasons include:
· Your bucket was too wet. Remember to regularly drain off any liquid in your bucket.
· You didn’t add enough bokashi bran. Anytime you add food scraps to your bin, always top them off with an additional sprinkling of bran.
· There was too much air in your bin. This could be caused by an improperly fitting lid or by not pressing your scraps down firmly with a piece of cardboard or waxed paper.
Well, you could certainly throw it in the trash, but if you’re composting, the idea of sending food waste to the landfill is probably less than appealing. Instead, dig a hole in your yard, at least 12” deep, and bury your failed bokashi batch there. Just because it didn’t ferment properly doesn’t mean it isn’t still useful!
Room temperature, between 60 and 90°F is ideal for bokashi, which is one of the reasons that makes it such a great indoor composting system. Extreme temperatures, on the other hand, should be avoided as they can negatively affect the bokashi microbes and temperatures below freezing will halt the composting process altogether.
That’s really up to you. If you cook a lot and produce a lot of food waste, such as during at-home canning, you can easily fill a bokashi bucket in an afternoon. If you don’t cook often and don’t want to add yard waste to your bin, your bokashi bin will take much longer to fill.
Although it’s difficult to say for certain, on average when used regularly, a single 5-gallon bucket usually takes one to two weeks to fill.
No worries, bokashi is perfectly safe for your worm bin. Your vermicomposting worms may avoid your bokashi pre-compost at first, but they’ll soon be devouring it with gusto!
The speed at which bokashi is incorporated into your soil depends on several factors, including rainfall and temperature. In cooler areas, this process can take up to six weeks; however, during the heat of summer, it can take as little as two weeks for you bokashi to become fully broken down.
No. Before it is finished breaking down, your bokashi pre-compost will be quite acidic. Once added to your garden soil, however, your pre-compost will finish composting in two weeks’ time, at which point the pH will neutralize and your bokashi compost will become the same pH as the surrounding soil, approximately 6.5 to 7.0.
Once or twice a week should be sufficient, although you can certainly drain your bokashi bin more frequently if you wish.
When stored in an airtight container with a lid, your bokashi tea will keep at room temperature for several days before the beneficial microbes begin to die off. For more effective tea, try to use your bokashi liquid as soon as possible.
A lot of times, if your spigot is leaking all you need to do is simply finger tighten your spigot a bit and the leak should stop. Try to avoid overtightening your spigot, however, as this can cause the washer to become loose.
If you tried fixing your spigot but it is still leaking, consider adding a bit of caulk or glue around the edges of your spigot to seal off any possible holes.
Conclusion
Whether you have a small space, you’re looking for a composting method that allows you to compost during the winter or you’re simply looking for an efficient composting system, there are so many reasons to love bokashi composting.
Super simple to master, bokashi is an inexpensive composting method that produces both finished compost and a nutrient-packed compost tea in as a little as four weeks. Guaranteed to boost plant growth and reduce your kitchen waste, the benefits of bokashi don’t end there.
Bokashi compost can function as an organic fertilizer, insecticide and herbicide and can also improve soil structure and drainage, as well as boost plants’ natural immunity.
With the help of this tutorial and with a few simple materials, you can set up your own at-home bokashi composting system in less than an hour, but it is a system that will keep producing valuable compost for years to come.
Why not give bokashi a try? Or, better still, consider combining it with another composting method, such as cold composting, to boost your compost-making capacity, ensuring you have a ready supply of as much compost as you, and your garden, could ever need.
References:
- B., Seth. “DIY Bokashi Bran.” That Backyard. 1 June 2022. 4 June 2021.
- Spark, Harriet. “How to Make Your Own Bokashi Bucket.” 1 Million Women. 1 June 2022. 12 July 2016.

Leave a Reply