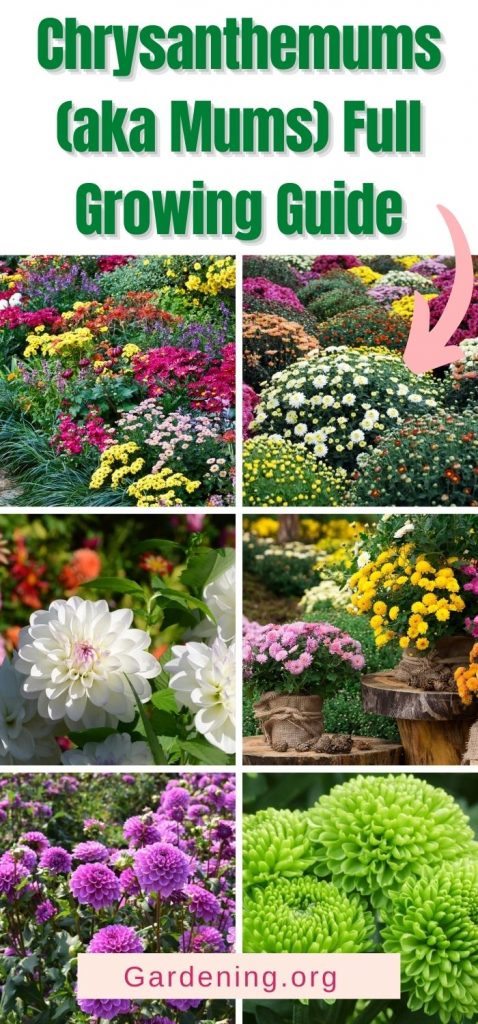
Do you want to fill your garden with color? If so, you may want to think about planting chrysanthemum flowers.
With literally tens of thousands of varieties of garden mums in existence, there is something ideal for every garden bed.
This growing guide will teach you everything you ever wanted to know about chrysanthemums.
We will start out by introducing you to chrysanthemum basics. We will then talk about the benefits of growing these beautiful flowers, when to plant them when they bloom, and what their ideal growing conditions are.
We will also go over what you need to know about chrysanthemum care, and then follow up with some frequently asked questions.
Jump to:
- What are Chrysanthemums?
- Chrysanthemums Basics
- Shapes of Chrysanthemum Varieties
- Recommended Mum Varieties
- Where Do Mums Grow?
- Why Grow Chrysanthemums?
- When Do Mums Bloom?
- How Long Do Mums Bloom?
- When to Plant Mums
- Ideal Growing Conditions for Mums
- How to Plant Mums
- How to Care for Mums
- How to Transplant Mums
- Recommended Companion Plants for Mums
- Frequently Asked Questions About Growing Chrysanthemums
- Where to Buy Mums
What are Chrysanthemums?
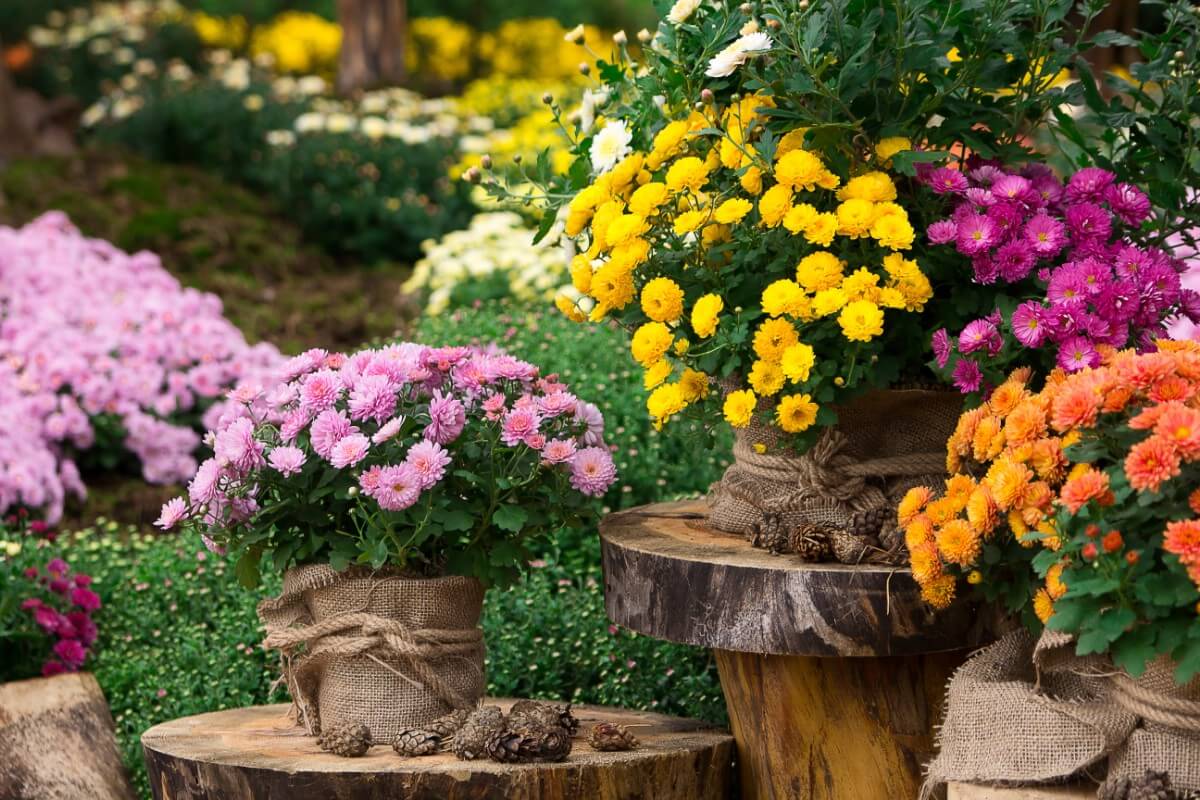
Chrysanthemums are plants that belong to the Chrysanthemum genus in the family Asteraceae.
The name “chrysanthemum” comes from the ancient Greek words for “gold flower.” Chrysanthemums come in numerous different colors beyond gold or yellow, however.
Sometimes, chrysanthemums are referred to simply as “mums.” There is no difference between the two. One is simply an abbreviation of the other. So, we will use both terms interchangeably in this article to refer to these plants.
In the past, Chrysanthemum also included the genera Argyranthemum, Glebionis, Leucanthemopsis, Leucanthemum, Rhodanthemum, and Tanacetum, but these have since been separated from the category.
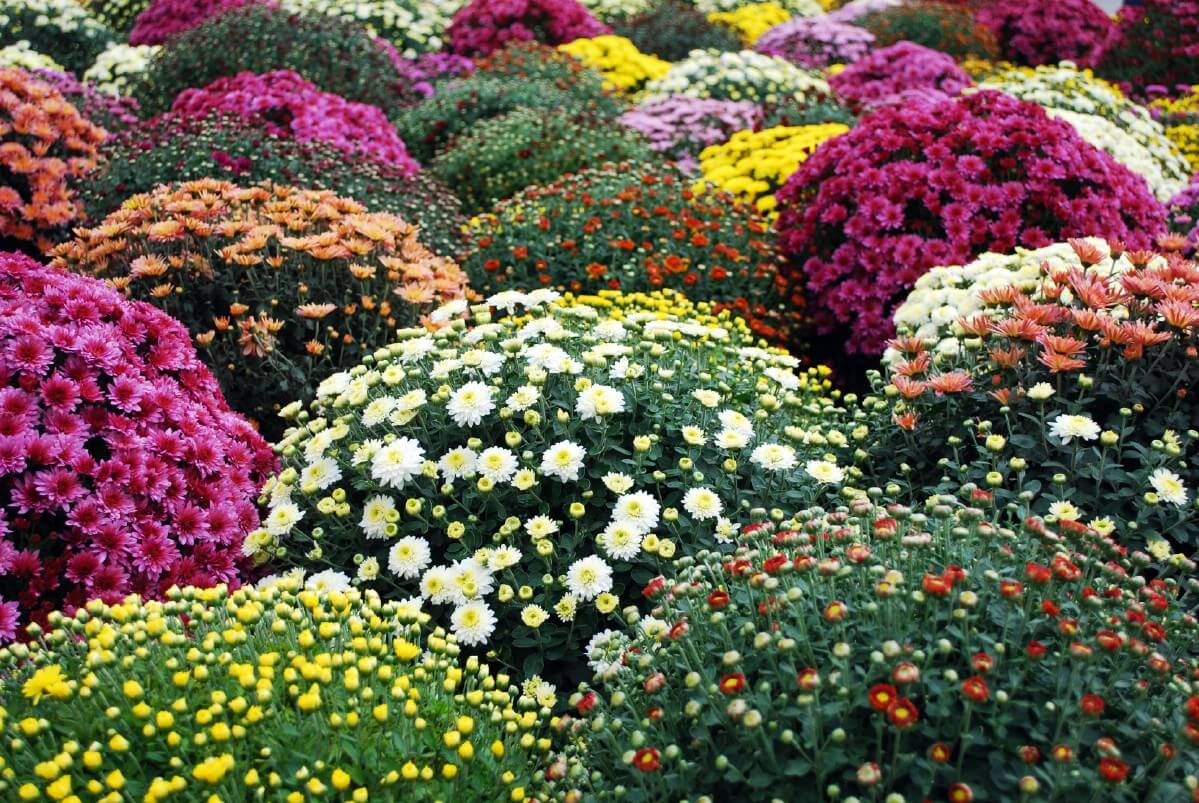
The sheer number of mum cultivars is astonishing. According to this article, “It is estimated that there are more than 20,000 chrysanthemum cultivars in the world and about 7,000 cultivars in China. Over 90% of them were produced through traditional hybridization breeding technique, and many new chrysanthemum cultivars are now being developed by this technique each year.”
So, you will find no shortage of options for your own garden. In fact, it is easy to get hooked on growing different types of chrysanthemums since there is always something new you can try planting.
Indeed, there is so much diversity among chrysanthemums that you can easily find cultivars that look nothing alike. If you did not know they were both mums, you might not guess!
Chrysanthemums Basics
Zones: 4-9
Blooming season: Summer through autumn
Expected height: 1-3 feet
Soil: Loamy, well-drained, neutral
Sun: Full to partial
Shapes of Chrysanthemum Varieties
With such numerous varieties of chrysanthemums, mums are classified according to the shapes of their flowers as well as how they tend to grow (the shape of the plant itself, i.e. a cushion).
Categories include:
- Single blooms
- Quilled blooms
- Spider blooms
- Brush/thistle blooms
- Anemone blooms
- Pompons
- Decorative blooms
- Reflex and incurve blooms
- Reflex blooms
- Spoon blooms
- Cushion blooms
Recommended Mum Varieties
With over 20,000 different types of chrysanthemum cultivars, there is no possible way that we could go over more than the tiniest percentage of varieties. Nevertheless, here are a few ideas in a range of colors for when you are choosing mums for your flower bed.

- Bolero: This cultivar of chrysanthemum strongly resembles a daisy with a yellow center and petals.
- Apricot Alexis: If you are looking for a sublimely large and radiant variety of mum that will become the centerpiece for your garden, consider the breathtaking “Apricot Alexis.” The golden blossoms are captivating, and the sturdy stems do a surprisingly good job supporting their heavy weight.
- Moonbeam: This is a type of pompon mum with bright white petals that are yellow towards their middles.
- Ruby Mound: For a mound of living rubies as dazzling as gemstones, think about planting the aptly named “Ruby Mound” variety of mum.
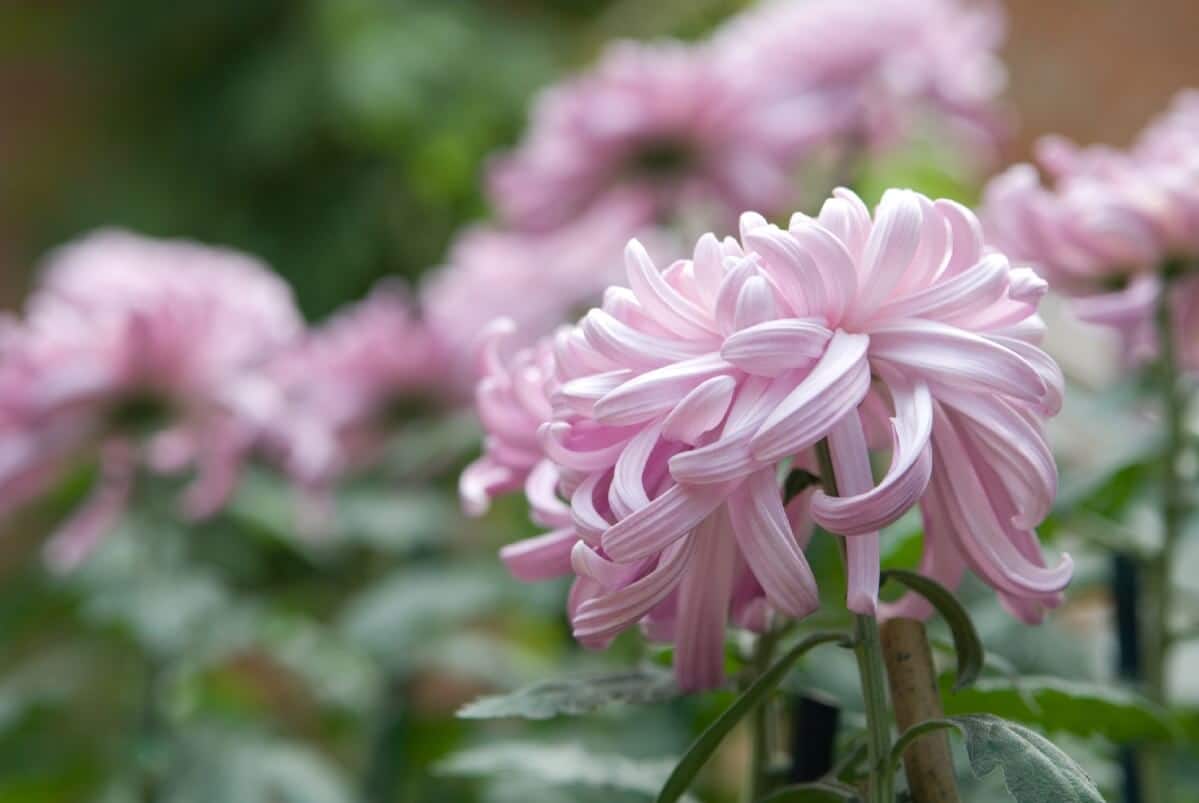
- Mocha: This is a form of spider mum, which means that its petals are exceptionally thin and long. They are pink and have a look that is somehow simultaneously chaotic and elegant.
- Chiffon: This cushion variety of mums may have flowers that are salmon or coral in color, sometimes with a dash of yellow.
- Honeyglow: The name of this variety of mum is a direct reference to its warm golden-orangey color. The blooms are quite large and are perfect for autumn with their traditional fall hue.
- Daybreak: This type of anemone mum features a combination of yellow and pink hues in the large centers, with the petals being a mixture of pink and white. It is easy to see how the yellow is evocative of the idea of the sun coming up against a pink sky. The petals could be seen as rays of light emerging from the center.
- Chesapeake: This is another type of spider mum. But whereas many spider mums have a few petals, this one features numerous layers of them. They are also quite a bit more slender than those of other varieties. Its look is a lot more orderly, thus it falls squarely into the “elegant” camp.
- Anastasia White: This quill mum features a yellow center with numerous small, thin, quill-like petals radiating from it in white. It is sure to grab attention because of how unusual it appears.
- Coral Charm: As the name indicates, this type of mum has a coral pink color. With its big, showy blossoms, it brings plenty of color to your garden beds.
Remember, those are just a few varieties of chrysanthemums. There are many thousands more waiting for you to discover!
Where Do Mums Grow?
Originally, chrysanthemums were native to East Asia as well as the northeastern part of Europe.
Today, they can be found cultivated throughout the world, including in locations throughout Europe and Asia, as well as in Oceania and North America.
In fact, they are hardy in zones 4-9.
Why Grow Chrysanthemums?
Below are some reasons to think about growing mums in your garden.
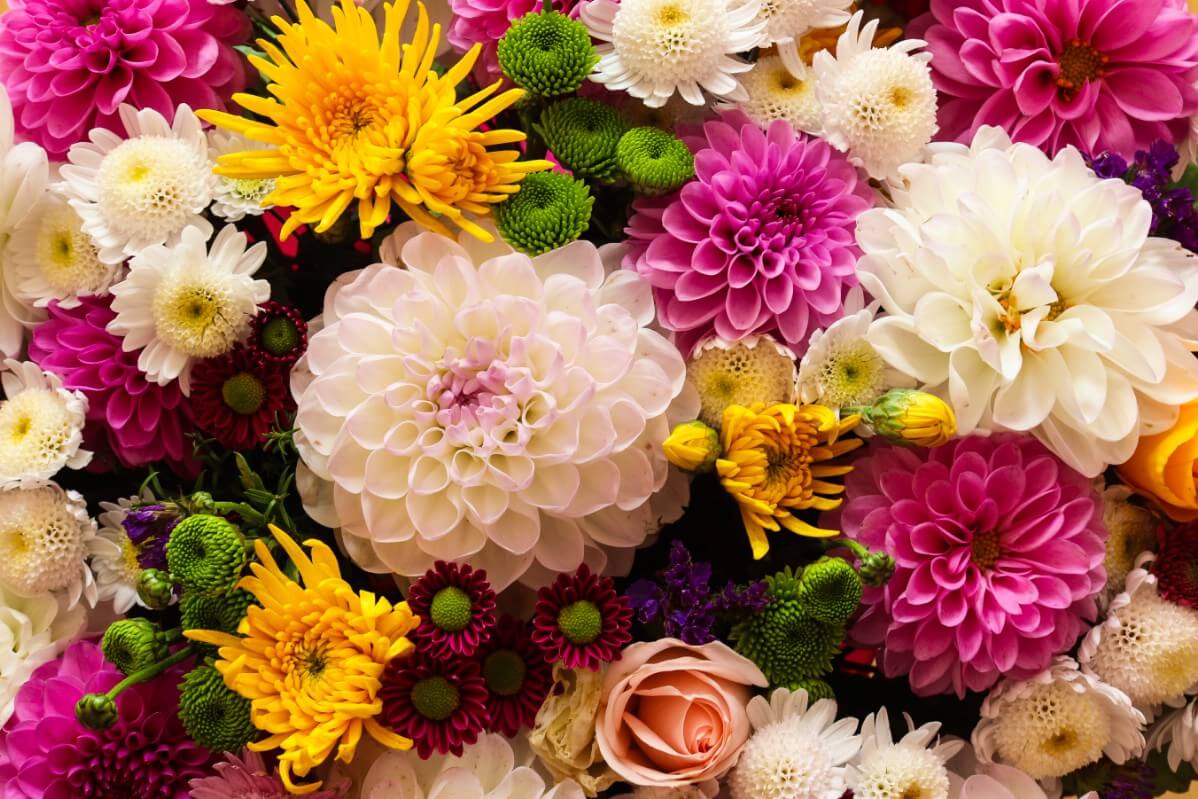
You can add an astonishing burst of color to your fall garden. With tens of thousands of varieties of mums, you can find a wide variety of hues. Whatever effect you want to create, you will be amazed by what is out there.
You will never run out of new cultivars to try growing. Every time you think you have just discovered your new favorite type of chrysanthemum, you will probably discover another dazzling cultivar to add to your garden. In fact, you can easily become such a dedicated chrysanthemum enthusiast that you end up becoming very knowledgeable about these beautiful blooms.
It is not just the individual flowers that make mums pleasing to the eye, but also the sheer density of the blossoms. Oftentimes, they bloom so close together that you can scarcely see gaps between them.
You will be able to enjoy beautiful cut flowers. You can cut garden mums to place in a vase to enjoy inside your home. You will love their colors, shapes, and fragrances. They are also a joy to share with others.
You can brew chrysanthemum tea. If you like growing ornamental plants in your garden that also have culinary uses, chrysanthemums are a great choice. You can use them to make tea. This type of tea is popular in Asia. But it is not easy to come by in the western world, so brewing your own is a great solution.
Butterflies like mums. If you want to attract butterflies to your garden, planting chrysanthemums can help bring them in.
You can grow mums in a garden bed or in a container. Regardless of how much or little space you have to work with, you can grow chrysanthemums. You can even plant them in pots if you wish.
Mums are deer-resistant. Although deer may sometimes eat chrysanthemums, they are not among their favorites. So, they may leave them alone in your garden.
Mums offer a long bloom period. You can enjoy their magnificent displays of color for weeks after they blossom.
Those are just a few of the benefits of growing chrysanthemums. As you get into growing these varied plans, you will no doubt discover more.
When Do Mums Bloom?
Chrysanthemums blossom in the summer and fall. So, they are perfect for filling in your garden when your spring flowers wilt.
How Long Do Mums Bloom?
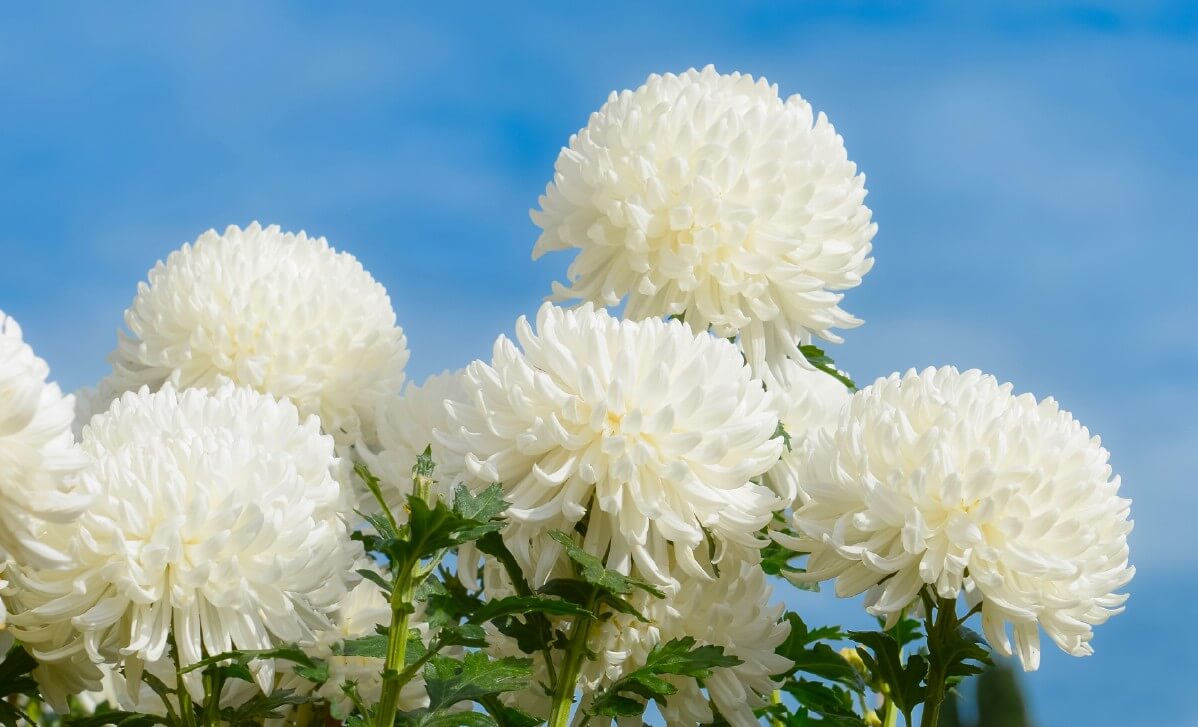
Once a chrysanthemum blossom opens, you can expect it to stick around for two or three weeks. But the good news about chrysanthemums is that you can deadhead them. By doing so, you can enjoy repeat blooms. Together, they can last for anywhere from 4 to 8 weeks. That is a long period of time to get to enjoy your garden mums!
When to Plant Mums
Look up the last expected frost date for spring, and then calculate 6 to 8 weeks prior to that. If you are starting your chrysanthemums indoors, that is the appropriate time to do it.
If you are going to be planting your mums directly in your garden beds, you can either do so in early spring, or in autumn.
If you opt to plant your chrysanthemums in the fall, make sure that you do so with at least six weeks to spare before you expect frost.
If they do not have those six weeks in which to establish themselves, the frost might end up killing them.
Ideal Growing Conditions for Mums
If you want your chrysanthemums to thrive, you need to plant them in the right growing conditions. Let’s discuss soil, sun, water, and more.
How Much Sun Do Mums Need?
You can get away with the partial sun for mums. But they definitely will be happier if you plant them in full sunlight.
Keep in mind that this does not mean that they cannot dry out. So, you will need to make sure you keep watering them as needed in their sunny spot.
Don’t have anywhere to plant your mums where they can get full sun? If you have a spot that gets three hours of direct sun daily, that should be tolerable to a mum. Less than that, and you might not get a lot of fullness to your plants, or many flowers.
What Type of Soil is Right for Mums?
Rich, well-drained soil is the right soil type for your mums. Should you keep the soil moist? Yes, but you do not want to let it get soggy.
In fact, excess soil moisture is quite bad for chrysanthemums. It does not take long at all for rot to set in.
For that reason, you should pay close attention to your soil during and after planting. Make sure the moisture levels remain ideal and do not overwater (see below).
What about soil pH? Ideally, that should be right around 6.5.
How Much Water Do Mums Need?
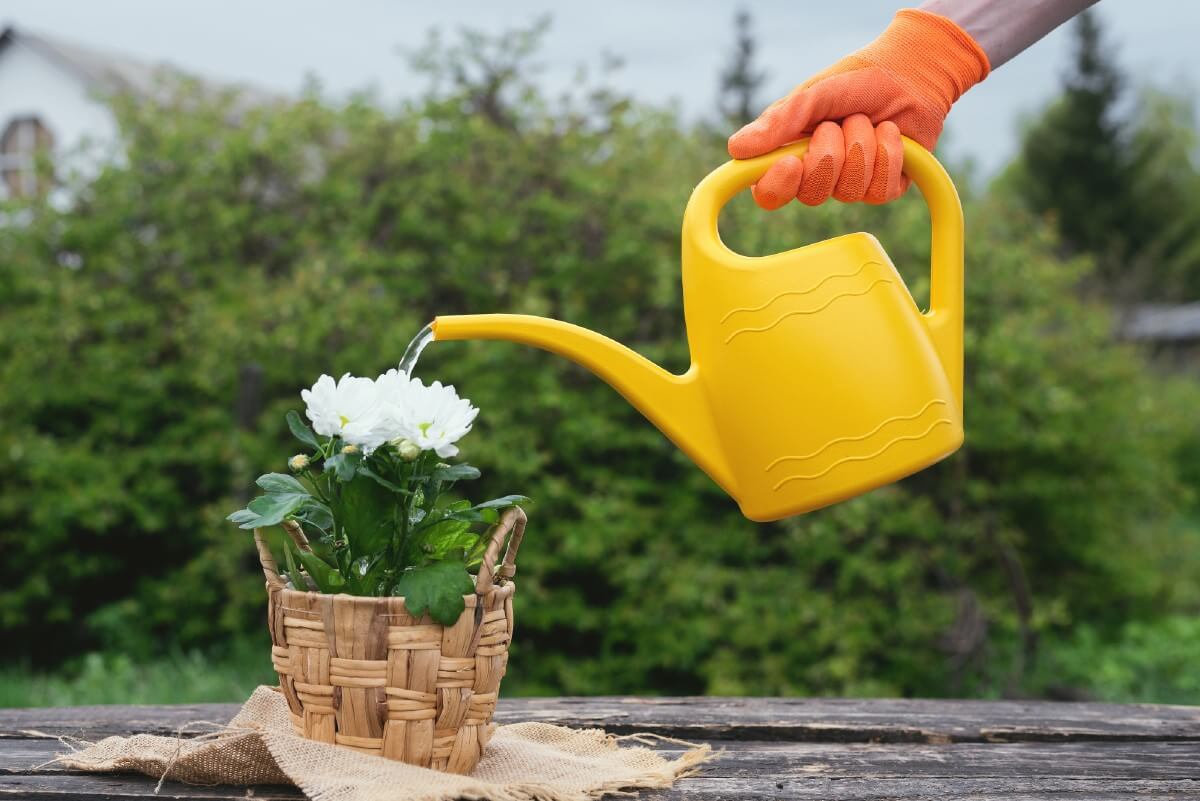
When you water chrysanthemums, you should do your best to do so deeply. But do not allow standing water to form, and try not to get the leaves wet.
Exactly how much should you water, and how often?
The National Chrysanthemum Society says, “Early in the season mums should be watered like your lawn, about one inch a week. As the plants increase in size and summer brings warmer temperatures, your watering should increase proportionately. By flowering time in September and October, watering three times a week would not be too much.”
How to Plant Mums
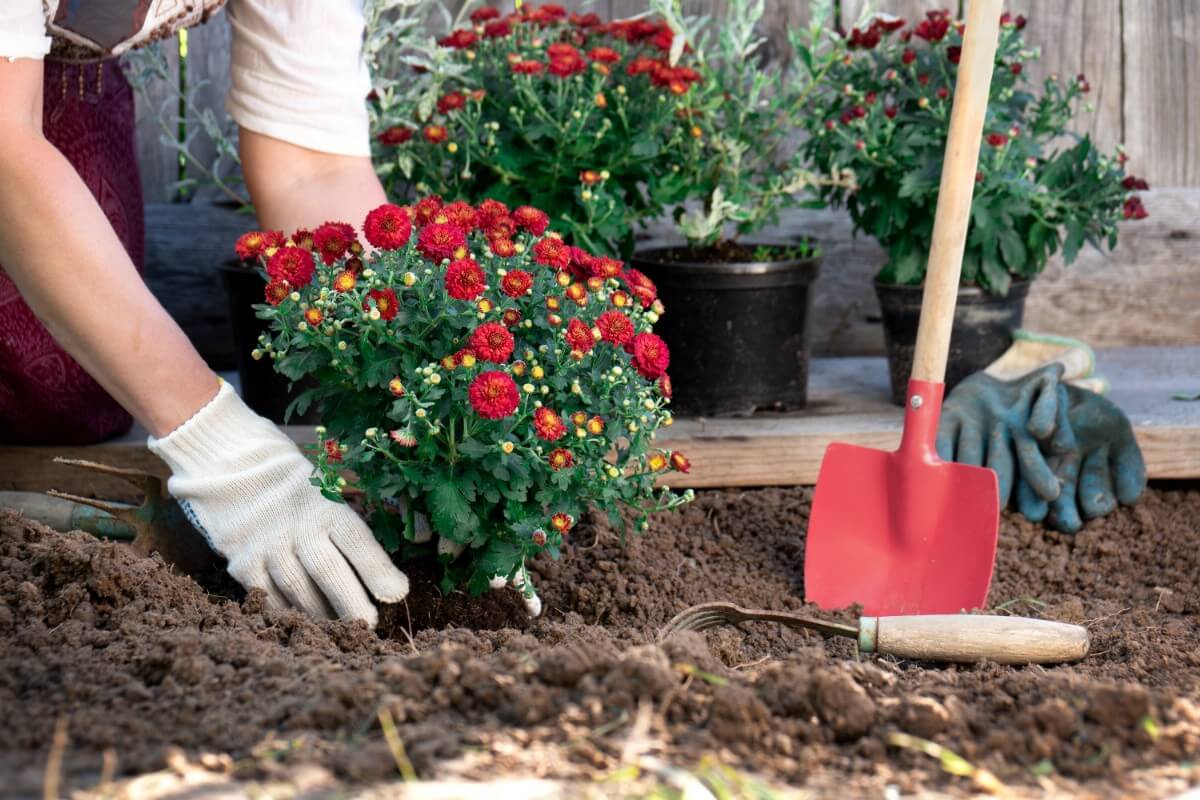
Now that you know what time of the year is right for planting chrysanthemums and what growing conditions they need, let’s talk about how to plant them. We will discuss planting mums in containers as well as in the ground. We will also teach you about starting them from chrysanthemum seeds or cuttings.
Container Planting
If you have been on the lookout for colorful options for potted plants, you will be delighted to know that growing mum successfully in containers is possible.
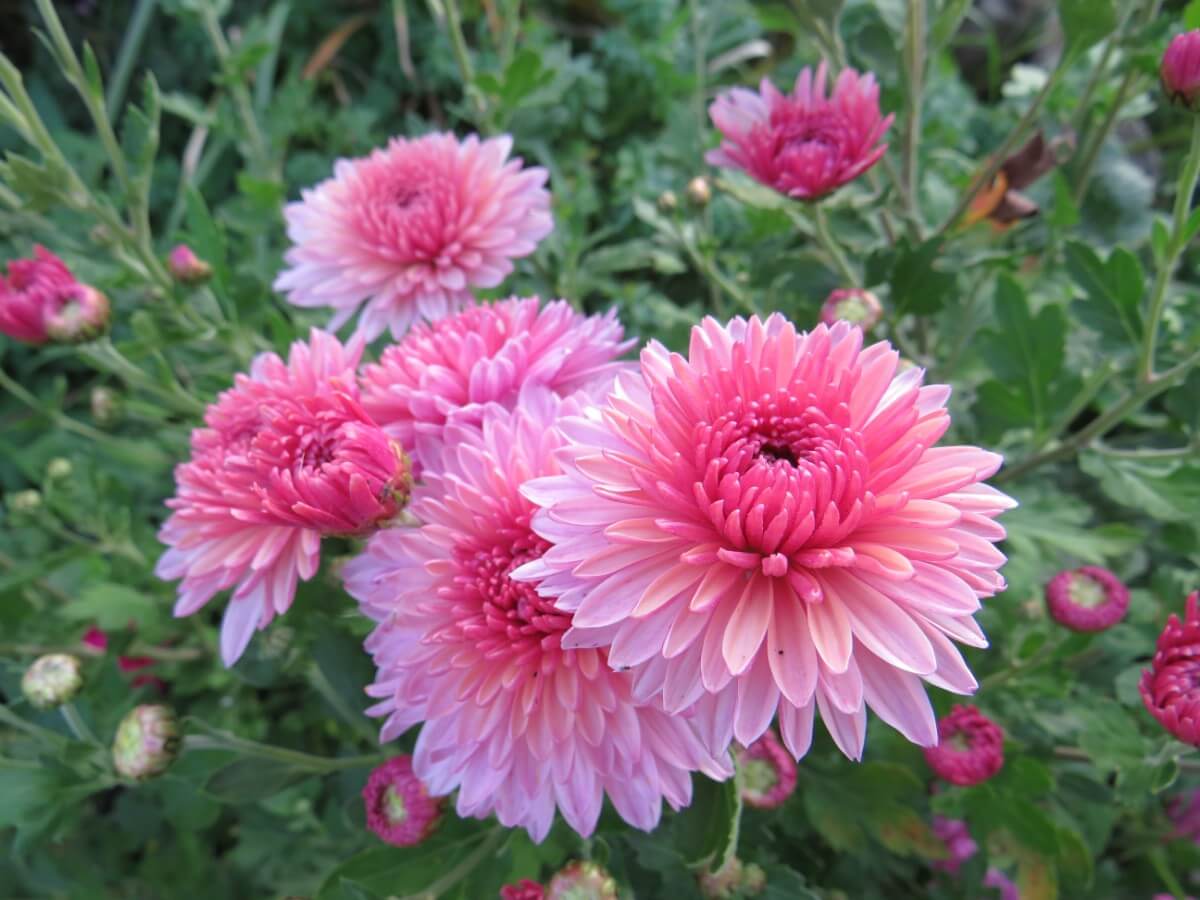
Here is how you do it:
1. Buy a potted mum.
Yes, the first step really is this simple. Most people who grow potted mums start by purchasing them that way from the store and bringing them home.
2. Get a pot.
You can size the pot for your mum by first checking the size of the pot the mum came in from the garden center.
That pot will be too small, ultimately. Indeed, if you were to leave it in that pot, it would likely become root-bound (if it is not already).
So, get a pot that is a bit larger than the original. This is the one you are going to transplant it in.
2. Fill your new container with potting mix.
This step is pretty self-explanatory. Well-draining soil is key if you want your mums to thrive.
3. Immediately transplant your mum.
Do not wait to transplant your mum. Right after you arrive home, you should carefully remove it from its old pot. Gently shake out the extra soil, and then try and spread out the roots a little. Be careful with them, as they may break.
Once you are ready, you can place it in the hole in your new potting soil in the container you picked out for this purpose. Backfill the potting soil after the root ball is in place.
4. Water well.
You now need to deeply water the mum. In fact, there is a really good chance that the mum you just brought home from the store is already in dire need of water. They often dry out in stores, and are sorely neglected by employees. This is also a good reason to be careful when you are shopping—do not assume every mum you see for sale is in good health.
In some cases, it may even be best to fill a container tray with water and then set the container inside so that the water can seep up through the bottom where the roots can reach it.
If you decide to give this a try, you should do so for no more than a few hours. If you leave the container in the water for longer than that, you risk the soil turning soggy. Mums do not do well in such conditions.
5. Find a place for your mum.
You can either put your potted mums indoors or outdoors. Most people seem to prefer to keep their mums outdoors, but you can get away with an indoor location as well.
Regardless of which you choose, ample sunlight is key. So, your plant either needs to go in a sunny window or outside.
Keep in mind that the temperature by a sunny window may heat up a lot; if it gets into the 80s, you might want to open a window and/or pull the pot away from the direct sun during the hottest parts of the day.
6. Water and care for your potted mums.
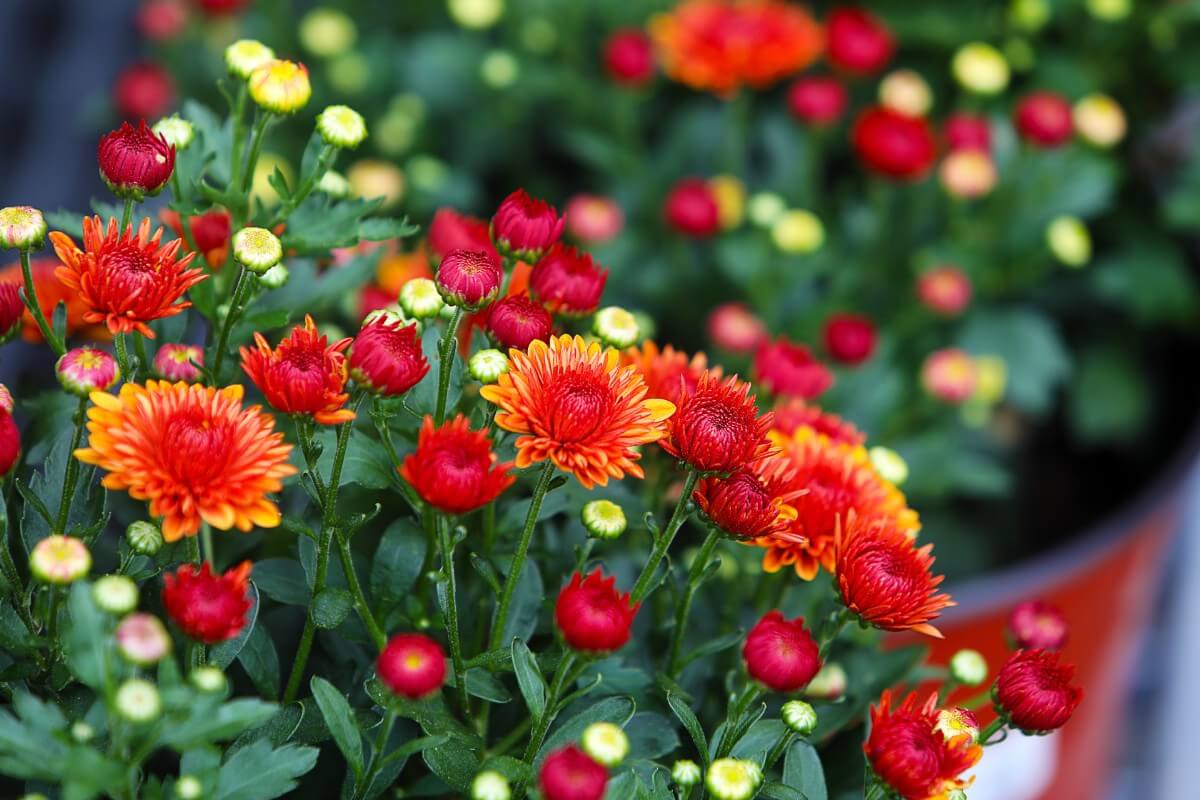
Daily watering may be necessary during the establishment phase. Once that is complete, just keep track of the soil moisture. If it starts to dry out, it is time for another watering.
You can move indoor mums outdoors later if you want. But make sure that you appropriately acclimate them, moving them in and outdoors until they get used to the harsher conditions outside.
Ground Planting
For ground planting, you might either start a mum from seed and then transfer it outdoors, or you might purchase a mum in a pot and transplant it to your garden bed.
Below, we will discuss growing mums from seeds. If you want to learn about how to move an established mum from a pot to a garden bed, you can take a look at the section on transplanting mums.
Growing from Seeds

So, you want to grow chrysanthemums from seeds? Let’s go over the steps.
1. Get the timing right.
First, make sure that you are starting your seeds at the right time. Calculate 6-8 weeks prior to the last frost expected in spring. That is when to start the seeds.
2. Obtain pots and mix.
The ideal containers to use for germinating mum seeds are small germination pots.
You can fill them with a sterile seed starting mix.
3. Moisten the seed starting mix.
Get the mix evenly moist. Do not put too much water in, however, or you will drown the seeds.
4. Plant the seeds.
It is easy for them to clump together, so be careful as you are inserting them into the seed starting mix.
Once you have placed the seeds, lightly cover them. Then spray to moisten the top layer.
5. Find somewhere to put the seeds while they are germinating.
You want to make sure that the seeds are receiving adequate heat and light. 70 degrees Fahrenheit is an ideal temperature. If you cannot achieve this without aid, a root zone heating mat will do the trick.
For light, either natural sun or fluorescent grow lights can work.
6. Keep the soil moist.
You do not want the soil to dry out—which could happen easily with the application of heat. So, check on it regularly. If you find that it is starting to get dry, you should mist it again.
7. Wait for the seedlings to sprout.
Within somewhere between 10 to 15 days, your seeds should sprout.
8. Thin the seedlings.
You do not want too many seedlings trying to grow too close together. So, to prevent overcrowding, wait until you see them starting to develop leaves, and then thin them out.
The best method for doing this is simply to cut them off at the stem. You should not try removing them completely. Pulling on them may not only result in the removal of the unwanted seedlings but could also damage neighboring roots.
If that happens, it could kill the seedlings you want to keep. So, don’t do it.
9. Transplant your seedlings.
Once your seedlings reach a few inches tall, you can transplant them from the little containers you started them into small pots.
If you want to move the seedlings outdoors, you can do so at this stage. You do not have to wait for them to grow.
But just make sure that you harden them gradually so that the transition to the outdoors does not overwhelm them.
You might be wondering, “Is it possible to start mums from seeds in my garden bed?”
The answer to that question is “yes.” If you decide to do that, make sure that you start after the last frost.
You may find it a little more of a challenge to start the seeds in your garden bed, however, as you have less climate control.
Plus, you also may have a harder time ensuring that the soil does not dry out during the critical phase when the seeds are germinating.
Growing from Cuttings
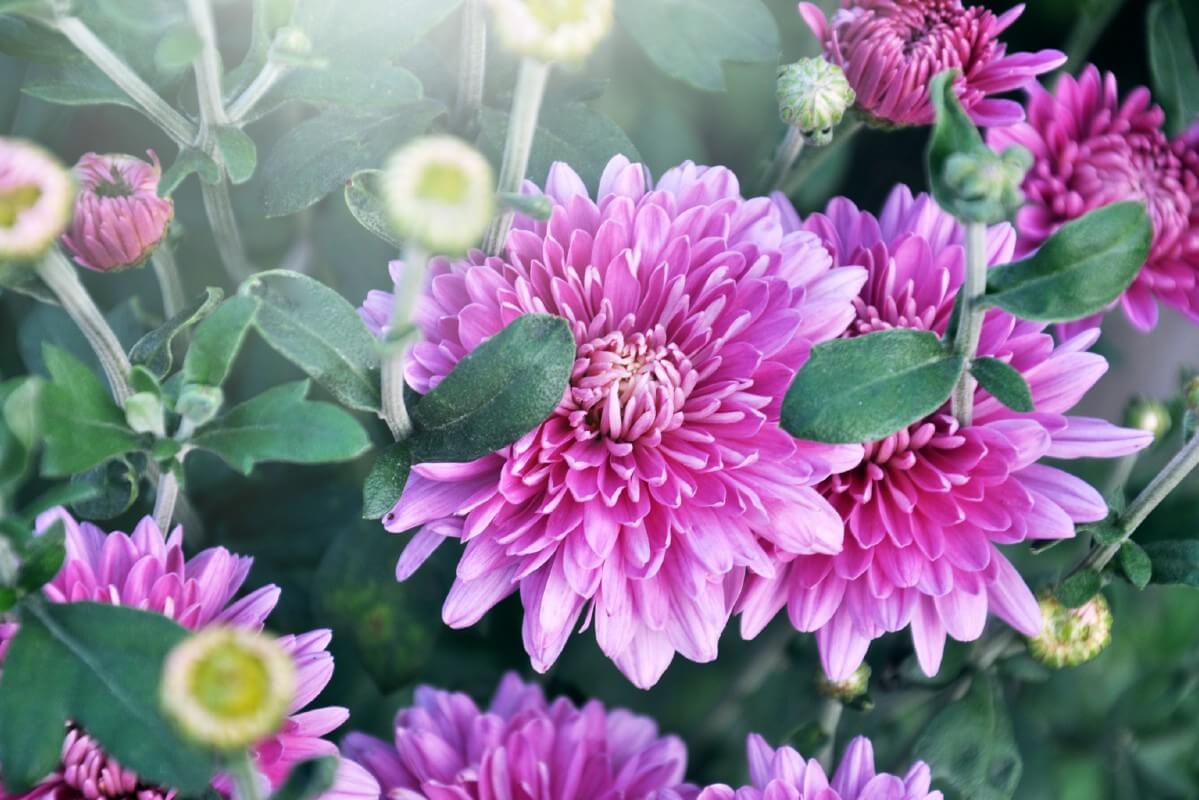
If you already have mums, you can actually propagate them from the cuttings if you want. Pretty cool, right? Here are the steps:
1. Wait until late spring to propagate your mums. Early summer is also a good time. There should not be any flowers on your mums when you decide to do this.
2. The night before you plan to take your cuttings, you need to give your mum extra water. How much? Around 4 inches.
3. Get some pots ready. You will need to get a 3-inch pot for each cutting you plan to take. Put perlite into them and then water heavily. The pots need to have holes in them through which the water is free to drain.
4. Now it is time to take the cuttings. An appropriate size for a mum cutting is around 2-3 inches. You can take each one from the end of a stem. The leafier the stem is, the better. Also, you want the growth to be as fresh as possible (which should not be difficult, since you are using the end of the stem).
Use a pair of pruning shears to cut the stem. Look for a pair of leaves, and make the cut about an eighth of an inch under them.
6. Prepare the cuttings. Once you have your cuttings, you will need to prepare them. To start with, remove the leaves from the bottom part of the cutting. It was not the leaves you wanted, but the growth nodes. Leaves higher up you can leave alone.
If you want, you can take one additional step at this stage, which is to apply some rooting hormone talc to the base of each of your cuttings. Gently tap each stem. Doing so will shake off extra talc.
7. Plant the cuttings. Now comes the exciting part! You can plant the cuttings. Just insert the stems into the perlite in each of your pots. Make sure that you leave the leaves exposed.
8. Find a place for your cuttings to grow. Usually, we like to put mums in bright, direct sunlight, but when you are propagating from cuttings, it is different. Cuttings dry out very easily, and direct sun can actually be too much for them. So, instead, go for plenty of indirect suns. This can be a spot indoors or outdoors.
7. Monitor and maintain your cuttings as they grow. Now, you just need to keep an eye on the mum cuttings to make sure that they are getting what they need to grow. Check often to see if water is needed. When the perlite starts to dry out, you can mist it with a spray bottle. You are using the spray bottle to be gentle, however, not sparing. You do want the water to fully saturate the perlite and drain out the bottom.
8. Wait for the cuttings to form roots. This process may take anywhere from one to four weeks. How will you know if roots have formed? You obviously do not want to pull them up to check—that would disrupt the root growth. But what you can do is hold a cutting right near the soil, and then give it a gentle little pull.
Do you feel the cutting pulling up, or is there a little bit of resistance? The resistance indicates that the roots are taking hold, keeping the plant in the soil.
Remember not to pull hard—those new roots are fragile.
9. Continue waiting, and then transplant the plants.
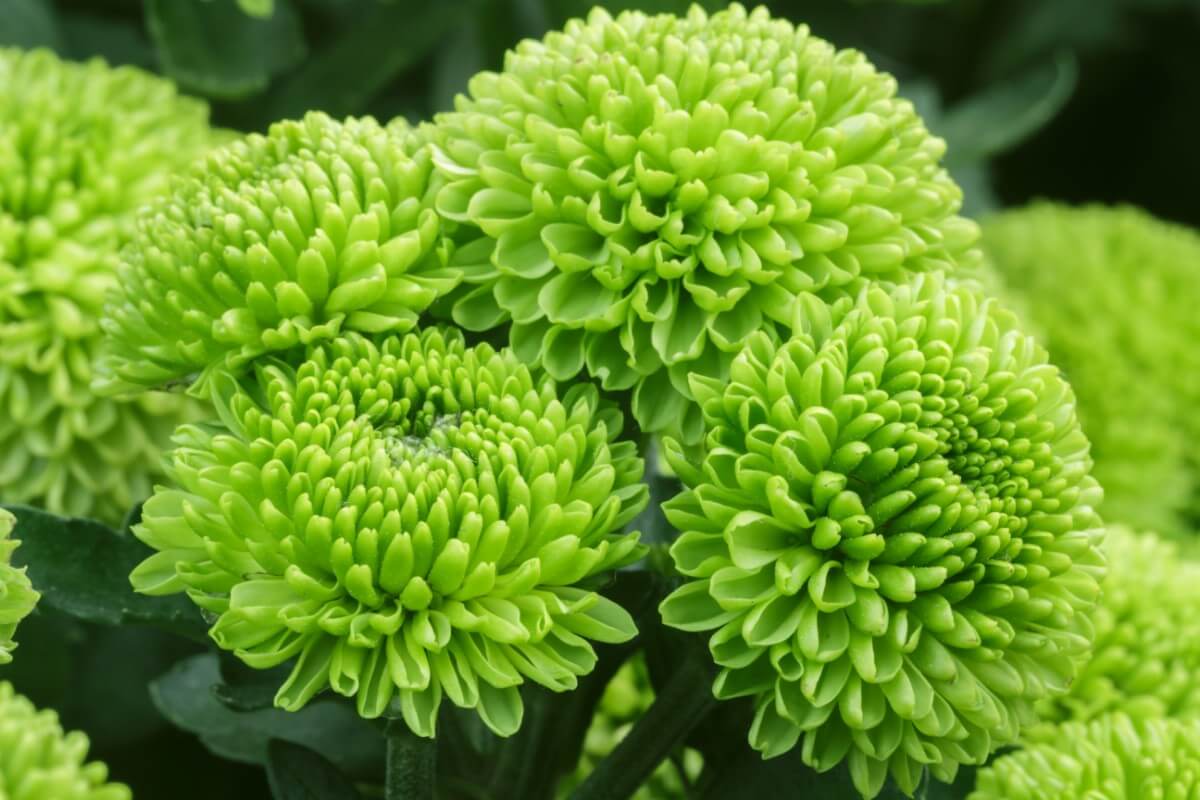
The right time to transplant the mum cuttings can be determined by the size of the roots. They need to reach 1-2 inches in length before it is safe to remove them from their starting pots and relocate them to larger ones.
You can also transplant directly to the ground if you want. But if you have been growing the cuttings indoors, you need to take the time to harden them first.
How to Care for Mums
You should be ready to plant chrysanthemums successfully now. But how do you take care of them once they are situated?
Below, we discuss fertilizing, mulching, and other aspects of chrysanthemum care.
How to Fertilize Mums
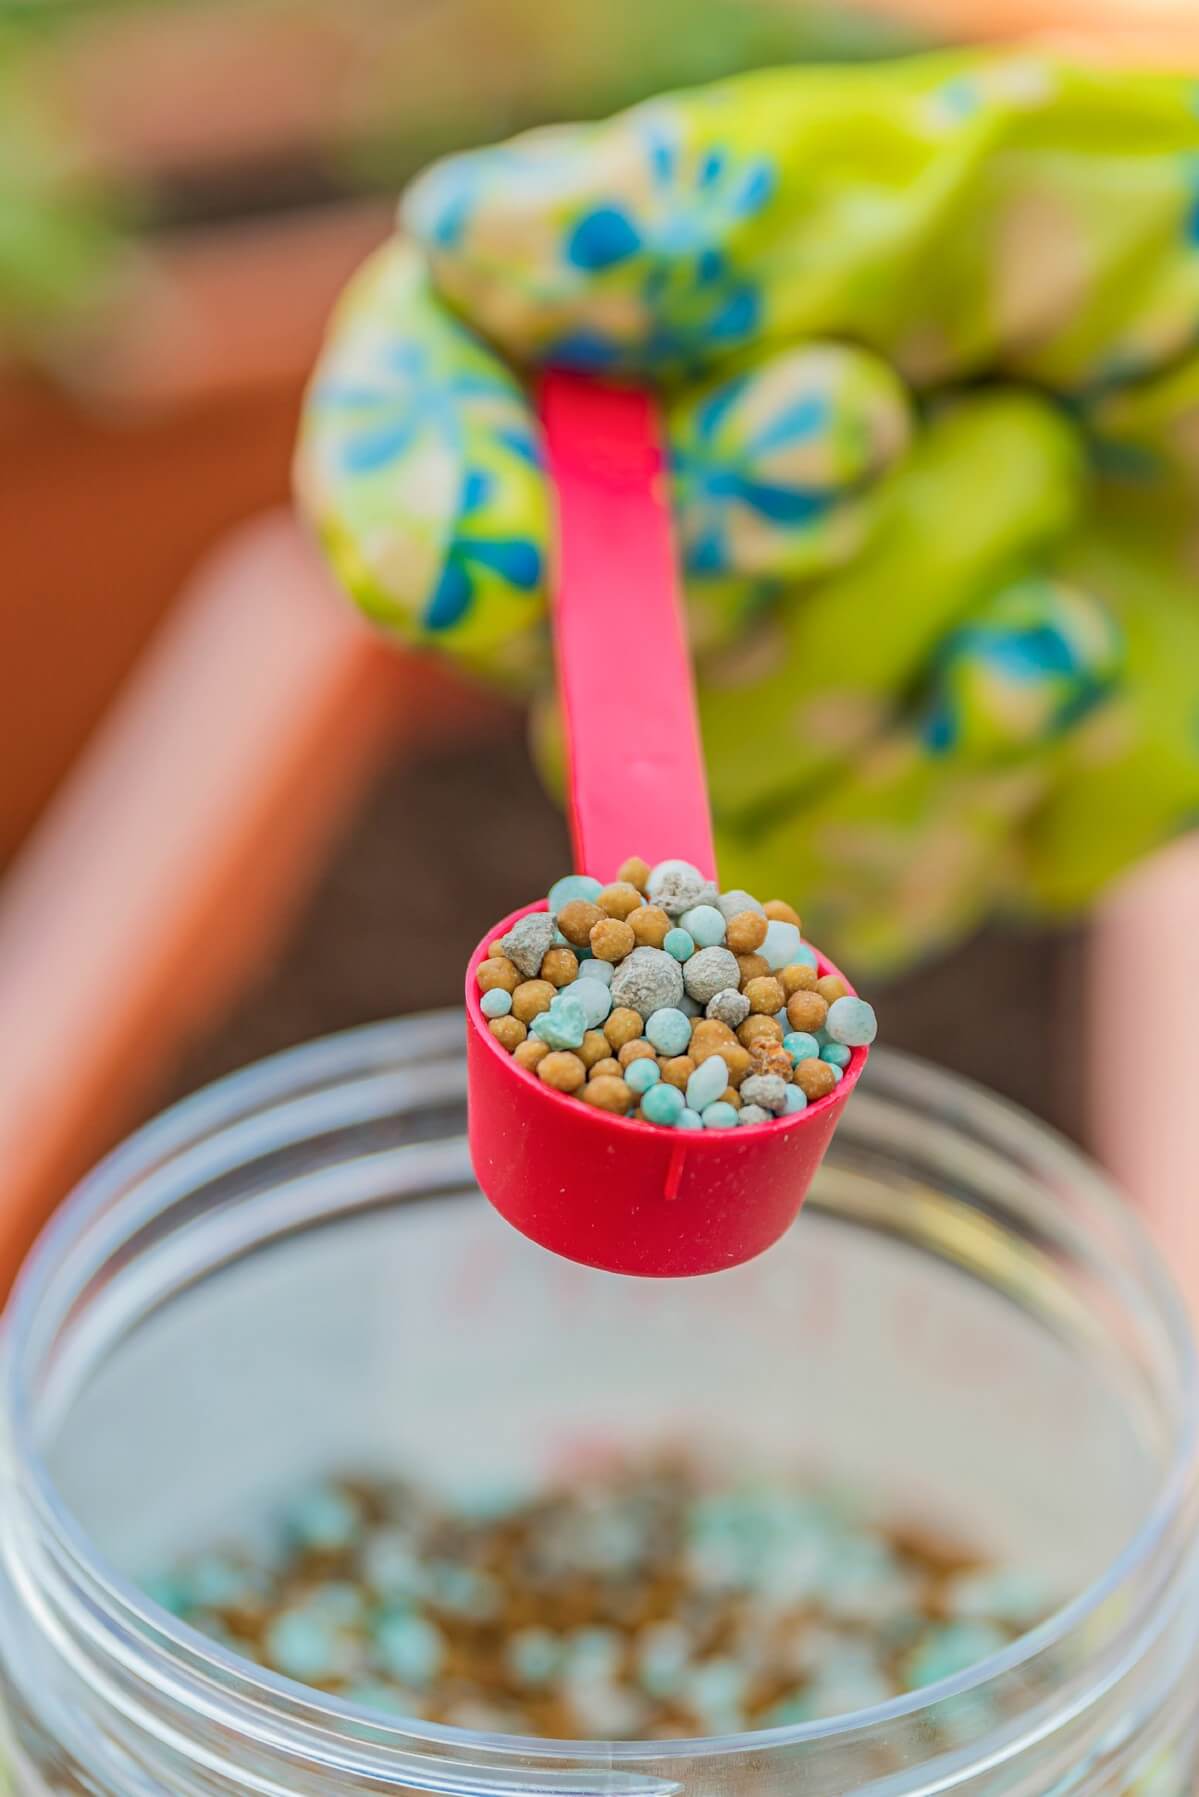
Compost will be a welcome addition to your soil when you plant mums. You also can apply a balanced fertilizer to make your plants even happier. 5-10-5 is a good option. But a granulated 10-10-10 also works.
What are the best times to fertilize chrysanthemums?
Right as new growth springs up.
Again around the start of August (do not feed later than that).
During the spring (slow-release fertilizer is ideal at this time of year).
How to Mulch Mums
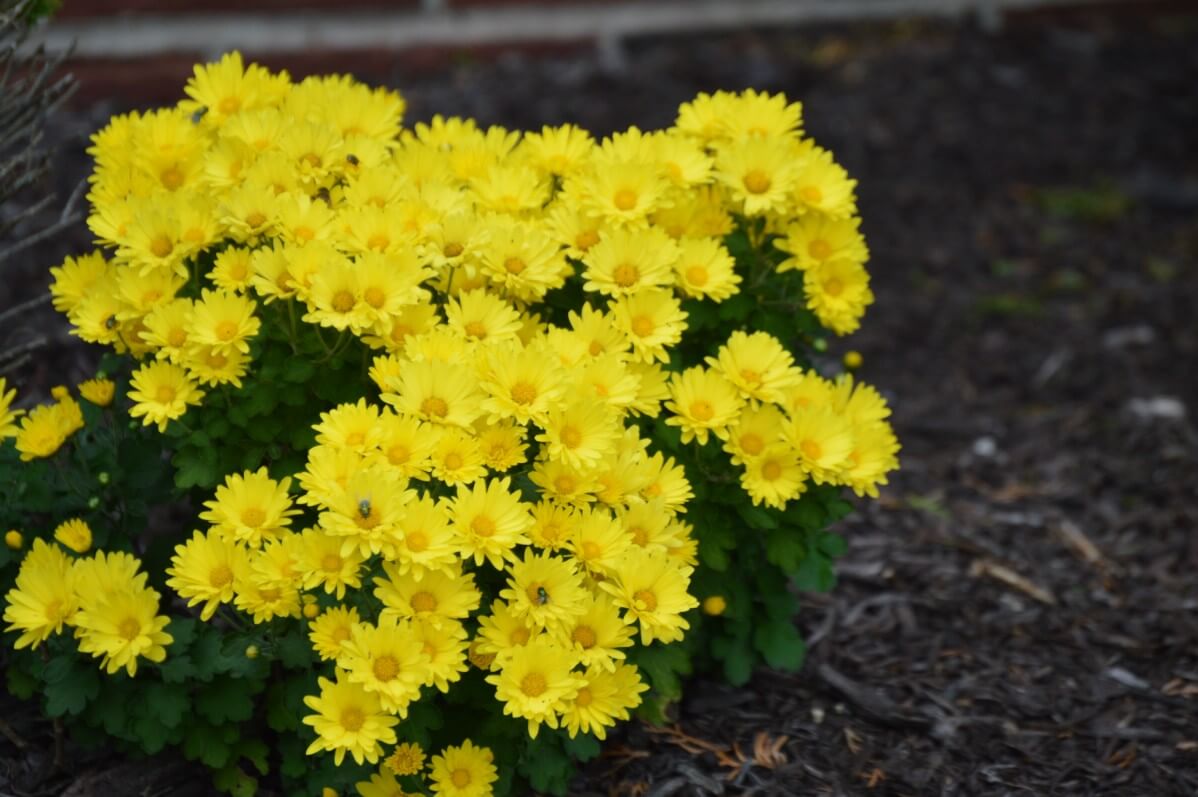
Iowa State University provides some detailed recommendations about how to mulch your chrysanthemums.
The university says, “Home gardeners can increase the odds of their garden mums surviving the winter by protecting them with mulch in fall. Mulches should be applied in late fall after the plants have been exposed to several hard freezes, typically mid-to-late November in Iowa. Do not cut back the plants in the fall. Simply place several inches of mulch around the mums. Suitable mulching materials include clean, weed-free straw, pine needles, and evergreen branches. Leaves are not a good mulch as they tend to mat down and don’t provide adequate protection.”
Regarding the recommendation to “not cut back the plants in fall,” see the later section in this article for an explanation. This advice sometimes applies, and other times does not.
How to Stake Mums
The trick to getting full chrysanthemum plants is to pinch them. We will talk about how to do that in a later section. But the drawback of getting especially full plants is that they can also become very heavy.
There are two options for dealing with this issue. The first is to plant chrysanthemums in rows instead of in isolation. If you do that, they can help to prop each other up.
The other option is to stake them instead. For a single mum, you usually just need three or four garden stakes.
Set up the stakes around the plant, and then tie some strings between them for additional support.
If you choose green as the color for the stakes and the strings, they should blend into the plant pretty well.
How to Prune Mums
See the section below on “pinching.”
What is Pinching Mums, and How Do You Do It?

Do you look enviously at the bountiful blossoms on your neighbor’s mums, and wonder why yours do not fill out as nicely?
It could be that your neighbor has been pinching their mums, and you have not.
What exactly is pinching? It is a technique you can use as your mums are growing to help ensure that you get a dense explosion of blossoms.
Here is how to pinch mums:
1. As your mum is growing, wait for it to reach around 4-6 inches in height.
2. Pinch off the top part of the stem. You should remove around 1-2 inches.
3. Wait for your mum to continue to grow. Shoots will emerge from the stem. Wait for these shoots to also reach around 4-6 inches in length.
4. Pinch off the top 1-2 inches of each of these stems.
5. Rinse and repeat.
You should end up with your mum growing more “outward” than “up,” and should also have a lot more flower density when bloom time rolls around. Even though a little time is involved, you will be startled by how easy it can be!
When to Cut Back Mums
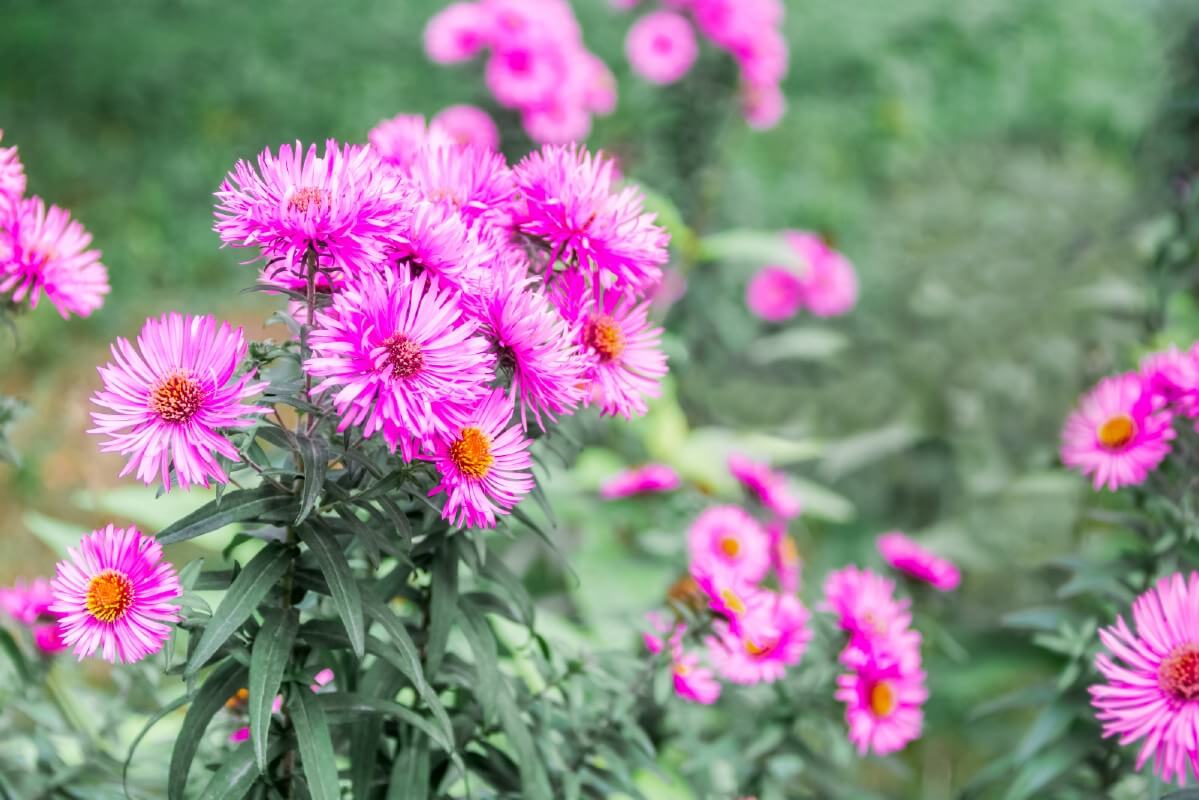
Should you cut back mums for the winter, or should you not? You may have seen recommendations in both directions, and now you are wondering what advice is correct.
The answer is, “It all depends on where you live.”
Wilson Bros Gardens says, “After your mums have finished blooming in the fall, and the foliage has gone completely dormant, you can cut the dead stems back to just above the ground. That being said, northern gardeners can leave the dead stems there to help insulate the roots from severe cold weather during winter.”
Are Chrysanthemums Vulnerable to Diseases or Pests?
A few different diseases can affect chrysanthemums. One example is leaf spots. Another is rust. Powdery mildew and wilt can be issues as well. Gray mold, ray speck, and ray blight are additional problems. You should watch out for crown gall and bacterial blight too.
Parasitic roundworms called nematodes can sometimes infest chrysanthemum plants as well.
Finally, there are some insects that like to eat chrysanthemums. You might find you have problems with aphids, two-spotted spider mites, and leafminers.
Now and again, you might also discover slugs or snails have been eating your mums.
How to Transplant Mums
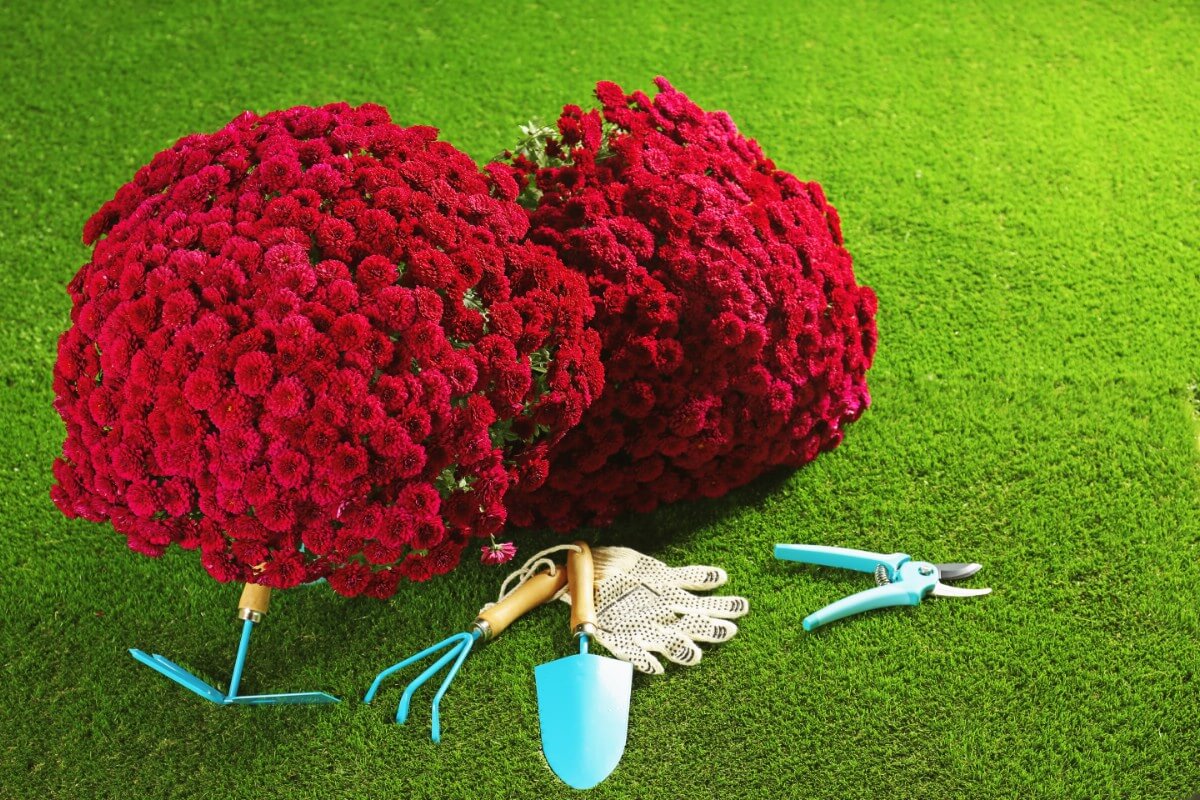
If you are going to transplant mums into your garden bed, you can follow these steps:
1. Pick a location.
You need to choose a spot that is exposed to a lot of direct sunlight.
2. Prepare your soil.
Ensure that the soil is moist, but drains well, and will not become soggy. You do not want wet feet.
To ensure that your mums get the nutrition they need, mix in some compost.
3. Carefully remove your mums from their pots.
Gently remove your mums from their containers, carefully removing excess dirt. Check to see if the root ball has become tightly bound. If it has, try and carefully spread the roots out a bit.
4. Dig holes and plants your mums.
Plant your mums. Space them out 18-36 inches. Larger mums will need more space. Remember to think about how big they will get when they are at full size, not necessarily how big they are at present.
In terms of depth, you should match the depth in your garden bed to what your mums were used to in their pots.
As a reminder, do not transplant indoor mums outdoors in your garden beds without hardening them first.
Recommended Companion Plants for Mums
You know all about growing mums now. But what companion plants should you grow with them? Here are a few ideas.
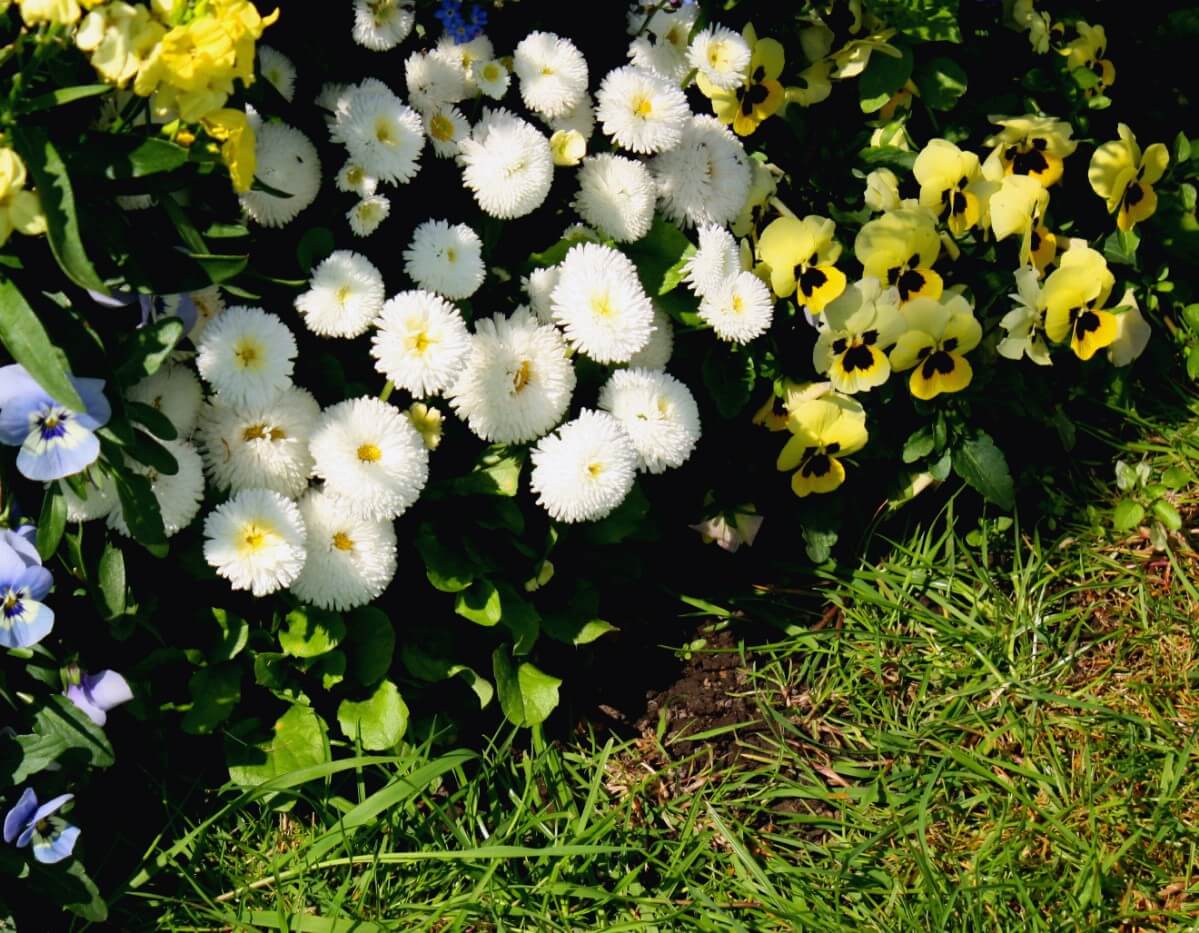
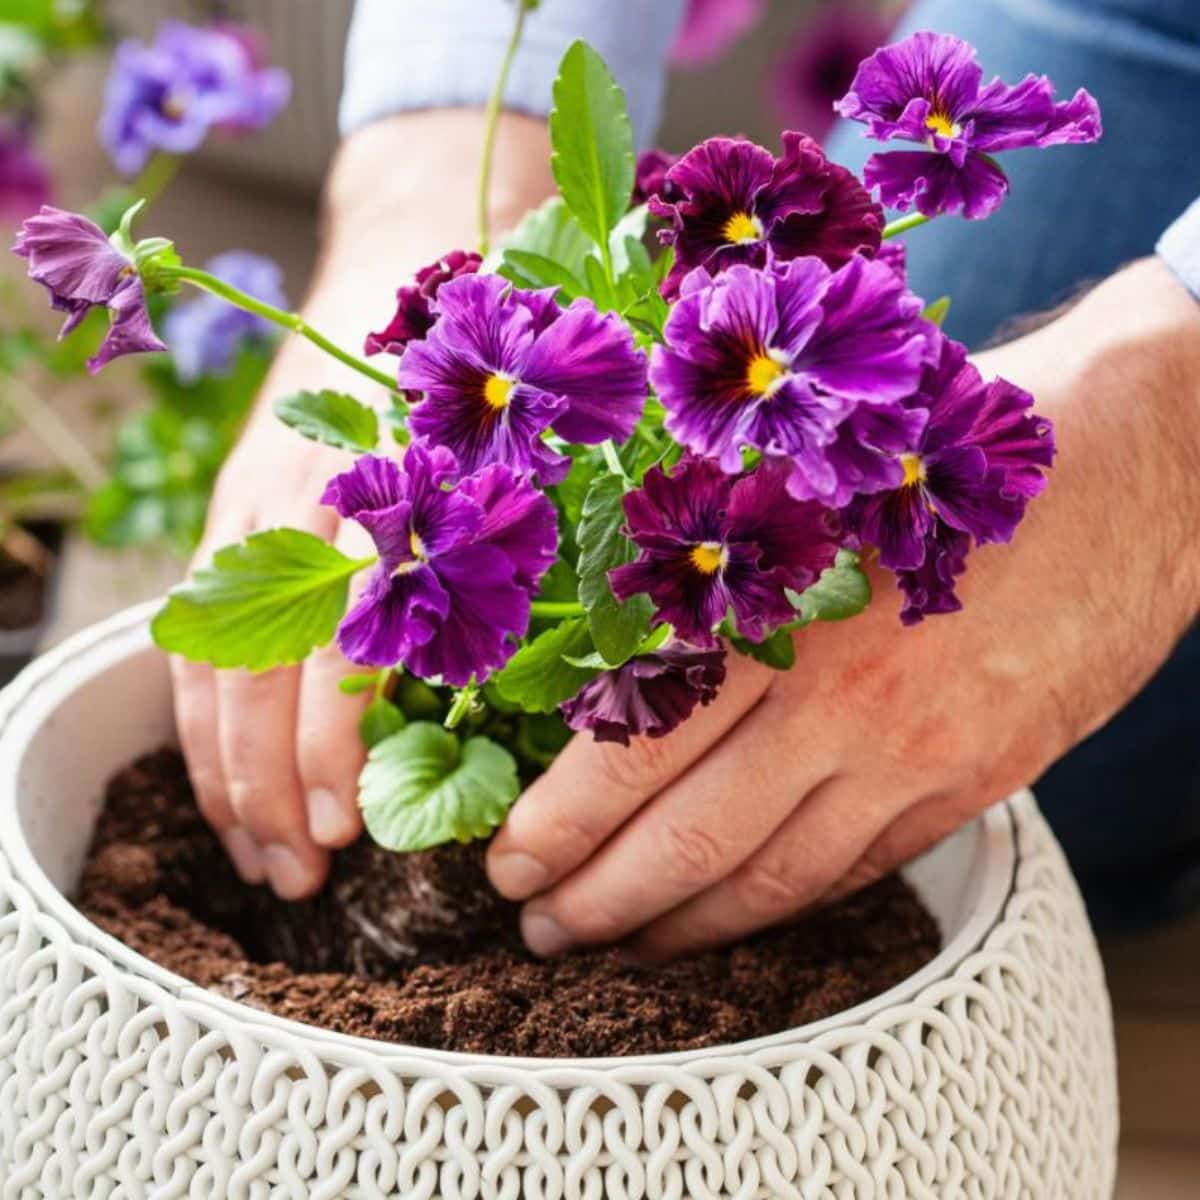
Pansies. Like mums, pansies bloom in the fall. So, they can accompany one another, creating a mixture of colors and shapes.
Helenium. This flower with its radiant sunset hues is known as “autumn sneezeweed”—but it is nothing to sneeze at! Like mums, these flowers thrive in full sun, and blossom around the same time.
Kale and cabbage. For something a little different, consider growing these delicious edible plants near your mums. They also tend to look great later in the season.
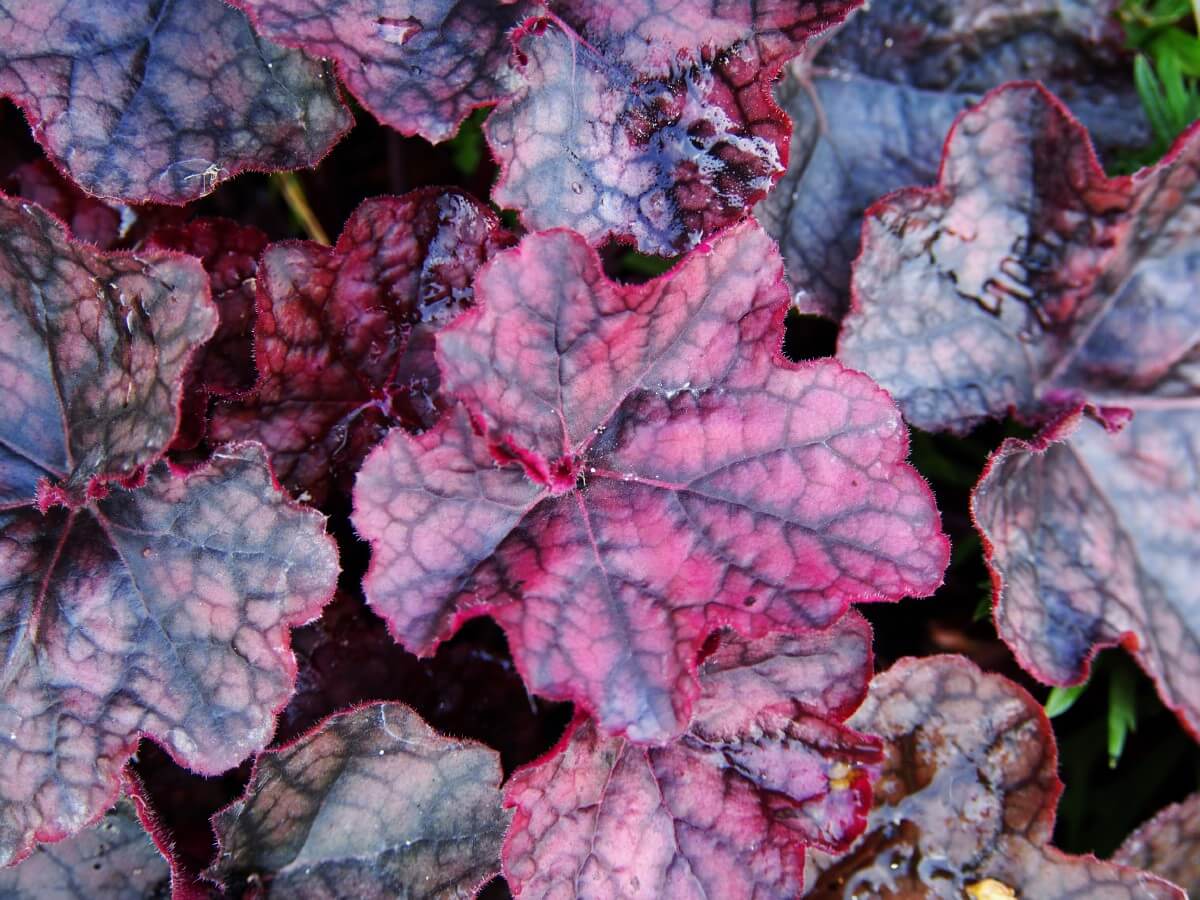
Coral bells. It seems like these plants get a mention as companion options for so many garden perennials! And no wonder—their colorful leaves stand out in any garden, and make a wonderful accompaniment for blooms such as mums.
Those are just a few possibilities for companion planting. You can doubtless think of many more!
Frequently Asked Questions About Growing Chrysanthemums
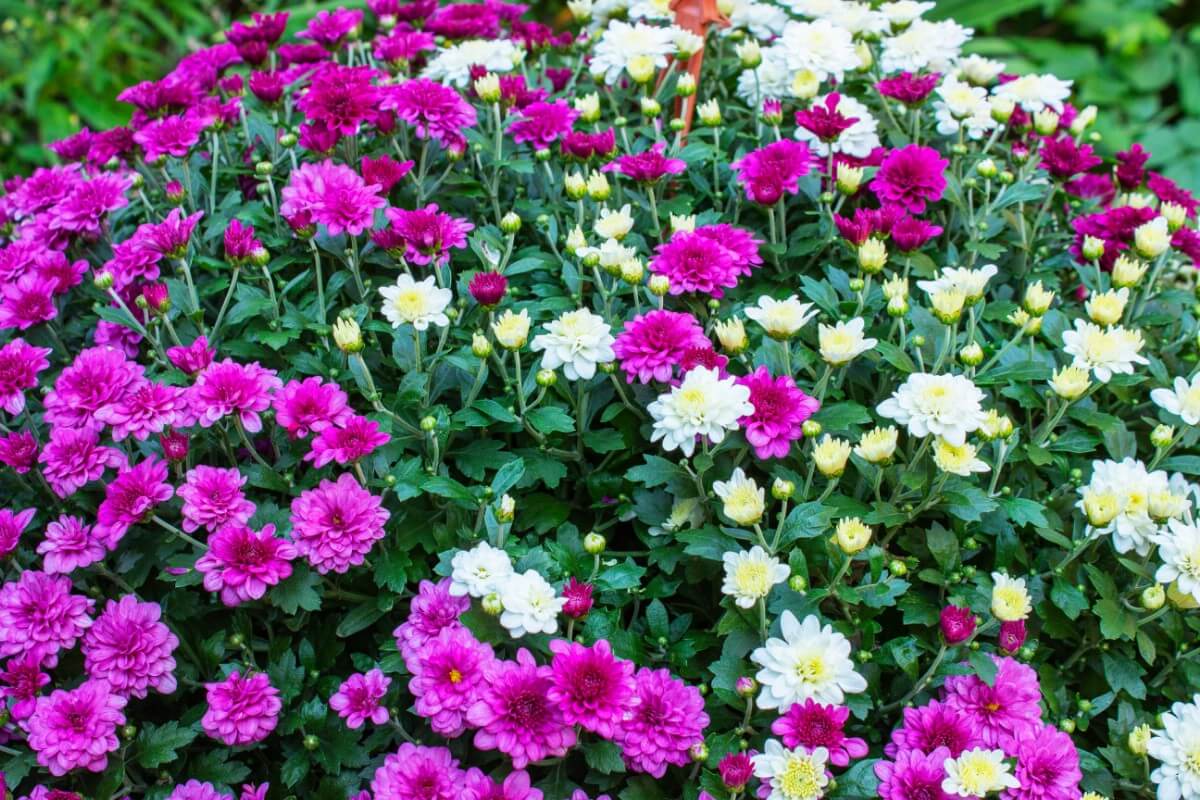
To wrap up our chrysanthemum growing guide, let’s answer a few frequently asked questions.
chrysanthemums are not particularly tall plants. Most of them max out at anywhere from 1 to 3 feet in height.
Slugs, snails, and insects may eat mums. Animals sometimes eat them too, but they are not a favorite among deer.
Consider pansies, kale, cabbage, coral bells, or helenium.
Chrysanthemums are perennial plants. That means that every year, they come back.
Yes, they are. These are two different names for one type of plant.
Where to Buy Mums
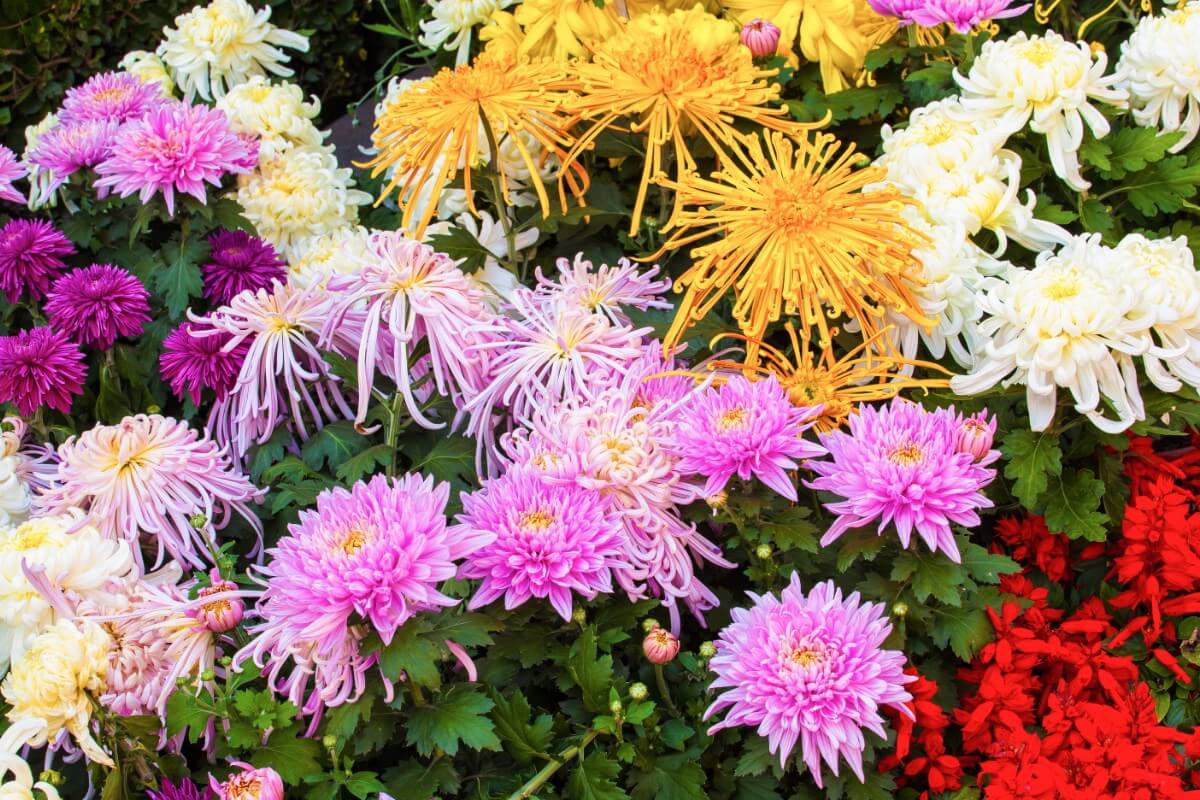
Now you know all about planting and caring for chrysanthemums. Are you ready to shop for thousands of stunning cultivars of colorful flowers? To find beautiful mums for your garden now, click here.



Jolie
Hello. I'm just wondering, where can we buy their seeds?
Thanks.
Mary Ward
You should be able to find Chrysanthemum seeds online. Your local seed supplier may also carry them, or check your favorite seed catalogs.
James K Brown
I live in Northern Ontario (Sudbury} and have a store bought potted "mum" that I would like to keep for next year. If this is possible, how do I do it??
Thanks,
Jim
Mary Ward
At this point in the year your best bet is to overwinter it inside in an unheated or minimally heated space. As it happens, we just published a piece on this! Here you go: https://gardening.org/overwinter-mums/