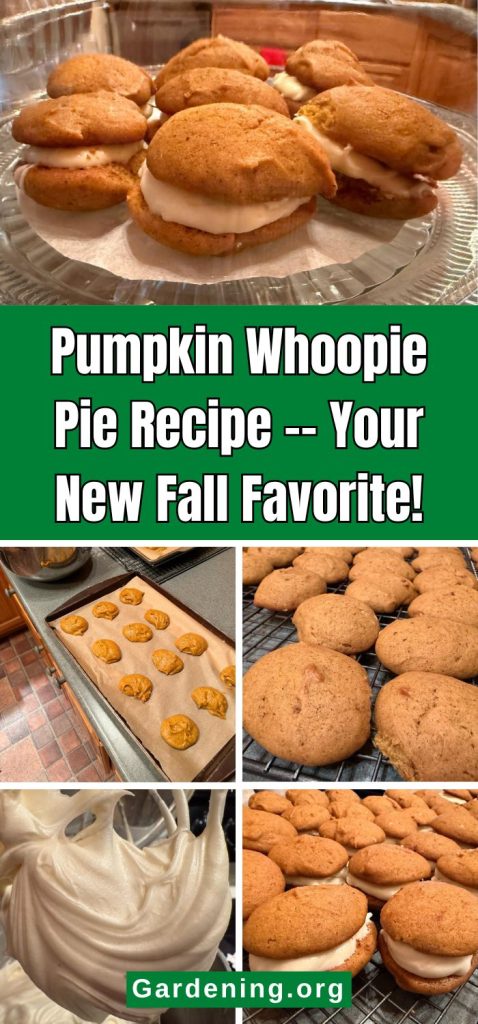

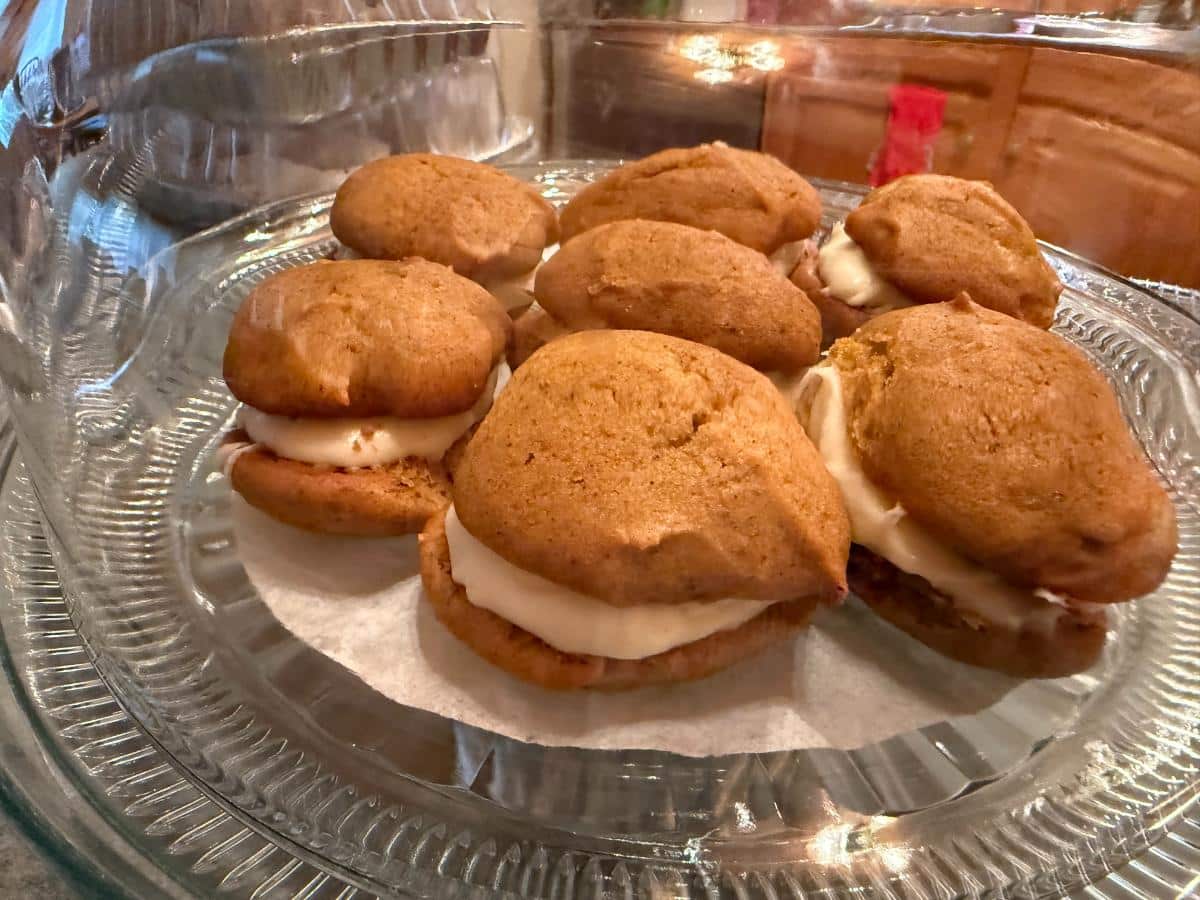
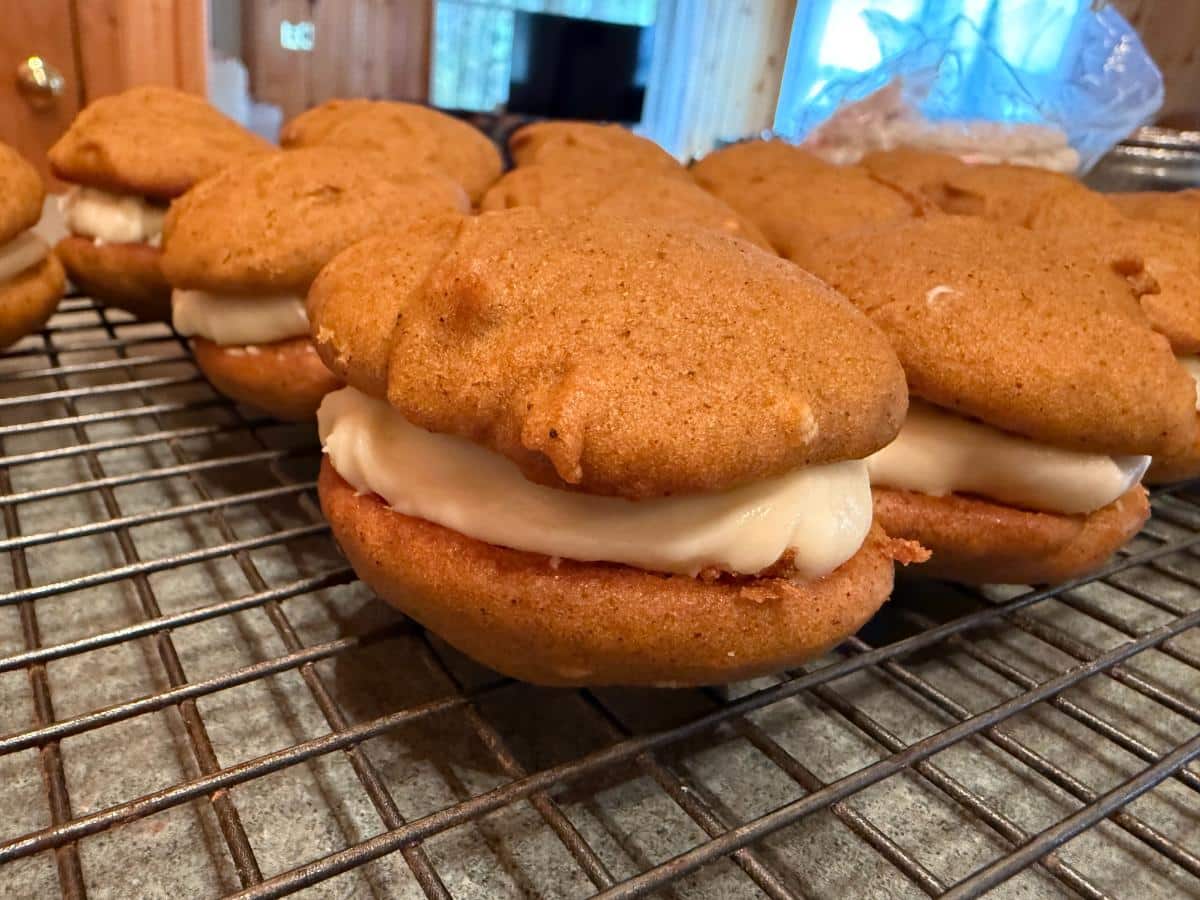
Here’s a recipe that delivers on big fall flavor: Pumpkin Whoopie Pies with Cream Cheese Filling!
These delicious little delights have it all -- pumpkin goodness, the quintessential fall treat, just the right amount of pumpkin spice, and a tasty cream cheese filling that can’t be beat. Not too sweet, full of flavor, and all in a portable, handheld cookie pie.
They work well as an afternoon treat with tea, a morning coffee indulgence, a popular party pie, a lunchbox treat, or a cupcake fill-in.
Jump to:
What’s a Whoopie Pie?
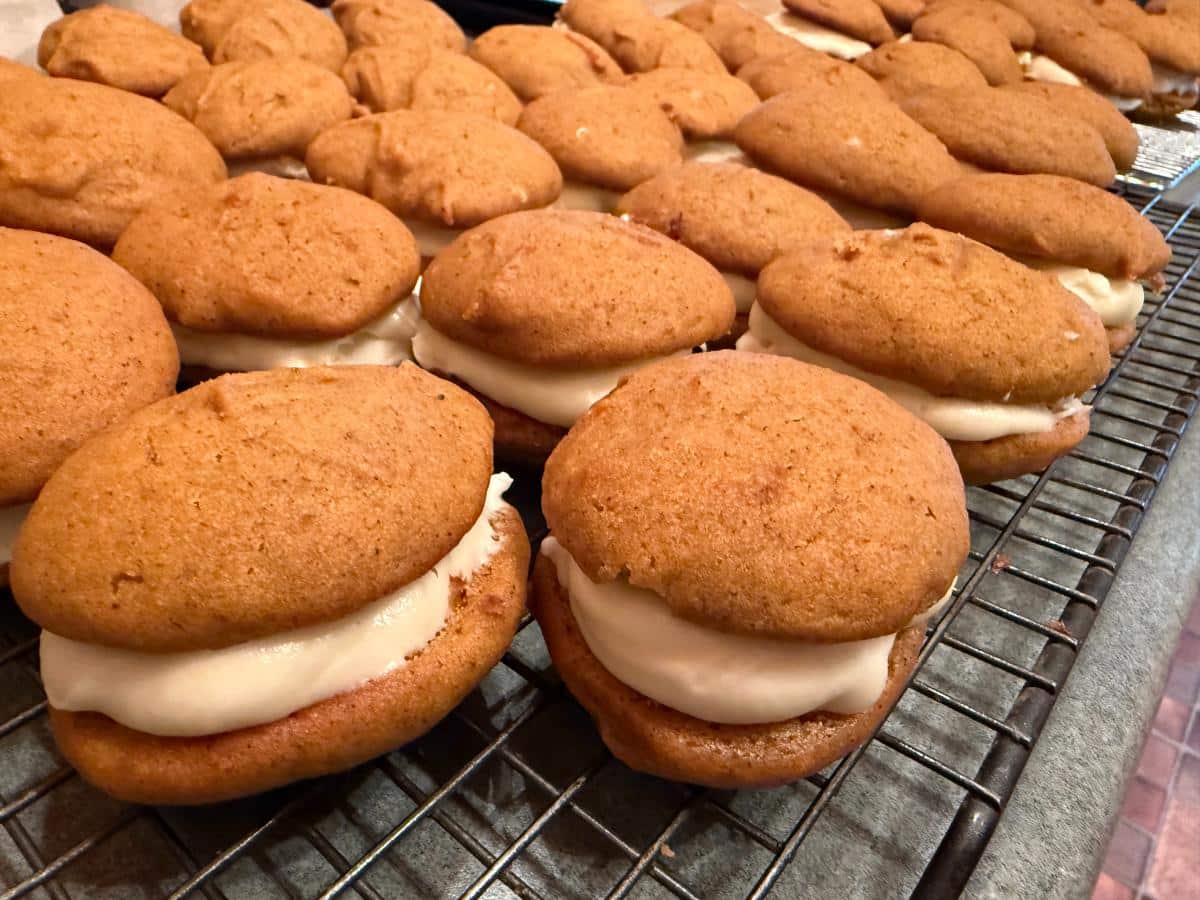
If you’ve never had a whoopie pie, you’re in for a treat. A whoopie pie is a handheld dessert “sandwich”. They’re made with two soft but firm, cake-like cookies, and they have a cream-filled middle layer between the cookies.
Traditional whoopie pies are a chocolate cookie with a white cream frosting filling, but there are other versions. This pumpkin whoopie pie is one of the best!
The filling is a mix of confectioner’s sugar, unsalted butter, and cream cheese. It’s just sweet enough but not so sweet that it’s cloying. All in all, this pumpkin version of the traditional whoopie pie strikes the perfect balance of savory and sweet -- with all the fall flair!
Pumpkin Whoopie Pie Recipe
Now for what you came for -- the recipe!
This recipe makes about 20 to 22 three-inch whoopie pies.
Ingredients:
For the cookies:
- 1 cup brown sugar, packed
- 1 cup granulated sugar
- 1 cup vegetable oil
- 1 15-ounce can pureed pumpkin
- 2 large eggs
- 1 teaspoon vanilla extract
- 3 cups all-purpose flour
- 1 teaspoon baking soda
- 1 teaspoon baking powder
- ½ teaspoon salt
- 1 tablespoon cinnamon
- 1 teaspoon ground ginger
- ¼ teaspoon ground cloves
For the Filling:
- 1 8-ounce package cream cheese, softened
- 1 stick (½ cup) unsalted butter, softened
- 16-ounce package of powdered sugar
- 1 teaspoon vanilla extract
- 1 pinch of cinnamon
Instructions:
To make the cookies:
- Preheat your oven to 350℉ (177℃)
- Beat together the brown sugar, granulated sugar, oil, and pumpkin. Beat until smooth and evenly combined.
- Add the eggs one at a time. Beat well after each addition.
- Mix in the vanilla extract.
- In a separate bowl, combine all of the remaining dry ingredients (flour, baking soda, baking powder, salt, cinnamon, ginger, nutmeg, and cloves).
- Stir through to evenly combine.
- Mix the dry ingredients into the wet ingredients; add the dry ingredients in about three portions, stirring after each addition.
- Mix just until evenly combined. Do not overmix.
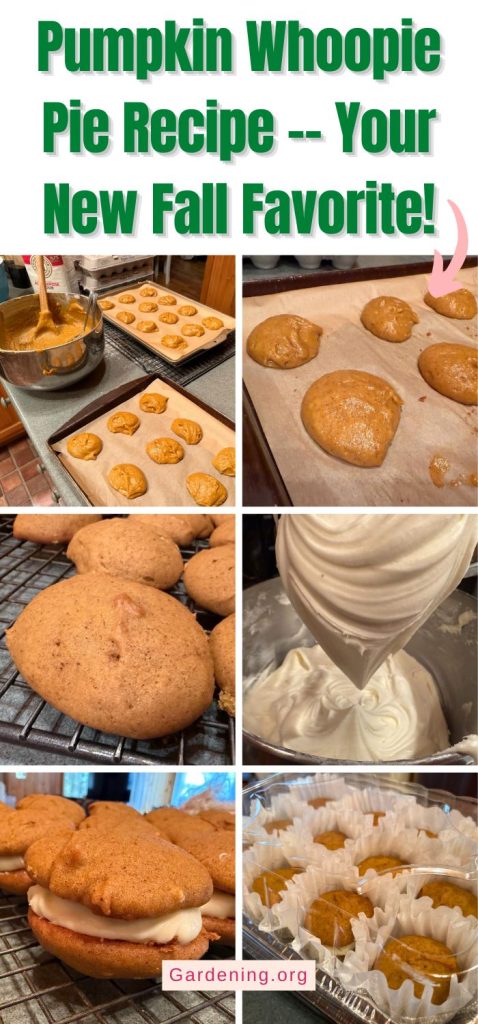
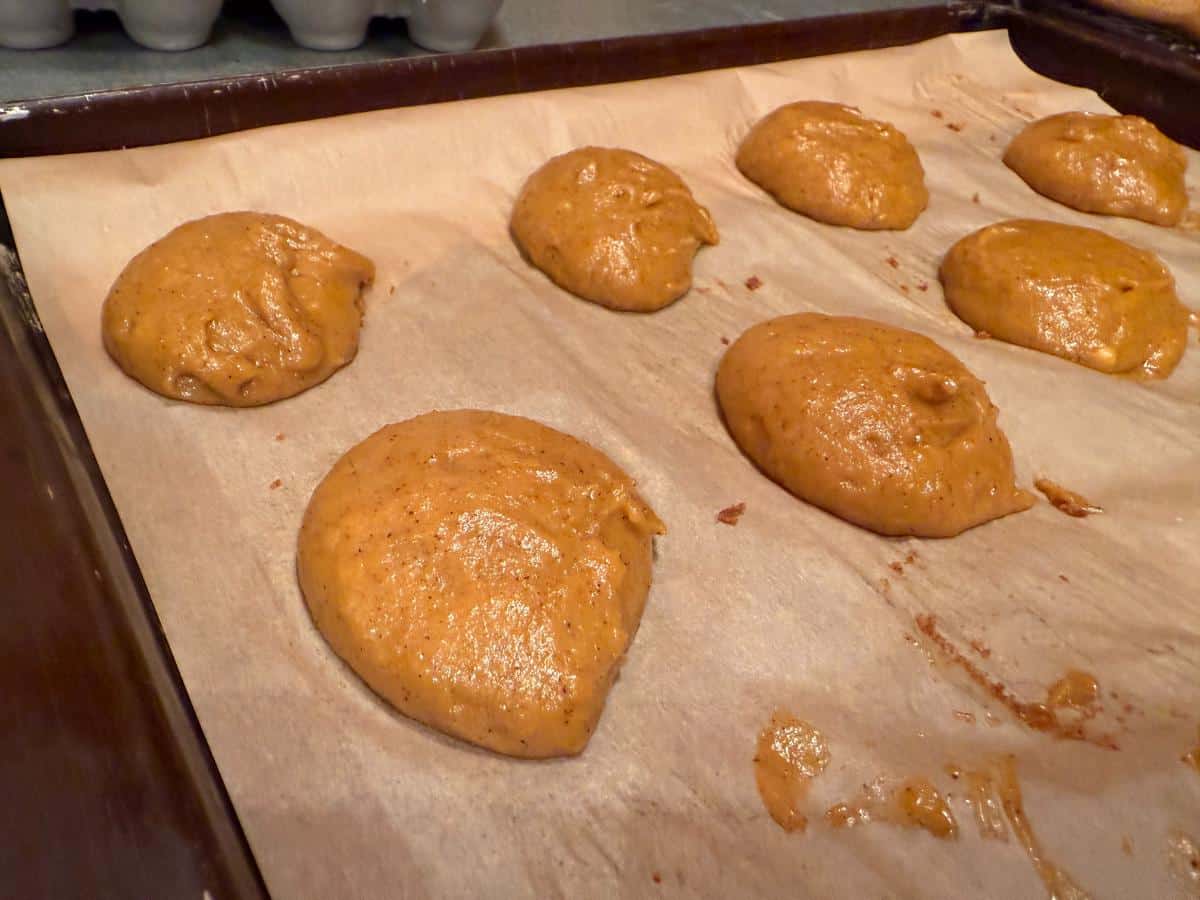
- Spoon or squeeze (with a piping bag) the cookie batter onto a greased or parchment paper-lined baking sheet; cookies should be about two-inch rounds.
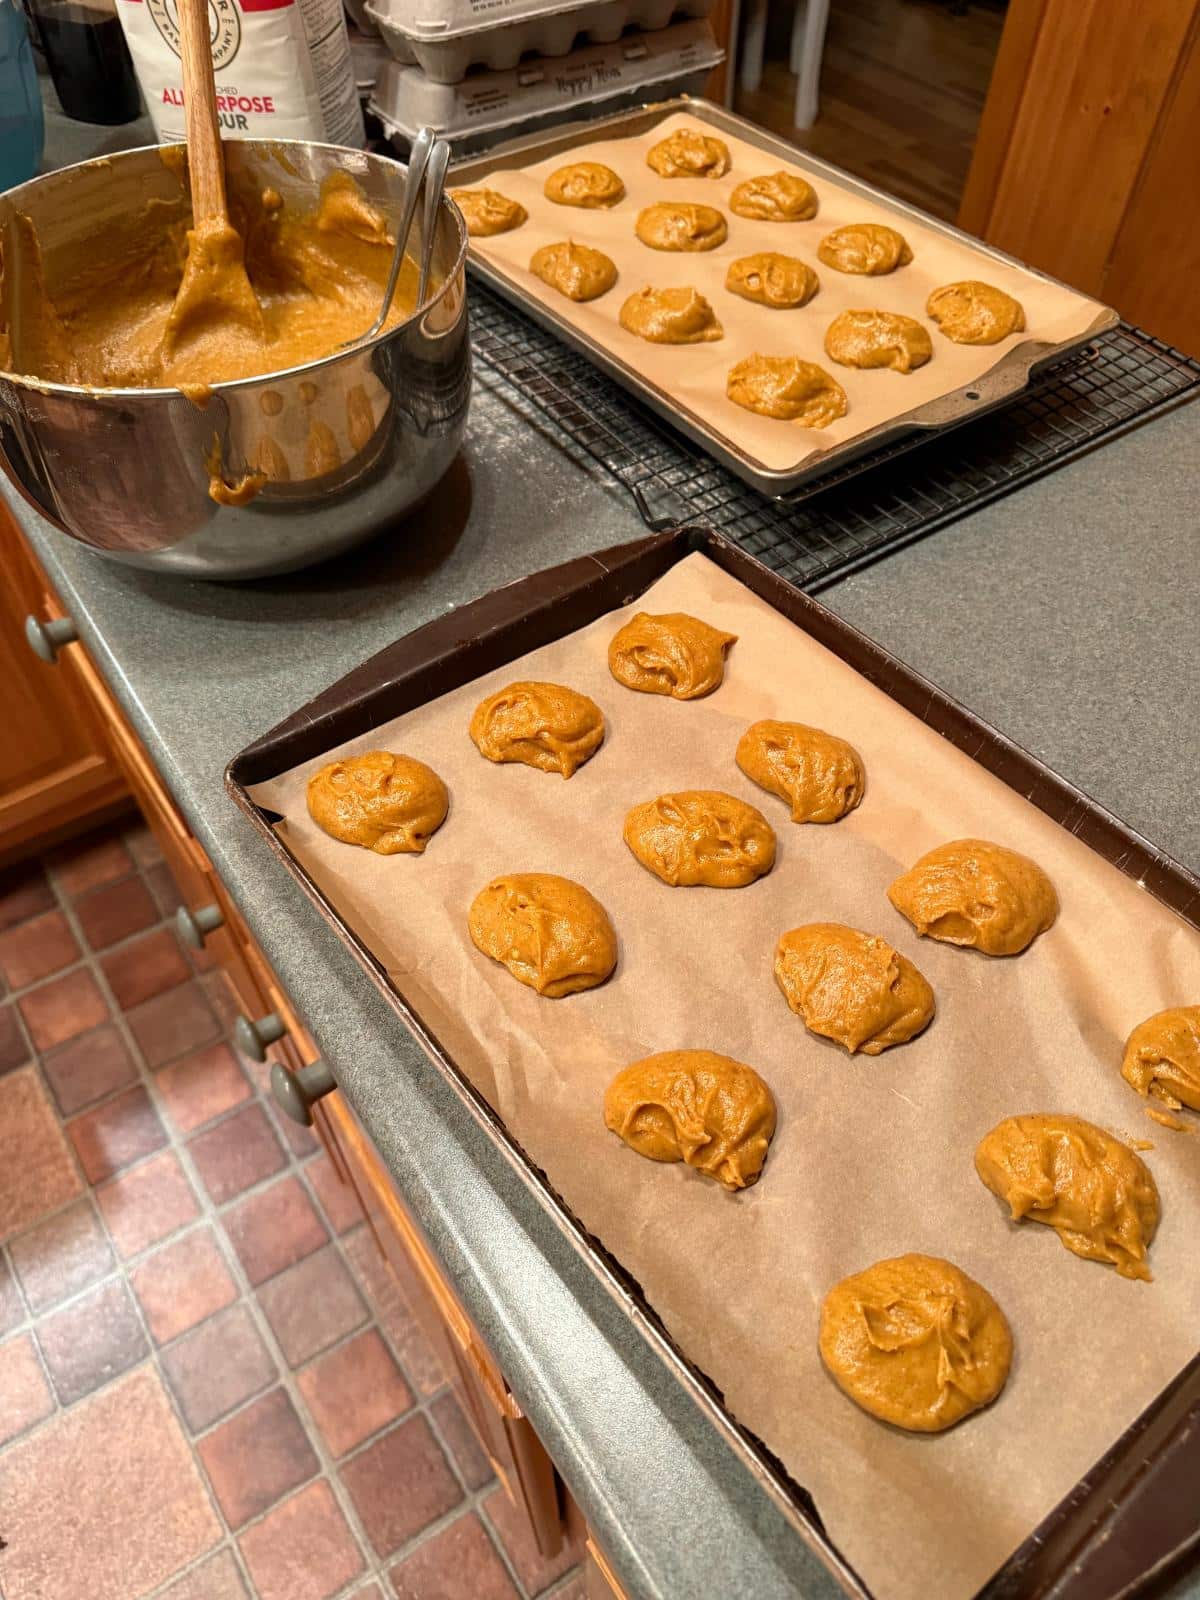
- Bake in a preheated 350-degree oven (177℃).
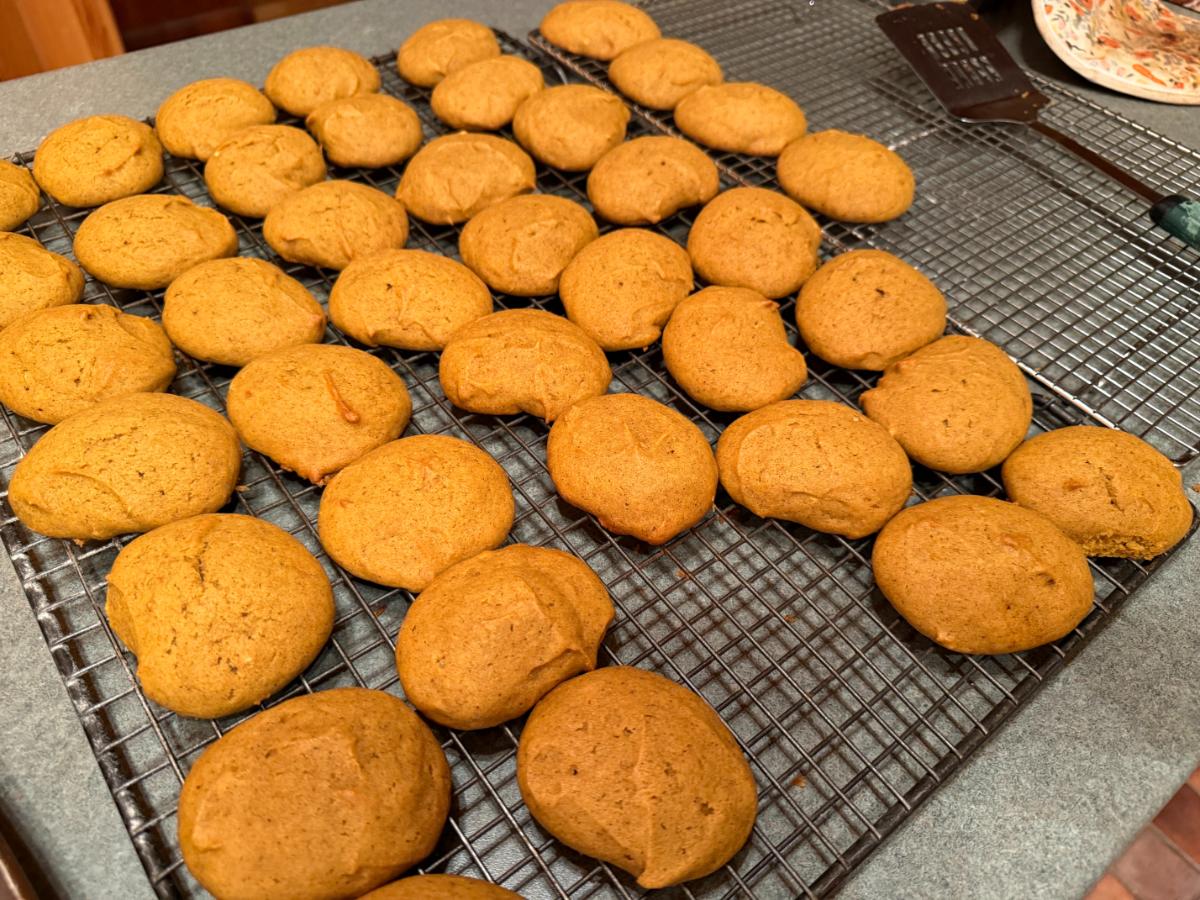
- Bake for 11 to 14 minutes, until cookies are baked through and just start to turn a golden brown on the tops and bottom edges.
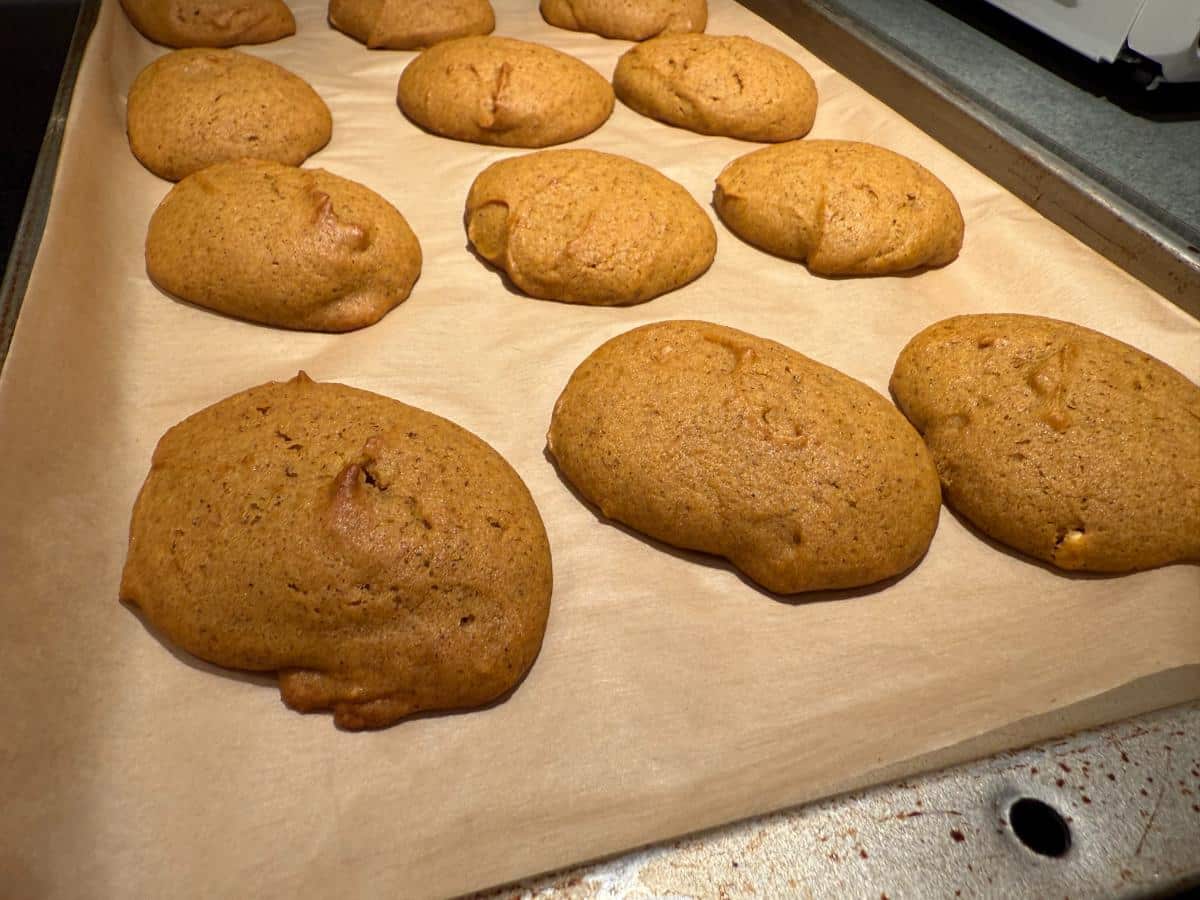
- Remove cookies from oven and cool on cooling racks.
To make the cream cheese filling:
While you wait for the cookies to cool, prepare the cream cheese filling.
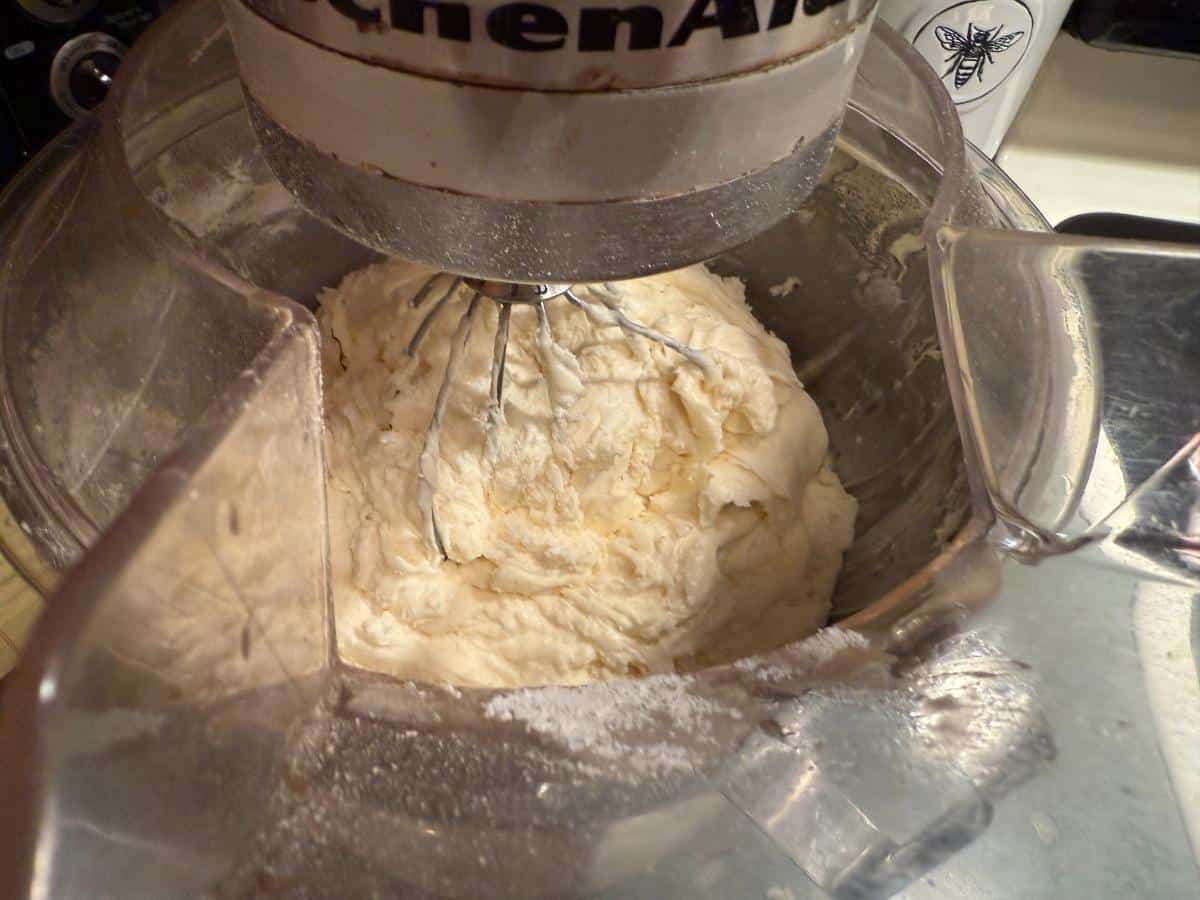
- Beat the unsalted butter and the cream cheese together using an electric mixer. Beat until combined, smooth, and a bit fluffy.
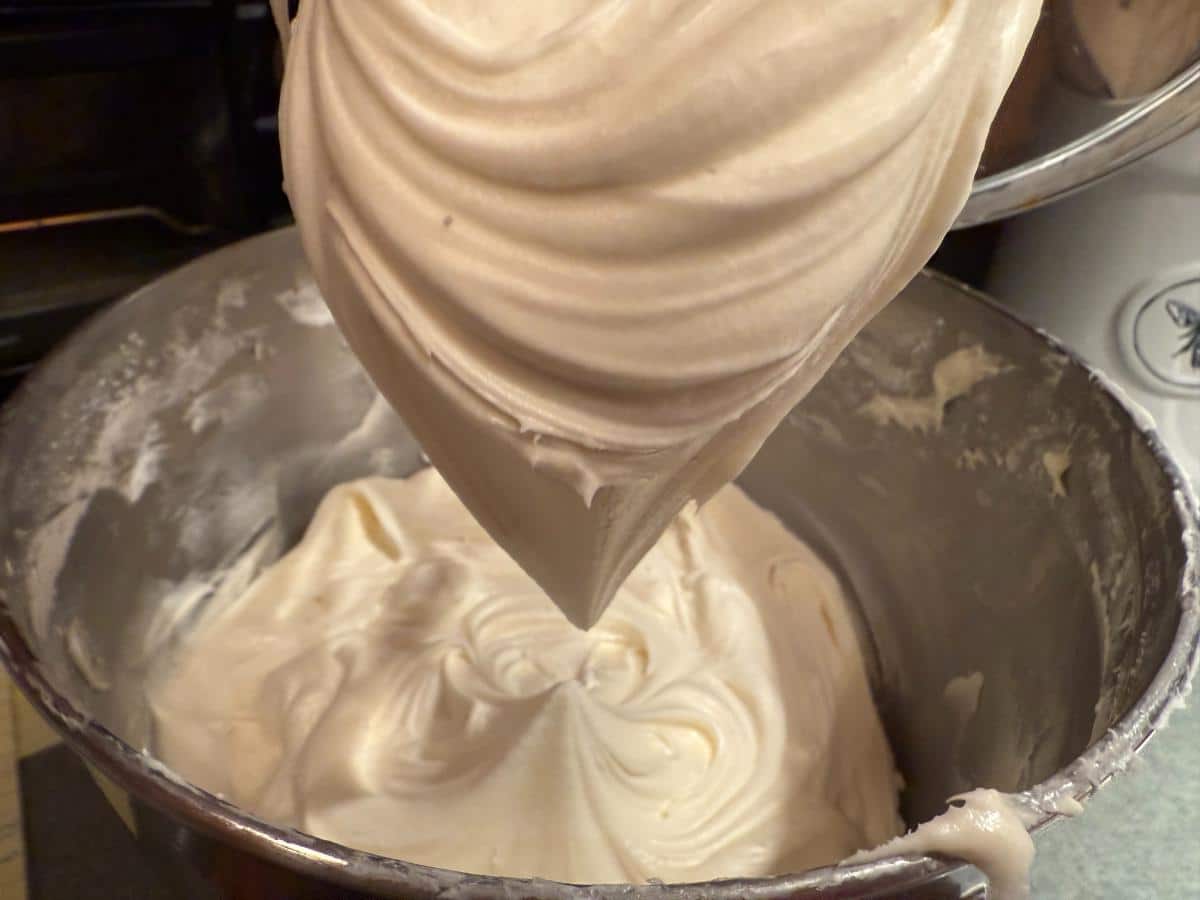
- Add the powdered sugar and vanilla. Stir or mix on low until the sugar is incorporated and no longer powdery.
- Mix on high for one to two minutes until smooth, combined, and fluffy. If you need to, stop and scrape the sides of the bowl with a spatula so that all the sugar and ingredients are evenly incorporated.
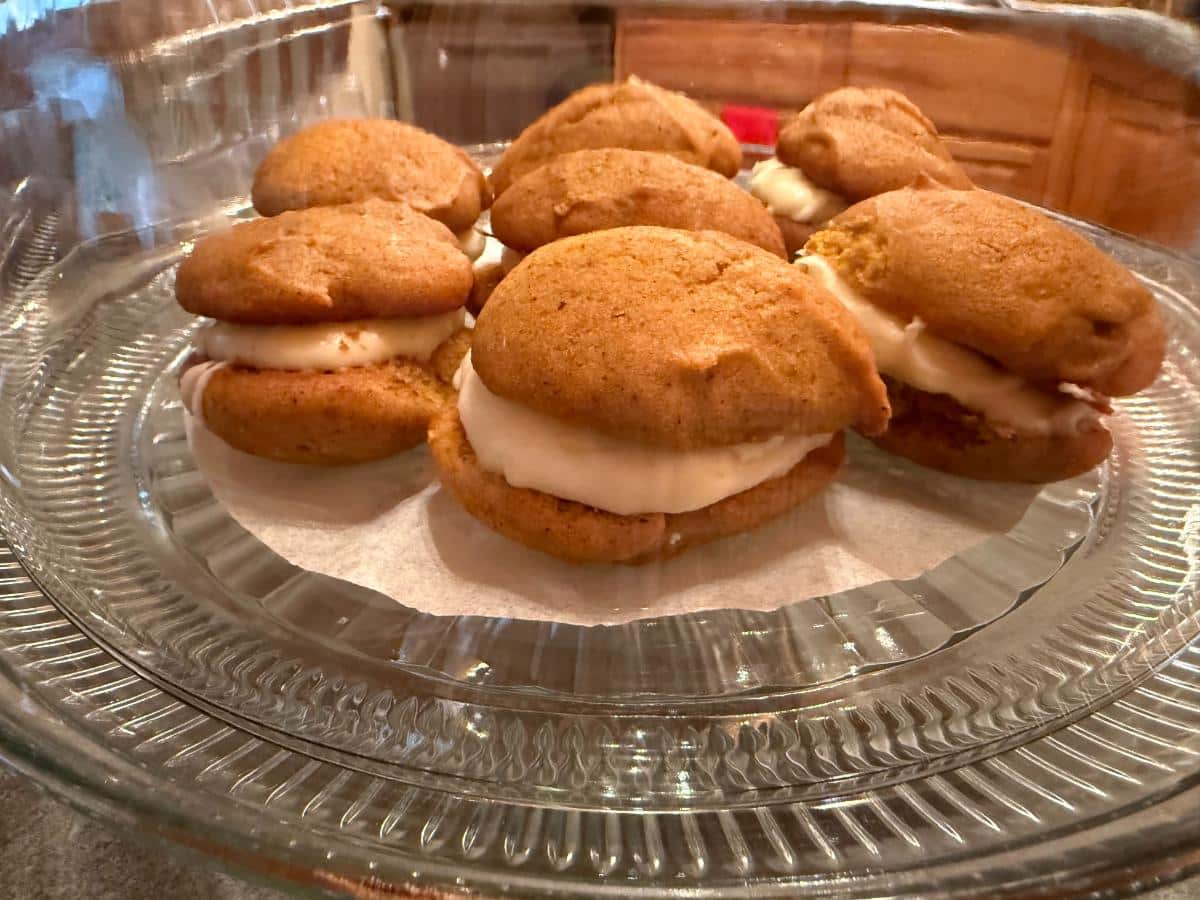
Construct Your Pumpkin Whoopie Pies
Now it’s time to put the pieces of your masterpiece(s) together!
To construct your cream cheese-filled pumpkin whoopie pies:
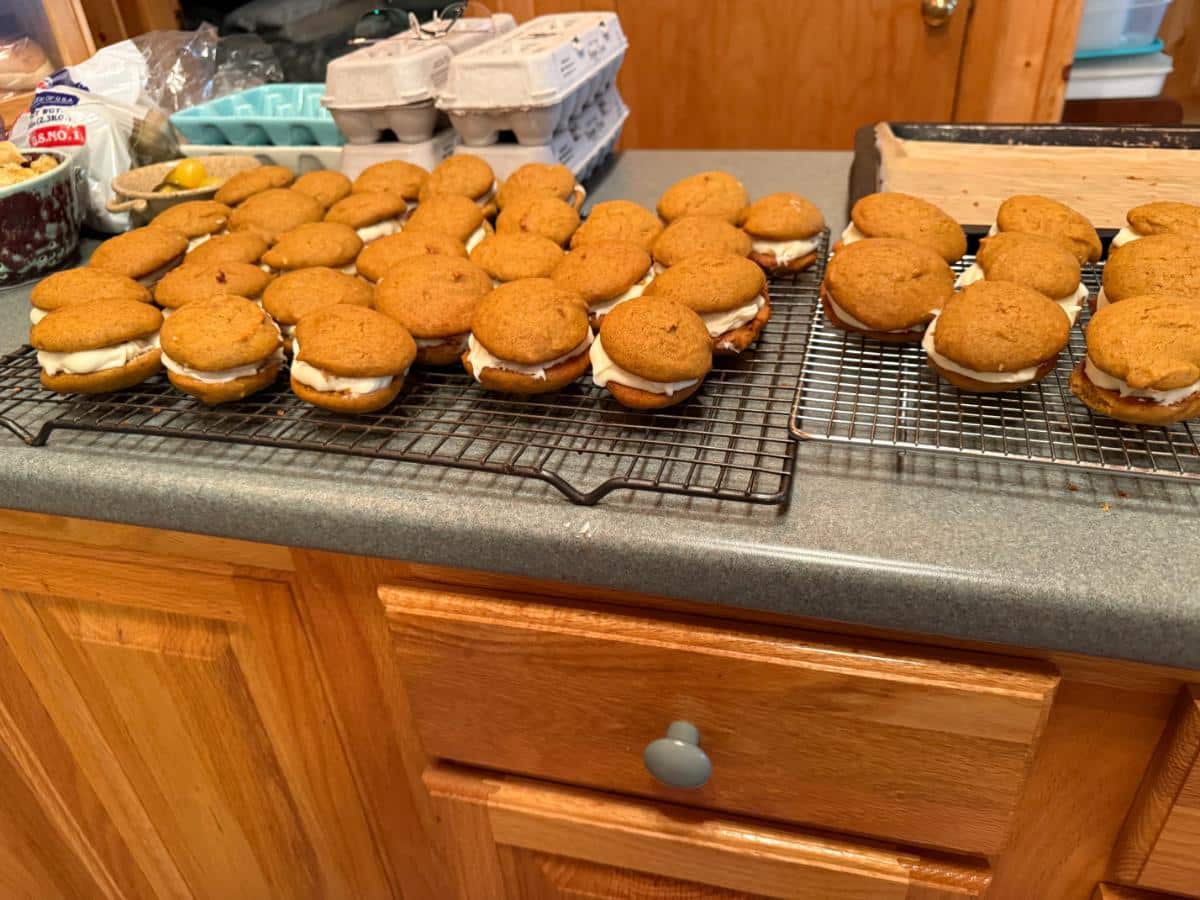
- Spread a generous amount of the cream cheese filling on the flat side (the bottom side) of one cookie. Then top that cookie with a second cookie, flat (bottom) side to the middle/cream.
- The filling recipe makes plenty, so don’t skimp on the filling! Each cookie should get about two tablespoons of cream cheese frosting/filling.
- Repeat until all the whoopie pies are filled and constructed.
Pro Tip for Presentation and Easy Serving:
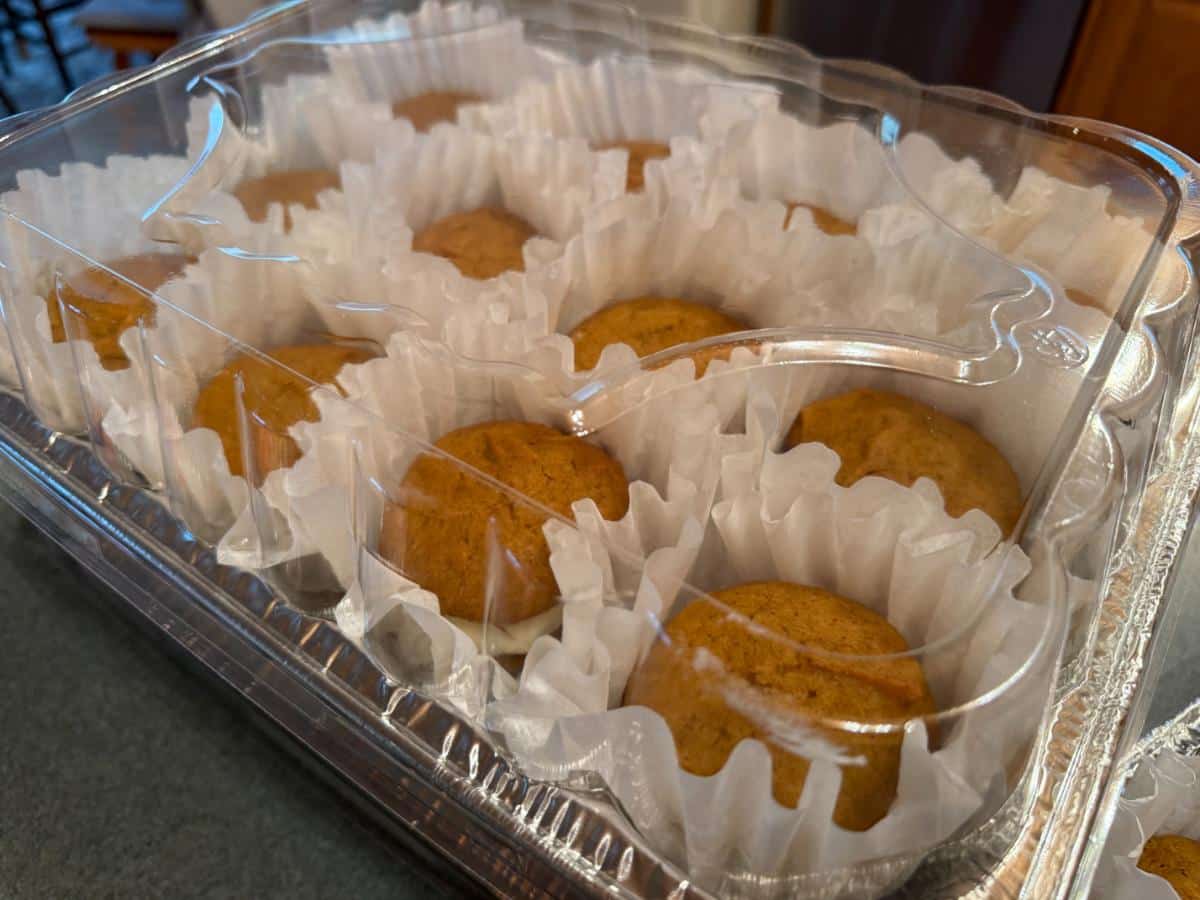
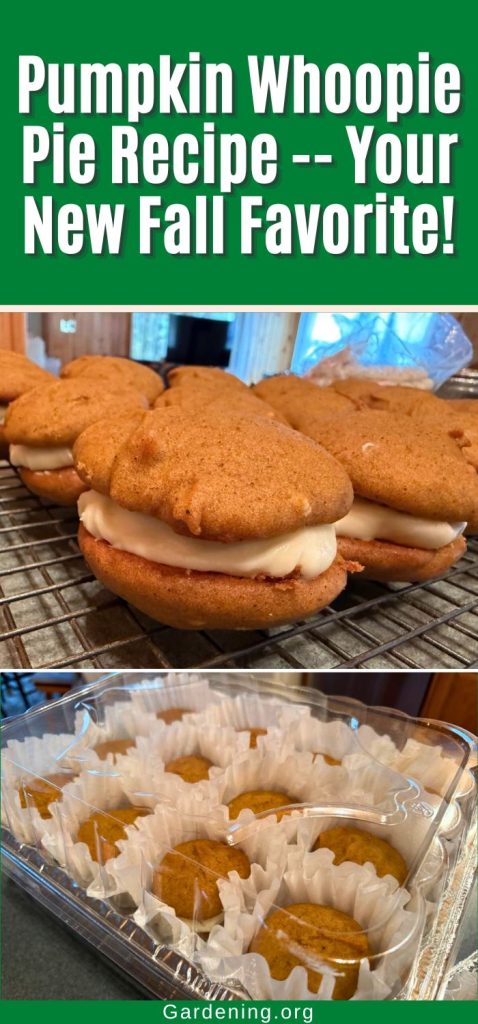
- A great way to make these whoopie pies easy to present and serve, especially in a public setting or in a crowd, is to place each whoopie pie in a large paper muffin cup or in a small coffee filter.
- This helps contain the mess and reduces people touching other people’s pies, and catches any escaped cream filling.
- Coffee filters are cheap and come in packs of 100, so they are an excellent solution, and they serve as a napkin in a pinch, too!
Enjoy Right Away, or Refrigerate for a Treat Later On
Your pumpkin whoopie pies are now ready to eat and enjoy!
These treats also keep well for several days. However, because the filling has butter and cream cheese in it, it should be refrigerated when not being served.
To enjoy the best flavor, remove the whoopie pies from the refrigerator a half hour or so before serving and allow them to come to room temperature. You’ll get the best flavor experience if served warmed to room temperature!
Return any uneaten whoopie pies to the refrigerator and keep them for four to five days (but they’re not likely to last that long!!).
Pumpkin Whoopie Pie Recipe
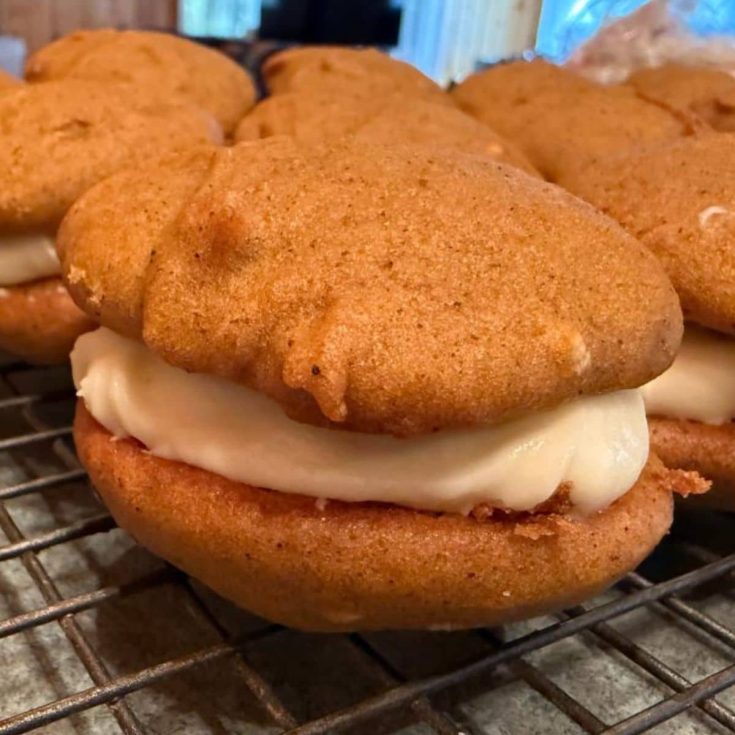
Discover the perfect pumpkin whoopie pie recipe that combines fluffy cakes and creamy filling. Autumn flavors await in every delicious bite!
Ingredients
For the cookies:
- 1 cup brown sugar, packed
- 1 cup granulated sugar
- 1 cup vegetable oil
- 1 15-ounce can pureed pumpkin
- 2 large eggs
- 1 teaspoon vanilla extract
- 3 cups all-purpose flour
- 1 teaspoon baking soda
- 1 teaspoon baking powder
- ½ teaspoon salt
- 1 tablespoon cinnamon
- 1 teaspoon ground ginger
- ¼ teaspoon ground cloves
For the Filling
- 1 8-ounce package cream cheese, softened
- 1 stick (½ cup) unsalted butter, softened
- 16-ounce package of powdered sugar
- 1 teaspoon vanilla extract
- 1 pinch of cinnamon
Instructions
- Preheat your oven to 350℉ (177℃)
- Beat together the brown sugar, granulated sugar, oil, and pumpkin. Beat until smooth and evenly combined.
- Add the eggs one at a time. Beat well after each addition.
- Mix in the vanilla extract.
- In a separate bowl, combine all of the remaining dry ingredients (flour, baking soda, baking powder, salt, cinnamon, ginger, nutmeg, and cloves).
- Stir through to evenly combine.
- Mix the dry ingredients into the wet ingredients; add the dry ingredients in about three portions, stirring after each addition.
- Mix just until evenly combined. Do not overmix.
- Spoon or squeeze (with a piping bag) the cookie batter onto a greased or parchment paper-lined baking sheet; cookies should be about two-inch rounds.


- Bake in a preheated 350-degree oven (177℃).
- Bake for 11 to 14 minutes, until cookies are baked through and just start to turn a golden brown on the tops and bottom edges.
- Remove cookies from oven and cool on cooling racks.
- Beat the unsalted butter and the cream cheese together using an electric mixer. Beat until combined, smooth, and a bit fluffy.
- Add the powdered sugar and vanilla. Stir or mix on low until the sugar is incorporated and no longer powdery.
- Mix on high for one to two minutes until smooth, combined, and fluffy. If you need to, stop and scrape the sides of the bowl with a spatula so that all the sugar and ingredients are evenly incorporated.
To make the cookies:
To make the cream cheese filling:
While you wait for the cookies to cool, prepare the cream cheese filling.
Notes
- Spread a generous amount of the cream cheese filling on the flat side (the bottom side) of one cookie. Then top that cookie with a second cookie, flat (bottom) side to the middle/cream.
- The filling recipe makes plenty, so don’t skimp on the filling! Each cookie should get about two tablespoons of cream cheese frosting/filling.
- Repeat until all the whoopie pies are filled and constructed.
- A great way to make these whoopie pies easy to present and serve, especially in a public setting or in a crowd, is to place each whoopie pie in a large paper muffin cup or in a small coffee filter.
- To enjoy the best flavor, remove the whoopie pies from the refrigerator a half hour or so before serving and allow them to come to room temperature. You’ll get the best flavor experience if served warmed to room temperature!


Leave a Reply