Have you ever considered saving seeds from your garden? Have you become overwhelmed with all the information and all the different things you need to do to save garden seeds?

It’s a reasonable reaction, but an unnecessary one.
Jump to:
- Don’t Be Overwhelmed by Seed Saving -- Just start Smart!
- Qualities of an Easy Saving Seed: What Makes These Seeds So Easy to Save?
- The 6 Easiest and Most Rewarding Seeds to Save
- 1. Lettuce
- 2. Peas
- 3. Beans
- 4. Radishes
- 5. Tomatoes
- 6. Peppers
- Other Easy Seeds to Save
- Save Seeds from the Right Type of Plants
- Save Seeds for More than Just Plant Starting!
- Start Small for Big Seed Saving Benefits
Don’t Be Overwhelmed by Seed Saving -- Just start Smart!
Saving seeds from your garden does not have to be difficult or overwhelming. Gardeners and growers have been saving seeds for millennia. In the modern age, though, we seem to have lost a lot of the art.
Plants and seeds are so readily available through local garden centers, seed catalogs, and now online, that we’ve taken this sustainable art for granted. We tend to think of garden seeds now as something that has to be produced by commercial growers, not something we are capable of saving ourselves.
The truth is, while some types of seeds and plants are somewhat complicated to save seeds from, there are several that are not hard at all.
If you start with saving seeds from these easier plants, you can break into seed saving with more confidence, and without much difficulty.
And if you never decide to venture beyond the easiest plants to save seed from, that’s okay, too!
Qualities of an Easy Saving Seed: What Makes These Seeds So Easy to Save?
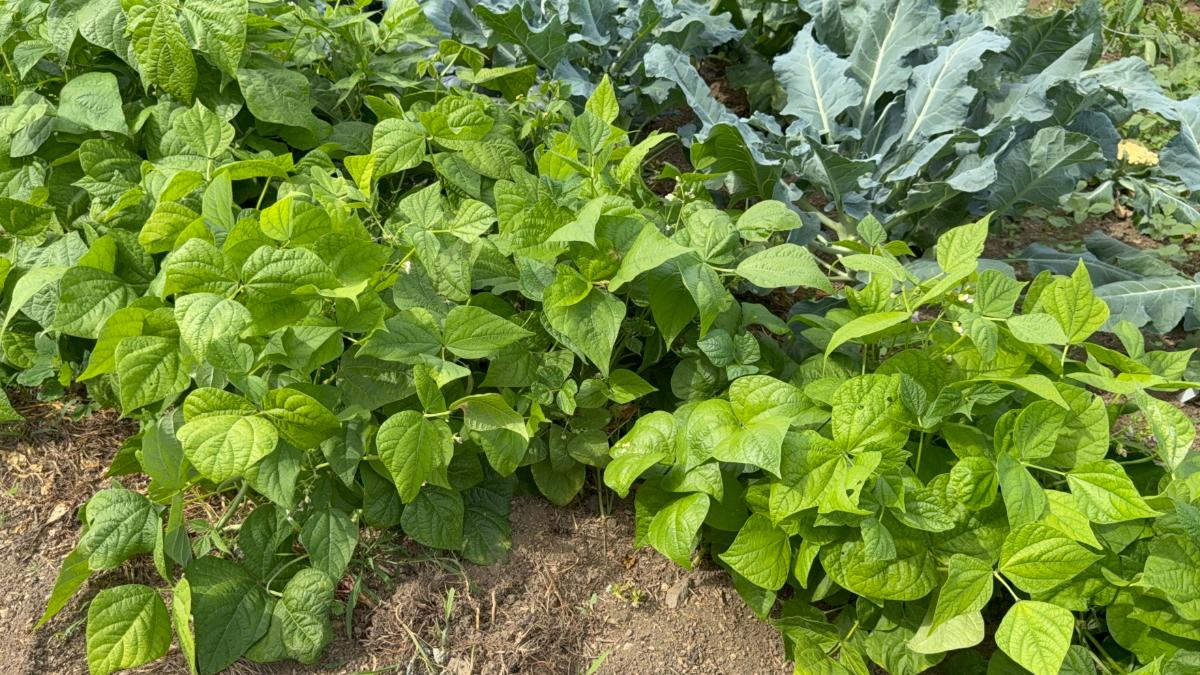
There are several things to look for in plants that are easy to save seeds from. These are the things that set these seeds apart from other types of plants, which need more protection and care in order to save the seeds and have them grow into reliably producing plants.
Self Pollinating
Self-pollinating is the top thing you want to look for in seeds that are easy to save. The thing that makes seed saving most complicated is the potential for cross-pollination with other plants. But self-pollinating plants don’t have that problem.
Self-pollinating plants have both male and female parts, and they don’t rely heavily on insects for pollination. While insect pollination is a good thing, it introduces the possibility that the pollen that the flowers are pollinated with will be pollen that came from another plant. It could be a plant in the same family, but of a different type or variety (for example, a pumpkin that cross-pollinates with a winter squash, or an English cucumber that pollinates with a pickling cucumber).
When different plants cross-pollinate, sometimes the results and the vegetables they produce are quite good. Sometimes, they lack the good traits that you’re planning for from the parent plant. And sometimes, the result is a strange unknown hybrid plant that offers little in terms of production or flavor.
In order to save reliable seed from plants that are not self-pollinating, you need to take extra steps to keep other pollen out of the flowers. This requires things like growing the plants a long enough distance away from other plants that can pollinate them (which can be difficult to control if you have gardening neighbors or farmers around you); or, you would need to bag the flowers and/or hand pollinate to ensure the right result. This is where seed saving with non-self-pollinating plants gets difficult.
To sum it up, self-pollinating plants are a much more sure bet. The plants pollinate themselves, so they grow the same offspring and fruits that the parent plant did. And you don’t need to create barriers or handle pollinating them yourself.
Set Seed in a Single Year
Another top characteristic of easy seed saving plants is that they are annuals and will set seed in the first year -- within a single growing season.
Some garden plants are biennials. They will only flower and set seed after two growing seasons. This means that you need to leave them in your garden to overwinter and that you cannot collect seed from them for two years.
If you live in a cold location, you might even need to dig the root, overwinter it as a dormant plant, and then replant it outside the following year. That’s a lot of work!
While the reward might be worth it to you, saving seeds from biennials is not something you would call easy. It’s not the most recommended start for a beginner seed saver.
Easy Seed Harvesting
You also want the plants that you save seed from to have seeds that are easy to harvest. Truth be told, most plants’ seeds are not too difficult to harvest, but it seems that some almost harvest themselves when the time is right.
Easy Seed Storing
After the seeds or pods are harvested, you want an easy way to thresh and save them. The requirements should not be too difficult. Gathering and cleaning the seeds should be simple. You should only need good, basic seed storage to keep the seeds until you plant them in the next year.
To make it onto the list of easy plants to save seeds from, the seeds should only require cool, dark, dry conditions for storage. The storage vessel of choice should not be any more difficult than putting the dried seed into an envelope.
Easy to Start Seeds!
It is also a good characteristic to have seeds that start easily when you do plant them. After all -- who wants to go through all the time and effort of saving seeds, only to have seeds that are too hard for you to germinate and grow?
The 6 Easiest and Most Rewarding Seeds to Save
The following are the easiest plants to save seeds from. These are what are most commonly recommended for easy or beginner seed saving for productive garden plants.
They meet the criteria above, and reliably produce next generation plants that are predictable and productive. (And if you select from the healthiest and best plants in your garden, you may build in some disease or pest resistance or create more climate and location-friendly plants!).
If you want to get started saving your own seeds, start with these popular and easy to save garden favorites:
1. Lettuce
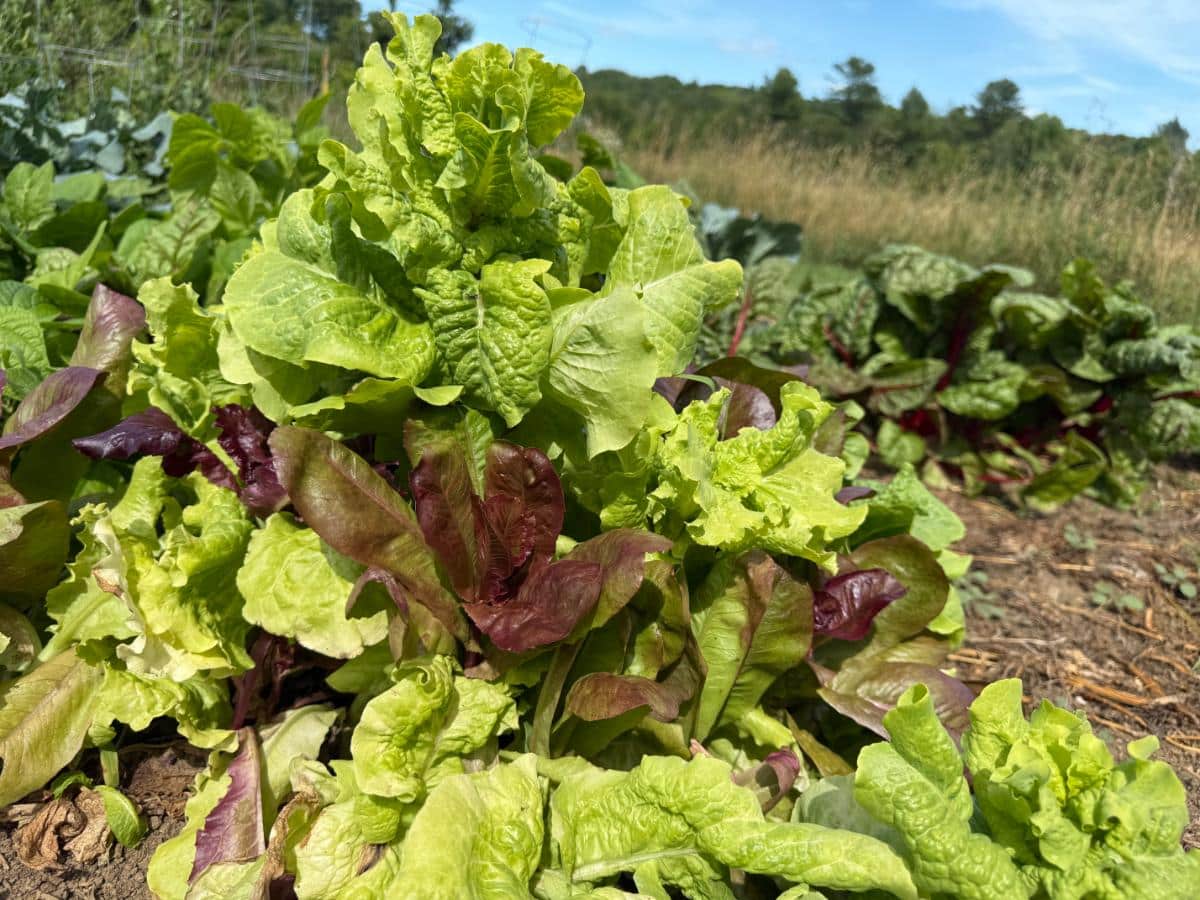
Lettuce is easy to save seeds from. It is often the first plant -- or one of the first -- to produce seed that you can save. This is because lettuce tends to bolt (grow flowers and seed) as soon as the temperatures get hot.
While usually bolting is frustrating and spells the end of your crop, you can turn it into a positive by planning to save the seed.
A single lettuce plant will produce a lot of seed, so you only need to save the seed from one or two favorite plants.
To harvest lettuce seed:
- Allow the plant to bolt and go to flower
- The flowers will turn a puffy white, then into seeds
- Harvest when seed heads dry out and turn brown
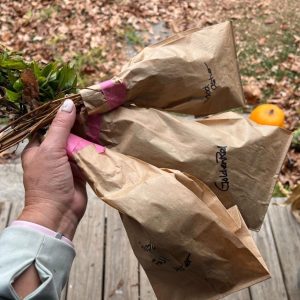
- To harvest, simply shake seed heads into a paper bag or
- Pull up the whole plant, put it in a paper bag, tape the neck of the bag, and hang upside down in a dry room until the seeds fall out
- Separate the seed from the chaff as best you can (a little left is okay) and then store in envelopes in a cool, dry place
- Be sure to label your seed envelopes with the type and year!
2. Peas
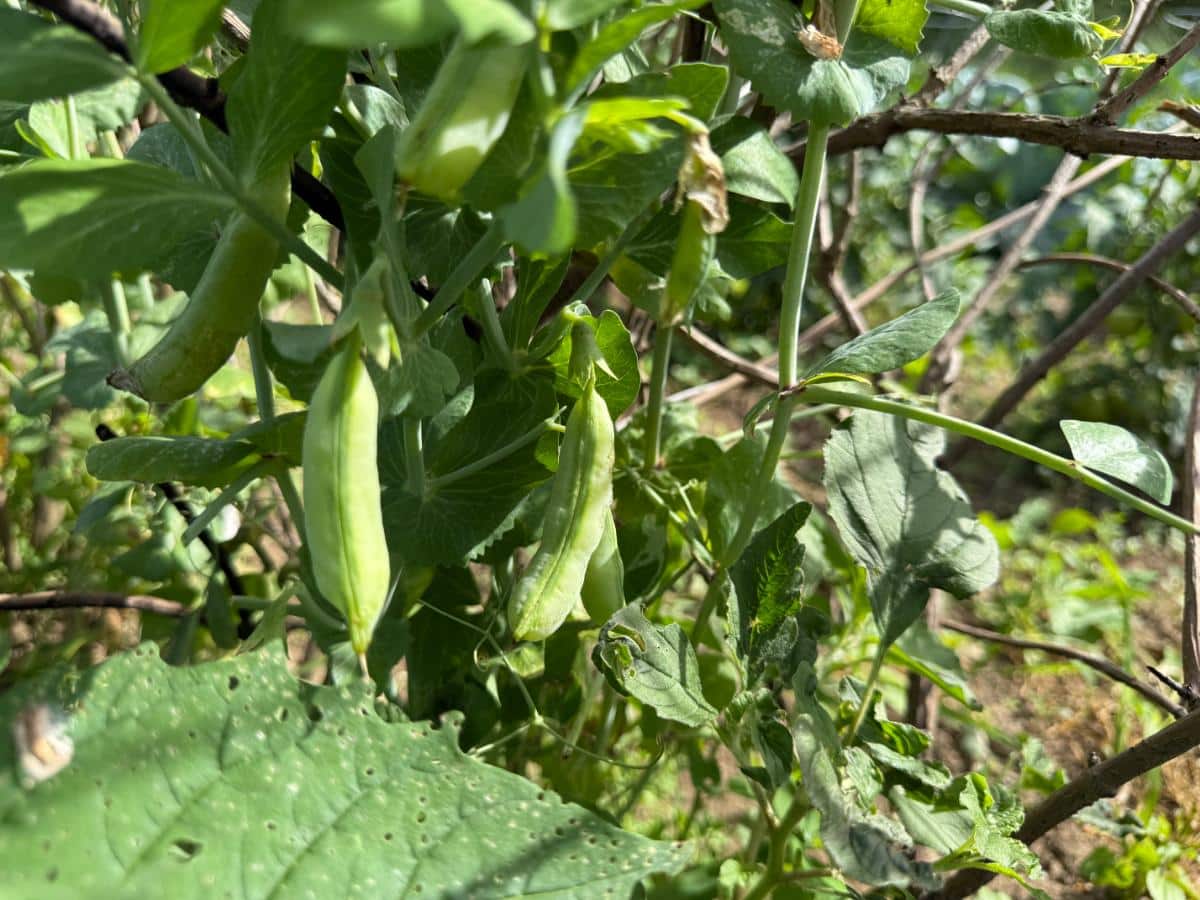
Peas are easy to save because they are self-pollinating annuals, and all you need to do is allow several pods to stay on the vine to mature and dry. Then pick!
The part of the pea plant that you pick for seed saving is the same as what you pick to eat -- just at a much later, mature stage. You want to let the pods get overly mature (past the point where they would be good for eating). They will yellow and then dry in the pods on the plant.
To harvest pea seeds:
- Leave whole pea pods on the plant until they are overly ripe and overmature
- Let the pods dry on the vine or pull the whole plant out when the pods are looking old; hang the plant upside down in a dry place, then pull off the pods when they are dried down
- Shell the peas (remove them from the pods)
- Discard the pods and keep only the pea seeds (this is the same part of the pea you would eat, just much older and dried)
- If you grow and harvest dried peas, those would be appropriate to save for seed peas, too
- Pack in envelopes, label with the date and type, and then store in a cold, dry, dark space
3. Beans
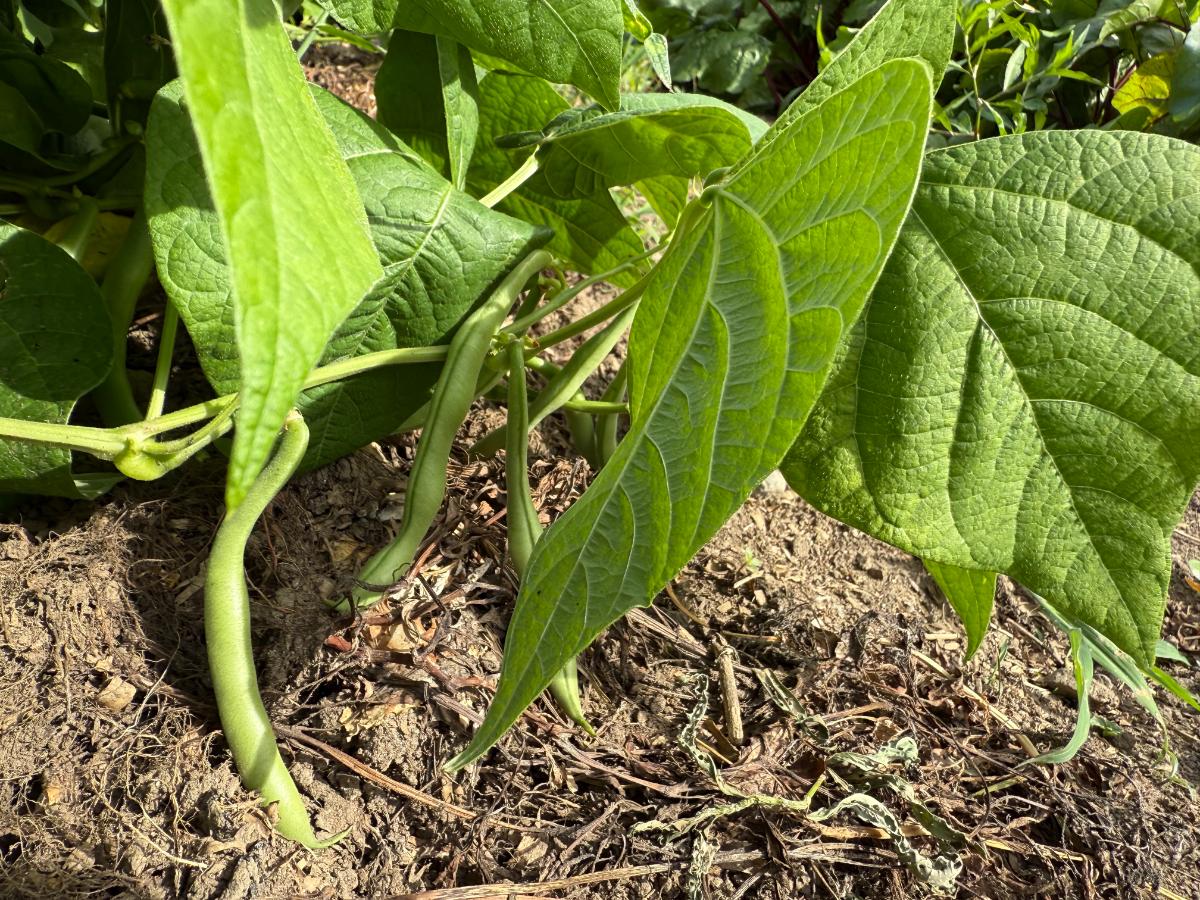
Beans are the same as peas when it comes to saving them. All you have to do is let some of your beans stay on the plants until they are overly mature and dried down, then harvest the whole bean and shuck the pods to get the seed.
To harvest beans for seed saving (any type of bean):
- Designate one or more plants for seed saving, and don’t pick the pods from those plants (the better the plant, the better the seeds you will save and the better their future plants, so choose good plants)
- Let the beans on those plants get overgrown and overly mature
- This is a stage much later than what you would pick for fresh eating
- Let the beans stay on the plant until they become light brown and dried
- Pick the whole beans off the plant, or pull the whole plant, hang upside down inside, and then remove the beans
- Shell the beans like you would shell peas and save only the dried bean seeds
- If you grow and harvest dried beans, you can save some of those for seed stock, too
- Pack in an envelope, label with type and year, and store in a cool, dry, dark place
4. Radishes
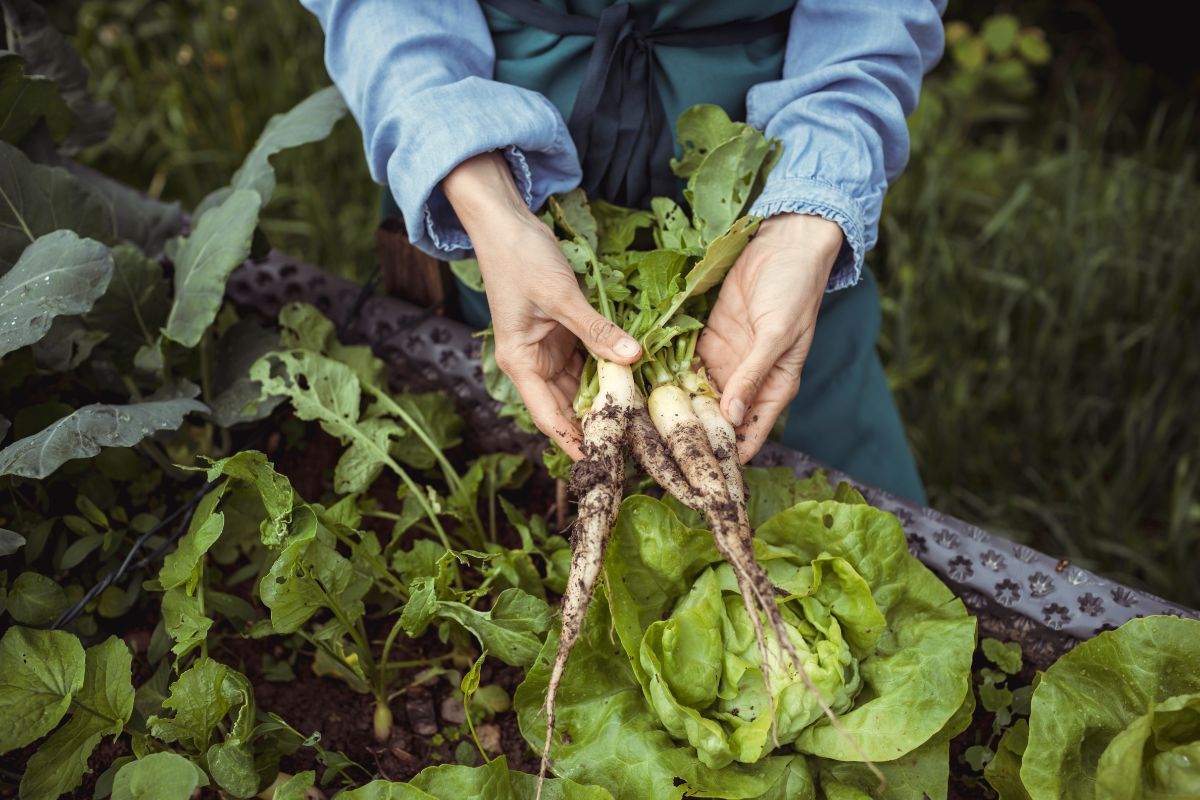
Radishes are a lot like lettuce in that they will bolt at the first sign of heat. If there is anything that produces seed earlier than lettuce, it will be your radishes (and possibly spinach)
While this is sad and ends the harvest, it’s a good opportunity for saving a lot of seed for future use.
The next step is that the radishes will flower, and then the flowers will eventually turn into pods with two to three or more seeds in them. The pods look very similar to pea pods, and the seed harvest is basically the same.
But wait! Radishes going to seed doesn't have to be the end of the harvest, either!
It’s not very common knowledge, but the seed pods that grow on radish plants are edible, too. They have a nutty, mild radish flavor. If you find radishes to be too hot or peppery, you might enjoy the pods more.
Eat the whole pods when they are crisp, green, tender, and plump, similar to edible pod peas. You can eat them fresh or sauté them.
Leave the rest to grow into seeds for saving.
To harvest radish seeds:
- Let the pods develop beyond the green, edible stage, to a very mature stage (similar to overripe pea pods)
- Harvest when the pods are dried down and the seeds inside are hard and dried, or pull the entire plant and hang upside down to dry the pods until ready for harvesting
- Shell the radish seeds from the pod
- Store in envelopes in a cool, dry place
- Label the envelopes with type and year
5. Tomatoes

Tomatoes are so abundant that it’s easy to let one go for seed saving.
To save seeds from a tomato, you’ll simply let the fruit get very ripe, then pick it (before any rot sets in).
The one thing with tomatoes is that the seeds themselves have a protective gel coat on them. This will dry off, but it’s a surer bet if you ferment the seeds for about a week. This will remove the gel coat, which will allow the seeds to dry better and germinate better next year.
To save tomato seeds:
- Select one to three of the best-looking fruits from the best-looking plants
- Lean towards tomatoes that have the characteristics you like best
- Pick the tomato when it is very ripe
- Cut the tomato into halves or quarters
- Scrap out the jelly-like seed body from the cavity of the fruit
- Put the gel, with the seeds inside, into a jar, then add a little water
- Place a paper towel over the top of the jar to allow air in, but reduce fruit flies
- Set the jar up on a shelf or tucked on a counter for about a week
- Swirl daily
- The gelled seeds will form a fermentation scum over the top -- this is normal! This will ferment the gel coat off the seeds
- After about a week, when the seeds are sinking to the bottom and the gel looks like it is coming off, drain the fermented liquid and scum off the top; discard
- Rinse the tomato seeds in cool, clean water, then lay them out on a glass plate, metal cooking sheet, or coffee filter to dry
- Dry for several days until well dried; lightly pinch the seeds apart daily to allow for seed separation and full drying
- Pack in envelopes and label with the type and date
- Store in a cool, dark place
6. Peppers
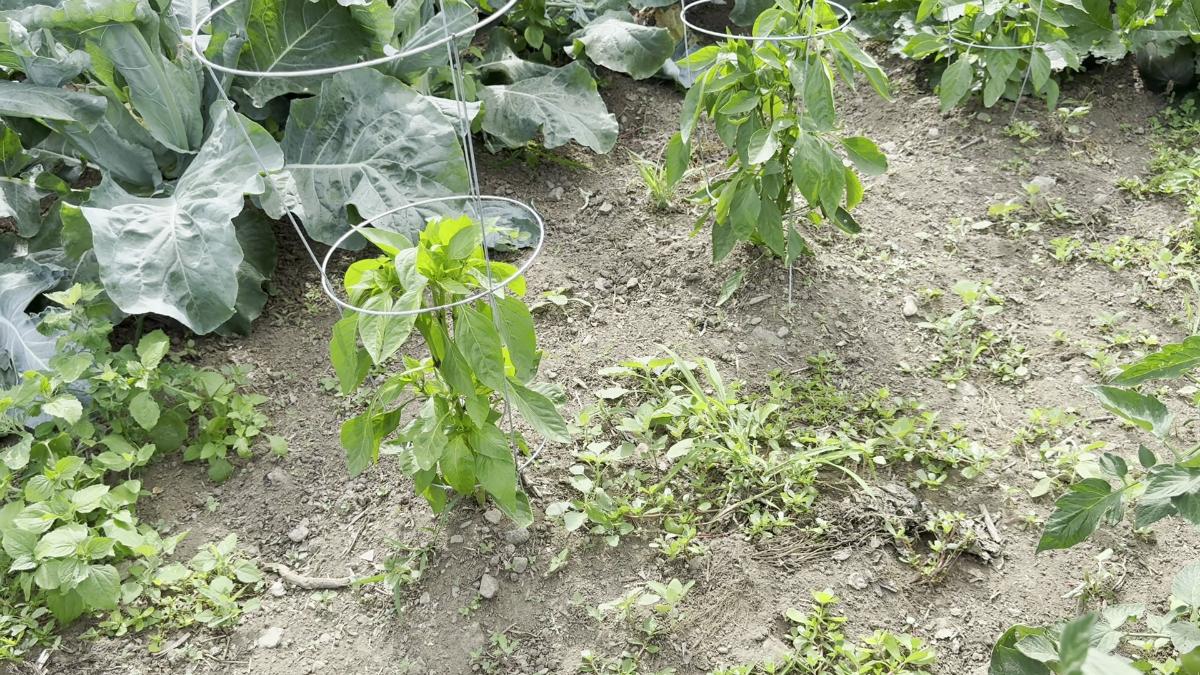
Peppers almost always self-pollinate, and saving their seeds is not much harder than picking and cutting open a pepper. One or two peppers will provide you with a lot of seeds.
Peppers can potentially cross-pollinate with each other from insects, though it’s not that common. If you want to make sure you keep your seed pure, it’s a good idea to plant one variety only or plant different varieties in different locations, spaced away from each other.
Or, you can cover the target plant with some plant fabric just when the plant is in flower. Mark the peppers you want to save seed from.
Even without doing this, though, peppers will often stay true because they are usually self-pollinating (there is a low chance of an insect cross-pollinating pepper varieties). And if you only grow one variety, you really don’t need to worry about it.
To save pepper seeds:
- Allow the pepper that you are saving seed from to stay on the plant and reach full maturity
- Wait until the pepper turns completely, deeply red
- Cut the pepper open and scrape out the seeds
- Remove any meat or membrane chunks
- Spread the pepper seeds out to dry on a clean, dry baking sheet
- Let dry for several days, until the seeds are completely dry
- Pack in envelopes, date, and label, and then store in a cool, dry place
Other Easy Seeds to Save
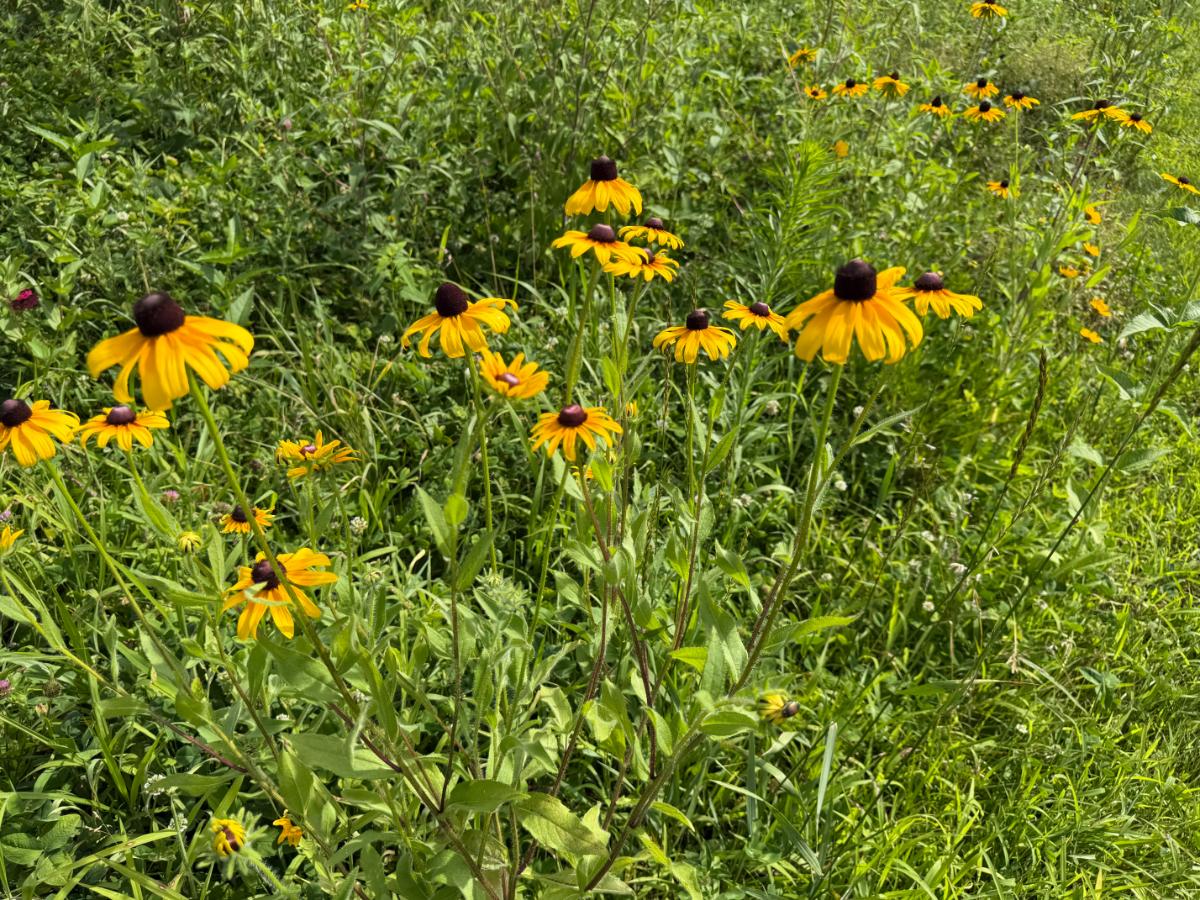
This list of the six easiest and most highly recommended seeds for saving is only the beginning. There are a number of other plants that are easy to save seed from. Some of these include:
- Spinach
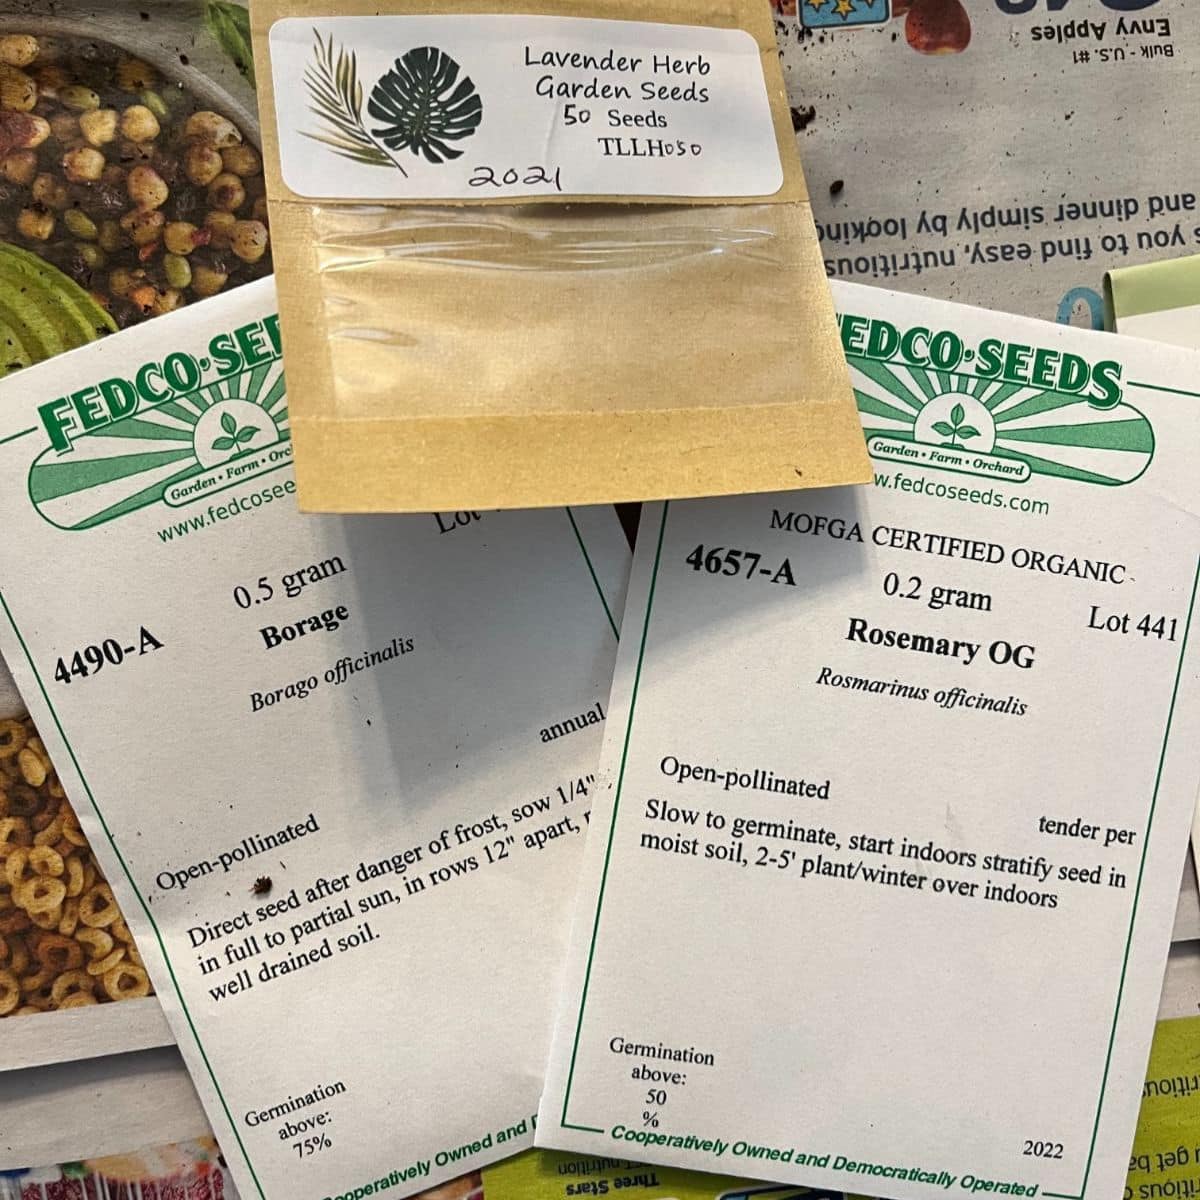
- Herbs that flower and bolt include basil, cilantro, mint, thyme, lavender, and dill
- Borage
- Eggplant (low chance of cross-pollination)
- Sunflowers
- Nasturtiums
- Coneflower (echinacea)
- Morning glory
- Marigolds
- Calendula
- Zinnias
- Snapdragons
- Petunias
- Black eyed Susans
Save Seeds from the Right Type of Plants
For seeds that grow true and produce the types of reliable fruit you expect, you need to save them from the right type of plants.
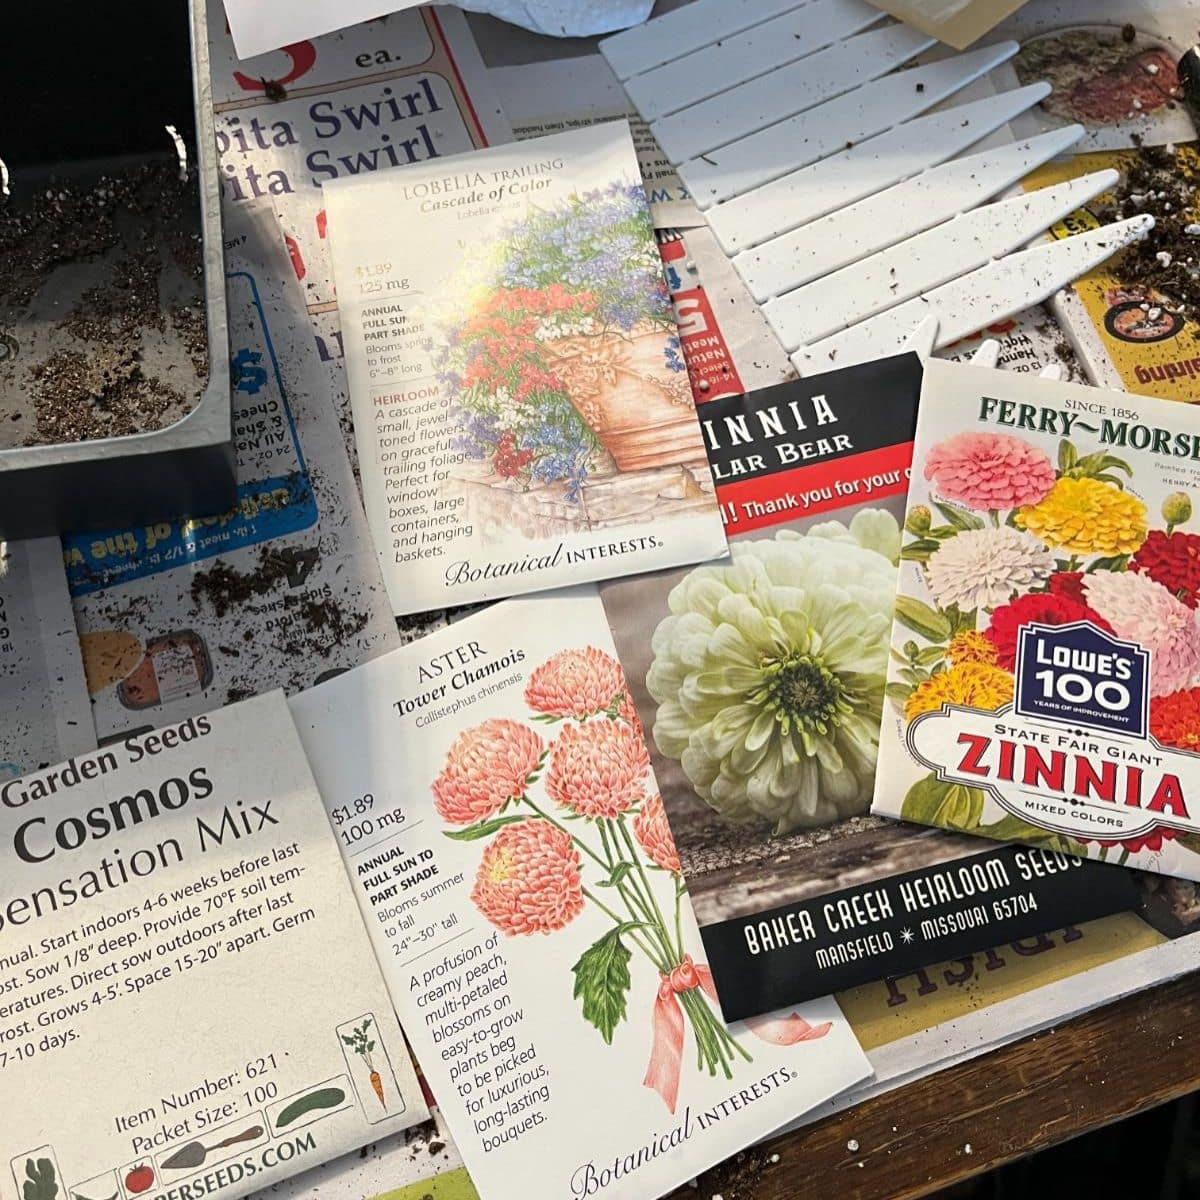
Save seeds from plants that are open-pollinated. If you started the plants yourself, the plants should be grown from seed that is labeled as open-pollinated or as heirloom seed (heirloom seeds are open-pollinated).
You do not want to save seed from hybrid plants or hybrid seed. These will give unreliable results. Often, the plants grown from these seeds revert back to one or another of the parent plant or plants, and the results will vary widely.
You will not typically get plants that are as good or as predictable as the hybrid parents they came from. Different plants are crossed for pollination to create hybrids, which, when done well and with purpose, can create some excellent offspring, but the genetic material of the seeds they produce won’t likely be the same, and the resulting plants and yields will not, either.
Save Seeds for More than Just Plant Starting!
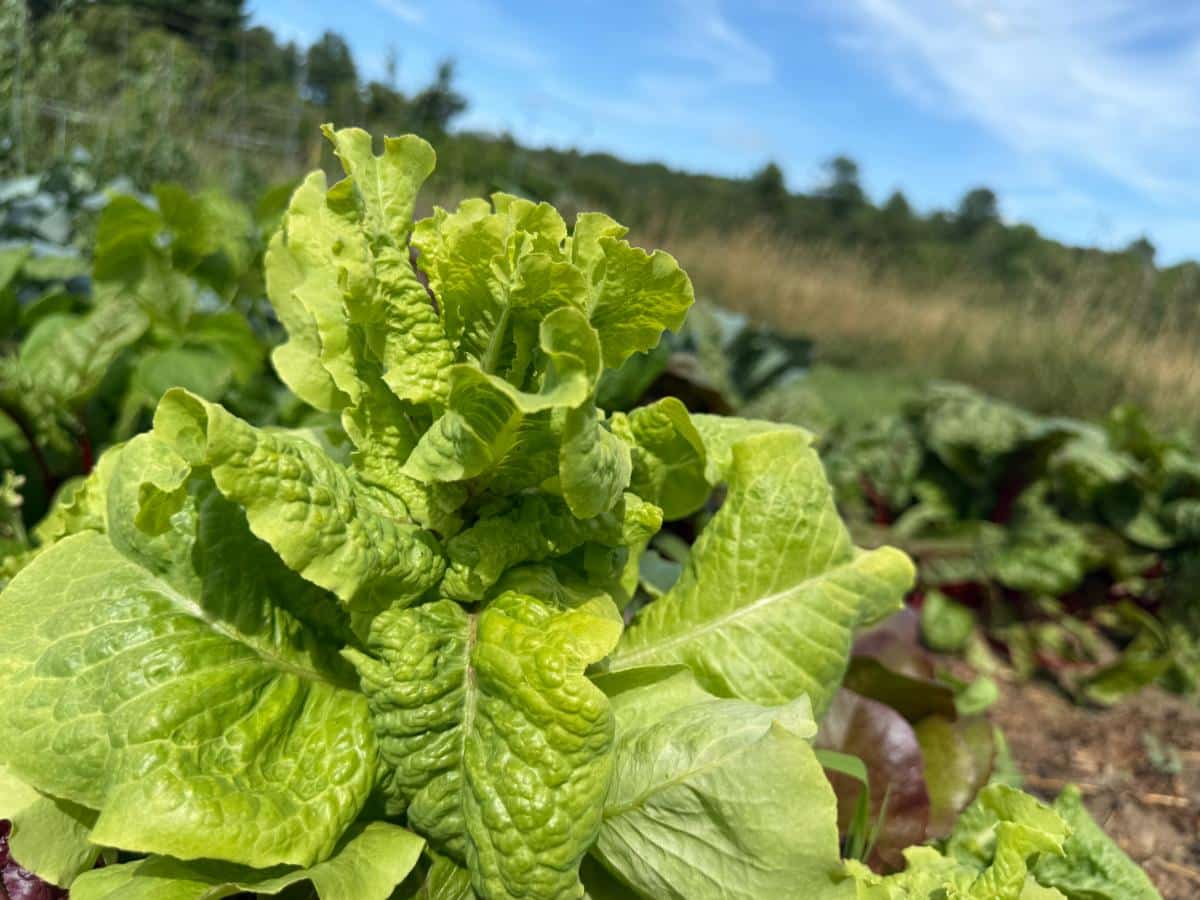
The seeds that you save will set you up well for plant starting and garden growing for the next year.
Many of the seeds you save can be used for other things, too. Some uses include
- Microgreens
- Sprouts
- Shoots
All of these are great ways to grow nutrient-dense food indoors year-round. They don’t require much (if anything) for extra heat, light, or equipment, either.
Microgreens, sprouts, and shoots are eaten at a sprouted or baby stage. This means they need a lot of seeds to produce a quantity for eating. That can get expensive. So saving your own seeds from your garden plants in the summer is a great way to get your stock of sprouting, microgreen, or shoot seeds for free.
Only save seeds for micro growing from plants that are edible as whole, young plants. Tomatoes, peppers, and nightshades are not edible as whole plants and should not be saved for this purpose (save them for growing next year’s garden transplants).
Some good, easy seeds to save for microgrowing and shoots are
- Radishes
- Lettuce
- Greens
- Spinach
- Herbs including basil, mint, dill, and cilantro
- Peas (for shoots or young tendrils)
- Sunflowers (for shoots)
- Beans for sprouting
- Peas for sprouting
Start Small for Big Seed Saving Benefits
If saving seeds seems daunting, just start small. Start with the simplest, easiest, most productive plants. If that goes well, move on to bigger and more complicated seeds to save. You’ll find that easier once you have some seed saving experience behind you.
Saving seed for your own growing has a lot of benefits. Money saving is top of the list, but there is also the benefit of creating stronger, more resistant, better performing plants for your microclimate and for your specific garden conditions.
Now that you have a list of some solid easy garden favorites to save, start saving your seed!

Leave a Reply