Learn the What, When, Why, and How on Potting On Garden Seedlings
There comes a time in every gardener’s life when they need to pot up their plants. For flower and vegetable gardeners this usually comes as part of the plant-starting and seedling-growing process. For those of you who are new to plant starting or potting up, or those of you looking for some new tips and tricks for better success, here’s a guide to get you growing.
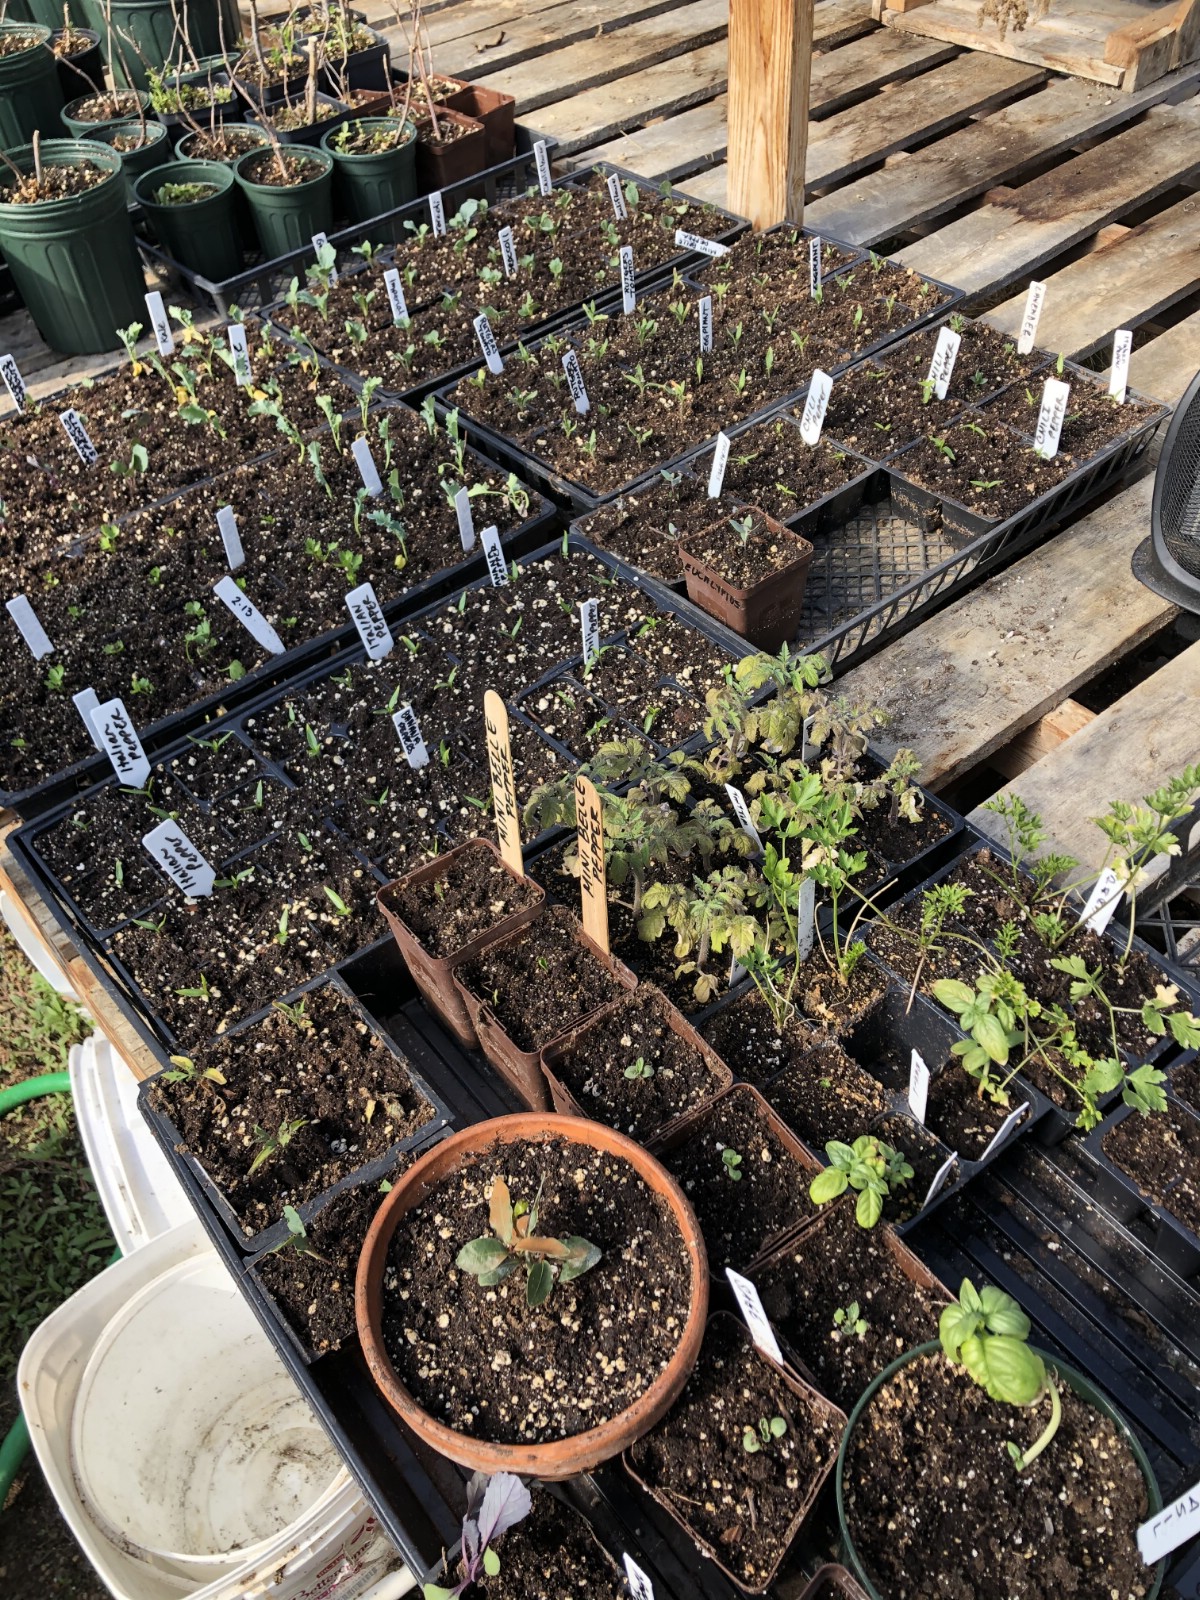
“Potting up” plants basically refers to transplanting, though it’s typically used more in reference to transplanting seedlings. It is sometimes called other things–some people just call it “transplanting”, but you might also hear it called something like “potting on”, “pricking out”, or “potting off”.
Jump to:
Why Pot Up Plants?
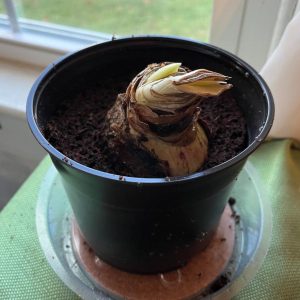
There are different reasons to pot up plants, including transplanting a houseplant into a larger pot to give it more room to grow or potting a seedling or young garden plant into a large container for container gardening. In the case of the latter, the intent would be to give the transplant its permanent garden “home” for the entire garden season.
The most common reference is when you use a small tray or container to germinate and start seeds, and then you separate those seedlings into individual growing cells until they are transplanted to the garden. For the purposes of this article, we will primarily focus on potting up or potting on as it refers to separating and transplanting small seedlings in the early weeks after germination.
So, why is potting up necessary?
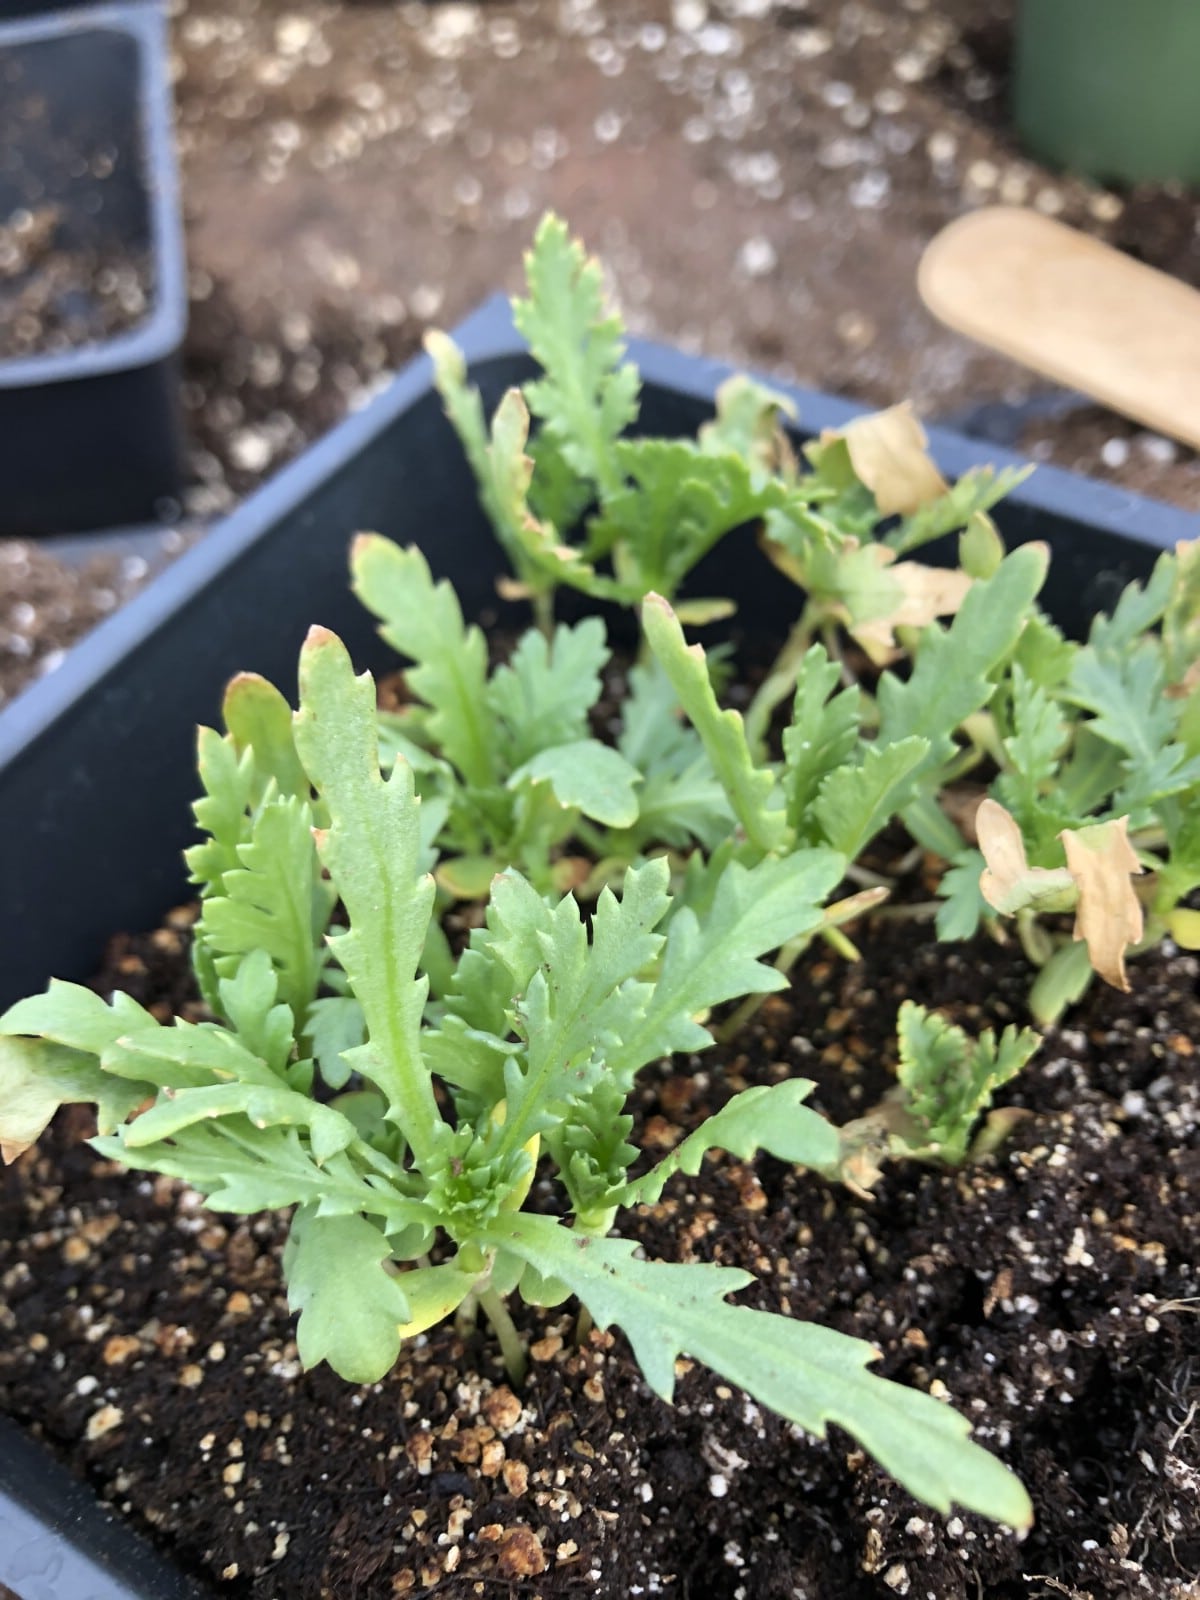
Garden seedlings are often started in small, intensively-seeded, crowded germination pots and/or often in small plug trays. This is a way to start an entire packet of seeds in a very small space and with a minimum amount of seedling soil and planting materials.
There are many benefits to starting seeds this way: Germination pots and plug trays save loads of space and quite a bit of money. You will not waste time, money, and materials on seeds that may not germinate, or on weak sprouts that don’t survive into adolescence or adulthood. Potting up gives you the opportunity to select only the strongest seedlings for continued growth, giving you the strongest transplants possible. Potting up also gives you the opportunity to correct early issues with your seedlings, such as lanky, weak stems (legginess)—this is a common problem for plants that are started indoors.
The bottom line is that seeds that have been started in germination trays or in plug trays were never meant to remain in those trays for long. Similarly, seed starting soil is not meant for long-term growth and development—it is not even intended to support plant starts for the six to eight weeks before they are moved into the garden. And so, these seedlings need to be given a larger, more fertile home capable of supporting them until it is time for those plants to live permanently outside in your garden.
You may also need to pot up plants if they are outgrowing the pots that they are currently housed in. If it is still too early to plant your transplants outside, but those plants are struggling or becoming stunted in their current pots, they should be potted up.
When should you Pot Up your Plants?
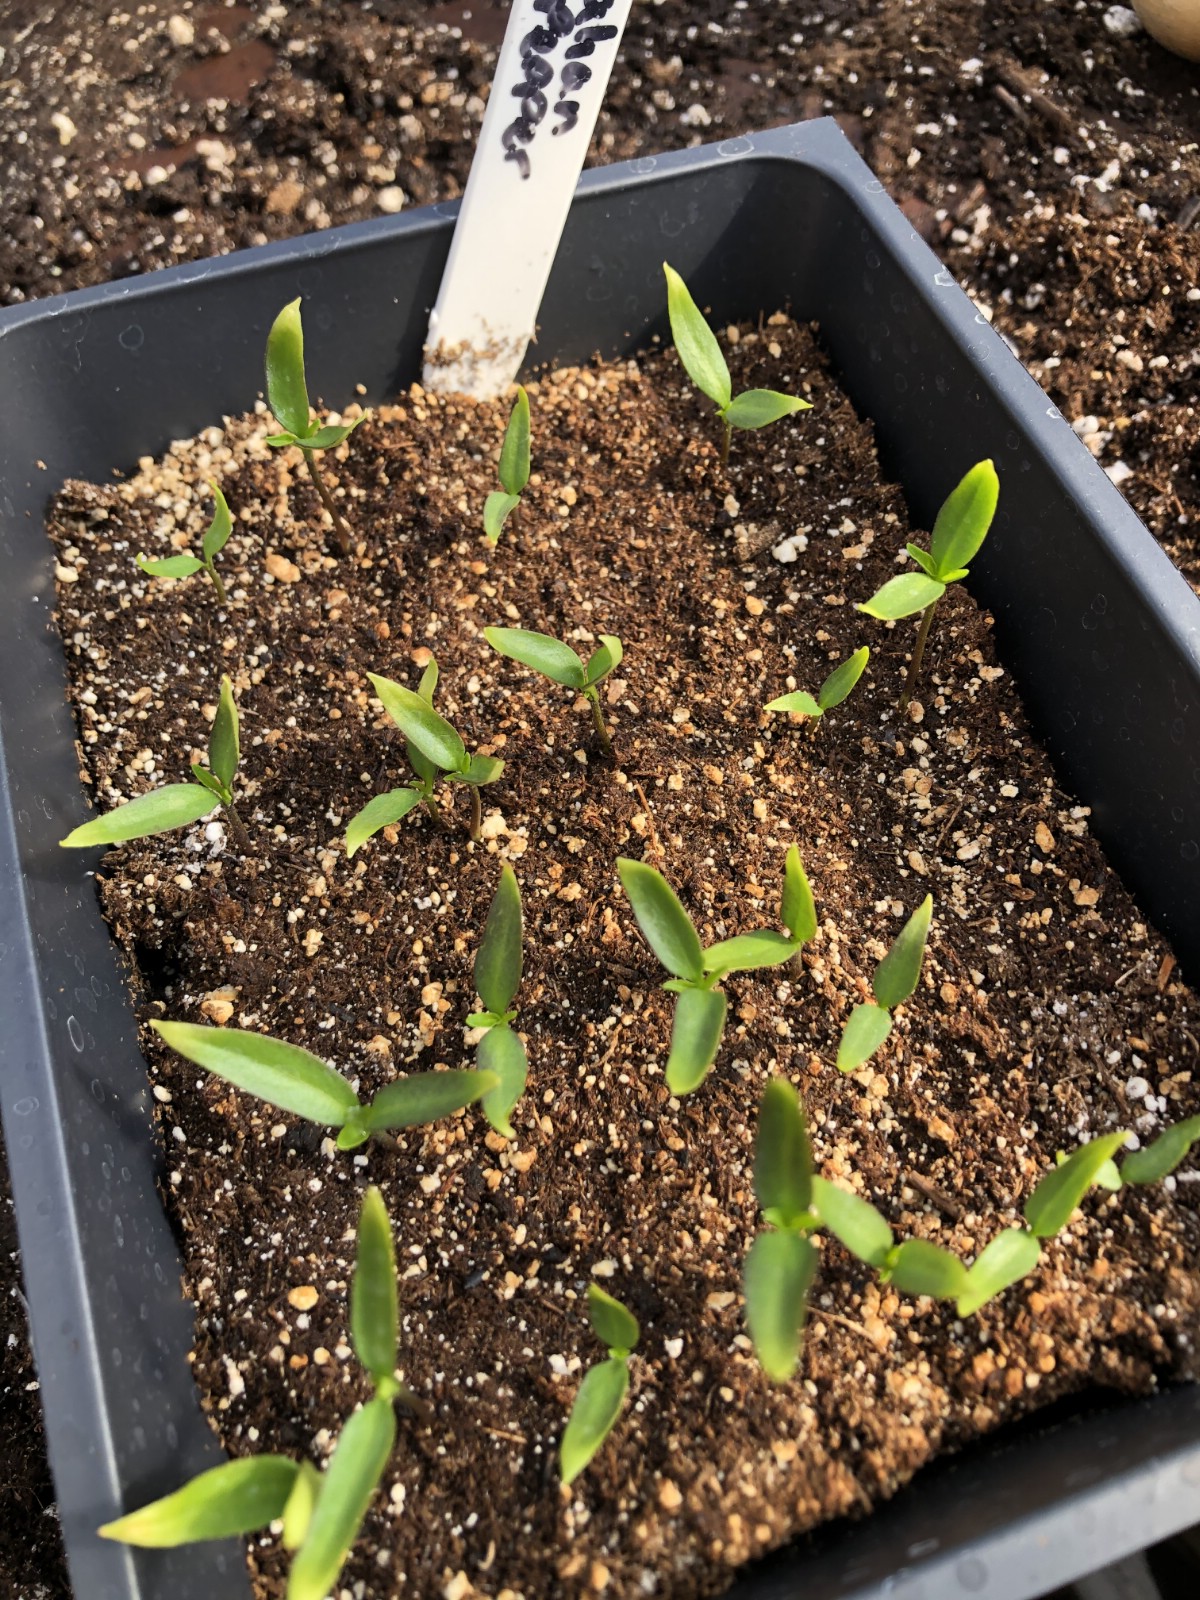
If you are potting up to move seedlings from germination pots or plug trays to growing cells, this should be done when the seedlings have at least one set of true leaves.
The first leaves that sprouts have are called cotyledon leaves—they are typically a different shape than the true leaves, so they often will not look very familiar to you. There are many different shapes of cotyledon leaves, but some common shapes are rounded and oval, almost clover-like, or long and grassy. You will notice a pretty stark difference between the cotyledon leaves (also called seed leaves) and true leaves. True leaves will look a lot more like the leaves of the adult plant, only smaller.
Some plants, like peas, don’t have noticeable cotyledon leaves. For those plants, you can look for branching root development (for this, you’ll have to gently prick up one or two from the soil to see the root structure—look for several stems branching off one main root).
It is difficult to state an age in number of days or weeks for potting up because different types of plants develop at different rates. Some seeds germinate very quickly—within days—and some will take up to three weeks to germinate. That said, the majority of plants that you would be starting for a vegetable garden or flower beds will be ready to be potted up into growing cells within two to three weeks. For plants that take longer to germinate, they will probably be ready to pot up two or three weeks after the sprout emerges from the soil. Observation and good judgment are really the keys.
Potting Up for Growing Space
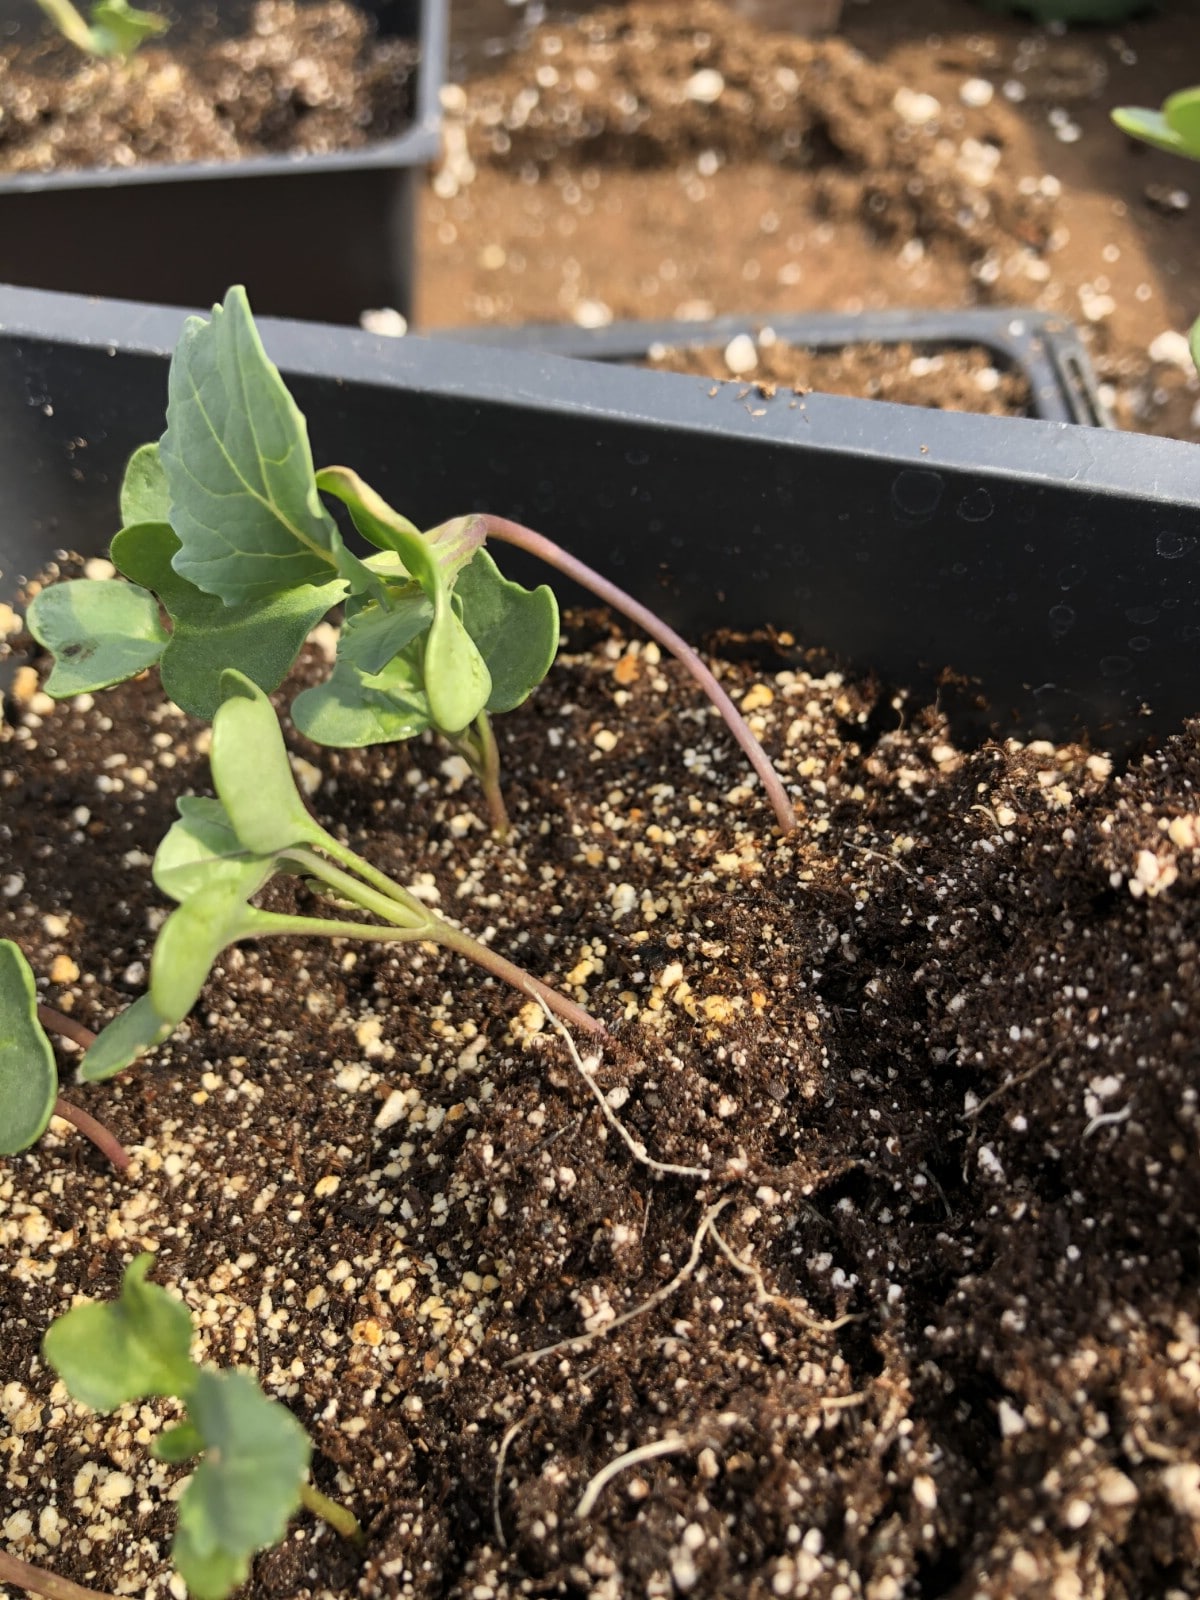
Here are some guidelines for potting up your plants because they have outgrown their growing cells (for example, plants that you already planted into a cell pack which are now outgrowing those cells but cannot yet be planted outside).
If your young plants are much more than two times the height and two times the width of the pot or cell pack they are housed in, and if there are still a number of weeks before they will be planted into their permanent garden or container home, they should be potted up. For example, if your plants are planted in two-inch pots and they are much more than four or five inches tall, and/or if the width of the plant from leaf tip to leaf tip is much more than four inches across, they should be potted up to a larger pot.
Similarly, if the roots are growing out of drainage holes or if the roots are becoming crowded and are growing in circles inside the plant cell or pot, the plant should be potted up.
Another sign that plants need larger pots is if they are drying out too quickly. This means that the water demands of the plant cannot be met by the capacity of the soil and the current pot or cell—the plant is drinking all of the water, and just cannot get enough. If you are having to water your plants more than once a day, it is time to pot up.
Quick-Reference: Signs Your Seedlings Should Be Potted Up:
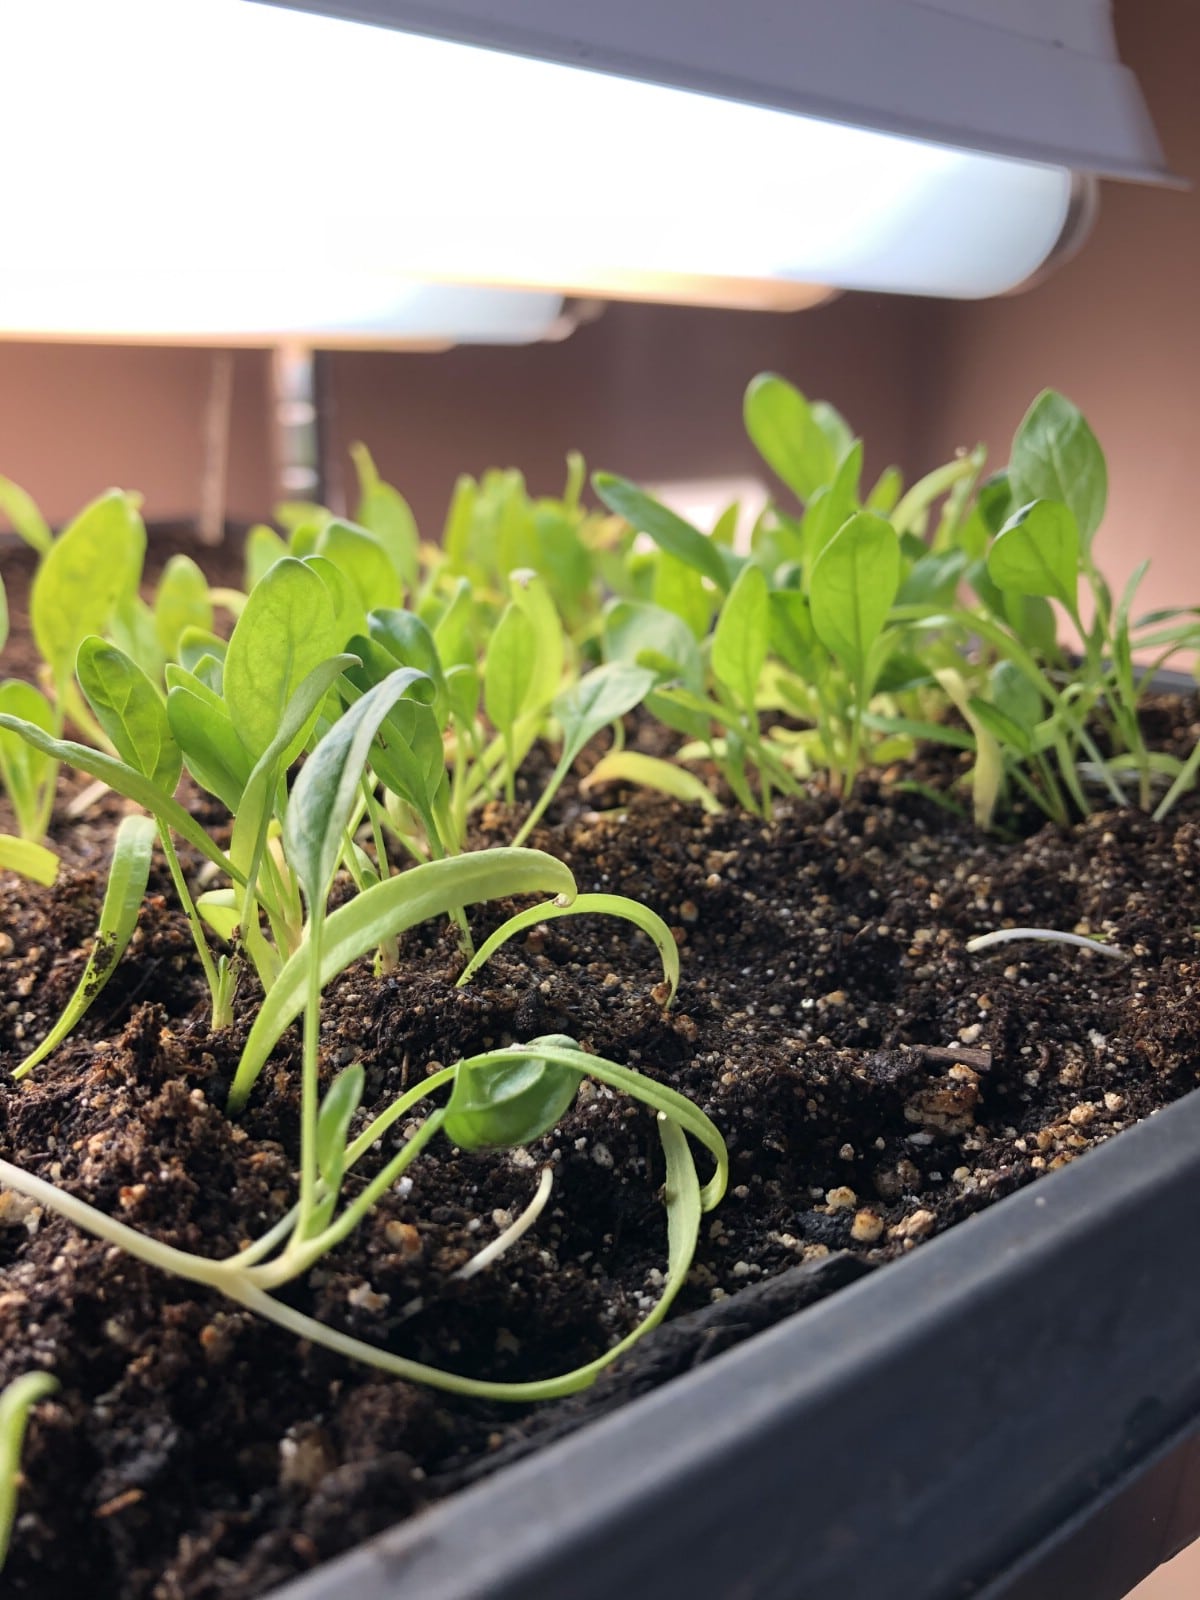
1. Germination tray plants have at least one set of true leaves
2. Seedlings are 3 weeks old (depending on the type, may vary, but a general rule of thumb)
3. Seedlings have a good, branching root structure
4. Seedlings or plants are showing signs of stress and malnourishment—yellowing, weak growth, slowed or stunted growth
5. Plants are larger than twice as tall and wide as the current cell or pot
6. Current pot cannot provide enough water to last a full 24 hours without the plants wilting/you are having to water more than once per day
7. Roots are growing out of the pot’s drainage holes
8. Roots are growing in circles around the inside of the pot
How to Pot Up Plants
1. Choose your pot size.
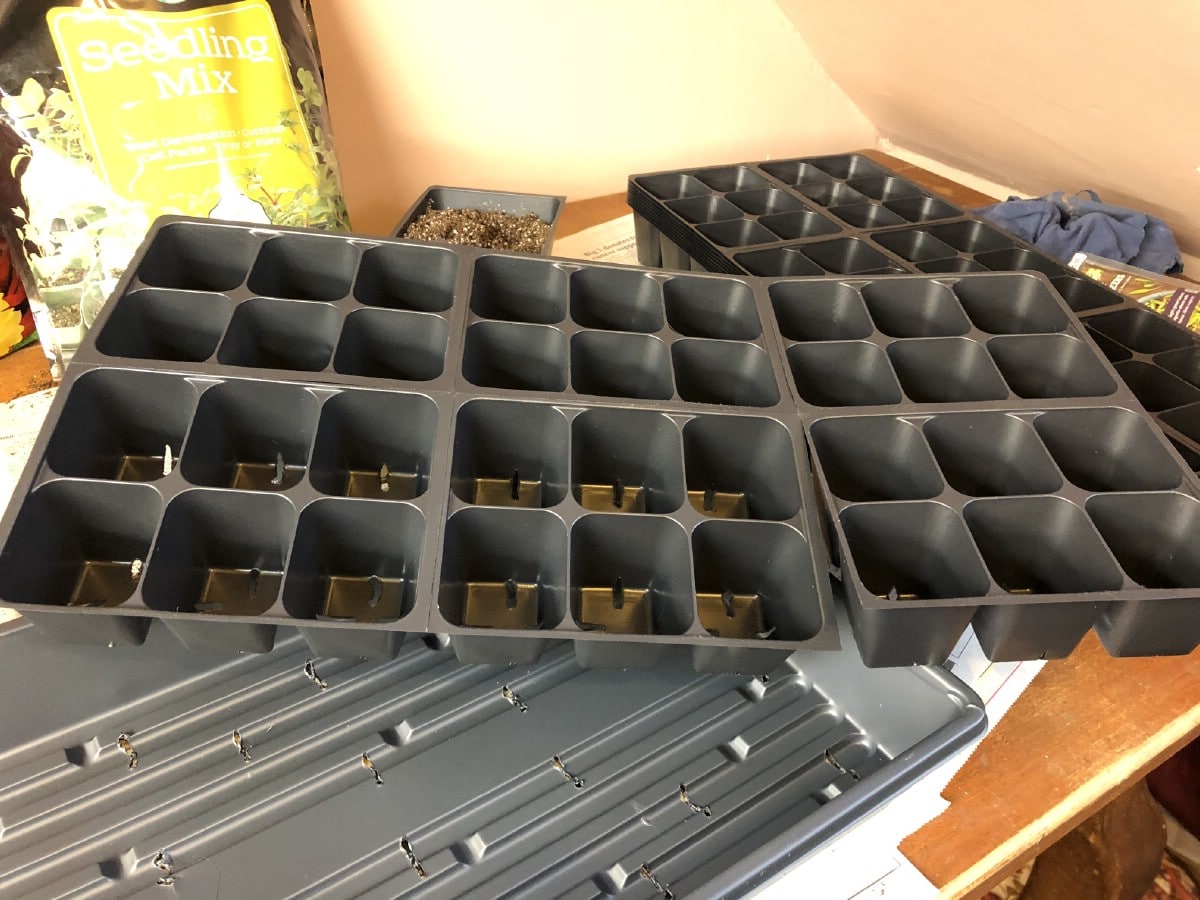
For garden seedlings, we usually pot on into four- or six-cell packs—like the multi-packs you would buy garden seedlings and annual bedding plants in at a greenhouse or garden center. If you don’t need that many of a specific type of plant, you might choose to pot into small or medium-sized single pots.
For separating germinated seedlings, use whatever size cell packs you prefer (two-inch cells are well-suited). In the case of potting on garden transplants that will be planted into the garden, raised bed, or larger container for container gardening later on, any standard cell packs will do just fine.
For planting singles and/or for those plants that you do not care to plant in multi-packs, anything between a two- and the four-inch single pot is a good size.
If you are potting up transplants that need a larger next-step home, use the next size up or a pot that is one to two inches larger than the pot the plants are currently in.
If you are using cups or recycled materials as pots, make sure they have drainage holes in the bottom. Make them yourself if necessary. Without drainage holes, excess water will not be able to drain out, you will not be able to bottom-water your plants (recommended), and plants will stay too wet which will invite disease and cause drowning.
Note: You can plant directly into larger containers if your end goal is a container garden. That is an option (though many still prefer successive up-potting for better root growth and easier watering and maintenance). If your plants will eventually be planted into a raised bed or garden bed, large pots are a waste of space, fertilizer, and potting soil that will only make watering and maintenance more difficult, more time consuming and will add to your expense unnecessarily. Stick with the cell packs or single pots smaller than three to four inches.
2. Prepare your potting medium.
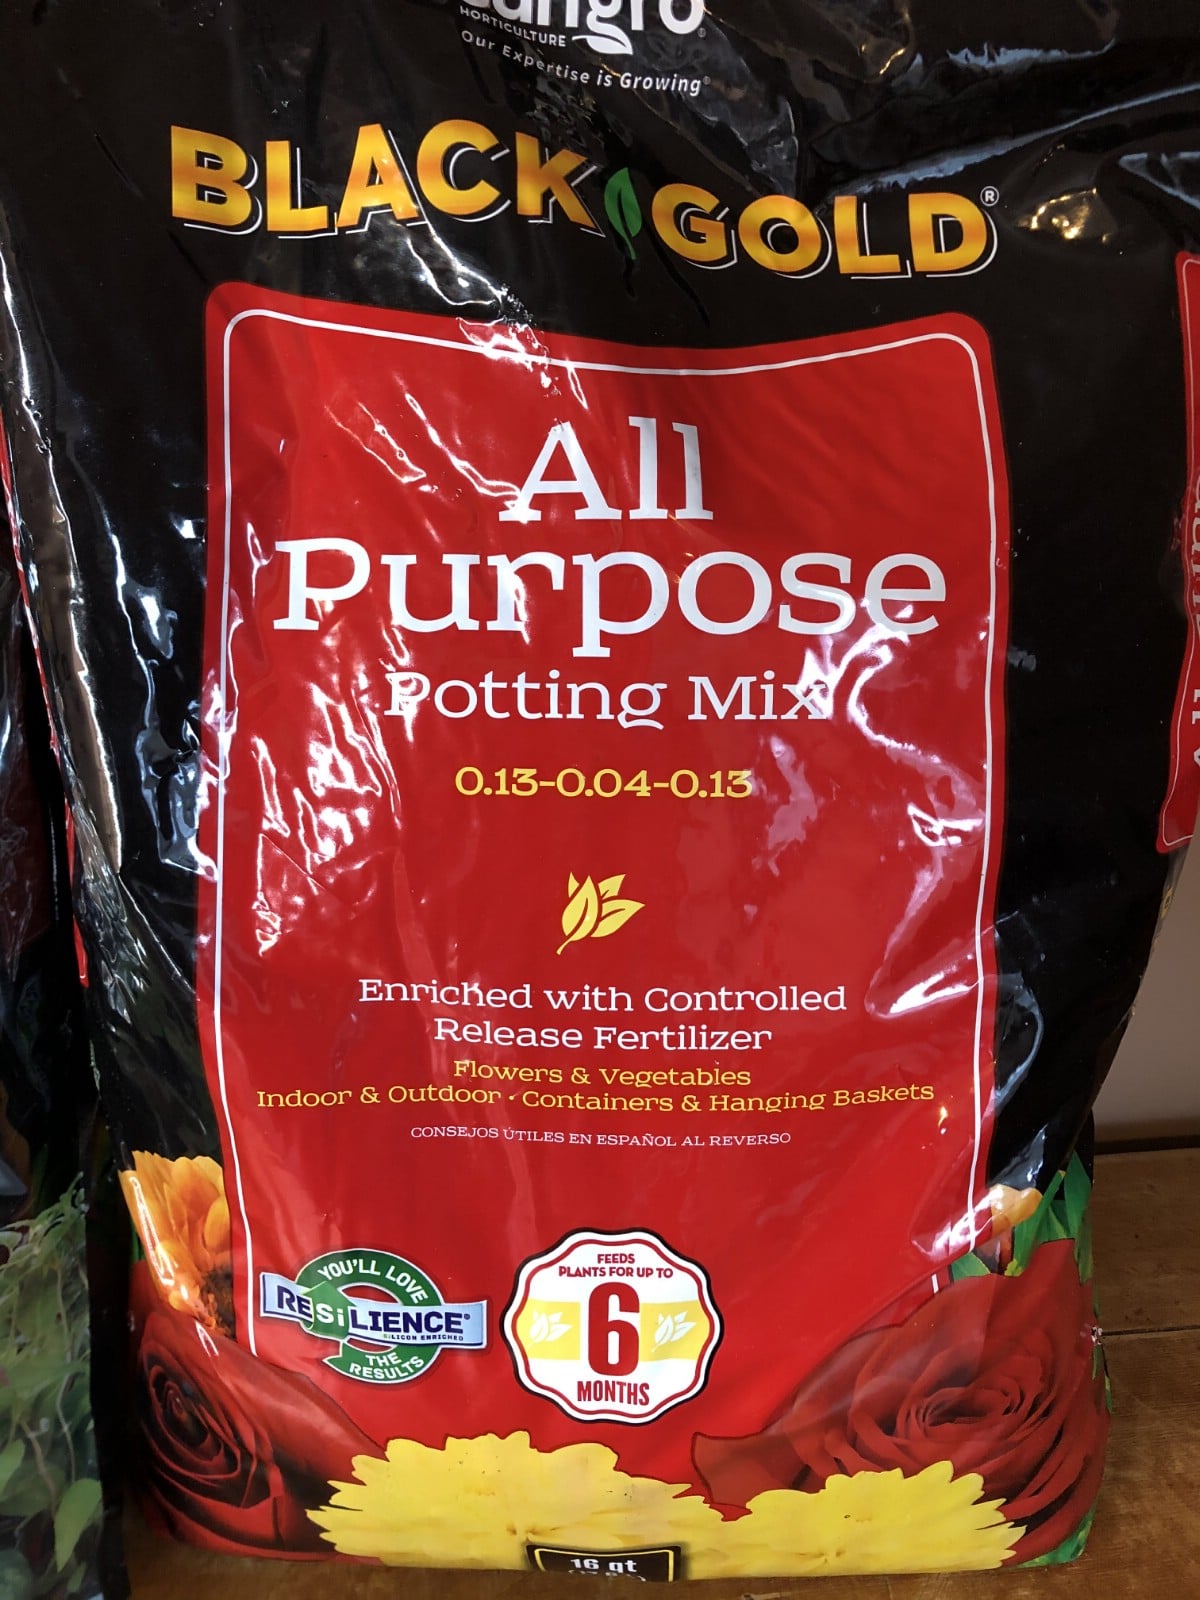
For potting up, use a quality potting mix (potting soil, also called potting medium). Do not use a seedling soil—that is for starting seeds, for germinating, and does not contain organics or nutrients to feed the transplants.
Moisten the potting mix. Spray or pour a moderate amount of water into the mix and use your hands or a trowel to mix it through. The potting mix should not be dry and powdery, but it should not be wet and muddy, either. It should still be fairly loose when mixed and should not clump together. The point here is to “prime” the mix so that it is workable for planting and so that it will wick up water after planting to properly water the transplanted seedling.
3. Fill pots or cell packs with potting mix.
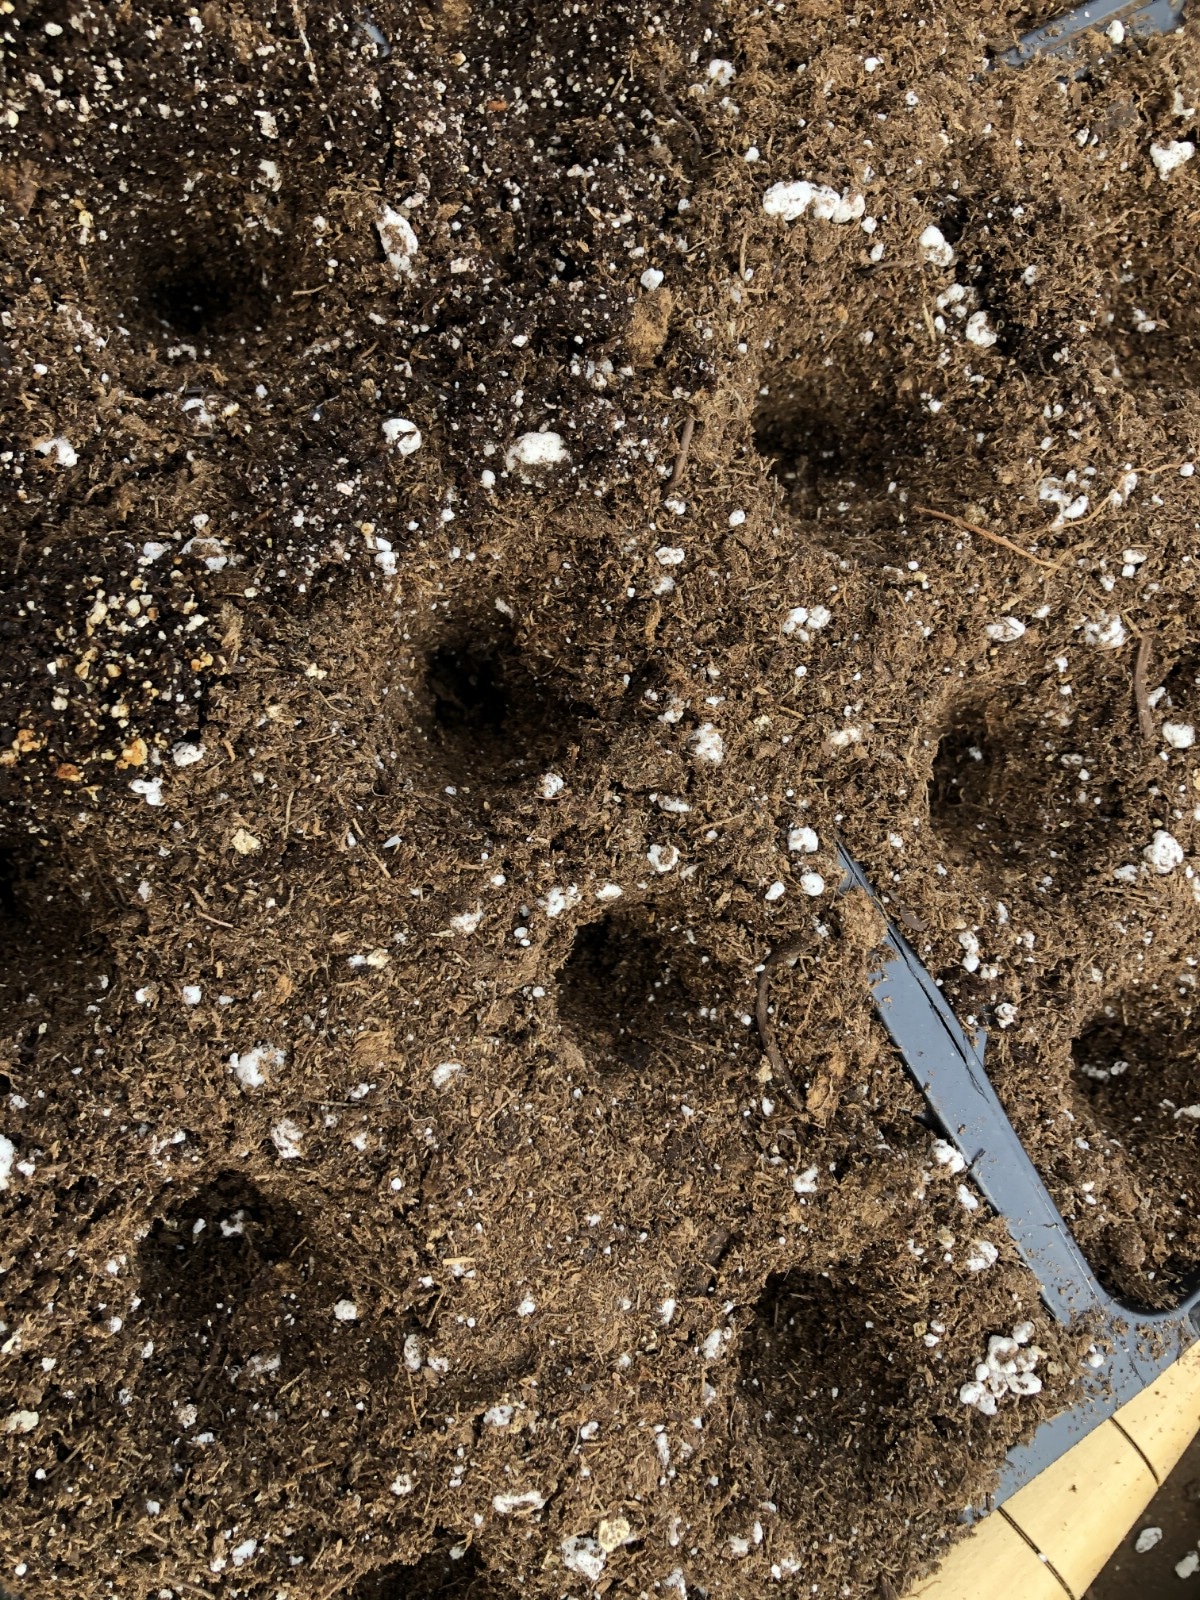
Use the prepared soil to fill the cell packs or pots. Fill them almost completely full, but do leave a small lip at the top (so that in the future water will soak in and not run off the top of the soil). Fill several packs or pots ahead. This will make transplanting faster and easier.
It is wise to grow a few extra plants of each type than what you plan to plant to accommodate for future losses (it happens to the best gardeners!). Pot up an extra 25% more than you plan to plant. You can always give the extras to a friend if you don’t need them, but at least you’ll be covered if a few plants fail.
4. Make holes for the seedlings.
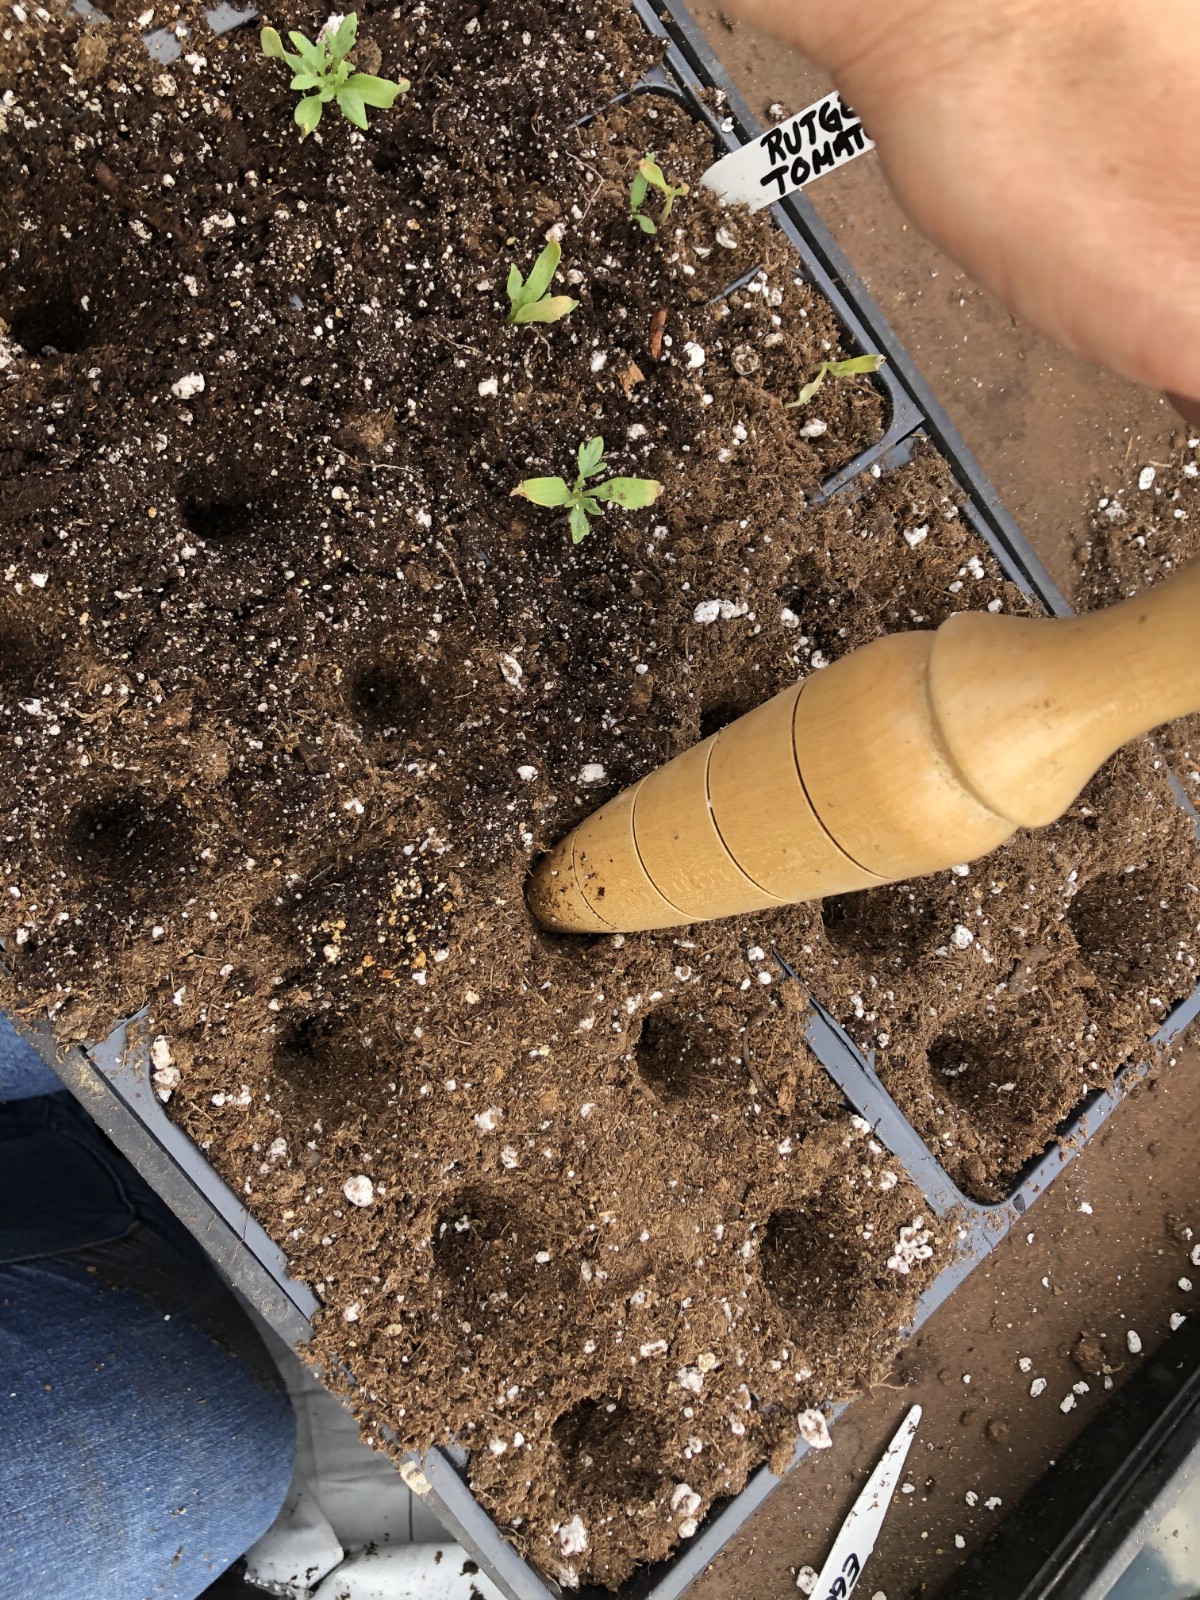
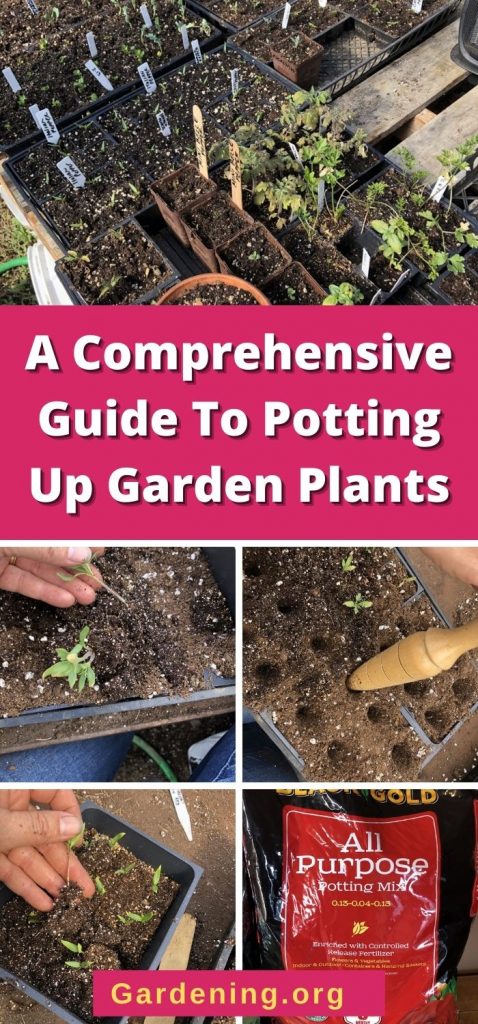
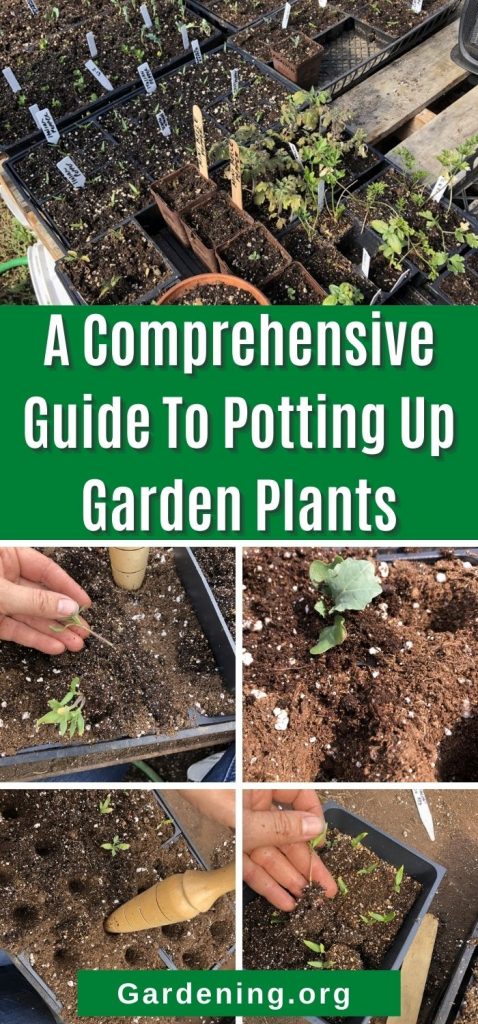
Make a hole about one to one and a half inches deep in each filled pot or plant cell (almost to the bottom of the cell pack). You can use your finger, a skewer, pencil, craft stick, or small dowel. A seed dibble or plant dibble is not required, but is very useful and will make the work quicker and easier (a dibble is a kind of cone-shaped tapered tool, usually made of wood, with a formed handle that is used for planting transplants, garden plants, bulbs, and seeds).
5. Gently separate seedlings.
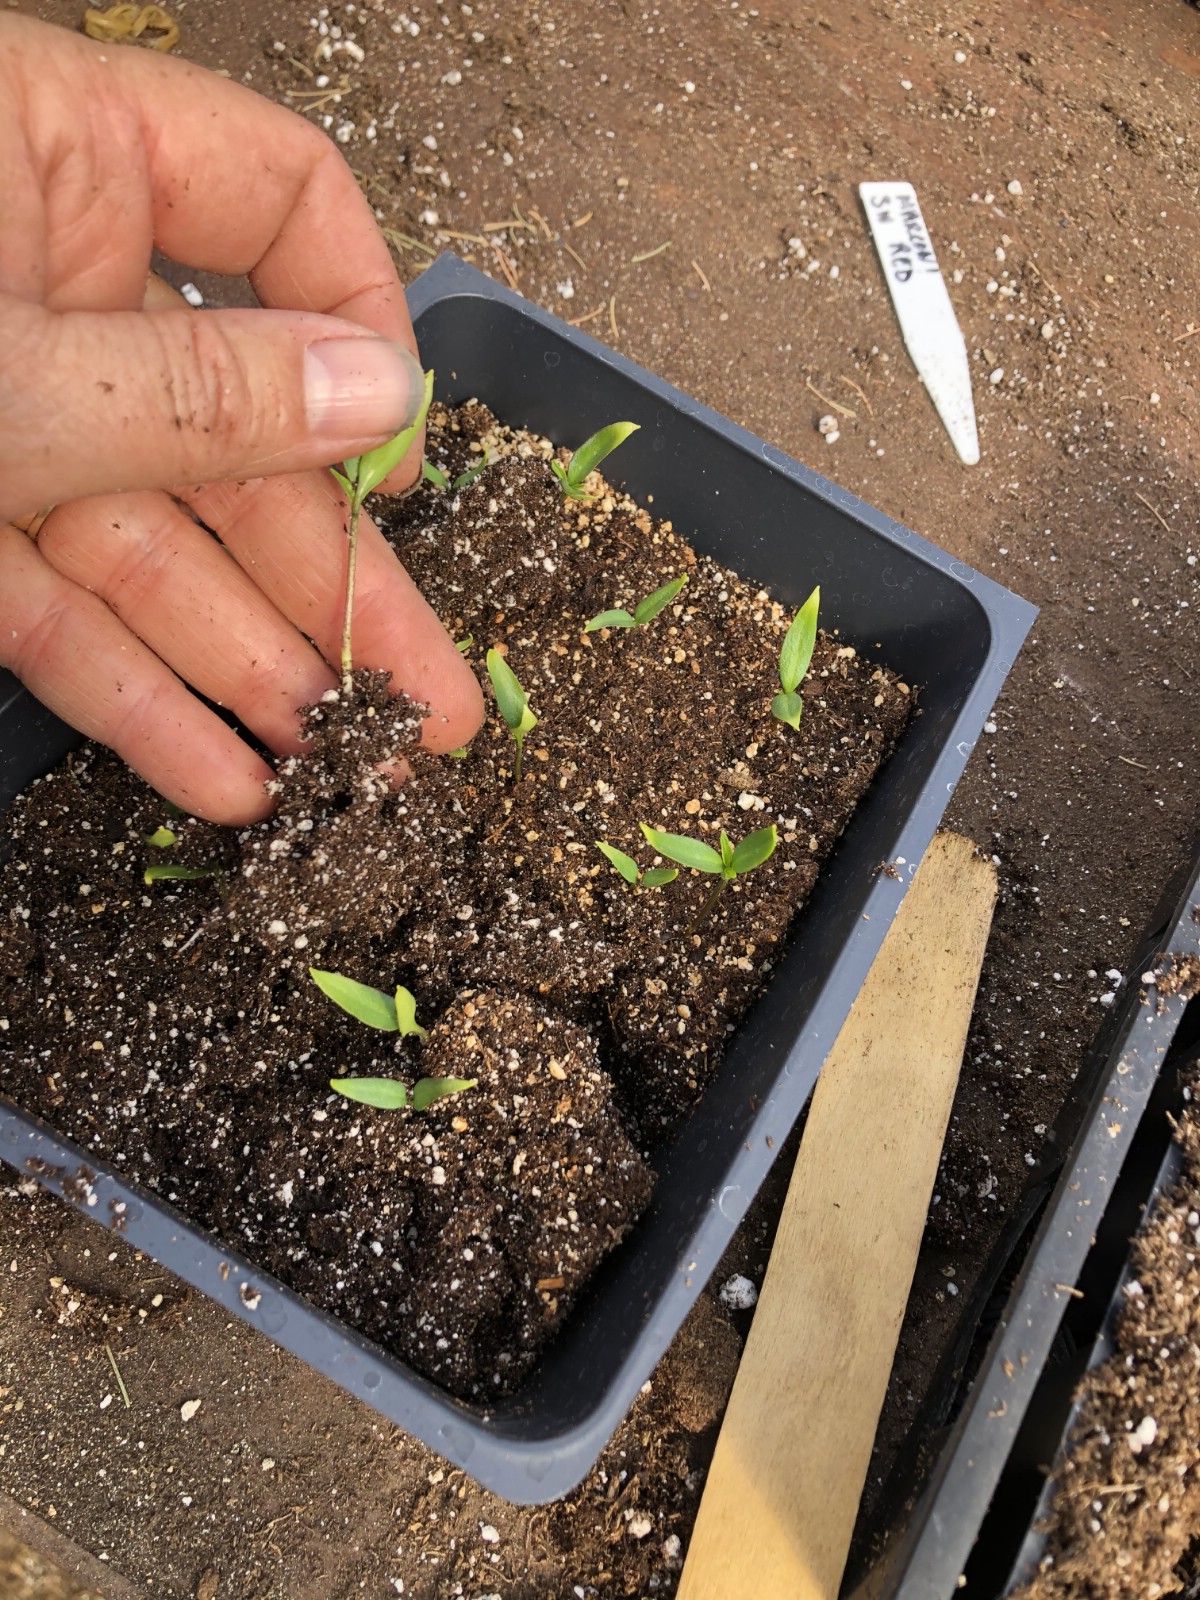
Now you need to separate the sprouted seedlings from each other. You should plant one seedling per pot or cell. Seeds that were germinated in one tray might have some intertwining, but you will find that with gentle handling, they can easily be pulled apart.
Use a craft stick, pencil, or something similar to gently pry up underneath a row or clump of seedlings (or “prick up/prick out” as it is sometimes called). Hold the seedlings by their leaves and then gently but firmly pull the tiny plants apart.
The key to success here is in the handling—leaves of even tiny plants are quite strong and their points of attachment are the strongest parts of the plant. Stems, in contrast, are not very strong at all and will break easily if you use them for handling and pulling apart. So do all the lifting, separating, and setting using the plant’s leaves and you will see little to no damage during transplanting.
Handling the plants this way, you’ll find that a little pulling and separation is all that is takes to prize the root systems apart.
If you are just potting up a plant into a bigger pot that was planted previously, you will not need to separate the seedling. Just remove it from its current pot, soil, and all, and transplant it into its new home.
6. Set the seedling, then fill in.
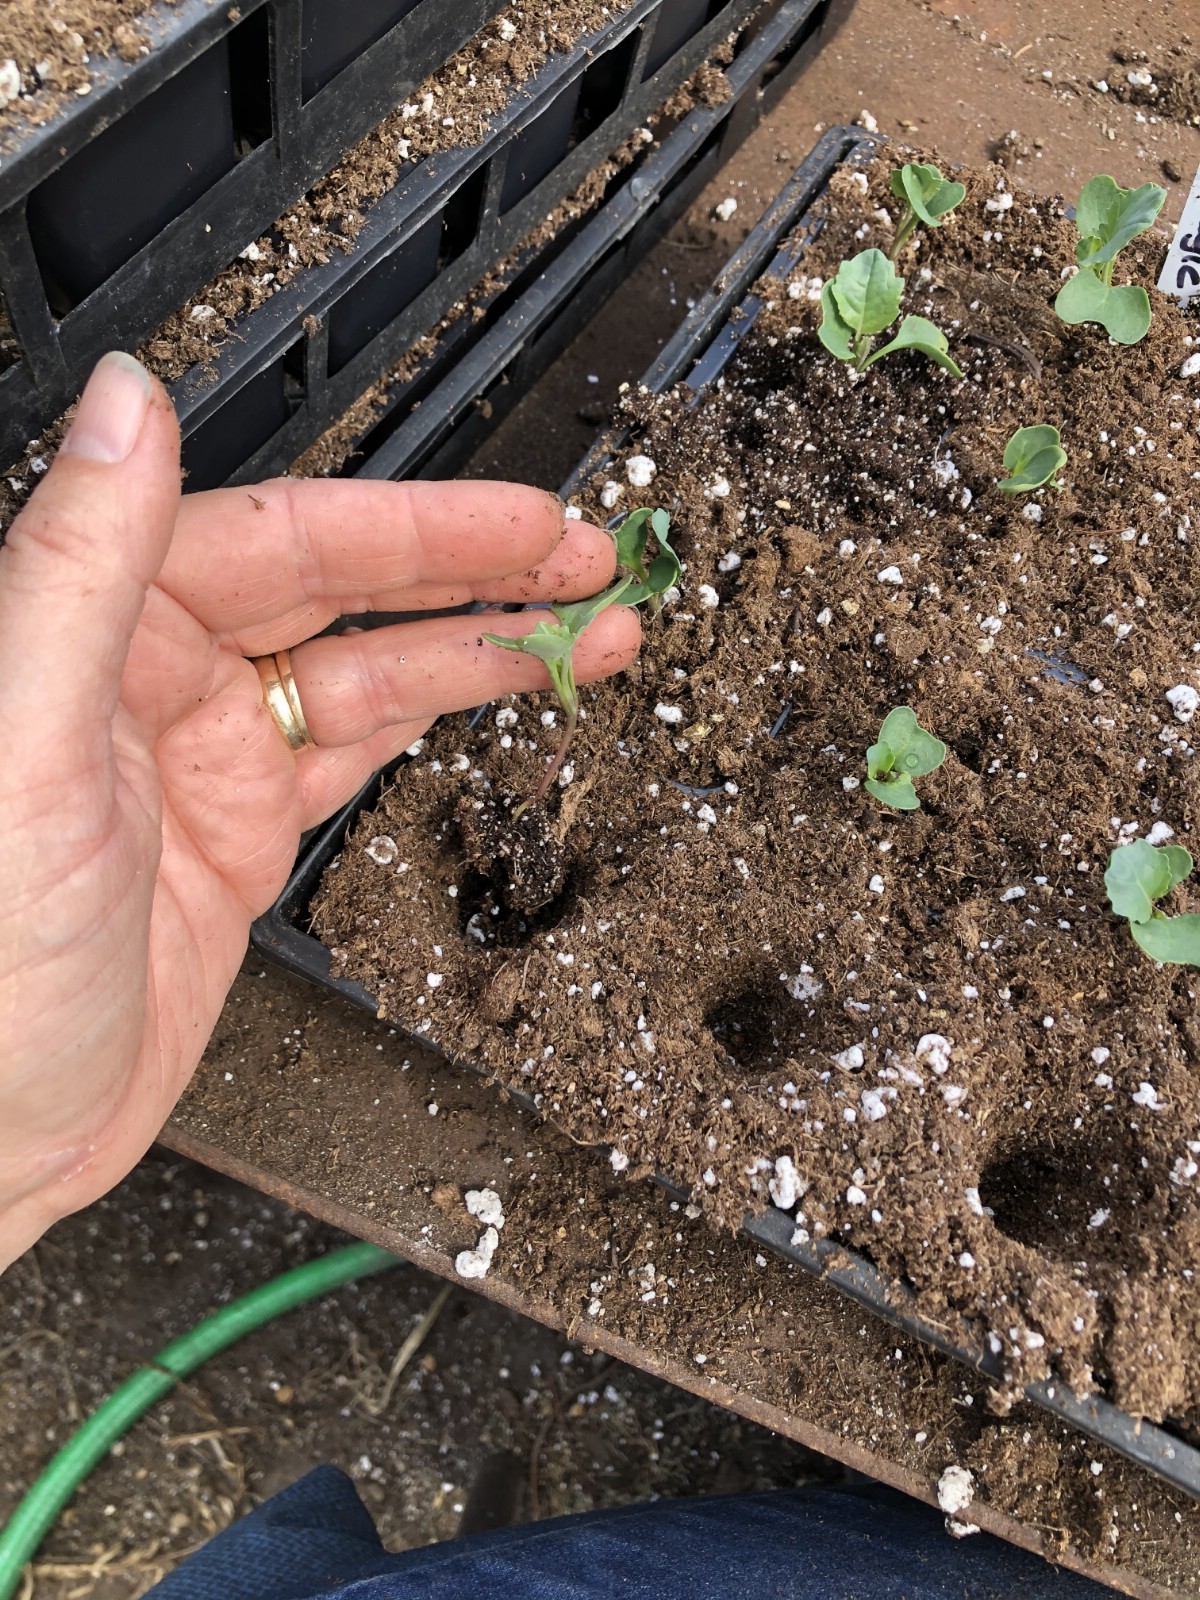
Now set one single, separated seedling into each hole in the prepared pots and plant cells. Go back after setting the seedlings and fill in the hole around the plant. Press gently but firmly to tamp down the soil, remove air pockets, and snug the little plant into place.
If the seedling is growing well and is well-formed, plant the plant just deep enough to bury the roots and just above the base of the stem. You do not want to bury the plant’s leaves.
This is where you can correct issues that may have developed during sprouting. The main issue you will see is long, weak, leggy stems. At this point, you can sink the roots and stems relatively deep so if it is too tall, plant the seedling deeper. Again, do not bury any leaves, but you can bury most seedlings as deep as the pot will allow as long as you are only burying root and stem and no other plant parts.
7. Label!
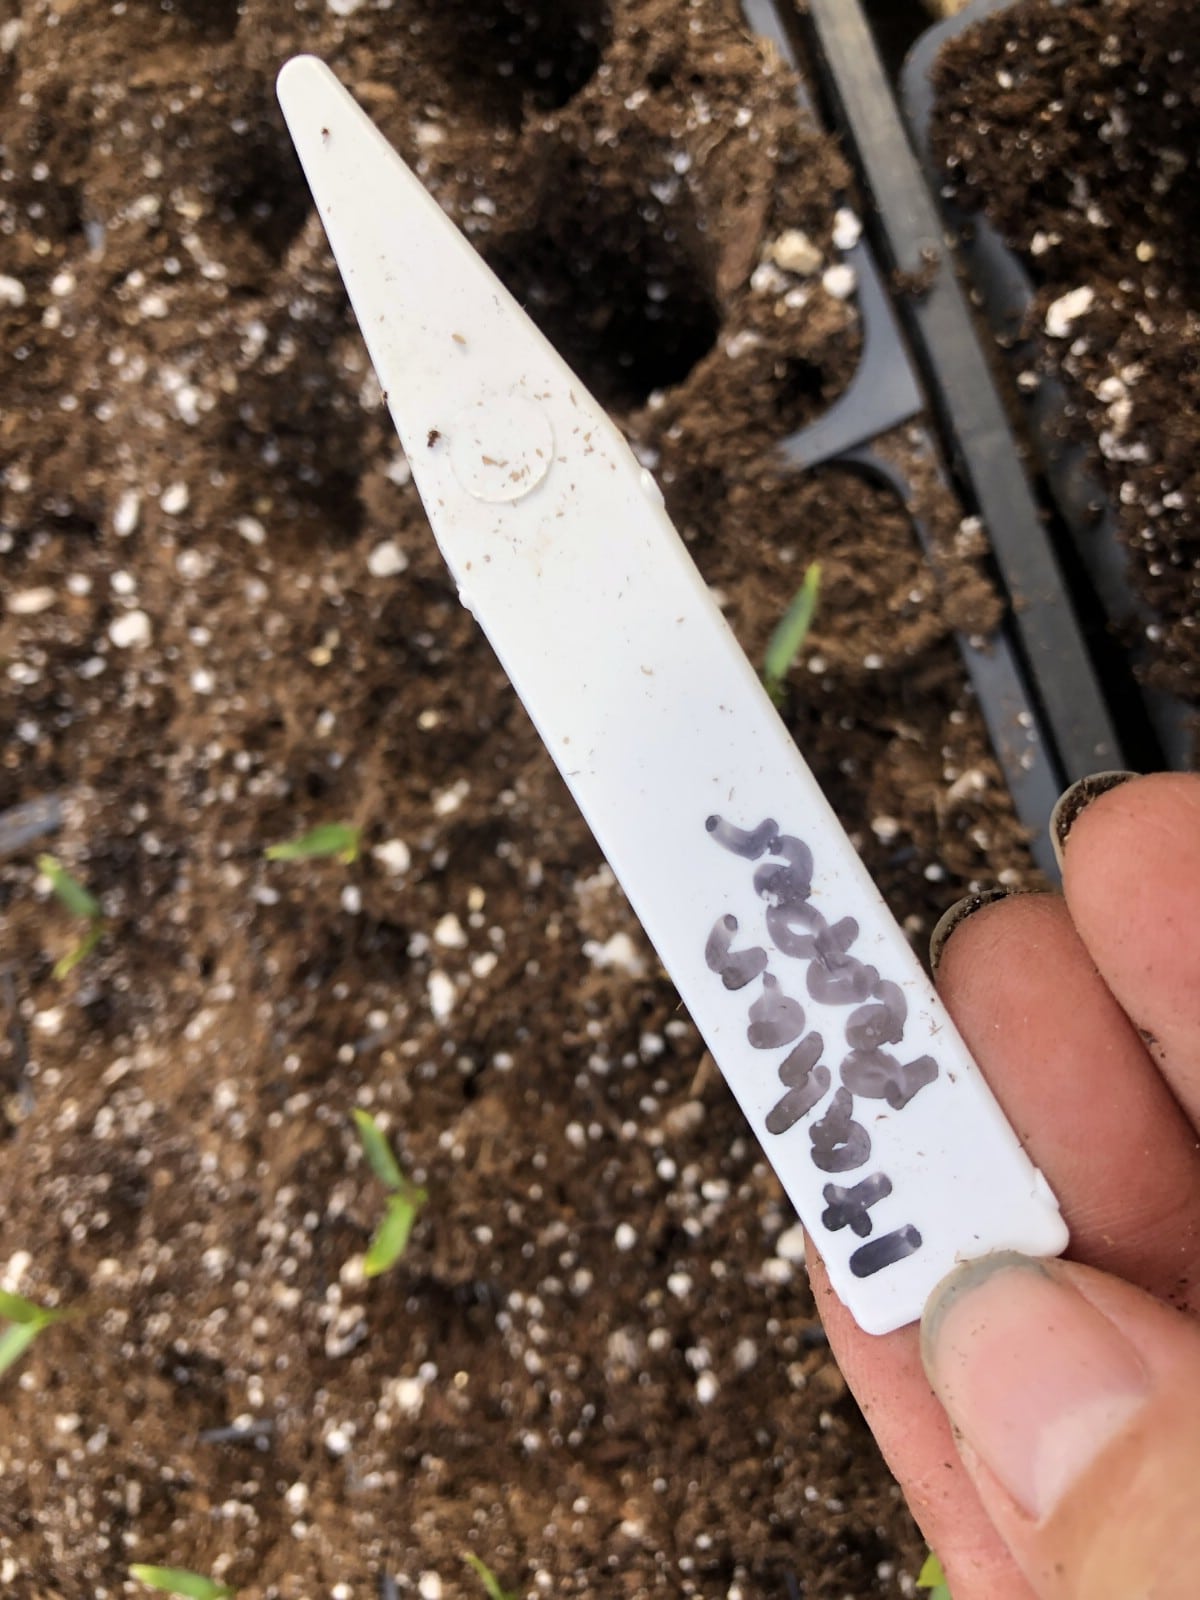
It may seem obvious, but it needs to be said—label all your cell packs and plant pots!
It’s very easy to think you will keep track of all those plants, or remember what you planted and where. A month or two from now, that will not seem so easy. Plants will get moved. You will lose track. Different types of plants will look an awful lot alike. Some plants will not look like their adult versions when they are still small and you’ll be at a loss for what they actually are. You will find yourself scratching your head and wondering what is actually in that pot. So, heed this advice, and label each pack or pot NOW, BEFORE you move on to the next set of seedlings.
You can use things like masking tape or crafts sticks as labels, but these often won’t last until planting time. Water becomes an issue—it loosens tape and sticky labels, and it swells wooden sticks and makes even permanent marker blur and bleed. The best labels are labels designed for use in potting plants. Use either a permanent marker, plant marker, pencil, or recommended writing implement for the labels that you buy. You’ll thank yourself later.
8. Water transplants.
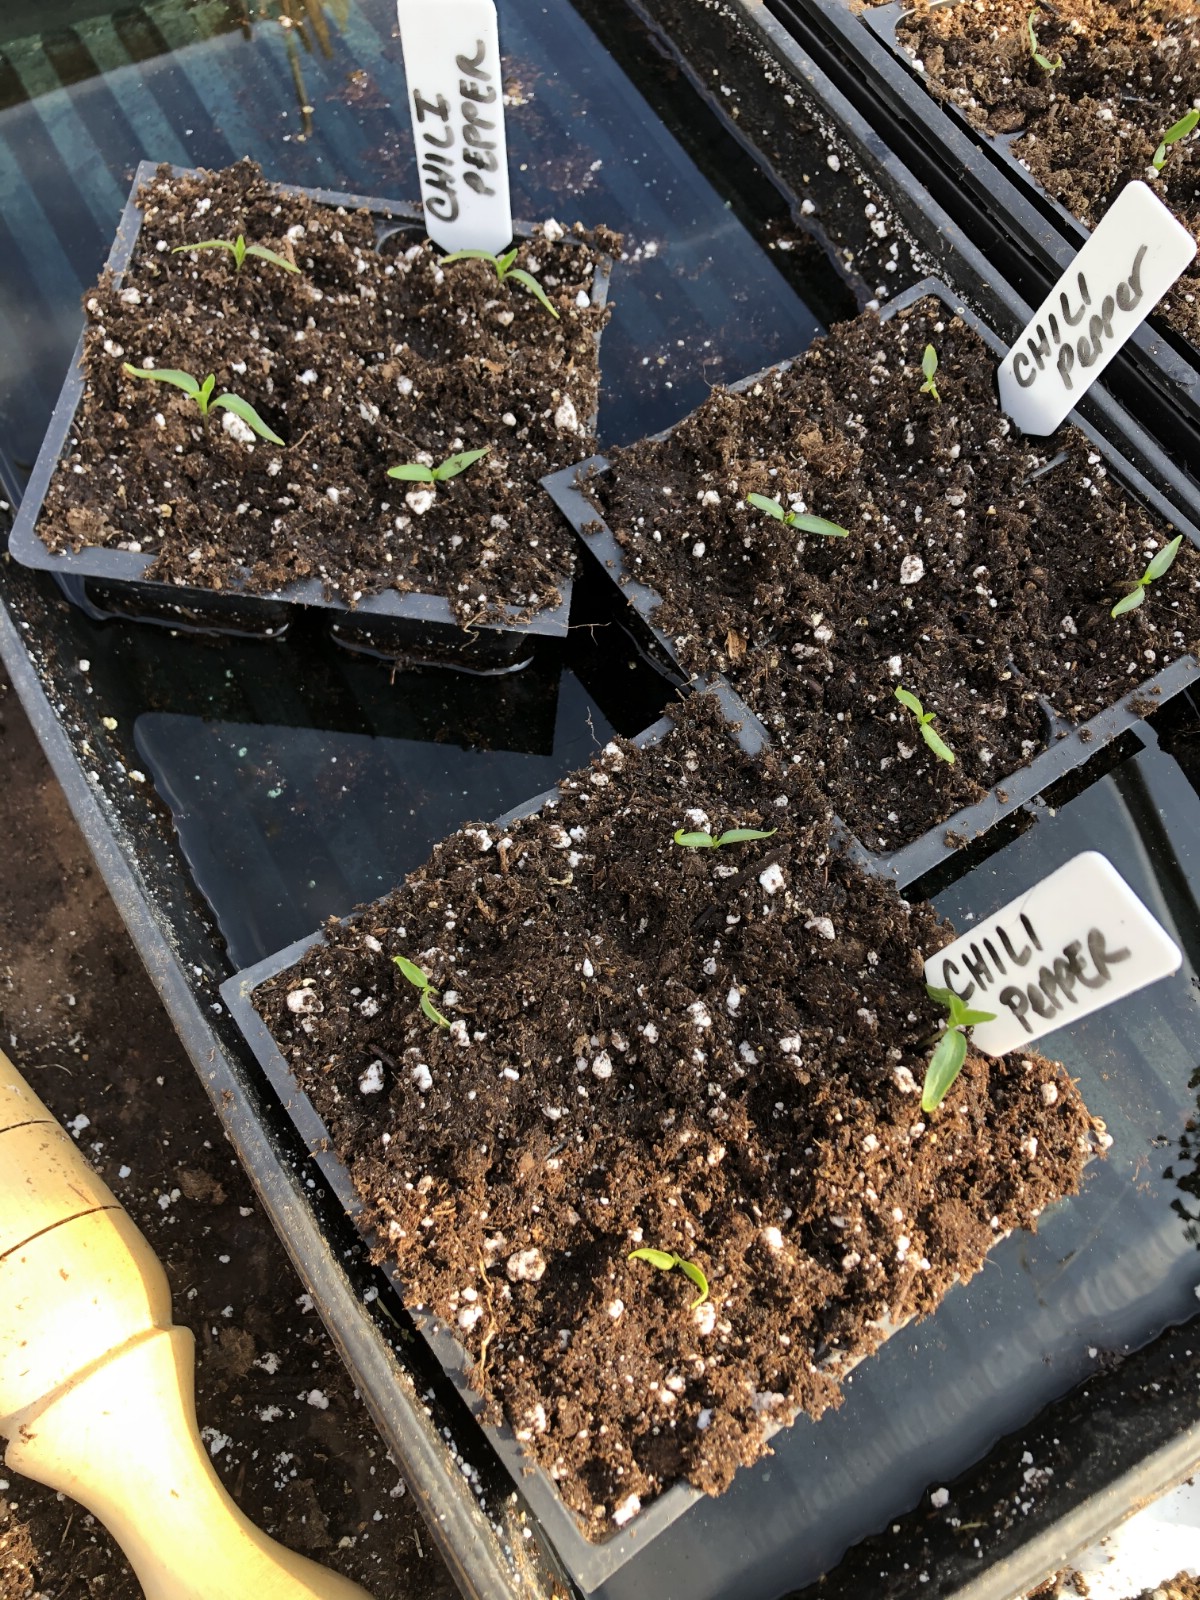
Now you need to thoroughly water your transplants. The water you used to pre-moisten the potting soil will not be enough for the plant to get adequate hydration.
The best way to water seedlings and transplants is to bottom-water. This simply means that instead of pouring water over the top of the plants or on top of the soil, you set the entire pot or cell pack into a tray of room-temperature water. You then leave the pack in the water and allow if to wick up or draw up water from the bottom through the drainage holes. Remove the pot/pack when the top of the soil is evenly darkened. Do not leave the pots in the water longer than necessary—you’ll only end up over-watering that way.
Note: there are differing opinions as to whether or not seedlings need to be fertilized. Much depends on the quality and contents of your potting mix. It is not absolutely critical at this point and you can take something of a wait-and-see approach. A mild dilution of a water-soluble fertilizer now can give transplants a good start, though. Some people choose to wait a few days or a week to begin fertilizing to let the plants adjust and overcome transplant shock (and still others never fertilize at all). If you do choose to fertilize your transplants now, start with a weak solution of 25 to 50% dilution, according to fertilizer directions. This should be added to the water and dissolved before bottom-watering the transplants.
9. Place in planting trays.
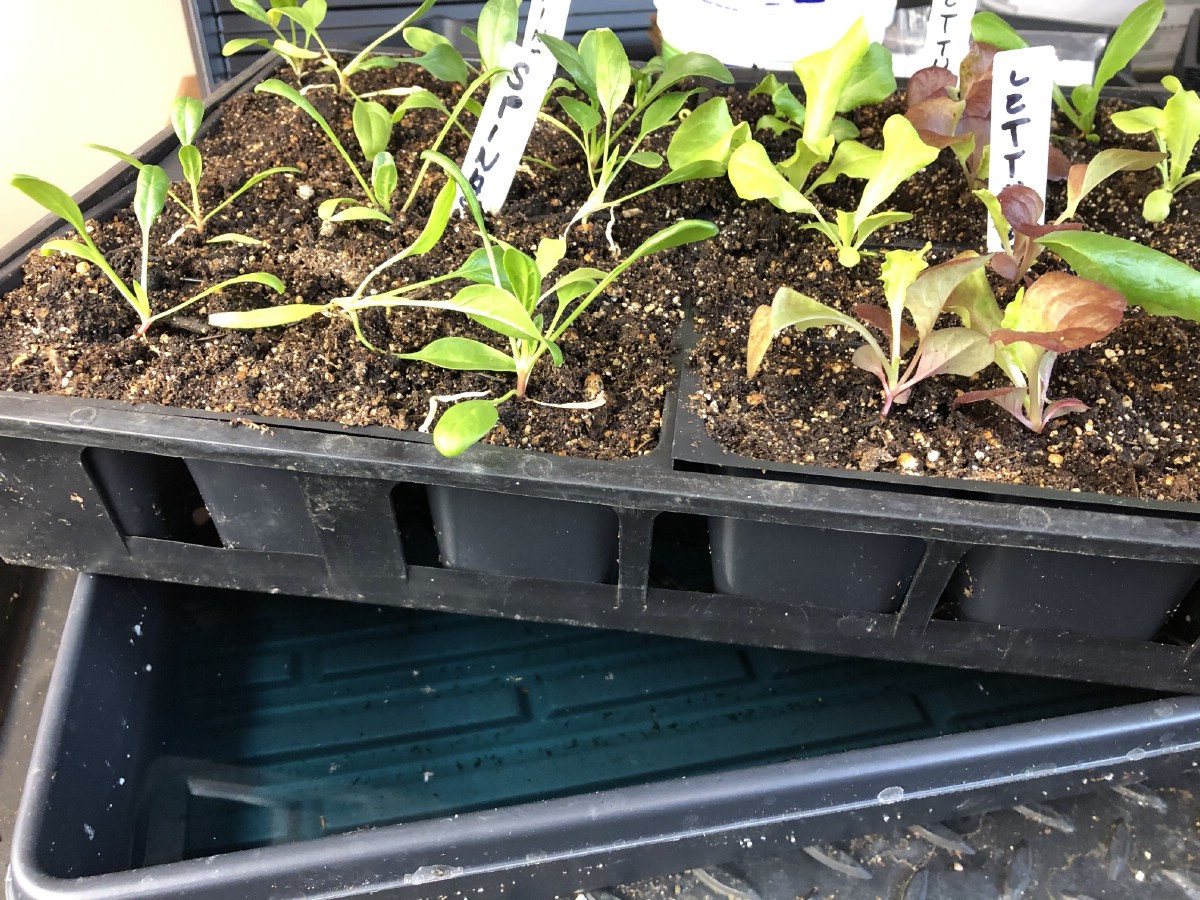
When the soil is evenly moist, remove the packs and pots from the tray of water and place them in some sort of tray for ongoing care and maintenance. An open-webbed “daisy” tray is a good choice because when you need to water again, you can either remove the packs and pots that need watering or you can set the entire tray into the tray of water to bottom-water your plants. Bottom watering is still preferable to watering cans, mists, or top-watering because the plants themselves do not get soaked and therefore do not stay wet. Wet leaves and stems are where the disease is borne.
Note: Standard planting trays and cell packs are pretty interchangeable and will work well together, though certainly you can use other containers or recycled and upcycled containers that suit your plants’ needs for size and drainage if you prefer. If you are buying standard planting supplies, the most interchangeable and easy-to-use tray size is a 1020 tray (roughly 10 inches by 20 inches). You will find these available in basket-like webbed trays, full trays without drain holes (useful for watering), and full trays with drain holes (useful for large plantings, germination, and broadcast growing of baby greens and indoor gardening).
To minimize mess if you are starting and growing transplants in your home, you may like to place the pots and cell packs in a webbed tray for easy watering, and then place the filled webbed tray in a solid planting tray to catch dirt and draining water.
10. Maintain.
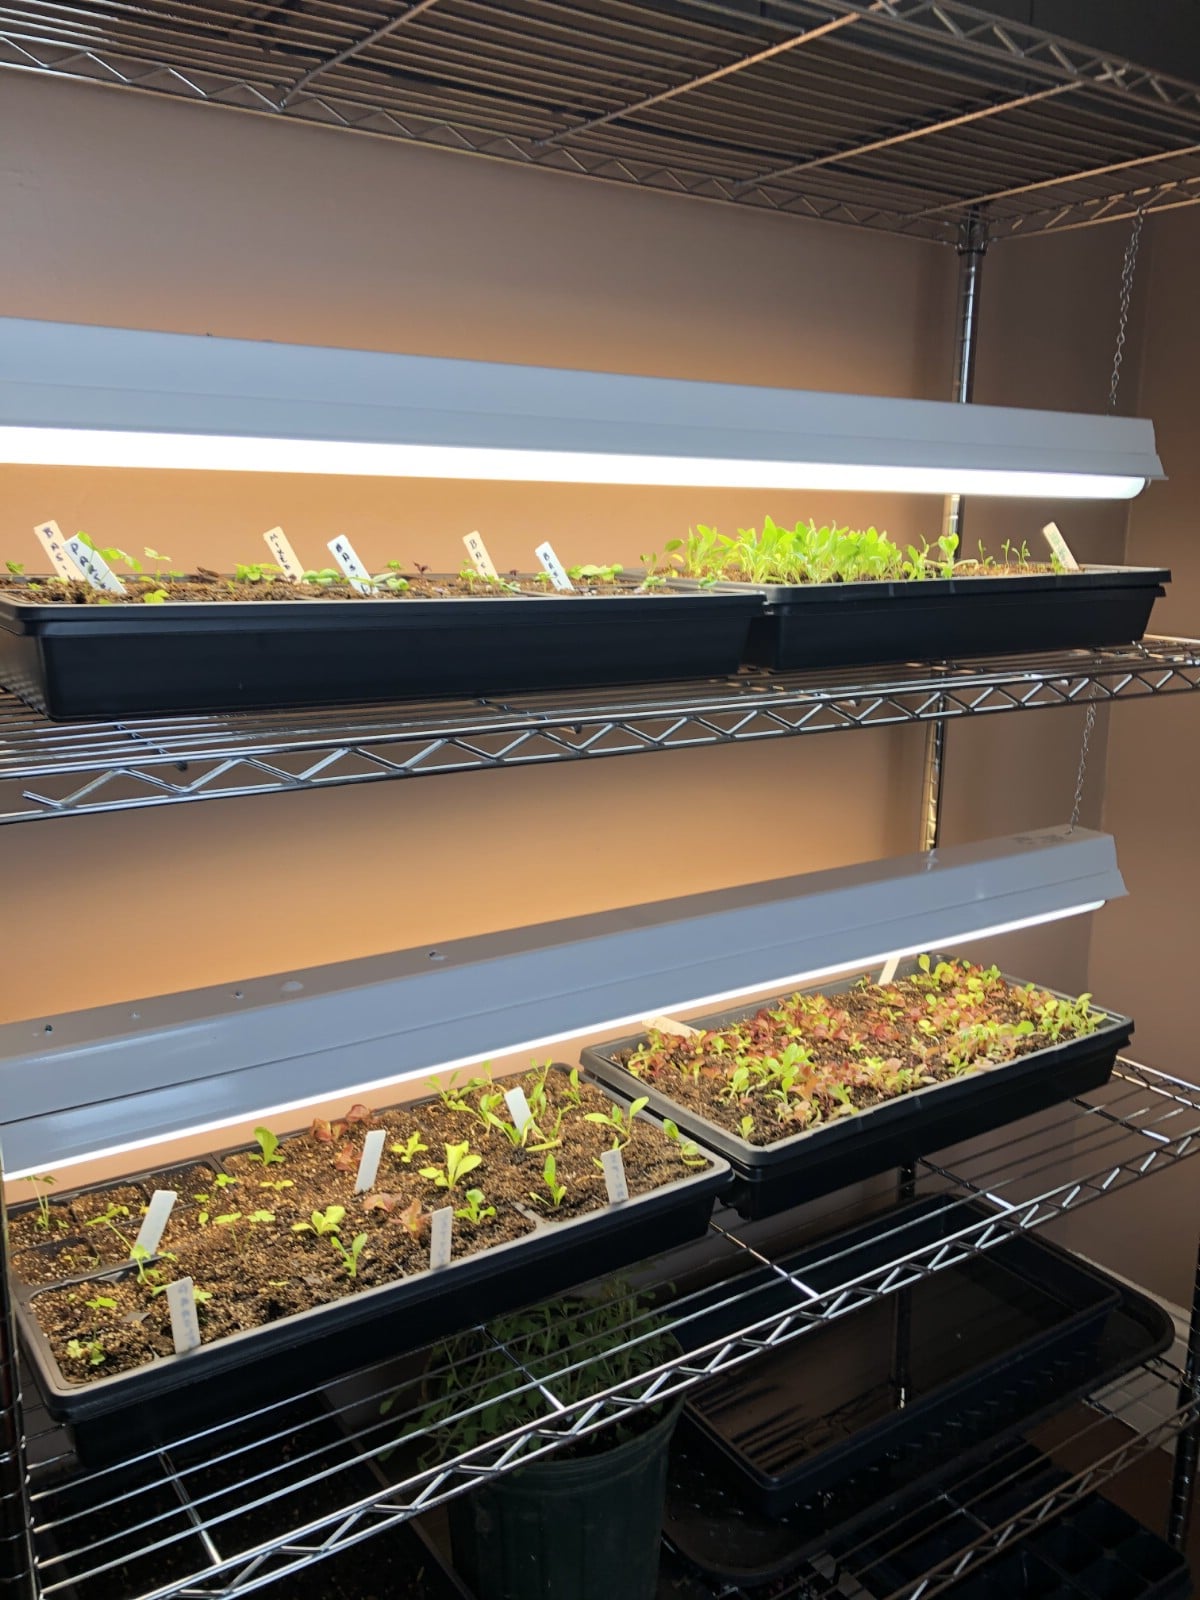
Your only job now is to care for and maintain your young plants until it is time to harden them off and then plant them outside into your garden or container garden. Your plants will need a strong, full-spectrum light source (some sort of grow light setup or LED or fluorescent lights or a sunny window, sunroom, or greenhouse). They will need to be kept comfortably warm—around 65 to 70 degrees Fahrenheit (F) or 18 to 21 degrees Celsius (C).
Your plants will require regular watering. Check them every day and water them when the top of the soil is dry (but do not let the entire pot dry out completely). Most plants do not need to be watered every day—usually every two or three days is sufficient—but let your plant and its soil be your guide.
If kept warm, in good light, adequately watered, and fertilized as needed or according to your fertilization schedule, your plants will thrive and grow and be ready for life in the garden in the near future—and you’ll be well on your way to a thriving, productive garden!

Leave a Reply