Sawdust is an often-overlooked gardening resource. As a byproduct of the milling industry and also of woodworking and hobby crafts, sawdust is usually very cheap—often free.
While sawdust sometimes gets a bad rap for being a nitrogen thief, the truth is that with proper use and management, there are many valuable ways to use sawdust in the garden.
Jump to:
- Mulching With Sawdust
- Line Garden Paths and Walkways With Sawdust
- Sawdust As Natural Weed Control
- Build Your Compost Pile With Sawdust
- Sawdust as a Soil Amendment
- Enhancing Growth of Mycelium and Beneficial Mycorrhizae
- Use Sawdust to Boost Orchard Fruit and Berry Yields
- Feed Acid-Loving Plants With Sawdust
- Sawdust As A Growing Substrate
- Store Root Crops and Bulbs in Sawdust
- Use Sawdust to Sop up Spills
- Sawdust as Slug Control
- Cautions: What You Need to Know About Using Sawdust in the Garden
- Counteracting Nitrogen Losses from Sawdust Use in the Garden
- Sourcing Sawdust
Good ways to use sawdust in the garden include:
- Mulching
- Garden Paths and Walkways
- Weed Control
- Compost
- Soil Amendment
- Enhancing Growth of Beneficial Mycelium
- Boost Orchard Fruit and Berry yields
- Feed Acid-Loving Plants
- As Growing Substrate
- Crop and Bulb Storage
- Sop up Spills
- Slug Control
Mulching With Sawdust
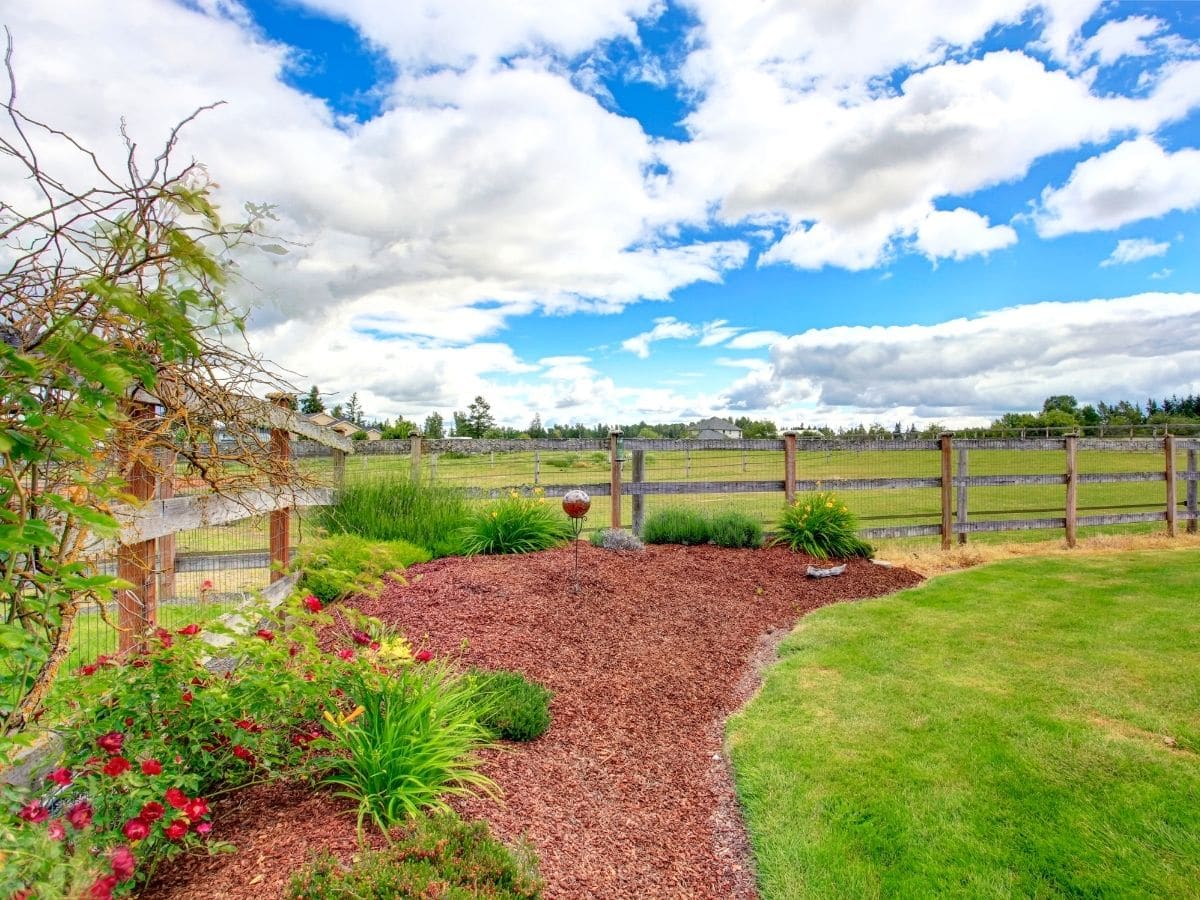
Mulching might be one of the most obvious ways to use sawdust in your yard and garden. After all—sawdust is, effectively, just tiny little wood chips; and wood chips are among the most commonly-used mulch materials.
There are several advantages to mulch, and specifically to mulching with wood byproducts like sawdust or wood chip. Mulch helps to retain soil moisture—particularly helpful if you live in an area with inconsistent rainfall, or in an urban area where you pay for water service. Mulch also helps to keep roots cooler—helpful for root health, but also for plants that struggle in higher temperatures.
By mulching your garden with sawdust, you can reduce soil splash from rain and watering, and this can, in turn, help reduce incidences of soil-borne plant disease caused by funguses, spores, and pathogens.
At the same time, sawdust mulch can increase the presence of beneficial soil fungi like mycorrhizae (more on that in a bit), and that will do wonders for your plants’ growth and production.
How to use sawdust as a garden mulch:
- Be sure to use plant-safe sawdust. Never use fresh sawdust from black walnut trees anywhere that you want plants to grow and thrive. The natural toxins excreted by black walnut will kill and prevent plant growth. If you are using sawdust mulch in a food garden, it is wise to avoid sawdust from treated woods of any kind.
- Line the area to be mulched with newspaper or cardboard. (This step is optional, but will help smother any small weeds or grasses that are already growing, and will help prevent more weeds from sprouting and growing through).
- Spread sawdust in a layer three to four inches deep. It is best to keep the sawdust slightly back from the base of the plant, tree, or bush.
- For mulching, either soft or hardwood sawdust is okay, or a mix of the two.
- Top the mulch with fresh sawdust every year to maintain its effectiveness. Sawdust will degrade and break down naturally. This is a benefit in the garden, but as a mulch, you will need to refresh your layer for continued weed and moisture control.
Nitrogen deficiency is not as much of an issue with sawdust mulching as it is with other garden uses for sawdust, because the mulch sits atop the ground and isn’t incorporated into the soil. Still, it does have the potential to leach some of the nitrogen from the soil—nitrogen that your plants need. When you apply sawdust as a mulch, it is a good idea to spread a layer of nitrogen-rich fertilizer or compost so that there is enough nitrogen to go around.
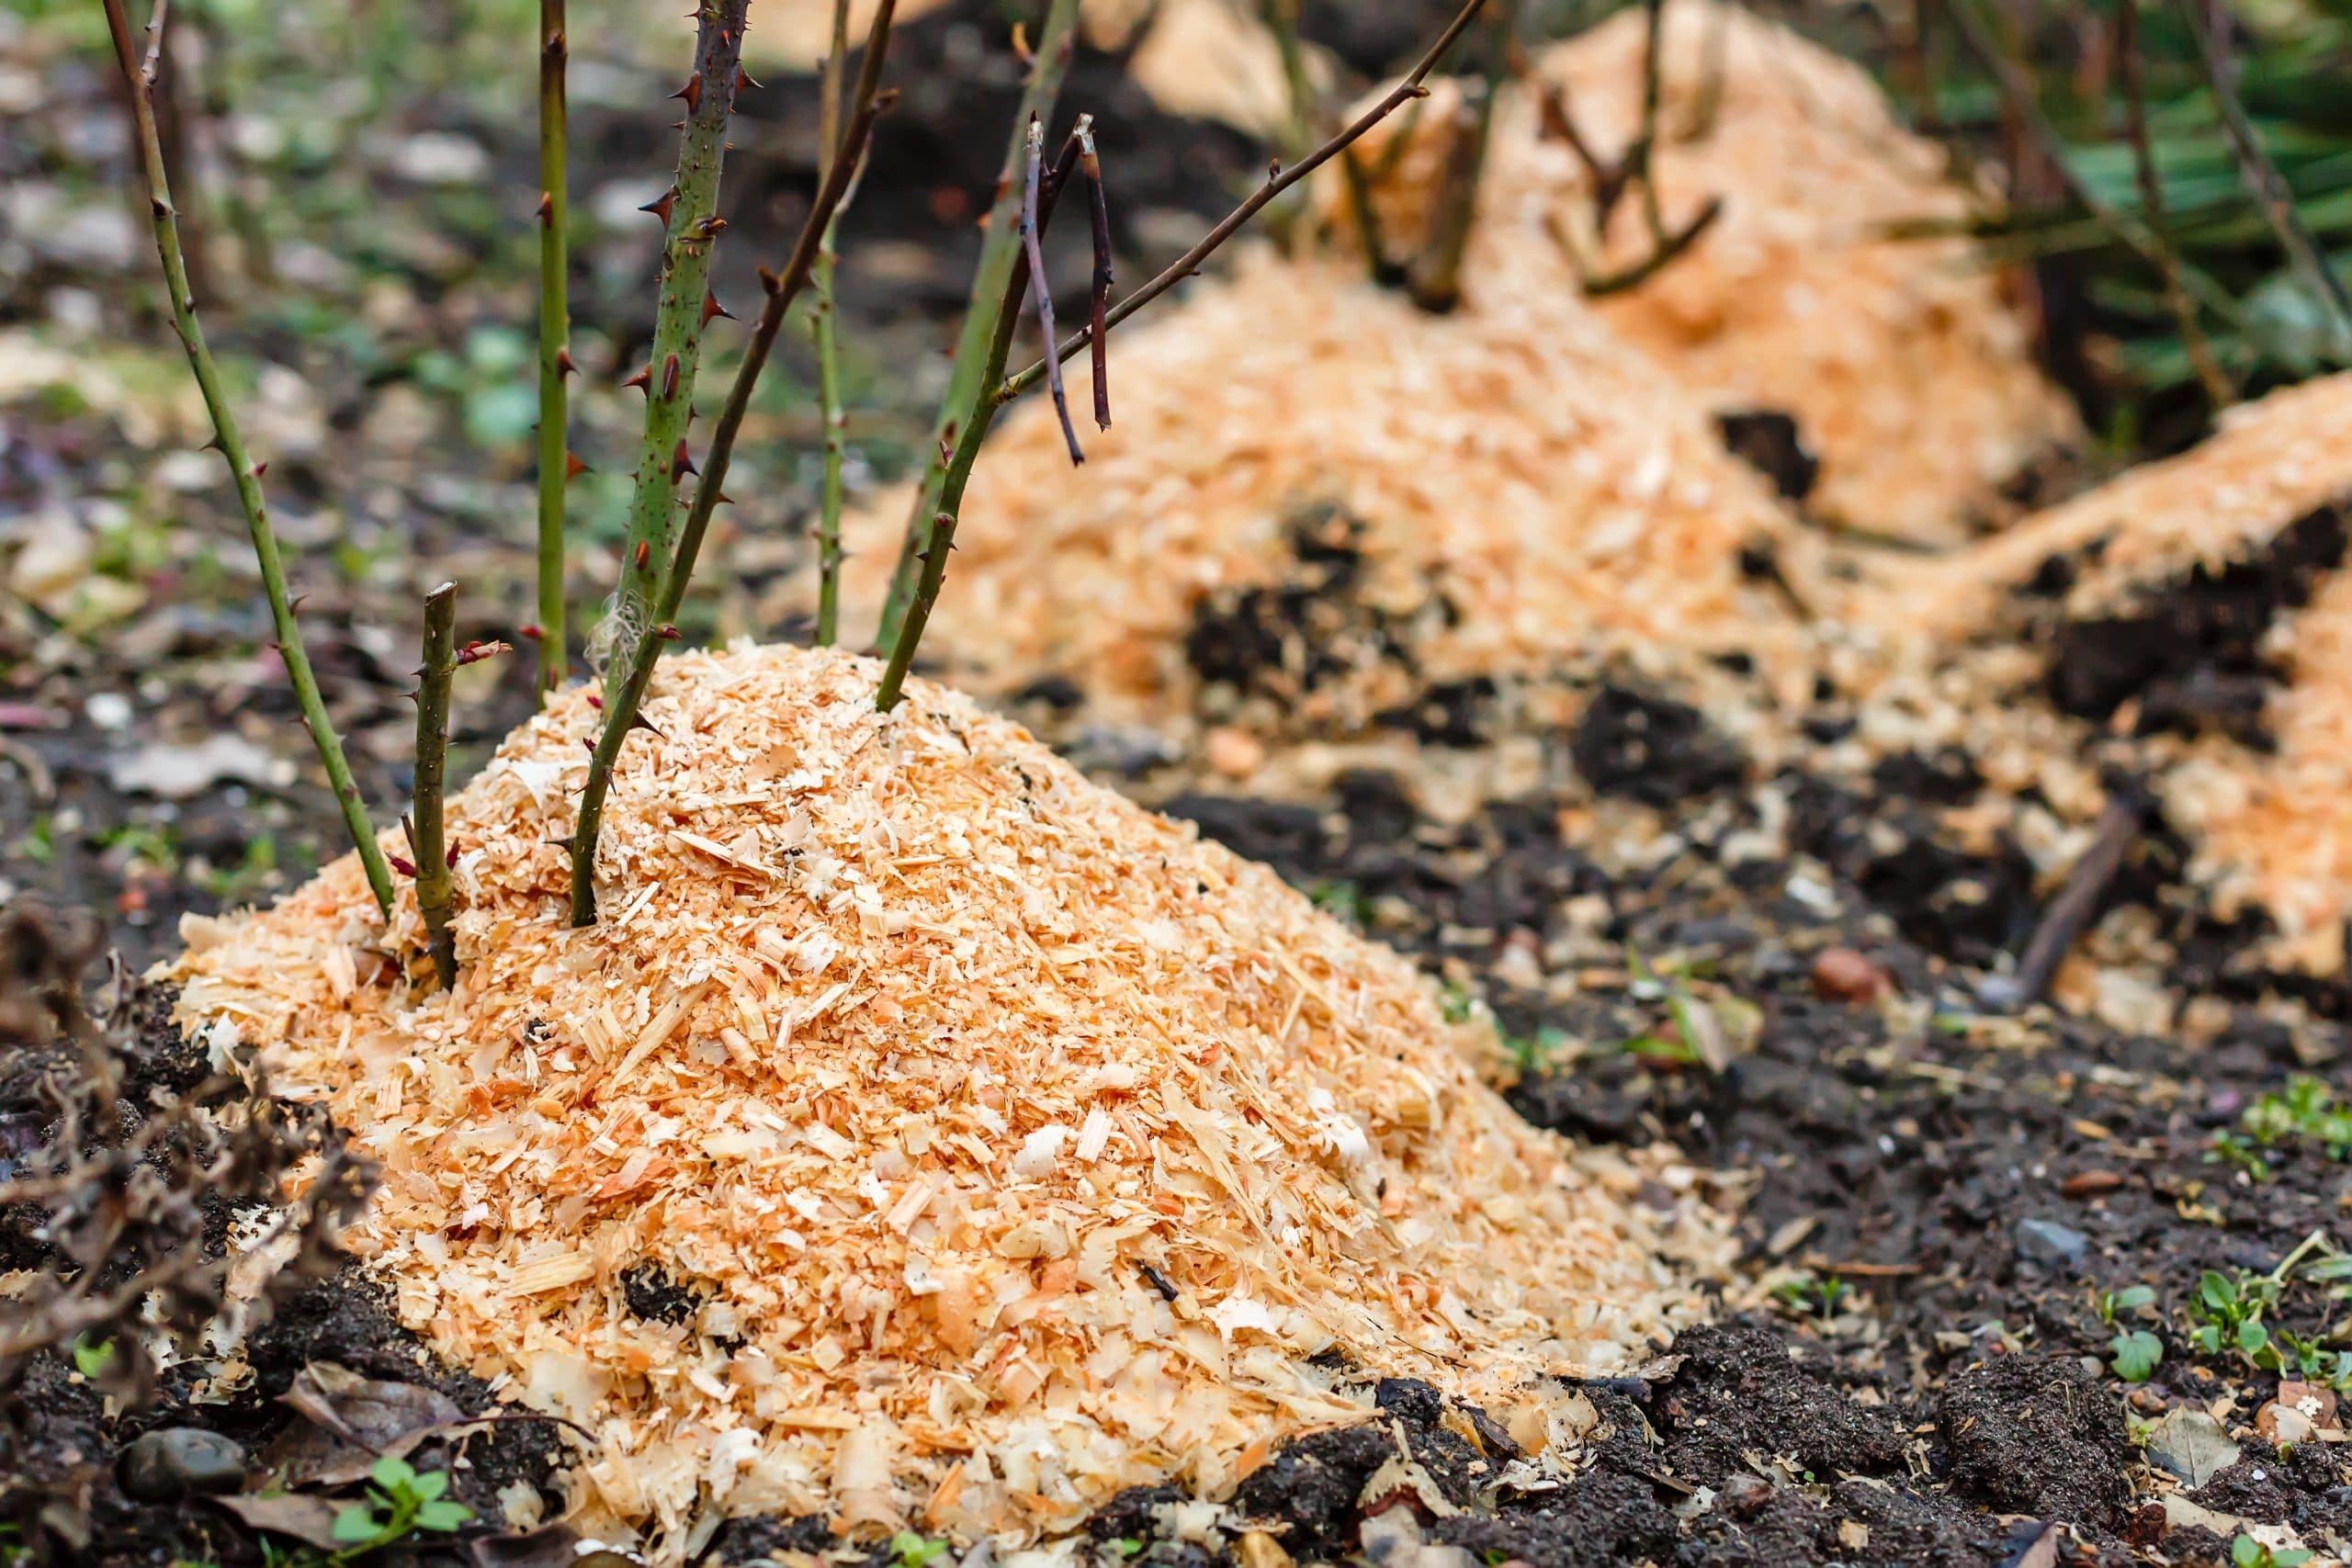
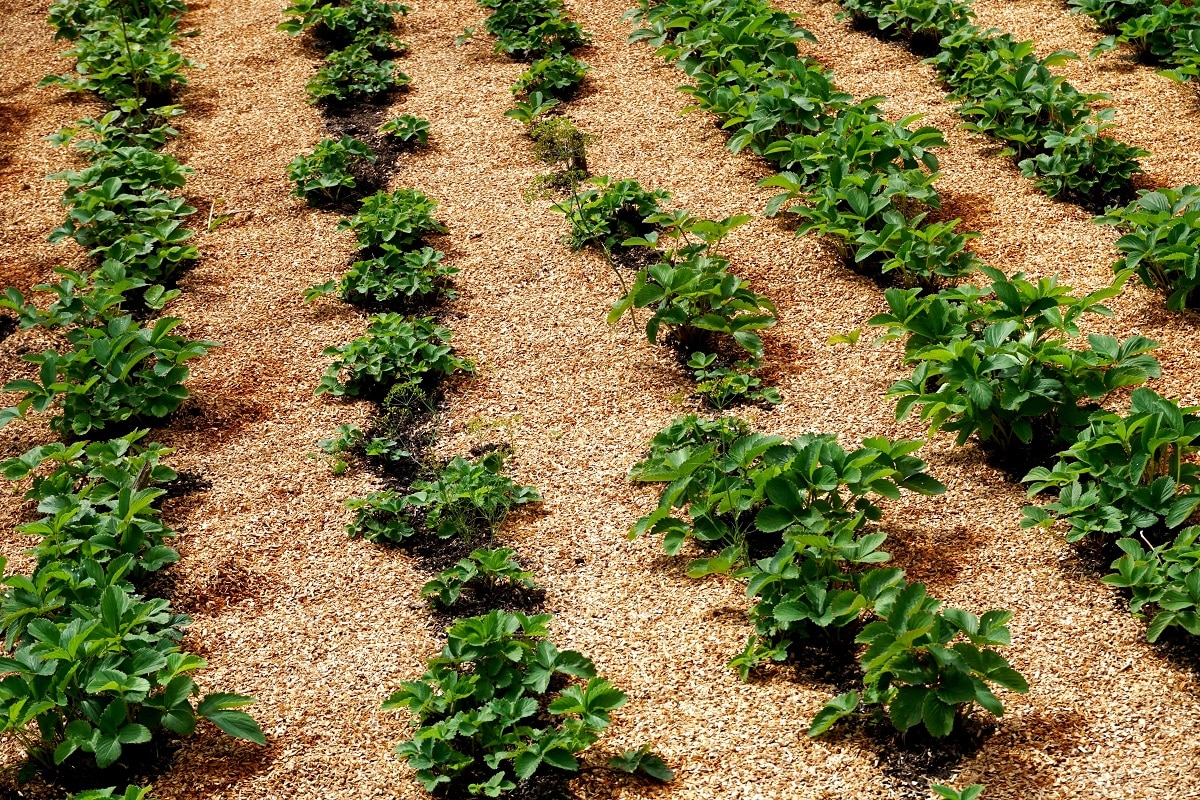
Sawdust is a cheap alternative to wood chip mulch, capable of mulching a large area on a budget. It is an excellent mulch for low pH crops such as strawberries, raspberries, and blueberries, and is known to be a good mulch for asparagus beds as long as attention is paid to maintain nitrogen accessibility.
At the end of the season, sawdust mulch can be tilled into vegetable gardens and garden beds (including any paper products you may have used as weed blockers). This will naturally increase the organic matter in your soil. As the sawdust is now aged for a season, and as it continues to break down over winter and the off-garden season, the nitrogen-stripping process will cease to be an issue, and the sawdust will now become a fine amendment to your soil.
Line Garden Paths and Walkways With Sawdust
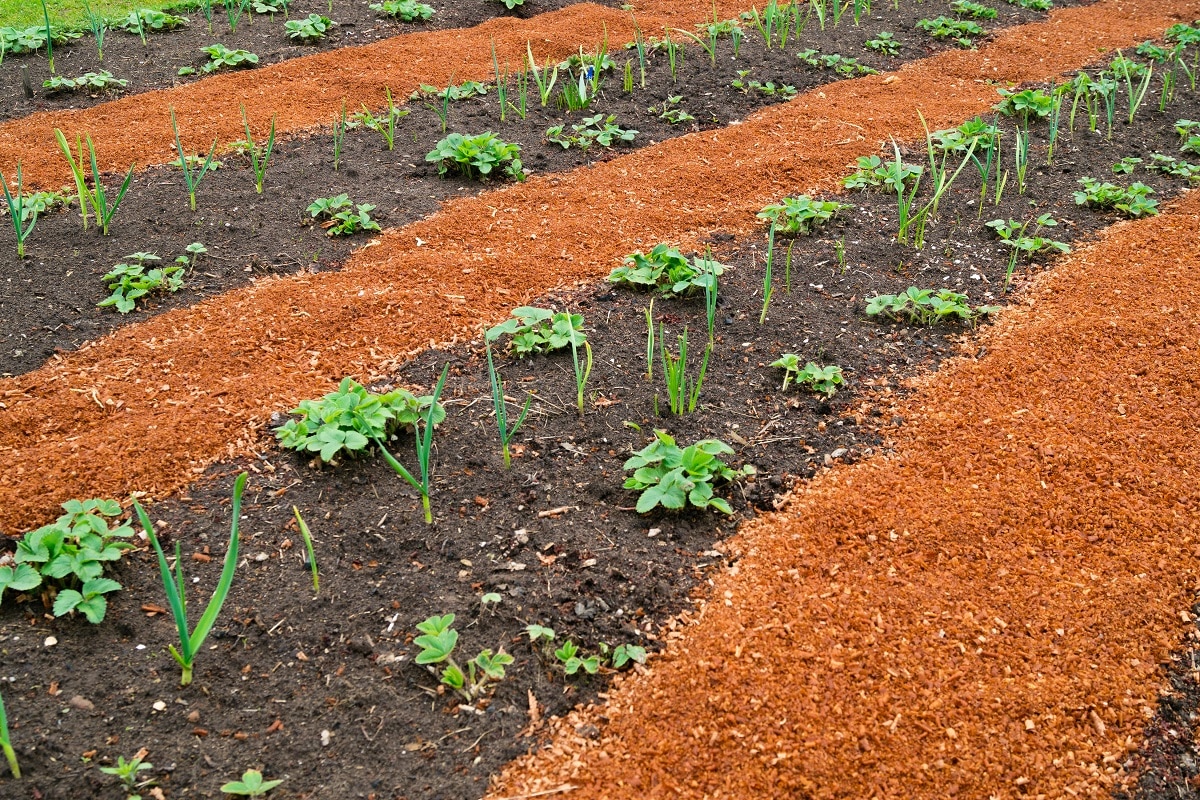
Similarly, sawdust makes a very good material for lining garden paths and walkways. It is soft and quiet underfoot and will compress and compact, which will help to keep it in its place. Again, sawdust is a far cheaper material than many other materials that are typically used for garden paths.
A good layer of sawdust on a garden path helps to reduce soil erosion, dust, and mud. It is also effective at reducing weed growth. As long as the path is not immediately near a plant-growing area, this is one place where you might choose to use black walnut sawdust in the garden, because it will naturally kill and prevent weeds from growing (that pesky yet helpful natural plant toxin again). If in doubt about proximity, choose walnut-free sawdust instead.
In the winter, you can also cast sawdust on icy garden paths for traction. This is a good alternative to salt or chemical ice melts that can infiltrate nearby soils and damage plants and grasses in the warm months.
How to use sawdust to build a garden path:
- If building a new garden path, it is best to dig down and remove any grass or plant growth to prevent it from growing up through your sawdust. You can use any topsoil or loam that you remove in another area of your yard or garden. If you are not sure you want to strip the area of topsoil, it is okay to leave it in place as well. It is always wise to level and fill any holes in a walkway.
- (Optional) line the walkway with a layer of weed-blocking material. You may use landscape fabric, layers of newspaper, or cardboard. Alternatively, you may skip this step and opt for a deeper layer of sawdust instead, but a weed-block layer can help prevent weed growth while the new pathway settles. It will also smother any small plants left behind.
- Line the path with at least two inches of sawdust. Know that the sawdust will compact over time, and will eventually decompose—so more is better for maintaining a clear path.
- Top the pathway with fresh sawdust each year, or any time when you feel the walkway could benefit from a fresh layer of sawdust.
Sawdust As Natural Weed Control
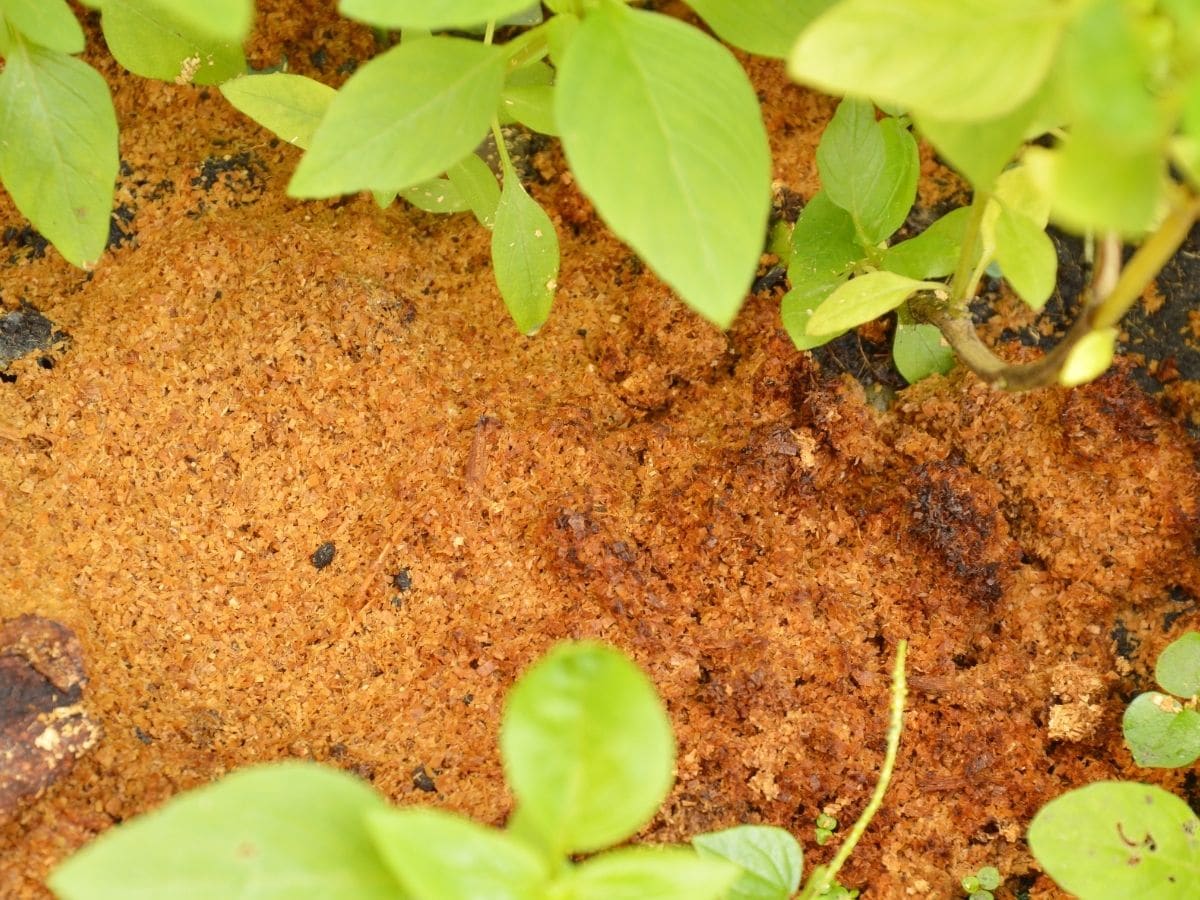
It’s ironic in some ways that sawdust should be thought of as a weed killer because it is an excellent soil amendment that can help plants grow, too. It’s all in what you use and how you use it.
Similar to how sawdust makes a good mulch and weed suppressant, sawdust from walnut varieties, black walnut especially, emit natural toxins that discourage plant growth, and in this way, they can be used as a weed killer.
The best place to use sawdust as a weed killer is in cracks and between rocks and pavers in pathways. It can be used in other areas of your yard and garden, but you need to be sure to space it away from wanted plants. Nearby grass can be affected, too, though it may just be stunted.
To use walnut sawdust as a weed killer, simply apply a healthy layer of sawdust in the cracks and spaces where you want to control the weeds. For larger areas, you may broadcast the sawdust about one or two inches deep. The active compound in walnut sawdust is called juglone, and it will break down over time (several months) so as weed control, you may need to reapply the sawdust periodically.
Some plants are more susceptible to juglone than others. While things like tomatoes, eggplant, potatoes, peppers, cabbages, and several herbaceous perennials are quite sensitive to the compound, others are hardly affected, if at all. On the other hand, many common garden vegetables (members of the squash family and others) are tolerant of juglone, as well as many common stone fruit trees.
Information is less available in regard to affected weed species (probably because people aren't too concerned about whether their weeds will survive near walnut trees!). The point being, that as weed control, your results may be somewhat mixed, and it may take some trial and error to find how effective this use will be for you and your areas. For the “cost” of a few handfuls of sawdust, it could still be worth a try!
Build Your Compost Pile With Sawdust
The compost pile is one place where sawdust really shines. It can (and should) be used in high quantities, so it helps to build volume—more beautiful compost for your yard and garden! This fluffy bulk also creates a lot of air space in your compost that allows oxygen to do its work. This is essential in composting.
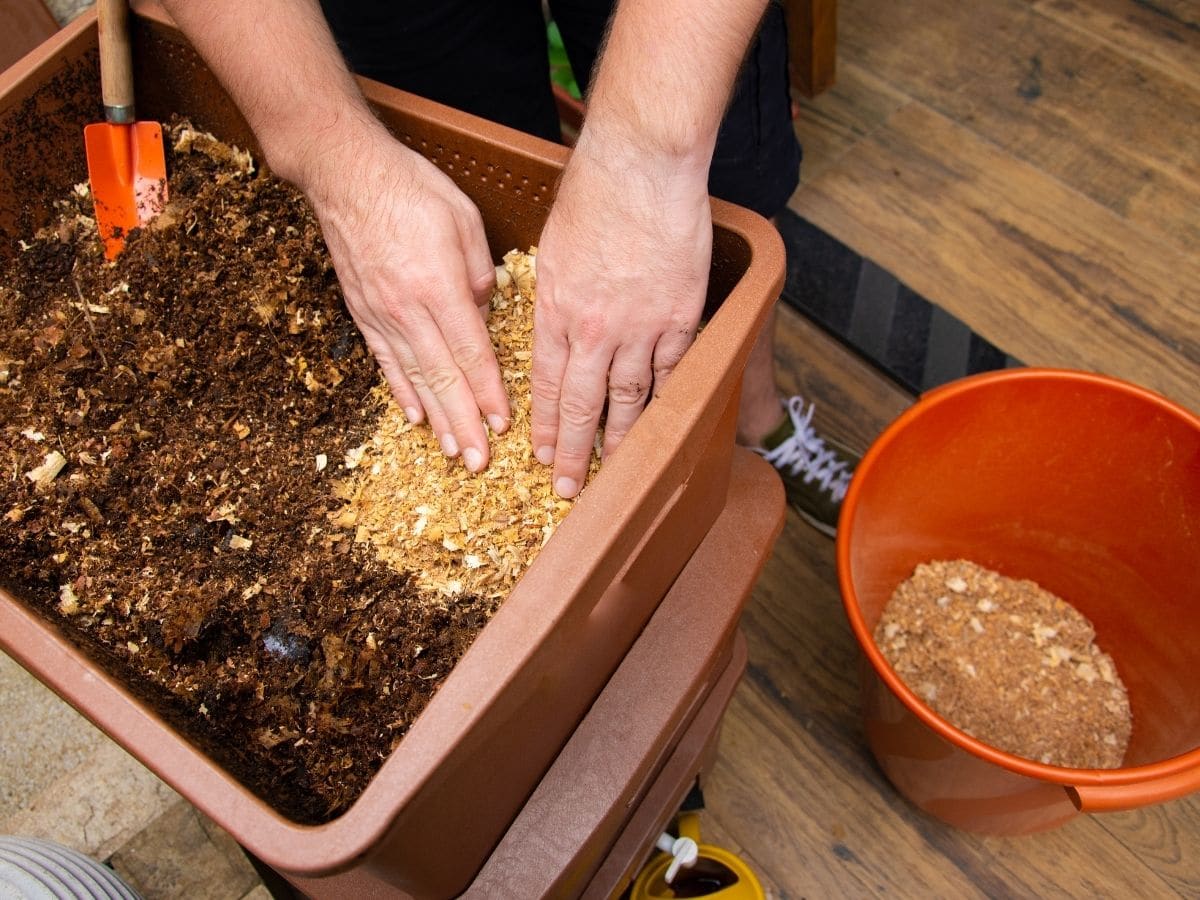
How to use sawdust in a compost pile:
- Sawdust is considered a “brown” compost material. This means that it is a good source of carbon and/or carbohydrates, which are the food source for microorganisms from “green” materials. Both are important components of good compost. Browns and greens are alternated in layers in the compost pile to create the best environment for decomposition.
- Alternate sawdust layers with layers of green compost material such as grass clippings, manure, vegetative, or food waste.
- You can use sawdust as all or part of your brown material needs, one for every layer of green material that is added.
- Use sawdust at a rate of 4:1. For example, use four inches of sawdust for every one inch of green material.
- Turn according to your composting plan.
- Your compost is ready to use when the sawdust is soil-like and has turned black.
- Sawdust is very good at absorbing the juices from green materials, thereby speeding up the transition of your pile into usable compost.
- You can further speed the process of decomposing sawdust in a compost heap by keeping the pile moist, so adding water to the pile regularly will help the sawdust break down even quicker.
- Adding nitrogen, such as from fertilizer or fish emulsion, can also help to speed decomposition into compost.
Sawdust breaks down more quickly than many common brown material sources. It is even faster than newspaper or cardboard and can decompose in under four months. This is a great benefit because it gives you usable compost, free of the “negative” effects of nitrogen-robbing sawdust used directly in the soil, in just a matter of months. Because the sawdust will be ready before other materials like cardboard or newspaper, if you have a good and plentiful source of sawdust, you may choose to keep paper and cardboard out of your pile, or at least out of piles that you would like to use sooner rather than later.
Sawdust as a Soil Amendment
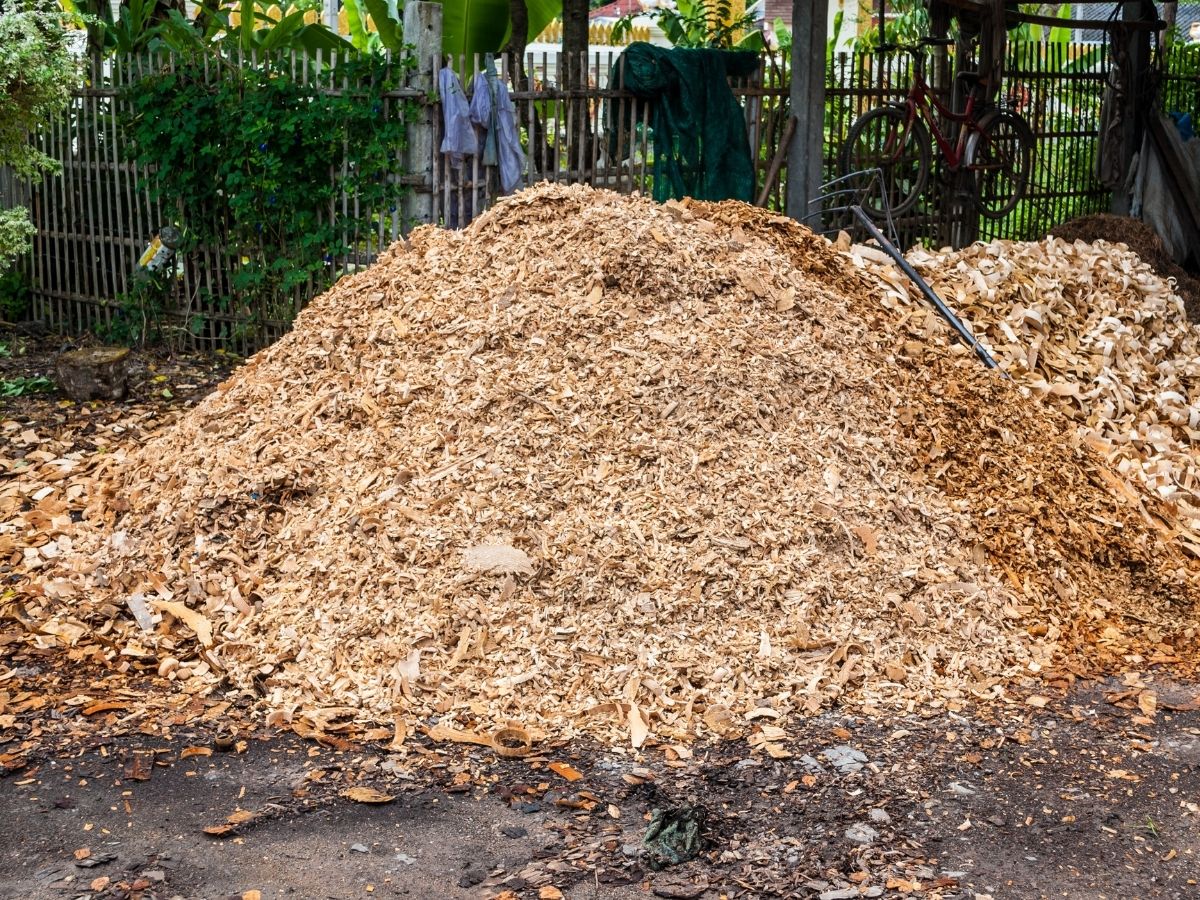
Similar to how sawdust works in a compost pile, it can also be used as a soil amendment to build organic matter into your soil. This is especially good for hard, compacting, and clay-rich soils. In fact, experts consider sawdust to be one of the best solutions for improving clay soils.
Sawdust breaks down slowly, so it is a longer-lasting soil amendment than many other available options. To keep heavy soils healthy and able to support garden growth, sawdust will need to be reapplied periodically.
How to use sawdust to amend clay and heavy soils:
- It is best to plan ahead and apply the sawdust to the garden bed four to six months ahead of time. This allows it to decompose to a degree where it will not be stripping nitrogen from the soil, which growing plants will need.
- Alternatively, you can add sawdust in small amounts regularly over time. It will use nitrogen to decompose, but small amounts will leave some nitrogen available to the plants.
- If you must add large amounts of sawdust immediately before or during a growing season, mix a nitrogen source in at the same time. Composted manure, leaf mold, compost, or peat moss are all good options. Nitrogen fertilizers are appropriate, too.
- To amend large areas, spread two to three inches of sawdust across the entire surface of the target area.
- Fork or till the sawdust into the soil. Work the soil to mix the sawdust in evenly, down to around six or seven inches.
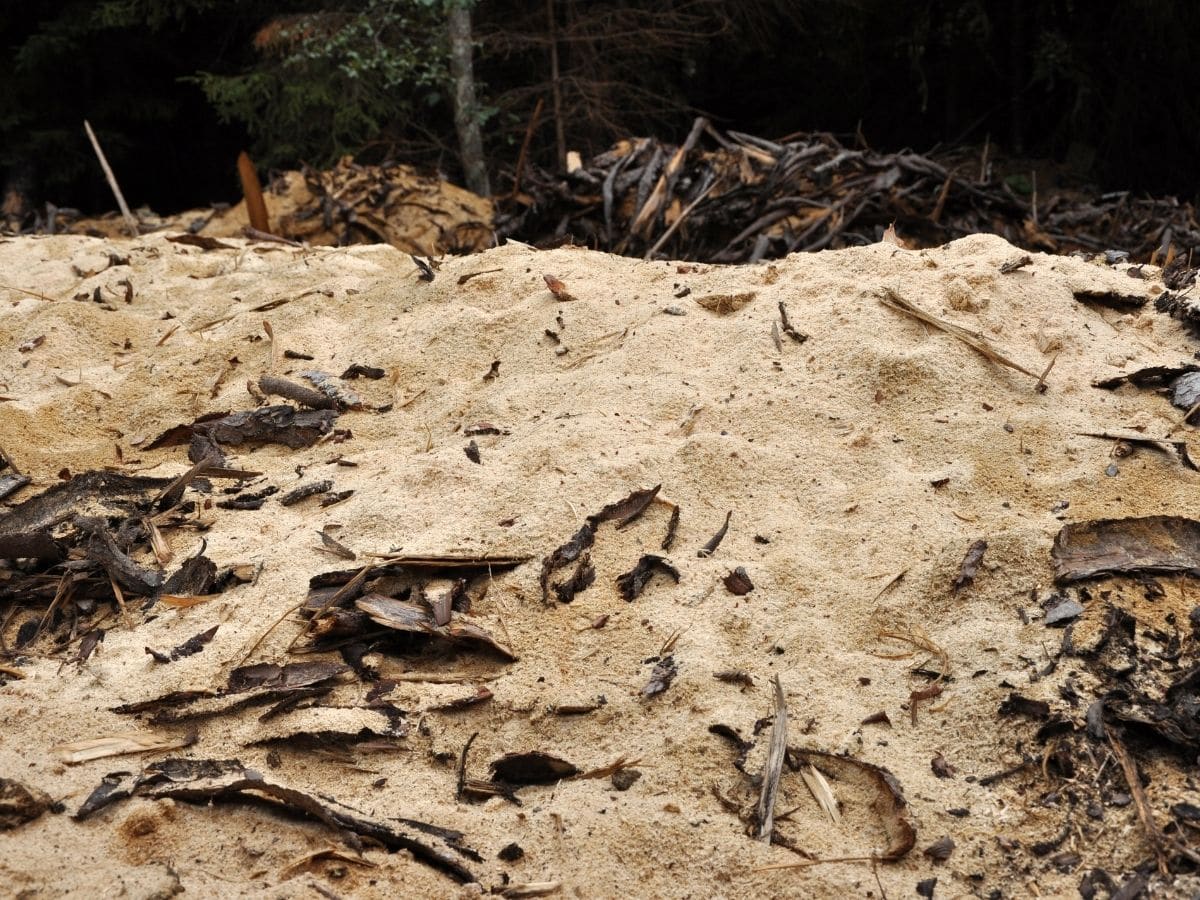
To improve clay soils, it will take time and dedication. Apply sawdust regularly, at least annually, into hard soils. Reapply if the soil seems to be compacting too much. You can apply small amounts of sawdust even during the growing season. Additional nitrogen fertilizer will help keep plants healthy when fresh sawdust is added.
Ideally, soil amendments should be made at the end of the growing season when there is time to let the soil rest and the sawdust can decompose. If that is not possible, try to amend the soil at least three to four months before planting.
Enhancing Growth of Mycelium and Beneficial Mycorrhizae
Mycorrhizal fungi and mycelium (also known as “white rot”—a good rot!) serve important roles in the garden and garden soil. They effectively increase the surface area of roots through their symbiotic relationship with plants, helping plants, trees, and shrubs to access water and essential nutrients. This in turn enhances plant growth and increases production.
Increasingly, mycorrhizal spores are being offered for sale through garden suppliers, but sawdust can help you build these essential fungi naturally—and cheaply! Naturally-growing mycorrhizae and mycelium are better than purchased sources because they grow relative to your growing environment, and so should be more well-suited, with a higher growth and survival rate, than what can be purchased.
It’s very simple to use sawdust to increase beneficial mycelium and mycorrhizae in your soils. Use it in your compost or as a soil amendment applied in target areas, as previously discussed.
Use Sawdust to Boost Orchard Fruit and Berry Yields
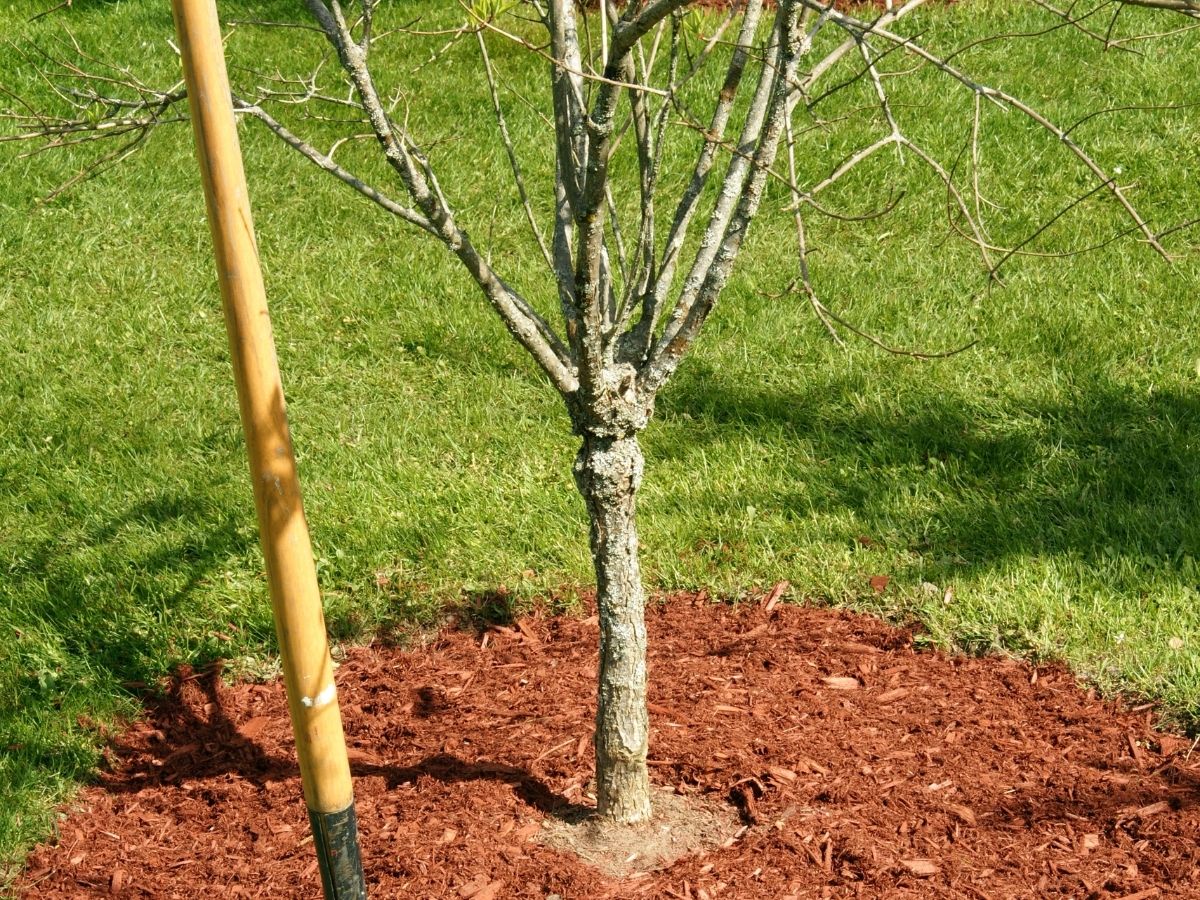
In nature, fruiting trees and orchards rely heavily on mycorrhizae and naturally-occurring mycelium. The detritus layer created from falling leaves and decaying wood (such as dropped branches), provides a good environment in which these symbiotic creatures can grow.
In home orchards, however, we often tend to keep the areas surrounding our trees “too” clean. When we rake up fallen leaves or mow orchards, we often clean away the substrate that these organisms would naturally grow in. But fruit trees truly rely on these tiny fungal networks to deliver the large amounts of nutrients and hydration that large orchard trees need.
If you have an established orchard and struggle to get good fruit yields from it, there is a high likelihood that a lack of mycorrhizae and mycelium is the problem. Fortunately, it is an easy problem to solve.
To increase orchard yields through the addition of mycelium, recreate the environment that allows it to grow.
Mulch a radius around the bottom of each tree with a thick layer of sawdust (you may lay a weed barrier, such as landscape fabric, newspaper, or cardboard first if you prefer). Ideally, this will extend out to the drip line of the branches, which is about the diameter of root growth.
Do not pile sawdust up against the trunks of the trees. Doing so can choke and kill any type of tree, but in the case of fruit trees, it might also cover grafted areas on the trunk. If you bury the graft, the tree will often revert to a parent state and you might lose any selected traits, such as dwarf or semi-dwarf height. Most orchard trees are grafted trees, so you should treat every one as if it is and protect the graft area from being buried.
If you see discoloration, including dark or black sawdust or especially white moldy-looking webbing, do not remove it. This is decomposition and the white is your friendly fungi at work.
Top-dress the layer of sawdust annually to suppress weeds and maintain healthy colonization.
The introduction of mycelium and mycorrhizae can have a big impact on fruit yields, and along the way can increase the strength and speed of tree growth. Mulching to enhance beneficial fungal growth also has the added benefit of suppressing weeds. This makes mowing and orchard maintenance easier, especially as trees grow too large to mow underneath branches.
Feed Acid-Loving Plants With Sawdust
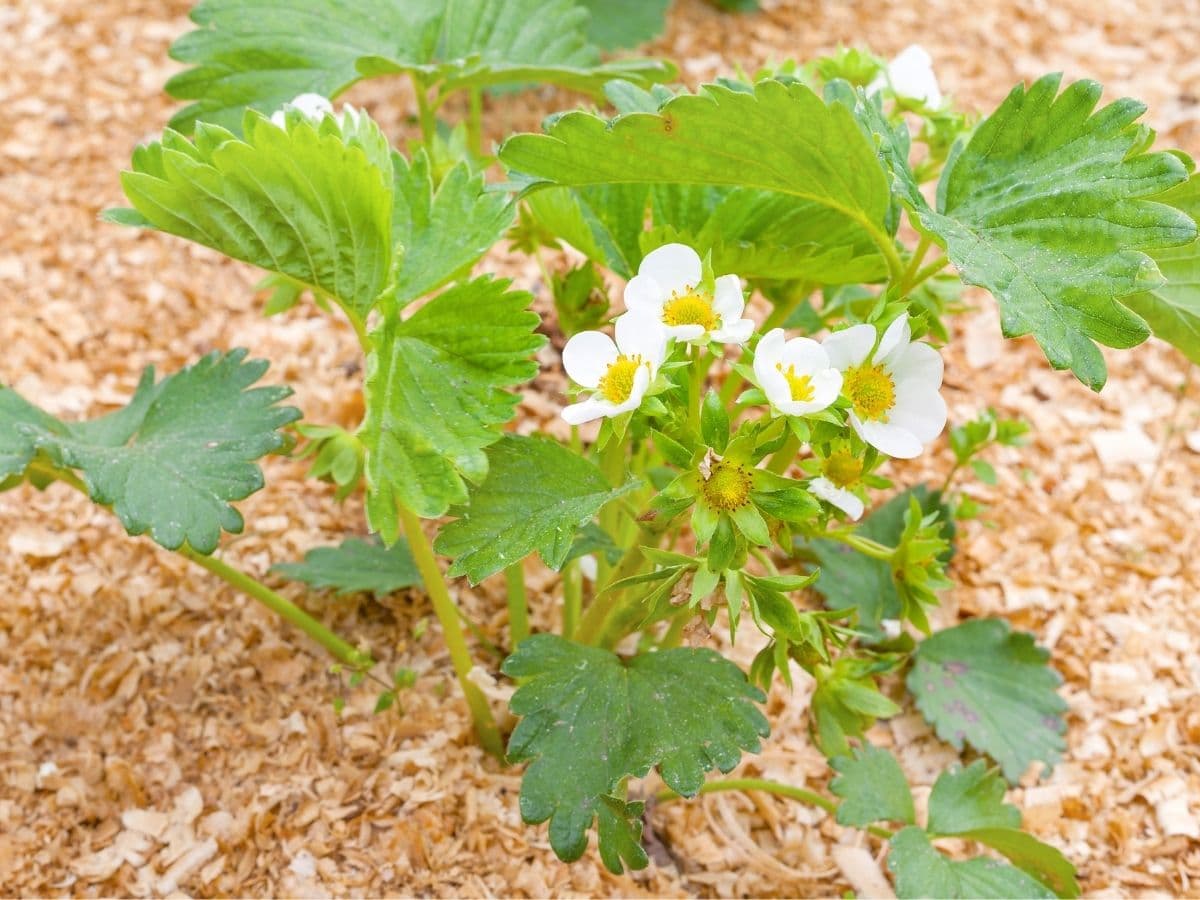
Sawdust is a good “feed” for acid-loving plants and trees. Regular application can help keep the acidity levels of soils higher, which will enhance the growth and production of these plants. This can include strawberries, evergreens and conifers, blueberries, rhododendrons, azaleas, and holly.
To use sawdust to enhance soil acidity for soil-loving pants, you can apply it as a mulching top-dress or as a soil amendment, mixing it a few inches into the soil. For the purpose of increasing soil acidity, compost is not the best option, because the release of acid from sawdust occurs mostly early on in its decomposition when the cellulose in the sawdust is breaking down. For that reason, fresh is best.
Apply sawdust annually at the start of the growing season, and reapply at least once per year. Because the acid-release will be complete after the breakdown of a few months, you may choose to apply every three to four months. Apply with a nitrogen source if the plants are yellowing and appear to need the nutritional boost.
Sawdust As A Growing Substrate
We are finding more and more resourceful ways to grow plants and vegetables these days. This is great news for people with little or no actual garden ground for growing.
Sawdust is one of those new-found growing substrates. It can be used to grow potatoes or tomatoes and is especially good for growing mushrooms at home.
Grow Mushrooms in Sawdust
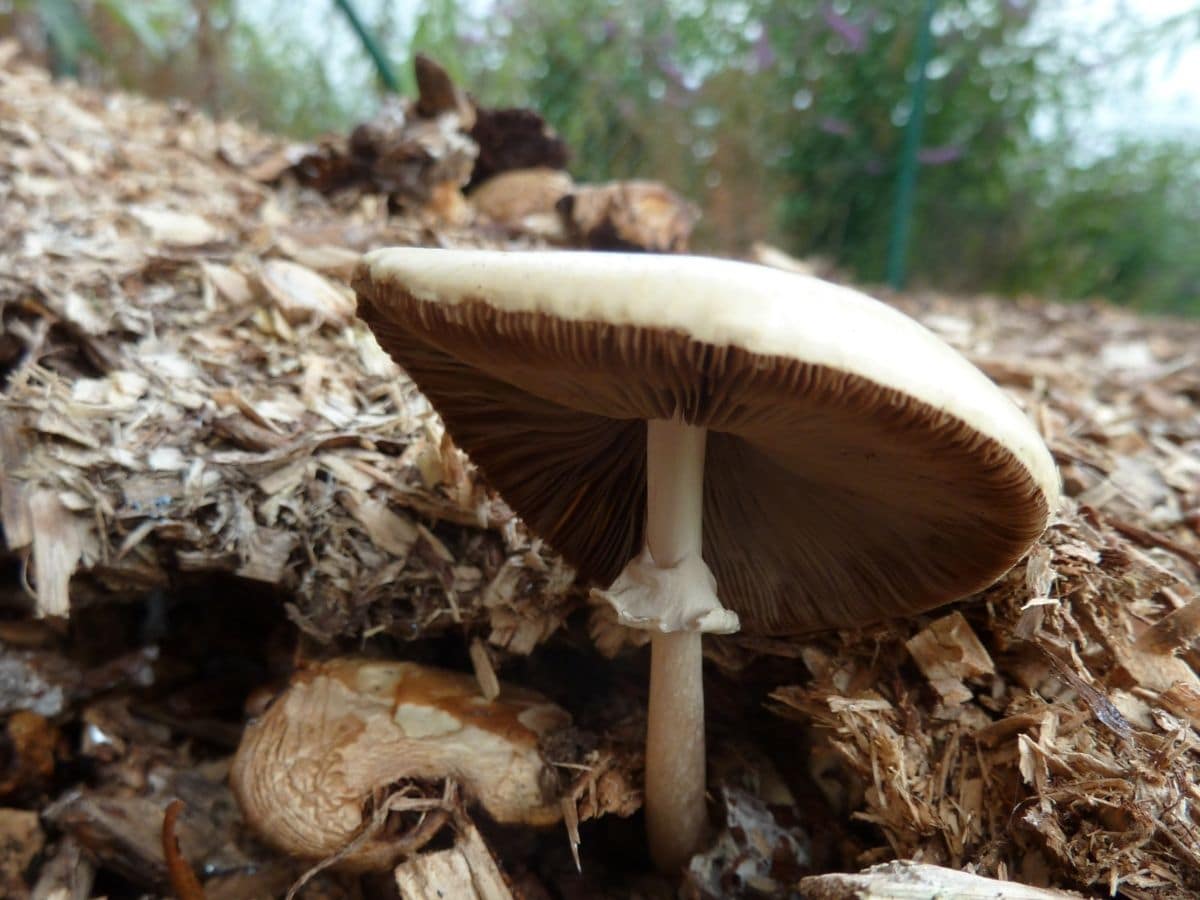
Sawdust provides mushrooms with a cellulose-rich environment in which to grow.
How to grow mushrooms in sawdust:
- Before proceeding, you will need to purchase spawn for your desired mushrooms from a reputable source.
- First, pasteurize the sawdust to destroy infection and competition from unwanted spores and pathogens.
- One way to easily pasteurize sawdust is to put it in a large tote or pail, then cover it completely with boiling water. Let the sawdust sit in the boiled water for at least two hours. Cool and drain before use.
- Mix the sawdust with organic material to complete the growing substrate. You can make your own mushroom growing substrate by mixing sawdust and compost (either homemade or purchased compost). Use about 75% sawdust and 25% compost. Another option is to make a mix of 75% sawdust, 25% straw, and 1% chalk.
- Mix the spore evenly and thoroughly into the substrate.
- Place the mixture into a clear plastic bag, and seal or knot the bag.
- Open the bag once you see good growth of the spawn throughout the bag. This will probably look webby, string-like weaving throughout the substrate.
- Keep the bagged mix at room temperature and make sure moisture is maintained (add water if needed).
- Mushrooms do not need light to grow, but a regular light supply can help mimic the sun cycles in nature and can help speed growth and increase fruiting.
- Maintain good, even moisture throughout the growing process. Harvest as instructed when mushrooms are of adequate size.
It is important to wash your hands and any tools or containers you are using when mixing and filling your mushroom bags so that your mushroom spawn overtakes the substrate, and not some undesired fungus or mold.
Grow Tomatoes in Sawdust
The benefit to growing tomatoes in sawdust is that you will not compete with weeds and seeds already in your garden soil. Light and moisture-absorbing, sawdust retains good moisture, which tomatoes need. Planting this way can also prevent infection from soil-borne diseases, such as the feared and hated tomato blight.
How to grow tomatoes in sawdust:
- Use a five-gallon pail, whiskey barrel planter, or similarly-sized container.
- Drill approximately half-inch drain holes spaced every few inches.
- Fill the bucket about 85% full with sawdust, leaving a lip for watering.
- Plant the tomato plant as you normally would in a container of soil, sinking the plant into the sawdust about one-half inch. Leave the soil from the transplant pot with the tomato plant.
- Fertilize the tomato and water well. A water-soluble fertilizer will be the most accessible.
- Fertilize the potted tomato weekly. If it looks yellowed, feed it a high-nitrogen fertilizer.
- Apply additional calcium every two weeks to prevent blossom-end rot (It may also help to mix crushed eggshells into the soil for a natural calcium source. Lime or yogurt mixed into water are other options).
- When your plant is 10 to 12 inches high, stake the tomato or place a wire cage around it to support upright growth.
Grow Potatoes in Sawdust
Potatoes are easy to grow in containers. Container-grown potatoes do not require nearly as much work as growing potatoes in the ground. The yields may be somewhat smaller, but the trade-off in space
savings and back-breaking hilling and labor makes it well worth a small reduction in yield. You may even find that on the balance, you get more potatoes in buckets because you can handle the planting and management of more planting.
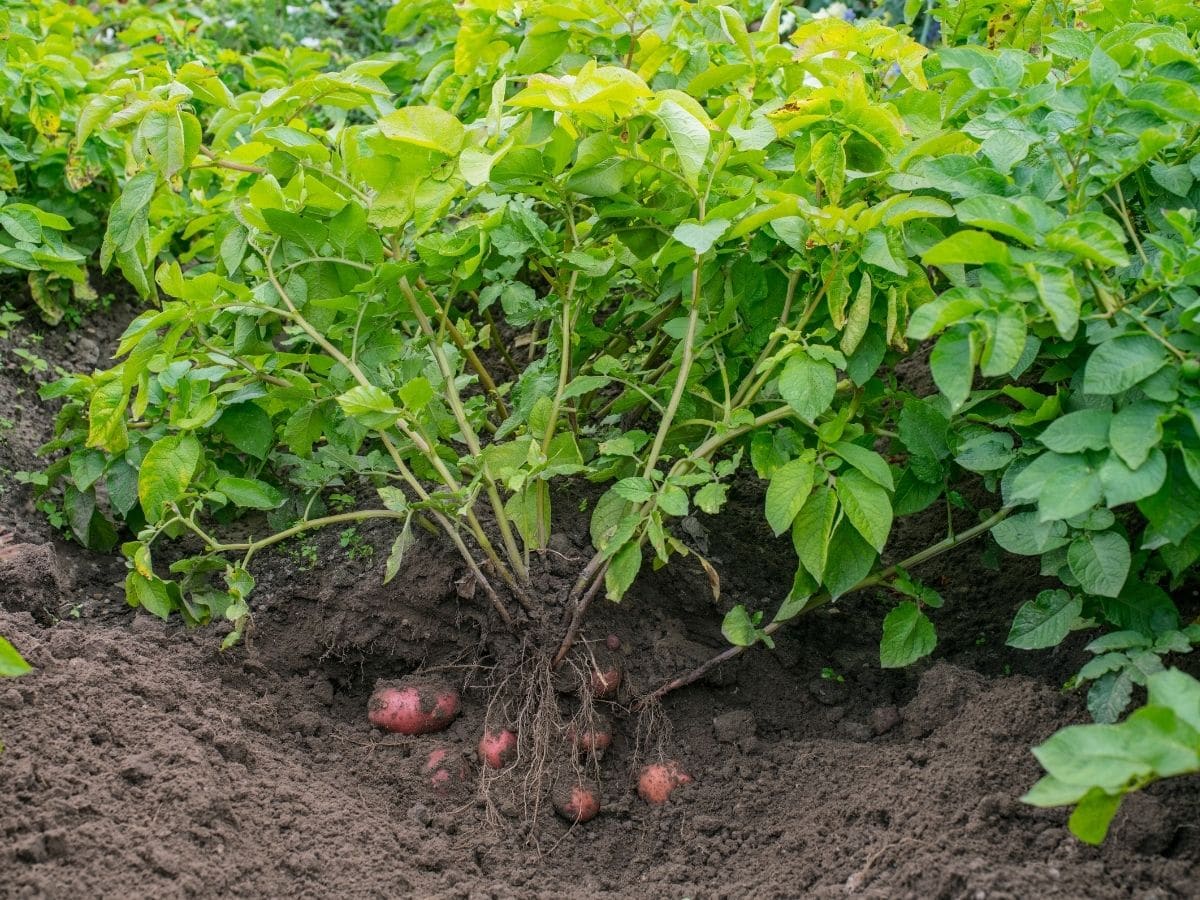
How to grow potatoes in sawdust:
You will need a large container or several containers. Some options include a large trash can, five-gallon plastic pails, large tote, barrel, or half-barrel.
- Make one-half-inch drainage holes about six inches apart in the bottom of your container(s).
- Lay a layer of fine mesh screen in the bottom of the container.
- Place about six inches of soil in the bottom of large containers (trash cans or barrels); about three to four inches in smaller containers (five gallons and under) will suffice.
- Layer four inches of sawdust on top of the soil.
- Push seed potatoes or seed potato pieces into the top of the sawdust. Each piece should have two “eyes”. Space the potato pieces about six inches apart. You can fit two pieces in a five-gallon bucket.
- Cover the seed potatoes with about an inch of sawdust. Make sure potatoes stay covered.
- Water thoroughly.
- Fill the container with more sawdust as the potato plants grow, adding sawdust every few inches of growth until just the top leaves are showing.
- Continue until the container is almost full of sawdust. Be sure to leave a lip of space for watering.
- Once the container is full, maintain the plant by keeping it watered. Do not let the sawdust or plants dry out, but do avoid soggy conditions and overwatering.
- When the plant dies back completely, leaving falling, dry, brown plant tops, it is time to harvest your potatoes.
- To harvest, simply dump out your potato container.
One of the biggest advantages to harvesting container-grown potatoes is the ease of harvest and the prevention of damage caused by tools and digging. Lightweight sawdust makes this an even easier task.
Leftover soil and sawdust can be recycled in a compost pile or added to a garden to replenish organic material. By this time, it will have had several months to decompose in the potato buckets, so should not rob the soil of nitrogen in its breakdown.
Store Root Crops and Bulbs in Sawdust
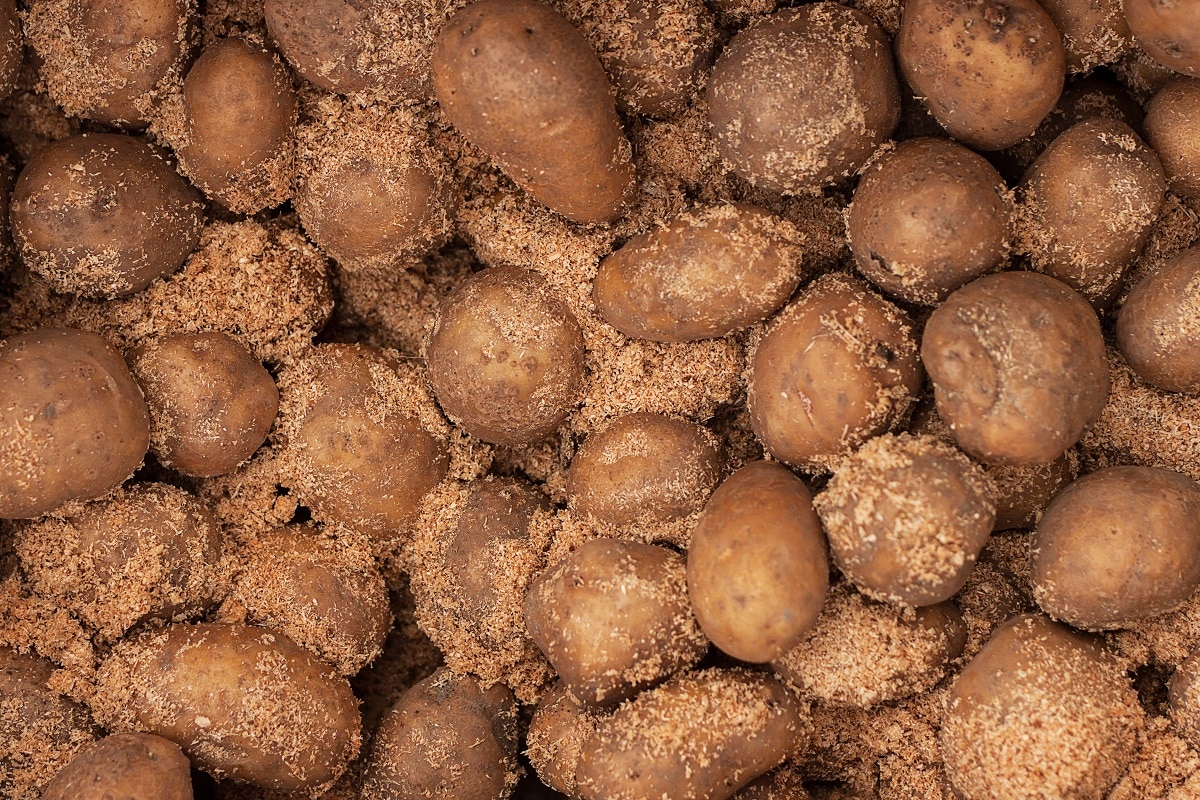
Dry sawdust is very useful for winter storage of root crops, and also for storing winter-dug flower bulbs and tubers.
How to store root crops in sawdust:
- Lay a light layer of sawdust in the bottom of your storage container. Plastic totes work well, but keep the cover cracked to avoid a buildup of condensation. If it seems your container is too damp, leave the cover off completely. Wooden orchard boxes are another good option.
- Lay root crops in a single layer across the surface of the sawdust. Try not to let individuals touch (to limit the spread of mold or rot from one root to another).
- Cover each layer with fresh sawdust.
- Repeat payers of sawdust and vegetables until all are stored or the container is full.
Store in a cool basement or garage, but make sure the area will not dip below freezing. The aim is cool-storage of the root (35°F to 50°F, ideally), not freezing.
Carrots, beets, turnips, radishes, rutabagas, and parsnips are common root crops that store well this way.
How to store bulbs and tubers in sawdust:
- After digging, thoroughly clean and spray the tubers or bulbs until they are as free of soil and debris as possible.
- Let sit out for one to three days to dry. Make sure the exterior of the bulbs or tubers are completely dry before storing.
- Follow the basic method outlined above to store winter-storing flowering bulbs and tubers such as dahlias.
- Store in an area that will not freeze, ideally 50°F degrees or lower.
Use Sawdust to Sop up Spills
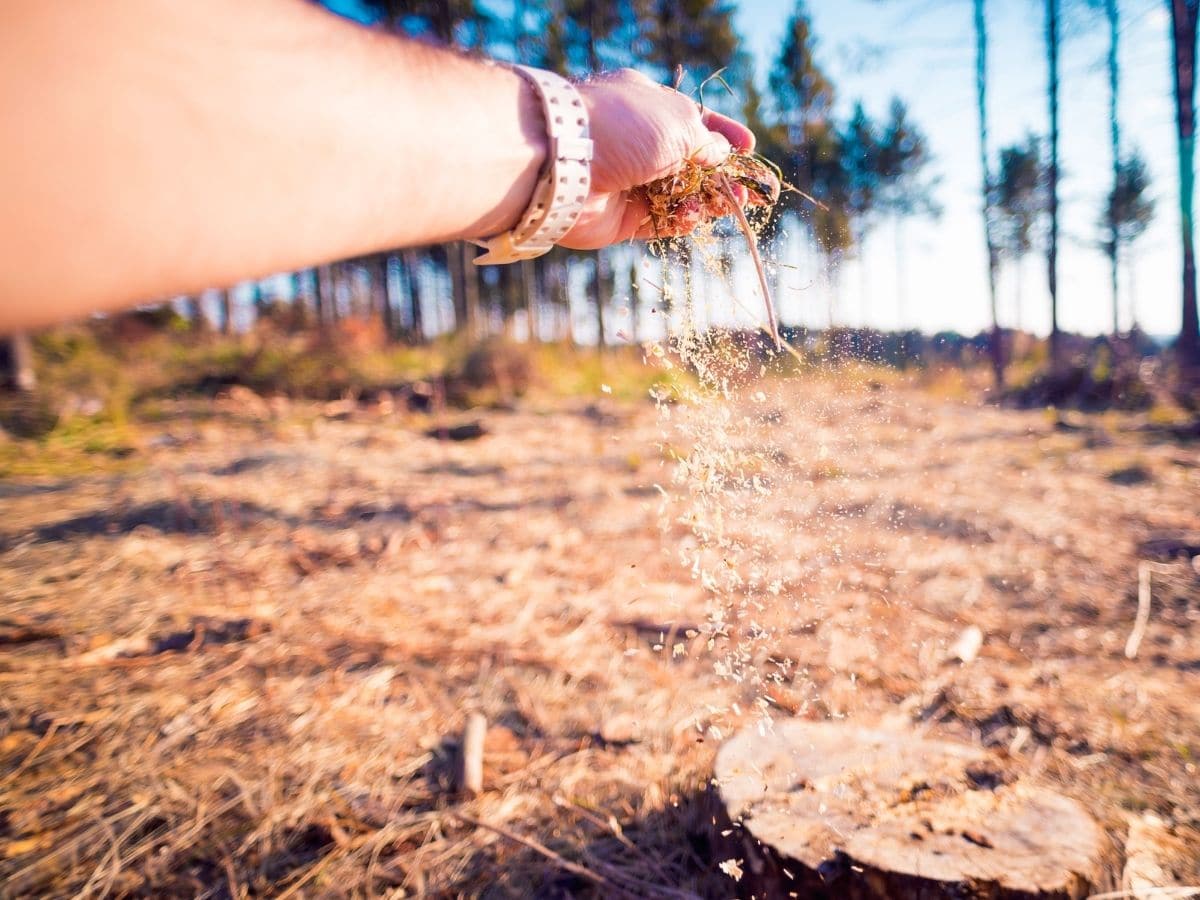
The high absorbency of sawdust means that it is very good at absorbing spills and unwanted liquid. This can come in handy if you have had a leak from lawn or garden equipment like a lawnmower, rototiller, or garden tractor.
To clean up spills with sawdust, sprinkle a generous layer of sawdust over the liquid. Let it sit to absorb for 15 minutes or longer. Sweep up the contaminated sawdust, bag, and dispose of it properly. Clean spills of contaminants like oil and gas as quickly as possible.
Sawdust as Slug Control
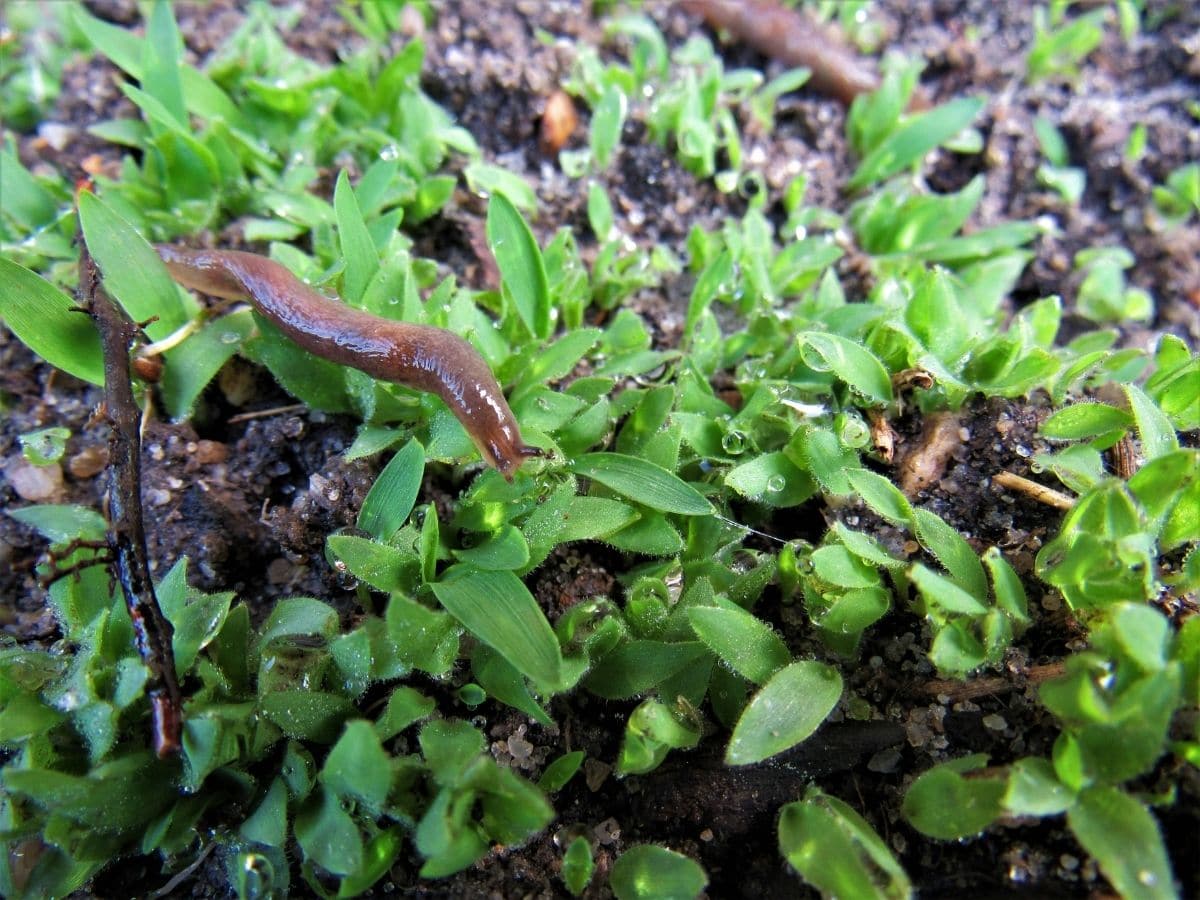
If you are mulching with sawdust, you may also be fighting slugs and snails on your plants.
As a slug repellant, the coarser your sawdust, the better.
To use sawdust to control slugs, surround the base of your plants with a layer of coarse sawdust, about three inches deep. Do not bury the bottom leaves when applying. This should not be a large enough quantity of sawdust to affect nitrogen sources for the plant.
Simple slug-fighter.
Cautions: What You Need to Know About Using Sawdust in the Garden
As useful as sawdust is in the garden, there are a few cautions and things you should know when using sawdust in the garden. Some of these are just common sense; others are easy to accommodate.
The first thing to know about using sawdust in the garden, and often the first thing you will hear on the subject, is that sawdust is famous for stripping nitrogen out of garden soils. While this is true, it is not as bad as it sounds and is easily managed.
Sawdust is a carbon-based material. To decompose, it needs the help of nitrogen. Its nitrogen comes from the soil or compost around it. Sawdust doesn’t keep this nitrogen forever, though, and as the decomposition process slows and completes, the nitrogen becomes available in the soil once again. While it may take months for this to happen, it should not be thought that the nitrogen will be lost forever—it’s simply being put to use by the sawdust for a relatively short period. There is no long-term “damage” to your soil from using sawdust; in fact, there is quite a benefit in the long run. Read on below for ways to manage this nitrogen use during the short term.
The next thing to know about using sawdust in your garden or compost, at least any garden that is used for food production, is that you should never use sawdust from treated woods of any kind. Never use sawdust from pressure-treated or other chemically-treated wood in your garden. Do not use wood that has been painted, sealed, or stained. Do not use the sawdust of plywood, particleboard, or other types of glued wood products. Sawdust from treated salvage items like railroad ties should be avoided as well.
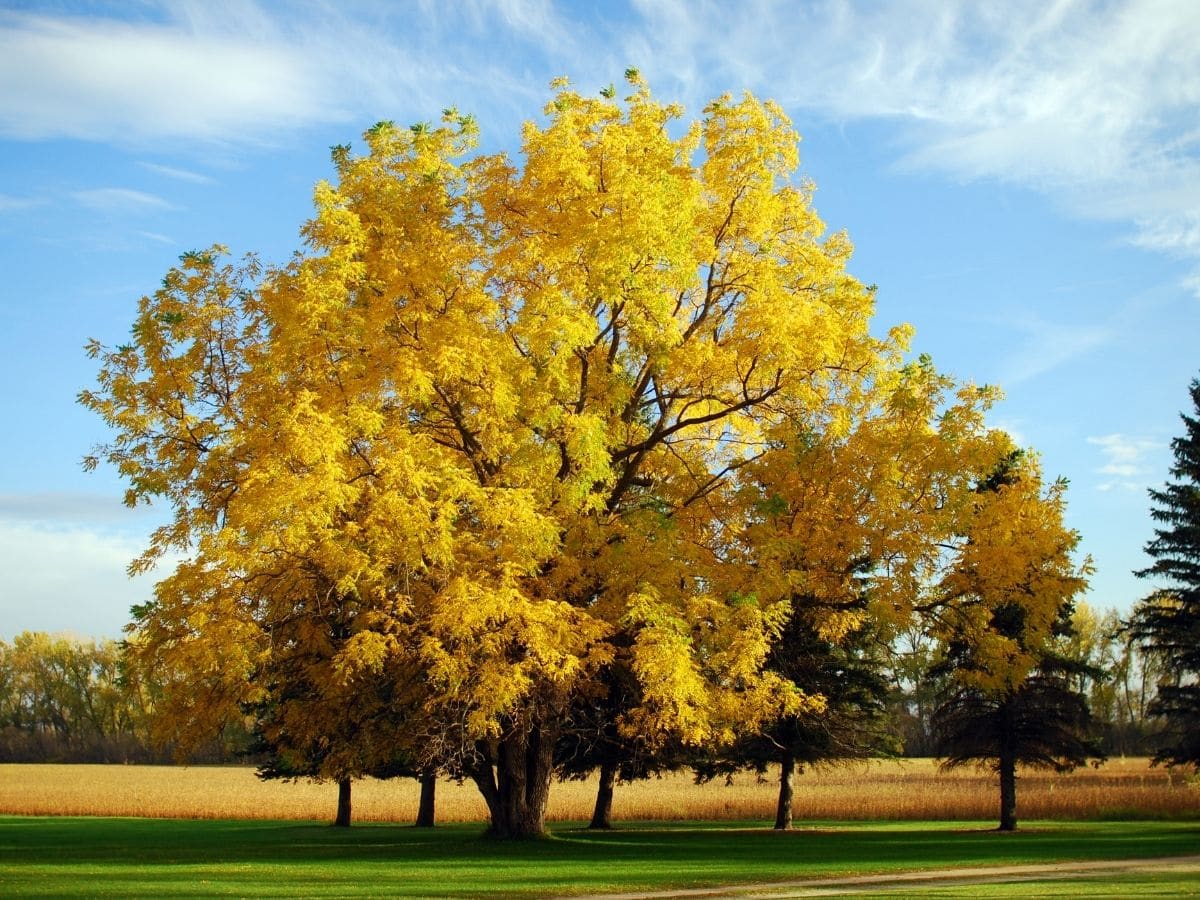
The sawdust from black walnut trees should be avoided for most garden growing purposes. This is due to the presence of juglone, a natural component that is toxic to many other plants. Juglone is highly toxic to some plants and will kill them outright. Others are not as affected by it and might only be slow to grow or stunted. Others will not be affected at all by this natural chemical. Juglone does break down and will disperse in about four to six months, so aged black walnut sawdust will become safe to use, and it is also safe in a compost pile or any area that will be left dormant for that period. Or, you may choose to use this plant suppression to your advantage for weed control. It should also be noted that all walnut tree varieties release some juglone, though black walnut contains the highest levels.
As previously discussed, decomposing sawdust does release a flush of acid, too, which can affect soil pH. This could prove problematic for some acid-sensitive plants if large amounts of sawdust are used in one place at one time. The impact will last for only a few months.
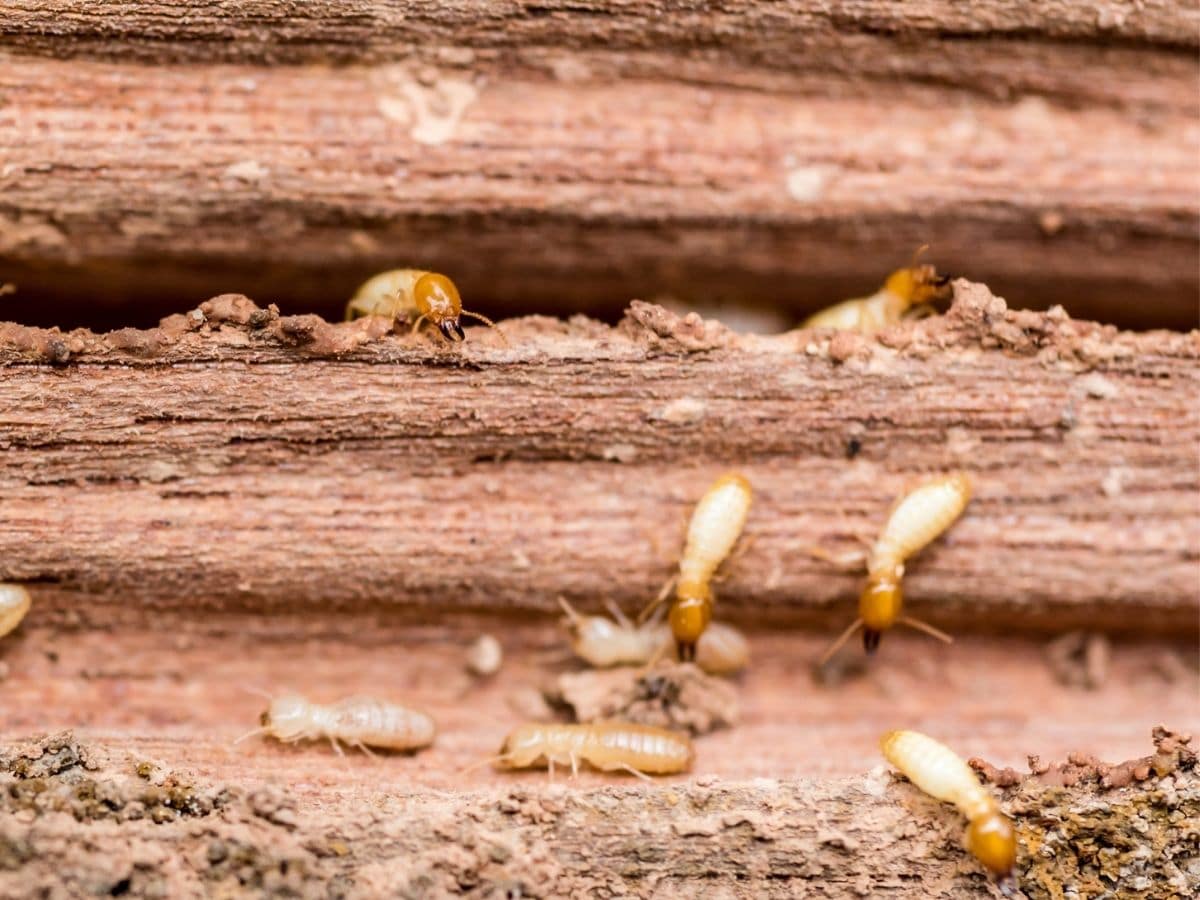
Finally, similar to wood chips and wood mulches, sawdust sometimes attracts unwanted insects like ants and termites (depending on where you live). Be selective in where you use sawdust, especially for mulching and pathways. It is wise to keep it away from buildings and foundations to keep these pests from infesting your home. A mix or top-dress of diatomaceous earth will naturally kill ants and termites (and many other garden pests).
Counteracting Nitrogen Losses from Sawdust Use in the Garden
Though sawdust indeed uses up nitrogen as it breaks down in the garden, there are some easy ways to overcome this so that you can continue to net the benefits of this inexpensive (often free) garden helper.
Tips for minimizing the effects of sawdust on nitrogen in the garden:
- Adding additional nitrogen when using fresh sawdust will ensure there is enough to go around.
- Add a “hot” soil amendment along with the sawdust. This would be a wet green material such as a hot manure (for example fresh manure from cows, chickens, horses, swine). Be aware that hot manures release nitrogen quickly, however, and can burn roots and plants. For immediate planting, a cool manure or composted hot manure is best.
- Add one pound of nitrogen fertilizer for every 50 pounds of sawdust used. Some recommended options include blood meal, compost, composted manure, “cool” manure (i.e., rabbit, llama, alpaca, goat), ammonium nitrate, or ammonium sulfate.
- Compost the sawdust completely before use, at which point it will no longer need to use the nitrogen in your soil.
- Apply sawdust amendments directly to the garden at the end of a growing season when it will have many months of garden dormancy to break down. A fall application that overwinters in or on the garden, for example, is ideal.
- Use in small amounts applied at more frequent intervals so that the demands on available nitrogen are less.
The bottom line is that the issue is one of nitrogen availability, not nitrogen use. As long as there is enough available nitrogen to go around, it doesn’t matter that the sawdust is borrowing some of it.
It’s worth repeating that the nitrogen used by sawdust decomposition is not a permanent loss of nitrogen in the soil—it’s just unavailable for a while, while the sawdust uses it. Think of the nitrogen as locked and unavailable, not gone completely. Once the sawdust has completed its decomposition, it returns it to the soil and your soil will be rich with nitrogen for your plants once again.
Sourcing Sawdust
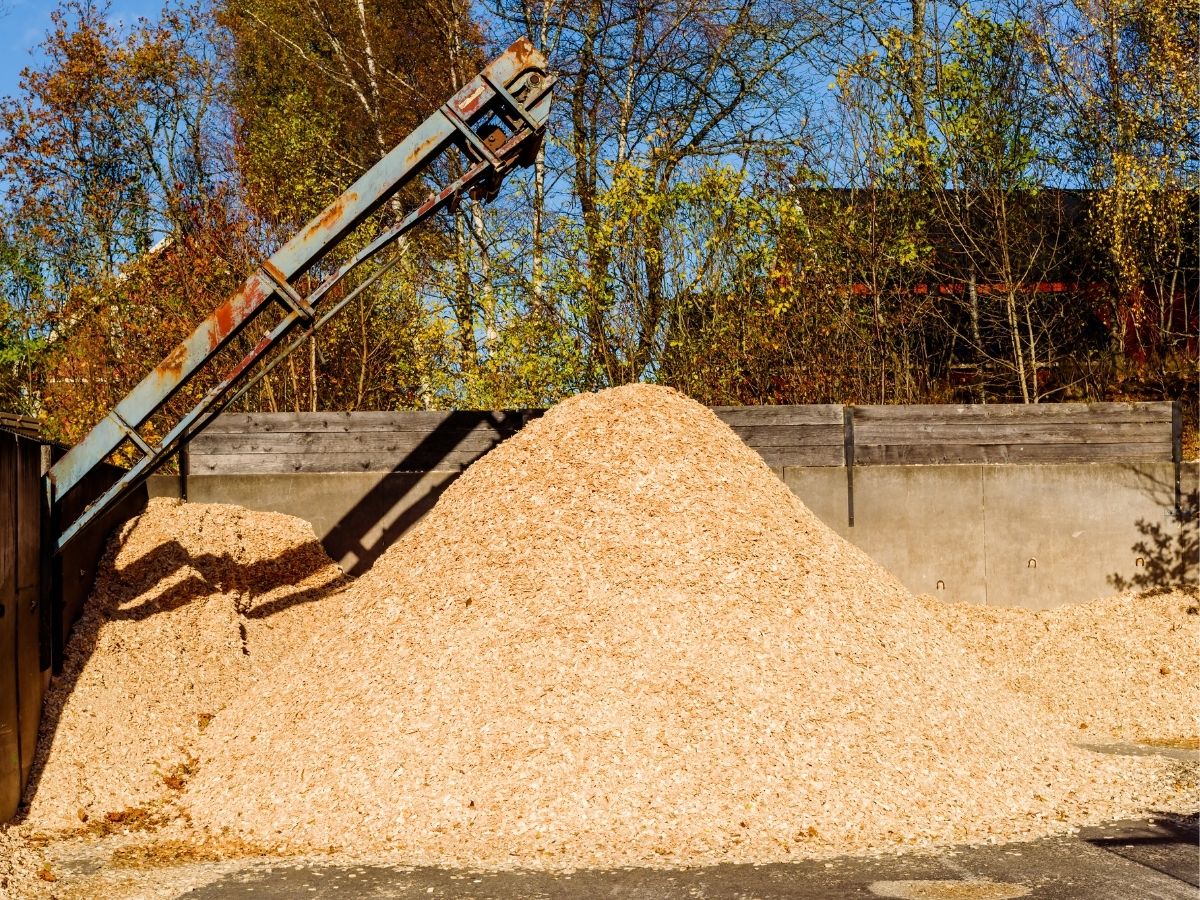
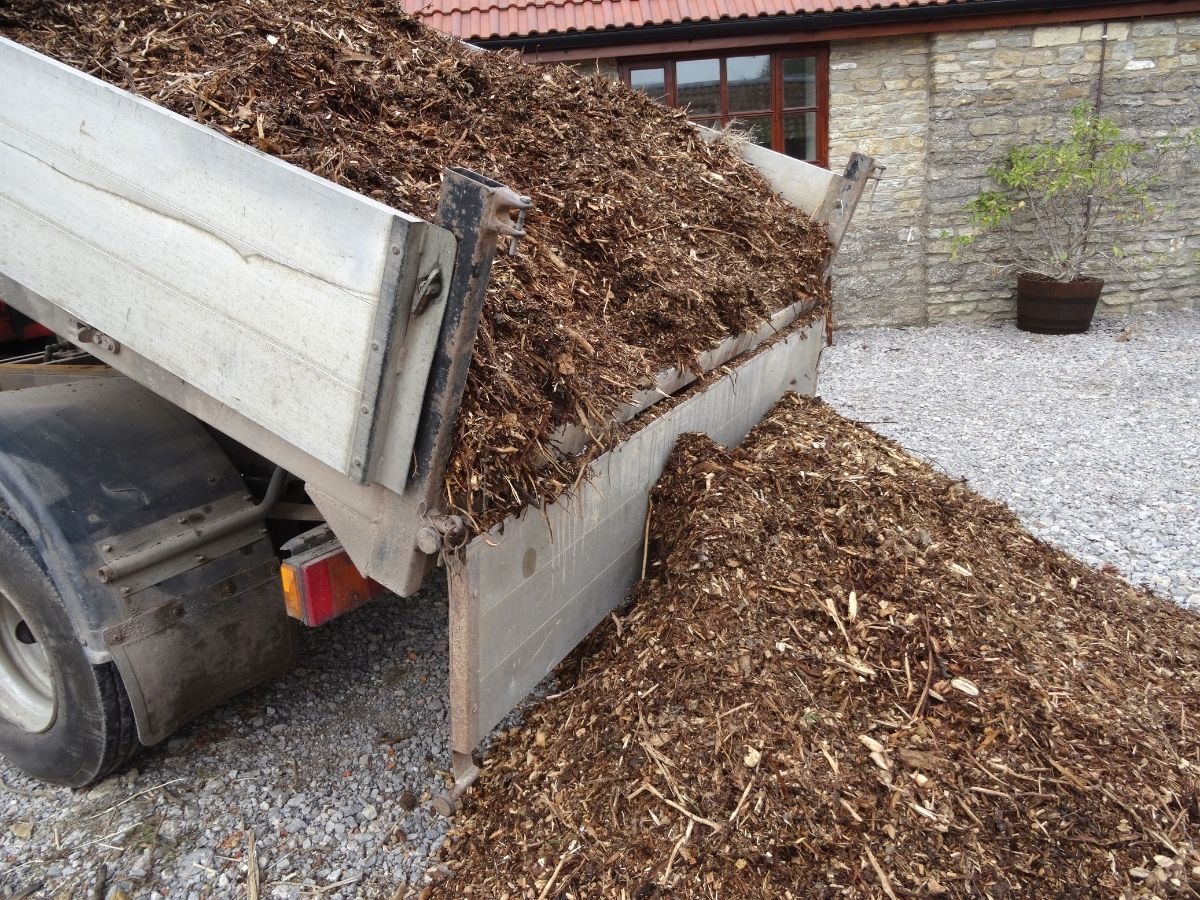
The best places to source sawdust are from cheap or free sources, such as mills and businesses that cut and process wood and lumber. For them, sawdust is a byproduct of little value, and in some cases can become a liability if they cannot cheaply and easily dispose of it. Some mills will give sawdust away for free if you can come and get it. Others will charge a reasonable small fee. Relative to other garden amendments and mulches, even at a small cost sawdust is often the cheapest.
The first place to look for sawdust is a local sawmill or similar business. Tree companies that grind trees and stumps are another good option, and if there is one operating in your area, it’s often worth a quick (safe) stop to ask the crew if they need a place to dispose of their waste—many times, they’ll gladly dump a pile on your property for free. Woodworkers, furniture-makers, and woodcraft shops are also good places to ask (but are more likely to use treated or glued products, so ask if the sawdust contains anything of that nature). If you are not able to source sawdust from any of these resources, go to a local farm store—they may have a reasonable-priced resource, bagged or in bulk, that they sell for animal bedding.
Think along these lines, consider what’s around you locally, and keep your eyes open for a source of economical sawdust for your garden. With proper use and application, your garden and compost will thank you!


Colleen
This was very informative and helpful - thank you! It gave me a lot of things to think about when considering "what do I do with this massive bag of sawdust I find myself with" 😀
Mary Ward
Haha happy to help!
Tony
Hi,
Loved the article! I am constantly cutting up oak and other tree limbs for projects, and find myself with beautiful fine sawdust. I have spread it around my potted blueberry bushes, and have been adding to my composter. Would I be able to use that fine sawdust to plant tomatoes and potatoes in?
Thanks,
Tony
Mary Ward
You could use it as a mulch, but they will need soil below it to grow in.
Jackie
Thanks. I almost made some really big mistakes. I have always heard saw dust was good for a garden, but I had no idea when I finally found some from a tree that hadn't been treated with pesticides, it just died of old age and a strong wind. I am going to stack one gallon buckets (cheap at the $1 store) putting holes in the bottom to catch nutrients from top down. I am not a great gardener, but this encourages me to try some other methods to try to grow a garden without spending lots more money on soil.