When we start seeds early or start seeds indoors, what we’re really doing is mimicking Mother Nature. We’re creating similar natural conditions to the conditions that seeds would respond to outside.
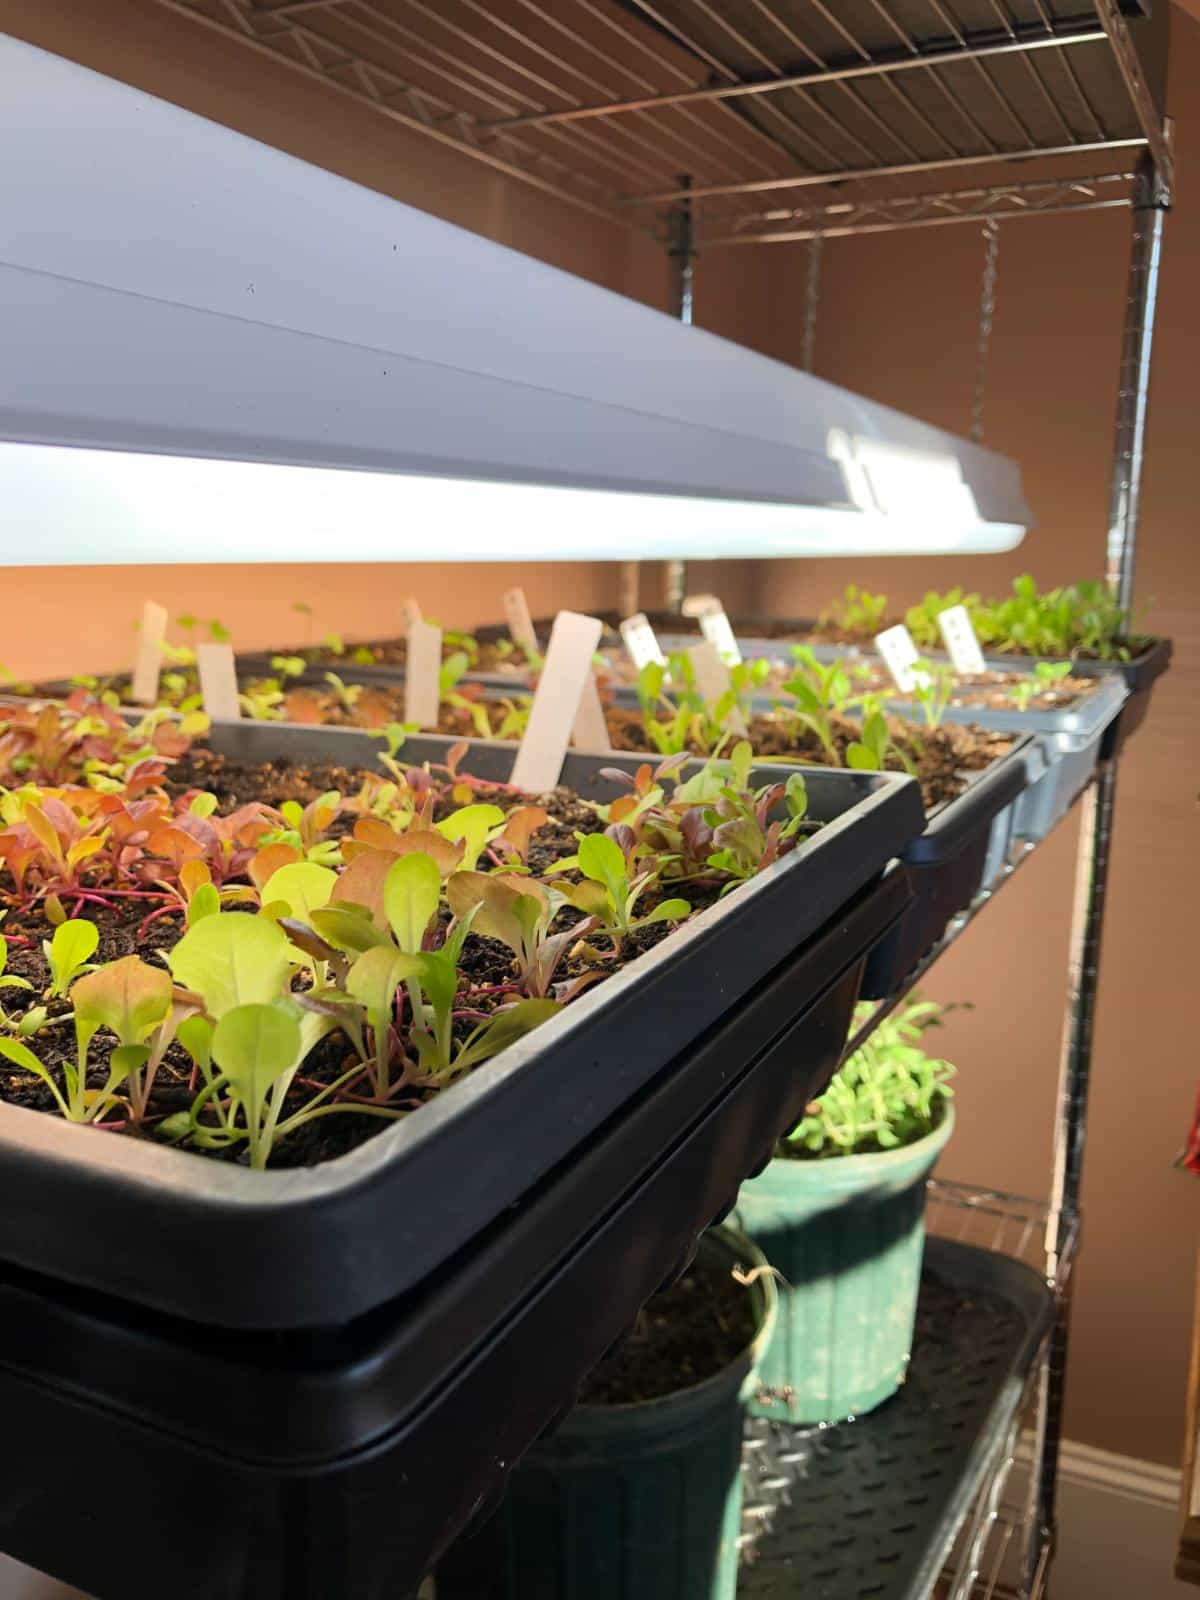
To be successful with seed starting, you only need to know what those conditions are and how best to recreate them.
Jump to:
- Why We Have to Copy Mother Nature
- Different Seeds Have Different Needs
- Mother Nature’s 4 Basic Seed Germinating Conditions
- 1. Dark
- 2. Light
- How to Recreate Light Conditions for Seeds to Sprout
- Bonus: Day vs. Night
- 3. Cold
- How to Recreate Cold Stratification and Cool Soil Temperatures
- 4. Warmth
- How to Recreate or Boost Warm Soil Temperatures for Germinating
- What Happens When Seed Growing Conditions Aren’t Properly Met?
Why We Have to Copy Mother Nature
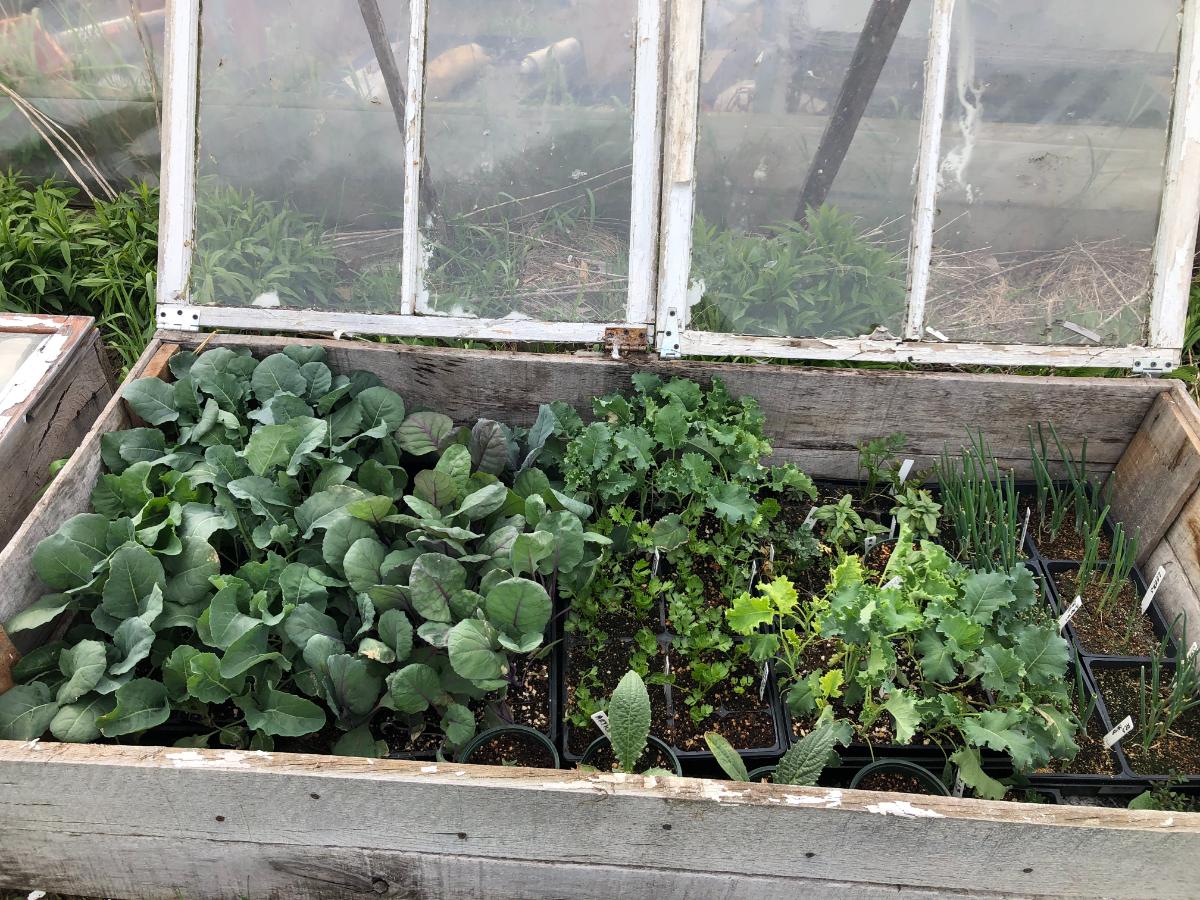
Often, we grow annuals, vegetables, and plants in locations where they wouldn’t grow naturally. For many of us, the growing season is simply too short to give those plants enough time to get a harvest out of them (or to get them to bloom, in the case of flowers and ornamentals).
Another reason we do this is to increase the harvest yield by giving ourselves more time and giving the plants a head start inside.
This is why we have to start them early and transplant them into our gardens. By starting seeds inside or in a greenhouse or under the protection of things like row covers and cloches, what we’re really doing is extending the growing season.
When we do this, we have to replicate the conditions of nature in order for seeds to sprout.
Different Seeds Have Different Needs
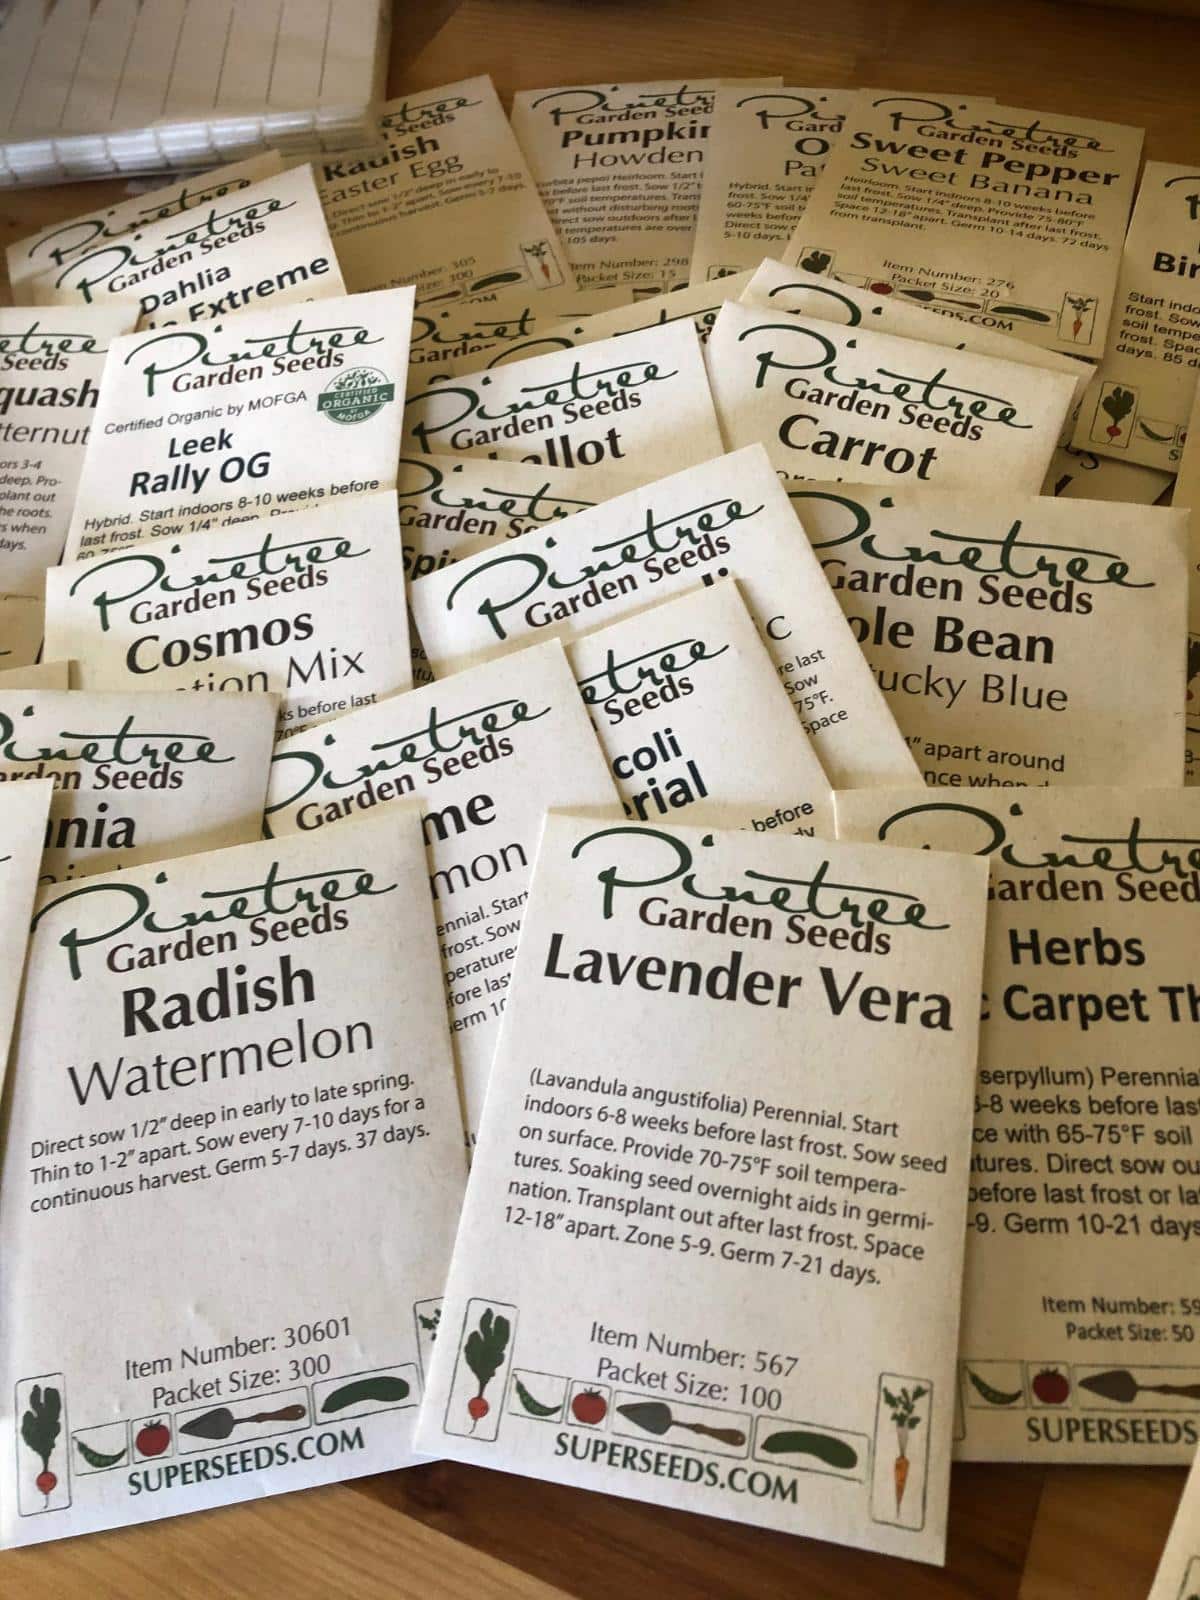
Different types of seeds and plants have different needs when it comes to being triggered to sprout and grow. Some have different requirements. So, you might have to change some of the growing conditions and signals for some types of seeds to succeed and germinate well.
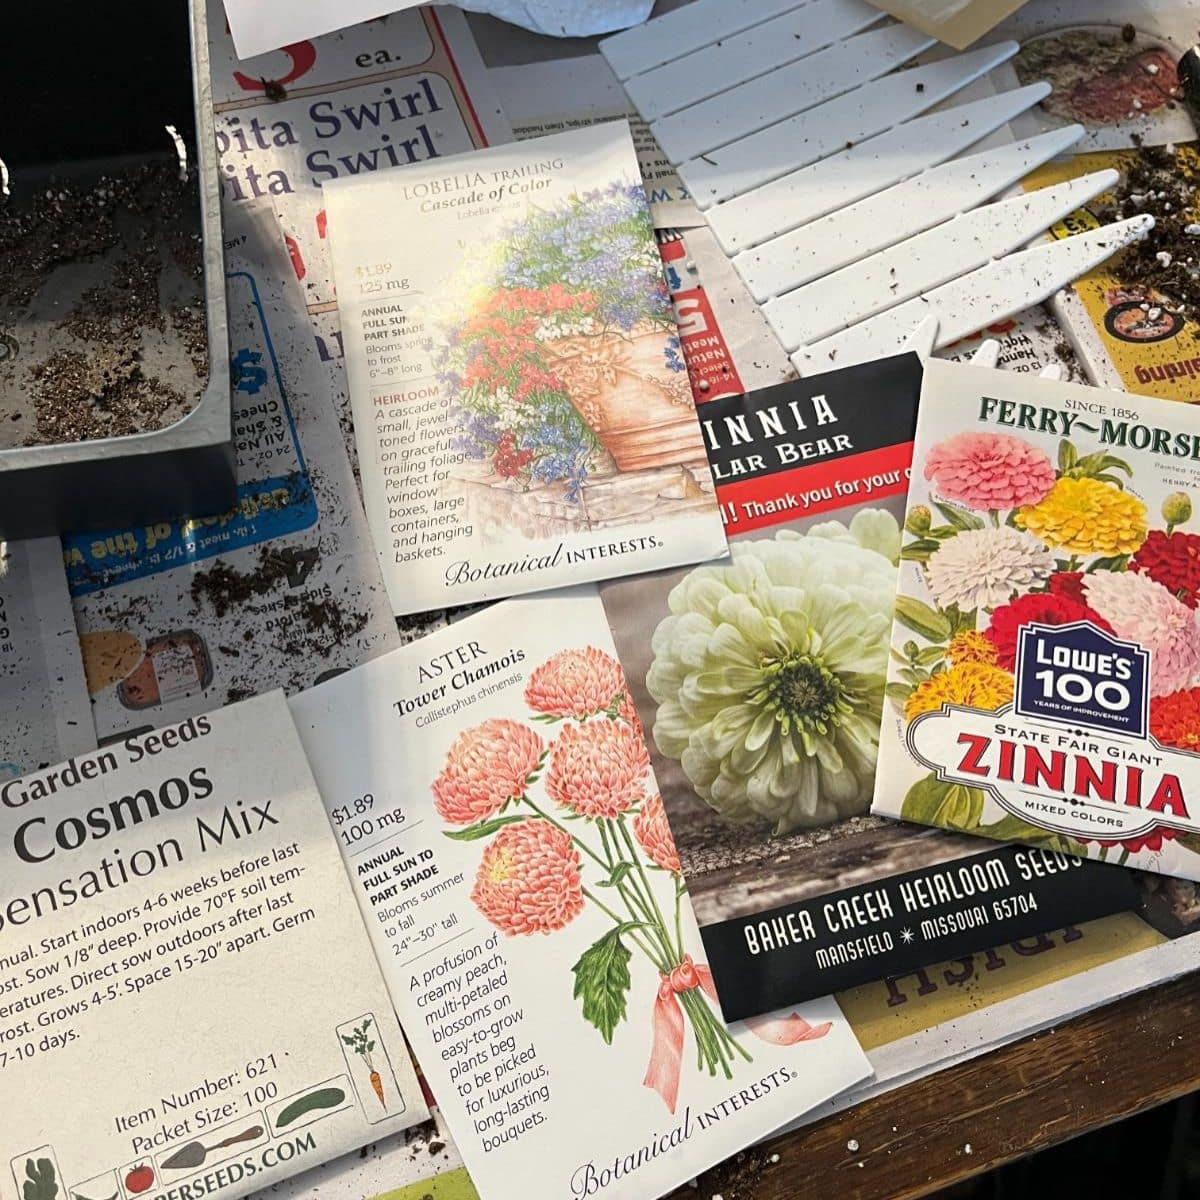
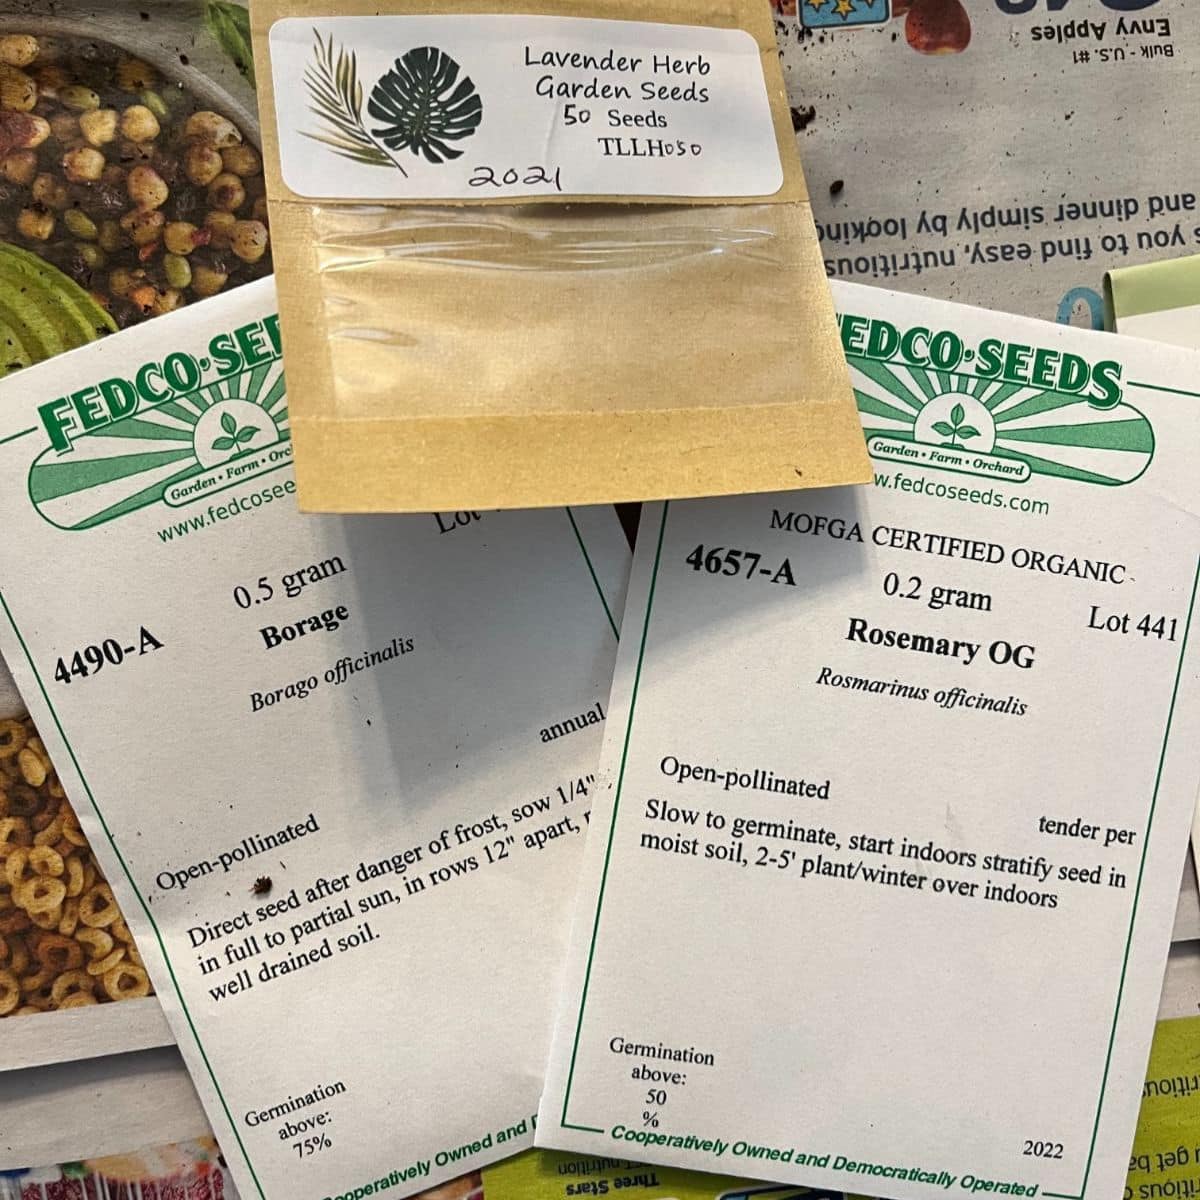
You should be able to find the germination requirements, especially any special requirements or uncommon requirements, listed on the seed’s packet or in a seed catalog (or on the seller’s online catalog or website).
It’s a good idea to double-check the requirements for each type of seed that you’re growing before you start them. Knowing that will tell things like how deep to plant the seed, what temperature it needs, light requirements, and more.
Mother Nature’s 4 Basic Seed Germinating Conditions
There are only about four conditions that need to be met for different types of seeds, but they may need to be met in different ways. Below, we’ve listed the four most important conditions for sprouting seeds and growing seedlings.
We’ve also listed some ways that you can recreate each of these and adjust them to suit the seed’s needs.
1. Dark
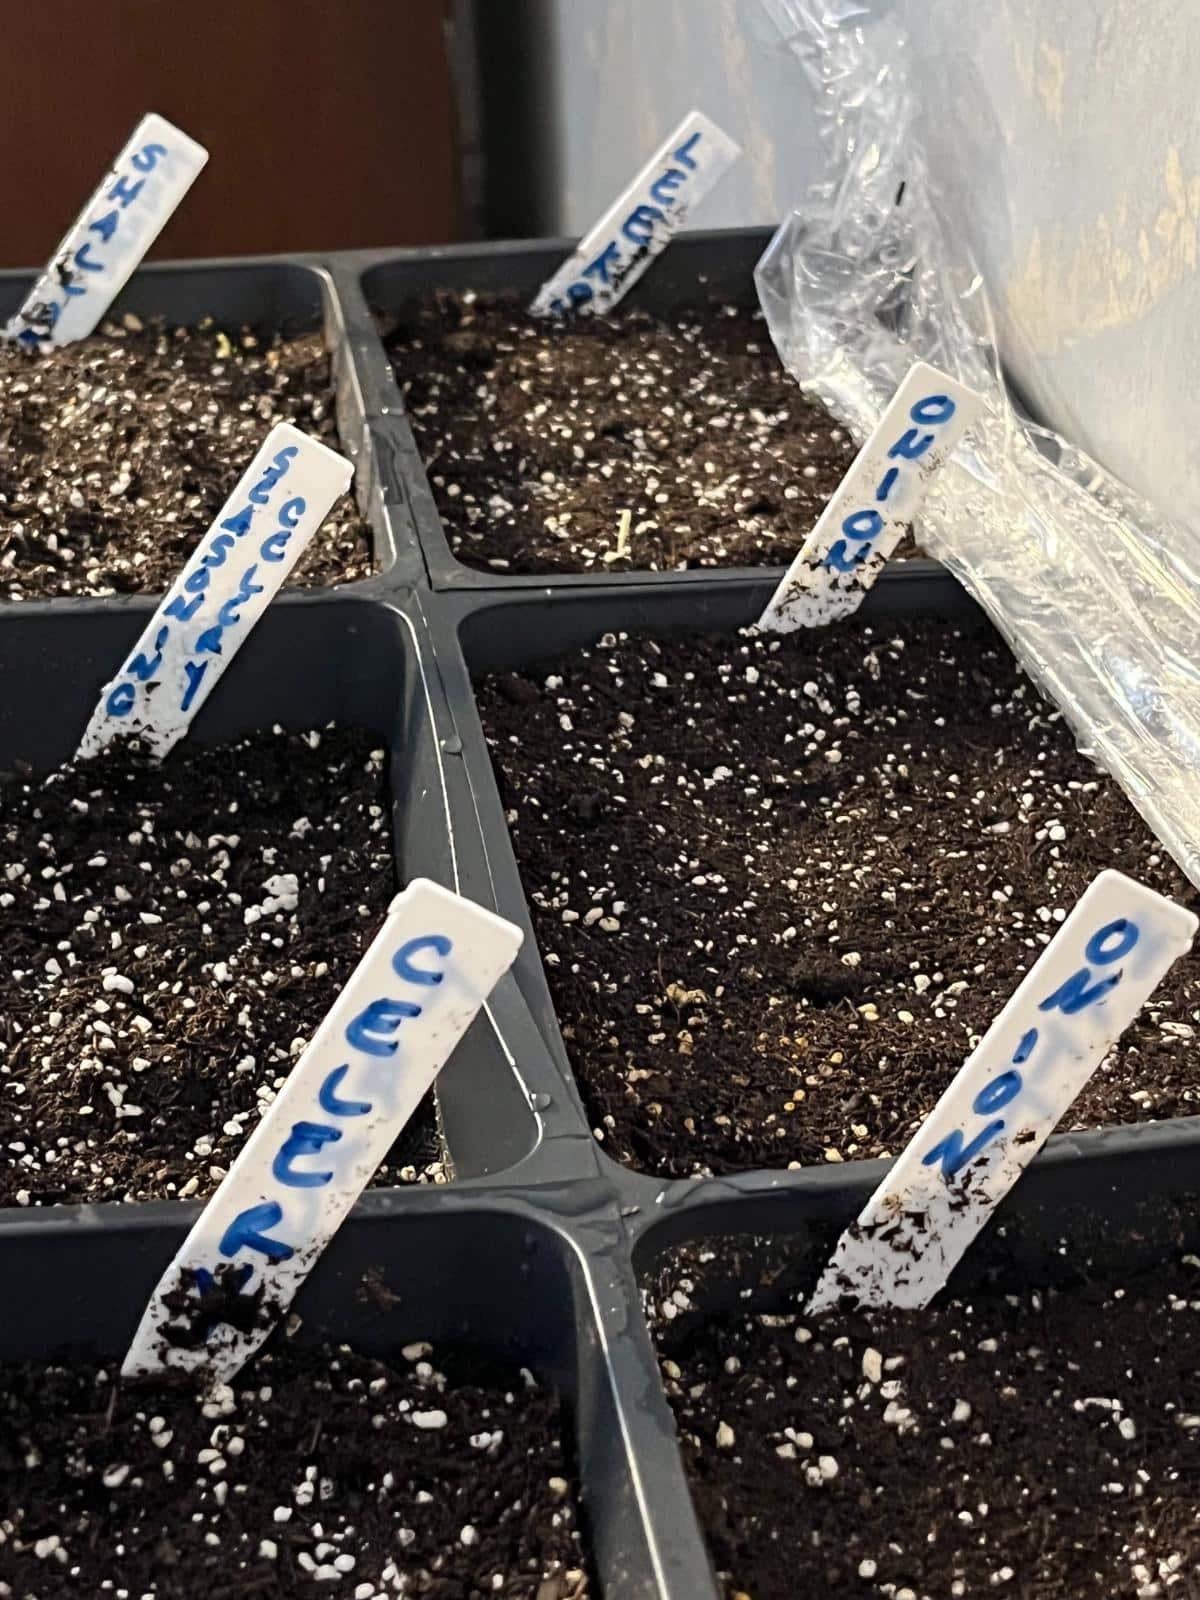
It seems obvious that plants need light to grow (which we’ll talk about in number two), but most seeds actually need dark to sprout. Darkness is what seeds experience when they’re buried in the ground or when they are covered up by fallen decaying leaves, et cetera.
How to Recreate Dark Conditions for Seeds to Sprout
There are several things you can do to provide the darkness seeds require:
- Plant the seed to the proper depth
- Cover seed if the instructions say to do so (most seeds should be covered, but not all)
- Place something over the seed tray or container to block light – a piece of cardboard, newspaper, or upside-down seed tray are all good options
- Keep plant lights off while seeds are germinating. Seeds don’t need supplemental light until they have sprouted
2. Light
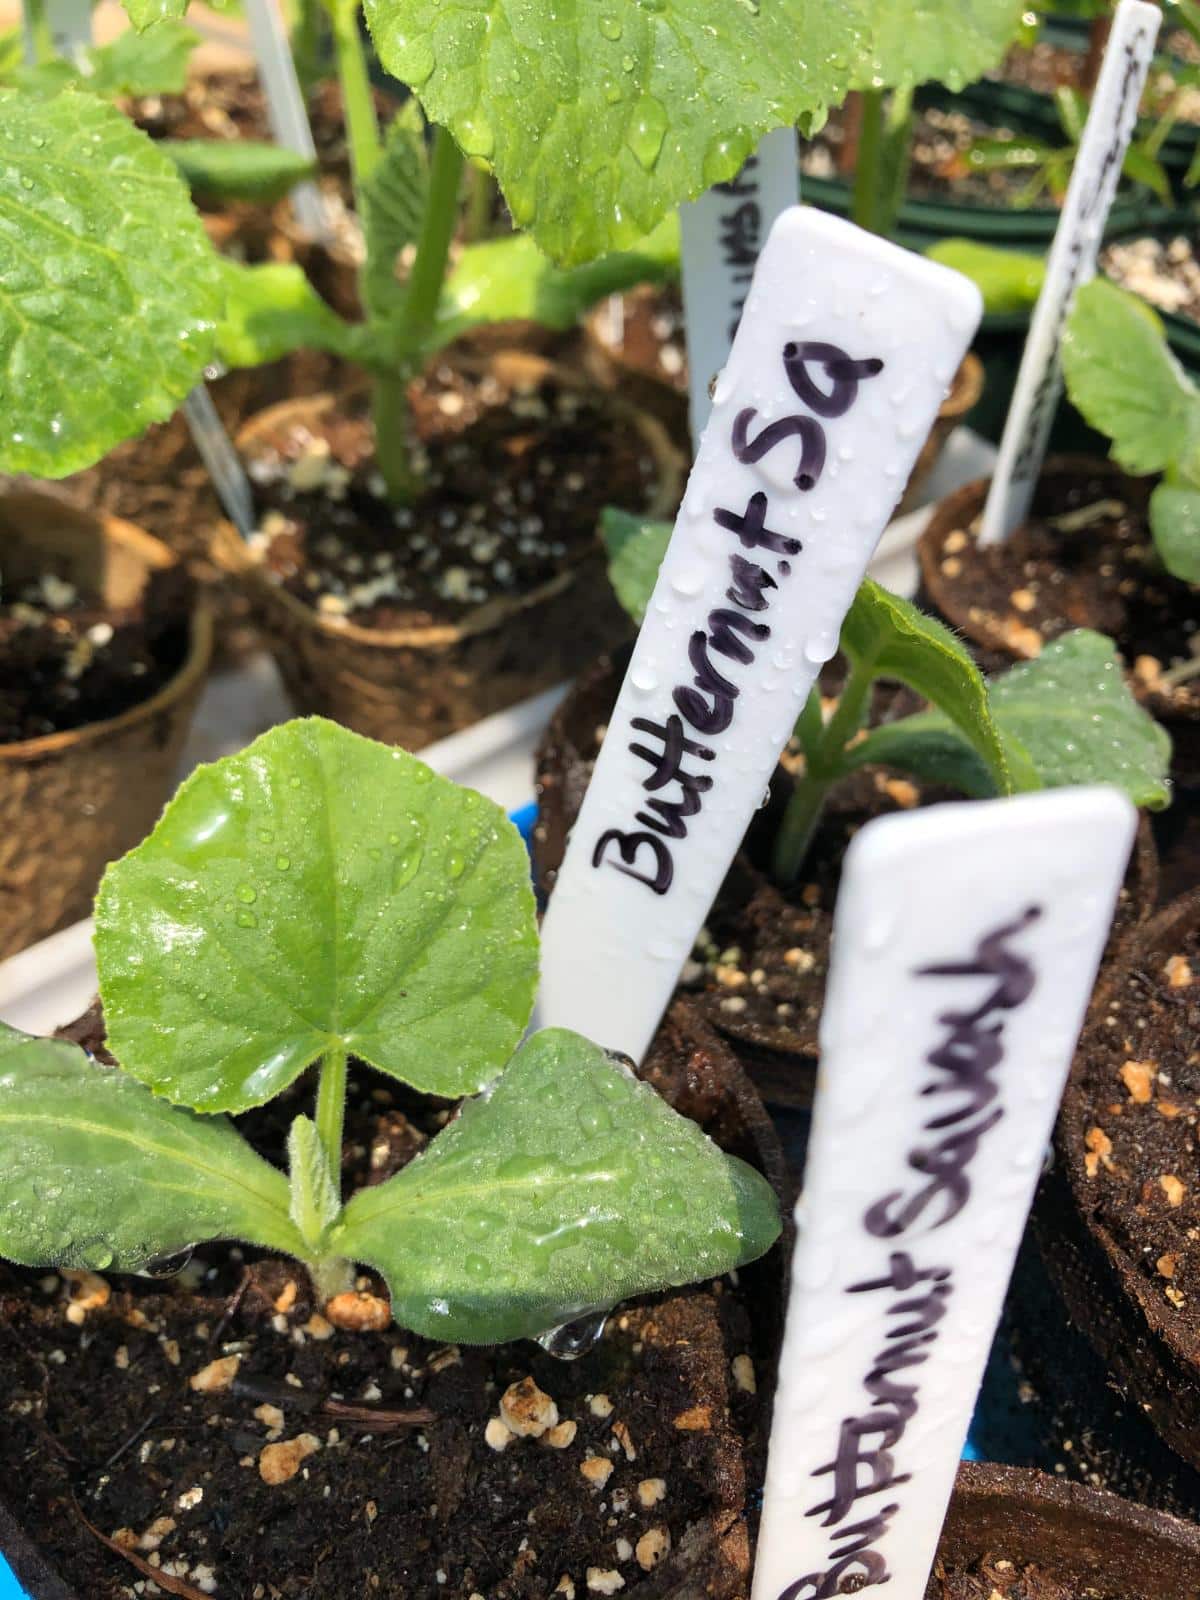
Not all seeds germinate in darkness. Some seeds actually need to sense light in order to germinate and sprout. If you keep them too far down and in the dark, they may never germinate.
(This is one of the reasons why weeds and seeds in nature lie dormant in the ground until you disturb them and bring them to the surface, usually when you till the ground. This is also one of the reasons why no-till works to decrease weeds in the garden!)
Often, it is the very smallest of seeds that need light to germinate. Again, this information should be listed on the seed’s packet, and you should also be able to find it in a seed description, catalog, or online listing.
How to Recreate Light Conditions for Seeds to Sprout
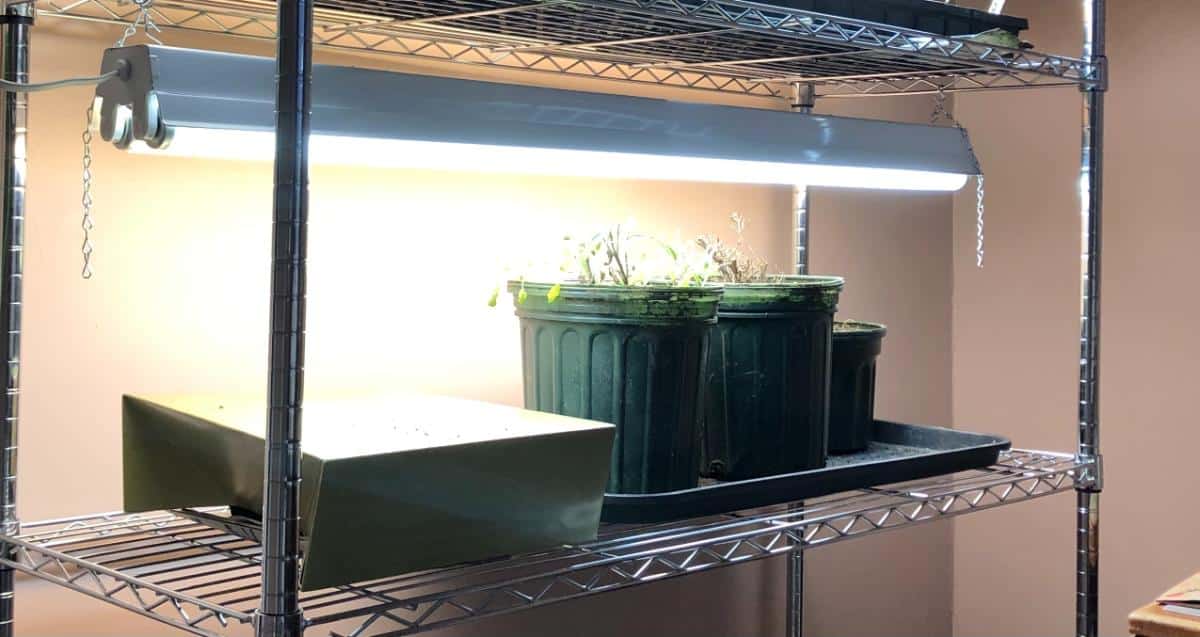
When we say that seeds “need light” to germinate, this doesn’t mean they need supplemental light (such as from grow lights). Typically, regular room light or indirect sunlight through windows will be adequate.
They just shouldn’t be completely in the dark or unable to sense light.
To make sure seeds get enough light for sprouting, here are some tips:
- For seeds that need light, do not bury them in dirt. Just sow them on the surface of the soil and lightly press them into the dirt or potting mix—not too far down, just enough to make contact with the soil
- Don't cover the seeds after planting
- Don't cover trays with light-blocking tops or materials (so no cardboard or upside-down trays for these seeds!)
- If you want something to help maintain moisture, which is usually helpful with surface-sown seeds because they can dry out more quickly than seeds that get buried and covered, cover the seedling tray with a clear plastic dome or with plastic wrap
You do not need to turn on grow lights for seeds to germinate with light. Save the electricity and the utility expense for after the seeds have sprouted unless the room is very dark (like an unlit basement or room with no windows—in that case, supplemental light is called for about 12 hours a day while seeds germinate).
Seeds that need light to germinate are not uncommon, but they are the exception, not the norm. Follow the directions for the specific type of plant and seeds that you are starting. Give each type of seed what it needs, whether that be dark or light.
Bonus: Day vs. Night
What most seeds and plants really need is an alternating period of light and dark, which is what they get from day and night outside. This is simple to do by just giving seeds times when they sense light through their soil conditions and times when it is dark, like night.
This is more important after the seeds have sprouted. Supplemental light from seeds started indoors is not as strong as sunlight. Until seeds sprout, about 12 hours a day is enough light. After they sprout, they’ll do better with 16 hours of light and then a rest period of 8 hours.
How to Recreate Day vs. Night
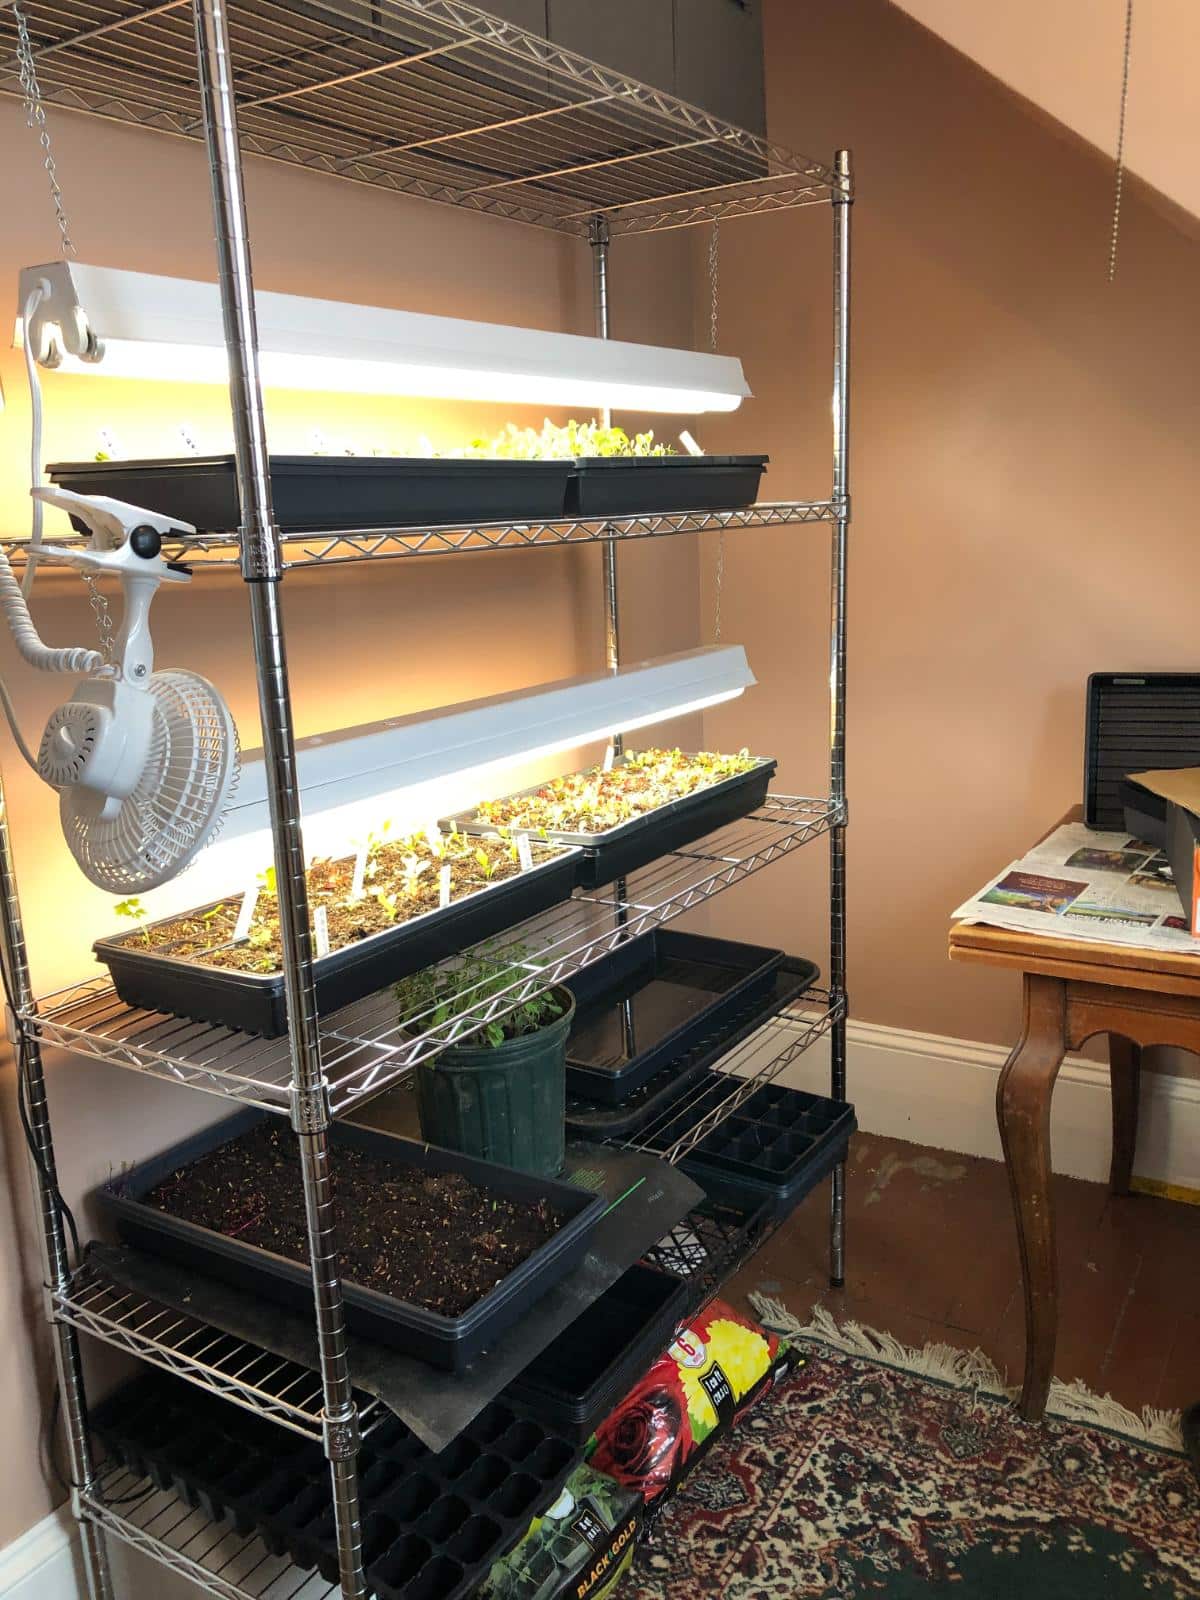
If you’re growing in a greenhouse or mini-greenhouse situation (like milk jugs when winter sowing), you won’t need to do anything to recreate day vs night.
If you’re growing indoors (house, basement, garage), then you’ll need to manage the light a little more.
Two easy ways to do this are:
- Put all the grow lights on a power strip that you can easily turn on and off with the power switch
- Put the light or the power strip with the grow lights on a timer, and set the timer to turn off after 12 or 16 hours (depending on the stage of germination and growth)
3. Cold
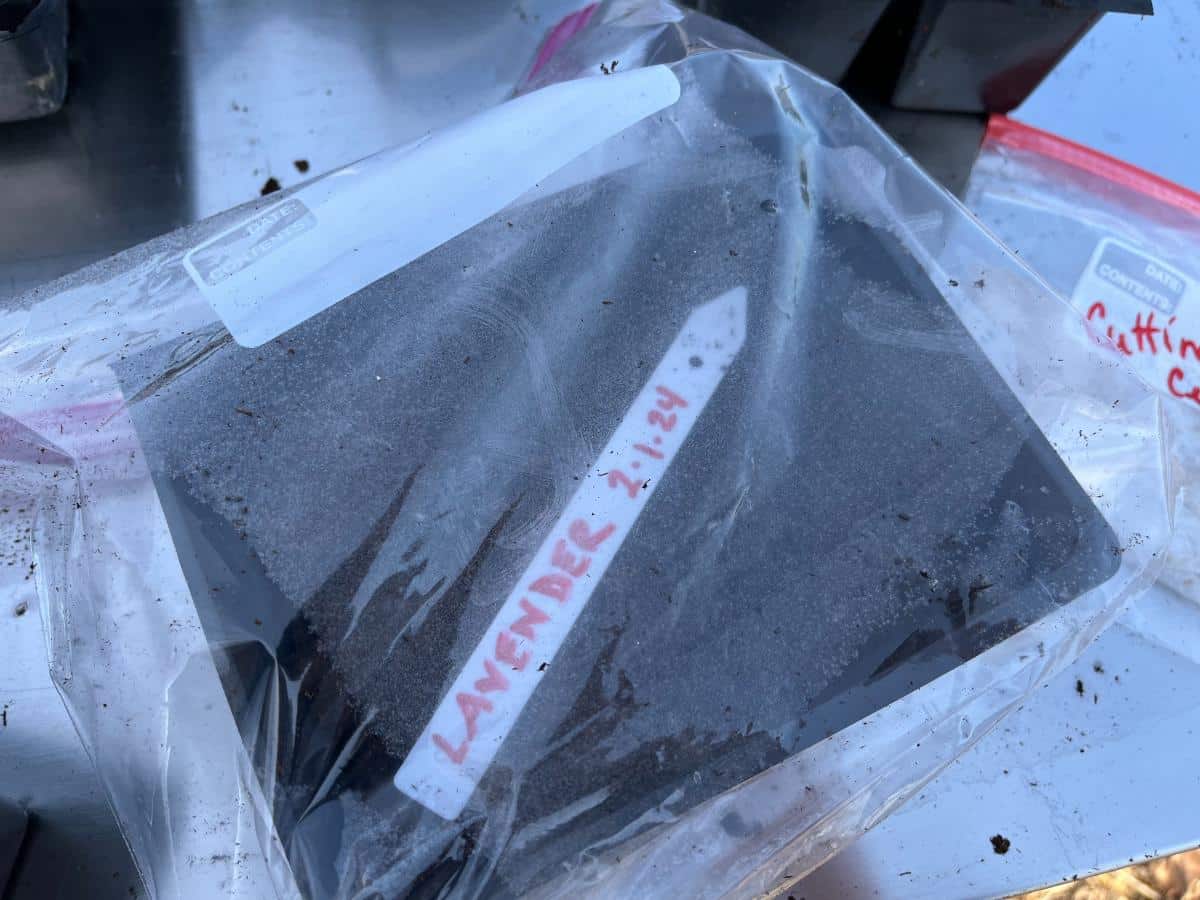
There are two ways that cold signals seeds to sprout. The first is cold stratification or cold treatment.
Cold stratification/cold treatment refers to when seeds experience a long period of cold before they break dormancy and sprout. Many perennials, herbs, and wildflowers will not sprout if they have not experienced a long period (weeks or months) of cold temperatures.
This is a natural protection that prevents them from sprouting too early before warm temperatures have really arrived. It’s what stops seeds in nature from sprouting on the first warm days in winter.
The second is consistent cool temperatures that tell seeds it is time to sprout. While most seeds want nice, warm temperatures to spout, some early seeds like it on the cooler side. This is often the case for cole crops and perennial seeds.
By cool temperatures, we mean consistently cool soil temperatures but warmer than the low temperatures that stratify seeds.
How to Recreate Cold Stratification and Cool Soil Temperatures
Cold stratification made easy
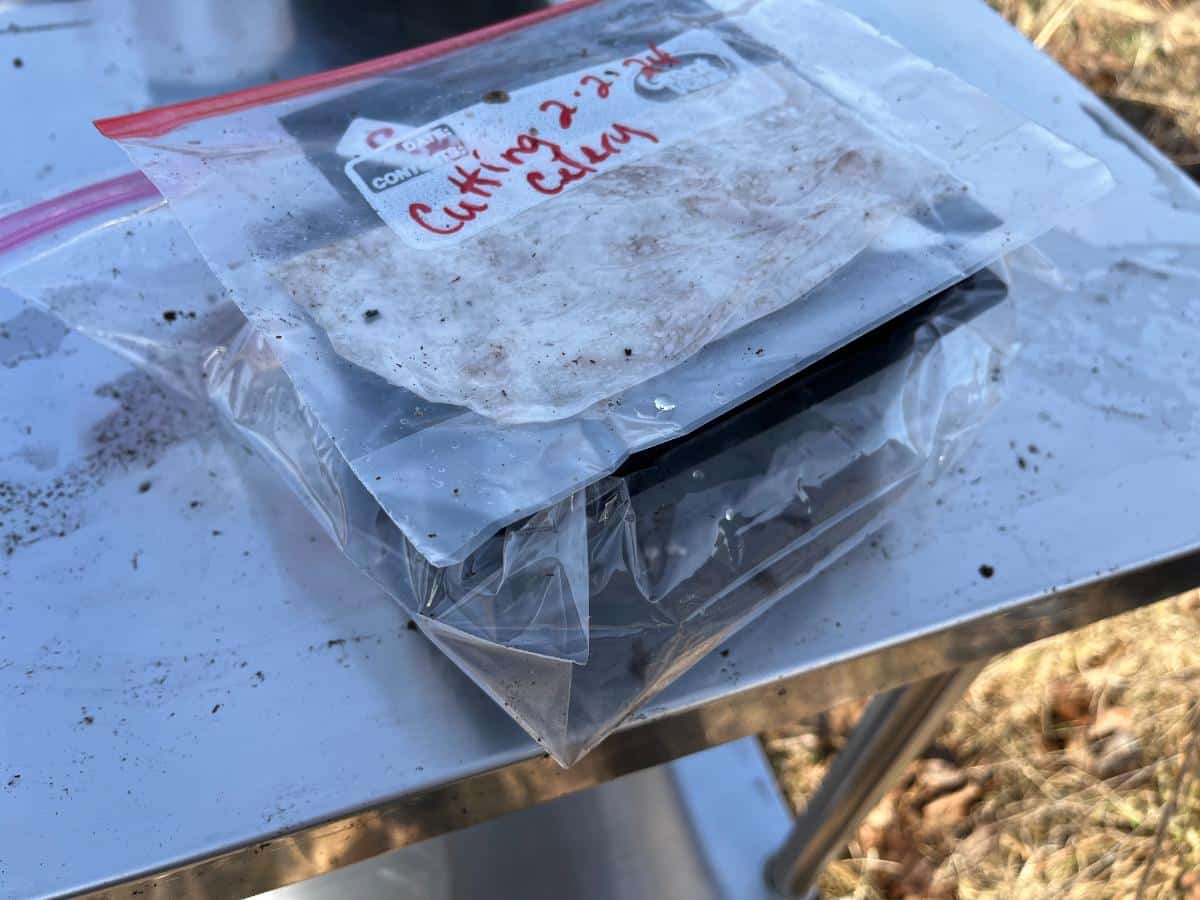
Cold stratifying seeds isn’t hard. You just need to set them up so they are cold and moist, similar to the conditions they would experience in the ground.
One of the simplest ways to do this is to plant the seeds in a germination pot in moist potting soil, place the pot in a baggie, label the bag, and put it in your refrigerator for four weeks (or more if the seed’s instructions say to stratify for longer).
You can find more simple ways to cold stratify seeds here: 4 Simple Ways to Successfully Cold Stratify Seeds (+How to)
Another easy way to cold stratify seeds (and let Mother Nature do the work for you) is to winter sow your seeds in clear jugs or containers: Intro to Winter Sowing: What It Is and Why Do It
Creating cool soil temperatures
For seeds that want cooler soil temperatures to germinate, just do one of the following:
- Put the planted seeds in a room where the air temperature is about the same temperature as the preferred soil temperature for the seeds
- A cool basement or minimally heated garage can be a good place
- Do not use soil heat mats with seeds that prefer cool soil
- Keep seed trays far away from heat sources like heaters, radiators, stoves, ovens, and appliances that throw heat from the motors (the top of a refrigerator is not a good place for seeds that like cool soil)
4. Warmth
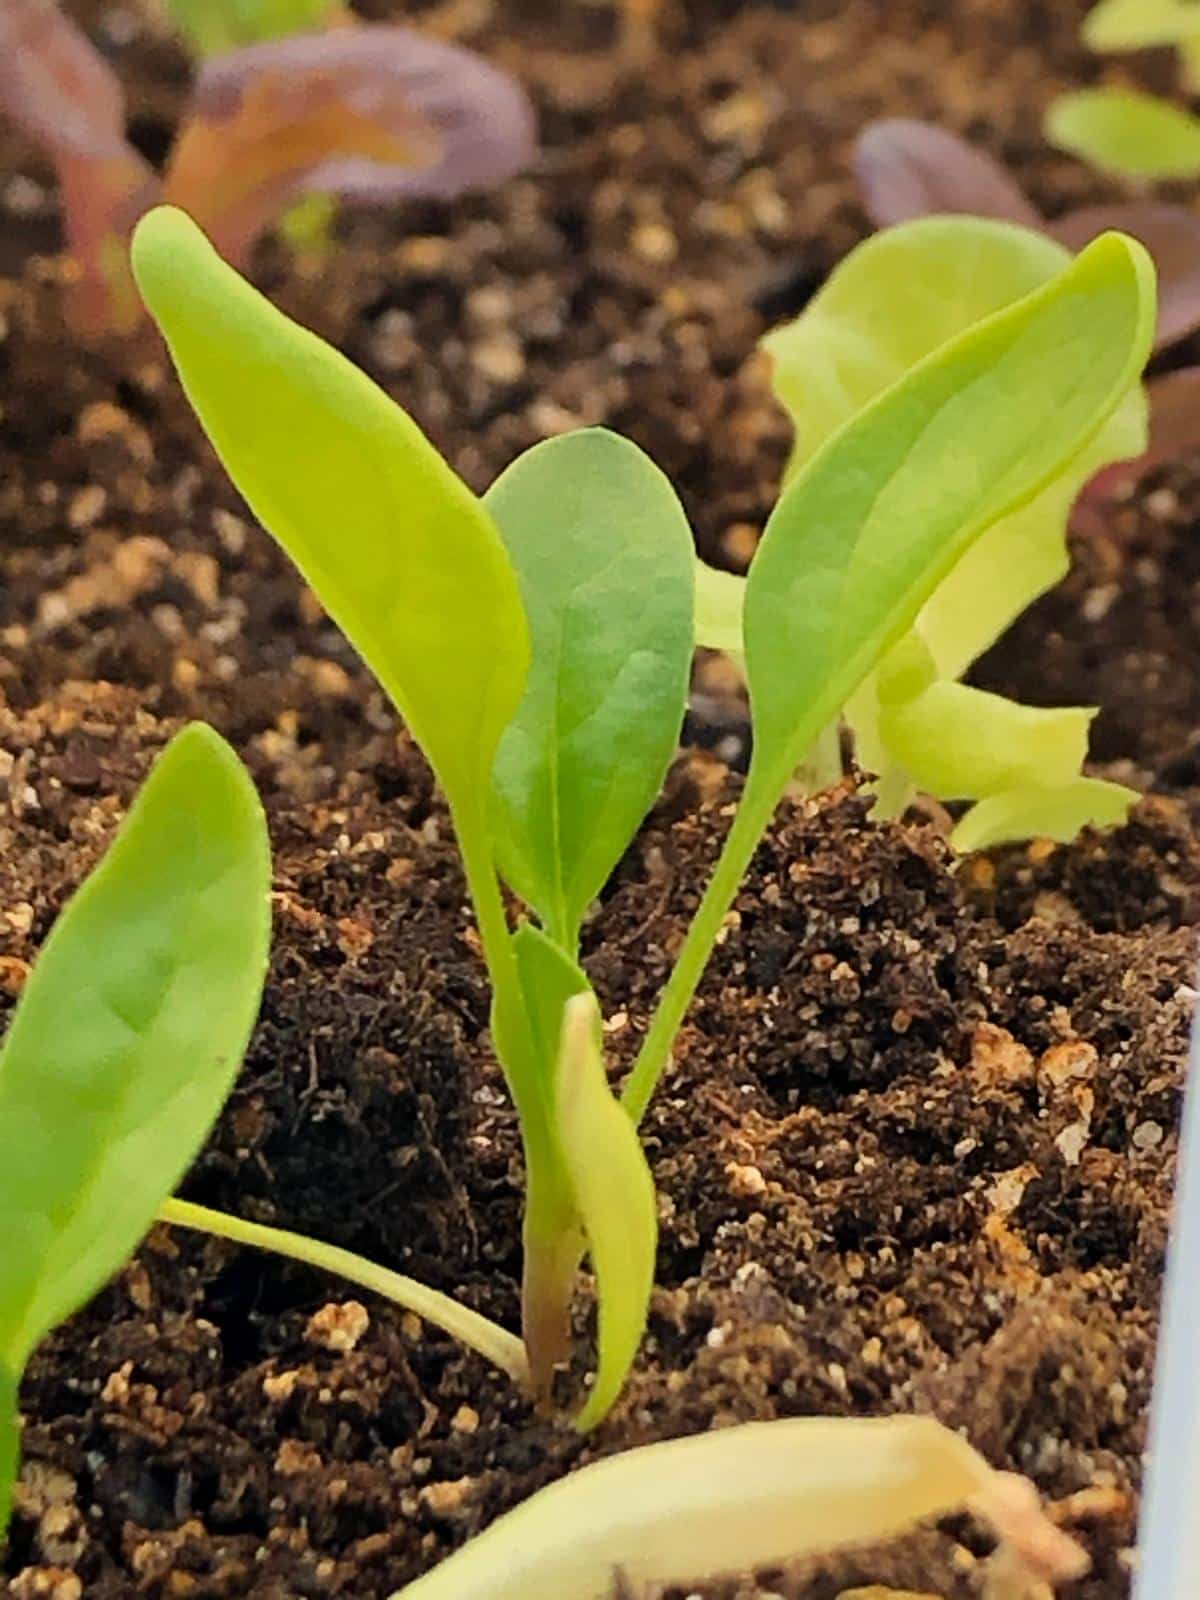
Seeds are more likely to need warmth to properly sprout. Again, you’ll want to check your seed’s instructions, but generally speaking, when we say “warm,” it’s not usually too warm.
For most seeds, soil temperatures should be between 68 and 75 degrees Fahrenheit (F) (20 C to 23.9 C). This is normal room temperature for most homes, so it is not too difficult to achieve.
There isn’t much that won’t germinate within this range, but peppers and tomatoes often germinate better with a boost, and things like Okra like quite warm soil temperatures, up to 85 degrees. Squash and pumpkins like things a little warmer, too.
The range of temperatures that different seeds may need for optimal germination may be as high as 86 F (30 C). There is such a thing as too much of a good thing, though, and you shouldn’t let the soil temperature go up over 86 (30 C). Lettuce, peas, sweet peas, and many others will do poorly germinating in very warm soil (these are some of the things that might like a cooler space!).
How to Recreate or Boost Warm Soil Temperatures for Germinating
In most homes, a comfortable room temperature will keep your soil at the same temperature and will provide the seeds with enough warmth.
If you have cooler spots in your home, or your home is kept at a lower temperature than 65 F (18.3 C), you might need to do something to boost up the soil temperature a bit. If you don’t, germination rates may be low, or the seeds may be slow to germinate. When seeds take a long time to germinate, they risk rotting in cool, moist soil before they sprout.
These are some simple ways to increase soil temperature for better germination:
- Place your germination trays or grow shelf closer to a heating unit
- Keep germinating seeds in a warmer room – perhaps one that benefits from more sunlight and heat during the day
- Place trays on the top of the refrigerator—refrigerator motors give off low levels of heat, and the top is usually a little warm
- Use a heat mat. These are simple to use, made to fit under plant trays, and set at ideal temperatures for germination. This is the most popular solution for home gardeners. Heat mats also keep the temperature consistent, whereas heat turning on and off in a room may cause peaks and valleys in the ambient temperature.
- Bump up the room’s temperature with a space heater – used safely and kept away from combustible fabrics and surfaces!
- Use a germination chamber. This is a temperature-controlled, humid environment. You can build one pretty easily (see this farm’s DIY germination chamber instructions here)
After your seeds sprout, remove them from the excess heat source. Extra heat is only for the germination stage, and if you leave seedlings on heat mats or in increased heat for too long, they often become leggy and weak and don’t develop well.
What Happens When Seed Growing Conditions Aren’t Properly Met?
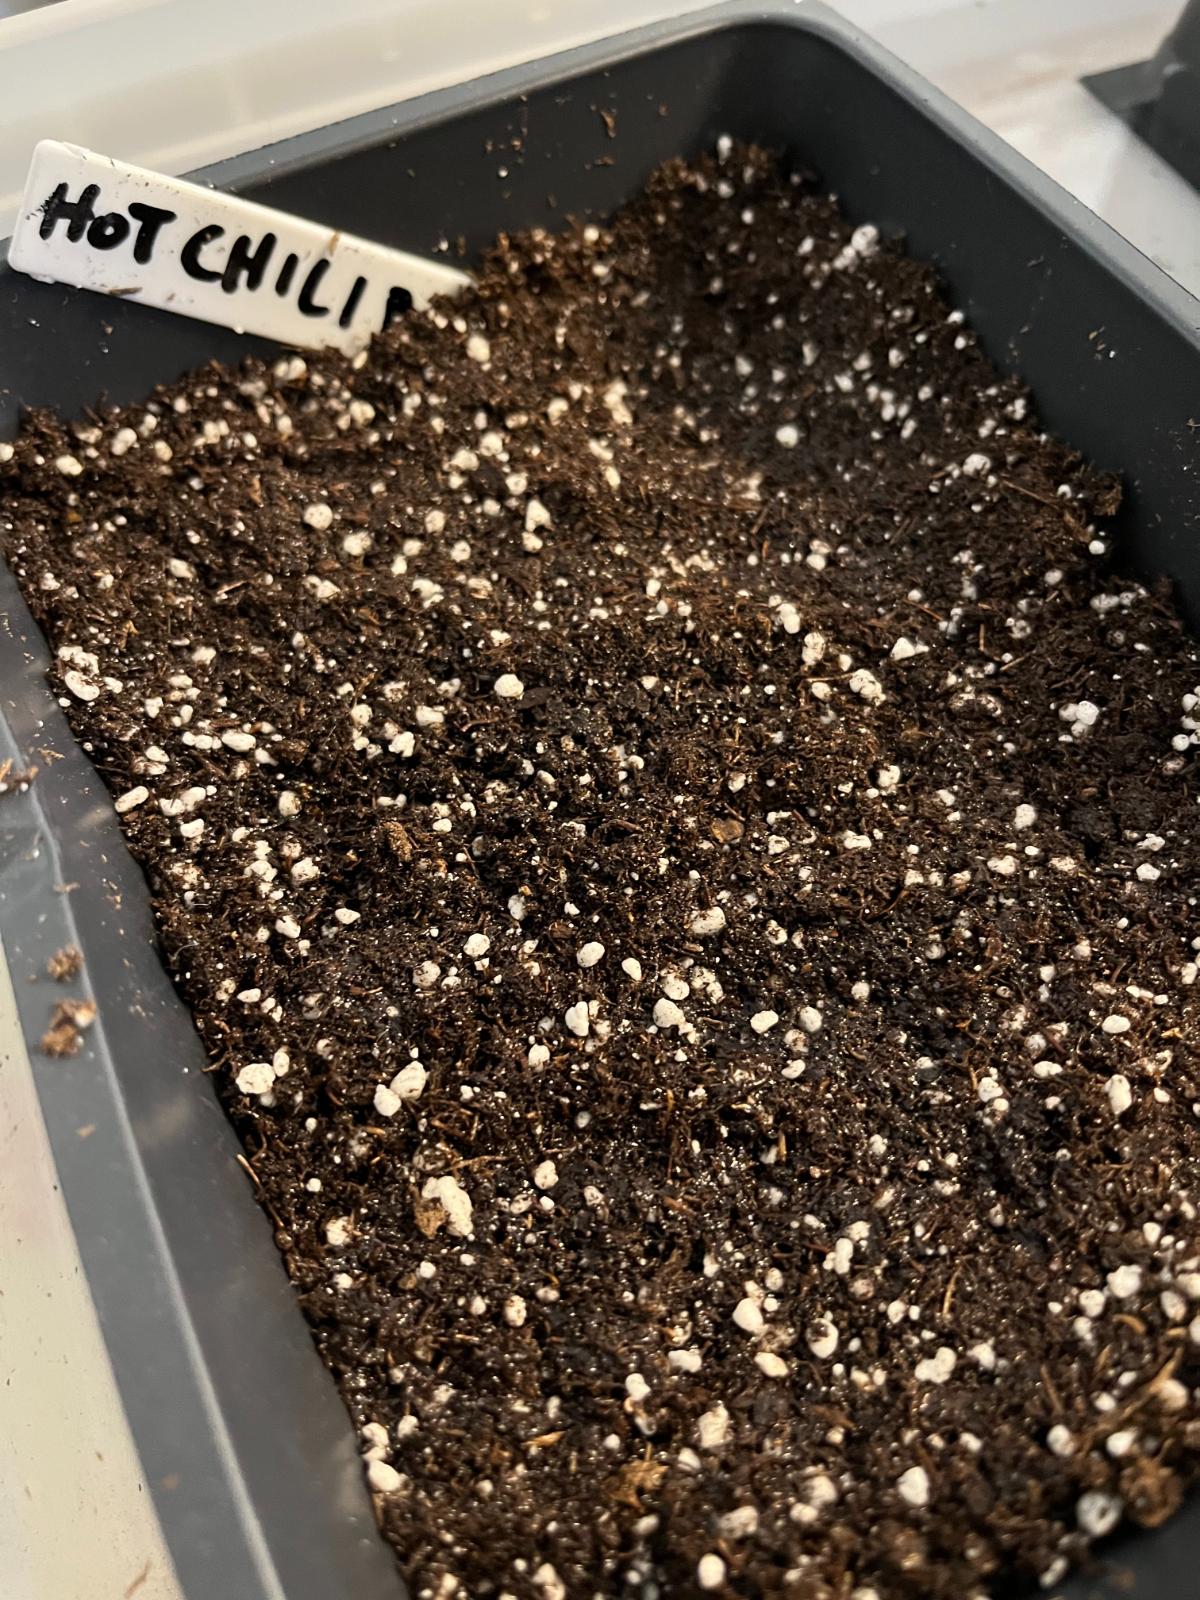
When seeds don’t get adequate growing conditions, if their needs are not met, they struggle. Some of the problems that result include:
- Low germination
- Failure to sprout
- Failure to thrive
- Rotting seed
- Seeds that don’t sprout
- Longer germination periods that delay growth and delay planting (seeds take a long time, longer than they should, to germinate)
- Having to replant to get enough successful seedlings for your needs
Your conditions do not have to be by-the-book perfect, and there is a range of conditions that seeds will respond to, but when you have the option, you should do your best to meet optimal conditions. That will give you optimal results, with the best possible rates of germination and the strongest, best-performing transplants.

Leave a Reply