If you grow enough garlic, there’s no need to keep buying new seed garlic every year. You can use your own homegrown garlic as the “seeds” for next year’s crop.
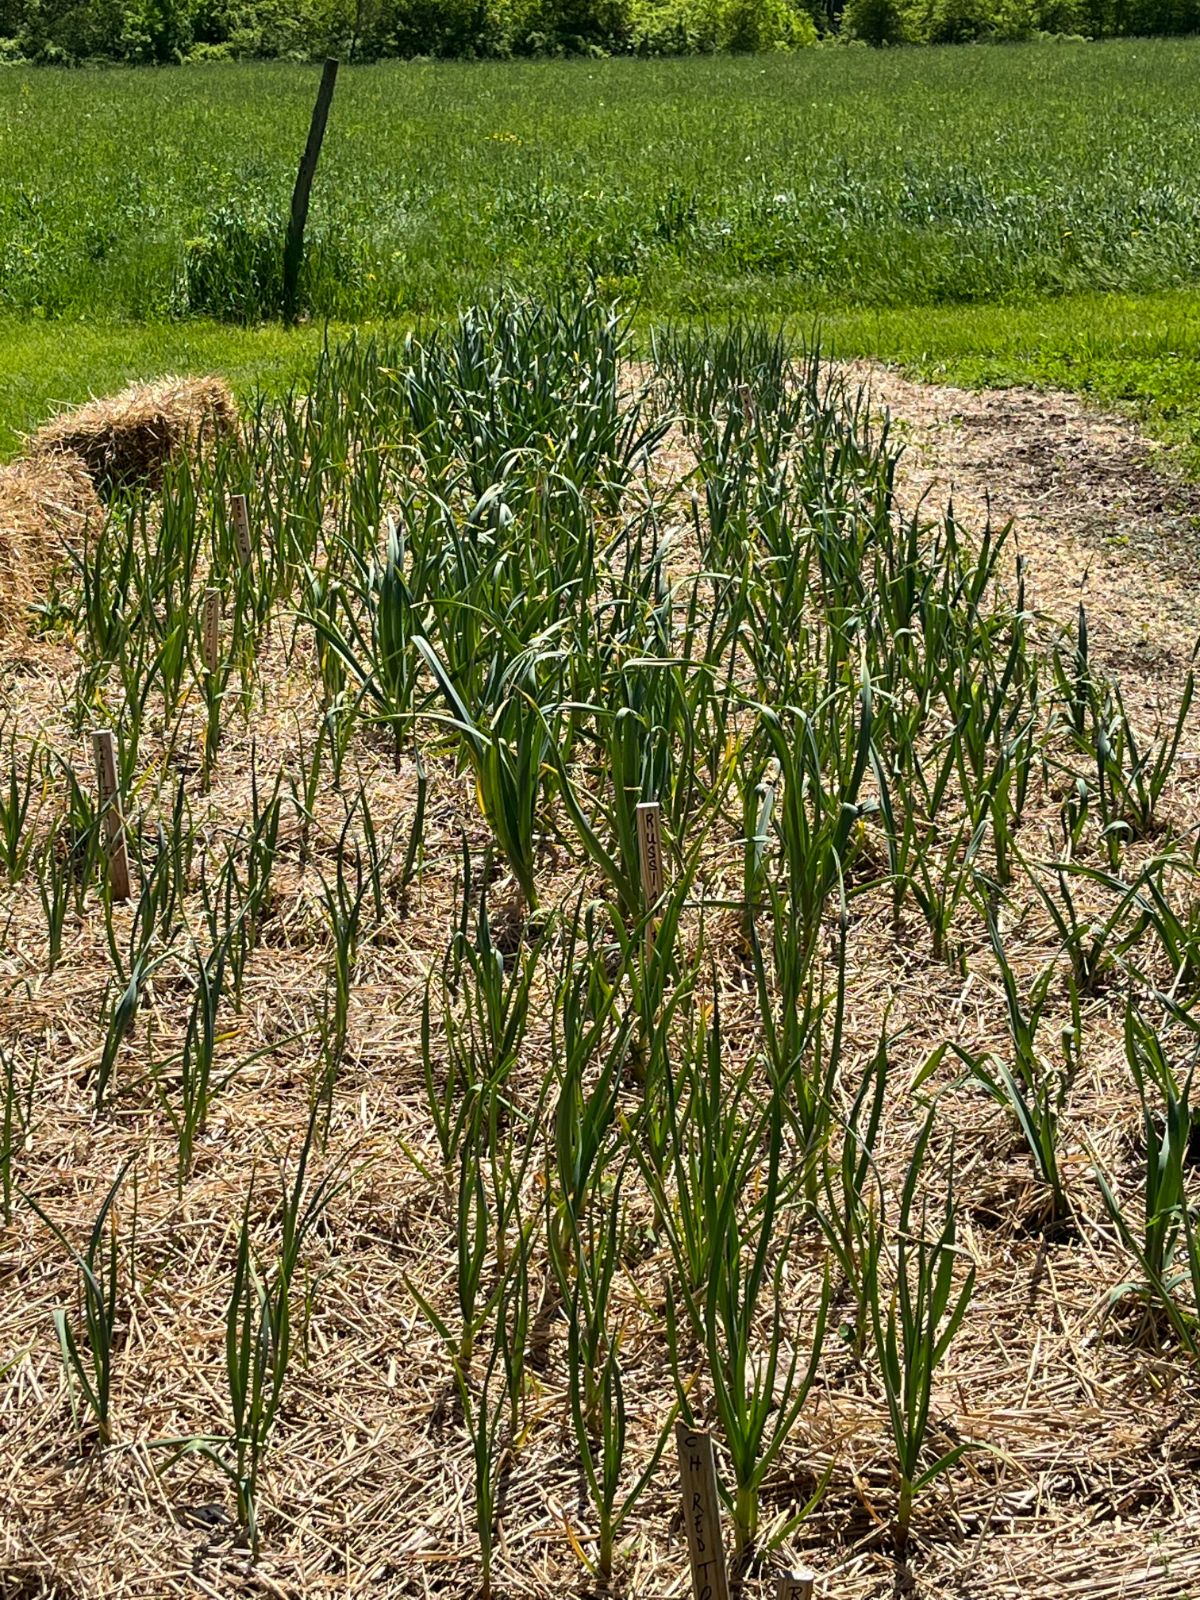
There are some key things you need to do to do this right. Doing these things will ensure that you get a great harvest year after year and that you can continue to provide your own seed garlic instead of having to constantly reinvest in garlic to plant.
Jump to:
- How Garlic Grows and What It Grows From
- What’s the Difference Between Seed Garlic and Your Homegrown Garlic?
- By selecting your own garlic for seed, you’re creating locally-hardy stock
- How to Use Homegrown Garlic as Seed Garlic
- 1. Cure your crop.
- 2. Trim your cured garlic for storage.
- 3. Select the best bulbs for planting.
- 4. Separate the cloves.
- 5. Sanitize your prepared seed garlic cloves.
- 6. Plant your homegrown seed garlic!
- When to Buy New Seed Garlic to Revive Your Crop
- A Few Final Tips for Success with Your Homegrown Seed Garlic
How Garlic Grows and What It Grows From
Garlic is grown from cloves that are separated from the head or bulb. Each garlic clove is the seed for a new plant—or at least it can be if you plant it.
What’s the Difference Between Seed Garlic and Your Homegrown Garlic?
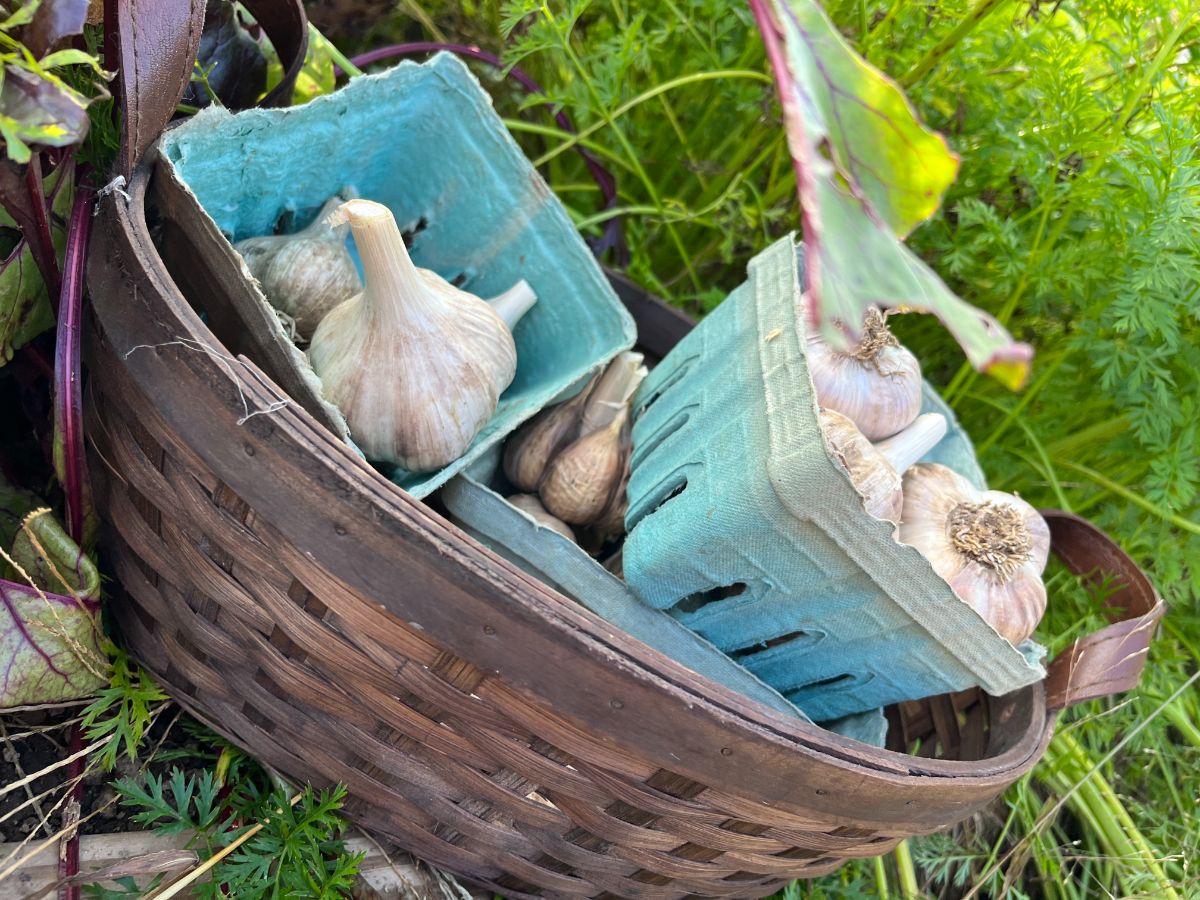
For the most part, there isn’t really a difference between the seed garlic you buy from a seed or bulb seller and the garlic you grow, which you can use as your own seed garlic.
The only exception to this would be garlic from a grocery store or other food seller if their garlic has been treated to prevent sprouting. In that case, the garlic is basically sterile and will not sprout and, therefore, will not grow into new heads of garlic.
The other big difference between your homegrown garlic and the seed garlic that you might buy from a seed garlic seller is that you know exactly how your garlic was grown and what you did or did not treat it with. You know for sure that your garlic was grown according to your own gardening methods and in line with your thoughts on organic practices, pesticide, fertilizer, and chemical use.
You may or may not know this about the seller you are buying seed from. You probably have the least amount of information about the seed garlic that you buy through a third-party retailer, such as at a garden center (unless they know and can tell you about who the seed garlic came from) or from an online third-party vendor.
Keep in mind that a lot of seed companies buy seed, including seed garlic, from outside suppliers, so don’t necessarily assume they are the growers. If you want to know how the garlic was treated and grown, do some research or email or call the seller to ask.
By selecting your own garlic for seed, you’re creating locally-hardy stock
Something else to consider is that over time and over the years of growing garlic from your own seed stock, your garlic will acclimate well to the conditions it’s been grown in. The biggest and best garlic will be garlic that thrived in your climate and in your growing weather. It will also be garlic that has encountered and overcome any insects, diseases, and pathogens that may be common to your area.
By selecting and planting the best of your crop every year, you can create a strain that is hardy for your garden, its weather, conditions, climate, pathogens, and pests. There will be no better-suited seed garlic for your garden than that which has succeeded and improved in your garden year after year.
How to Use Homegrown Garlic as Seed Garlic
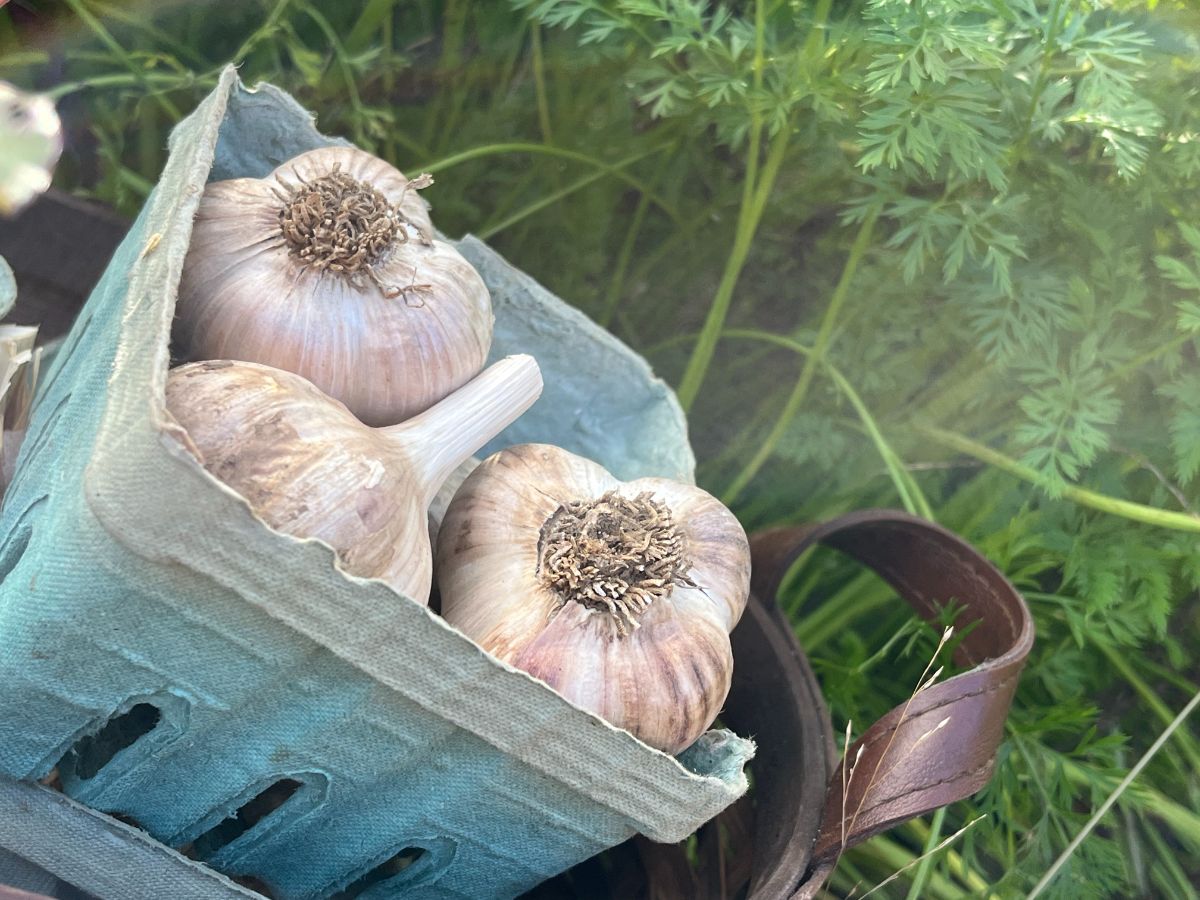
It’s easy to grow and plant your own seed garlic. If you grew garlic this year and you have some to spare, there is no easier seed that you could save and plant.
One of the reasons that saving and planting your own seed garlic is so easy is that the cloves themselves are the “seeds,” as we mentioned earlier. But what that means is that you are not saving a seed that is the result of pollination, like a seed saved from a flower or from a vegetable that grew from a flower. That means there is no chance of cross-pollination with garlic.
You won’t get some weird crossed new vegetable that may or may not be edible or taste good. With garlic, what you see is what you get. Each clove has the genetic makeup of its parent and has as much potential as that parent to grow just as well.
Here’s how to grow your next garlic crop from the garlic you harvested this year:
1. Cure your crop.
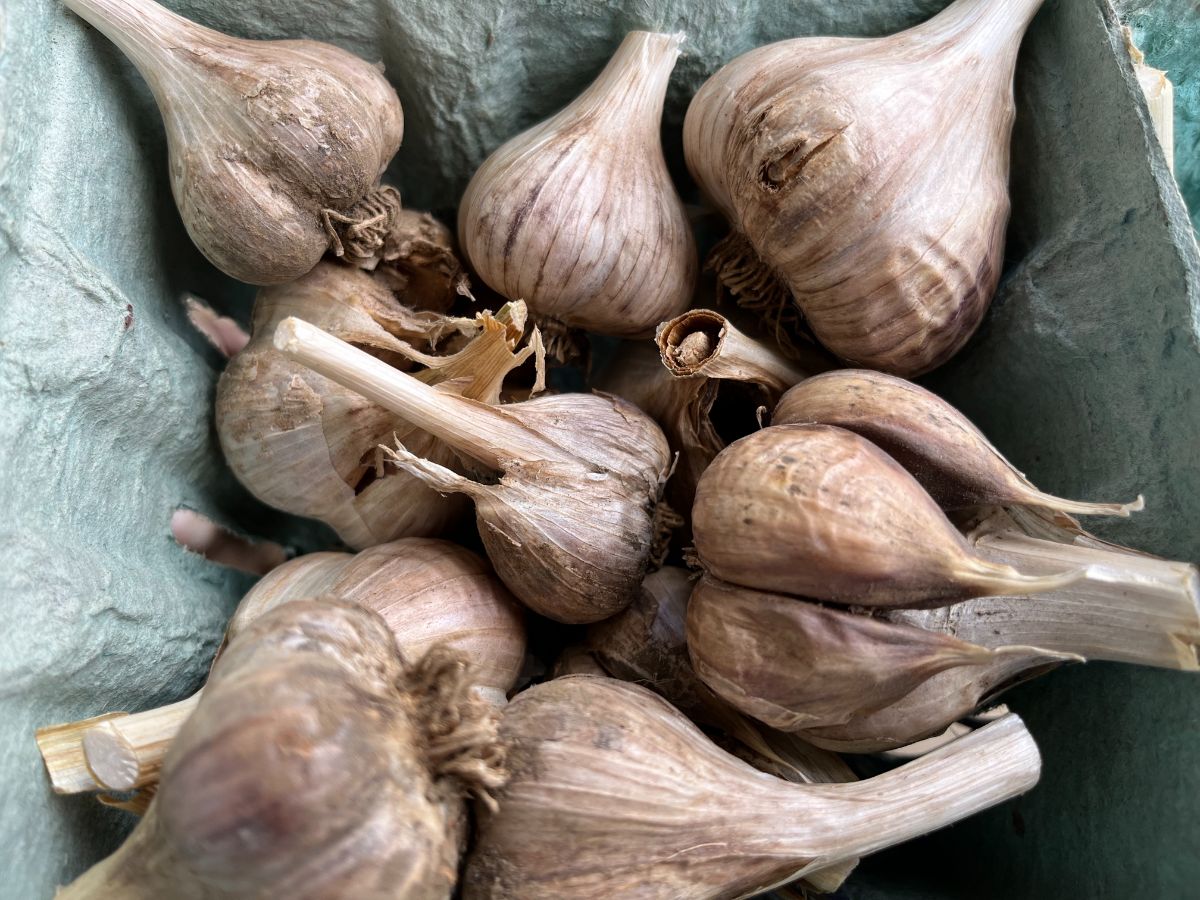
The process of growing garlic from your garlic starts out the same as if you were eating the garlic. When you dig this year’s crop from the ground, you need to cure the garlic. This is a simple process of brushing off extra dirt and hanging the garlic in bundles to let the outer leaves dry out, and the necks harden off.
Use the same process you do for your eating garlic. Seed garlic should be cured, too. Also, you would not want your garlic to be planted as soon as it came out of the ground because that would be far too early for planting garlic. So, in the meantime, even your seed garlic should be cured and stored until it is planting time (which is about 4 to 6 weeks before your ground freezes).
2. Trim your cured garlic for storage.
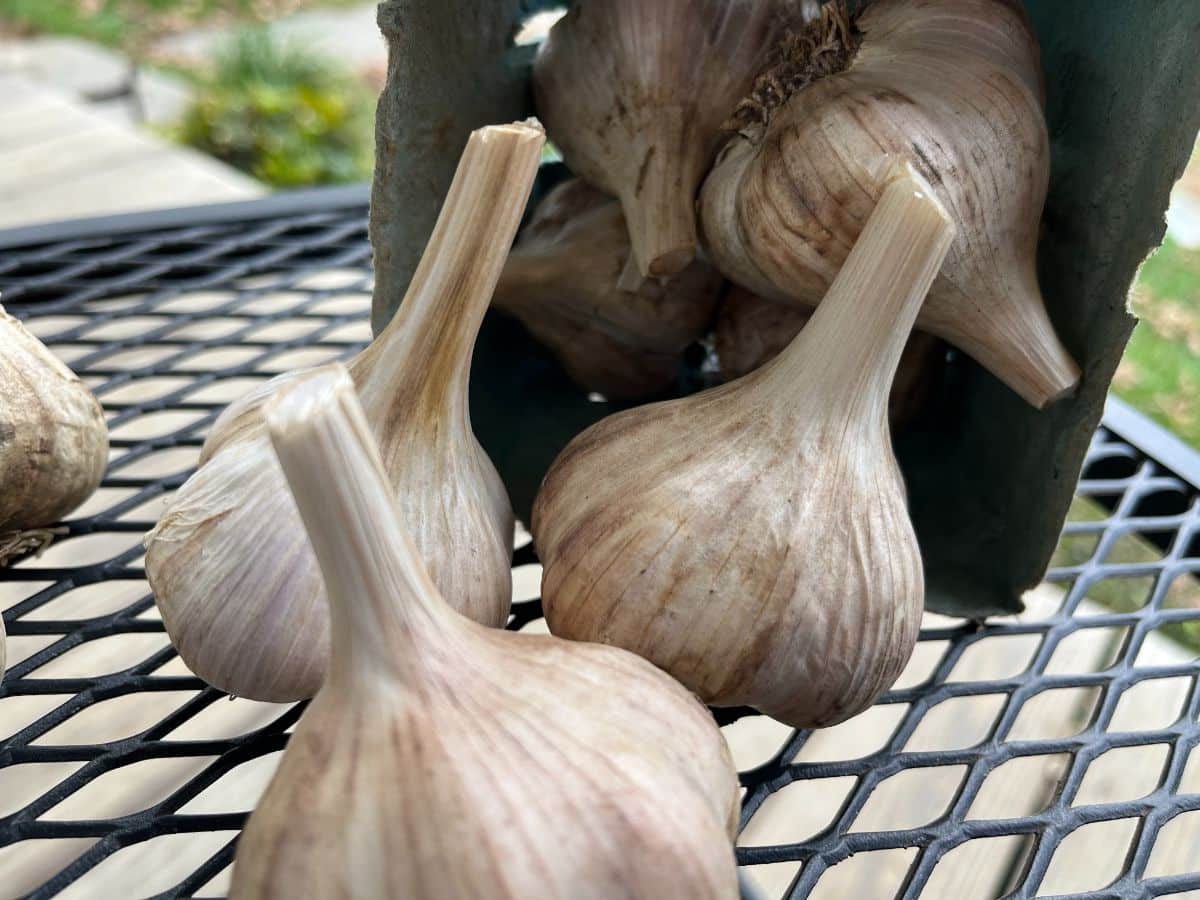
After your garlic is cured, trim off the stems just like you would trim your garlic for storage or for eating. You can also trim the dried roots. They’re no use to your seed garlic, and the cloves will be broken away from them anyway. It will be easier to separate the cloves for planting with the roots trimmed off. Also, this helps get rid of extra dirt, which might be holding on to fungal spores or diseases that might have been a problem for your crop this last year.
3. Select the best bulbs for planting.
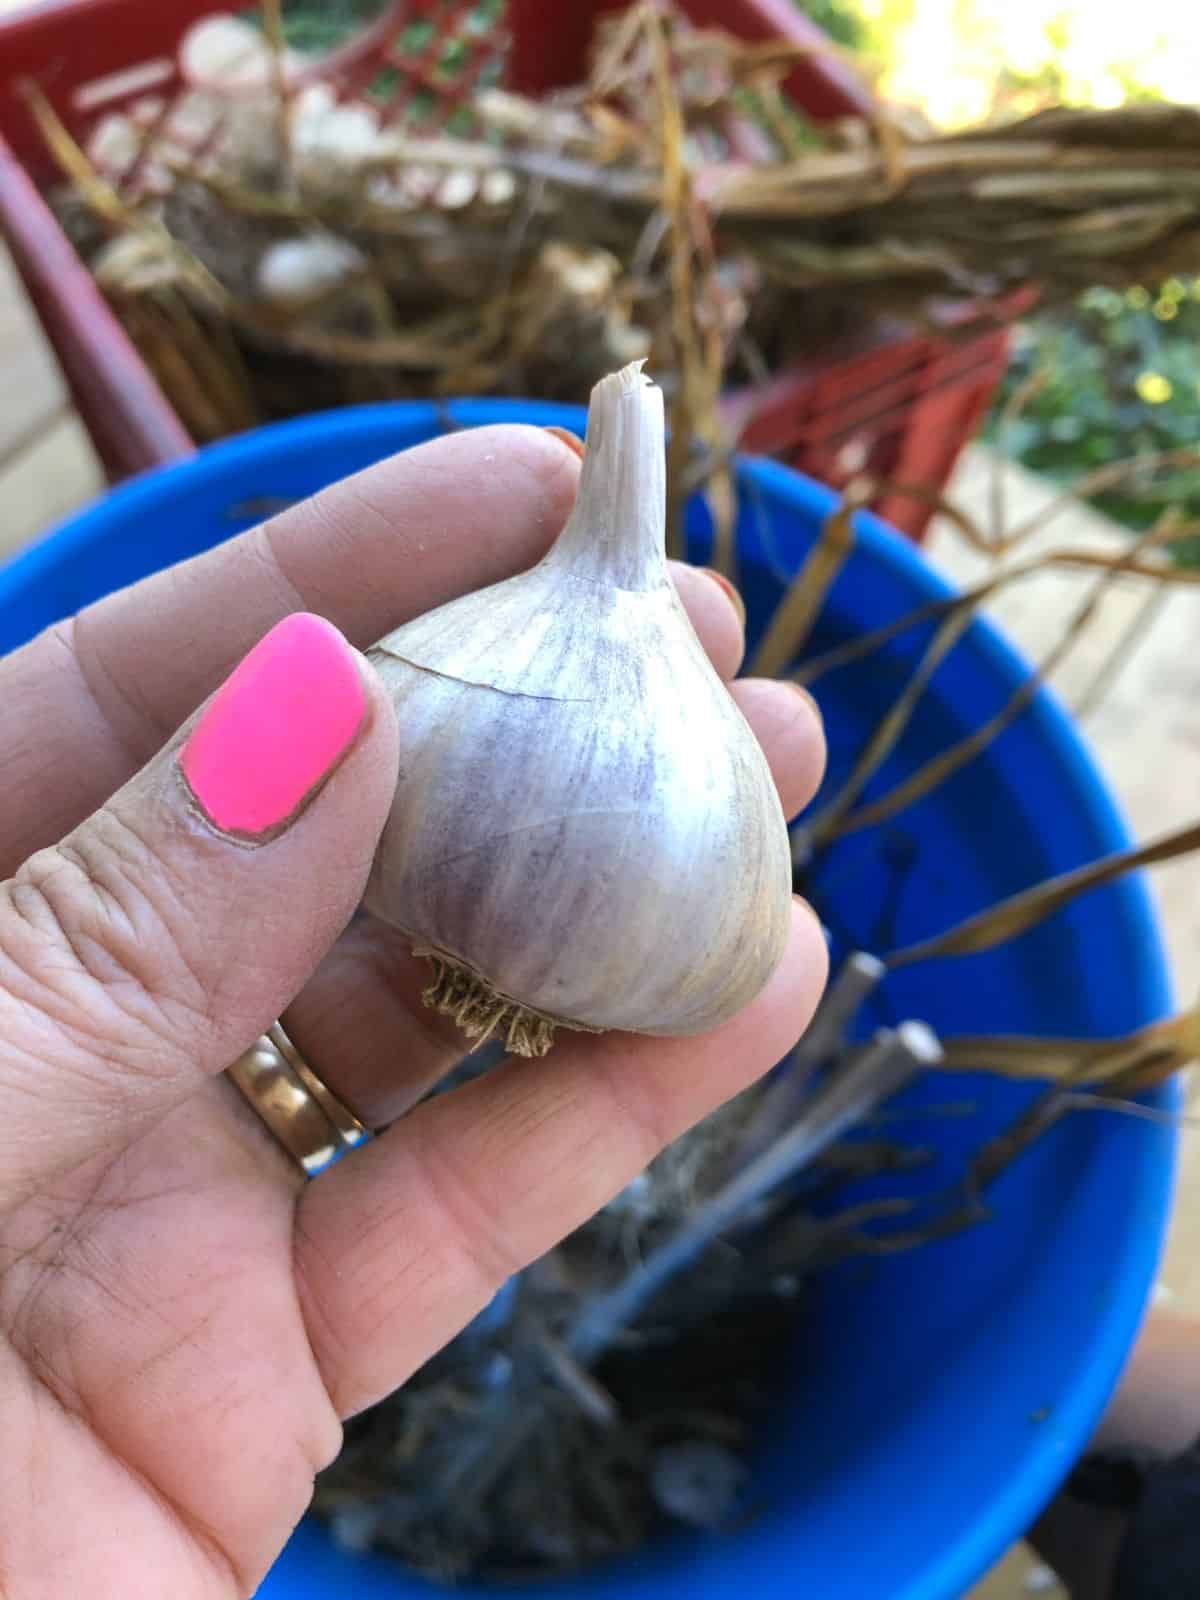
This is the real key to growing the best garlic and to creating a strain of personal garlic that will be strong and hardy in your location. It’s probably easiest to do this when you are trimming your heads of garlic—just make a separate basket or bag of the better bulbs to use as garlic seed.
You want to choose the best bulbs with the biggest cloves to use as your seed garlic. Also, look for the best bulbs with the highest number of large cloves (though sometimes jumbo cloves will have fewer but larger cloves in a head...but that still may be the biggest head and best yield).
You will probably be inclined to the opposite—to use the biggest and best-looking heads of garlic for your cooking and use the less impressive bulbs for growing next year. If you do that, you will be encouraging a crop of repeat small heads and small cloves. Small heads will be more likely to regrow into small heads. They may even diminish in size, and you will eventually have a pretty sad-looking crop of garlic bulbs.
No, what you want to do is encourage good growth, strong plants, and bulbs and to select the best bulbs so you have the best genetics to work with and maintain. This means you plant the best of the best.
You can also select for other characteristics depending on the goals of your planting and breeding program. For example, if you test out the taste and find a certain variety or certain heads of garlic that have superior flavor, plant some (or all) of those as your seed garlic. You will be propagating and promoting those features in the next generation of garlic.
A good selection of the best seed in your garlic crop is probably the single most important thing you can do to establish a great strain of your own personal, sustainable garlic supply.
Store your selected heads in a cool, dry location until planting time. Then, move on to the next step.
4. Separate the cloves.
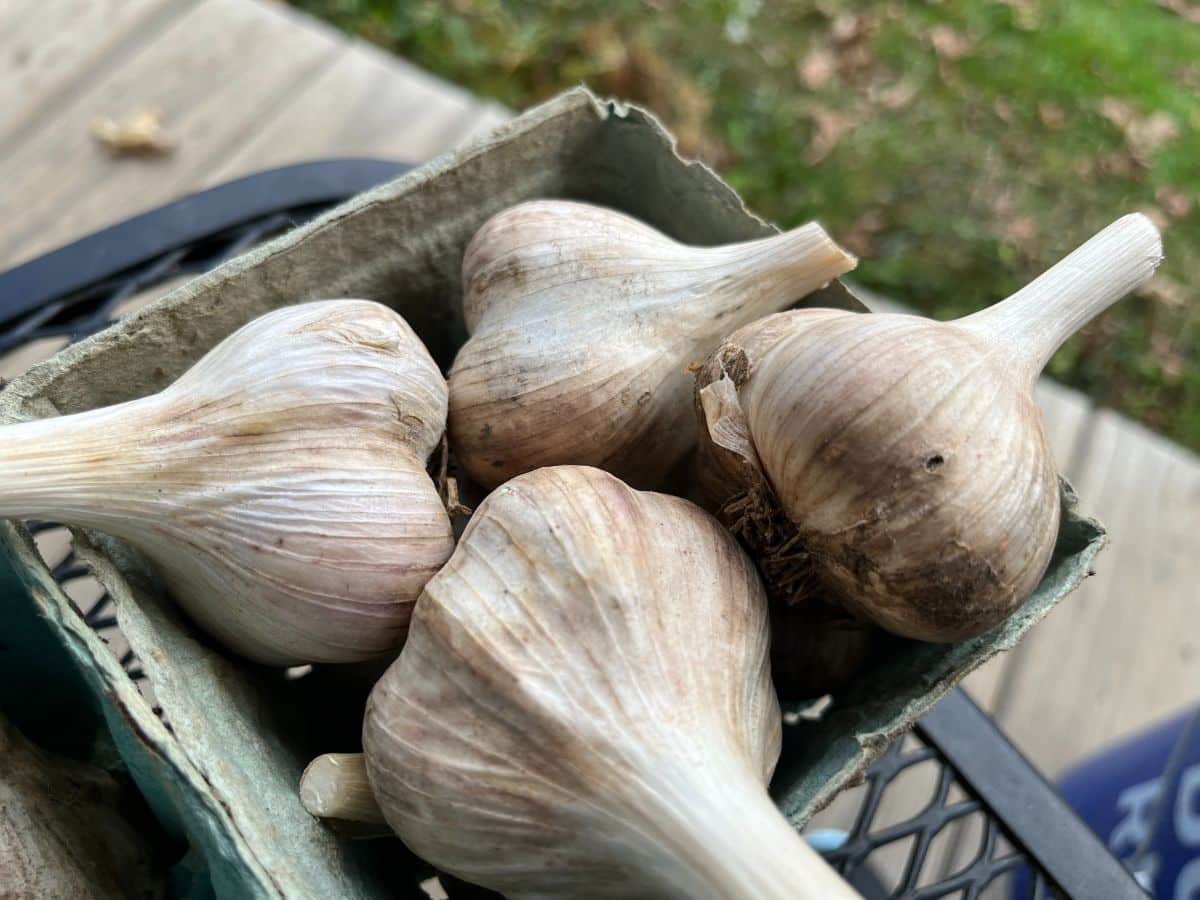
Now, just like you would with seed garlic from anywhere else, you need to separate the individual cloves from the bulb (or head) of garlic and prepare them for planting. Don’t do this until you are ready to plant your next garlic patch. Heads of garlic should always be kept whole until you are ready to use them—whether that is for cooking or for planting.
Try to keep the paper wrappers intact when you separate the cloves of garlic, and don’t cut or stab into the cloves. However, if some or all of the wrappers do come off, don’t worry. Plant those cloves anyway. Garlic can and will grow without the papery skin on. The “seed” is the white clove, not the paper.
5. Sanitize your prepared seed garlic cloves.
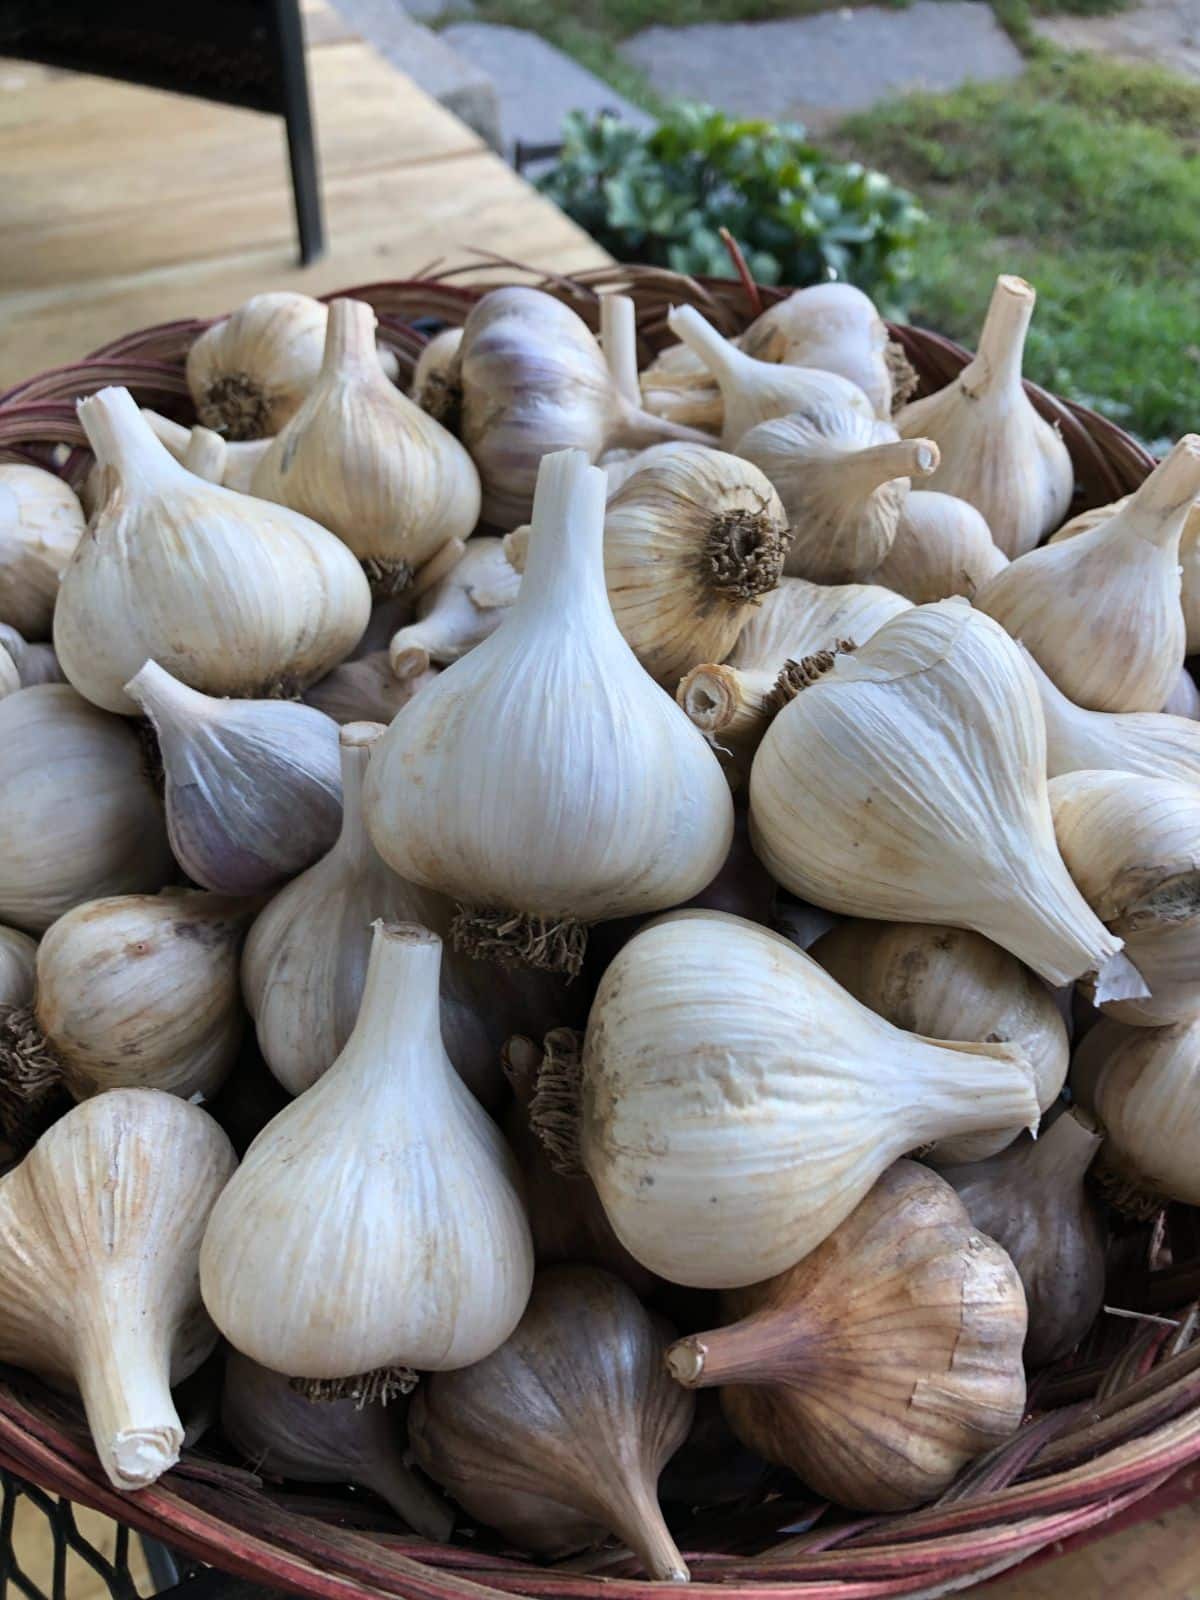
This is optional but recommended.
Soak your garlic cloves briefly just before you plant them to sanitize them and kill off any spores or diseases that might have been carried in the dirt last year. All it takes is 10 minutes, and all you need is hydrogen peroxide, which you can buy cheaply and easily at the pharmacy or grocery store (or online).
Just pour the peroxide into a bowl, put the prepared, separated cloves in the peroxide, soak for 10 minutes, and then drain.
Now, you can plant your garlic. Or, if you prefer, you can soak the garlic in a liquid fertilizer solution to boost sprouting and to give the bulbs a fertilizer head start.
For a fertilizer soak, you can use an all-purpose liquid fertilizer, fish emulsion fertilizer diluted in water, or kelp meal. Prepare the solution according to the label instructions. Add a teaspoon of baking soda for every gallon of liquid. Put the prepared cloves in the mixture (after the sanitizing soak!). Soak for at least one-half hour and up to 24 hours, then plant as usual.
6. Plant your homegrown seed garlic!
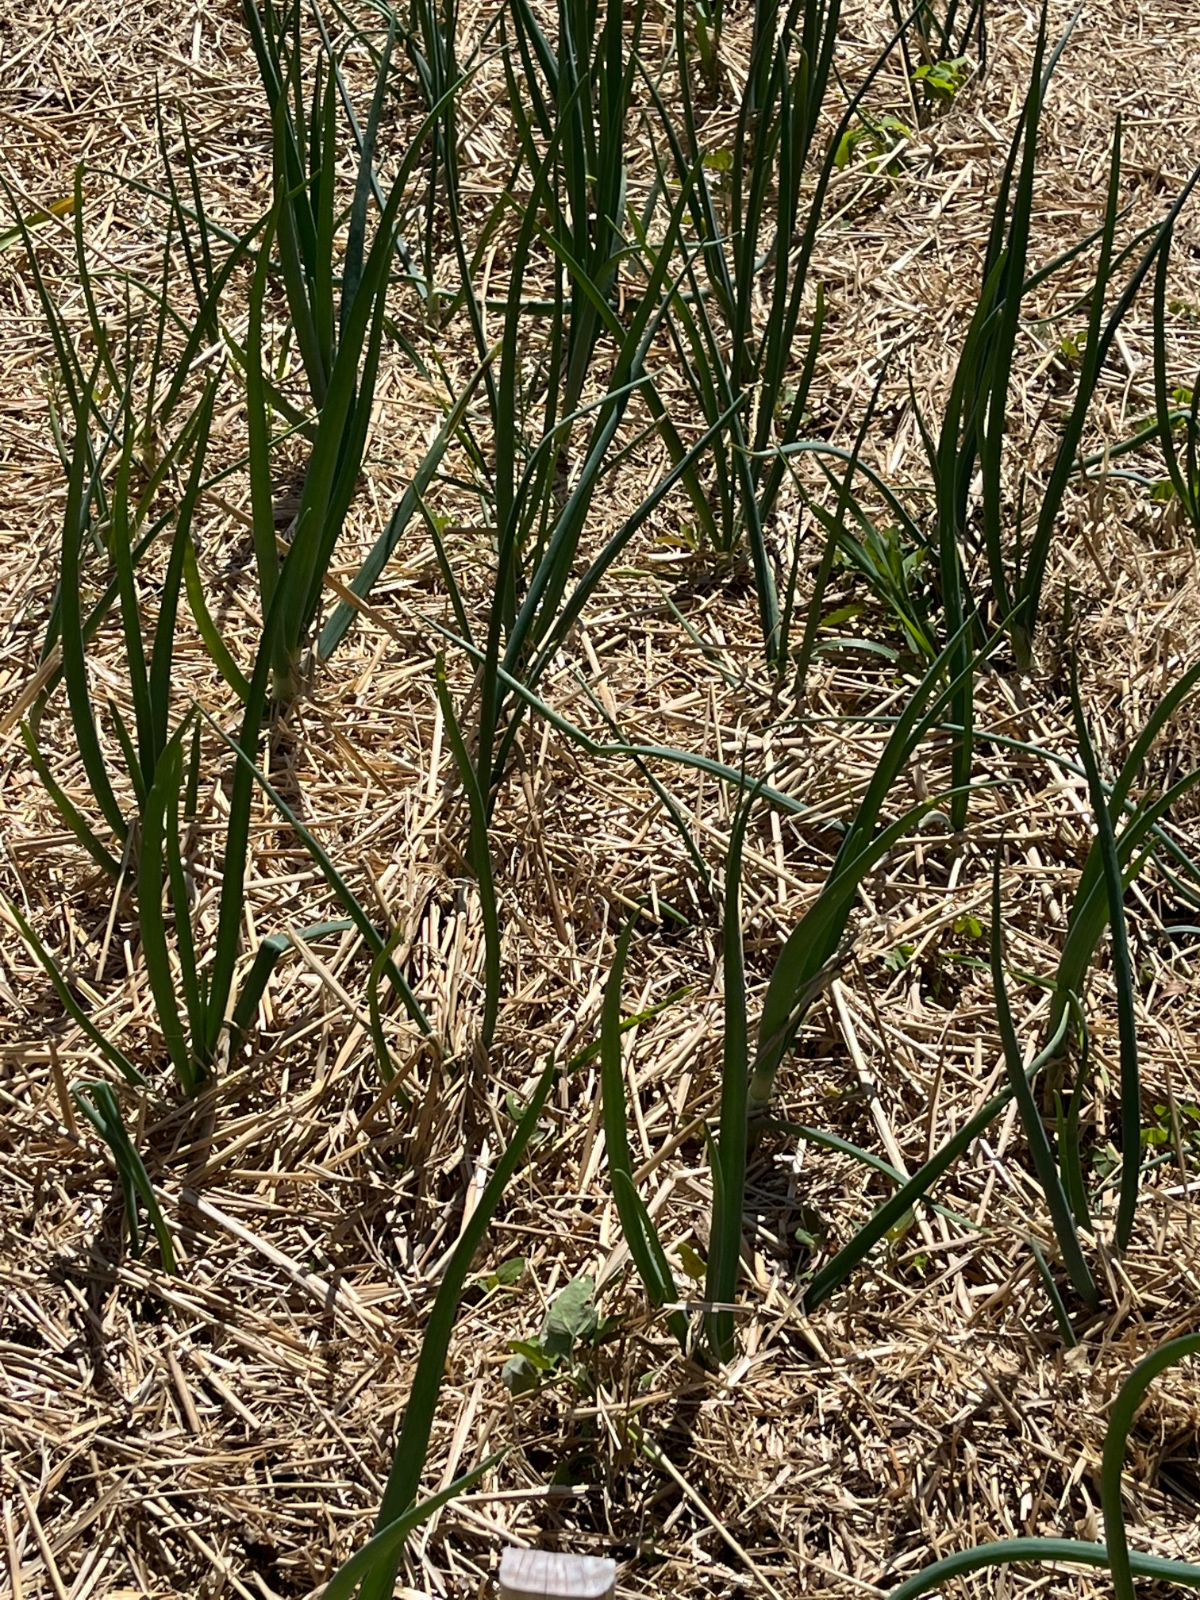
All that’s left now is to plant your garlic. Plant your homegrown seed garlic the same way you would plant garlic seed that you buy.
Consider rotating your garlic patch to a spot that was not used to grow garlic, onions, or other alliums this year (just to reduce the demand on the nutrients and to reduce the chances of an old problem or disease affecting this new crop). Amend and fertilize your soil before you plant the bulbs—you can’t really do it after the bulbs are planted, and garlic is a heavy feeder that easily depletes the soil, so give it a compost or fertilizer boost before you plant this year’s garlic seed.
Plant garlic seed cloves six inches apart (you can do up to nine-inch spacing if you want, but six is adequate for all except the largest jumbo and elephant garlic varieties). Each clove should be planted three inches deep.
Cover and tamp the soil, then spread a layer of straw or other mulch for added winter protection.
See this article for a complete garlic planting and growing guide, including what you need to do in the spring, harvesting scapes from hardneck varieties, garlic harvesting, curing, and more.
When to Buy New Seed Garlic to Revive Your Crop
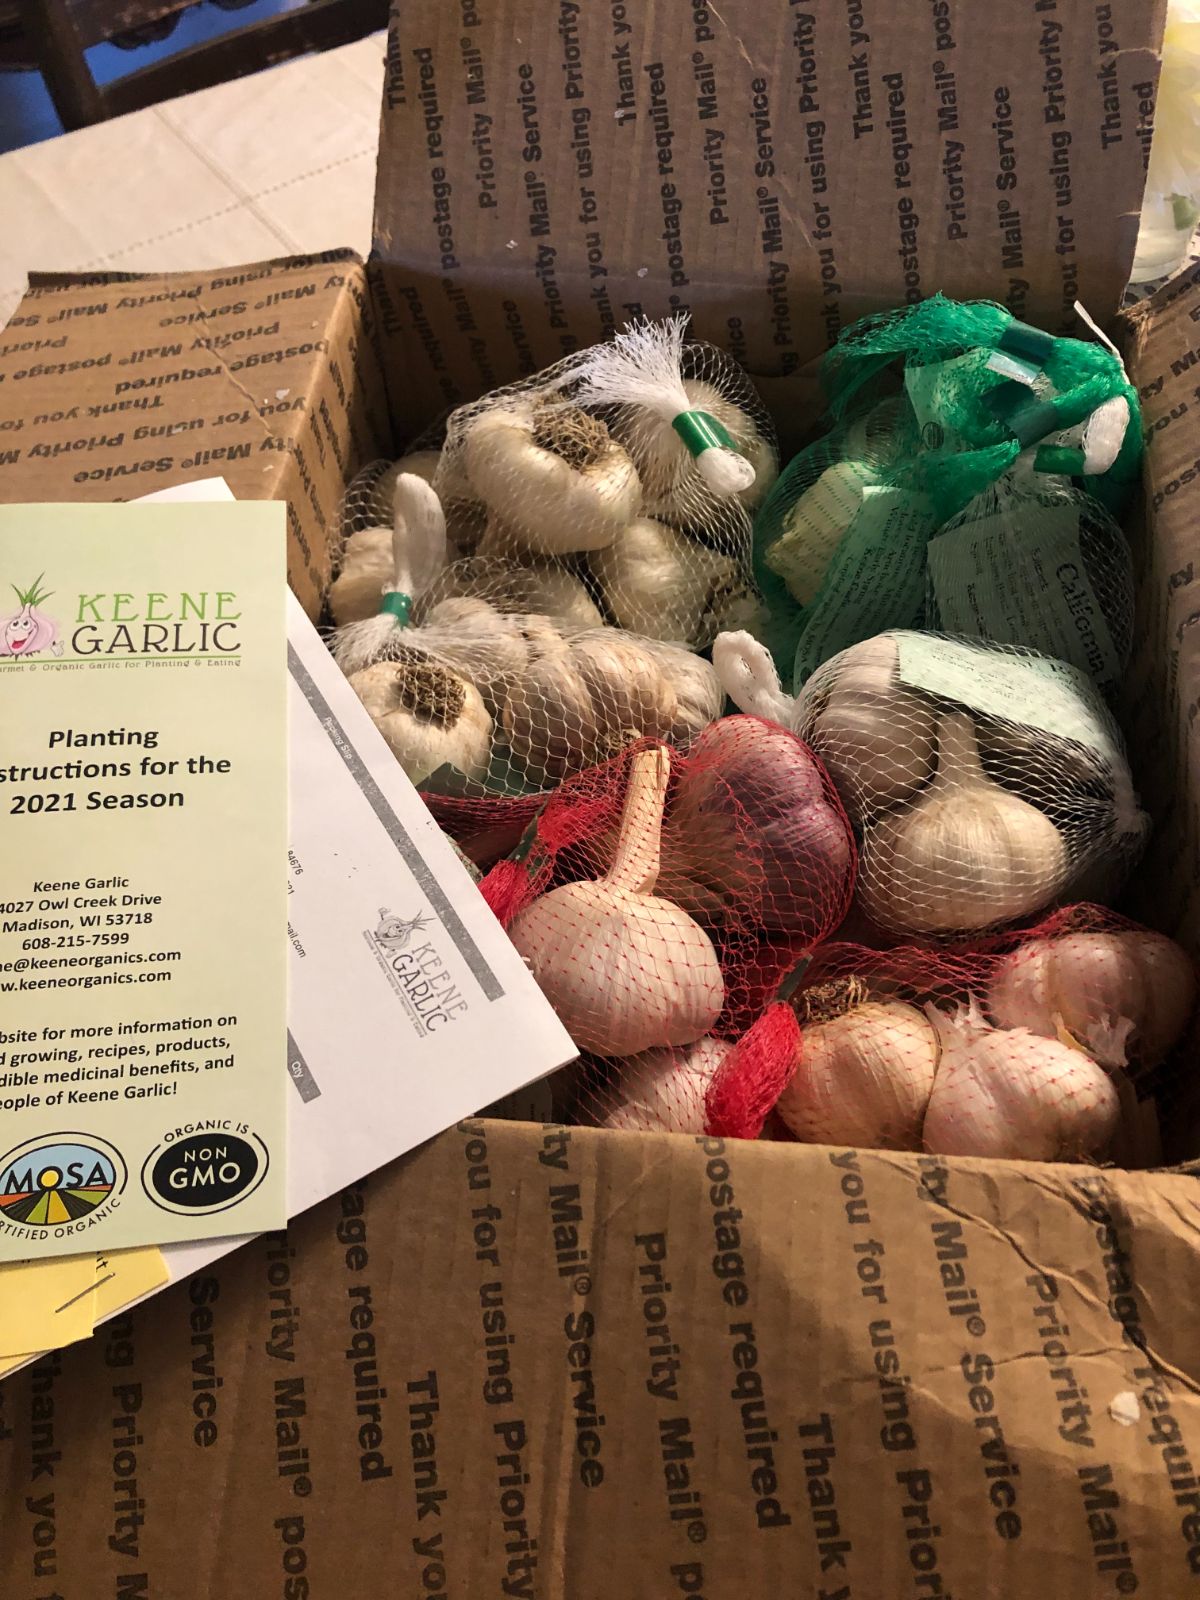
With good selection and growing practices, you can build a sustainable supply of some of the best-suited and highest-quality garlic your garden can grow. But there may come a time when you should buy in some or all new seed stock. Here are some times when it might be wise to consider replacing your garlic seed or supplementing your supply with some outside seed garlic:
- If the seed garlic you have is not suited for growing in your area – for example, if you grew an unknown variety of garlic from grocery store bulbs, or if you live above zone 6 and all you have are softneck varieties, or if you live in the south where hardneck varieties don’t perform well, you should buy in some quality stock from a reputable seller so that you are starting your sustainable supply with the best garlic you can find. Choose varieties that are listed as recommended for your zone or location. Start well, select well, grow well.
- When bulb size is getting small
- When you want to improve the quality of your garlic and seed garlic
- When you want to bring in new varieties
- When disease or rot is a serious issue – garlic is one of the least prone herbs or vegetables when it comes to diseases and among the least prone to pests and insects, but there are some things that can be a problem. Diseases are especially an issue if it is a widespread problem that affected most of your garlic crop. In that case, it may be time to start fresh with a new seed. If you want to plant some of what you grew that did survive to preserve its disease resistance, it’s best to plant it away from the new garlic for a year or two so it doesn’t spread to the fresh stock.
- If you move to a new climate or location – in this case, you’d want to choose new varieties that are recommended for your new location, unless what you grew and have happens to be a variety that is recommended for your new home, too.
- When you think your crop could use a general refresher – in this case, you probably don’t have to buy seed garlic to replace your whole crop (except in cases of the issues mentioned above), but you can buy in just a little to boost and reinvigorate your overall crop. Then keep selecting well from the best of the best—whether that grew from the new seed garlic or your old line.
A Few Final Tips for Success with Your Homegrown Seed Garlic
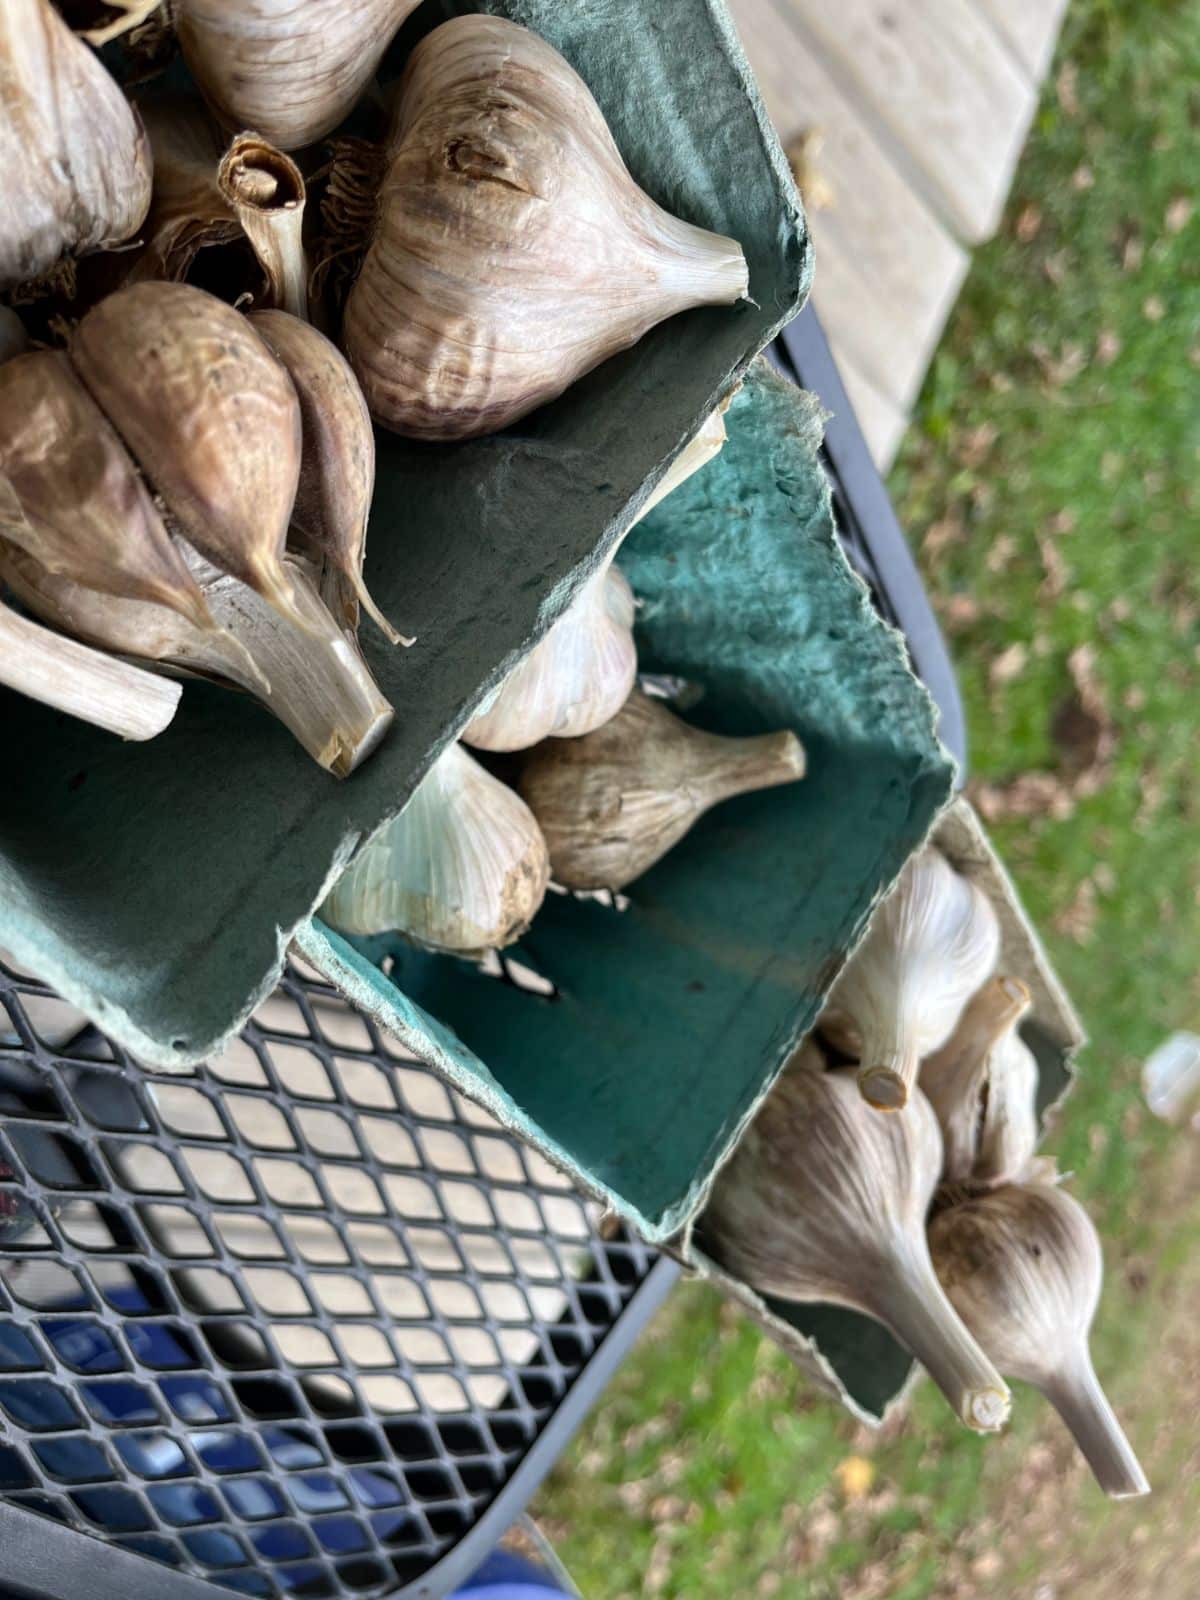
- Overplant so there’s enough to go around (for both eating and planting) -- if you’re not sure how much garlic to plant, remember that each clove is one whole head; large types have about 5 cloves per head; smaller varieties can have up to 10. The average number of heads per pound is eight bulbs in a pound, but these averages can change by variety).
- Be selective in garlic variety, too
- Try a few different varieties to find what you like best and see what grows best for you
- Plant varieties that are recommended for your location
- Invest in good seed stock from the beginning (don’t plant grocery store garlic)
- Garlic from local growers and farmers markets can be a good choice if you can talk to them to know how it was grown and treated. be sure it's not treated to stop sprouting, and the garlic is impressive. This can give you the benefits of locally acclimated, productive seed.
- Always choose the best of the best for planting
The longer you grow and plant your own homegrown seed garlic, the more control you will have over your garlic supply. Over time, you can have a completely sustainable supply of garlic without ever having to buy seed garlic again. That’s great news because seed garlic is one of the most expensive types of “seed” you can buy.
If you’re like most of us, there’s never enough garlic, so buying new seed every year can get very expensive. Grow your own garlic from your own supply so you can have as much “free” garlic as you want!

Leave a Reply